Painting on glass for a cup, a plate, glasses, a master class and a lesson
It often turns out that for decorationown kitchen, I want to do something with my own hands. Let's say you have an old and unnecessary cup that needs to be updated. Do it yourself. A set of simple tools will help to quickly upgrade the cup with the help of stained glass or glass painting!
What is needed?
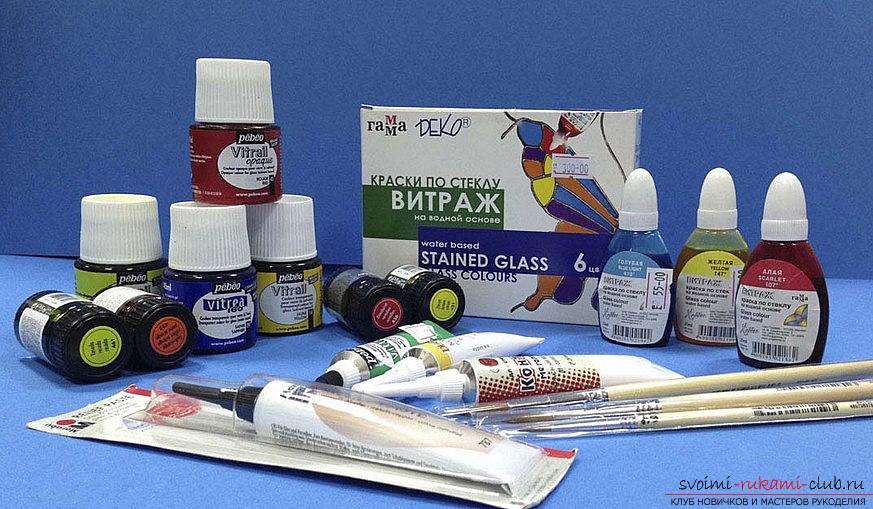 Materials:
- Basis - (a mug, a cup, a glass, a plate)
- Printout of the picture
- Copyrights
- Scissors
- Scotch
- Paints for painting, stained-glass paints
- Sequins
- Contours
- Brushes for painting
Beginning of work
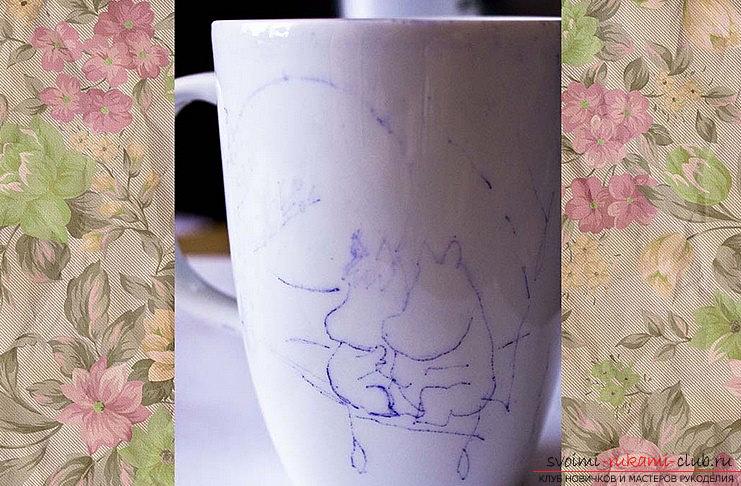 First of all, we need to prepareprintout, which will ideally fit the product. Suppose, if this is a mug painting - then the size is one. For a vase - completely different. Next, cut out our printout to paste to the copy sheet. The copy sheet is also cut out. After that, put the entire set on a mug and with the help of a pen, we translate the drawing. Preparing a path
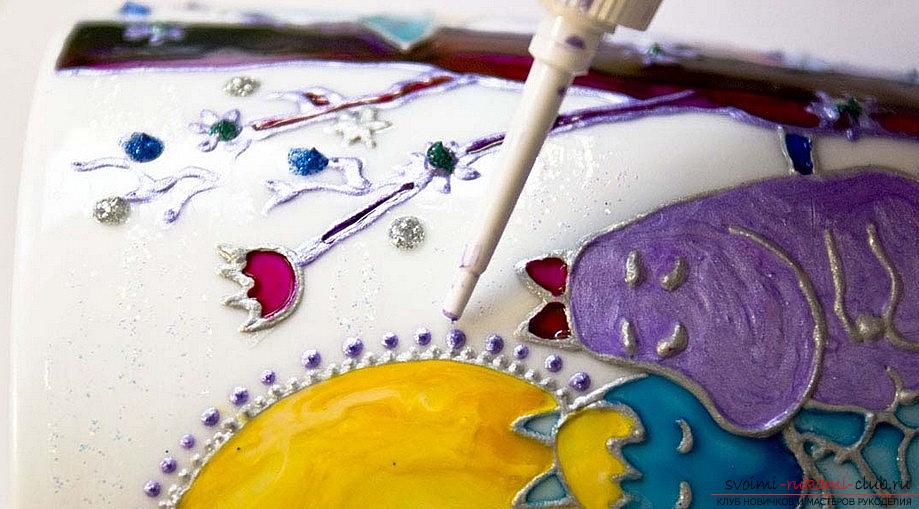
 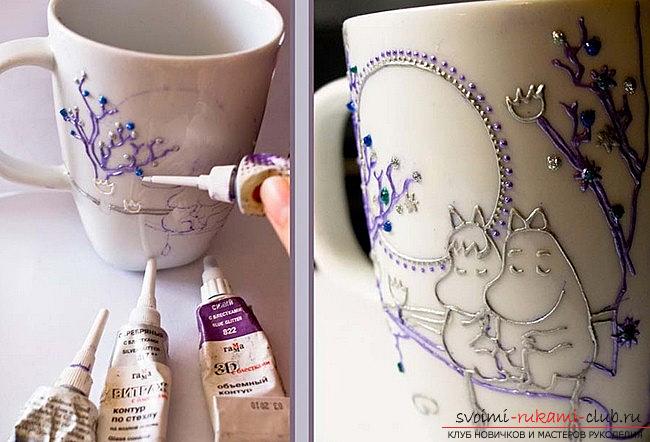 In the course of the work, only thoselines that form the contour of the pattern. Next, with the help of the contour tool, we press it onto a disc that was previously moistened with a special liquid with a varnish removal - in the future, it will become a tool for wiping out the nose of the contour. Next, we apply our drawing We put the drawing on two lines. Then, we wait until the entire decorative element dries. This process takes no more than 30 minutes. Can be dried with a hair dryer under a cold spray. Next, select the main elements of the composition of the picture. It is here that try to use contrasts to highlight the stained glass pattern. After that, apply additional elements, think through each line, so that it is compared with the overall pattern. Also, the picture can be decorated with decorative elements. In this case, different strokes of the contours, the points that will decorate our appearance of the drawing, can come up. Finish the drawing with details. To do this, you may need different sequins, other decorations are also suitable. Drying the product Next, dry the product for several days. After that, you need to cover your work with a varnish, using a normal, soft brush. The varnish must be applied without divorce. Then, the product must be dried again. Work is done!
Comments
Related posts:
 Painting on glass bottles on the topic of New Year themes by their own hands - master class
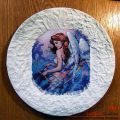 Decoupage of a unique plate with an angel by one's own hands: a photo and a master class with a lesson
 Clad cups and plates
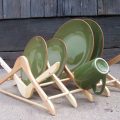 Stand for plates and cups with your own hands from hangers
 Reverse decoupage for a dish with your own hands - design and master class