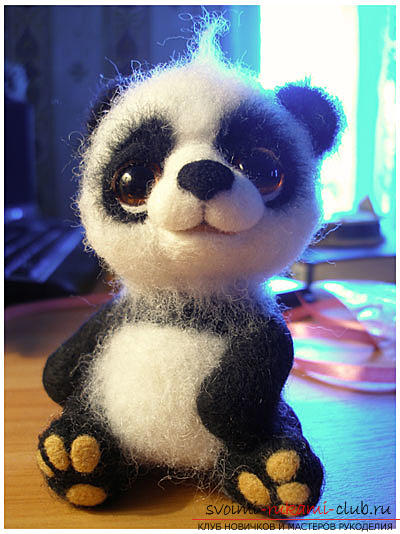
Felting panda out of wool for beginners, master class and photos
Felting pandochki - it's quite simplea process that even a master craftsman who has minimal knowledge in this area can cope with. Moreover, pandochka can come up as a small gift for a loved one. What will it take to create a pandochka?
- Wool black, white, orange and pink for felting
- Needles for the process of felting
- Sponge, brush
- Beads
- Sewing needle
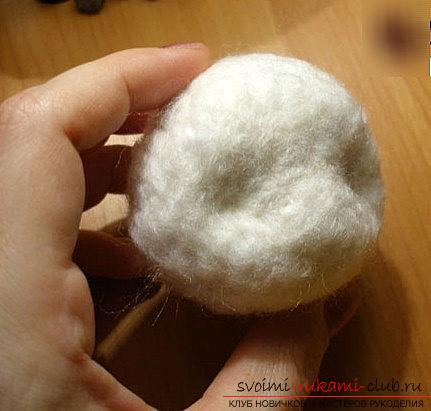
The first work in felting is the head. For this, it is necessary to make a toy with the aid of a sintepon. We twist a small ball, which after that, we will pass through a long needle. The ball is tightened with a thread. For this, it is necessary to pierce the ball in different areas and then tighten.
Wool for toys
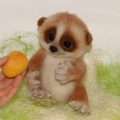
 After that, we make the creation of wool for ourtoys. We take a little white wool, tear off small pieces of wool from the cover and after, we confuse them with the help of hands. They need to be welded to the surface of the sintepon ball. Repeat this action until the ball is covered with wool. Then, you can create the muzzle of our future panda. To do this, you need to make a marking of the face shape, and also make grooves in those places where there will be eyes. The more times the required area is pierced, the deeper one gets. We are felting faces. To do this, we tear off small scraps of wool, then apply them to our head preforms and determine the dimensions. Further, if everything suits us, put the product on the sponge and roll. The muzzle should be put on the head. At the junctions for our muzzle we put small scraps of wool, and then we put them in order that no transitions are visible.
Panda body parts
Next, we create facial expressions for our pandochka. She will smile, so we will need to do this with felting. The needle must go deep enough into the coat. For the lip, we need to tear off a small piece of the wool. Then, you need to keep your lips, and on the other hand leave the hair without felting, this is necessary in order to then put this module on the muzzle. Cheeks and nose 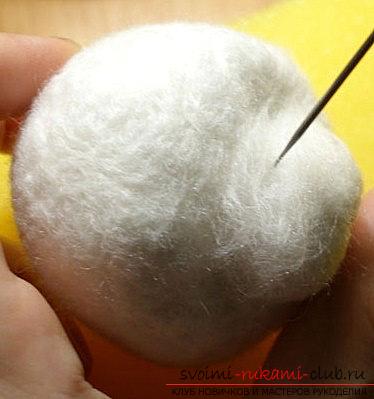 Now, let's start creating cheeks. For this, we also need to take the wool and confuse them in the hand, then, to seal to the face. Next, we work on the nose. In this case, you need to take a small piece of wool, and then roll out the shape of the spout. It is advisable to make a triangular coat. Eyes of a panda
  Next, attach eyes to the future panda, sinceSoon we will have to make the necessary edging for the panda. To do this, either beads or specialized eyes are suitable. It is necessary to insert a needle from the back of the head of the pandochka to the center of the eyeball, to put on the needle the future glazik. Next, we detail the shape of the eyes by creating the eyelids. For this, you need to make a strip of wool. After that, it should be pinned to the muzzle. Wool and its remains must be filled under the eye. After, take a small bunch of red and orange. We make the mouth for the bear, or rather - we form the lips. Also, lines that are superimposed on the lip contour are needed. Pandocha body
 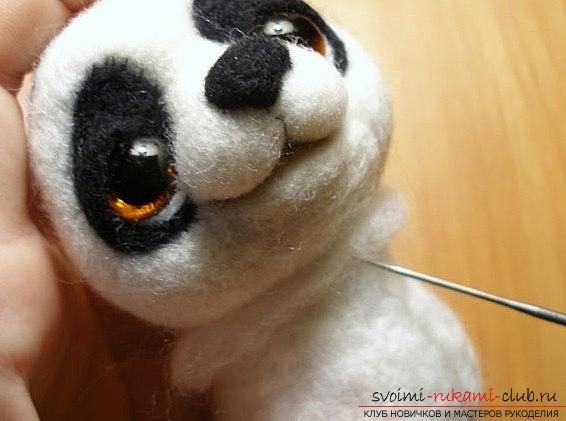 After that, make a body for our Pandochka. We will also use the synthepone for the general shape. In the same form as with the head, we shape our body shape with wool. On the upper part of the trunk, you do not need to touch the hair, it will be needed to tilt the head in the future. Next, go back to the face and create a crease for the nose with felting. Then, we lay small limbs for our panda. From the wool lay our paws, but they must be organic and fit in appearance. For knives and pens, we make the inside, which must be repeated and tied to the shape of the trunk. Legs also need to roll with black hair. After that, we make cushions for the soles of our panda's feet. For this, we make small "surfaces of the color of orange and beige wool options. Forms are cut using scissors. Next, create a tail shape. To do this, we need to snap off a small piece of black hair, and then, to give it the shape of a ball. Next, using a sponge, we pour down our ball. The tail can help balance your toy. Next, we make the ears. We take a wool of black color and form small plates, in which it is very important to decorate the edges. The ears must be tucked into our mold. A small panda is ready!
Comments
Related posts:
 Dry felting out of panda wool, master class / Toys with their own hands, patterns, video, MK
 Felting lamb master class / Toys with their own hands, patterns, video, MK
 Master class on making Owl brooch for Creative Competition 2016, felting out of wool
 The technique of creating a scarf with felting out of wool - wet felting for beginners
 Elven slippers with their own hands - felting New Year's costume and master class