
Patterns for knitting with hats. Schemes with a description and a photo with a pattern "large braids" for beginners
Although only the first autumn days are on the calendar, andit's still not cold, we should already think about the warm things that will protect you from the winter cold. An indispensable attribute of this frosty season is the cap. Modern designers offer an incredible choice of styles, colors and finishes, but for several years now the leading positions have been occupied by knitted products. 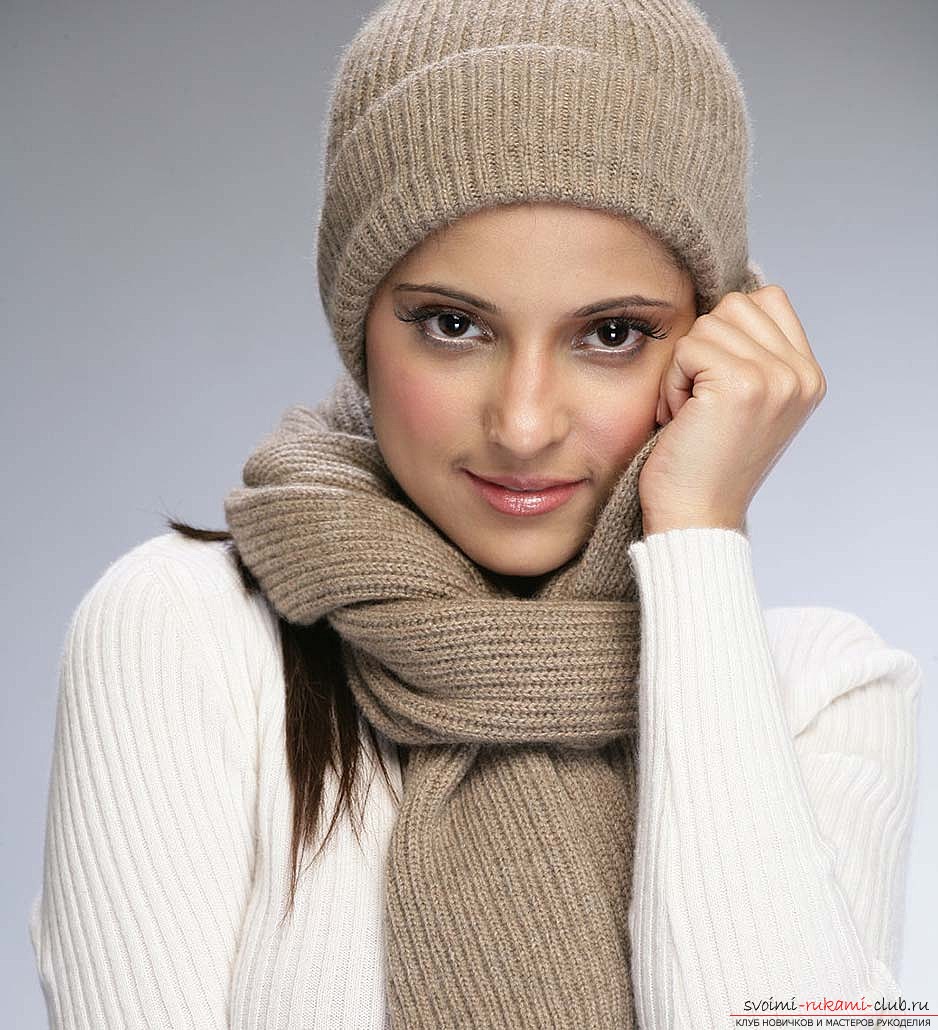 Honestly, I do not understand the people who spendmoney to buy caps, which you can do with your own hands. You just need to stock up on threads, knitting needles and patience. To any chosen model, as a rule, a diagram is attached, where it is told what, where and in what sequence to knit, to get this or that pattern. And about what "drawing" can appear on your head, it will be discussed later.
 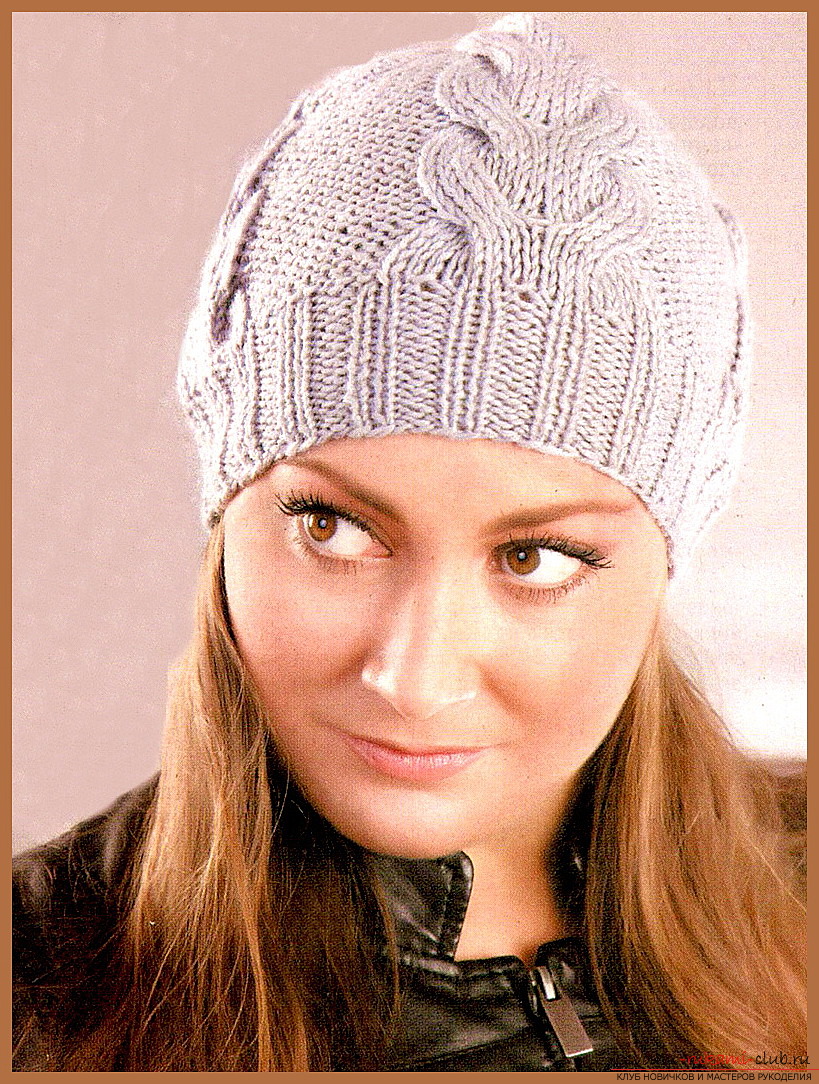 There are seven basic patterns that are used in the manufacture of hats (they are simple enough to perform and should not cause difficulties even for those who only recently took up the spokes):
- The pattern of the Snoppy.
- "Displaced pigtails".
- "Large braids".
- "Diagonal elastic".
- "Chessmath".
- "Fantasy stripes."
- "A pattern of twigs".
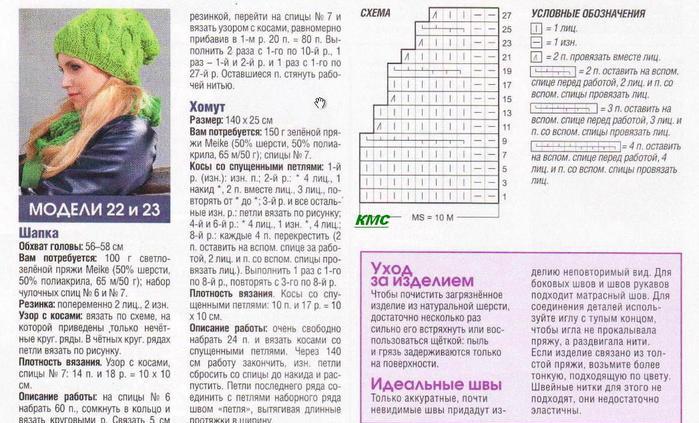
"Large braids" - a pattern for the creation of whichthe initial number of loops is a multiple of 8, plus 3 and plus 2 edges. One edge loop is made at the beginning and end of the row. The scheme of the "drawing" is very simple, but it is worth noting that here you will need an additional spoke. The first, third and fifth rows are the same. This statement is valid for the second, fourth and sixth series. Only the seventh and eighth series differed, which have their own technology of execution. 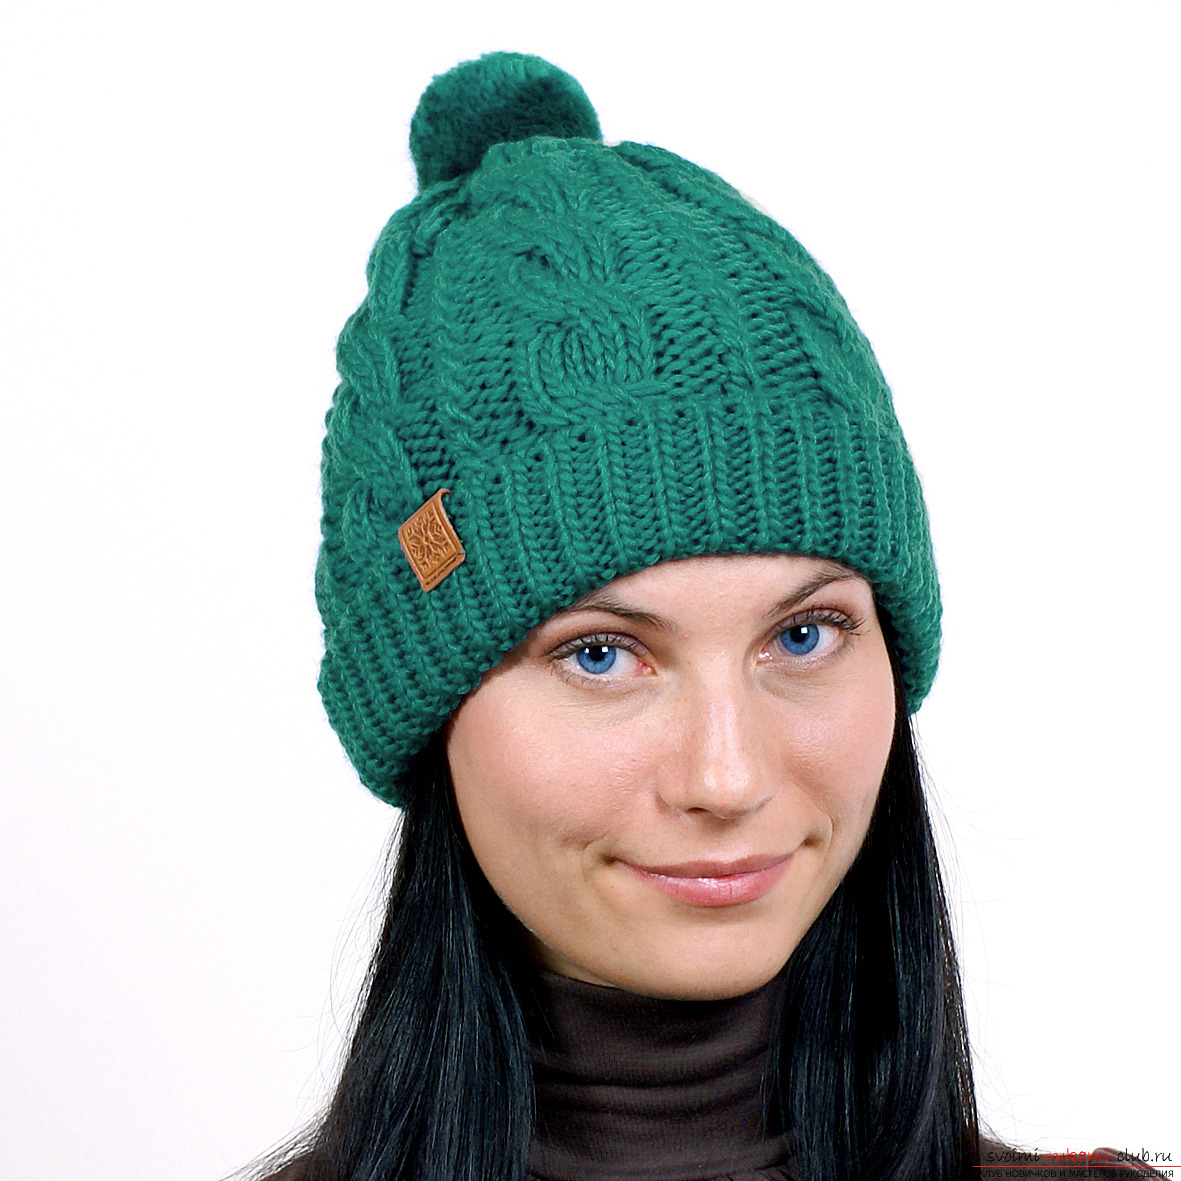 To create the first row, you need to tiea combination of three purl - five facial. In the second row, it is not necessary to dodge especially - just knit the loops that follow the pattern. The seventh row is distinguished by one small feature: after tying three purl and five facial strings, three times wrap around the knitting needle and continue the execution of the row scheme.
  To perform the eighth row, you needThe auxiliary spoke, which we discussed earlier. Make three face loops, then carry the next five on an additional spoke, parallelly pulling the cap and pulling the loop. Then you need to rotate the spoke and continue the pattern: the wrong loops + three facial - and again to the original one. After that, the "drawing" is compiled by tying each row in order.
 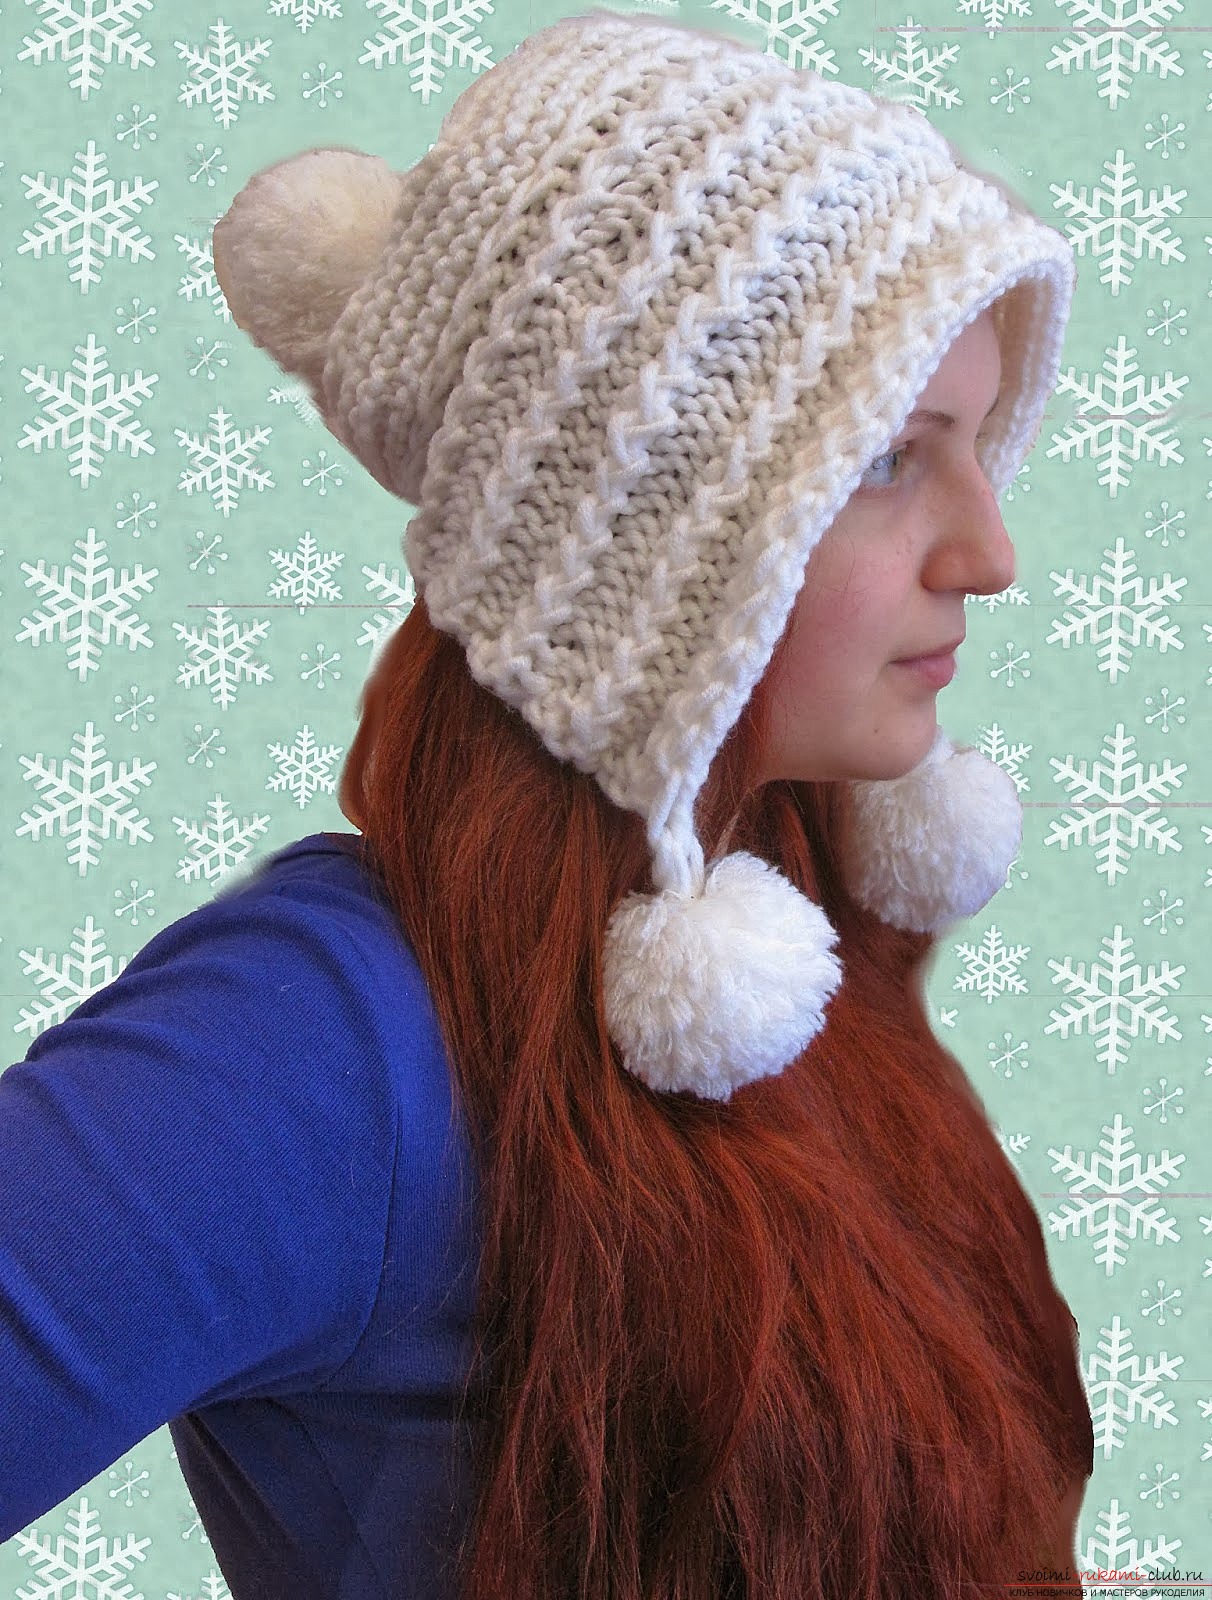 We really hope that the above pattern will be an ornament of the headdress, which you will connect with your own hands.
Comments
Related posts:
 How to tie a hat, knitting hats with knitting needles, patterns and patterns for hats, patterns for knitted hats, detailed descriptions, diagrams, photo examples, recommendations.
 We knit simple patterns with knitting needles for beginner needlewomen, simple openwork patterns, braids and an elastic band with diagrams and a free description.
 Knitting on knitting needles, knitting for knittingbeginners, knitting patterns on knitting needles, openwork patterns, how to knit openwork patterns, jacquard patterns, how to tie a lazy jacquard pattern with knitting needles, braids, master classes for knitting them.
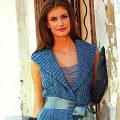 Knitting with knitting needles for women with a pattern of "braids". Detailed diagram with photo and description for beginners
 Patterns and patterns for knitting by male and female hats