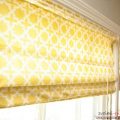
Step-by-step manufacturing of roller blinds with their own hands, advice, recommendations, photos and visual diagrams.
An important design decision in thethe design of any dwelling is the decoration of windows. After all, they can serve as a rather bright accent, capable of making the room stylish or, conversely, to spoil all the idea that the designer wanted to convey. At the moment there are many solutions for the design of windows that can emphasize any style used in creating a holistic image of the room. It can be both curvy multi-layer curtains, and minimalistic elements in the form of roller blinds. They are a very interesting solution, which will be discussed in this article. 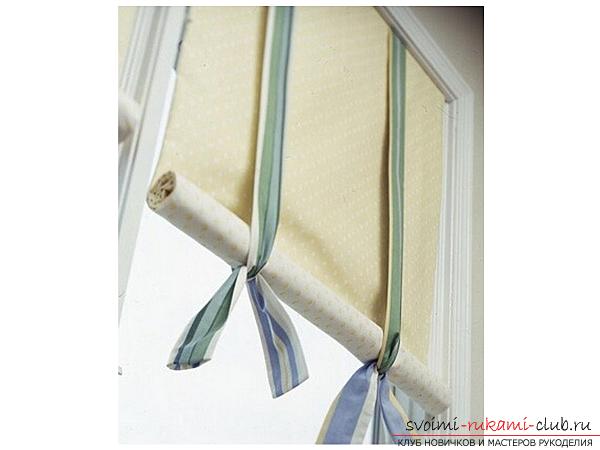 Roller blinds, which are still known under suchnames like roller blinds (roller blinds) perfectly perform their functions both in the home interior and in the office. Their main advantages include:
- The possibility of using as a supplement to existing curtains and a separate interior;
- easy installation on both plastic and wooden windows;
- a tight fit to the surface of the window, which does not allow you to look inside the house from the street;
- simplicity in caring for them;
- Such curtains make it possible not only to darken the room, but also to completely prevent bright sunlight from entering the room;
- ease of management.
Often they are acquired or ordered inspecialized stores. But if you can not find something that is most suitable or just want to save your money, try making roll-blinds yourself. Quite a few people do not see the difference between rolls and Roman blinds. But in fact, these are absolutely different objects with different twisting mechanisms. If the Roman curtains are assembled in horizontal folds and fastened with a cord, the roller blind will be assembled (wound) on a special crossbar. The assembled canvas can be located either in sight or hiding in a cassette. The roller blinds, created with their own hands, are folded from below and have a fixation in the form of garter ribbons, which are located at a certain distance from each other. Before you start, you need to make all measurements, so as not to be mistaken with the size of the product. The width and height of the cut of the fabric should correspond to the opening or glass canvas. The width of the future product should be slightly larger than the selected opening (about 2-4 cm). This distance will go to the allowances. As for the length, the canvas will be larger than the actual height of the opening not less than 10-15 cm, in addition add a few centimeters to the allowances. For manufacturing, a certain list of tools and required materials will be needed:
- several cloths of the required size: one of them will become the front part of the product, the other - the purl. The material at the same time can be the same color, perhaps the difference in the drawings. If your window has more than one leaf, then expect that each of them will take two sheets;
- To make garters, you should separately choose the fabric, cords, etc. Please note that their length will be equal to the double length of the curtains plus 20-30 cm;
- wooden bar, measuring 2.5 by 2.5 cm or 4.5 cm. Its width will be equal to the width of the curtain or be 1 cm smaller;
- for weighting we will use a wooden bar (if any, the metal rod will be an excellent way out);
- a stepper for furniture;
- screwdriver with screws, as well as sewing accessories.
Now that all the necessary items have been prepared,Lay out the fabric and sew the sides with the front side inward. Sewing requires two long sides and one wide. Turn out the resulting pouch on the front side. Next, you need to sew the last side and make an additional pocket, designed for weighting. In order to properly sew it, you need to put the weighting agent inside the bag, cover the cloth and stitch the curtain, retreating about 0.5 cm. At the end of this work, you need to sew the side gaps. Then wrap the finished ironed cloth around the wooden block and fix it with a stapler. 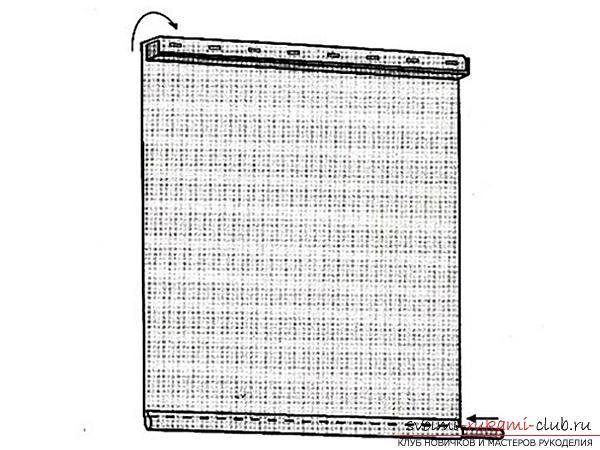 After that, prepare the garters, swing them through the upper fasteners and secure with a stapler.
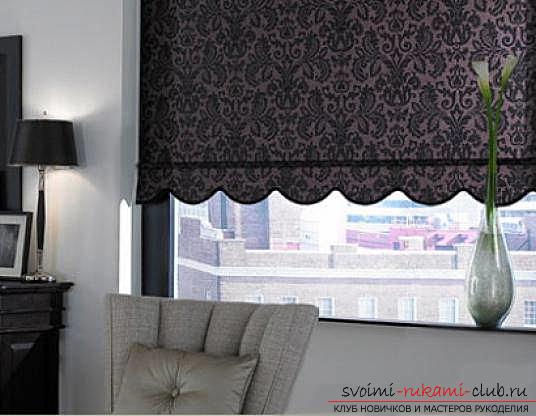
 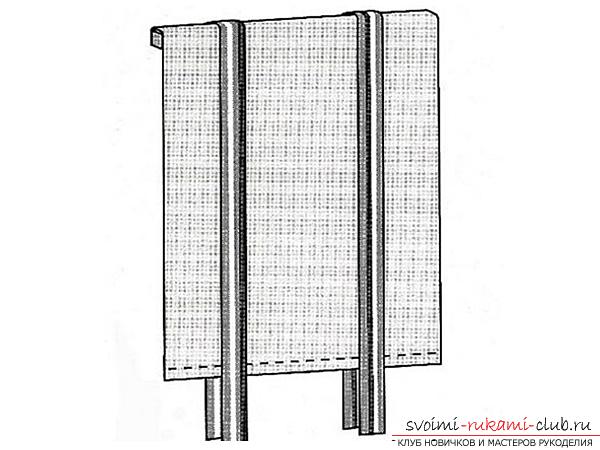 You left to fix the bar. If desired, you can decorate the top of the product. To do this, use the "figured edge" effect. You can sew several different optionsRoll-blind, using as a fastener, instead of a stapler, zipper or hook. Thus, you will have the opportunity to change the appearance of the rooms depending on your location of the spirit, the time of the year or in the precedence of a holiday.
Comments
Related posts:
 Step-by-step manufacturing of a three-dimensional postcard on Halloween with your own hands, tips and recommendations for each of the stages of work.
 We sew roll blinds with our own hands, detailed steps to create a roller shutter with a photo.
 Step-by-step instruction for weaving a beautiful double braid with our own hands, advice, recommendations and photos for each of the stages of work.
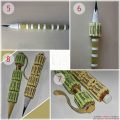 Making a gift for the Teacher's Day by oneself, a lesson on creating handles made of chocolates, tips and step-by-step photos.
 Tips and recommendations and phased photos on making a postcard for my grandmother.