
Photo and video master-class on weaving turtle from rubber bands
Content
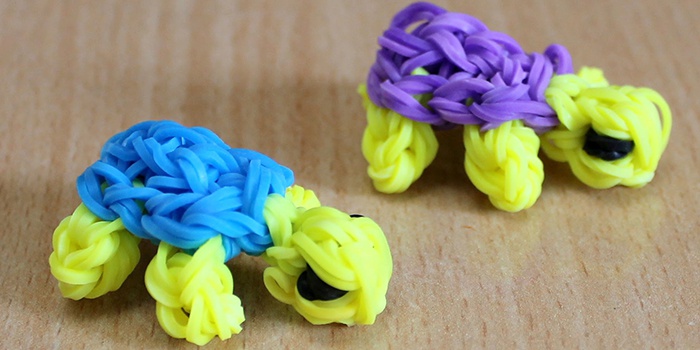
Decoration made by own hands and smallToys always cheer up those people to whom we give them, and create a bright funny image when they complement the costume. You can create a cute toy for yourself or for friends. Here's an interesting way how easy it is to weave a turtle out of rubber bands.
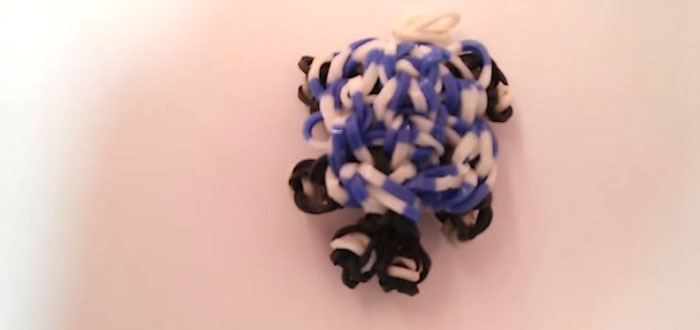


Bubble weaving from elastics
This cute souvenir is padded only with the help of a hook (abbreviation in the CD text) without using special tools like a machine or slingshot. To weave a tortoise, we need:
- "Iris", somewhere around 150 rubber bands of blue and 100 gray colors;
- CD for weaving or ordinary knitting № 2;
- The lock is plastic, which is usually sold in sets.
Such a turtle is also called amigurumi. And the way we weave this toy is more like the usual crochet.
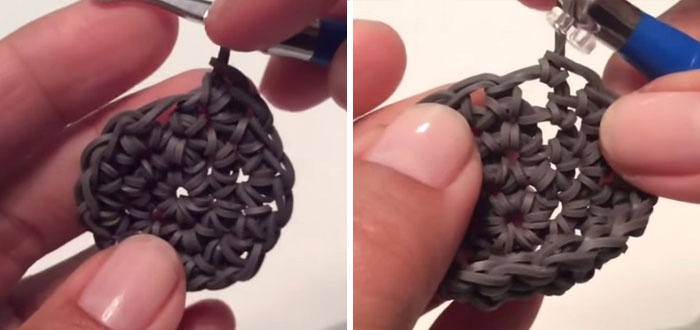
Shell It is necessary to take a gray rubber band (further onText is introduced the abbreviation of this word RZ) and wind on the hook three times. Then take it off to another RZ of the same color and close the ring. It turns out a small flower with six loops along the outer edge. The second row needs to be weaved, just using the loops of the first circle. In each insert CD and stretch a new gray iris, we have two pet., 1 we sew in the other. It's like crocheting bunches without a crochet. The third ring of the turtle's back is woven along the same pattern, only it is necessary to alternate: weave 1 gray iris into the loop of the previous row, then two. In order not to confuse the series, we mark the beginning of each circle with a lock.
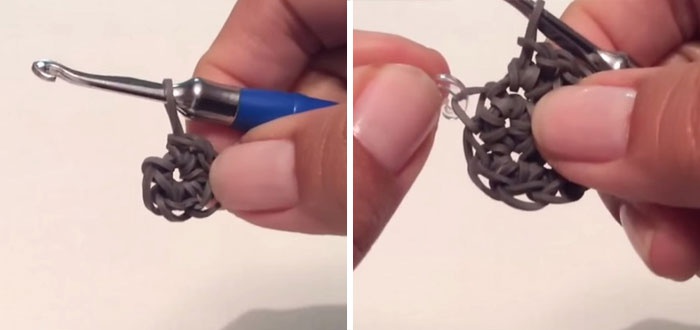
In the next two circles, weave one RZ in each loop to slightly tighten our shell. On the last ring, we leave a loop, which we will later connect the parts.

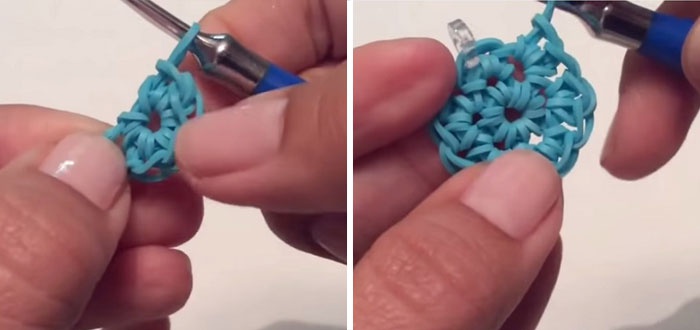
Head Now we need to weave the turtle's head outBlue rubber bands. The beginning of weaving is exactly the same as in the shell. Only you can make the first round a little differently. Twist the blue rubber band twice or three, and braid one RZ around it to make a circle of six loops. We pass the iris inside the rolled rubber band, and we loop the 1-st loop to the other. So the whole series. Again, we mark the beginning of the circle with a lock so that we do not get confused. In the second one, weave the same way as in the shell, using two R3 in each loop.

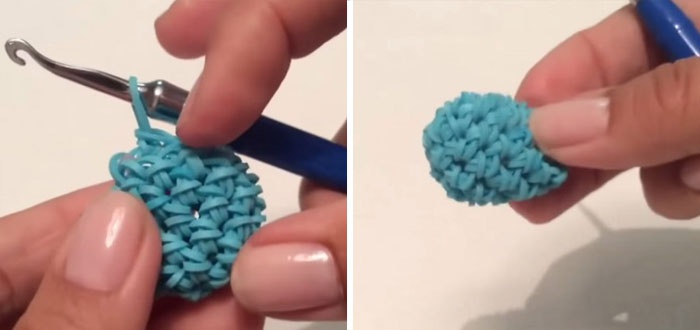
The next three rings of a turtle's head weave on1 st elastic in each loop. Then again close the weave, leaving the last rubber on the joint. Similarly, we must weave the belly of the animal from the blue gum.

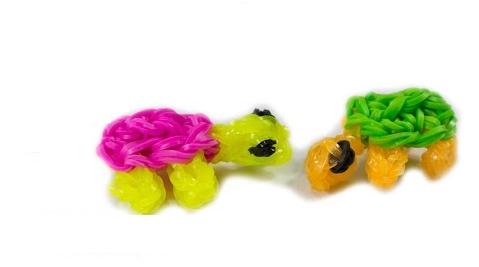
Paws - the same initial circles of six irises, braided around one RZ.
Assembling the product Now we collect the turtle. Paws tied to the stomach on four sides, then attach the head. And the last one to attach a shell on top. To connect simply from the remaining loop, we stretch the next RZ, catching the loops from the belly of the turtle.
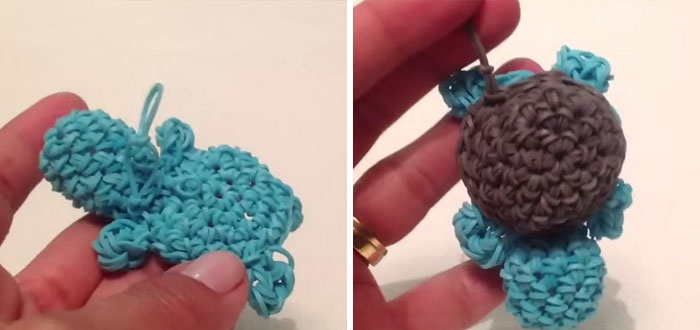
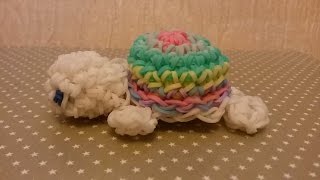
The toy will look best ifVolumetric parts: the head and the space between the belly and the shell of the turtle are stuffed with something. For example, ordinary cotton wool. When all the details are connected - the turtle is made of rubber bands.
For those who do not know how to crochet from ordinary threads, this kind of weaving may seem too difficult. You can weave a tortoise on the machine, but it will not be so neat and nice.
Video: Funny bugs from elastics
Comments
Related posts:
 Video and photo workshop netting fish from the gums
 How to weave animals of gum: photo and video workshops
 Clothing for dolls of gum: photo and video workshops
 We learn how to weave a butterfly from rubber bands on photos and videos to a master class