Plastic bottle feeder: how to make?
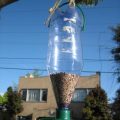
 It is said that most birds do not freeze in winter.frost, but from lack of feed. We offer to feed our smaller feathery brothers and make for them unpretentious feeders (and then, of course, do not forget to fill them with food) from the material that is found in almost every home. The theme of our today's master class is a plastic bottle bird feeder. The choice of material does not matter. From the miniature containers will get dishes for tits and sparrows, and if the bottle is large, 5-6 liters, the quality and number of guests increases dramatically. For the production presented in the photo version, we took a bottle of 1.5 liters.
To make such a bird feeder from a plastic bottle, they took:
1.5 l plastic bottle; scissors; ruler;marker; round cap for drawing festoons for the "roof"; knitting needle; narrow adhesive plaster in a roll; acrylic paints - white and colored; a brush is thin and thick (instead of a thick brush, you can use a piece of kitchen foam sponge or artistic sponge); suspension twine; Satin wide ribbon for decoration.
Making bird feeders from plastic bottles: master class
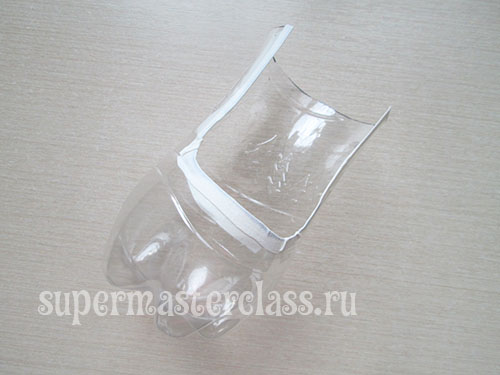
The basis of bird feeders from plastic bottles To begin, cut out the excess. Cut off the top of the bottle. 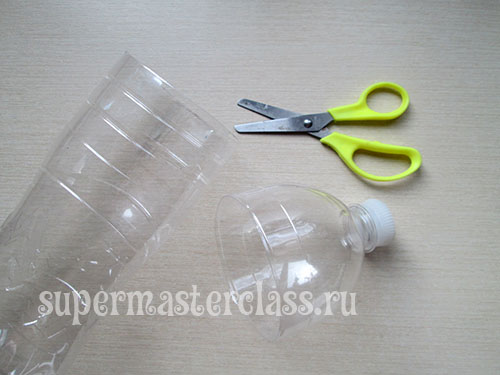 The bottom of the shortened to the desired height,hoping that it will "eat up" the roof a little. We made a small feeder, so we cut off quite a lot. Since the surface of the bottle is grooved, there is no horizontal line that would divide it, for an even cut it was necessary to use a ruler and a marker.
 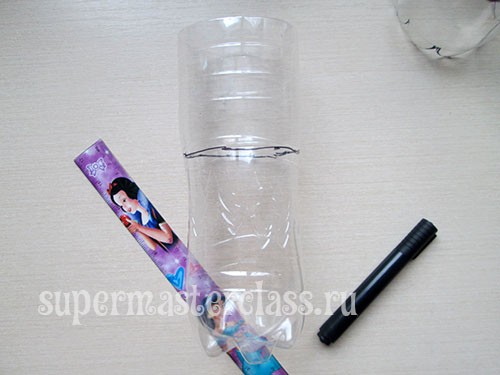 Marker outlines the same window. One or two - at your discretion. Also cut out.
 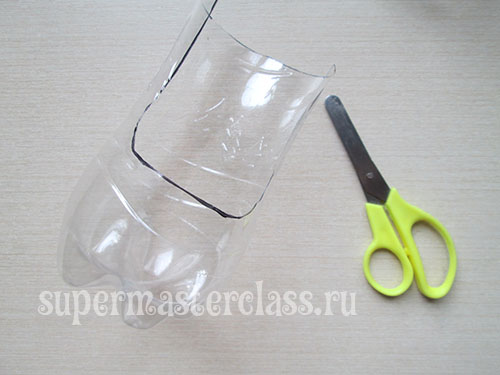 Glow the needle with a lighter or a lit gas burner, then pierce it with the holes in the top of the feeder - for suspension.
 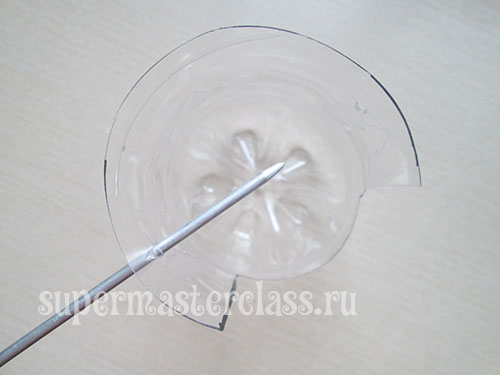 We take adhesive plaster and glue the window around the perimeter, so that it surrounds a sharp cut.
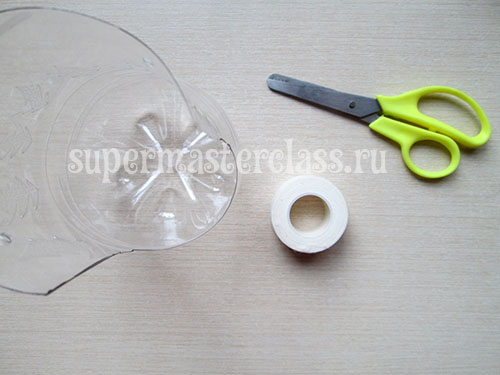
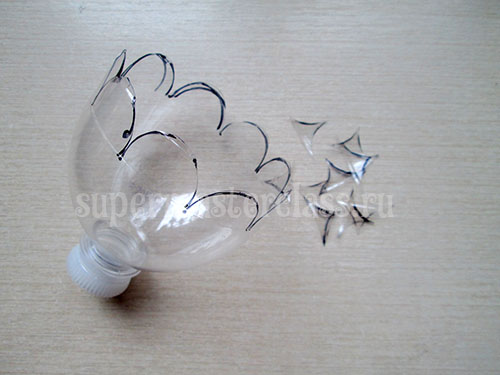
 We return to the roof. I drew petals on it. Initially, I miscalculated, so later I had to move the festoons a little higher and cut them again. To draw festoons, I used a glue stick lid as a stencil. It was possible to draw by hand.
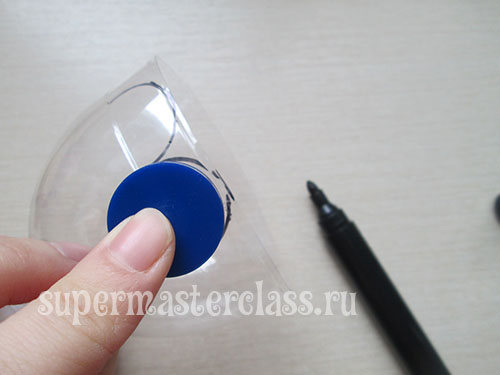
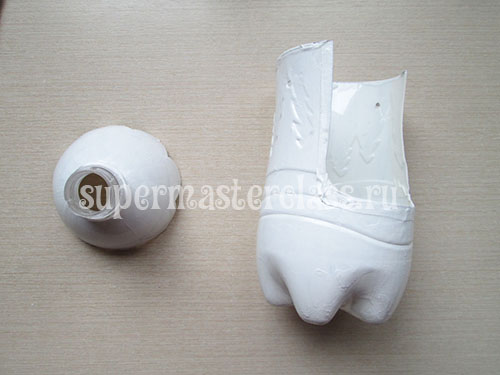
 In principle, it remains to attach the rope anduse a plastic bottle feeder for its intended purpose. But we also decided to paint it, especially since the bulging parts on the bottle are arranged - they are in the form of Christmas trees. How to decorate the bird feeder from a plastic bottle. To begin with, we painted both parts in several layers with white acrylic paint. Three layers were enough for us to achieve the desired opacity.
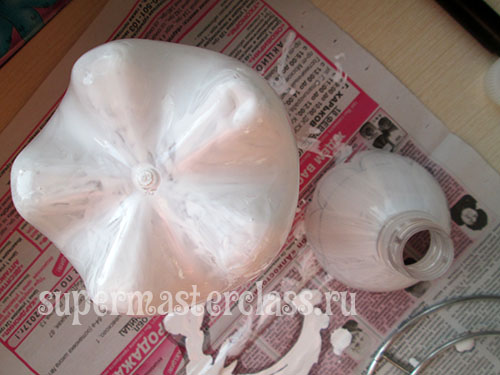
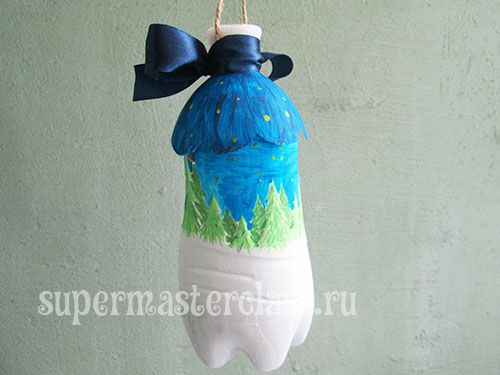
 Then we paint with color acrylic paints: Blue background, green Christmas trees. I painted all the colors individually to avoid spreading and mixing paints. Fir-trees in the background were re-painted - in dark green (added a drop of black to the base green).
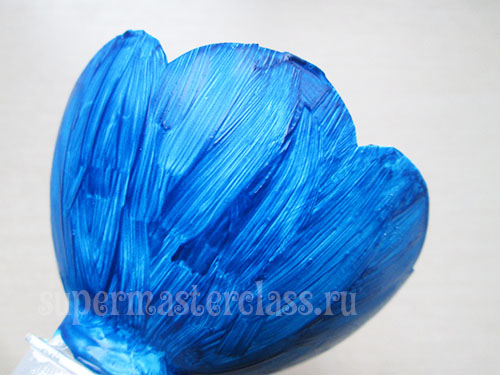
 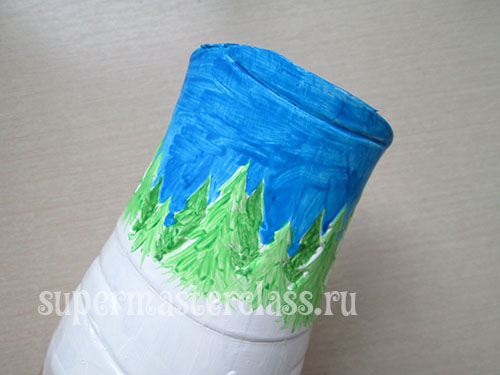 The roof was also painted blue, but a second layer was taken of dark blue. Acrylic is not very high quality, so I did not go down with an even beautiful layer, but, in my opinion, it turned out all the same not bad.
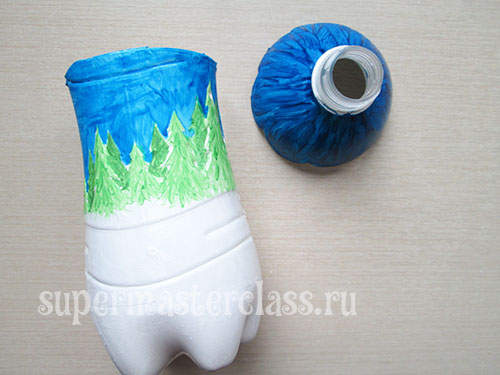
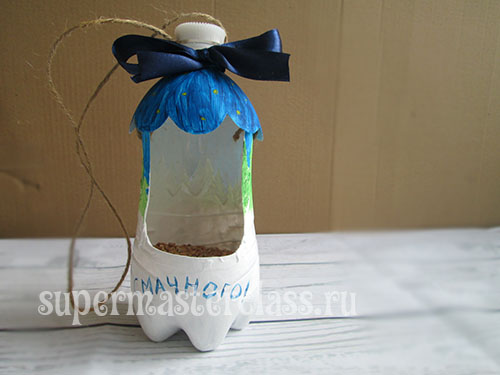
 The child still insisted that we wish the bird a pleasant appetite. And scattered the stars across the clear sky. Let's add.
 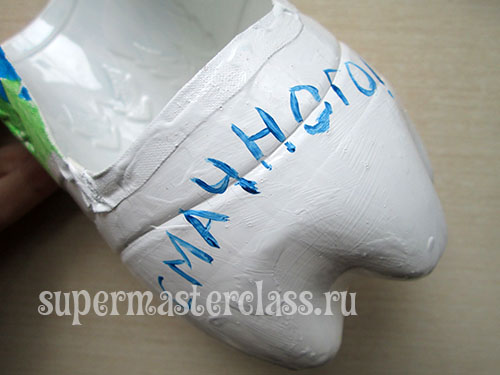 Assembling the feeder We tie the twine to the holes made by the spoke.
 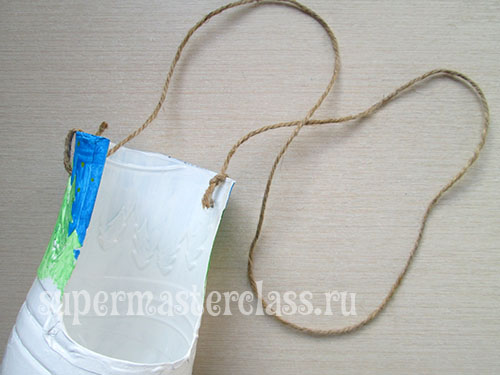 Then skip the loop in the bottleneck.
  There were holes on the threads, we laid our twine in them and managed to wrap the cover in place. However, this is not necessary.
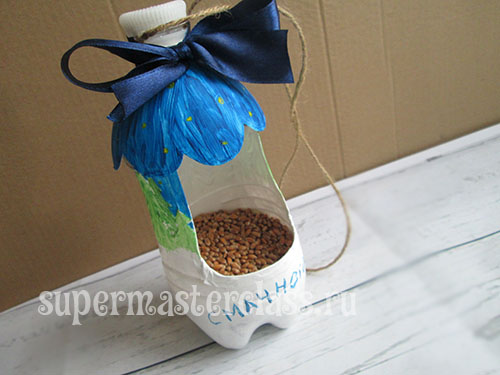
  And we tie a bow. From the tape or the same twine folded or triple.
  The advantage of a wide ribbon is that it masks the neck well.
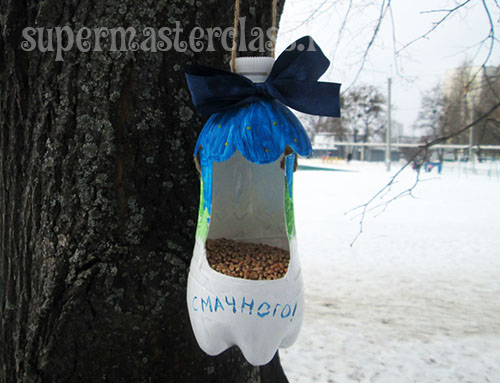
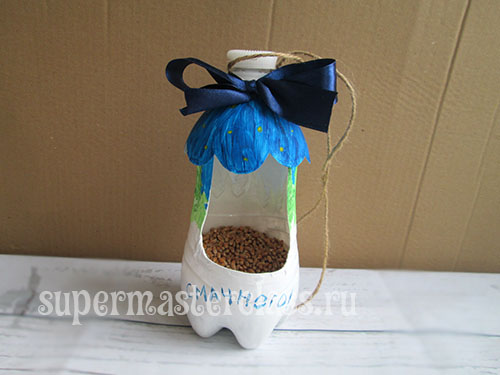
  Plastic bottle feeder readyand already decorates a tree in the school grounds. If you have any questions about how to make such a bird pot, welcome to ask them in the comments.
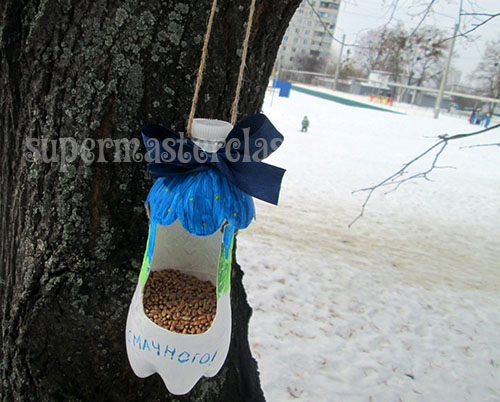

 By the way, once we have already told,; You may also find this article helpful. Eva Casio specifically for the site Workshops on needlework Previous article: Next article: