Polymer clay and a master class to create flowers from it.
The creation of hand-made articles has its originfrom the times when the first ancient people appeared on the earth. Maybe our ancestor stepped into the wet clay with his foot, and when it dried, everyone saw that there was a clear trace of the foot on the surface. People began to plaster the wicker baskets with clay, increasing their strength, and molding containers for storing various products. And once such a container accidentally fell into an open fire. When it cooled down, people discovered another property of crafts made of clay - the dish became waterproof. So began the long history of crafts made of clay. The natural clay was formed as a result of destruction from weathering of sedimentary rocks. It can be green, blue, red, white and even black. In the modern world, clay is a very well-known and accessible material for needlework. Progress does not stand still, and now a very popular plastic mixture - polymer clay or plastic. It can be colored, transparent, with metallic effect, sparkles or fluorescence. Polymerization is the process of solidification of plastics. Polymer clay can be self-hardening and baked. Self-hardening clay freezes in air for 24 hours and does not require thermal treatment. It is used to create flowers and dolls. Handicrafts made of such clay need gentle care and lack of contact with water. Keep the clay in a sealed package. Baking plastic (thermoplastic) hardens when heated 110 - 130 ° C. She loves warmth and when working with her in a cool room, thermoplastic will need to be kneaded longer. Products made from such clay are very strong and are not afraid of deformation. Flowers are a wonderful decoration. They give the room a cozy or solemn, if desired, look. They serve as an excellent decor element. A wreath or buttonhole from flowers is able to decorate any costume. And how sad that the flowers are short-lived. And here the polymer clay will come to the rescue. Its remarkable properties allow you to create amazing, delicate and bright things.  Before you start making flowers, you need to equip the workplace:
- The first thing that is necessary in work is a flat surface. For these purposes, a glass board (glass, of course, durable) or ceramic tiles is suitable;
- Roller for rolling out clay (you can take a glass or ceramic) or if there is a special machine for rolling raw materials;
- Stationery knife;
- Gloves for work, so that the products do not leave untidy and, undoubtedly, superfluous handprints;
- Special matte or glossy varnish to cover products made of polymer clay;
- Artistic brushes of different format;
- Wet wipes, toothpicks and, if necessary, accessories for jewelry.
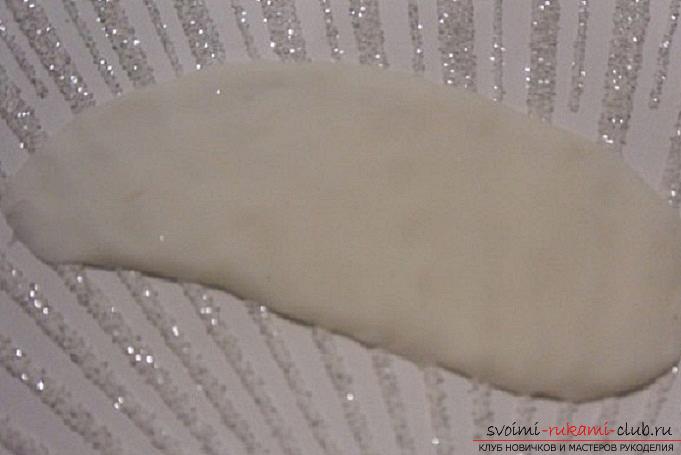
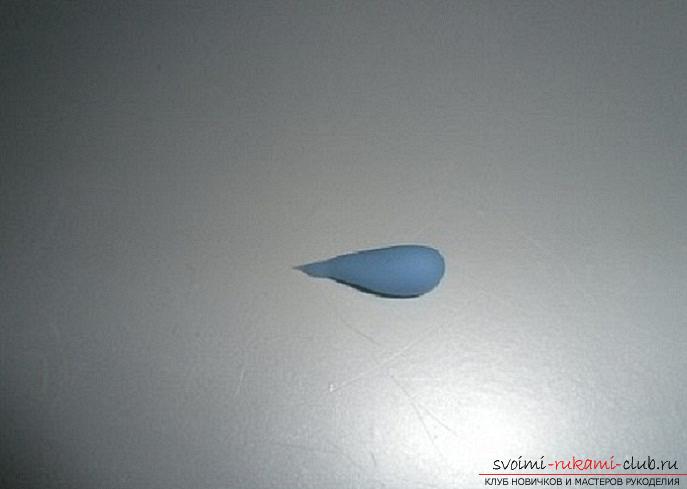
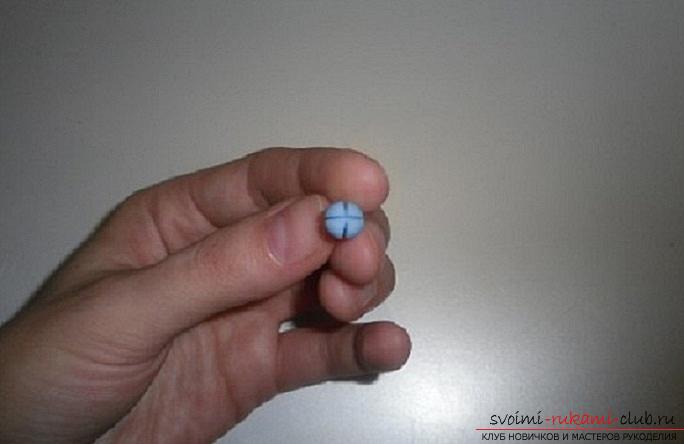
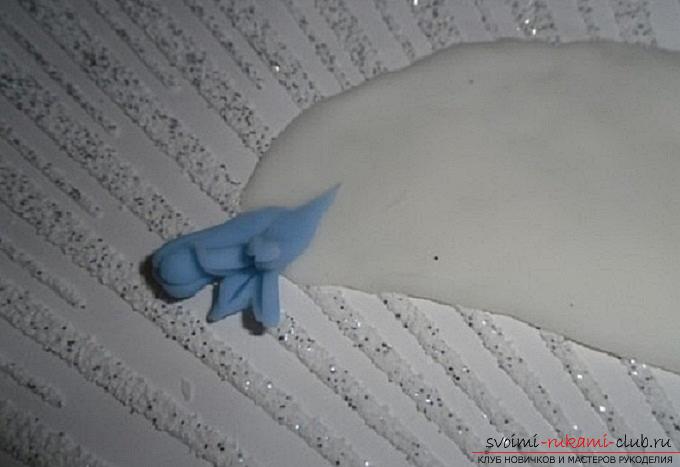
All the tools that are used for workwith polymer clay, should not be used elsewhere. For other tasks, other scrapers and scissors are taken. Before starting to work, it is necessary to stretch the clay well. It is best to knead it in small pieces, in the process of adding all the new portions, in order to eventually get a plastic and soft mass, convenient for modeling. Basket of lilacs. 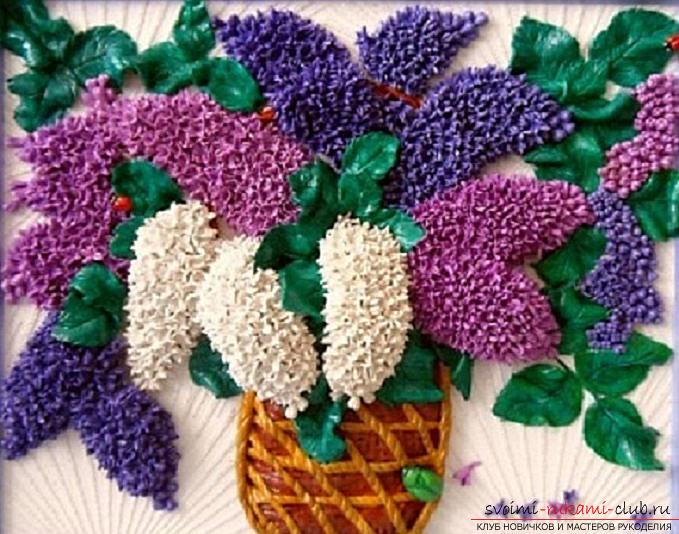 To create this picture, you need a solid foundation, for example, fiberboard. You can paste wallpaper on top.

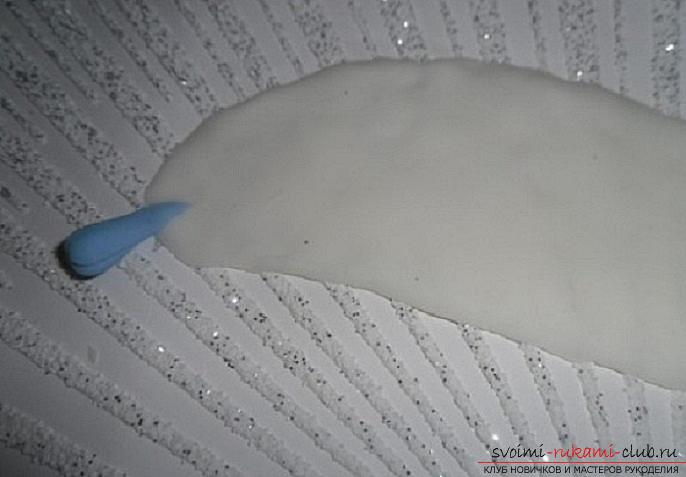

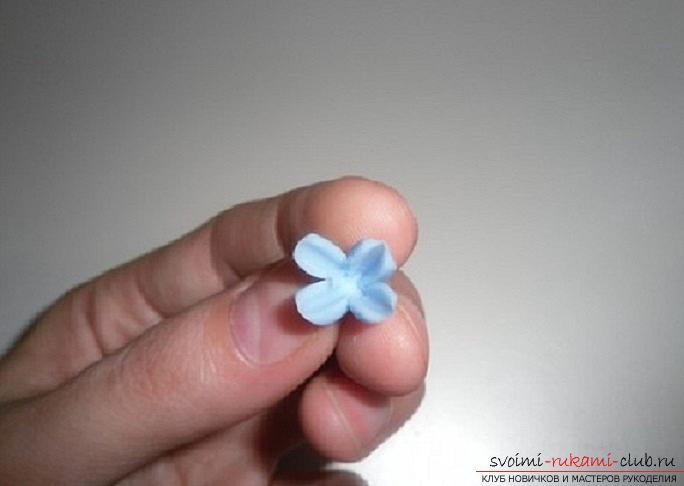

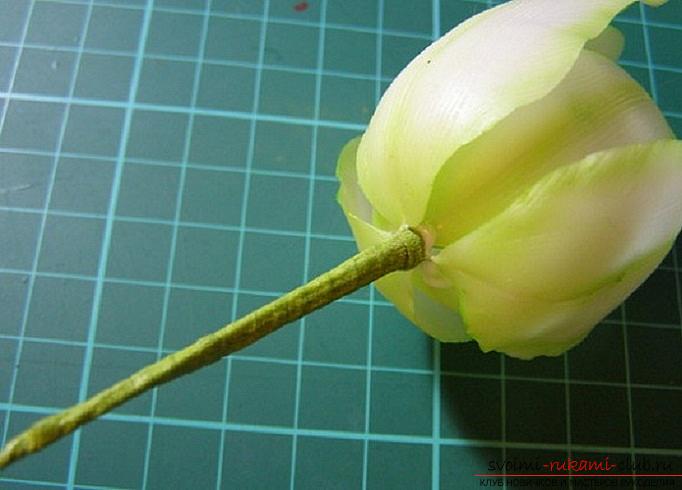
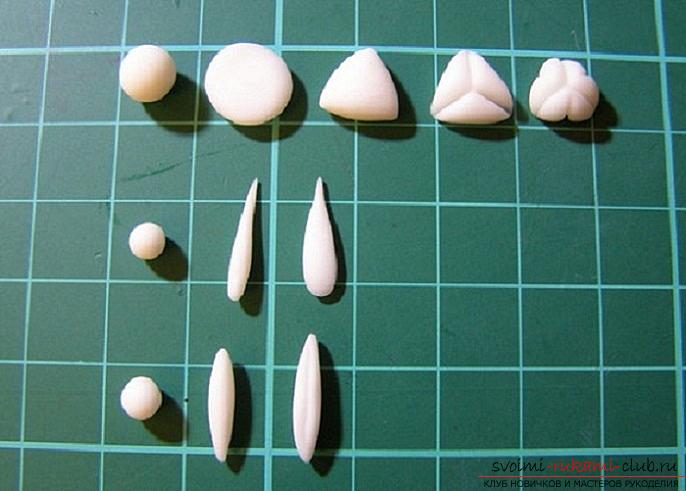
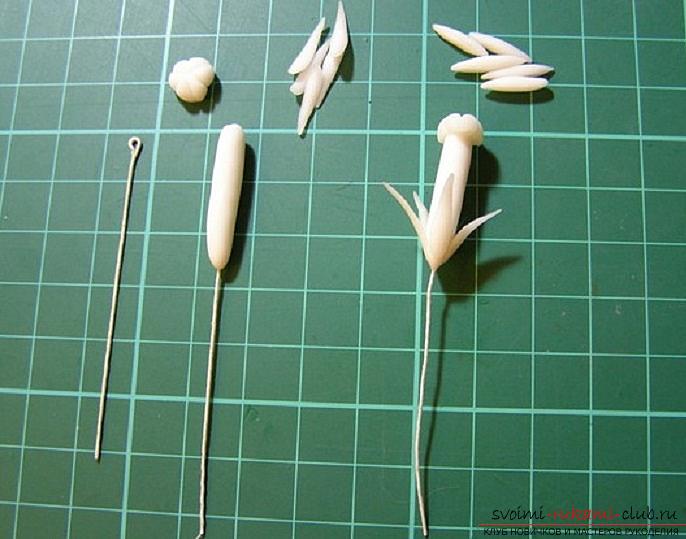
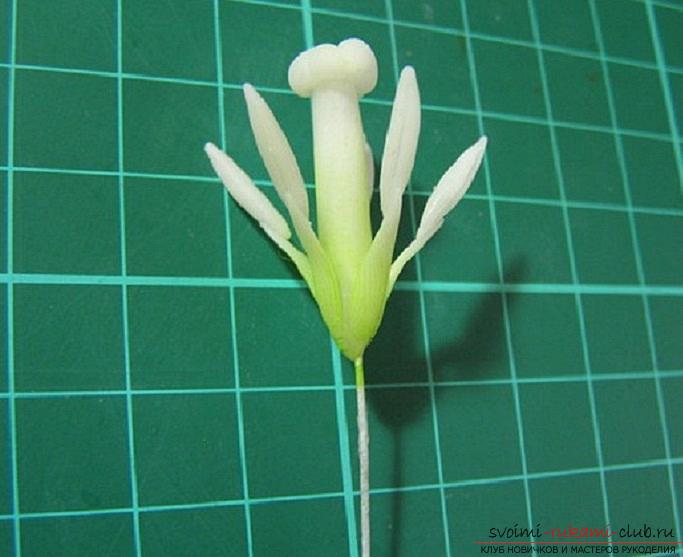
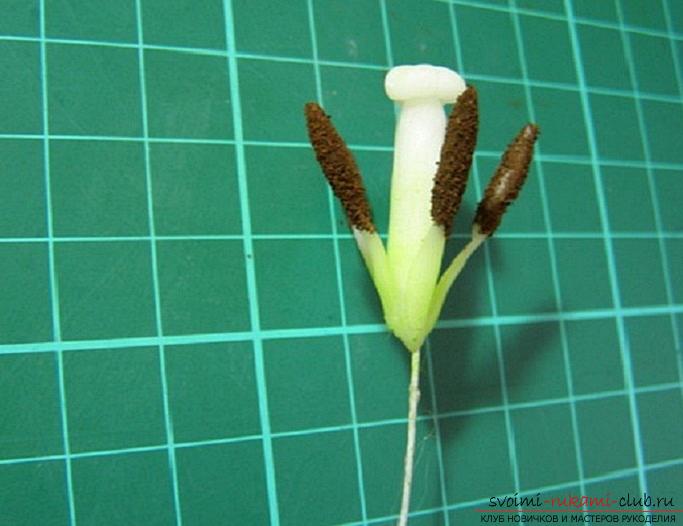
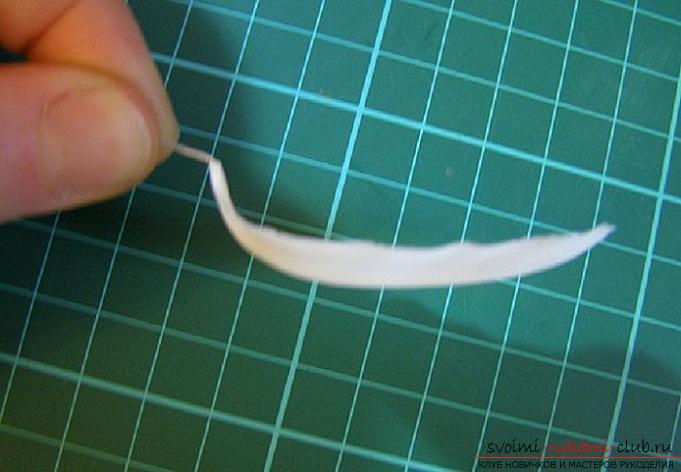
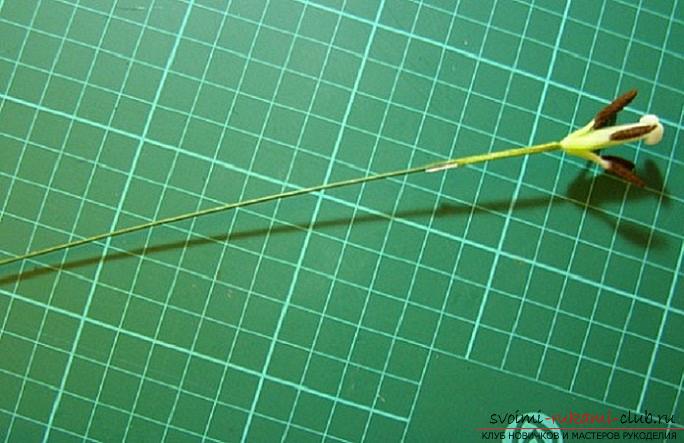
Similarly, create flowers from lilac and white polymer clay Tulips.  Spring is the time of tulips and in order to make them perfectly suited plastic. To create 1 tulip you need:
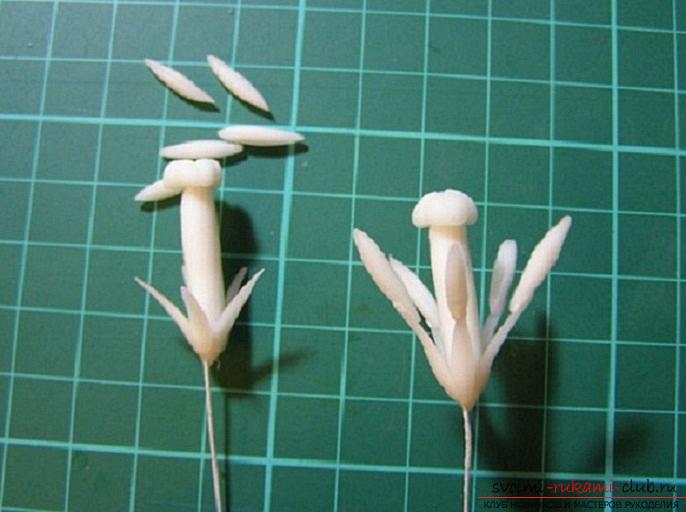
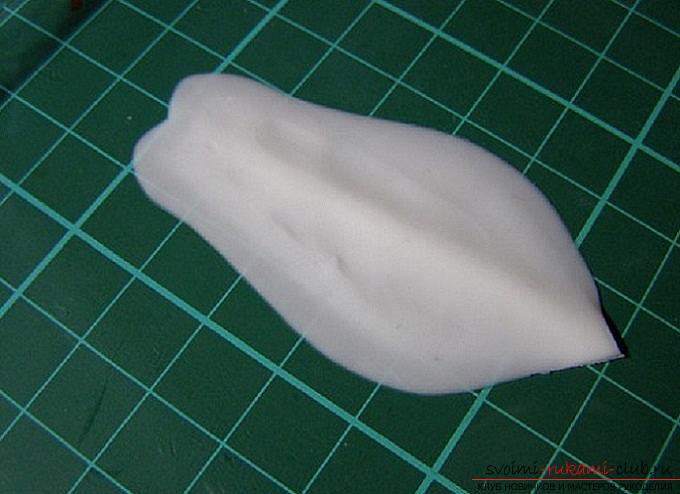
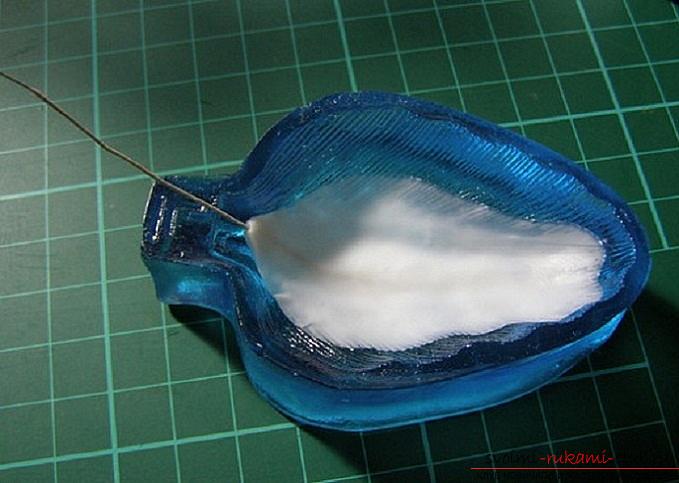
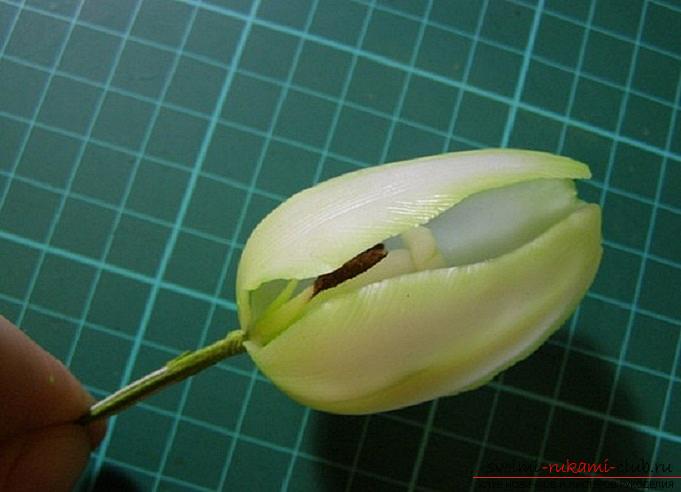
Spring tulip is ready.
Comments
Related posts:
 Master-class on creating flowers from satin ribbons in Kansas technique
 Master class on the creation of colors will teach you how to make your own hands a rose from fameirana or leather
 This detailed master-class of flowers from foamiran tells how to make a white rose.
 This master-class of flowers from foamiran tells how to make a beautiful summer wreath.
 Step-by-step master class on creating a decoupage for candles for the New Year.