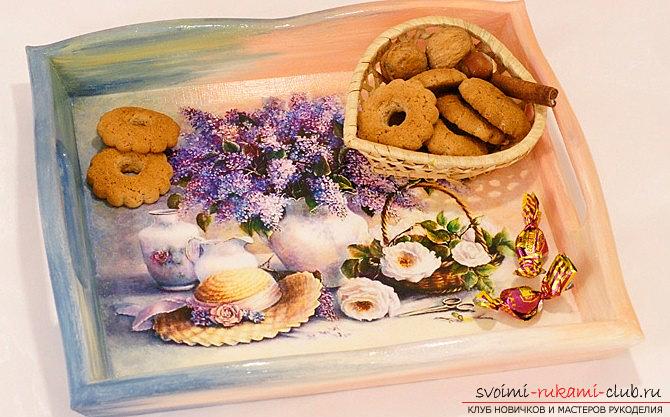
Processing and beautiful decoupage for a wooden tray, photo and master class
Decoupage technique allows you to decorate the mostdifferent things with the help of their abilities. Each of us can make the finishing of any subject using tips and lessons on decoupage from professionals. Decoupage and processing of a wooden tray

This material will tell us howyou can do a decoupage for a regular tray of wood, which will be decorated with a special pattern and a drawing element. Therefore, the work should be divided into two stages: the technique of decoupage and the drawing of decoupage. Decoupage and processing a wooden tray can be a simple job.
Work Tools
 For work we will need special materials, with the help of which we realize our drawing.
- Special capacity - tray
- Color acrylic in a variety of colors
- Water
- Palette and Brushes
- Decoupage glue
- Napkins
- Putty
- Sandpaper tools for wood surface
- Sandpaper tool for varnish surface
- Acrylic lacquer
Tray composition
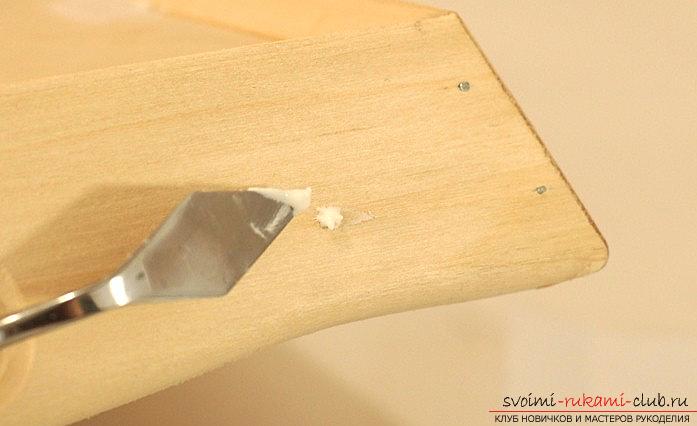
 The first stage of our work is tothink through the right composition and choose the perfect picture. Then, after this, it is necessary to carefully inspect the tray for various defects and irregularities. Old defects can occur due to the long use of the tray material. They need to be covered with putty.
Drawing tray
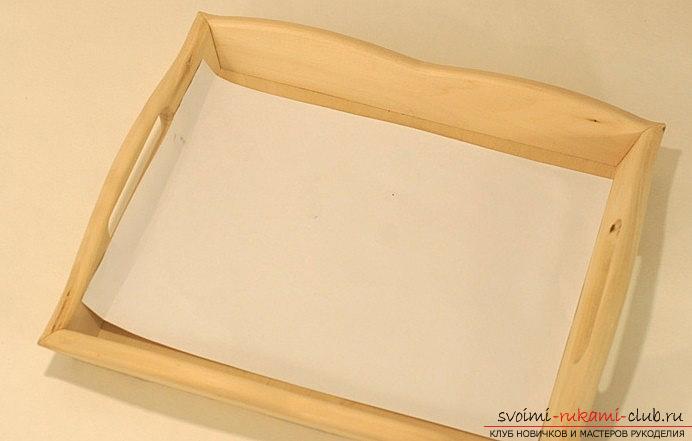
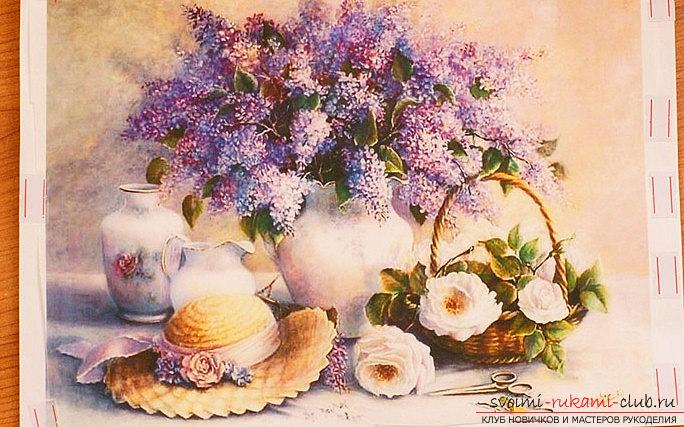 Apply a drop of putty on the defect, thencarefully remove all excess shpatlevku flat side palette knife. Using the A4 sheet, we determine what size of the future drawing we need. Also, we find out which version of drawing is suitable for us. After that, you need to glue the office sheet with the tracing material. After, print out our image. We have done the actions of the primer and the crockery of the object, under the picture the object is primed once more. On the sidewalls and the bottom of our facility it is necessary to leave at least one more layer of soil. After, it is necessary to soak a layer of tracing paper in water, and then, pull it out and put the face on our file and soak excess water, then - paste it with the help of decoupage solution.
Tray processing
After, it is necessary to take a file with the object andattach to object. With the help of hands we expel all the bubbles or irregularities, and then we grease the top part of the product with glue and again repeat the previous action. The finger should be wetted with a damp cloth or water. If any wrinkles are formed, do not be afraid, treat them later. Further, it is necessary to dry the tray element and after, zashkutit all the folds to the full smoothness of the material. After, it is necessary to cover our tray with 3-4 layers of varnish. Such a number of layers will perfectly hide the presence of tearing edges on the printouts. You just need to undercoat the lacquer element so that the picture looks perfect.
Drawing and results
If there is a desire to make a drawing using acrylic paints, we make the necessary actions to draw the desired objects so that they stand out on our pictures. The work is over!
Comments
Related posts:
 Decoupage for a cutting board with their own hands: a master class for boards, photo
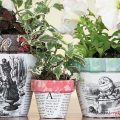 Decoupage pot for flowers with their own hands, decoupage of flower pots, master class
 Master class with photo and description will teach how to make a decoupage of bottles of champagne for the New Year
 Beautiful and elegant decoupage of banks with their own hands: a master class of decoupage on glass
 Beautiful decoupage of hours, a master class and lessons for hours with a composition