Making a tree from autumn leaves.
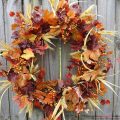
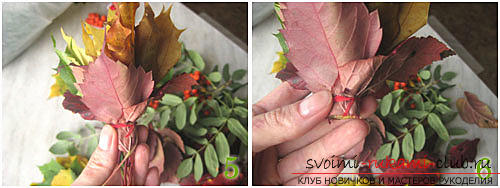
Finally, it's an extraordinary time, whenyou can admire the brightest colors of autumn. The right time to collect all kinds of leaves of gold and bard colors. What a wonderful time this is - autumn. And if you wanted to capture her moments in your house, then try to make a topiary from autumn leaves. Before you start, you need to determine the materials that will be used in the work. It can be fresh, dry or artificial leaves. Everything depends entirely on the time of operation of the future craft. Of course, the most durable will be the topiary of artificial leaves. To create such an unusual beauty, it is enough just to take a walk in the park and collect the leaves of the brightest tones, do not forget about such materials as chestnuts, acorns, twigs, etc. For the basis of our tree it is better to take maple leaves of yellow color. They can be collected more than everyone else. We will also need some kind of twig of a larger size, which we will use to make the base of the topiary. It does not have to be flat, on the contrary, try to find something more intricate with different little knots. If you want, try creating a tree with several crowns. Of the additional tools you will need glue, a glass or a small pot and other decor elements. Getting down to work, the first thing to do is form small bundles of mountain ash and maple leaves. Of these, and will be the basis of the crown of our tree. To do this, you need to take a twig of mountain ash and wrap around it a maple leaf folded with an accordion. Also there you can weave and different leaves of burgundy and green color. The basis of such bundles should be fixed with a thread and superfluous cut. Such beams should be no less than 8 pieces. 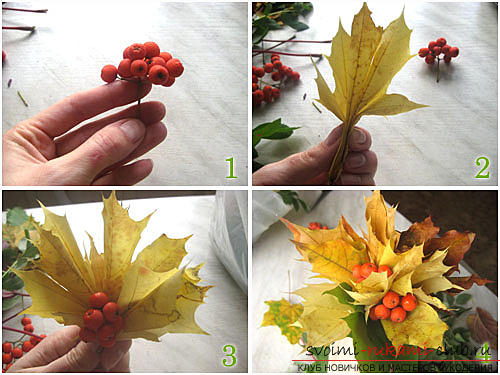
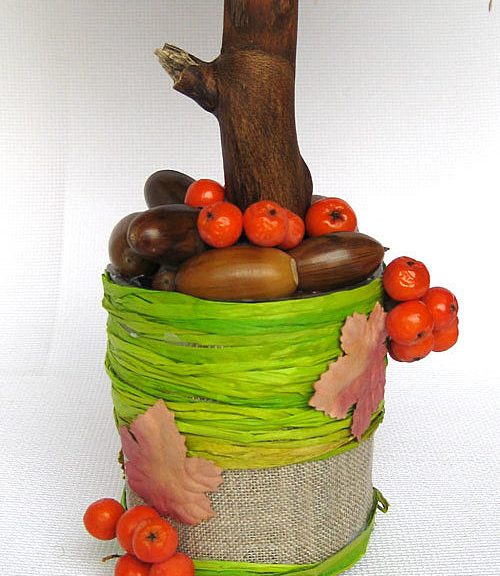
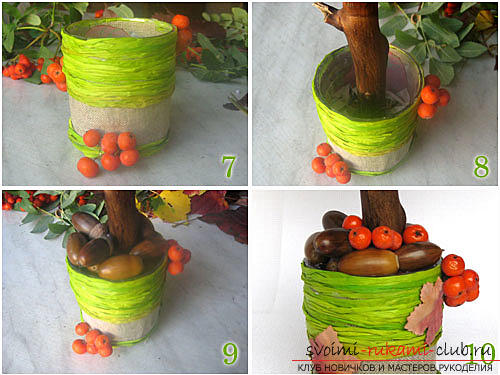
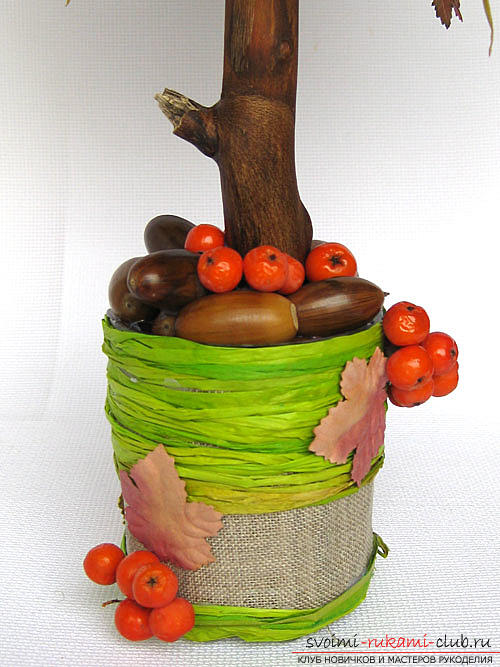
 Now let's look at the decor of the basement. Take an ordinary glass or a flower pot that is in your house, and glue it with any cloth you like. For further decor, you can use everything that is at your fingertips. It can be twigs of mountain ash, leaves, acorns, etc. Next, you need to take a piece of newspaper, wash it off and glue it with glue. Tightly press it to the bottom of your pot so that the newspaper takes up about half the capacity. You need to make a small groove with a knife or scissors, grease the end of the base stick and insert it into the resulting groove. The remaining space in the tank must be filled with acorns or chestnuts, first gluing them with glue.
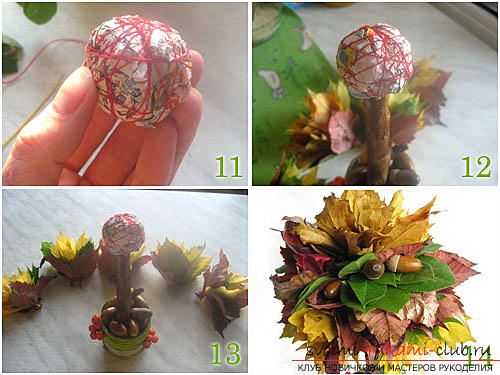
  The next step is the production of the basis fortree crown. To do this, you need to crumple a small ball from the newspaper and wrap it around a little with thread so that the beautiful shape does not get lost. Make a small groove in it with the same scissors or a knife, pour in the glue and put the ball on the free end of the base stick. If the stick is very wide, then it can be preliminarily slightly sharpened. After the basis for our topiary has completely dried up, we begin to attach bunches of leaves to it. Each bundle should be glued in turn with glue in place of the cut and attached to the ball from the newspaper. Be sure that the symmetry is preserved, and for convenience, the first bundle should be glued at the top in the center. If any holes are formed, it does not matter. It is always possible to finish a few additional bindings or fill gaps with acorns or other decor elements.
  Take note that the finished tree can besprinkle with varnish for the hair, pay special attention to berries rowan. This is necessary in order to give our tree extra shine. Herein lies the main aspects of the production of the autumn tree. But remember that such an article is not durable. To make it, choose not too dry leaves. So your tree will be able to stand a little longer.
 As you can see, this tree is madealone is not so difficult. And the master class will help you and the idea and advice on making. A tree made of leaves will stand for a very long time on your windowsill and will be the main decoration of your interior. Involve in the process of creating your child, he really likes this lesson. Moreover, everything that is done by ones own hands is valued and remembered for a very long time.
