Quilling for beginners. Master class for mastering basic skills using the example of a butterfly creation scheme
Translated from English, the word "quilling"stands for a bird feather. It is interesting that this technique is very similar to another, no less popular, which is called "origami". True, they are very similar, although if you trace the history of the emergence of these two arts - you will notice that Europe is the birthplace of quilling, and origami was invented in Japan. But the papercutting itself arose in Europe long ago, back in the late 15th century. It was during this period that the monks created unusually beautiful medallions. For this, they twisted the edges of the bird's feather and covered them with gilding. To date, unfortunately, we will not be able to meet in any of the museums such beauty that was made at that time. All this is because of the fragility of paper, but seeing such products, we would certainly be delighted. True, despite the lack of material, the technique itself and its history are still preserved, exist and are transmitted to our days. Moreover, quilling has become very popular as a hobby among many needlewomen. Of course, in those old times not everyone could afford to engage in this kind of needlework - because the material for it was very expensive - because you need color paper to work. But in our time, thank God, we can afford to buy this paper, moreover, we can even buy special paper, which is created for quilling.  This special material that is usedfor quilling - is a strip of paper of different colors and widths. With the help of them we can create our masterpieces. If you are only interested in working in this technique and have never tried to do anything with your own hands - we advise you to try yourself in this kind of needlework. Believe me, quilling, it's not only entertaining, but also soothing to the nervous system. For all newcomers, we suggest you read and view the quilling scheme for beginners - you can easily find them on the Internet or a magazine or even in our articles if you look at "Quilling. Equipment". Although it is better and most convenient to use the materials of our site, as they are easy to find. This technique allows you to create not only small details - such as butterflies, flowers, but even serious panels and pictures - believe me, they will be very interesting to look in any interior. But still for the first time is better to stop at viewing quilling schemes for beginners. Guided by them, you will master all the basics of performing the basic details, the method of fastening them together, the method of wrapping, forming and other features of working with paper. Quilling techniques can be mastered by almost everyone. The main thing is to have a desire and, of course, time. We in today's master class want to offer you a little to consider quilling for beginners on the example of the scheme for creating butterflies. On its basis, we will try to tell you about the very technique of working with paper. For our butterfly, we need:
- Strips for quilling with a width of 3 mm,
- Pins
- Glue
- Scissors,
- White paper.
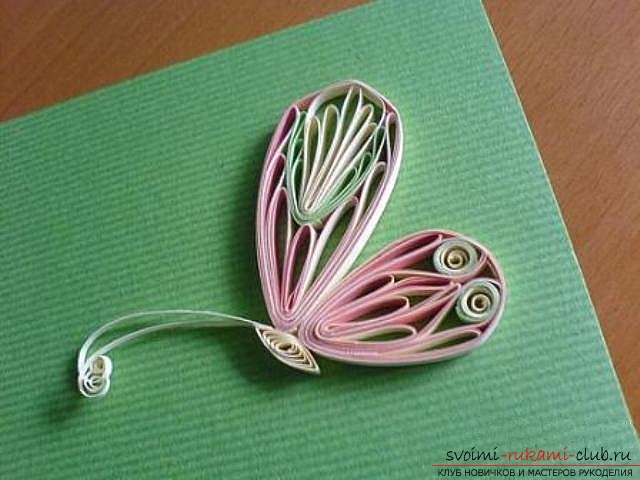
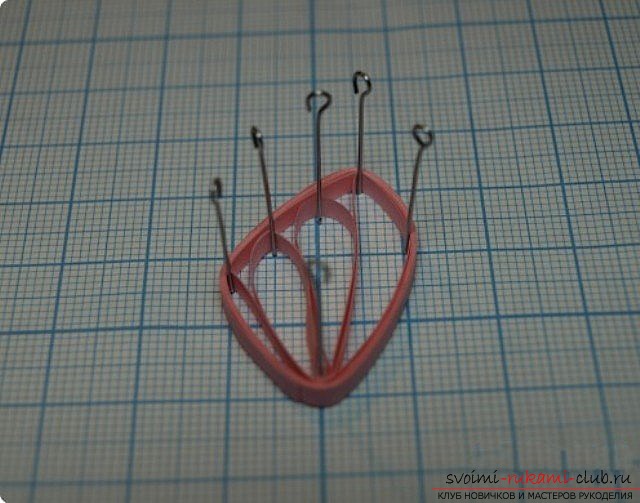 The scheme of this quilling must be printed outor translate to a blank sheet of paper. So it will be easier for you to work. Twist the small loop on the end of the strip and through it stick the pin into the board. Use the cork board as the basis for the work. It is this pin, which we stuck, and will be our fixing point. Further, according to our scheme, you need to stick another pin, deviating a little from her. Circle the paper around this pin. Then go back to the pin. Now we need to send the paper tape up on the left side of the quilling, placing a second pin on it. And, like last time we draw a strip down to the fixing point and perform all the necessary procedures that we already know. So we do until we draw all the pins. After that, cut off the extra end and glue it. We take another strip for quilling and circle our element, while very tightly press the strip to the pins. Well, you did one thing. In the future, according to the following scheme, you can already do this work yourself. At the very end, we will only need to glue our wings to the body and glue the antennae to the butterfly. This, of course, is not all. You, perhaps, still want to learn how to make a trunk and a mustache for a butterfly. You can find this information on the pages of our website in the relevant sections. In any case, now you can be proud that the beginning in your work is laid. Then you can use our master classes and develop your skills, master new elements. Do not spare time, energy and be patient and you will succeed. Very soon you will start to please yourself and your loved ones with original products that you will create with your own hands! We wish you great success in your creative work!
Comments
Related posts:
 Quilling butterflies - loop quilling and master class with their own hands
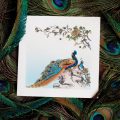 Quilling is a master class. Pictures and postcards by own hands
 Three-dimensional flowers from quilling, a quilling for beginners with a description
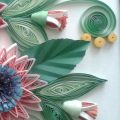 This detailed master-class will acquaint you with quilling technique, teach you how to make quilling flowers and quillings.
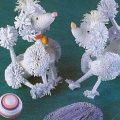 The lesson of creating a poodle with the help of quilling techniques for beginners - a master class