
Recipes to create a test for modeling and products from it with their own hands at home
Such kind of creativity as modeling, are engaged andchildren and adults. This is a wonderful hobby and entertainment. And the benefit brought by modeling is very significant. For small children this is a great way to develop fine motor skills, improve memory and speech functions. And for children and adults, doing modeling is a great opportunity to learn how to focus and concentrate, involve and engage in imagination and creativity. To aesthetic development and the formation of a sense of beauty, molding has the most beneficial effect. There are a lot of materials for practicing modeling. You can buy prepared raw materials or create it yourself at home. One of the most famous and available materials for modeling is salted dough. Conditionally it is divided into 2 types. The dough intended for employment with children, will contain only natural ingredients, such as water, flour, salt and starch. Well, the dough, from which adult craftsmen create, can contain wallpaper paste, PVA and many other impurities. Understand the principle of such a separation is simple. Kids will definitely want to taste the dough. And even if they already eat a piece, then adults can be absolutely calm. No harm will be caused to the children's body. Even such a simple material for molding, as a dough, will reveal its creative potential entirely only when they learn to work with it. Even he has secrets. Flour is a natural product, and its properties depend on many indicators. And the degree of grinding of grains, and the conditions for their maturation affect the quality of flour. So, its quantity, specified in the recipe, will have to be adjusted. When creating a test for modeling, it is better not to use pancake flour or other additives. Ordinary varieties of wheat flour! Rye flour contributes to the formation of a large number of pores in the dough. Because of this, crafts are harder to sculpt and harder to dry. It is best to create a test suitable white wheat flour of the highest grade in which there is a lot of gluten. To make a dough for modeling, it is better to use a fine grinding salt. Large pieces will look sloppy in the finished product. It helps the dough to keep the shape and protects the artifact from mold and pests. It is important not to overdo it with the salt content. This will make the dough after drying fragile and brittle. The water from which the dough is made must be crystal clear and cold. Ideally - ice. This will give the test elasticity. 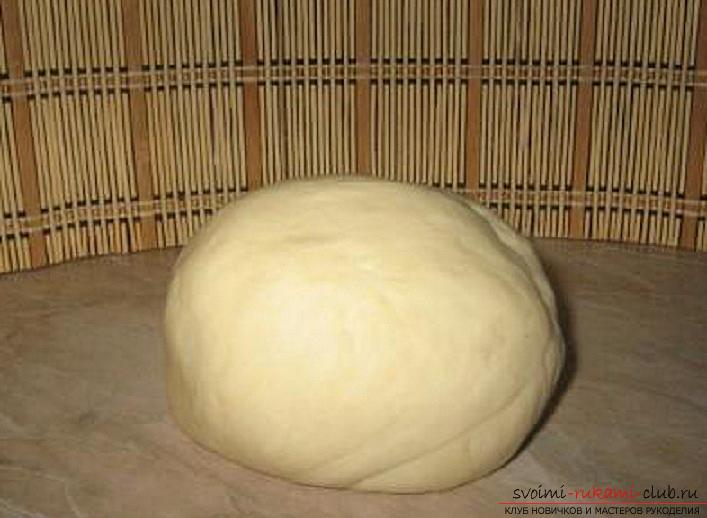 Classically the recipe of the test for modeling with salt. From it can sculpt adults and kids: Recipe 1. For simple subjects:
- Flour 1/5 cup;
- Salt 200 g;
- Water 125 ml.
Recipe 2. Mass for jewelry effect. Very soft. It makes small parts and products weighing up to 400 g:
- Flour 1/5 cup;
- Salt 200 g;
- Potato starch 3 tbsp. with a hill;
- The ox is 150 ml.
Recipe 3. Hard dough. From it you get rough crafts:
- Flour 1/5 cup;
- Salt 400 g;
- Water 125 ml.
The following recipes are suitable for use by adults, when preparing the dough with their own hands. Recipe 4. The classic recipe:
- Water 150 g;
- One-piece adhesive glue 1 tbsp. (dissolve in water);
- Flour 200 g;
- Finely grinded salt 200 g;
- Potato starch 60 g;
- Vegetable oil 40 g.
Recipe 5.
- Wheat flour 1/5 cup;
- Salt 100 g;
- Vegetable oil 40 g;
- Water 300 ml;
- Cream 2 tsp.
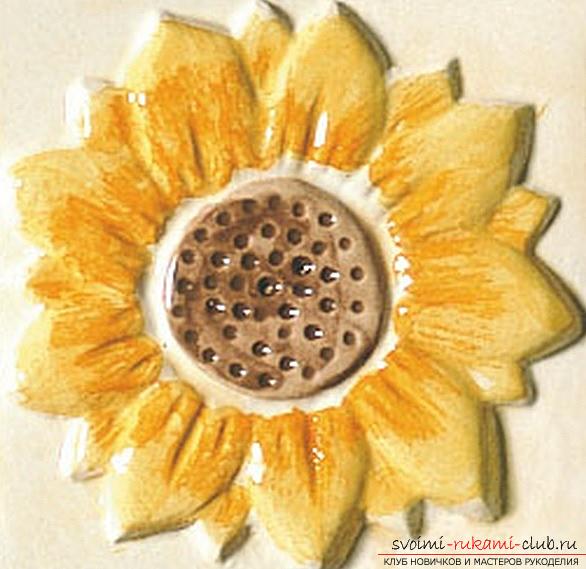 Recipe 6. For large items (this can be a plate or a ceramic tile):
- Flour 1/5 cup;
- Salt 400 g;
- Water 125 l;
- The adhesive glue is 2 tablespoons;
Recipe 7. It produces products with high strength:
- Flour 1 part;
- Salt 1 part;
- Glue bustilat (how much will take the dough).
Recipe 8. Designed for the manufacture of waterproof and unbreakable products. Allowed drying in the air and in the oven:
- Flour 1 glass;
- Salt 220 g;
- Vinyl glue 1 glass;
- Petroleum jelly 1 tablespoon;
- Lemon juice 1 tbsp.
Dry finished products preferably on freshair. If you use an oven for drying, the products may become deformed. Of course, cracks can be masked, and the product will look whole. The dough stuffs should be placed in an even cool oven and dried at 80 degrees Celsius. In winter, central heating batteries are suitable for this purpose. It is enough to lay a sheet of foil and put figurines on it. Learn about the degree of drying is easy. It is enough to lightly click the nail on the product, if there was a sonorous sound, then the product is ready. The handicraft, which is evenly dried, will be solid, without stains of damp. You can use a clear liquid lacquer forfinished and dried ware. Brilliant or matte, he will protect the figures from moisture. For coating, you can also use any paint. Acrylics look best. Do not be afraid to include imagination. You can and need to experiment. Supplement the recipes, apply different coatings. Open to creativity.
Comments
Related posts:
 Quality soap, it is best to create by yourself. This master class will tell you about simple ways to create soap at home.
 Tips and advice on making chocolate figurines with your own hands at home.
 We sew Russian folk dress with our own hands. Begin by creating a pattern for him
 How to make paper garlands with your own hands at home
 We create hare ears with our own hands at home