Recommendations for decorating the tray with your own hands: using mosaic, decorative paper, adhesive tape and slate, visual examples.
What can be more pleasant in the morning than breakfast in thebed from a loved one. Well, perhaps the most successful winter night will be the one that you can hold, wrapped in a blanket, over a cup of hot tea or chocolate with your favorite book. Spend some free time for a pleasant stay, and this article will tell you how to prepare for it. Make a beautiful tray with your own hand, it will save your favorite drink from tipping over a blanket or bed linen, and anything you can always bring with you. Tray decorated with mosaic 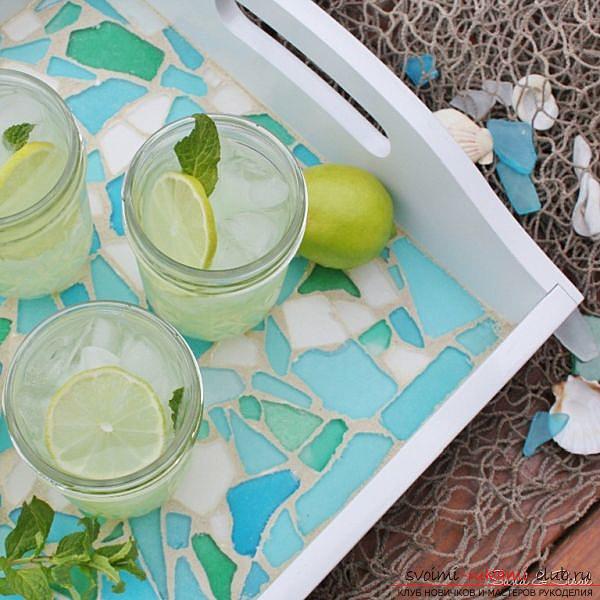 It is necessary to prepare the most ordinarytray, special grout and glue for tiles, a small loofah, pieces of glass of different colors and a spatula. Now proceed to the work itself. First you need to apply the glue that you prepared in advance, to the bottom of your tray. Do not do this work all at once. the glue dries quickly enough. Spread the colored glass over the glue. They need to be slightly pressed inward. When the entire mosaic is completely ready, apply a layer of grout on top. Make sure that it fills all the cracks. Subsequently, the remnants must be removed with a washcloth.
 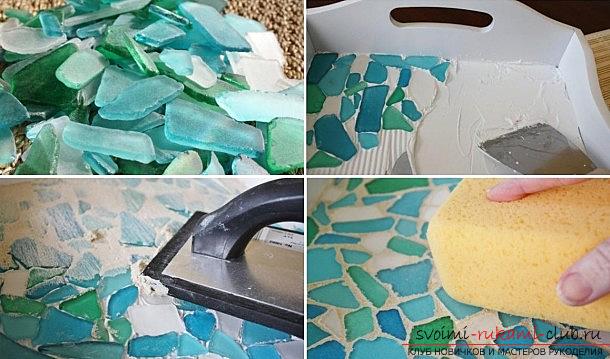 We are updating the tray
 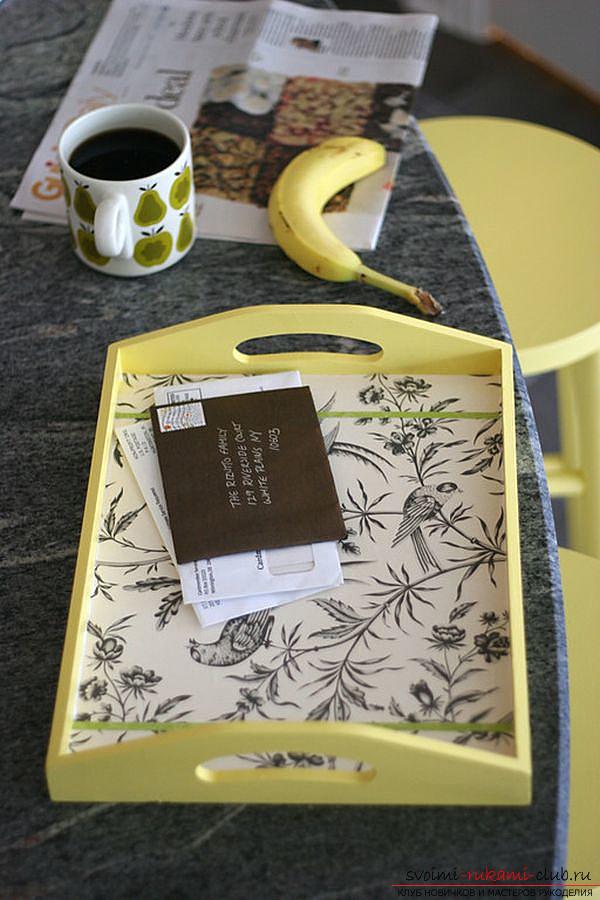 For work, prepare a tray of wood,dye, intended for wood surface, decorative paper or patterned napkins, special decoupage adhesive, brush, scissors and ruler. On the available tray you need to apply the paint in several layers. Remove the measurements on the inside of your tray and prepare the appropriate piece of patterned paper. On the bottom it is necessary to put a layer of glue and to paste the prepared paper or separate pattern napkins (also for this function it is possible to involve cuttings of wall-paper). On top of the paper you need to apply a second layer of glue, if desired, decorating with other elements. For such purposes, you can pre-prepare satin ribbons, sequins, rhinestones, etc. And to keep everything firmly on your tray, cover it with a few more layers of glue for decoupage. Zigzag in the decor
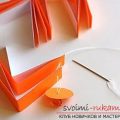
 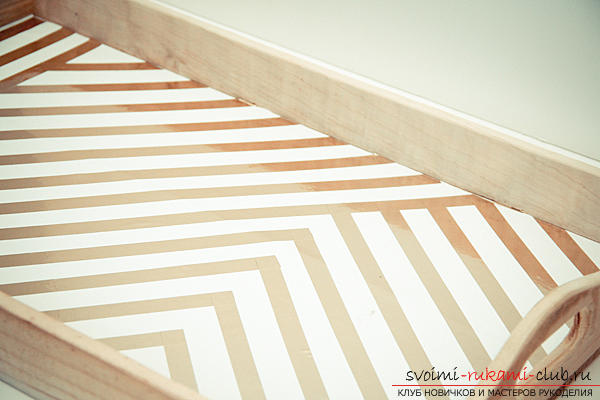 Prepare a wooden tray, paper, adhesivemetal tape and scissors. First, you need to glue the paper of the right color to the bottom. When everything is dry, glue the tape, placing it at a certain angle. Here it's up to you what pattern it will be.
 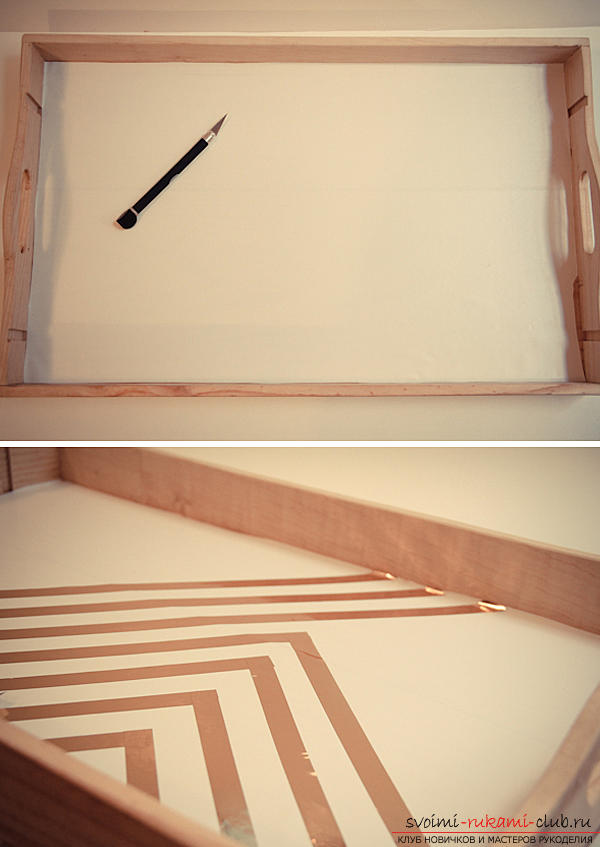 If there is no adhesive tape of the correct size,use an ordinary one, and in the intervals apply a paint. When it is completely dry, the adhesive tape needs to be removed. Decor of the tray with the help of slate paint.
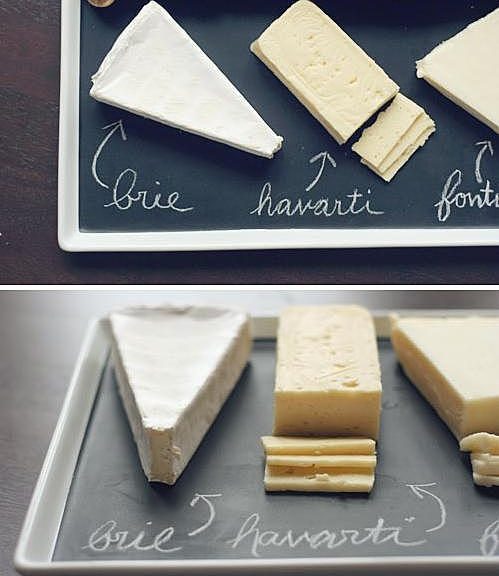
 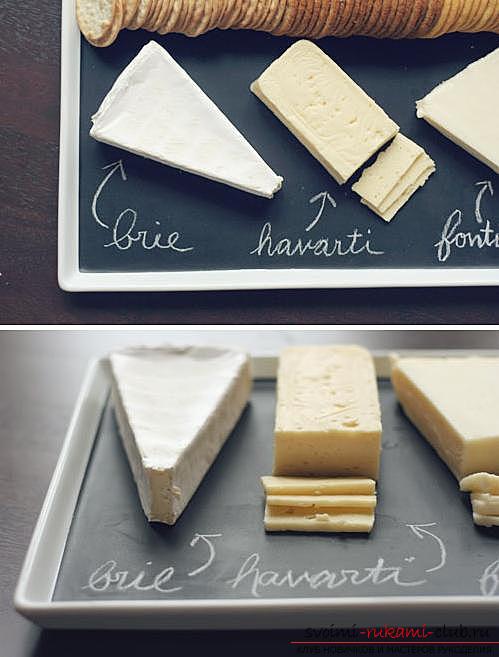 Prepare a tray of glass or ceramics,slate paint, brushes and adhesive tape. First, prepare the surface of the tray, pasting the place where the paint should not get stuck. Using a brush, apply the slate on the tray. Make several layers, allowing each of them to dry out well. When the tray is ready (about a day), it should be placed in the oven and baked. When the oven is off, do not remove the prepared tray until it has cooled completely.
Comments
Related posts:
 Step-by-step manufacturing of roller blinds with their own hands, advice, recommendations, photos and visual diagrams.
 New Year's crafts, the creation of Christmas decorations from paper, the various creation of paper balls with their own hands, how to make a beautiful garland of paper with their own hands.
 Flowers with their own hands, how to make a flower from paper with their own hands, flowers from corrugated paper, tips, recommendations, step by step execution instruction.
 New Year's crafts, Christmas decorations made of paper, a Christmas tree of paper with your own hands, various variations of creating flashlights from paper, tips and recommendations for work.
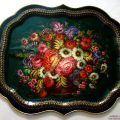 Zhostovo painting for the tray - pictures and flowers with their own hands