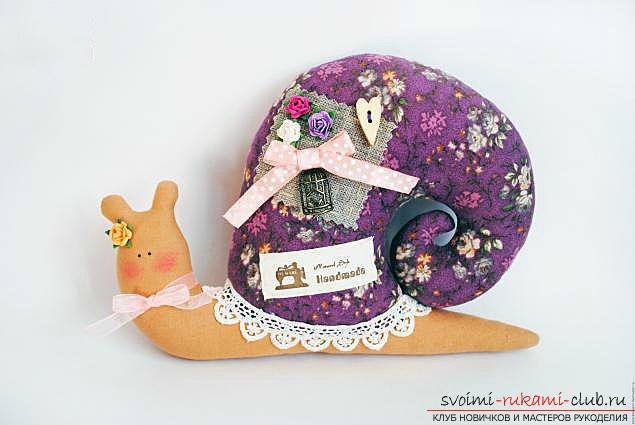
Recommendations for the production of a snail in the style of Tilda.
The best toy for a child will be the one in whichall love and warmth of loving mother's heart are invested. Of course, in the store you can find a lot of unusual things that can win the love of kids. But a toy, made with own hands, will become a real treasure, which no one else will have. Independently, you can make an absolutely harmless toy, created entirely from natural materials, in the origin of which you will not doubt. And most importantly - you need to take into account the fact that it is a homemade toy that has a strong influence on the development of the child's imagination. Look closely, maybe you also want to make some kind of charm for your baby. Tilde's snail is such a pretty toy that differs, like all toys in this style, with calm tones, small eyes-nodules and the use of rouge for tinting the cheeks. To sew a toy in the style of Tilda is easy enough, especially if you start mastering this skill with a fairly light toy - a snail. For work, you need to prepare all the tools and materials that are used for sewing a variety of products. And we'll start sewing our cute snail with a pattern. To do this, you need to take the existing pattern of a snail pattern, transfer it to paper and cut it. If you need certain sizes, then initially correct the scheme by decreasing or increasing it. And so the pattern of our future snail is ready. 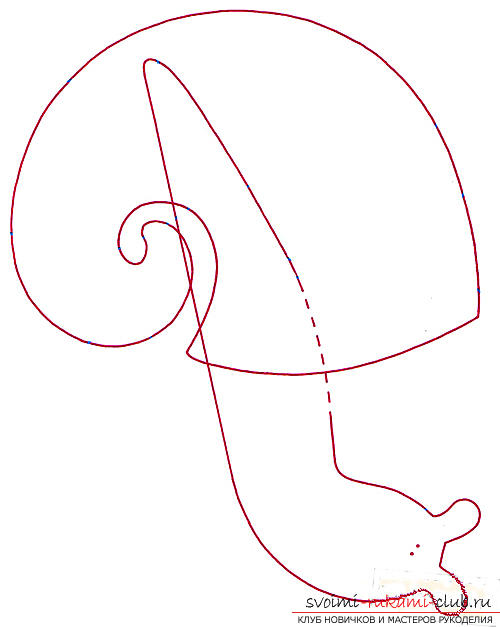 When starting to cut, you need to fold the fabric in two by face inwards and arrange a pattern on it. Attach it with pins to avoid displacements, and draw on the contour.
 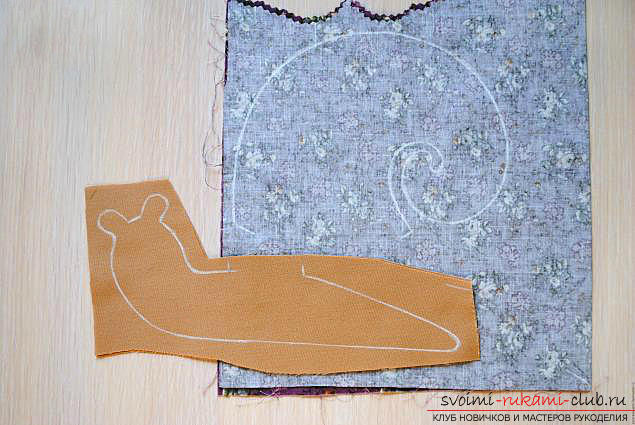 Next, you need to sew details on the machine, leavingFree cut along the contour for filling. Cut out your stitched parts (it is advisable to use scissors), adding allowances to the seams along the entire perimeter of 0.5 cm. To make the fabric look more beautiful, iron it.
 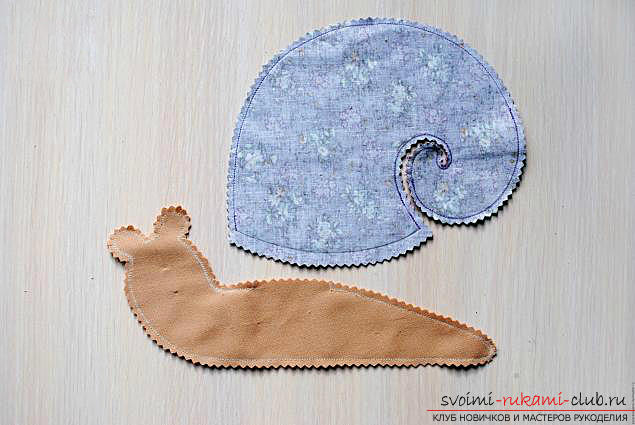 Accurately turn out the resulting parts (forconvenience, you can use a stick), bend the bottom of the sink and sweep (for convenience of filling and subsequent sewing to the calf), fill all the details tightly with padding material (holofayber) using the same stick.
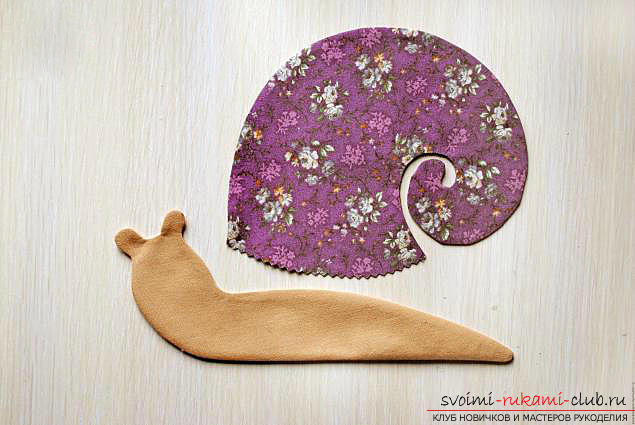
 Sew a hole on the body and start sewing the "house" of the snail. Pin the shell to the trunk with pins, combining the sewn corners of the "house" with the axis of the snail body.
  And now sew the shell with a beautiful secret seam. And now the base of the snail is ready.
 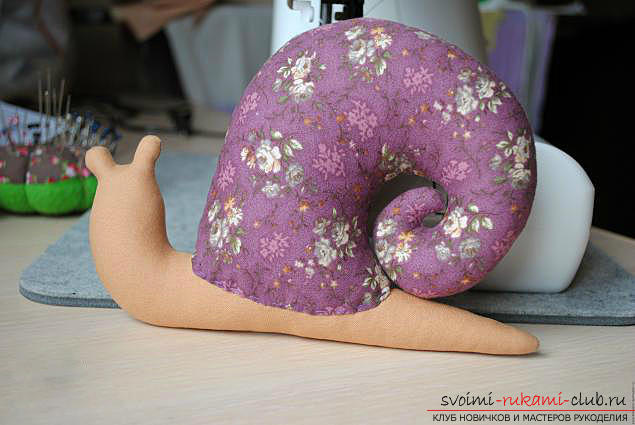 And the last stage is decoration, which isan integral part of any toy tilde. It is thanks to him that she acquires her own original style. Use all your imagination and various accessories. Initially, just estimate the elements for the decor, make a possible composition, and then, when determined, start sewing. Decorate the eyes with acrylic paints in black or French knots.
 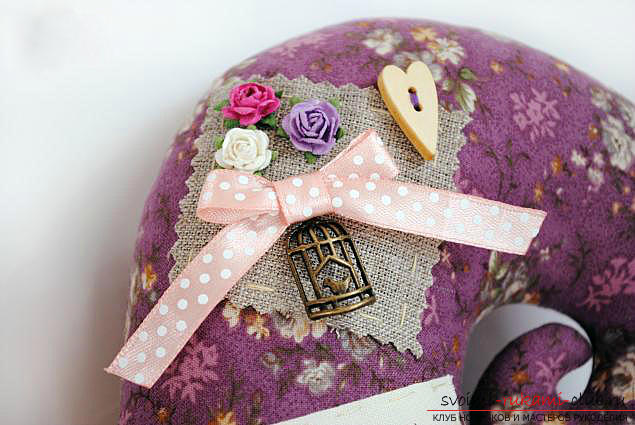 That's how making our textilethe cochlea is complete. It's so simple to make a miracle for your beloved baby, and in reward you will always receive the most sincere childish gratitude. Watching the glitter in the eyes of your child, who is so keen on the new toy, you will grow wings from happiness. Try to create something interesting and unusual with your own hands, because to develop the creative side is never too late.
Comments
Related posts:
 Toy in the style of Tilda, dolls tilde patterns with their own hands
 Bunnies in the style of a tilde with their hands on the 2015 contest, patterns of a tilde doll
 Textile dolls in the Tilda style for the Creative Competition 2016, the doll of the tilde with their own hands
 Pattern and recommendations with a phased photo on the making of a bird.
 Recommendations for making a tiger-pillow with your own hands.