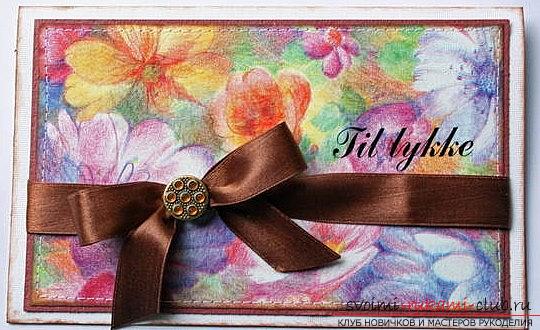
Scrapbooking a quick envelope with your own hands - a master class on scrapbooking
For beginners in the field of scrapbookinglearning the simplest basics of working with this topic. In particular, scrapbooking allows you to draw up postcards, letters and gifts properly. Through small manipulations with the decor and paper, we can make a completely convenient and high-quality version of the postcard. Let's try to make a quick card with our own hands. 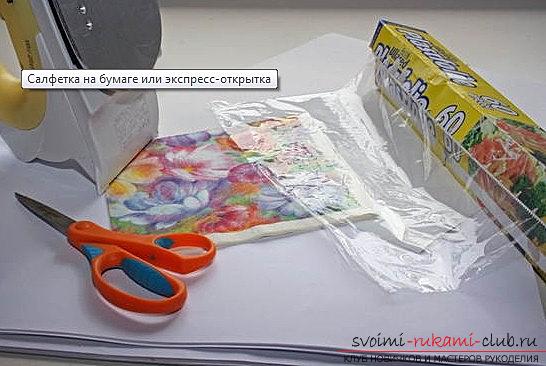
Scrapbooking a quick envelope with your own hands - a master class on scrapbooking
- Take a thick paper for the base
- Napkin with a beautiful pattern
- Iron for processing
- Scissors for processing
- Food film or polyethylene
Preparing the napkin and paper  It is necessary to take a napkin and then remove it from herA layer with a picture that we need to work. Napkins in this case need to be processed neatly - do not tear it. Next, you need to choose the right size for the paper, for the postcard.
 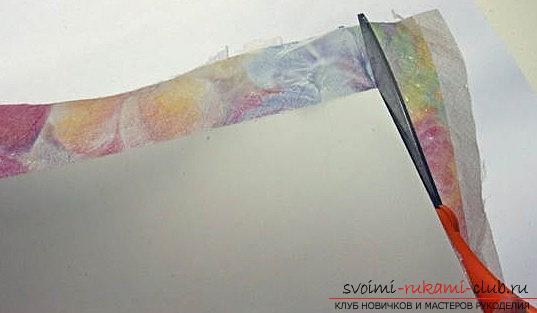 For him, put the first layer of paper, the second layer- for the film. Top spread the napkin. It is necessary to ensure that the film falls flat, and otherwise we may have wrinkles on the product.
 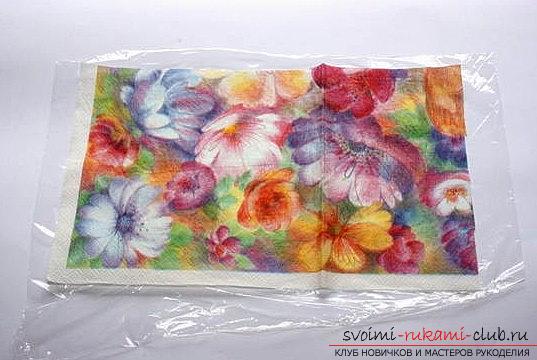 Iron smoothing with iron
 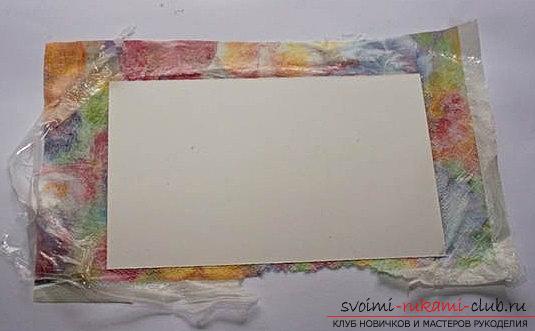 All our work must be covered with a piece of paper(thin) and then iron with iron. Smoothing should be done at medium temperatures, so that the paper does not catch fire, and the film does not deteriorate. The film will melt and so will glue our product with paper. We get a drawing that we need for an express envelope. Handling the product and sending! Next, you need to trim the extra pieces of design to restore the desired shape. Stitch our blank postcard, decorating it. We sign and send - we wait admiring views from recommendations.
Comments
Related posts:
 Scrapbooking a New Year's card-envelope with your own hands - a step-by-step master class
 This master class will teach you how to create your own hand notebook in the scrapbooking technique
 The idea of a gift chocolate maker with your own hands is a master class on scrapbooking
 Master class on the scrapbooking of a New Year's card with your own hands - step by step instruction
 Scrapbooking book binding with your own hands - technique and a master class for work