
Set for September 1: voluminous tie and bows for girls
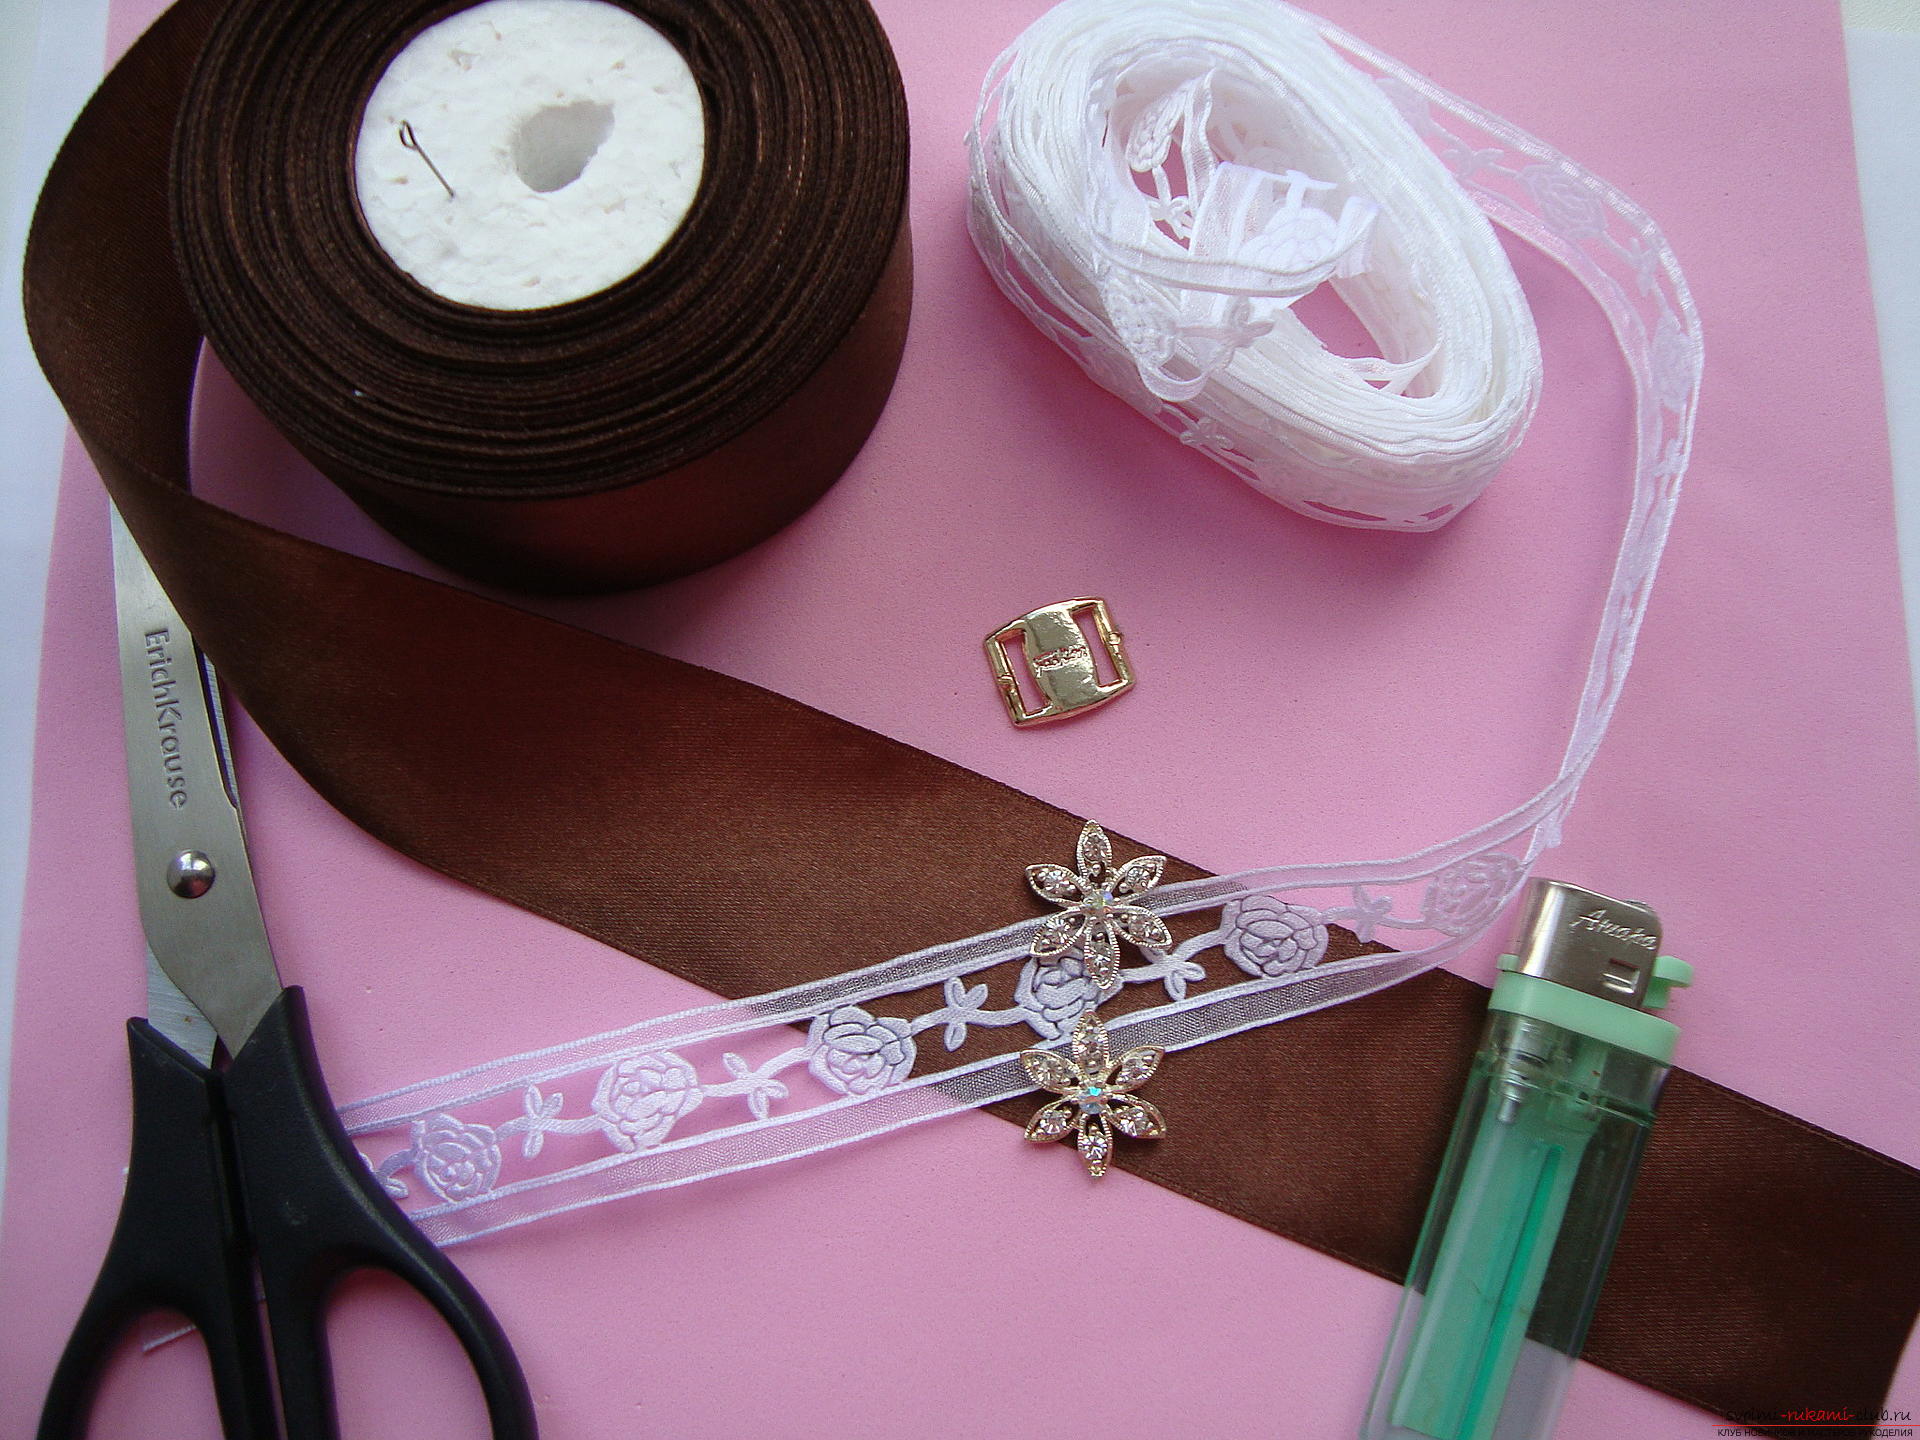
Satin ribbons are a wonderful material for craftsand ornaments. Of these, amazing bows, hair clips and even ties are created that will decorate the school girl's blouse for September 1. Such actual accessories for students can be created from satin ribbon by their own hands in just a couple of hours and your schoolgirl will be inimitable on the festive line. A school tie is a fashion accessory that will emphasize grace and add novelty to the school image.  To create a school kit, you will need:
 At the first stage we will create a tie. It consists of several magnificent rows and a separate bow, which adorns the top of the product. For a tie you need seven cuts, they are 13 cm long, four pieces of brown smooth tape are cut out.
 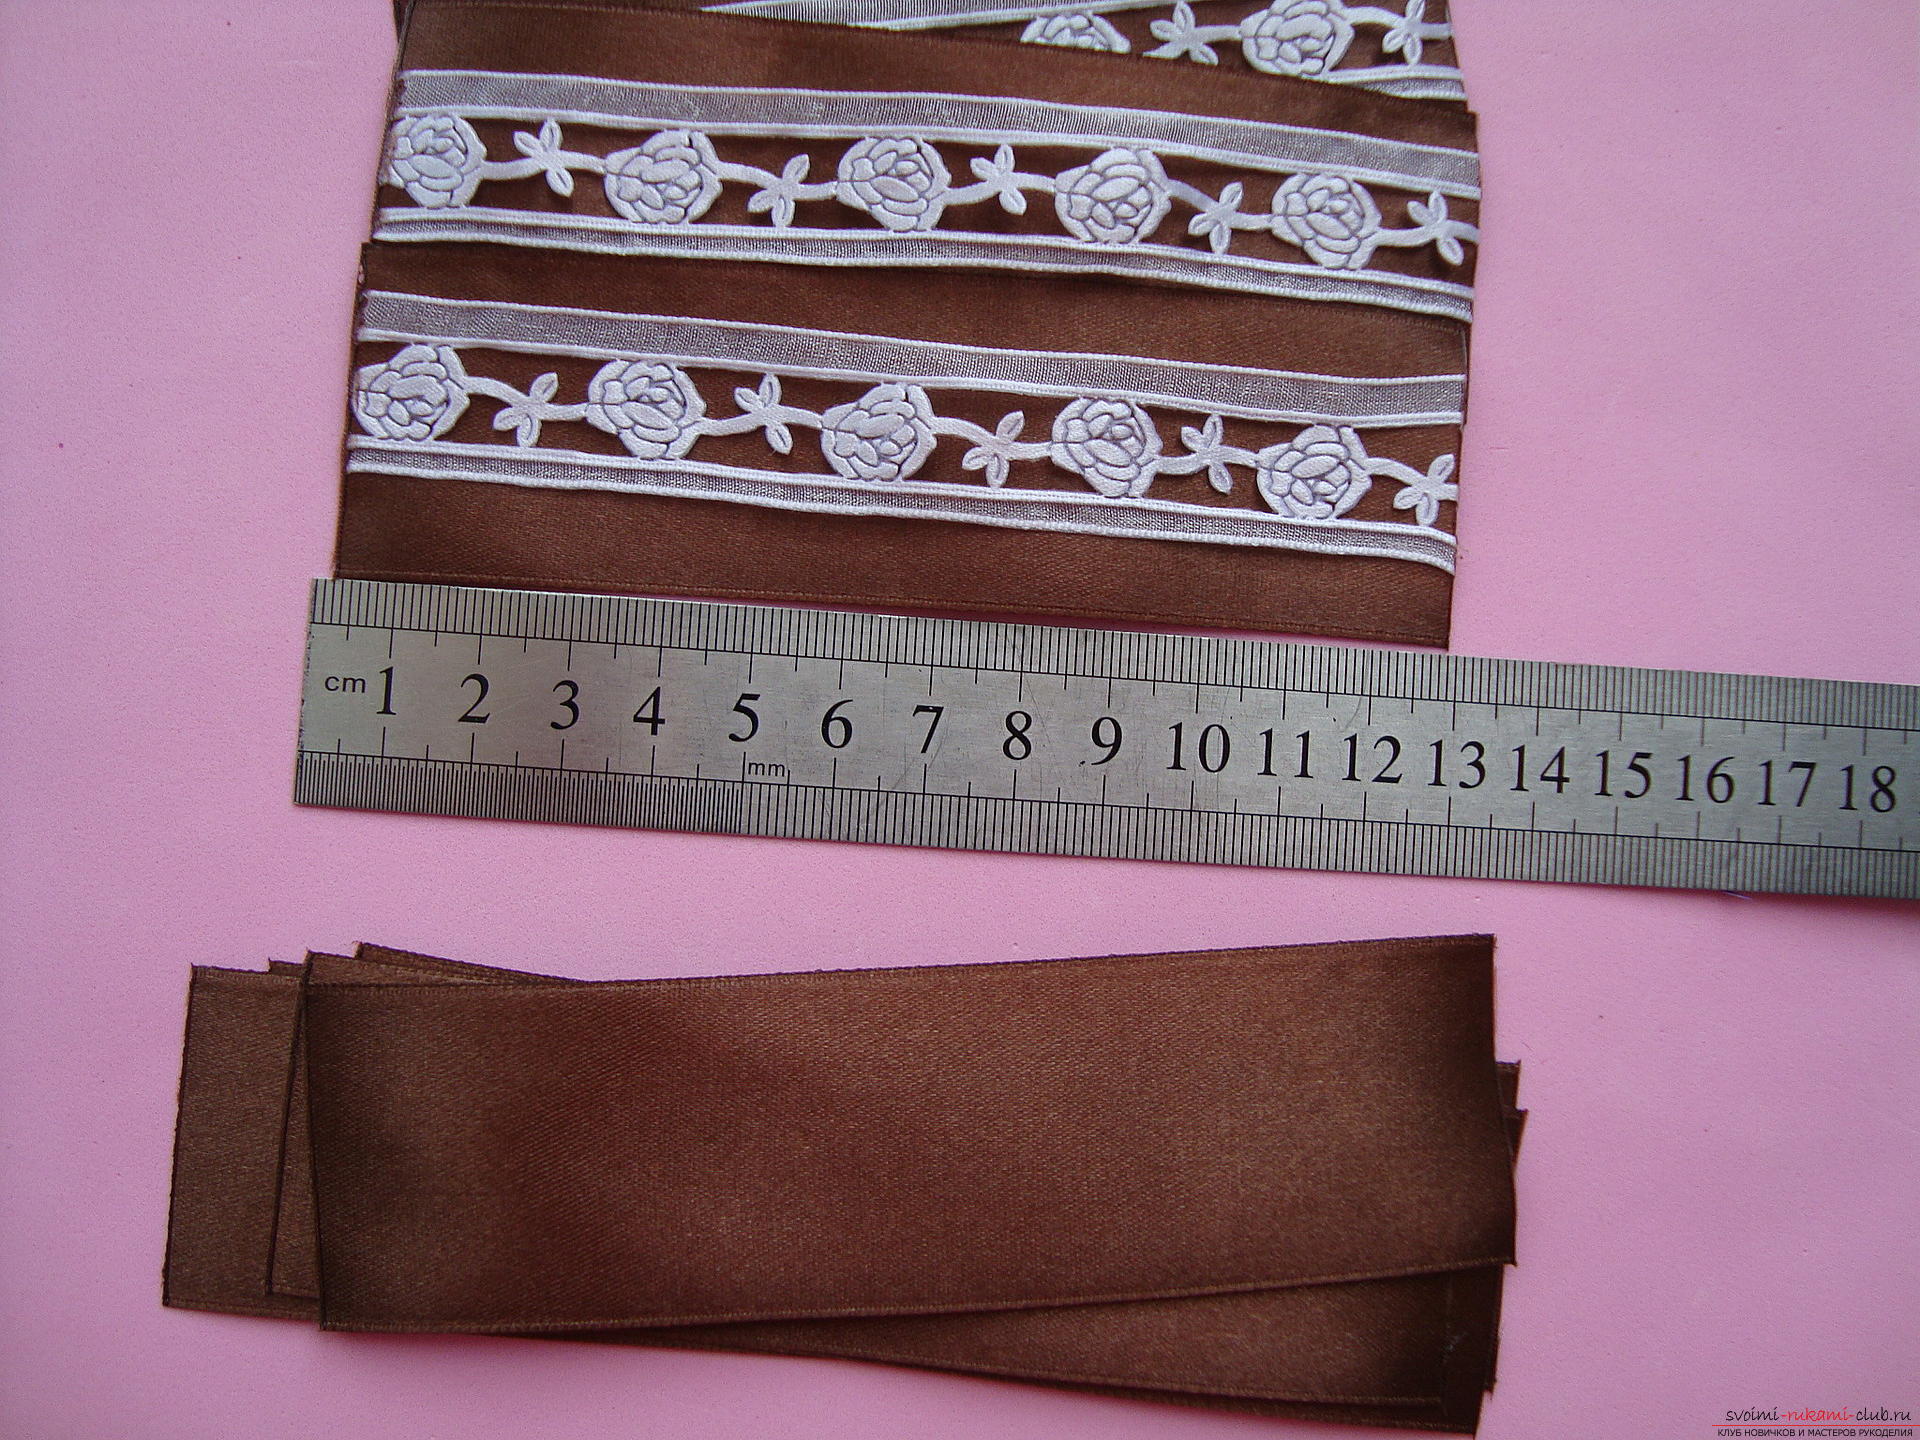 Four such elements are bent by defaultside inside, with this hot-melt glue the edges of the part. Obtain the same bends in four blanks. To the three remaining blanks is added a white edging with flowers, it should be located in the center of the main ribbon. To connect both bands, it is necessary to sing their edges together and squeeze with tweezers or gloved fingers, remember that the molten synthetic material is very hot and can cause burns.
 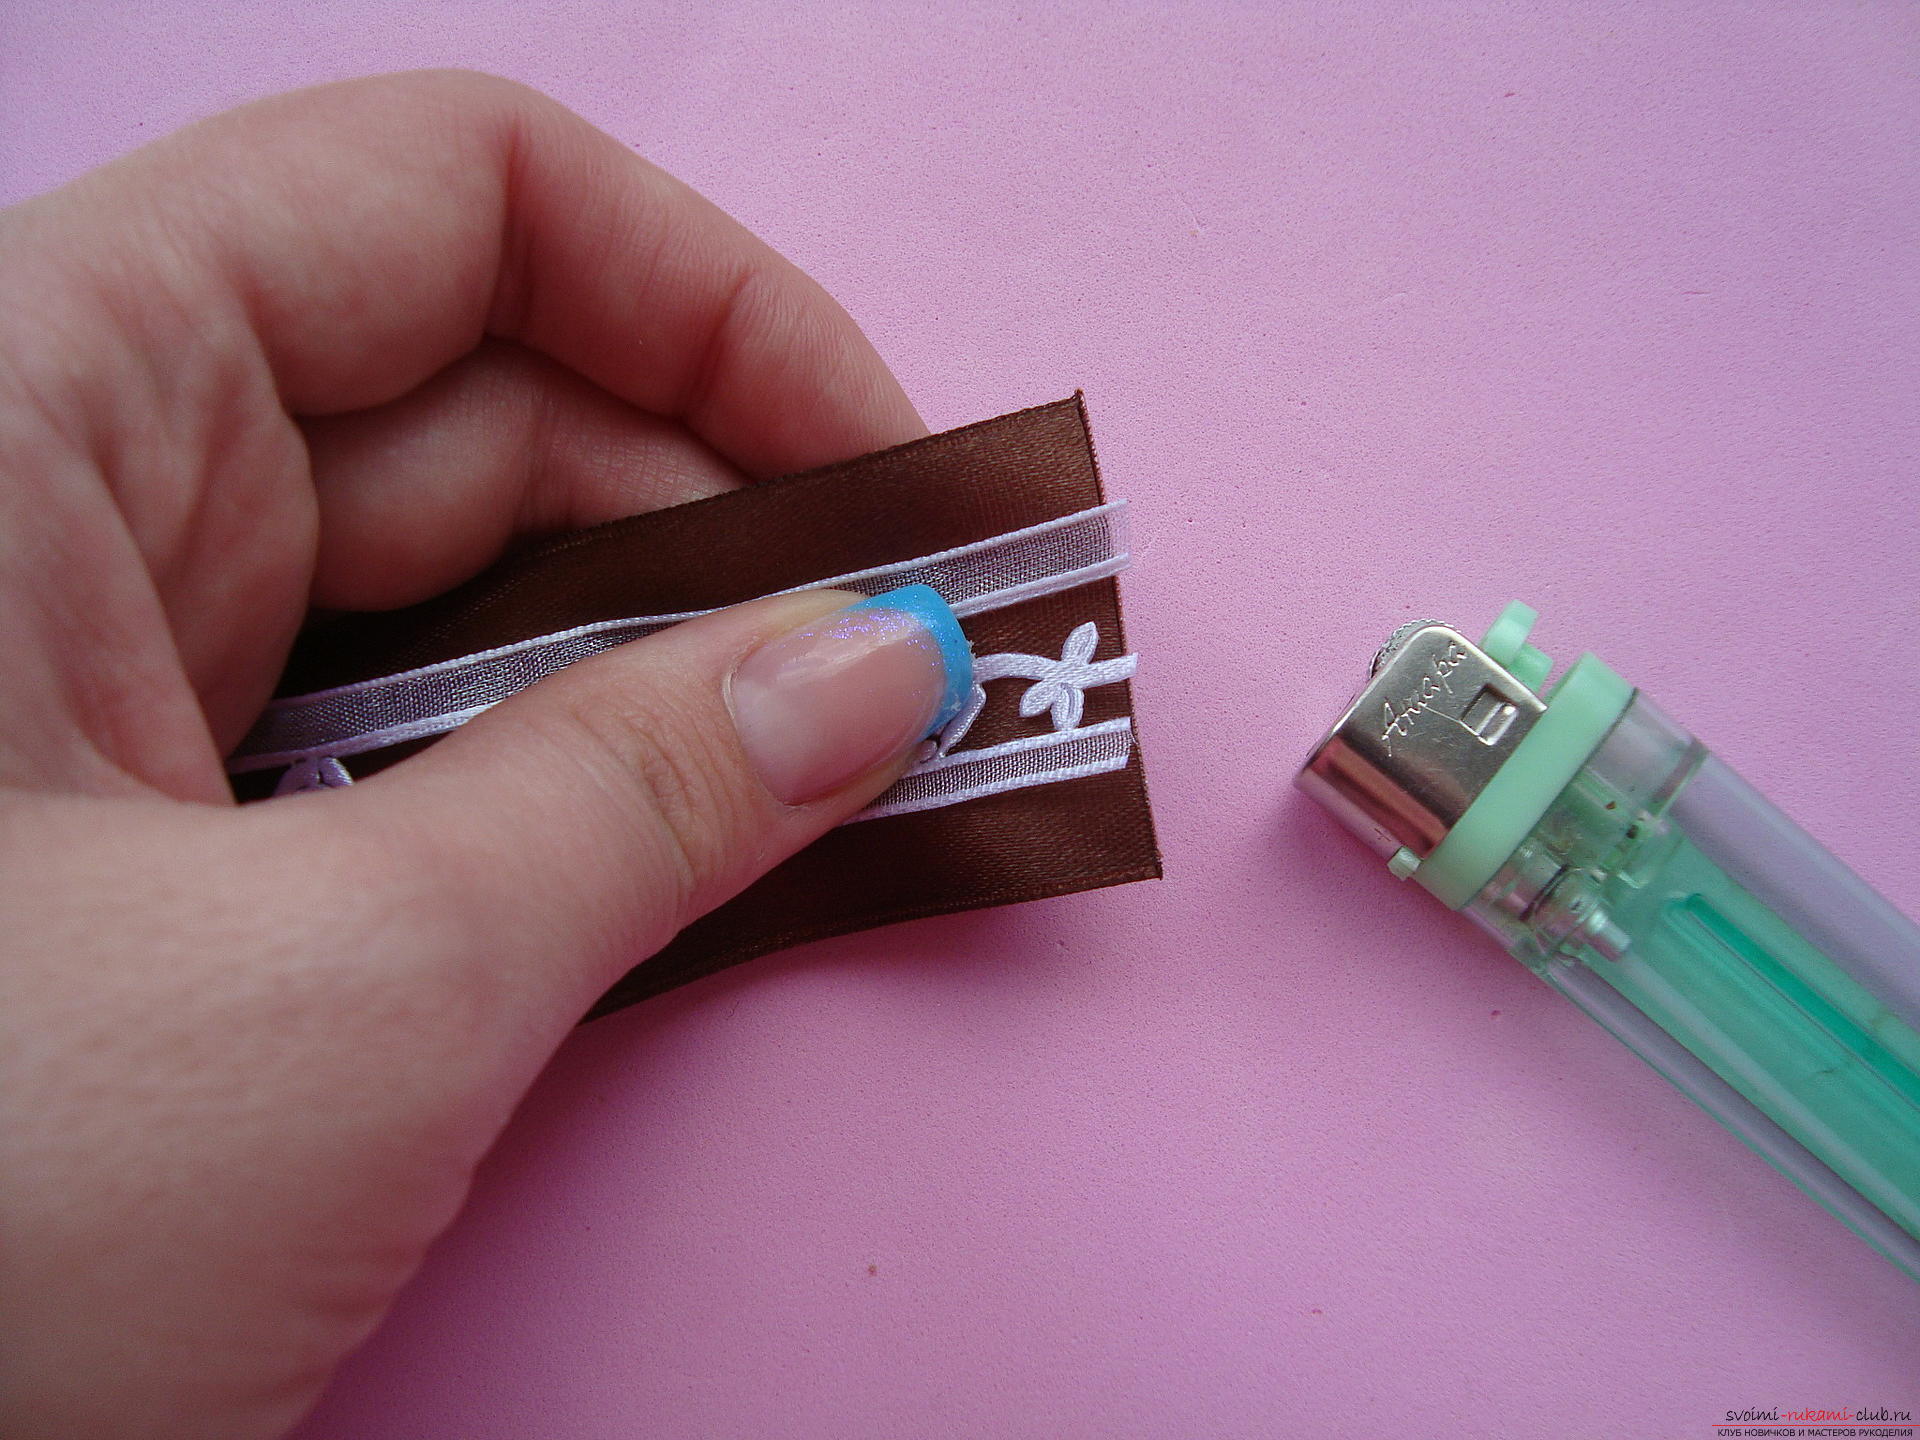 Tapes are splayed from two sides, and on the centerthey are fastened with glue, which is applied with a needle or toothpick. The edges of the double braid are also glued to the outside with the front side, so that the roundings on the other side of the part, like those of brown blanks, have turned out.
  The first element with the rim is glued downwards on the basis of the tie, which will be a cut from the brown tape, whose length is not more than 15 cm.
 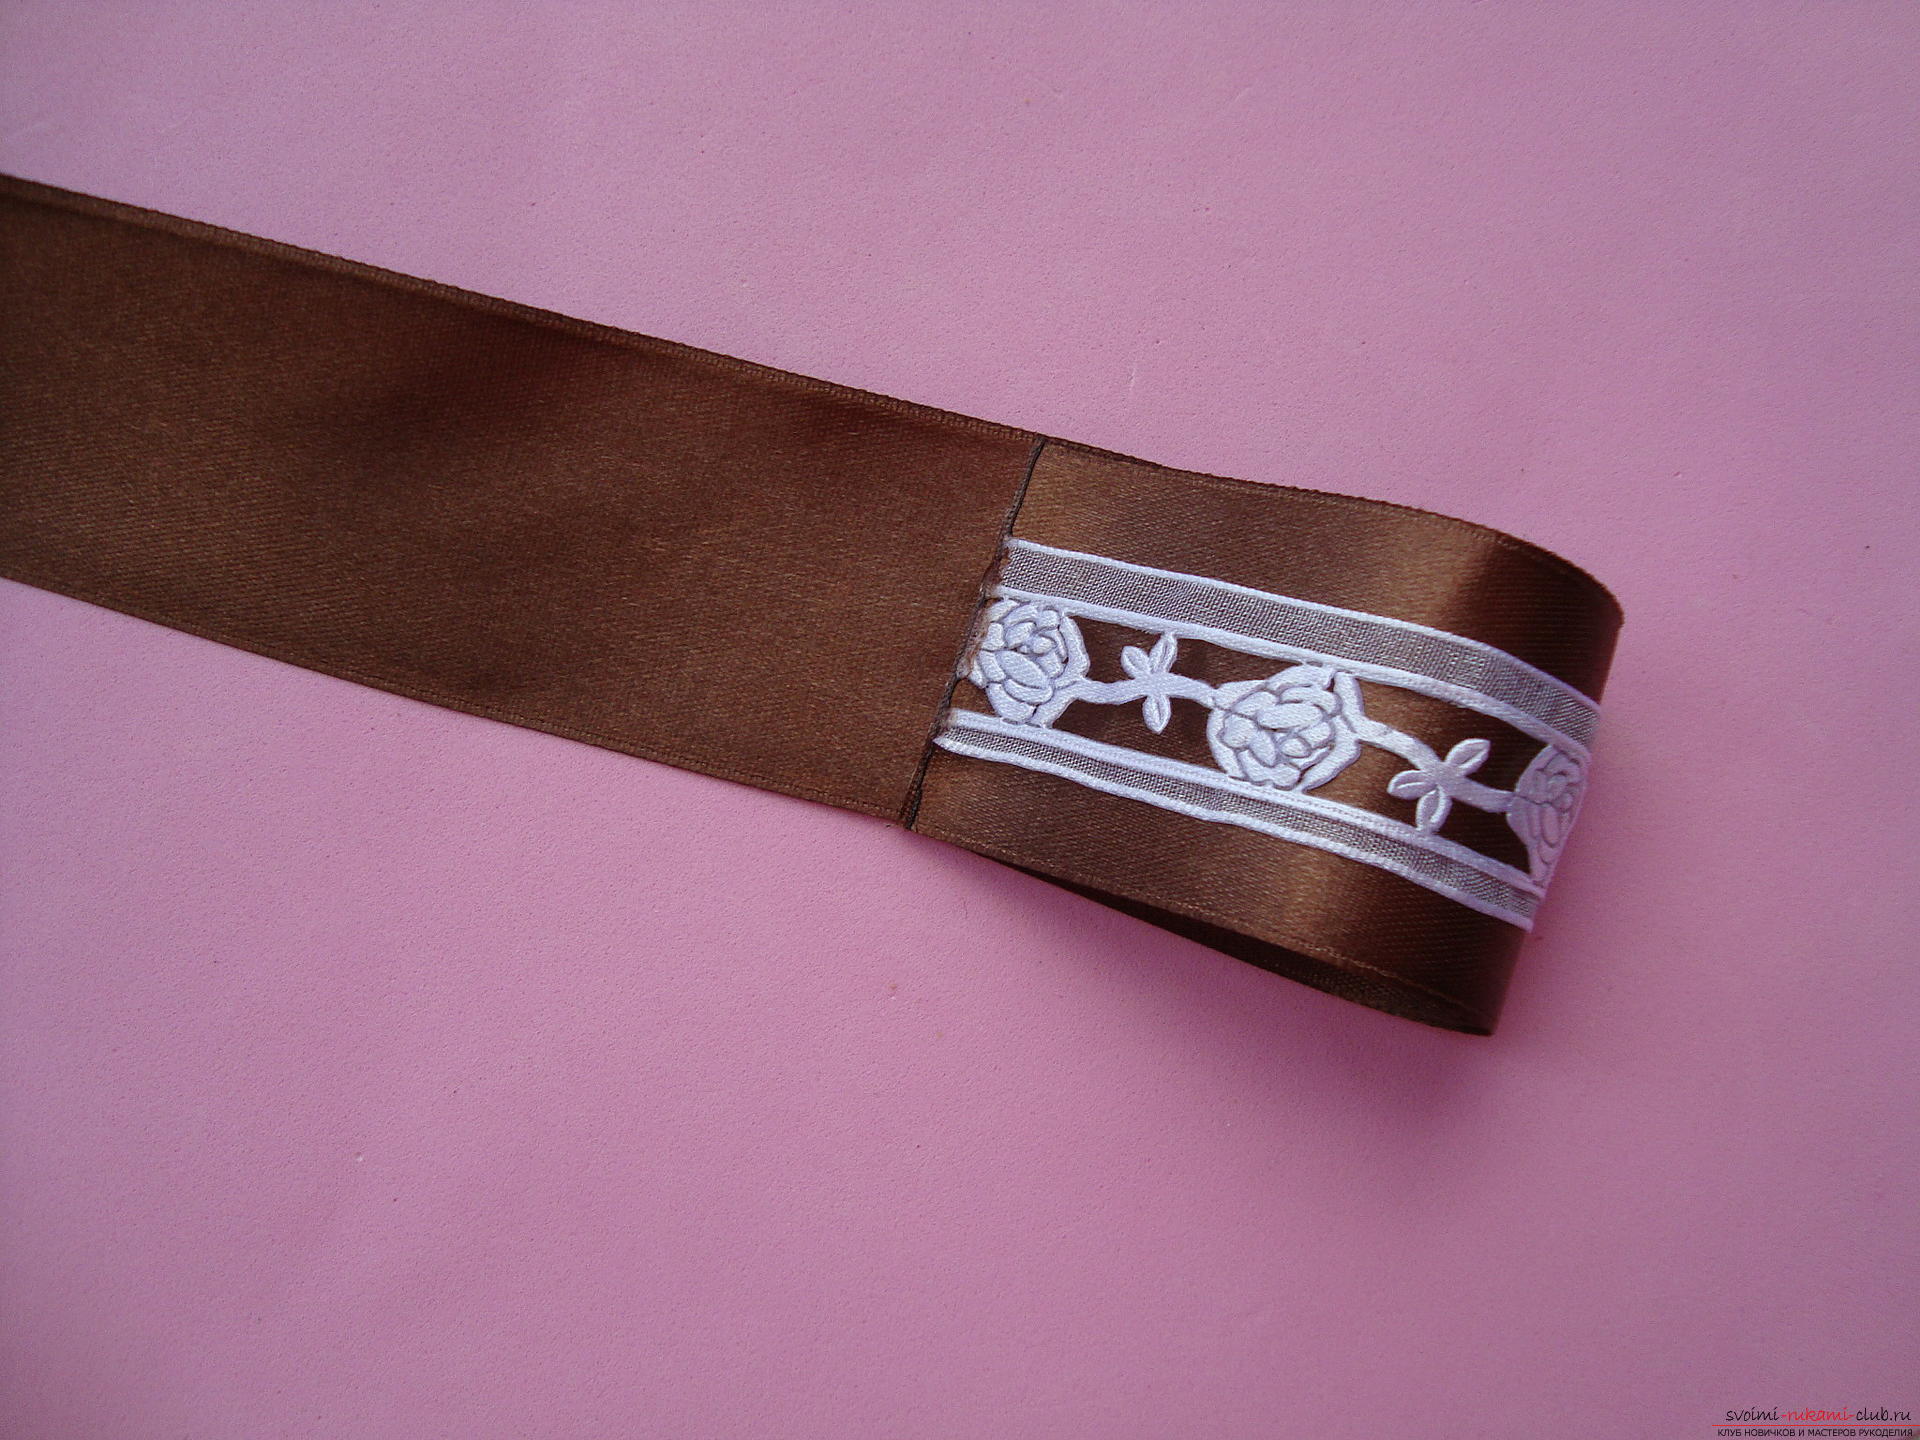 Two monochrome preforms are glued over the lower element, approximately at right angles to each other, but they are attached at an angle to the first element.
 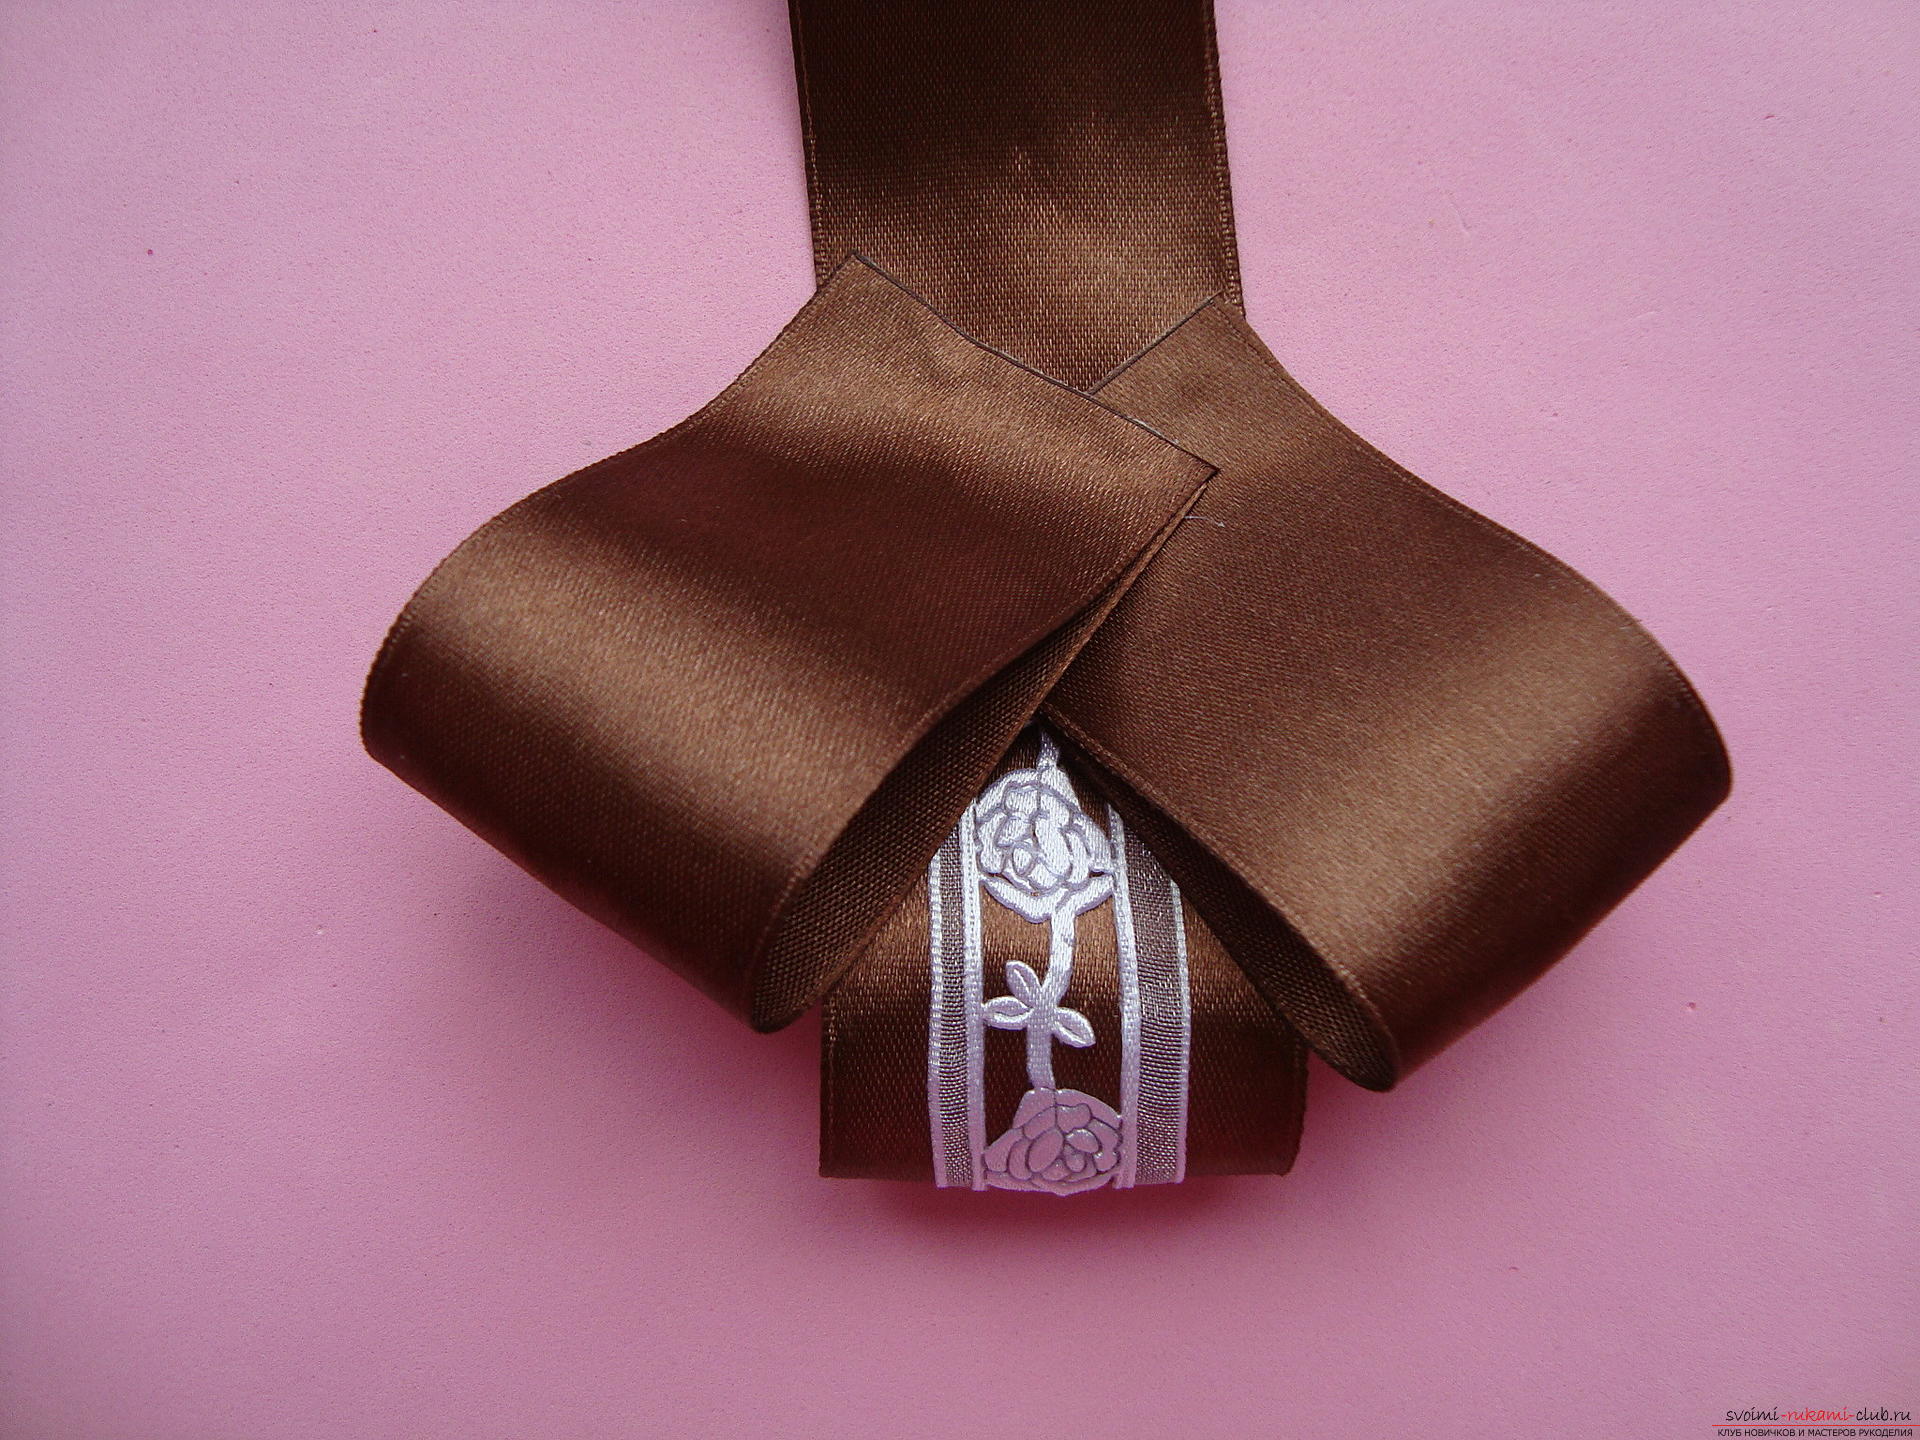 The next tier of brown bends is created in a similar scenario.
  Now proceed to the formation of the bow. For him, take three cuts of 11 cm.
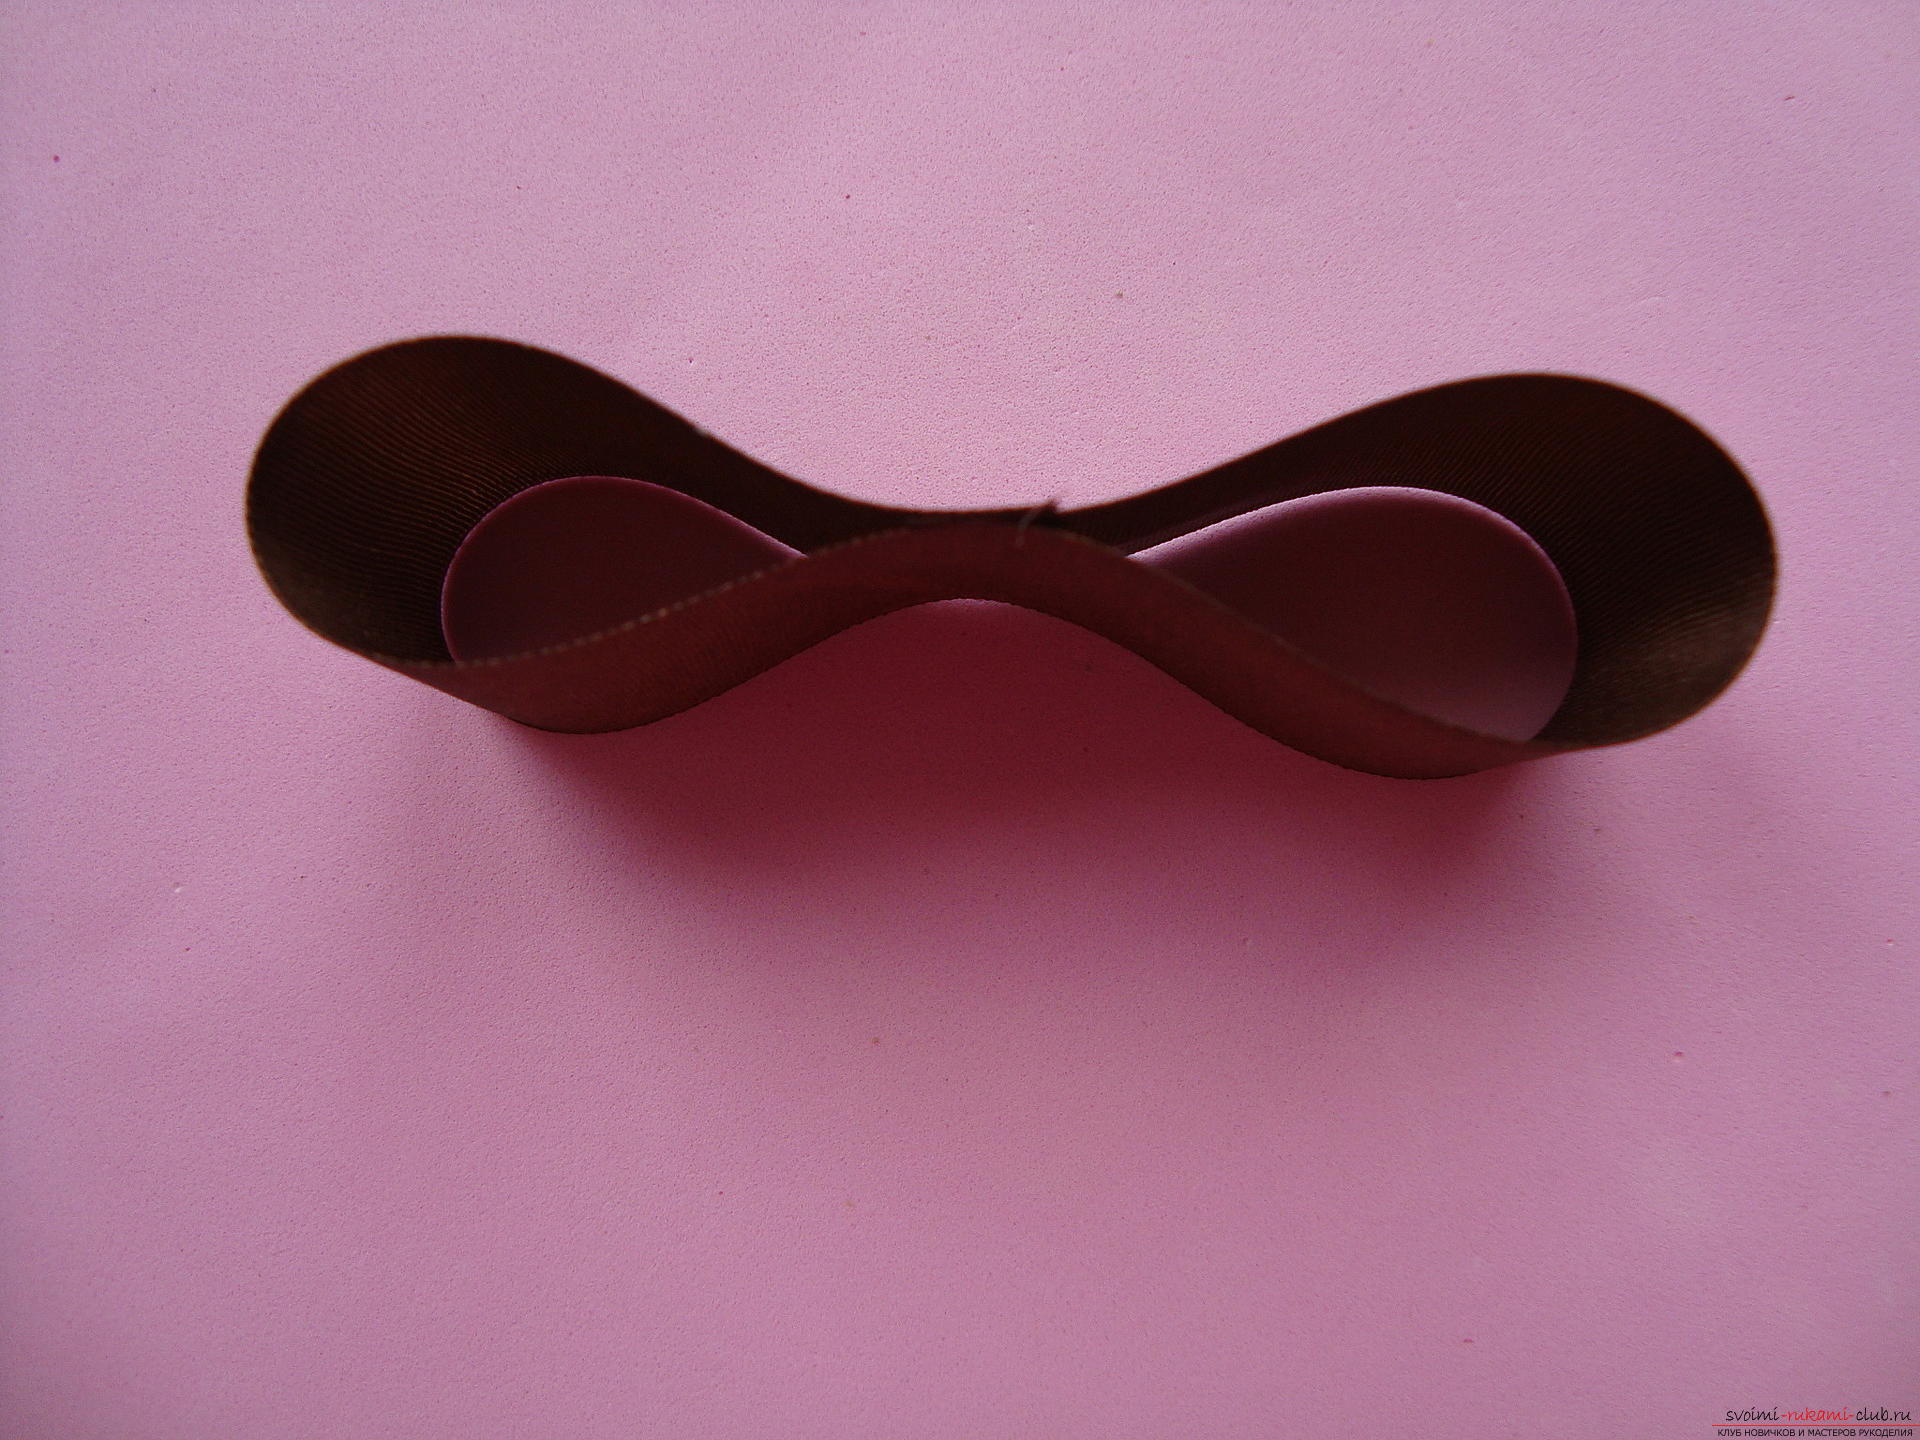
 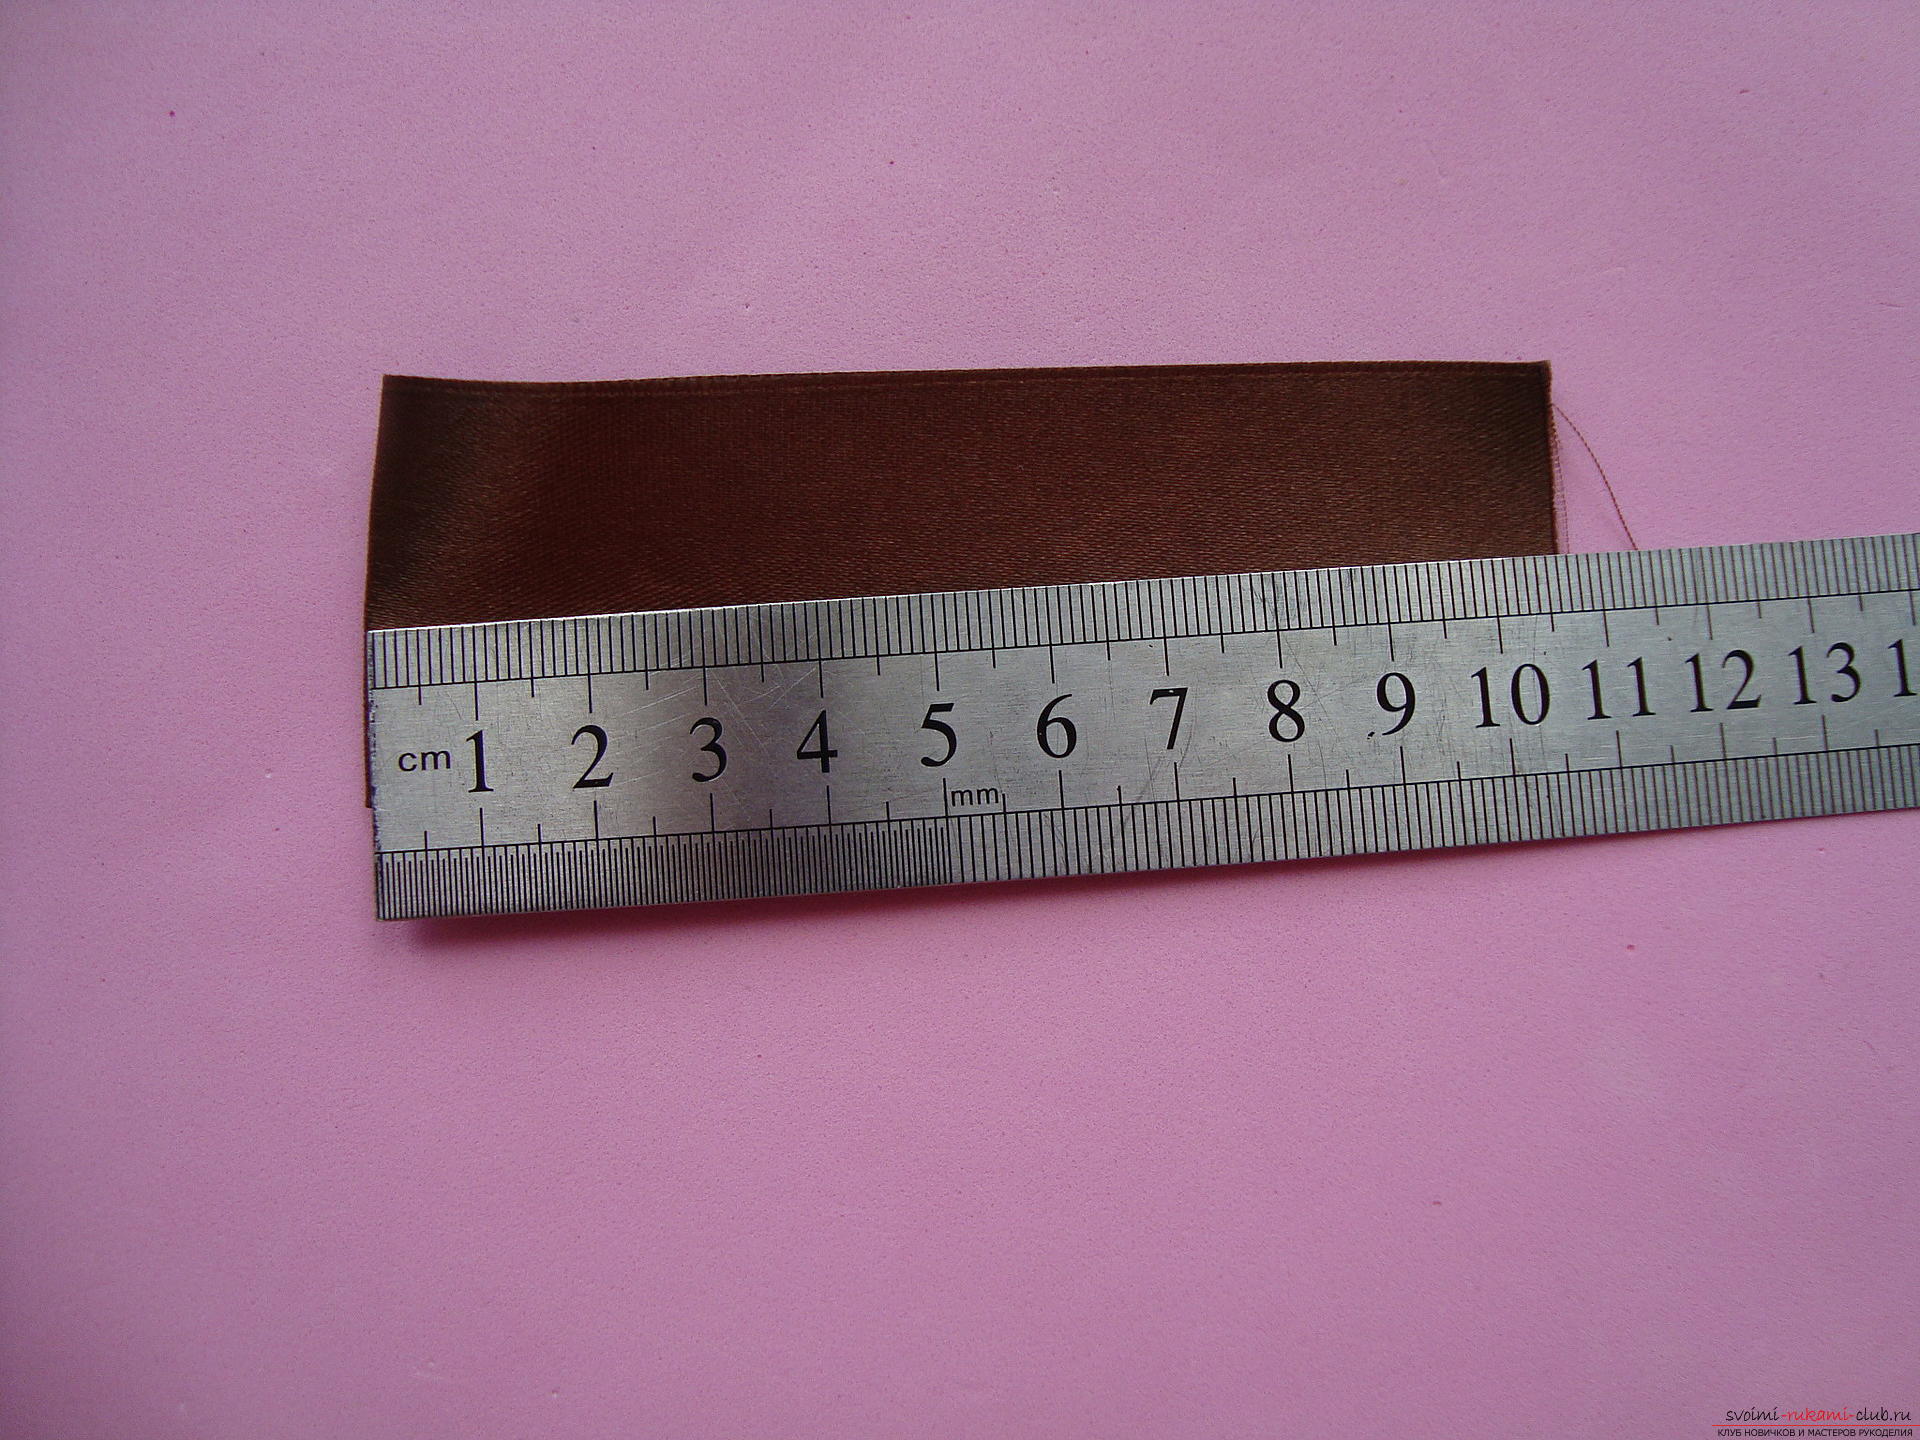 One of the cuts will be the horizontal base of the bow, for this, glue the cut into the ring, fixing the two edges of the matter with two drops.
 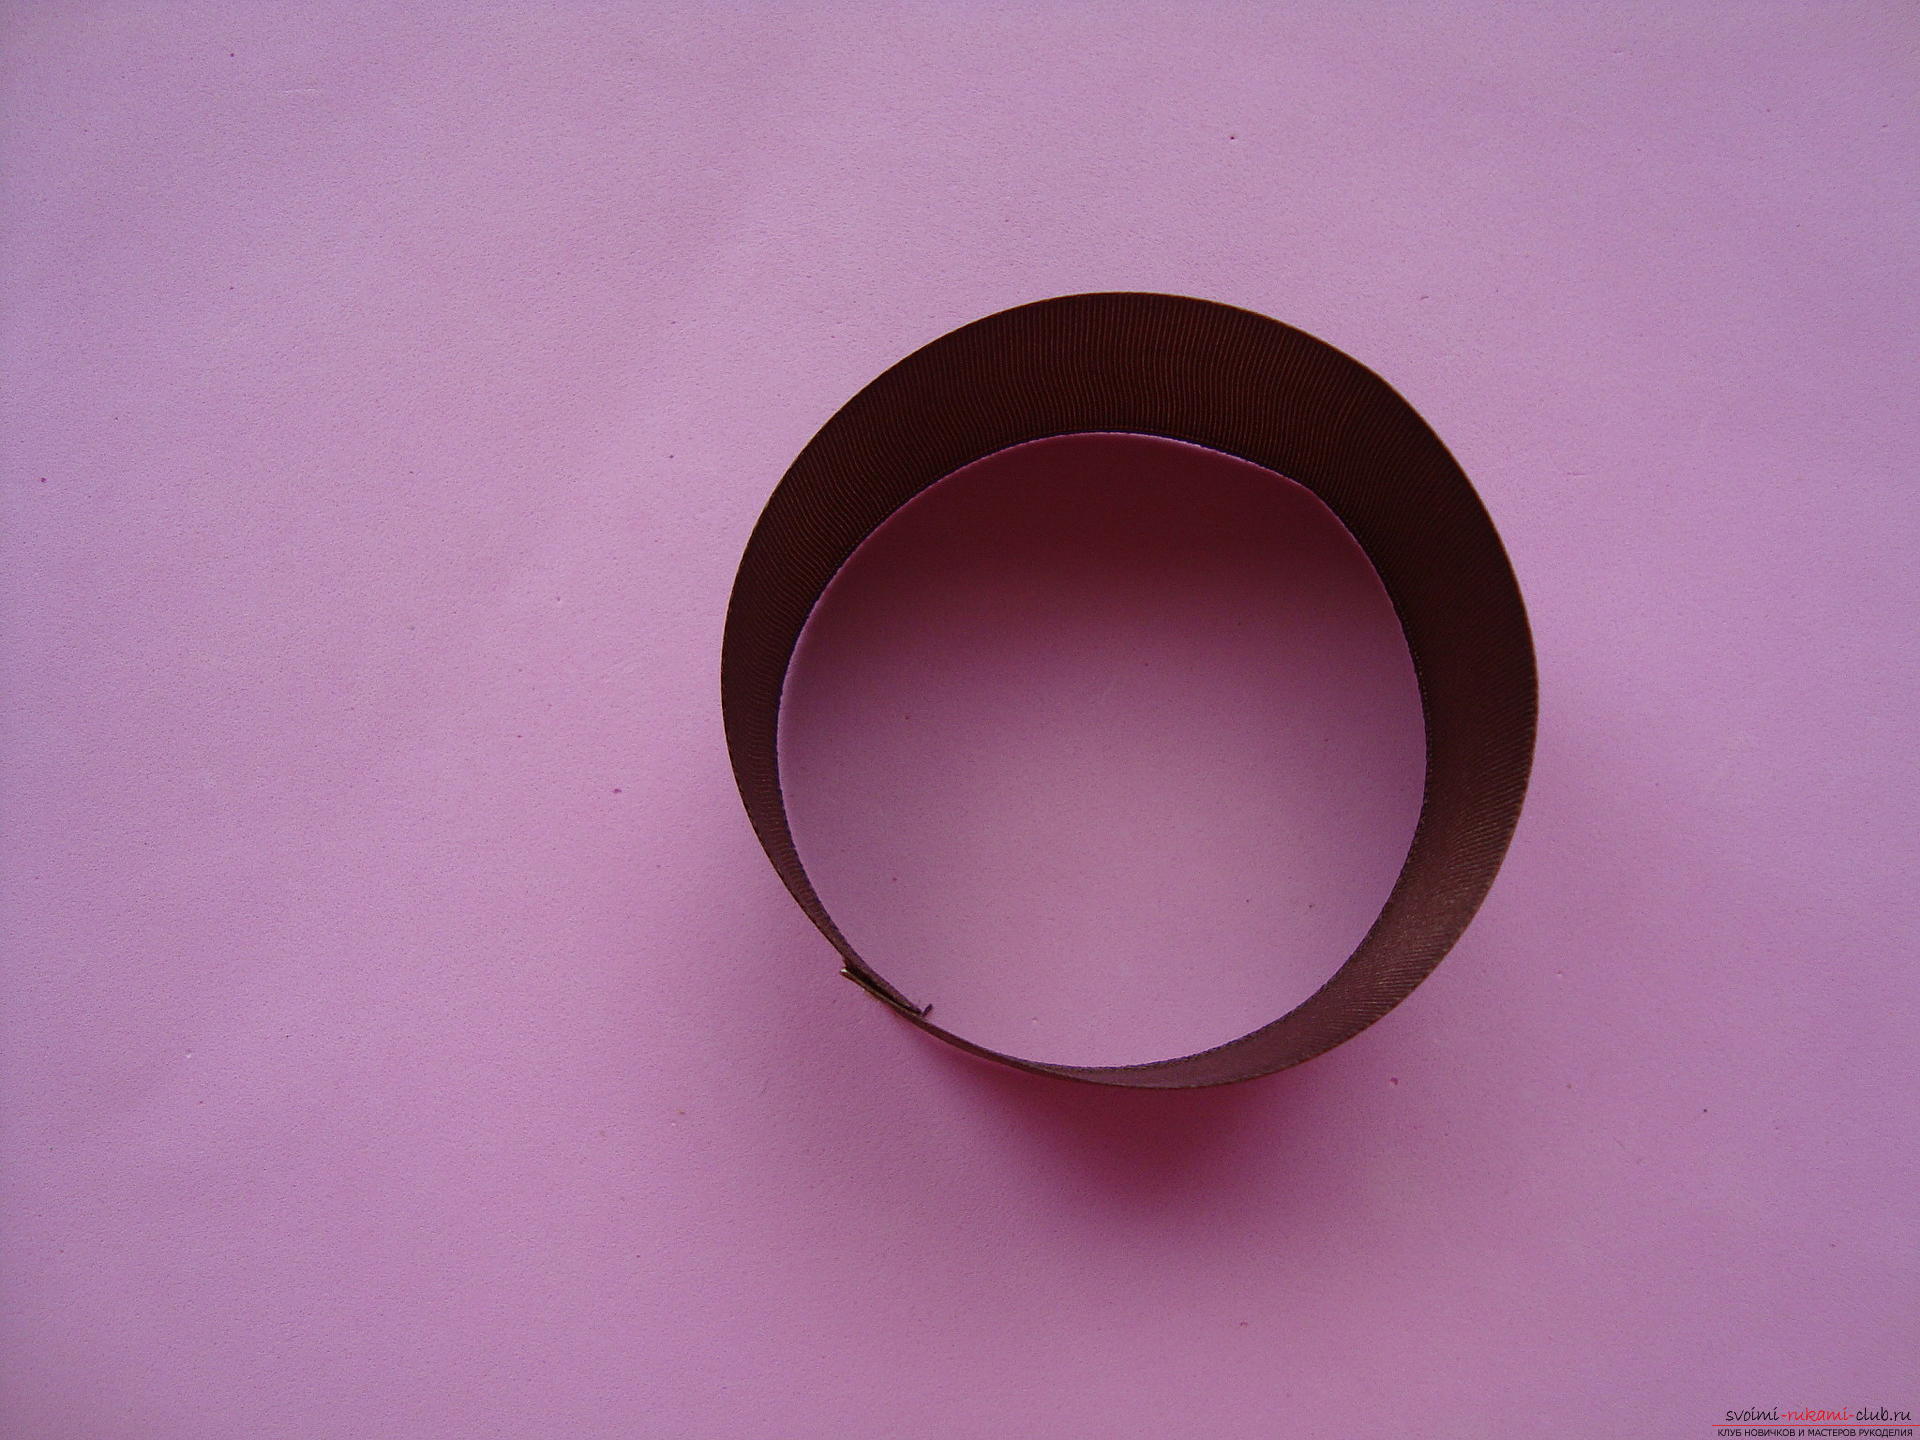 The next drop of glue is applied to the inner surface of the ring in the joint area and immediately pressed against the opposite side to form a shape identical to the figure eight.
 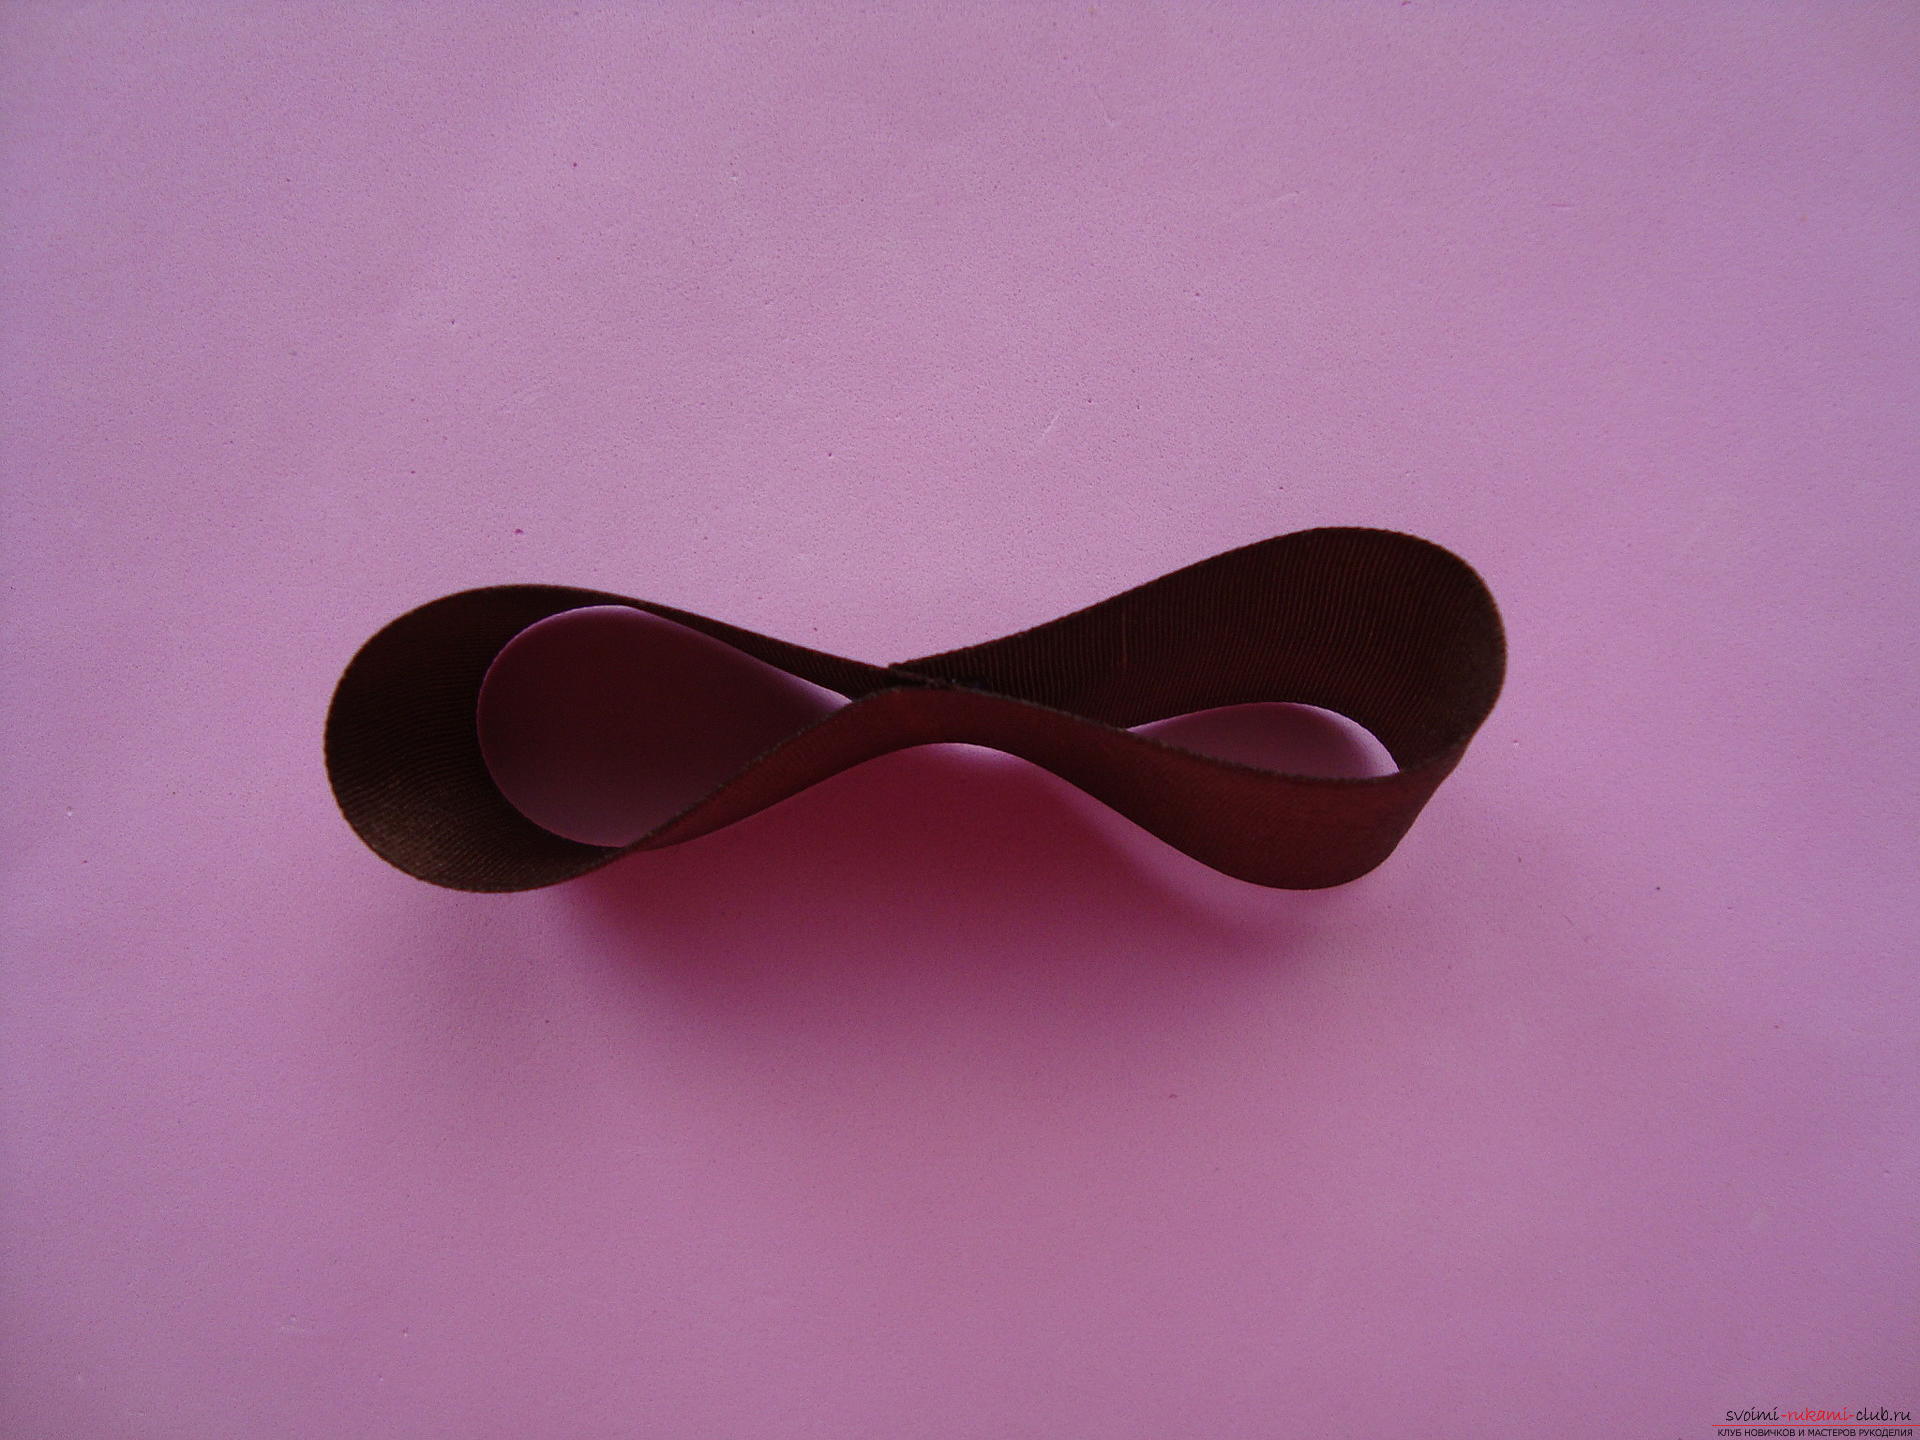 The remaining two sections are attached to the lace. The white border should be fixed with a lighter on the edges and glue in the center of the part. Next, each element with white trim glue around, and then into a simple bow. Both elements are cross-locked with glue to each other, forming a cute, gentle bow.
 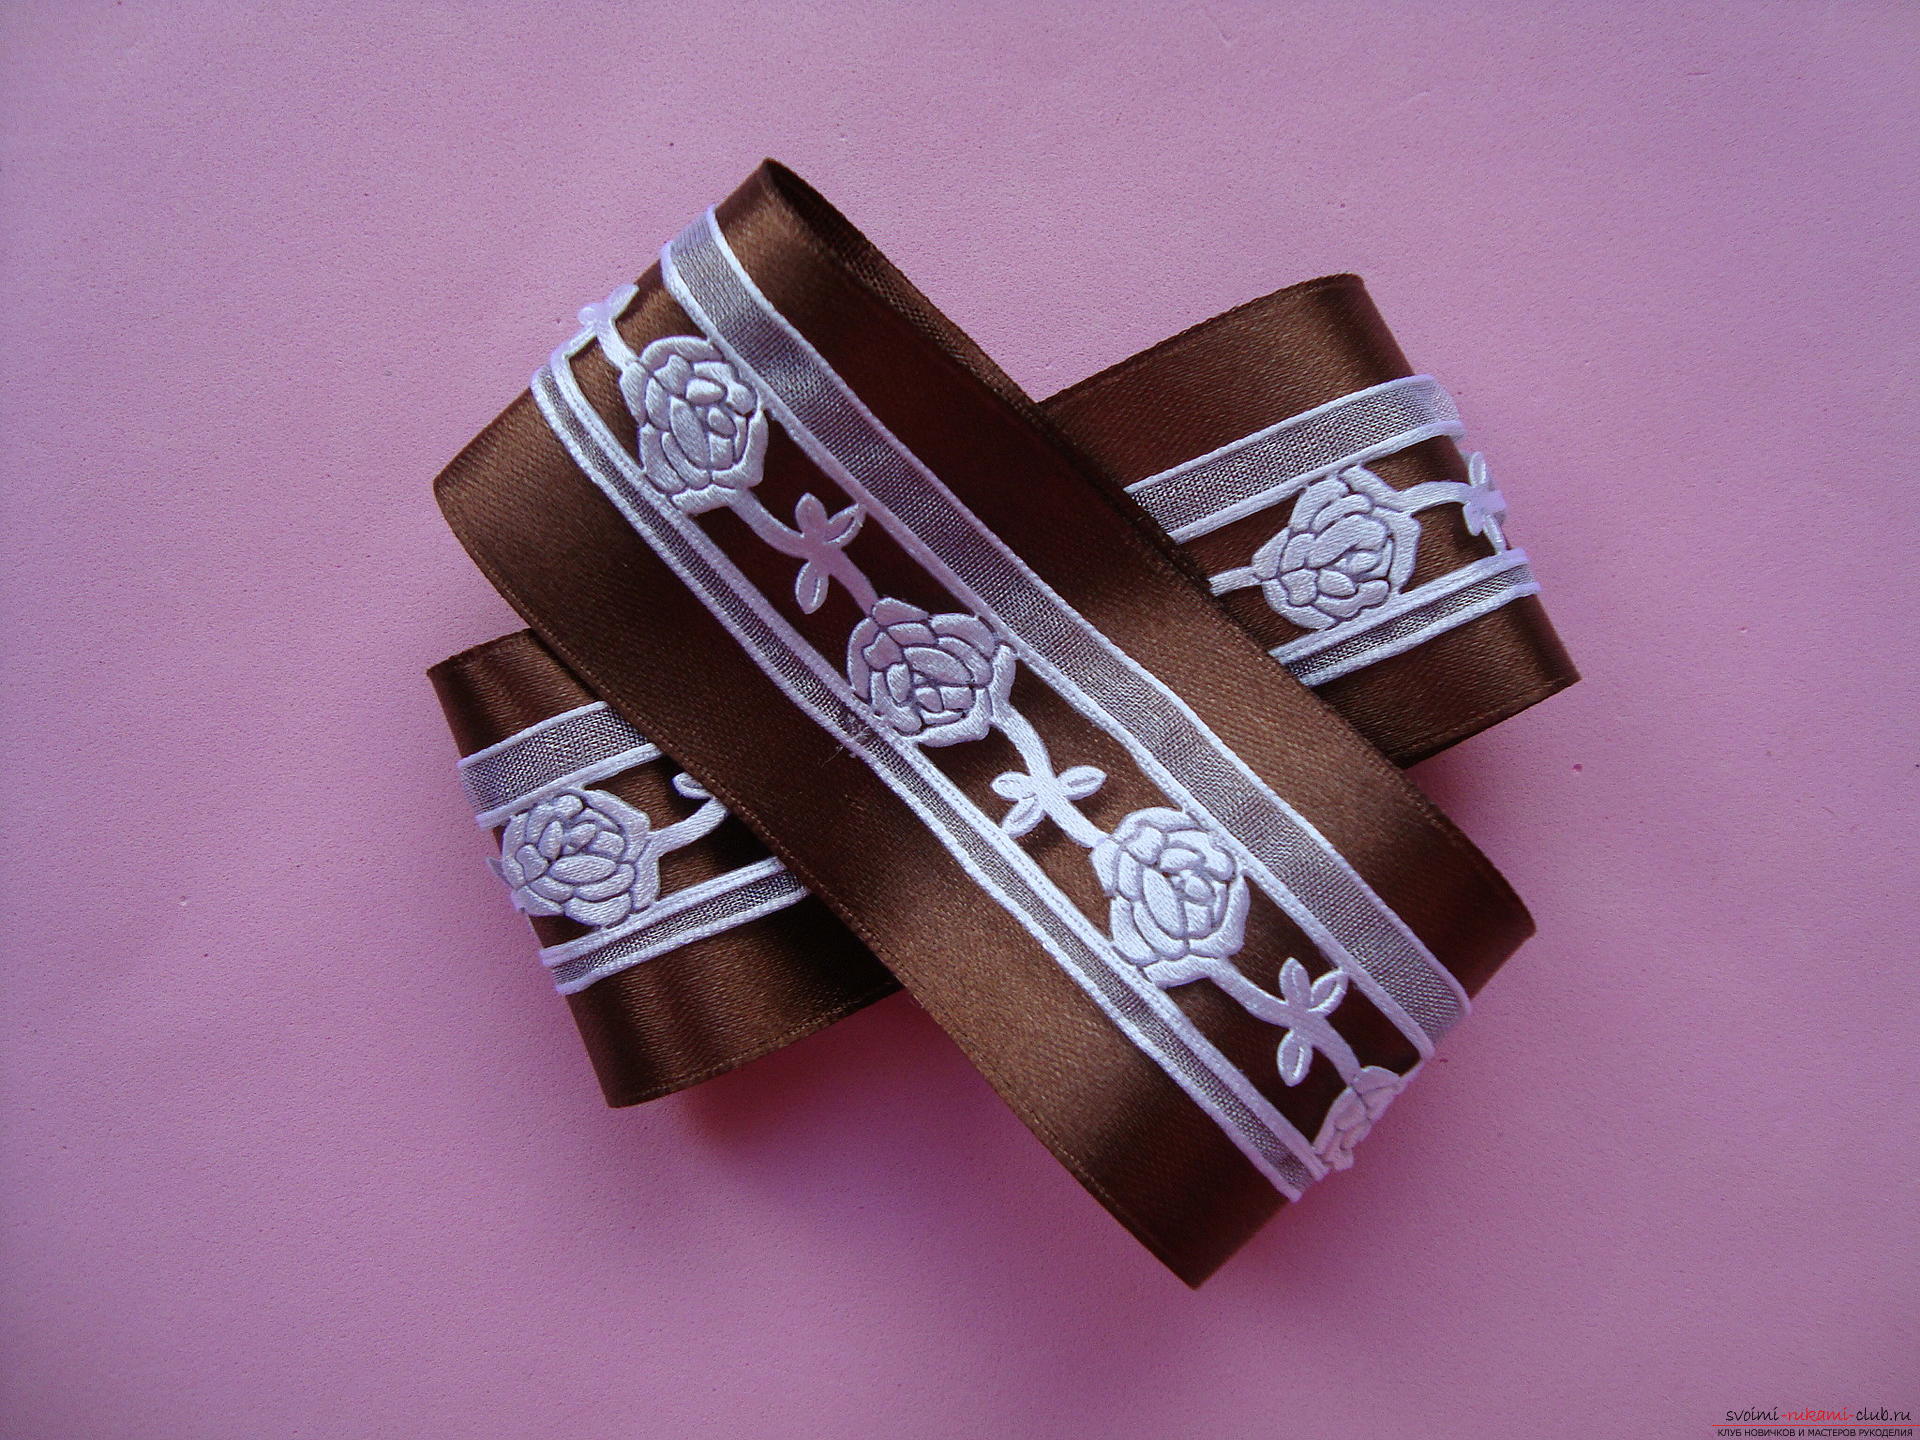 The resulting element is glued to a horizontal base.
 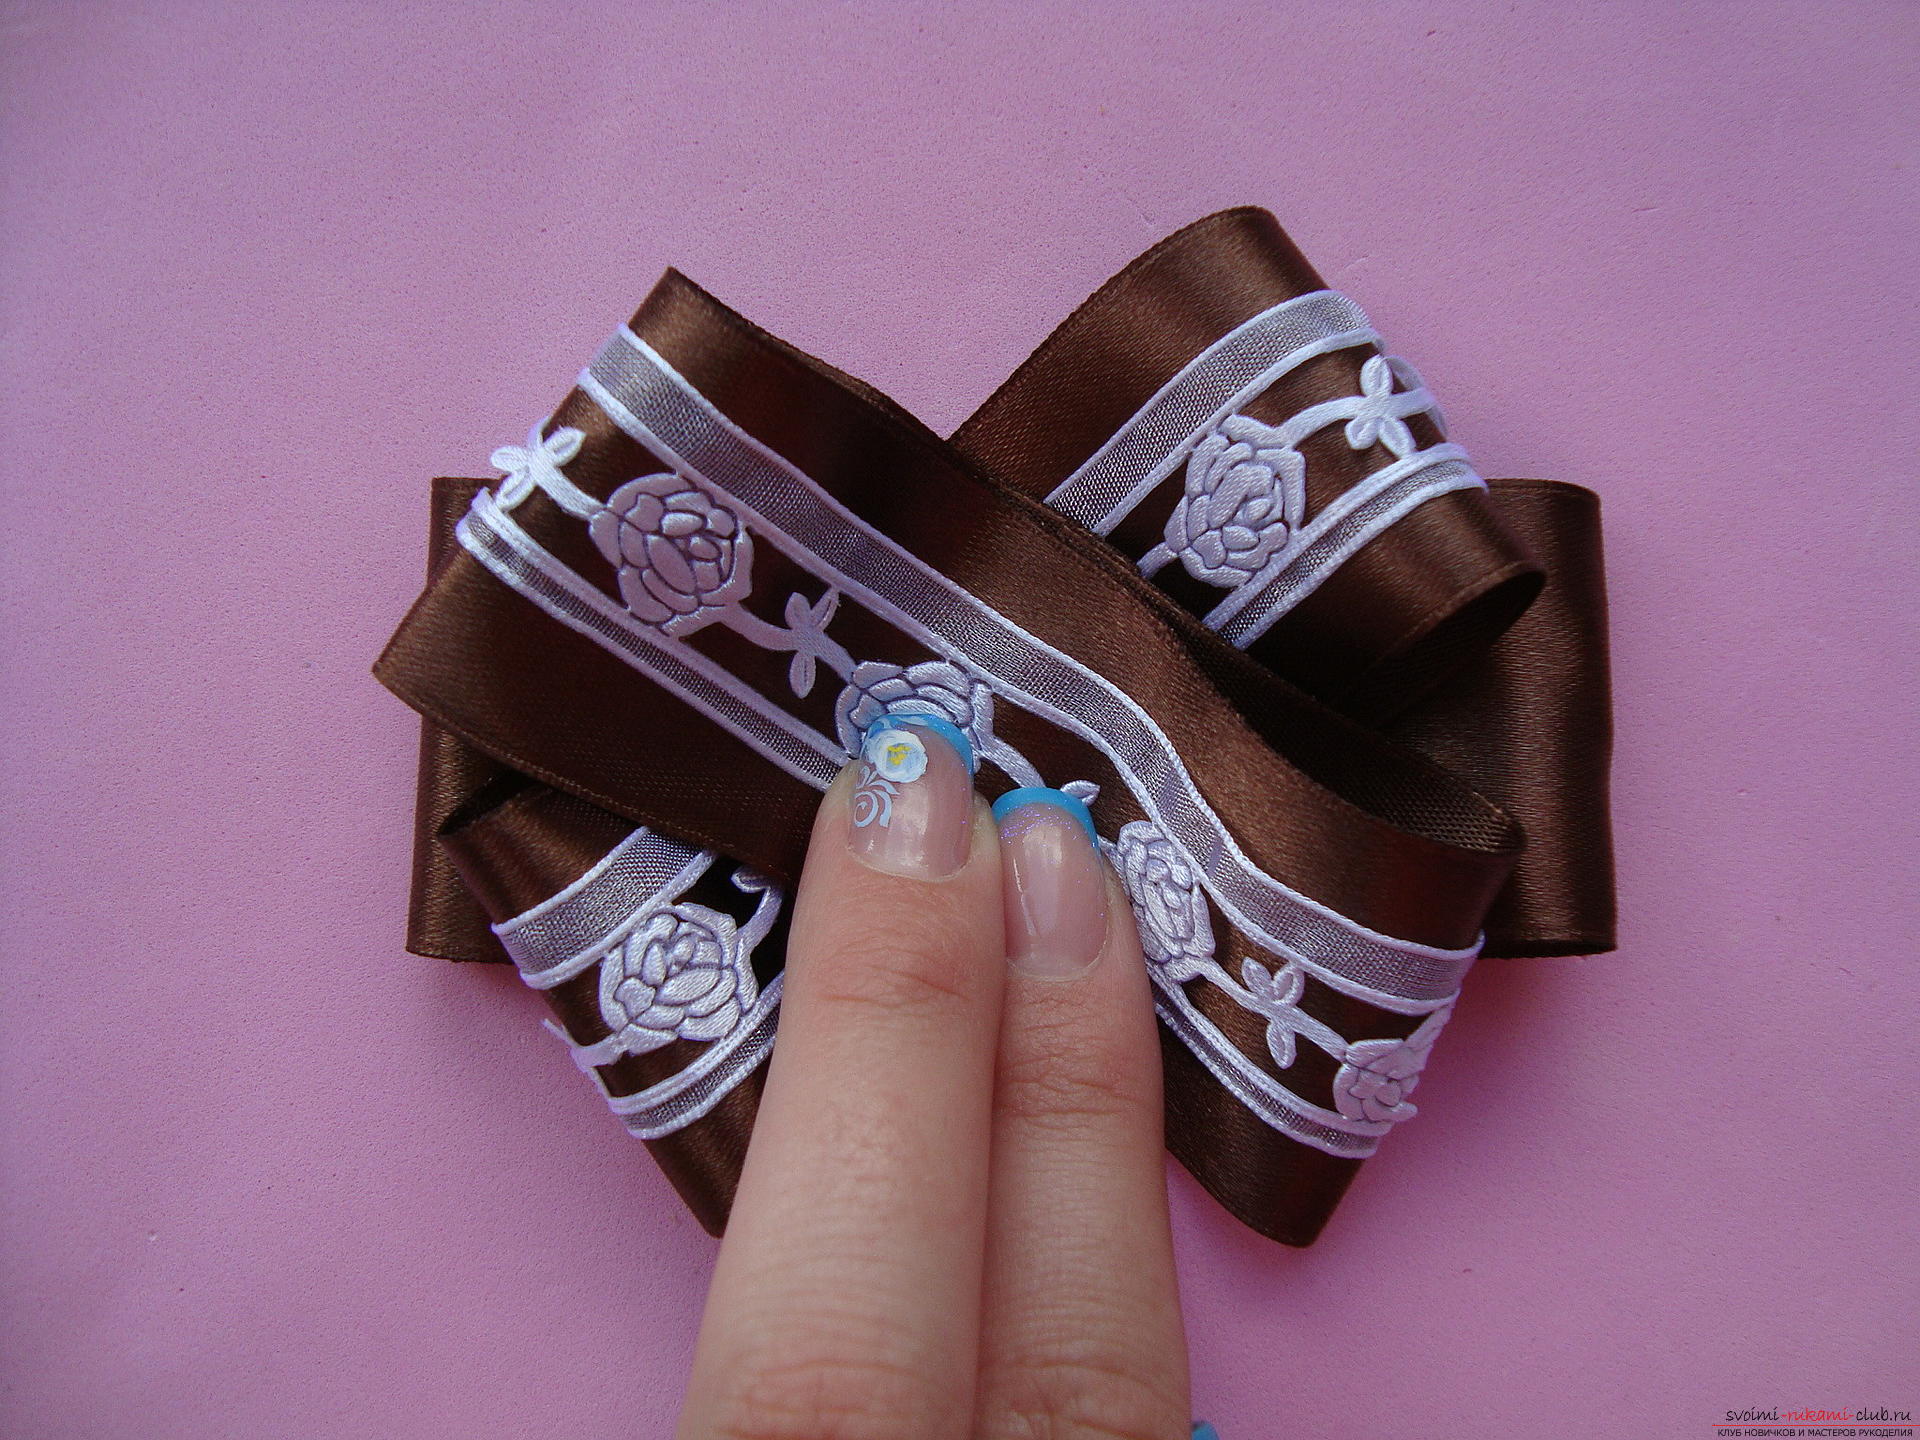 From the tape narrower (about 2 cm), another small bow is glued, which will decorate the middle of the article, being arranged horizontally.
 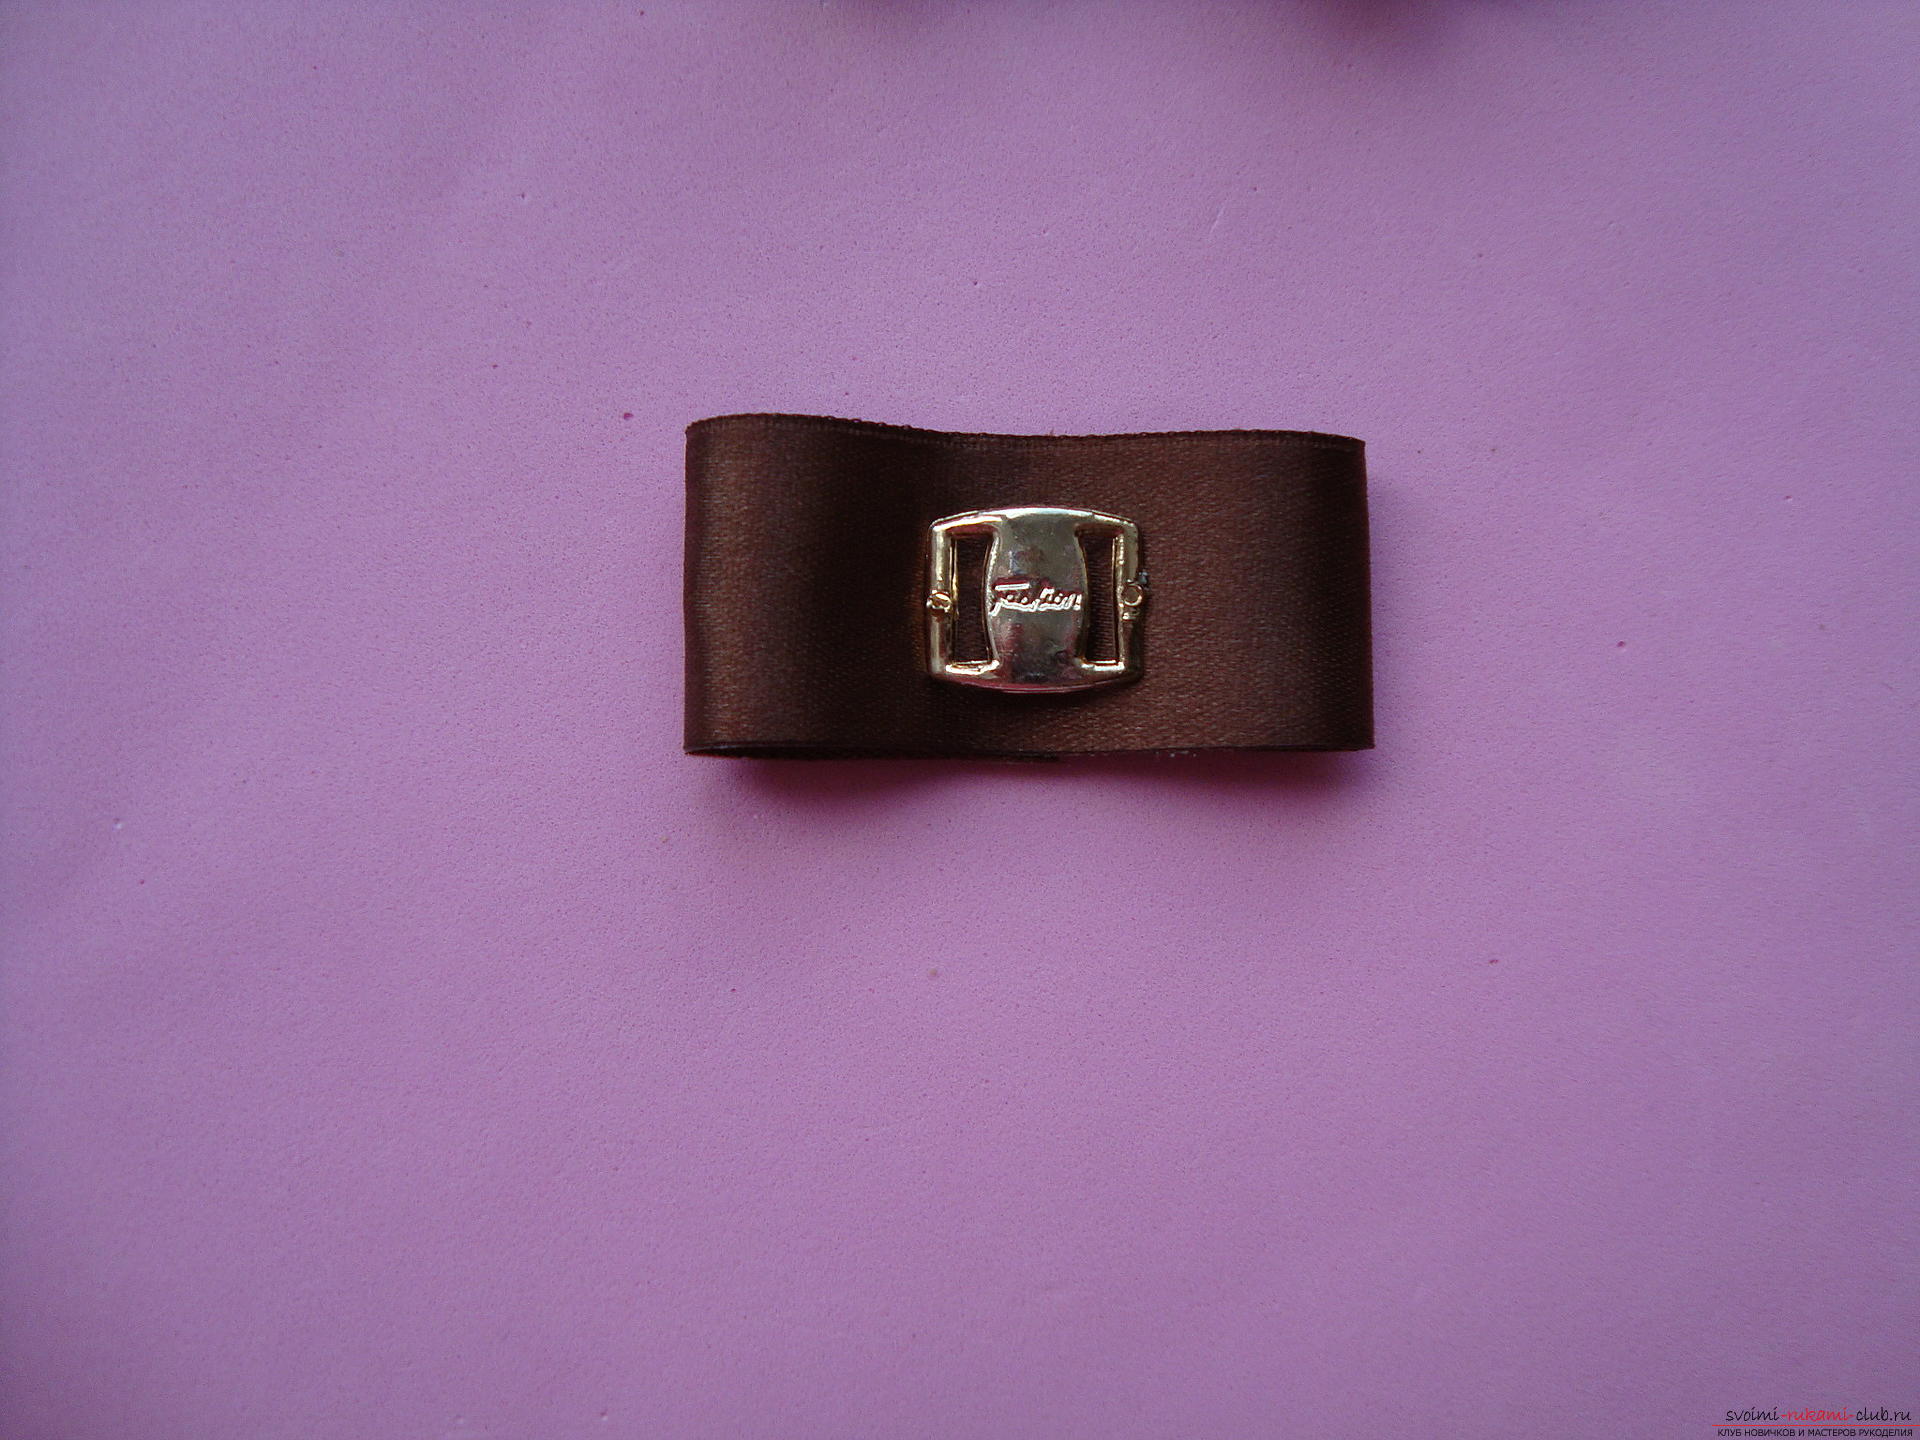 On the upper part of the base, fix the part, and then decorate the middle with a metallic element in the classical style.
 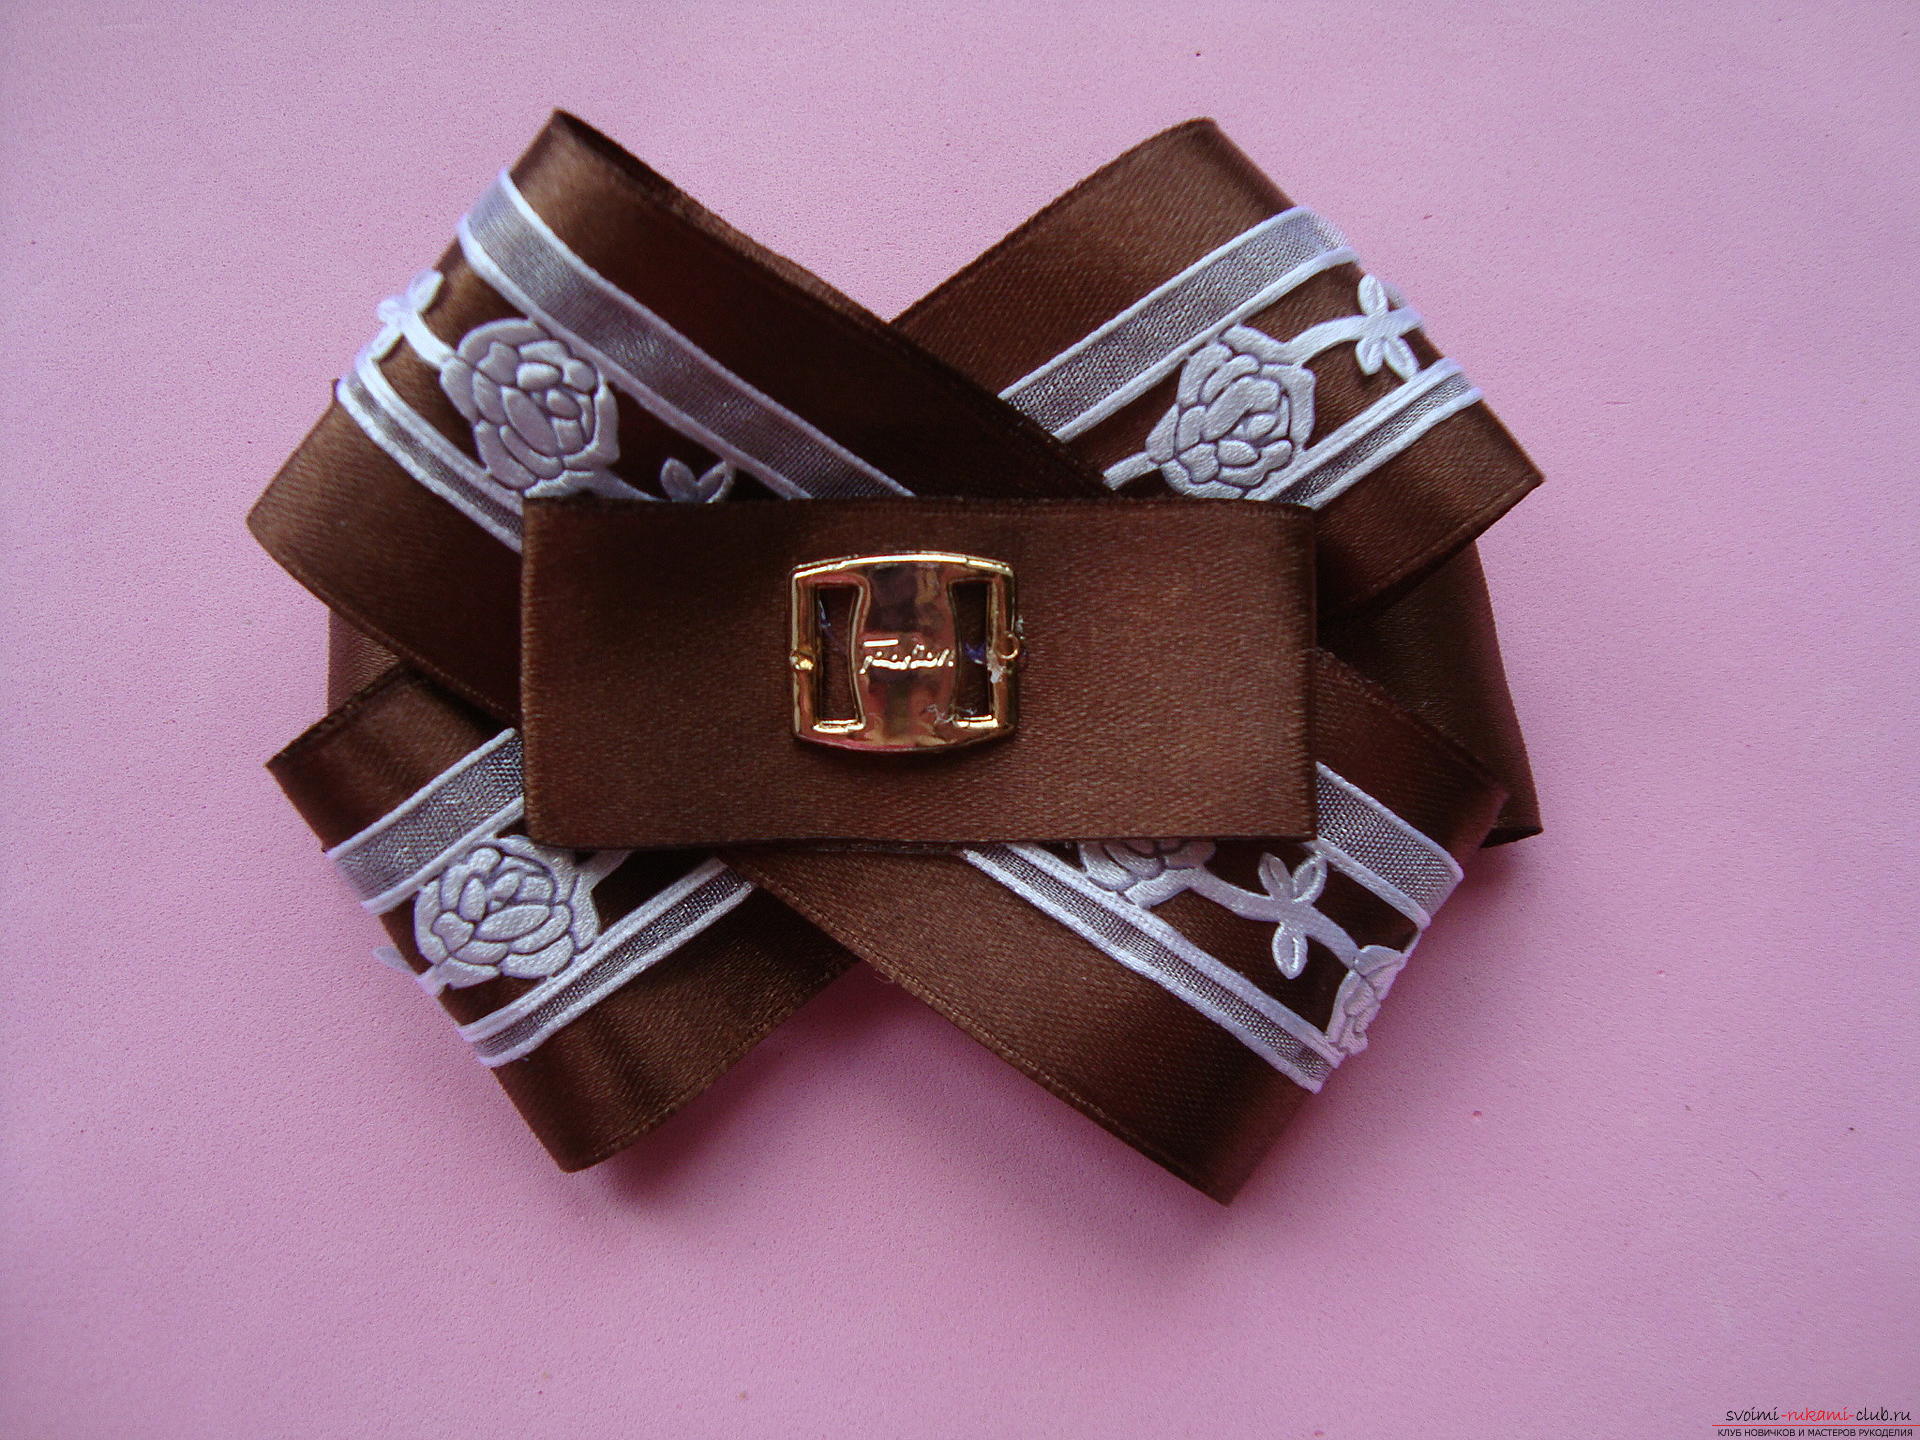 The resulting bow is pasted to the top of the base of the tie, that is, it needs to be exactly positioned above the undulating part of the three-dimensional product.
 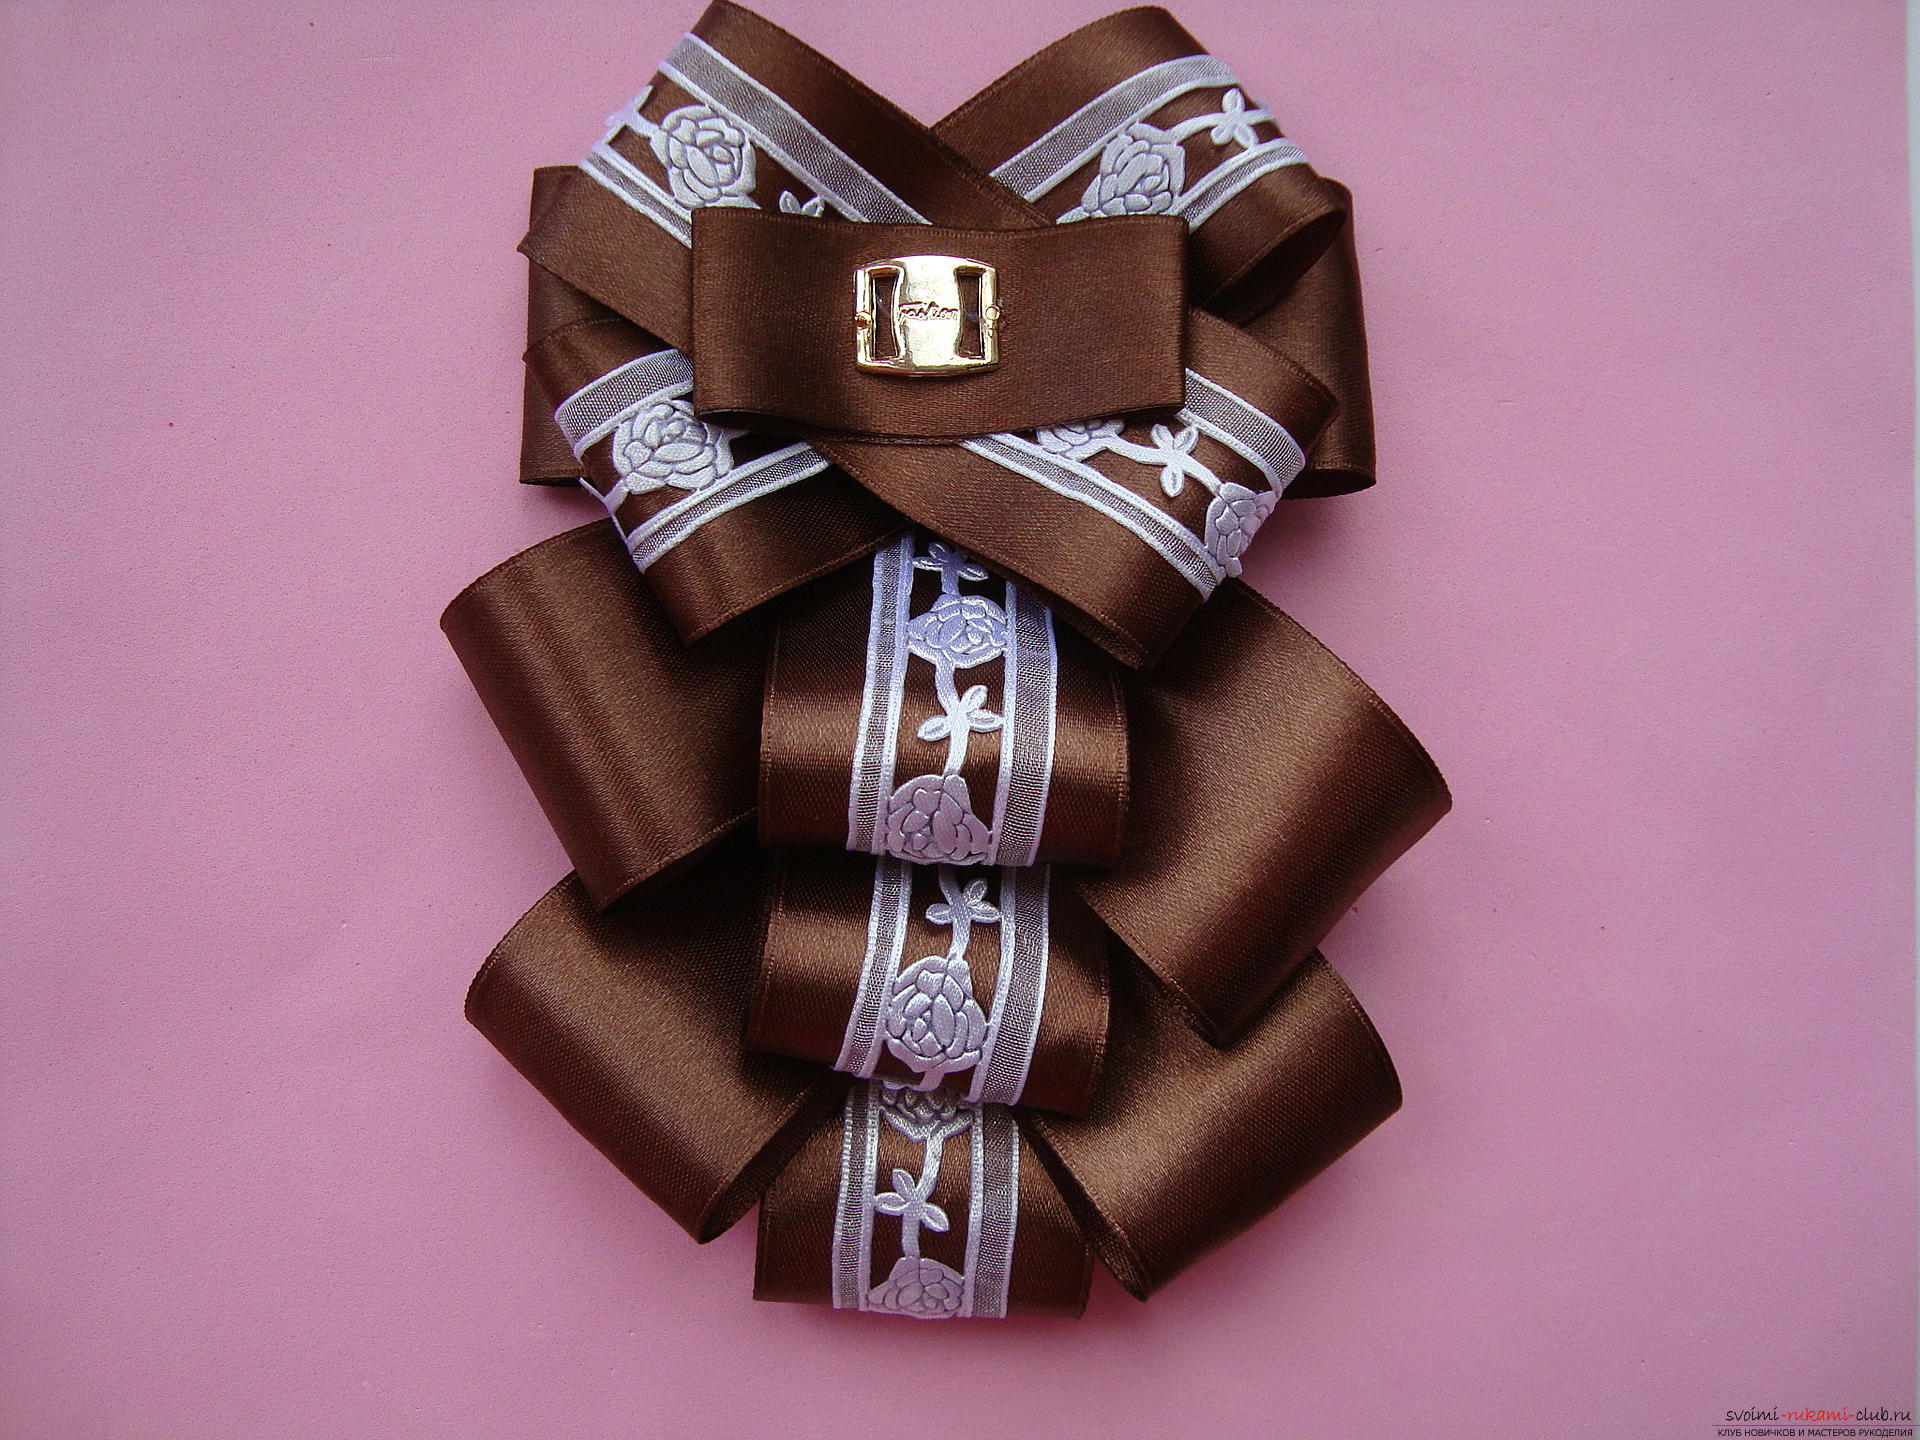 The fastening of the tie is pasted onto its unlitside at the top. This can be a special type of brooch or a simple pin that fits in size. It is important to place the mount exactly horizontally, so that the product itself does not move sideways on the sock and looks not only festive and elegant, but also neat.
 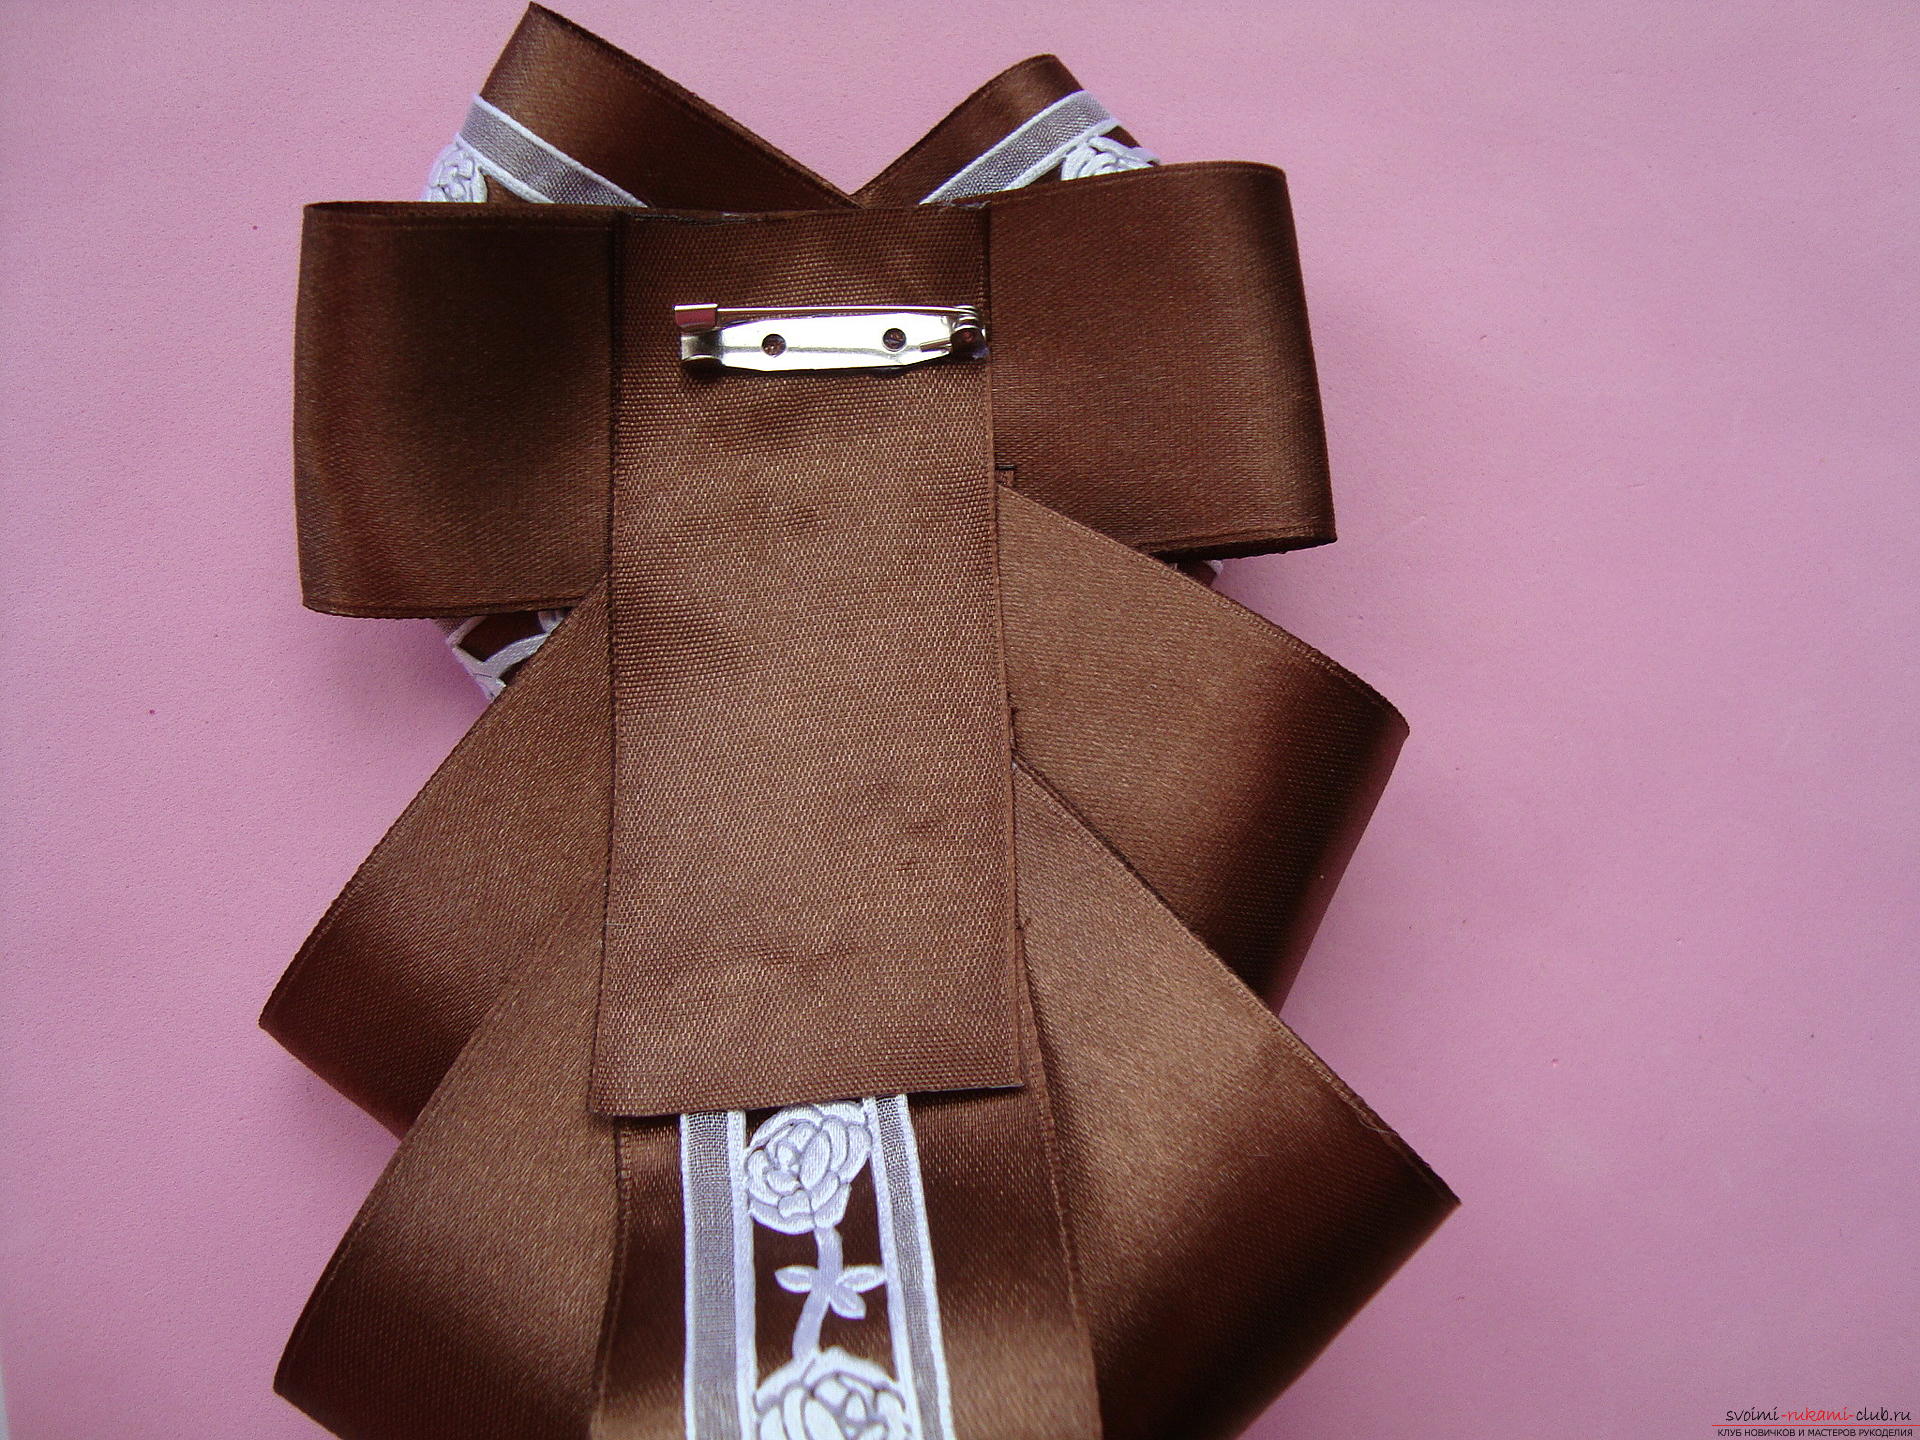 The second stage in this master class is devoted tothe description of the creation of bows, which come at the right time to the school uniform for the holiday on September 1. They are created in accordance with the style of the tie, their main "highlight" in the combination of a brown satin ribbon with a white tender border with the image of roses. Such bows will decorate the tails, the scythe of the schoolgirl, or they will put the hair loose. First we prepare the base of the bow from the cuts of the brown ribbon. A flap of 23 cm is required for each product.
 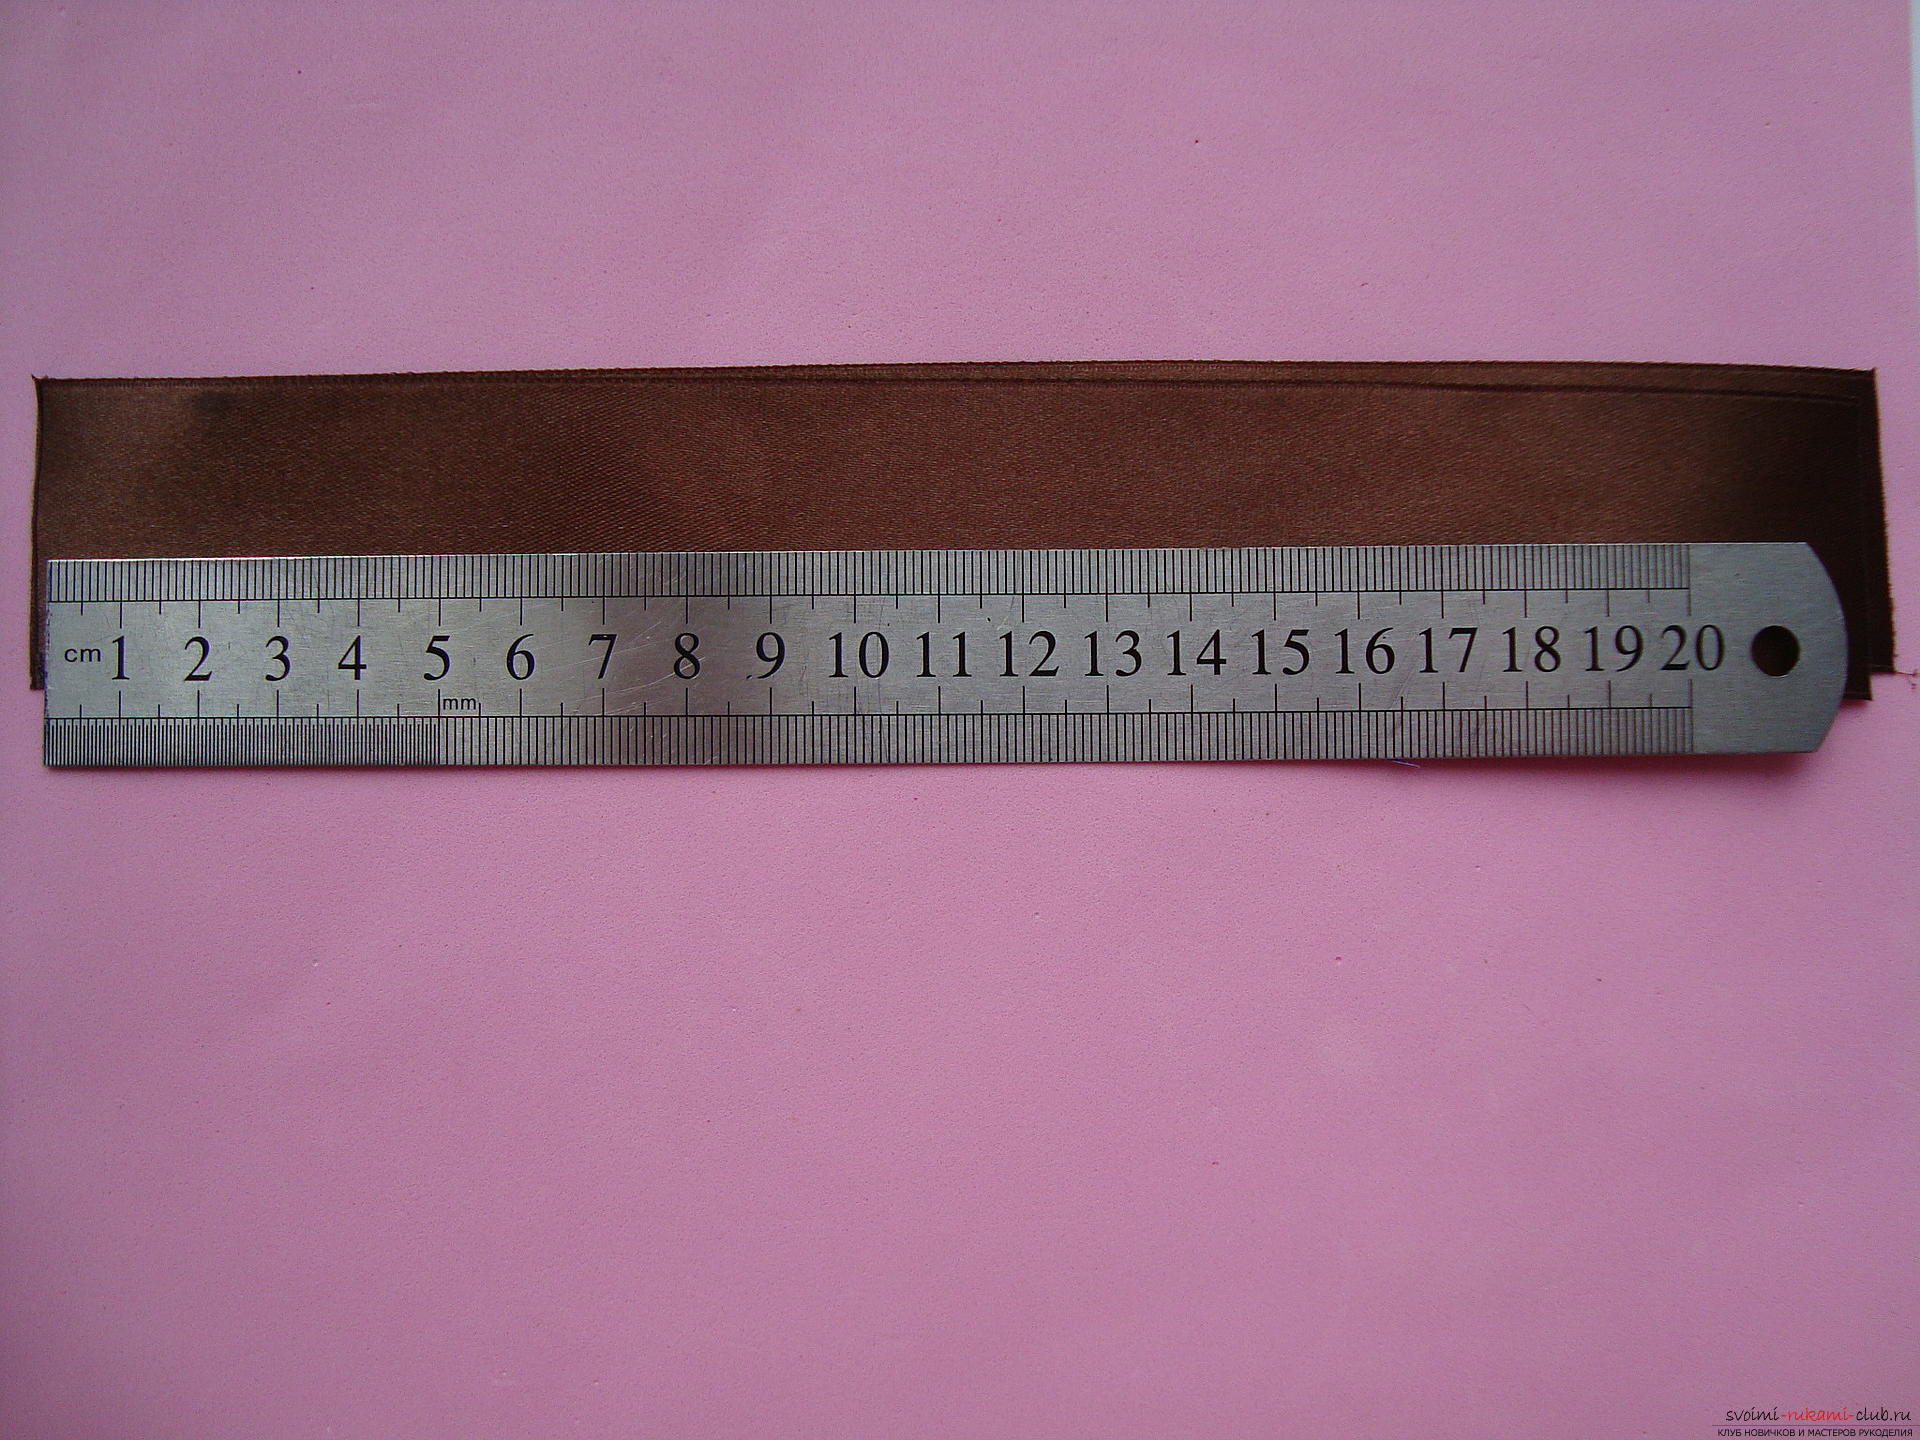 Fold it into an even ring, but only the edge of the product is glued together.
 By gluing together the two opposite sidesturn the ring into a typical bow. This element will be the basis of the product, it will be located strictly across. From a tape of white color, the width of which is about 22 mm, two similar "eight" are created on the same type as the brown base.
 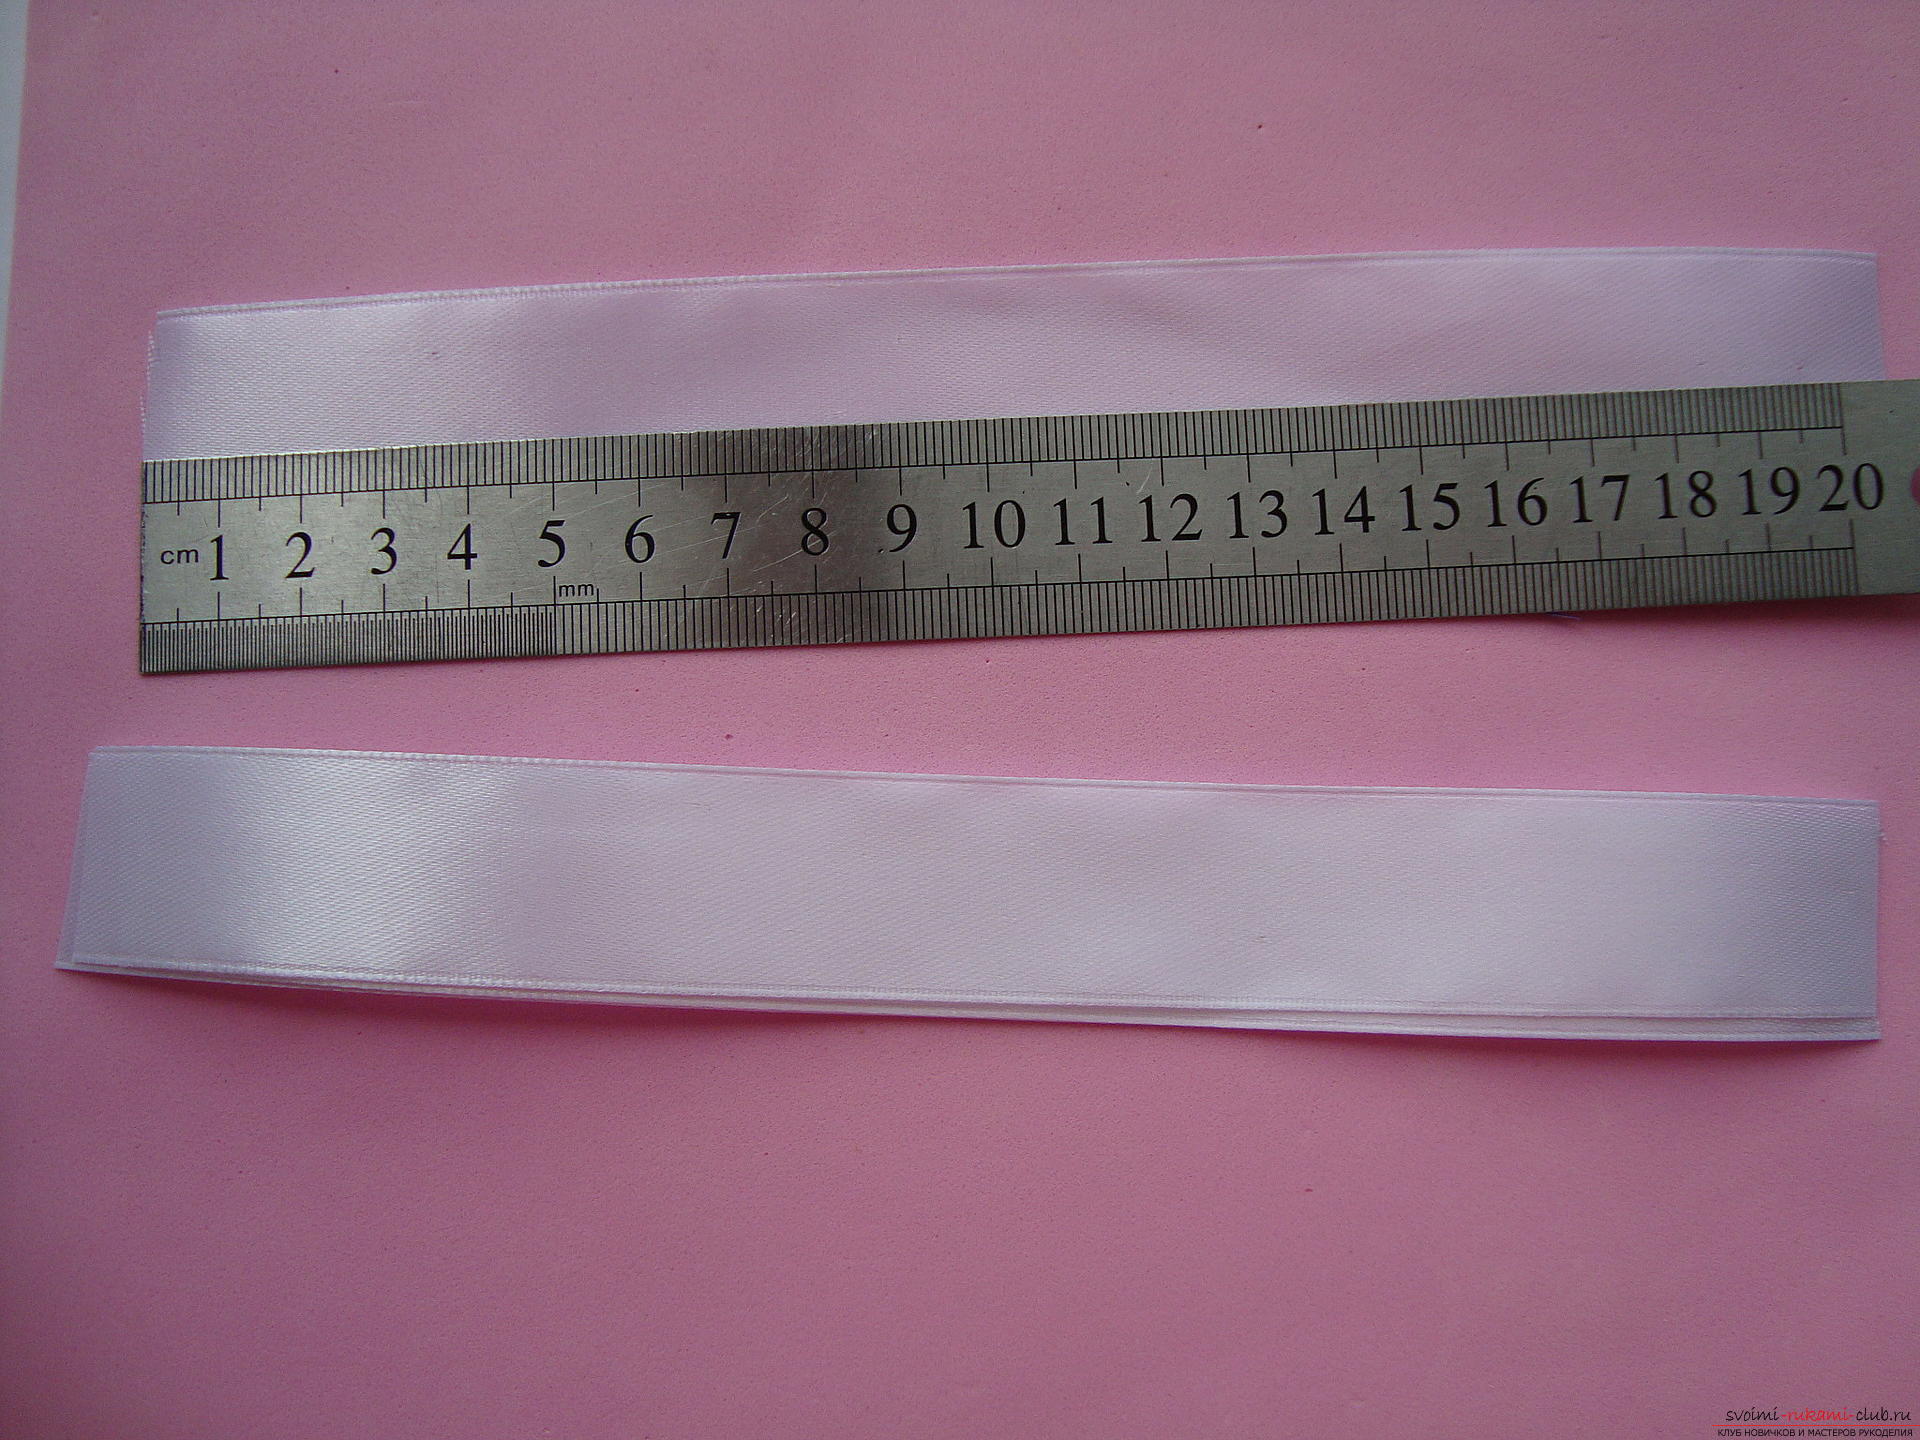 Crosswise, two white elements are glued together in a cute bow.
 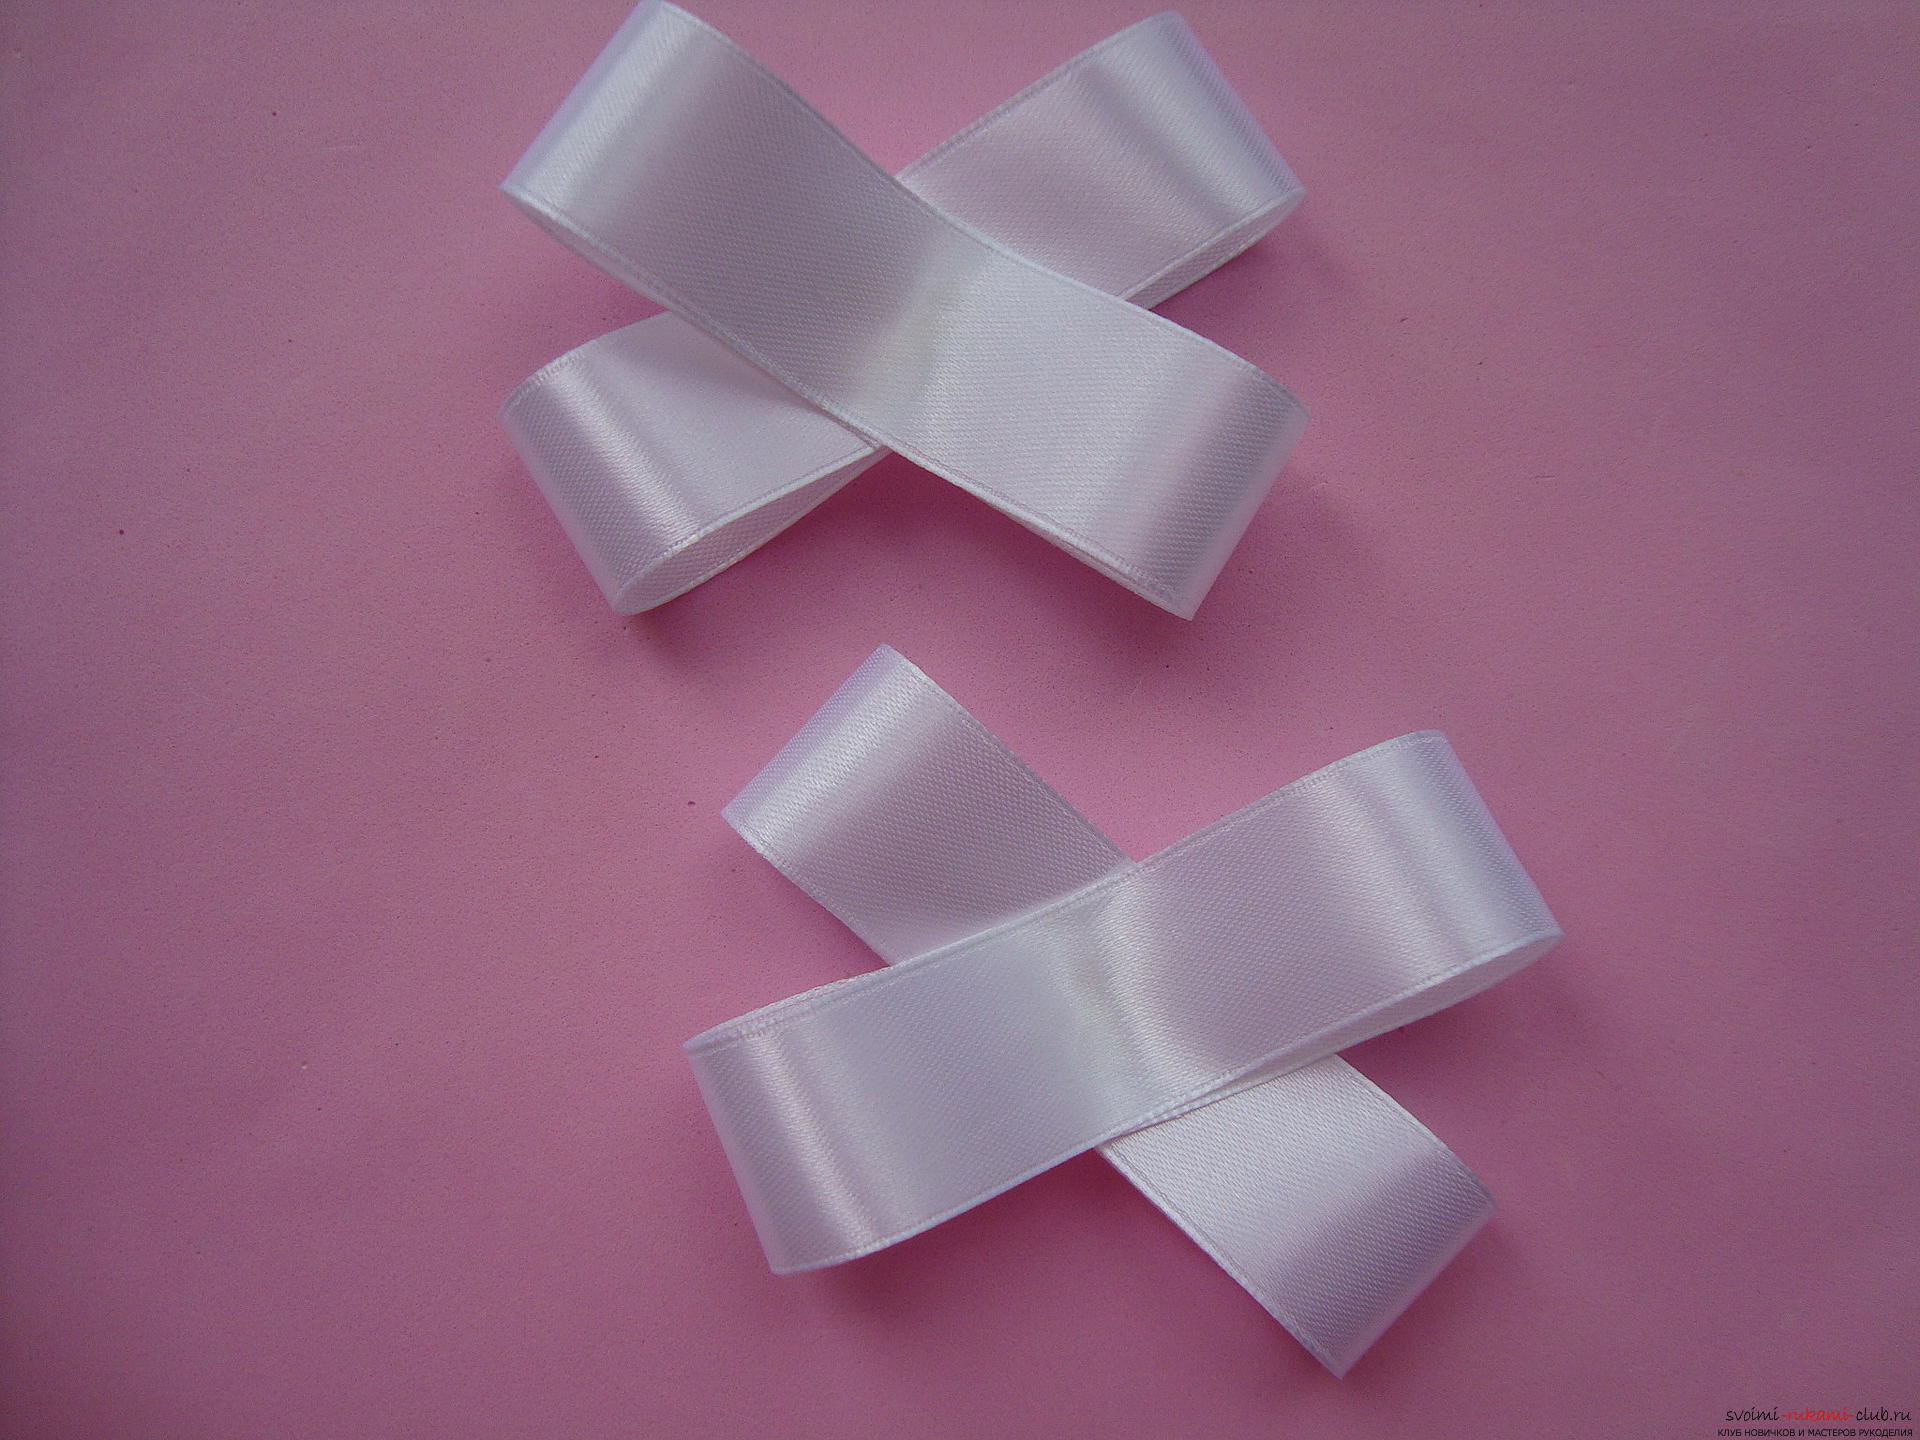 To add volume and unusualness to the productneed wavy elements that will rise above the entire composition. To do this, you need cuts from a white organza 25 cm in length. The edges must be twisted by a ring and glued to the middle of the braid, it turns out to be such an unusual element.
  Two parts are glued together in the center and form a detail of four shuttlecocks.
 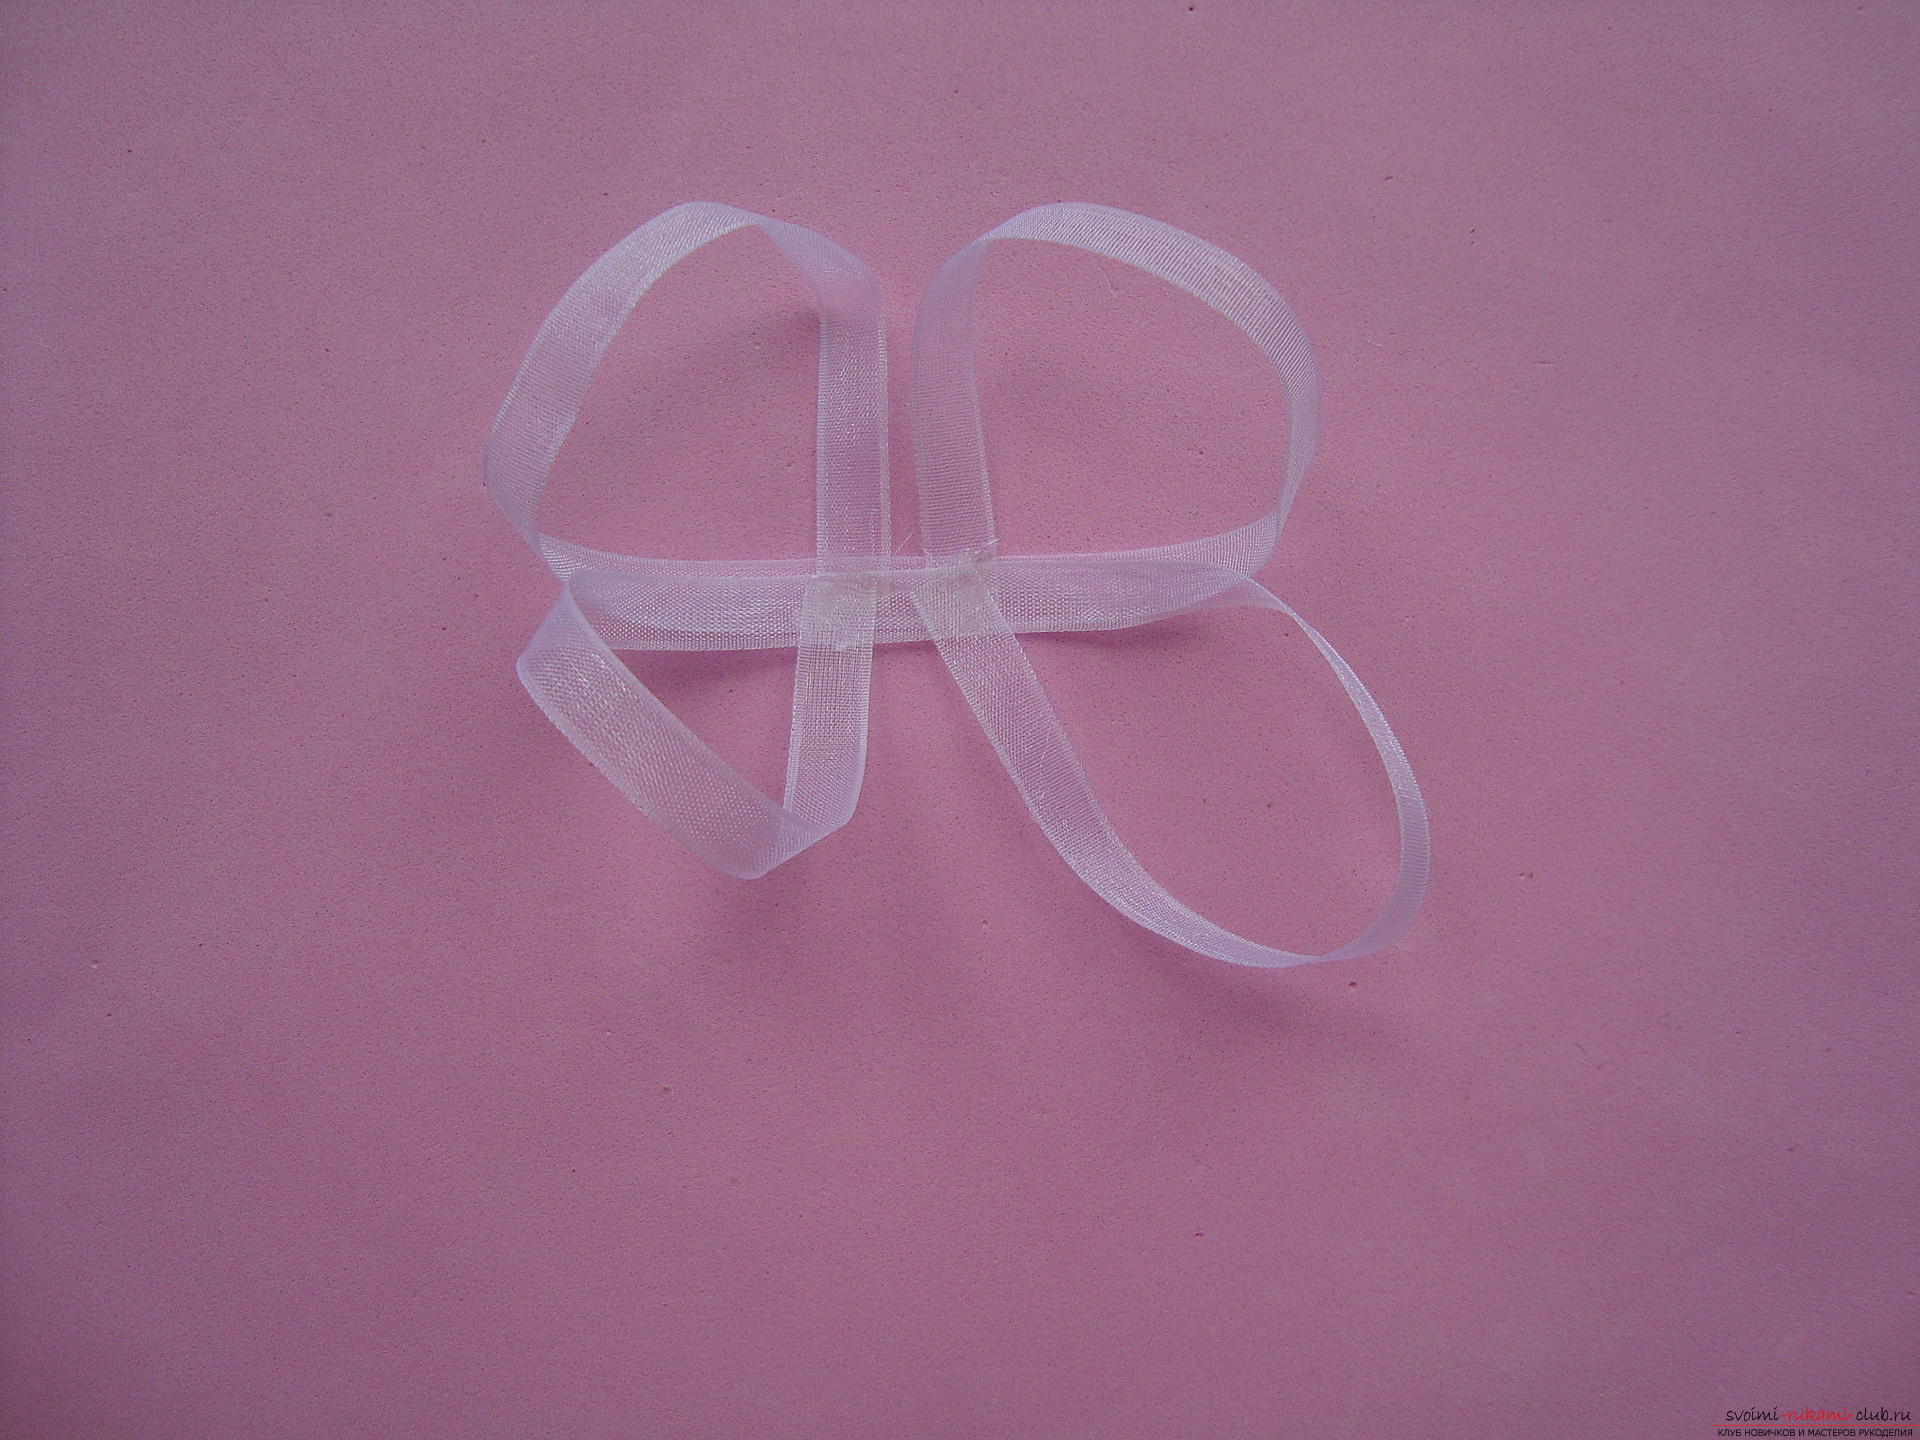 In the center of the unusual workpiece, a white bow is pasted, each edge of it is pushed into the round part of the transparent part and a three-dimensional bow turns out.
 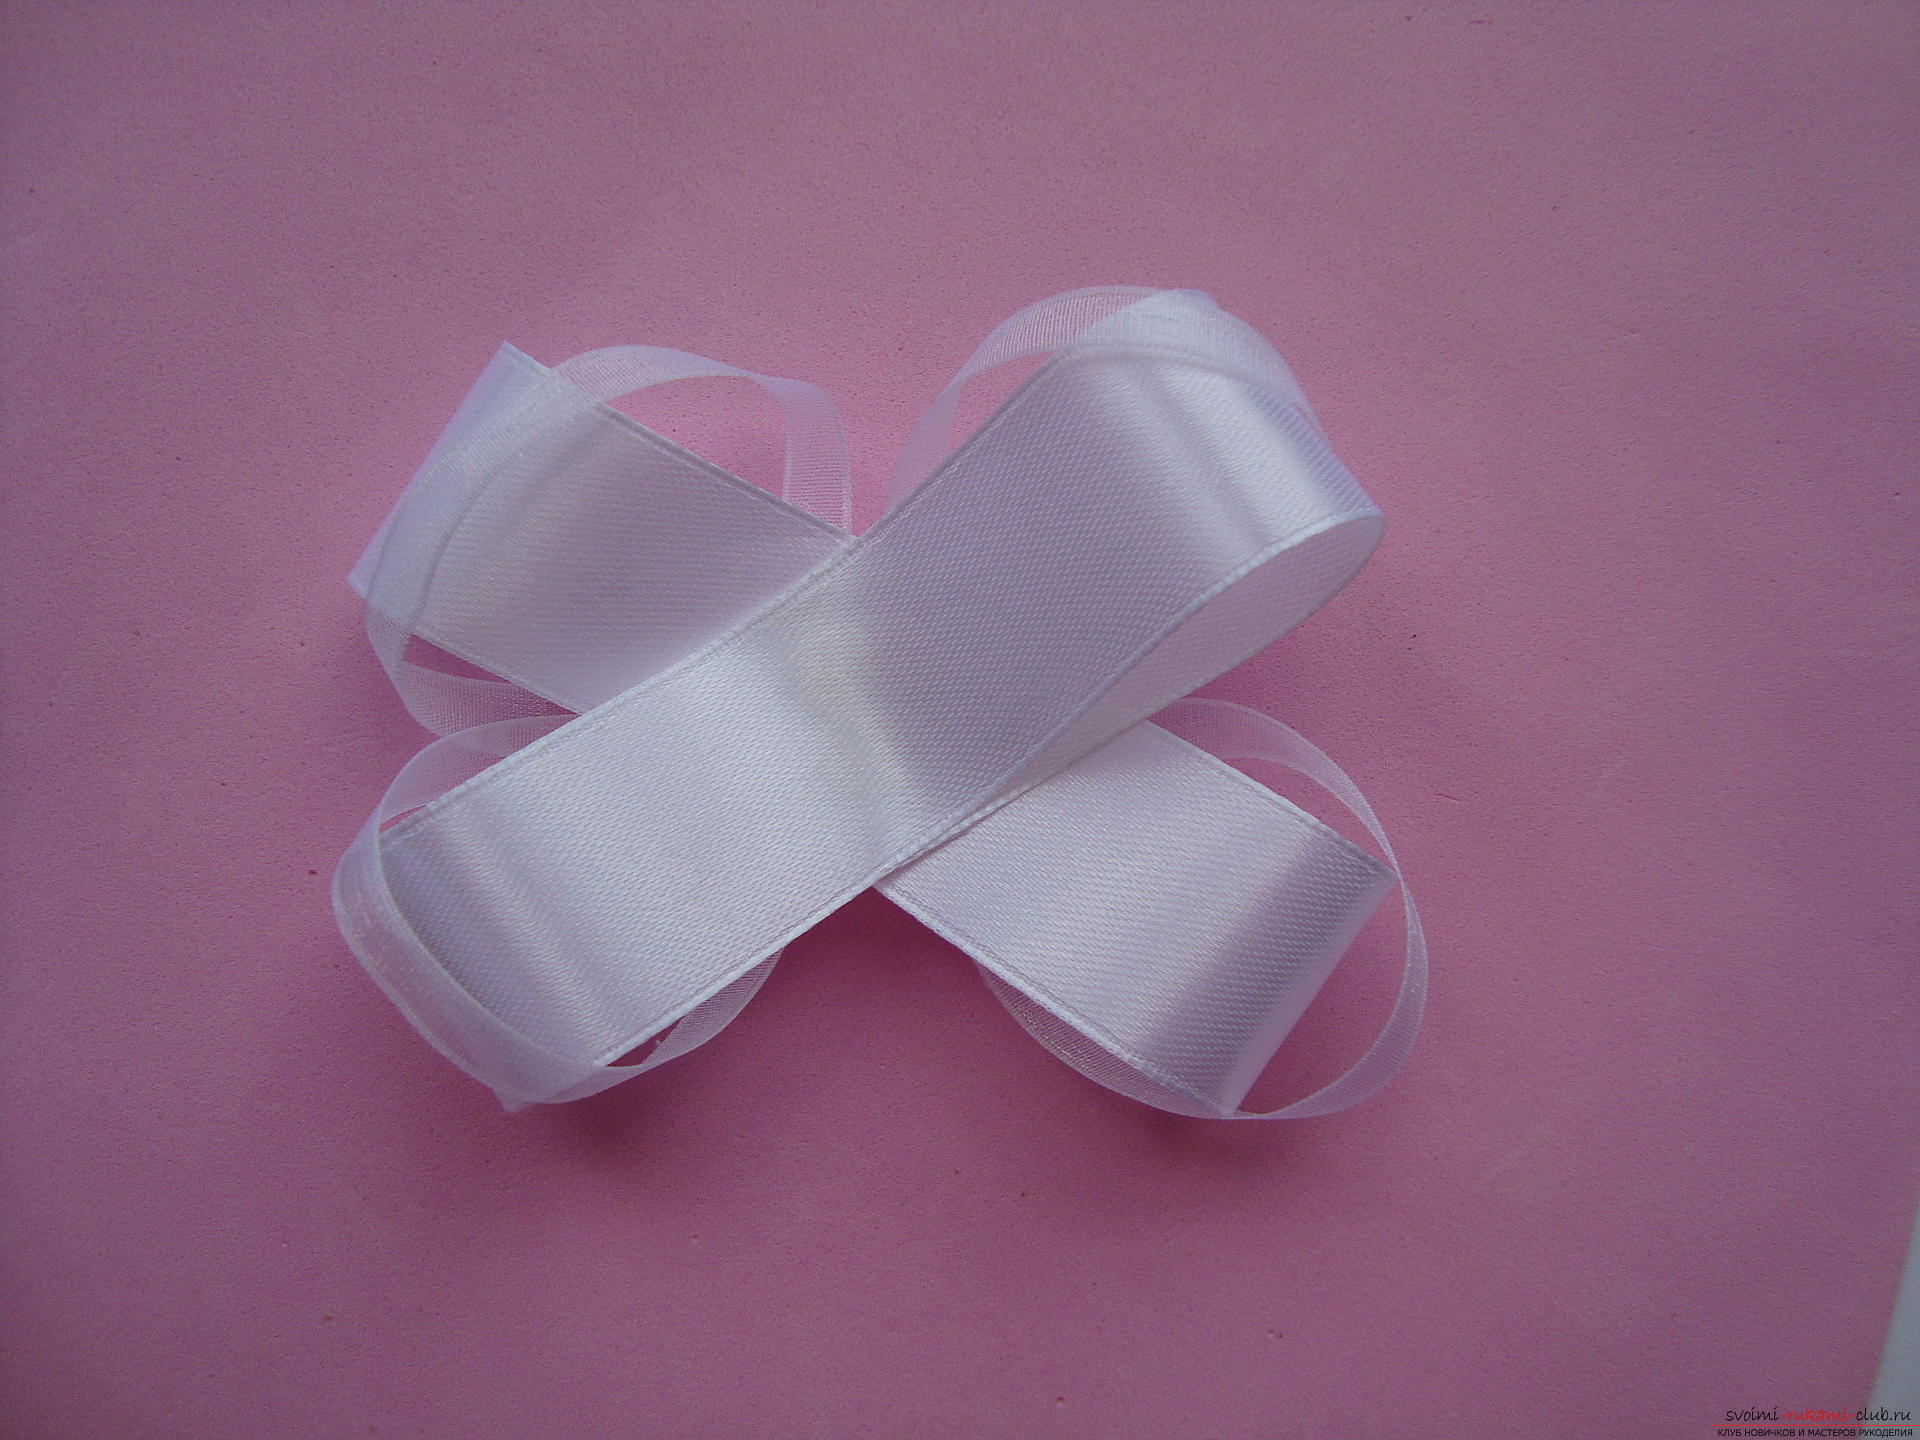 Stick a white bow to the brown horizontal base.
 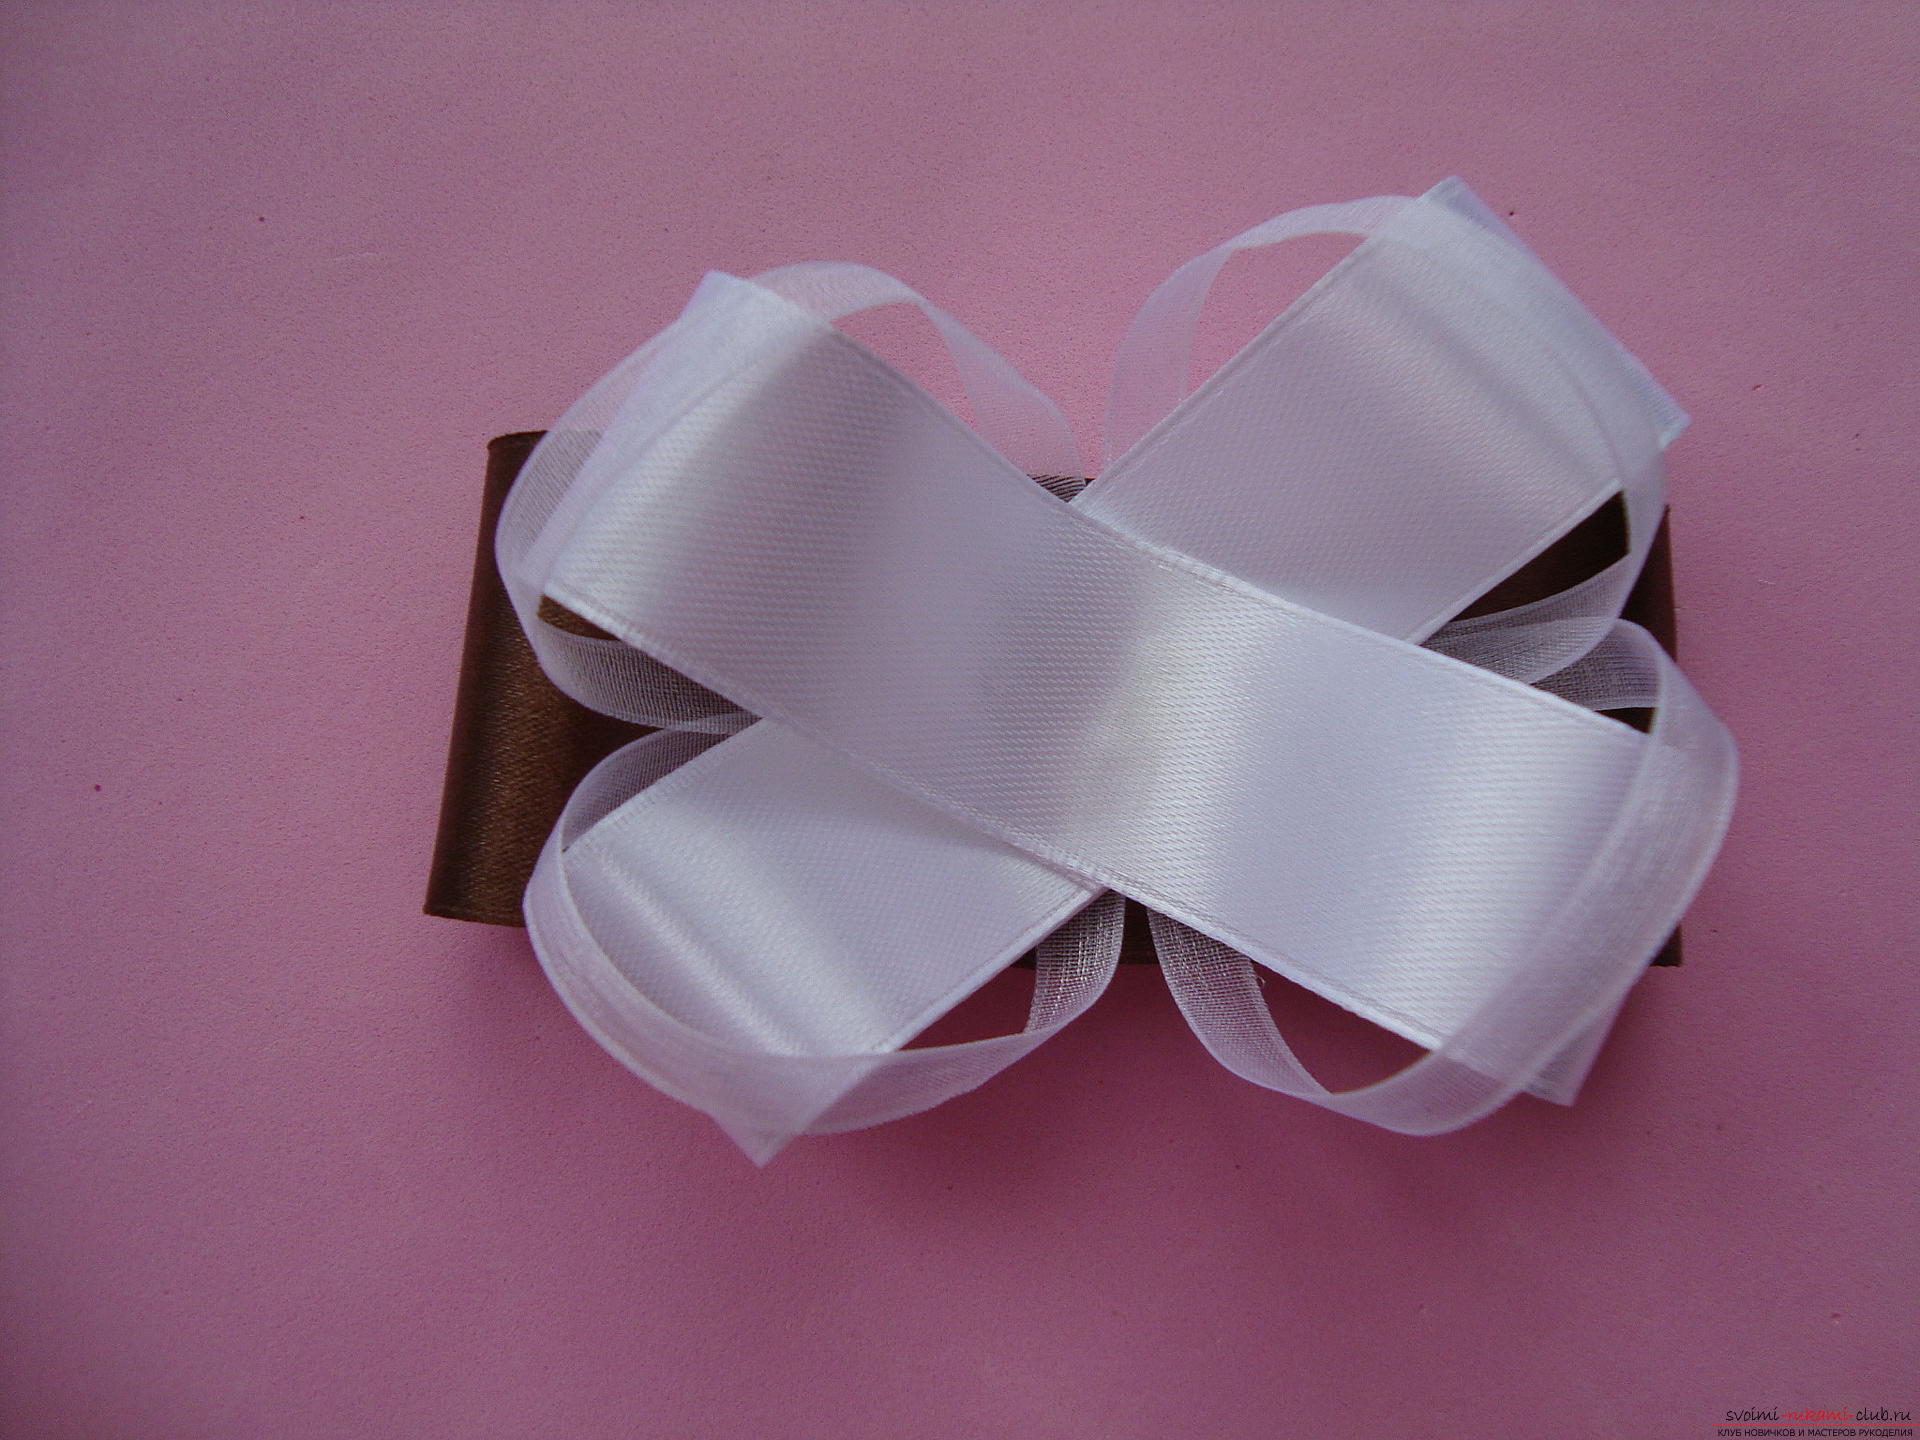 To make the bows look like a set with a similarbrown tie, it will be necessary to fix a white ribbon with roses on the brown braid. To do this, take cuts of lace and satin ribbon at 15 cm in length and fasten over the fire of their edges (the reverse side of the lace is applied over the smooth part of the satin). Center one edge on the other with glue.
 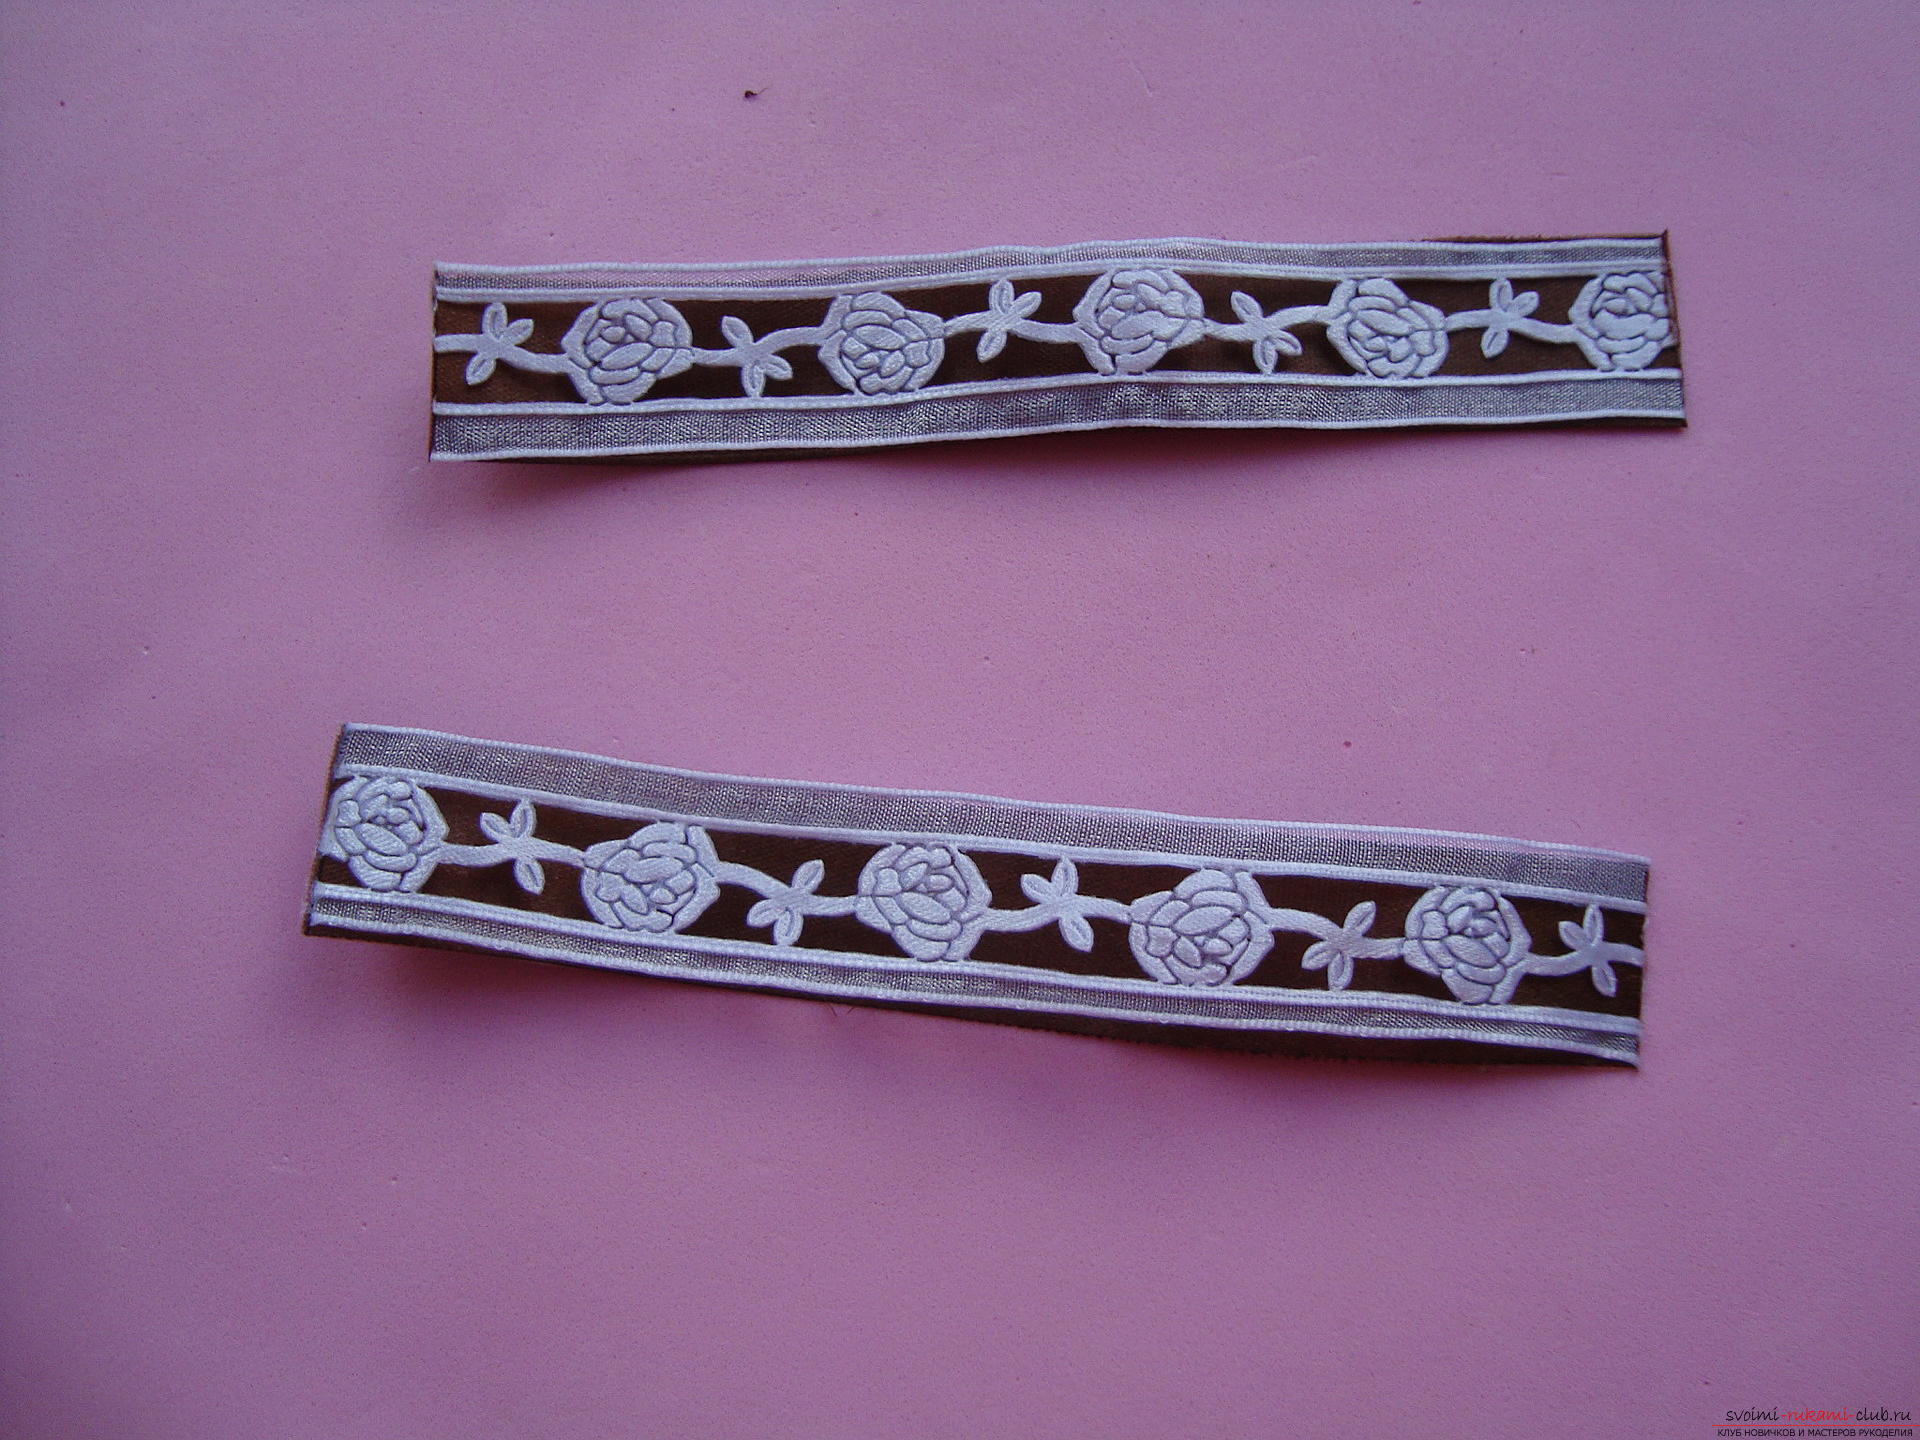 This element is glued in a simple bow on typebrown bottom detail. A new two-layered bow must be glued across the entire work, placing it strictly in the center. The middle of school bows adorn white flowers.
 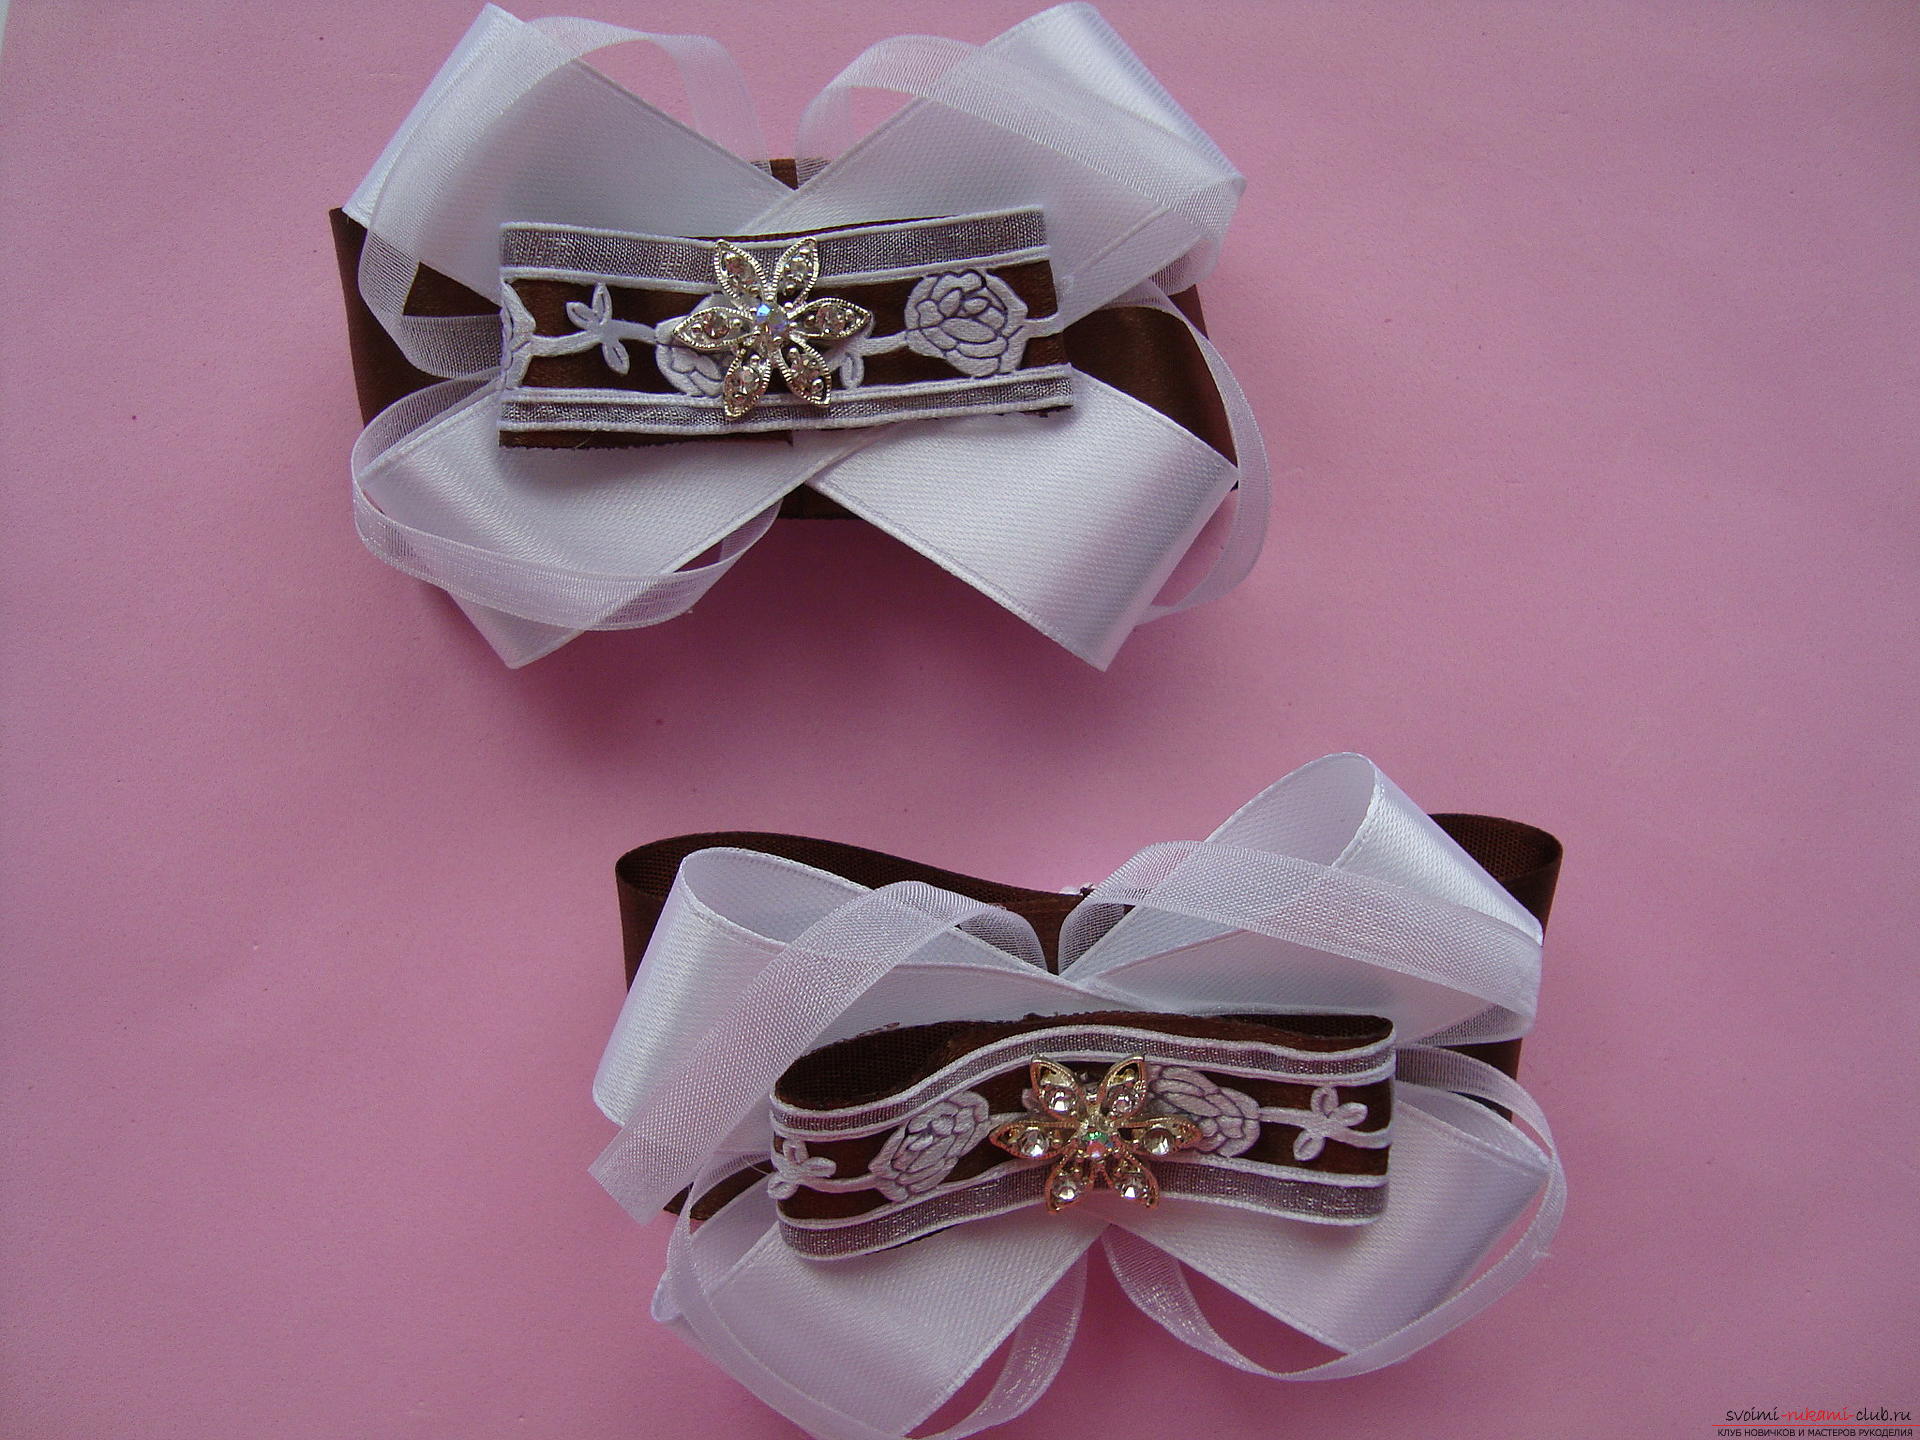 To attach the bows on September 1 to the tails,clamps or rubber bands are required. The hairpins are glued to the back of the product. After bonding the fabric with a clamp or elastic, it is necessary to press down the constituent parts and wait a few minutes before the glue dries. Bows are ready!
 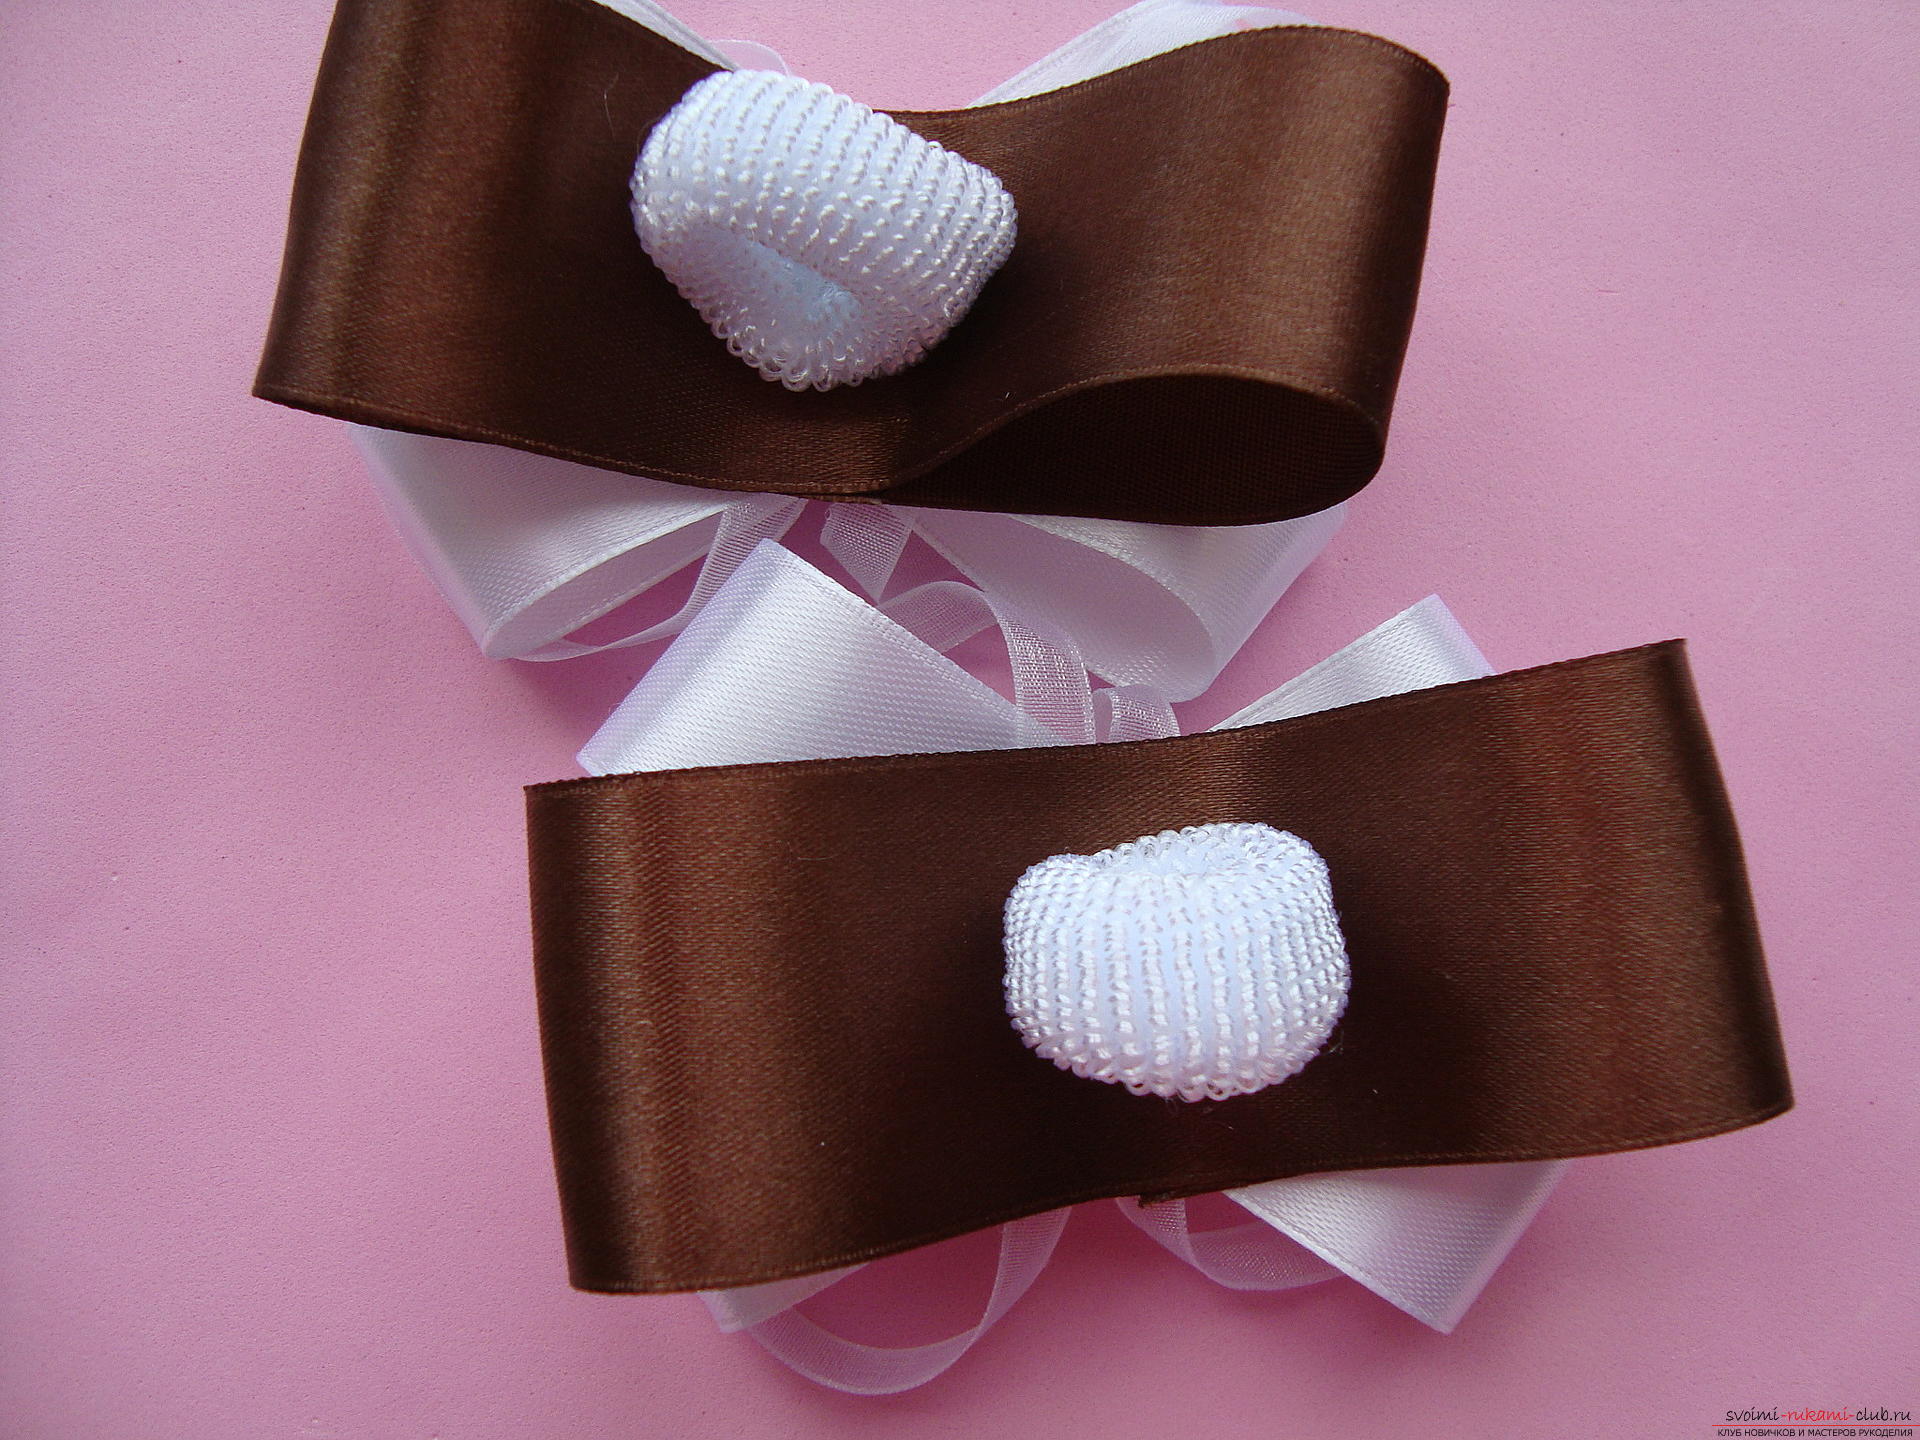 Tie-made neckties and bows are unique, so on the first day of school, your student will be the most beautiful.
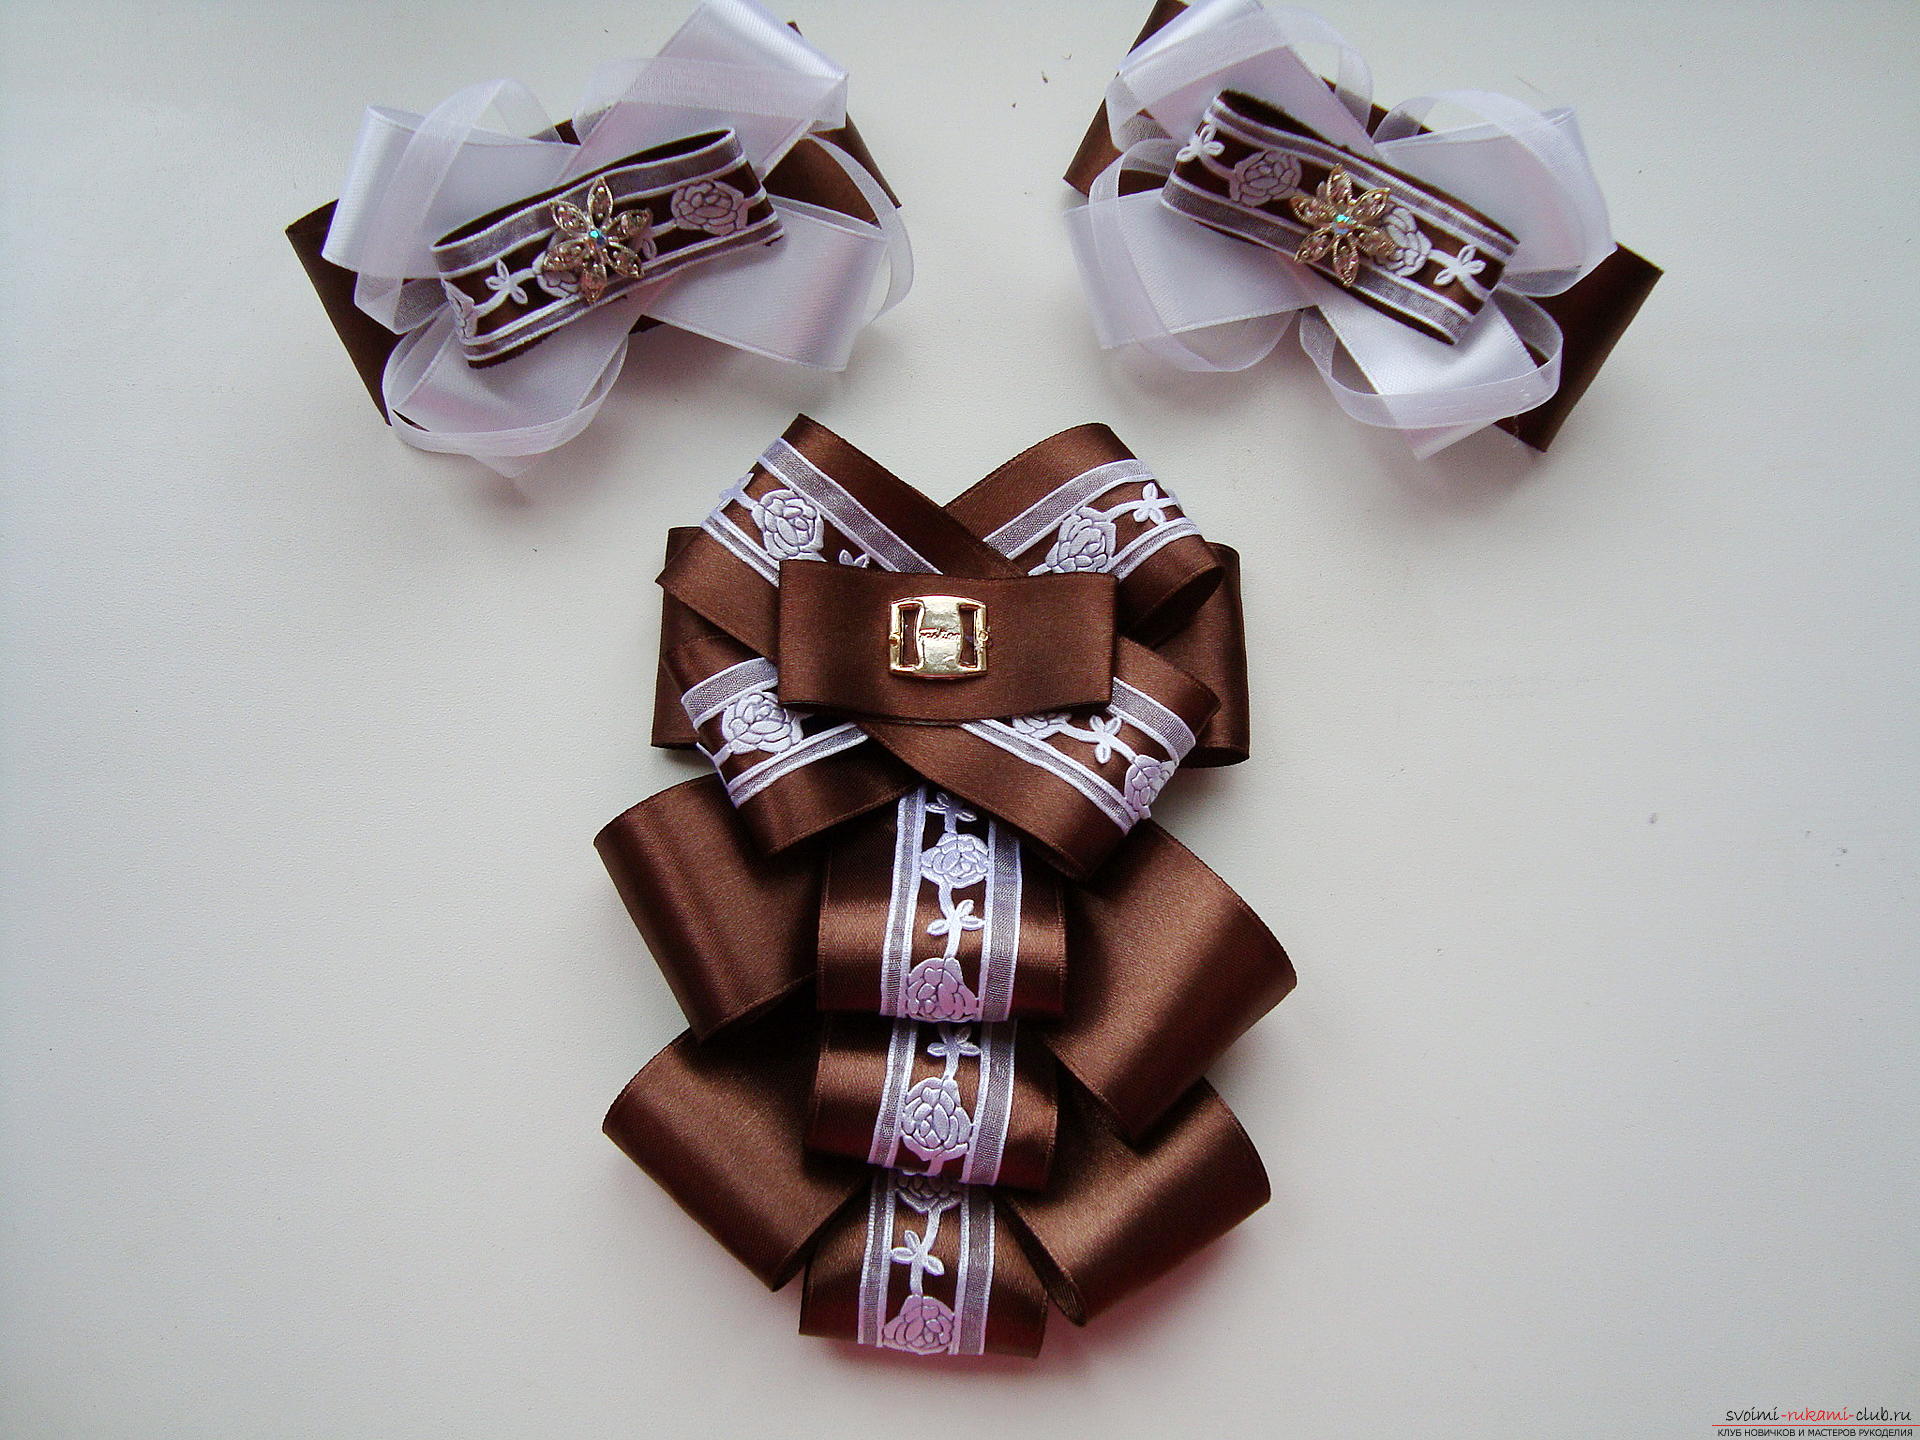
Comments
Related posts:
 Stylish tie for the girl ha on 1 September. Step-by-step instruction for making a tie with your own hands
 Bezel by September 1 for girls with step by step instructions, detailed description and photos
 How to make an original accessory - a tie with your own hands with Kanzash elements? Lesson with step-by-step recommendations and photos
 Ideas of crafts for September 1. A gift to the teacher with your own hands.
 Tie from beads master class diagram and step-by-step photos