We sew leggings for children with our own hands, using detailed instructions with photos and diagrams
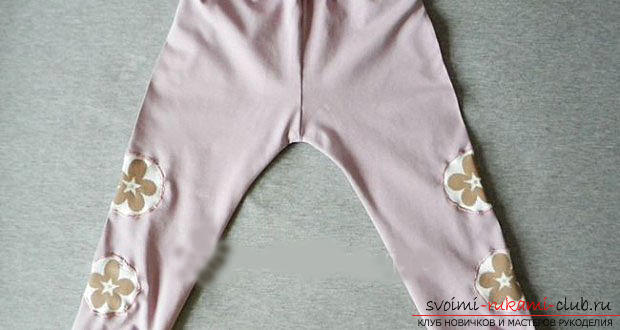
We sew leggings for our baby with cuffsMany young mothers love to sew their own wardrobe parts for their children with their own hands. There is a huge space for flying fantasy, but the choice is always yours. We suggest to do sewing leggings with cuffs for babe, while simple applications and a small button in the form of a fur seal will be used to give extra originality. So, you will need:
- dvuhryryn (you can take non-woven fabric);
- pink interlacus (cotton singing) half a meter;
- riban gray (cotton with the addition of elastane) on the cuffs;
- applique (in our case - a piece of fabric with a print of flowers);
- scissors;
- thread of pink color;
- button (in the form of a cat);
- elastic waist;
- Pins;
- pattern leggings for a girl 1-2 years old. We took the following pattern. It goes without cuffs, but you can make them yourself.
Looking at the pattern, you will see one leg: there are no side seams in the pants. To get a pattern at 86 size, you need to enlarge the drawing so that the waist line (in the illustration - the vertical on the left) is equal to 28 centimeters. The height of the cuffs can be chosen almost any, for example, a pattern of 5 centimeters will be equal to 2.5 centimeters of ready-made cuffs. As for the length of the cuffs, it is approximately equal to ¾ of the length of the bottom of the pants. Step # 1. We cut out all the details. To begin with, you need to attach a pattern to the interlocked section and you will get two main parts. It is important to fold the fabric in from the wrong side: in this way two legs are obtained mirror-like. When this element is done, begin to cut out the cuffs from the ribbon tissue. Step number 2. We take the workpiece for applique and apply it to the place on the leg where they will be located. For our example, on the sides of the trousers it is supposed to have 2 flowers, so in the illustration they are in the center of the trousers. 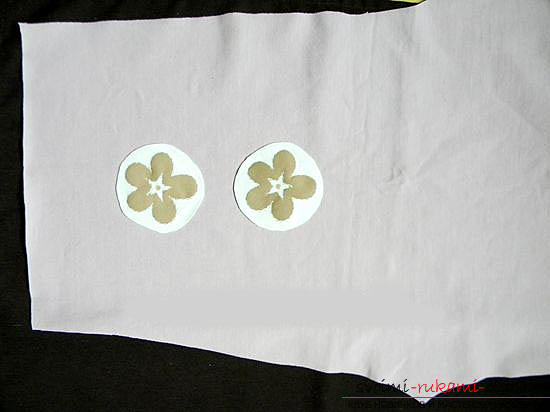 Step # 3. Due to the fact that it is very difficult to make a patch for knitwear, we put a duplicate under the bottom of the main part (or replace it with non-woven fabric). This will reduce the possibility of stretching jersey. Therefore, first we cut out the contour of the stripes from the duplicate, slightly exceeding the size of the flowers themselves.
 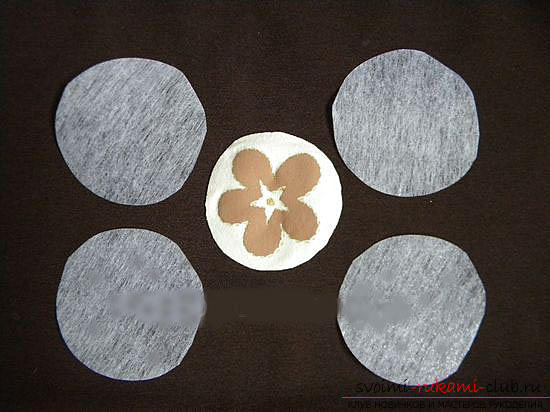 Step # 4. We turn on the wrong side of the trouser leg, put in pieces for the stripes marked with stripes for dashes and iron with iron. From the temperature of the iron, the diplirin will stick to the fabric and after that we turn to fixing the applications themselves.
  Step # 5. We turn over our trousers again, only now on our face, and apply the appliqués to where you put the duplicate on the back. We fix them with the help of tailoring pins, and afterwards, we take them as a string.
 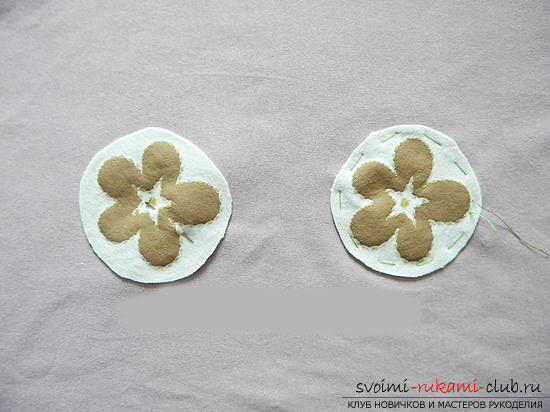 Step # 6. On the contour we sew stripes with a sewing machine, while using a zigzag with the minimum possible distance between the stitches. All the same, the knitted fabric is slightly stretched, but this problem is easily eliminated. To do this, it's enough to just walk around with an iron on the product. Sew all the intended stripes to the trousers. Step # 7. Further we add two trousers so that they have appeared turned the person inside. After this, it is necessary to make the armhole of both parts of the pants (rear and front) be smoothed.
  Step # 8. We machine two armholes, at the same time we first use the seam "denticles", and then overlock it.
 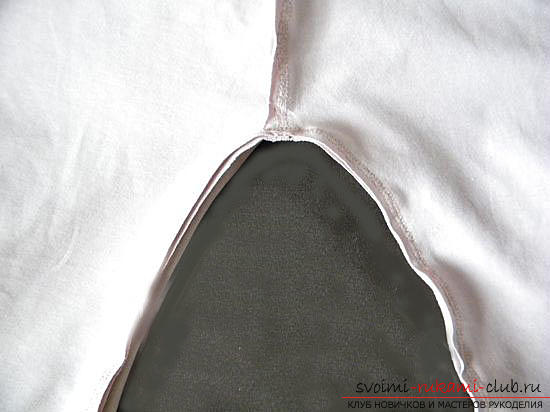 Step number 9. We bend the seams from the seams in one side so that the leggings are neat enough. Further separately we add each leg and fix the step seam with the help of pins. If necessary, or for easy sewing, you can sweep your trousers. In order not to let the fabric loose, it is necessary to walk on the stepping seam of the machine: first using a knitted suture, and then overlocking. Step number 10. Since we made the basis of the leggings, we can move on to the cuffs. Fold it horizontally and press it; The central fold, at the same time, should be clearly visible. After that, the rectangle of the cuffs is doubled along the vertical line and we spend the edges. It turns out, in a way, a "bagel". Horizontally, the cuffs are also folded in half, and the seam allowances are hidden inside. Step number 11. We put our double "bagel" on the bottom of the trousers, so that the edges of the "donut" are turned upside down. We distribute the cuffs at the bottom of the pants as uniformly as possible and fix them with pins. Step number 12. After doing this with both legs, you will need to sweep the cuffs to them, periodically stretching them, since they are about 1/4 narrower than the pant legs. Step # 13. We sew both cuffs with a knitted suture. Next, take out the flow of thread and turn the trouser legs over your face. After that, we again pass through the lower edge of the pants with a knitted suture, retreating no more than a thread of millimeters from the cuffs. Step number 14. The upper part of our product should be tucked in such a way that the top is hidden inside the pants. Please note that you need to turn the fabric up so that the elastic band can fit under the folded part. Fix the bent part with a hint. Try to make the suggestion receding 3-5 millimeters from the edge: it will then be easy to navigate, where you need to scribble the machine. Step number 15. With the help of a knitted suture, we make lines on the lines we've fetched. Next, using an overlock seam, we scribble under this line. We put the elastic band in the formed "tunnel", sew it and sew a hole into which the rubber band was inserted. To denote the transfer of leggings and giving themadditional elegance, we sew a button with a seal to an elastic band. That's all! Leggings with cuffs for girls are made! If you decide to sew on this pattern pants without stripes, then you will get quite comfortable lower pajamas.
Comments
Related posts:
 Keychains Bead schemes to weave their own hands (photo)
 How to build a pattern of a long dress for a woman with your own hands, using step by step instructions with a photo and description.
 Warm clothes for small dogs with patterns by their own hands, photos and instructions.
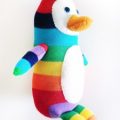 Penguin with his own hands. We sew a toy from a sock.
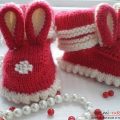 We learn to knit baby booties-slippers in the form of bunnies for children with step-by-step instruction, with photos and diagrams for free