We sew toys from fleece with our own hands, diagrams, description, master class / Toys with own hands, patterns, video, MK
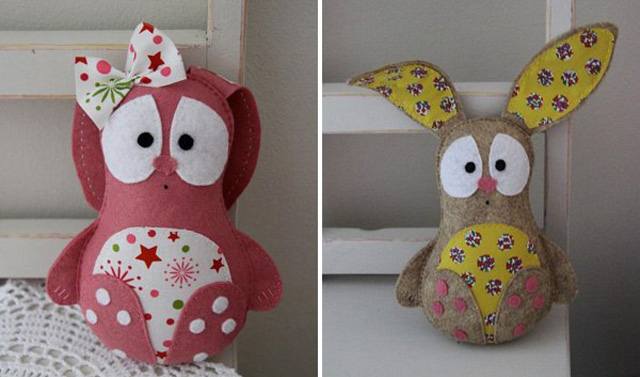
Fleece has long been used successfully as a materialfor the manufacture of factory soft toys. It is quite possible to make such toys with your own hands, especially as fleece is unpretentious in work and easily stretches, masking minor shortcomings of stuffing or seams. 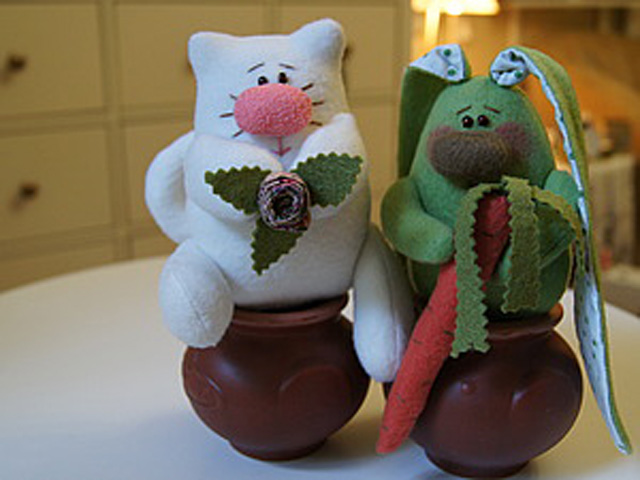


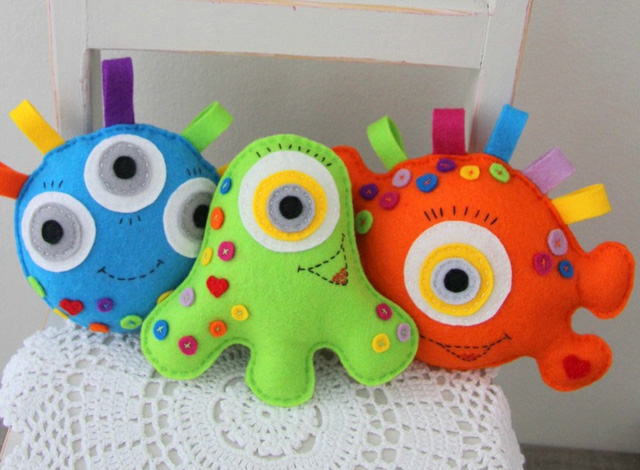


Cheerful octopus
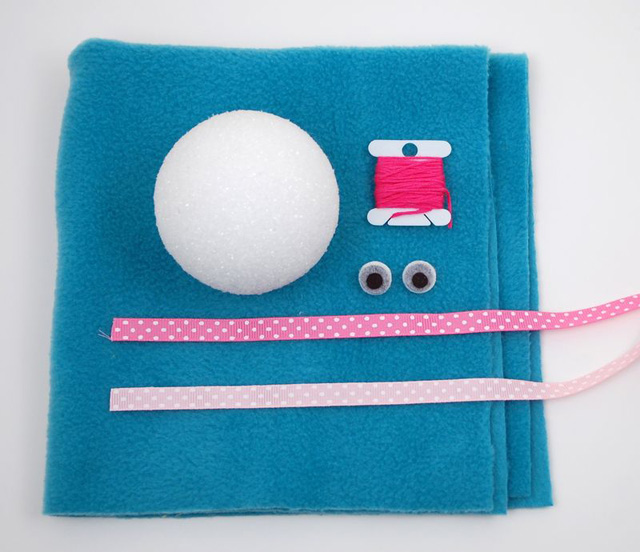
To make this toy, you do not need complicated patterns. Even a child can easily make it with her own hands, using for work:
- scraps of fleece white, gray and black colors (for the eyes).
- 2 m of bright tape;
- old ball for tennis;
- a piece of fleece with a bright shade of peas 20x20 cm for bandana;
- a piece of fleece of blue hue measuring 40x40 cm for the body of the octopus;
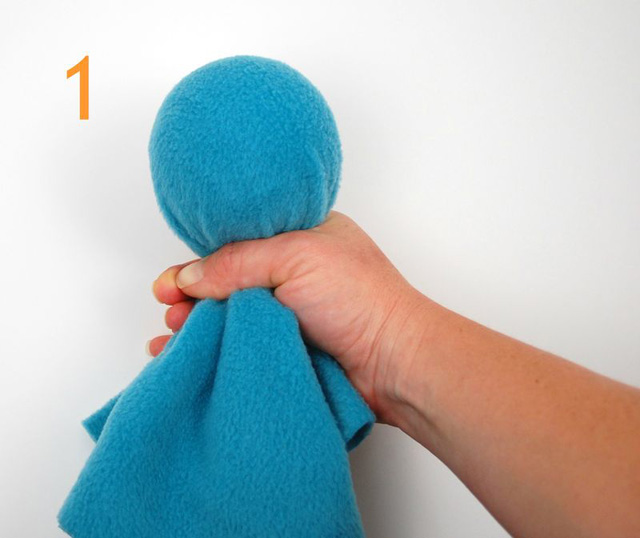
- We form the "body" of the octopus. We place the ball in the center of a piece of blue cloth and rewind tightly with threads. Then we remove the thread and pull out the ball, we straighten the fabric. The trace from the thread will help determine the contours of the ball's location (this is necessary so as not to overdo it with cuts).
- From each corner of the improvised pattern we cut out on a square of cloth with a width of 12x12 cm. Do not worry if they do not turn out perfectly smoothly - this will not be reflected in the finished toy!
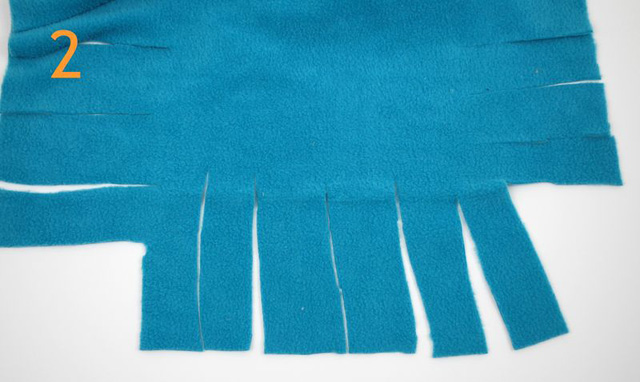
- On each side of the resulting cross, we makelongitudinal incisions, not reaching 2-2.2 cm to the contours of the ball. From the resulting "noodles" we will make the legs of our octopus - with our own hands, of course. On each side we make 6 cuts.
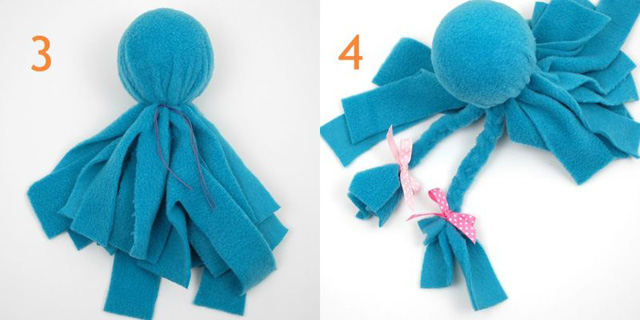
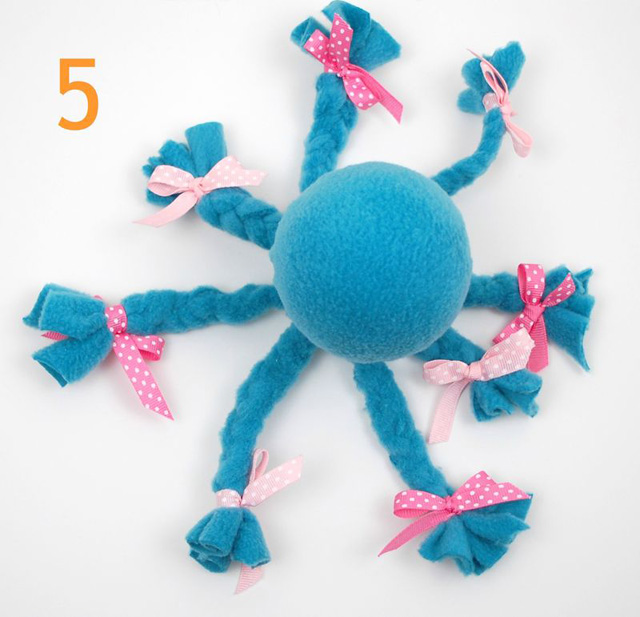
- Again, put the ball in the center of the pattern andrewinding thread. We form the extremities of the octopus - we braid the strips in pigtails. Since strips of 25, in the end we will get 8 braids-legs. Each of them is decorated with a ribbon bow.
- We make an octopus cheerful face. From the scraps of fabric we cut out circles of different diameters - 2 of each color. Using glue for the fabric, we glue them on the head of the toy in the following order:
- white;
- Gray;
- the black.
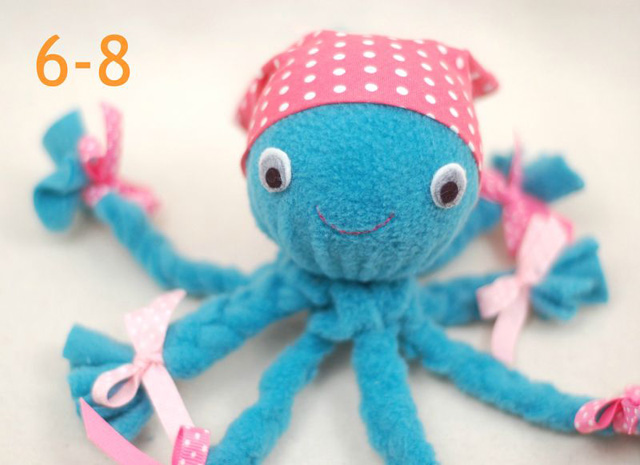 A few stitches of red or pink threadenough to make an octopus smile. The last stroke - we wrap the head of the toy with a cloth in polka dots and fix it from below, forming a bandanna. Congratulations, you just made an excellent toy!
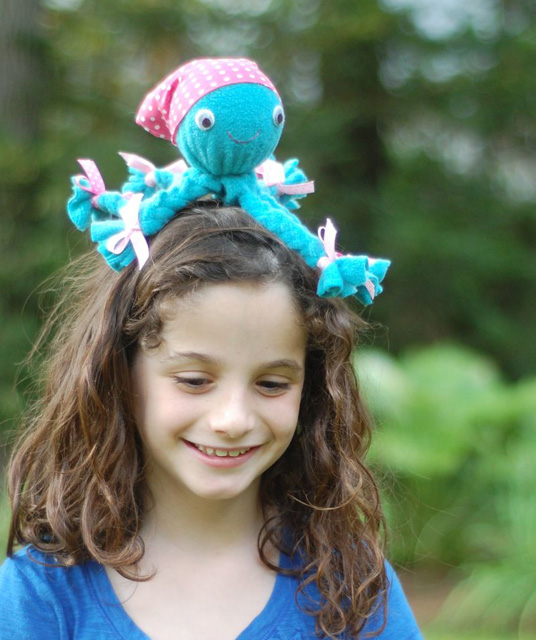
Bright ladybird
Manufacture of printed fleece toys, whichconsist not of one pattern, but of several - the task is a little more laborious, but feasible. Consider how to create a cute ladybug with your own hands. To do this we will need cuts of fleece red and black color and half a meter thick wax tape for the legs of our toys. Step 1 - Cut out the patterns. From the red fabric we cut out 2 circles with a diameter of 12 cm (for the ladybird body) and 2 circles with a diameter of 7 cm from the black fabric for the head (Fig. 1); Step 2 - sew stains. From black fleece cut out 6 circles with a diameter of 1 cm and sew them around the circumference of patterns of red. We divide the back of the future toy into 2 wings using a thin strip of cloth of the same shade as the specks (Fig. 2.3); Step 3 - sew the head. To attach the head of the toy to the trunk as neatly as possible, you must first pin the head parts to the patterns of the trunk with pins, as shown in Fig. 4 and 5, and then stitch it on a sewing machine or sew it yourself. When joining patterns, do not forget to leave a hole for stuffing. Step 4 - stuff the toy with a sintepon or cotton wool and gently sew the holes. Step 5 - attach our ladybug legs from the folded in half pieces of dark tape. To make them look more impressive, make them parallel stitching with a white thread. As you can see, making a ladybird from fleece with your own hands is not difficult. Finally, we will offer one more version of soft handicrafts, this time for dogs.
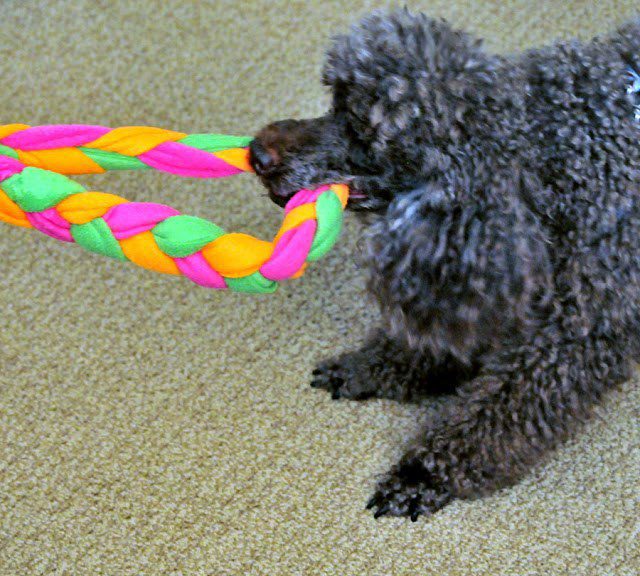
Wicker fleece toy for dog
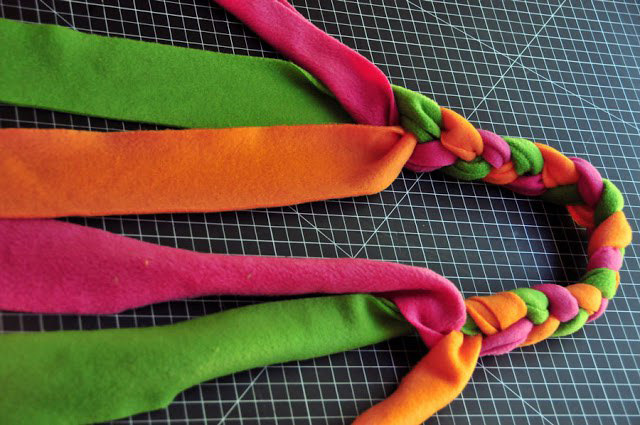
We need 3 stripes of fabric of different colors (it is better to take contrast) with a width of 7 cm and a length of 25-30 cm. Procedure:
- We fold the cuts together and rewind in the middle with a thread;
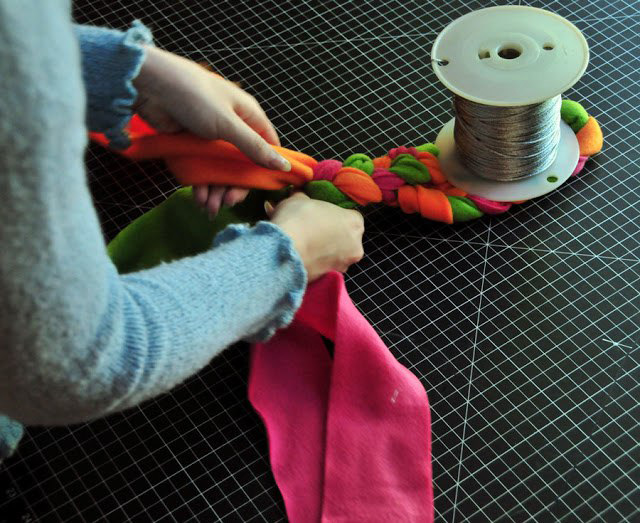
- Strips on both sides of the joint are braided into dense braids to the middle of their length. To weave it was more convenient, the second part of the braid is fixed with something heavy, as shown in Fig. 3.

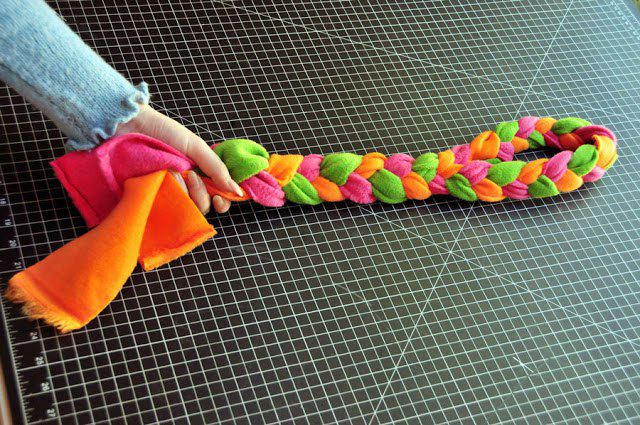
- The resulting pigtail is folded in half, we fix the kink for convenience (Figure 4.5). Free stripes braid "spike" or connecting two strips in one, to get a new braid (Fig. 6).
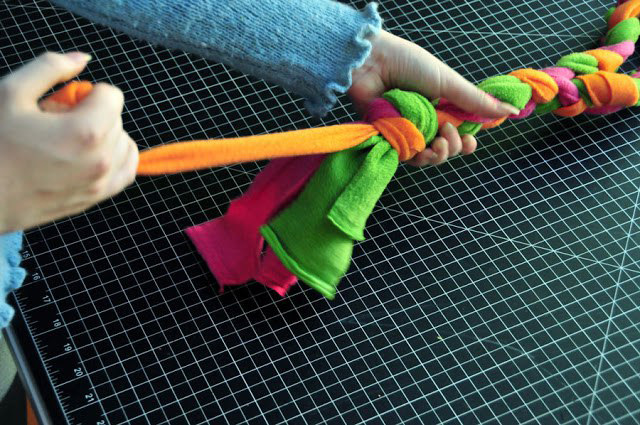
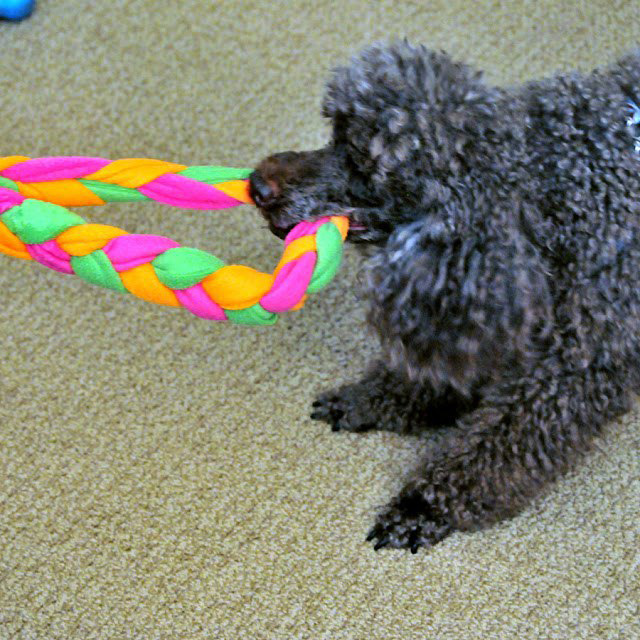
- Tightly tighten its tails, as shown in Fig. Done! Your pet will be happy to rip this soft toy.
Comments
Related posts:
 Seals are inseparable as a symbol of loyalty and love: we sew funny toys-talismans with our own hands. Master Class. Video / Toys with own hands, patterns, video, MK
 We sew a soft developing cube. Master Class. Video / Toys with own hands, patterns, video, MK
 We sew a tilde of a deer. Master Class. Video / Toys with own hands, patterns, video, MK
 We sew the rooster from the fabric with our own hands. Master Class. Video / Toys with own hands, patterns, video, MK
 We sew a tilde princess on a pea. Master Class. Video / Toys with own hands, patterns, video, MK