
Shorts with a high waist with your hands: a master class
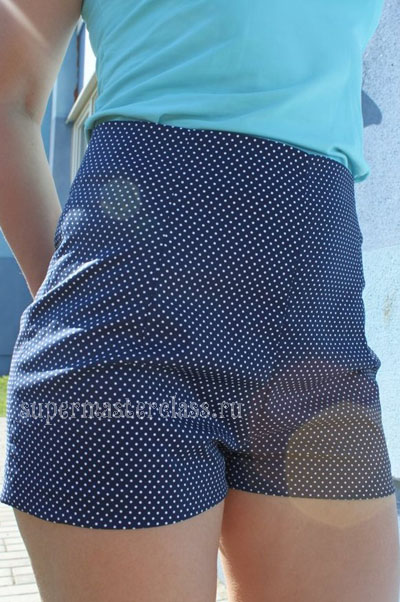 I present to you a workshop on sewing eleganthigh-rise pin-up shorts. Get not just a fashionable new thing - but an indispensable piece of clothing in which at least to the beach, at least for a walk around the city, at least to work, if the dress code allows the format of shorts. Even if your skills are limited only to laying a straight line on a sewing machine, according to our master class you will get neat shorts, which you will become happy to wear.
For tailoring and cutting your own shorts with a high waist, we need:
- Pattern shorts with a high waist (orbuilt independently or taken from a fashion magazine - below we give a pattern that can be used for sewing such a product); - 0.5 m fabric cut (preferably from natural fibers); - oblique inlay 0.75 m; - decorative metal zipper; - fleece 15x80 cm; - tailor scissors; - chalk / soap; - ruler; - thread; - safety pins; - pryamostrochnaya sewing machine; - overlock. With all the necessary you can get to work.
Preparation of fabric for tailoring
First you need to fabricate the fabric: soak in warm water, dry, then iron with steam.
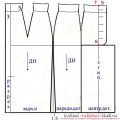
Open the high waist shorts
- the front half of the shorts - 2 parts;
- back half shorts - 2 parts;
- front part of the facing - 1 detail with a bend;
- rear side trim - 2 parts.
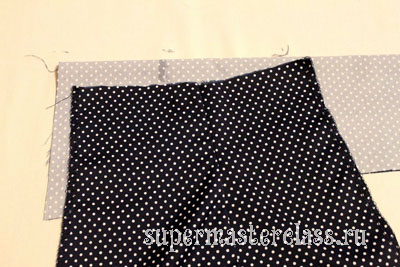
 Lay out the pattern on the fabric, saving material as much as possible. Cut out the details, adding 1 cm allowance over all cuts, 3 cm to the bottom.
How to sew shorts with a high waist do it yourself: job description
We sweep the side, middle and step sections of both halves. We grind darts on all halves. 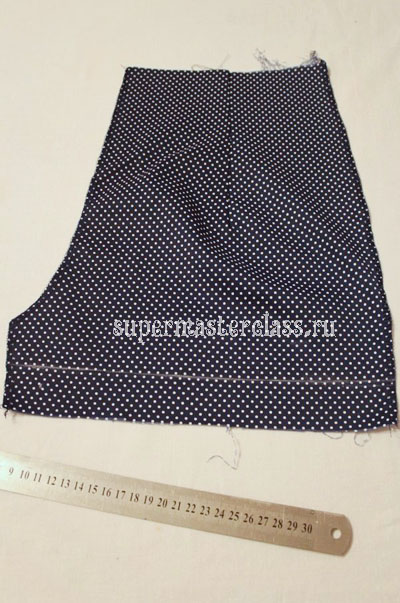 We press darts towards the center of the halves.
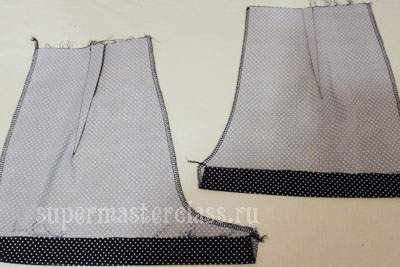
 Along the way, we draw a bottom hem line and immediatelypress out. Cutting out facing. We lay the fabric face to face, impose the front half on top, the middle cut of which protrudes by 1 cm, since the fold is folded. Then impose the rear half. We do a wide trim (10 centimeters high) so that it would be easier for a tum to keep in shape in our shorts with a high waist. Glue flizelinom parts facing.
 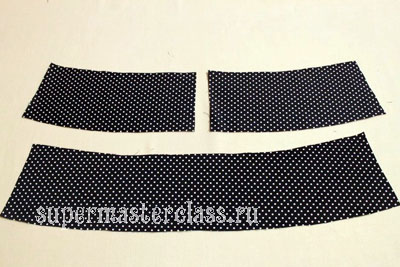 Fold the front halves face to face, grind off the middle sections 1 cm from the edge.
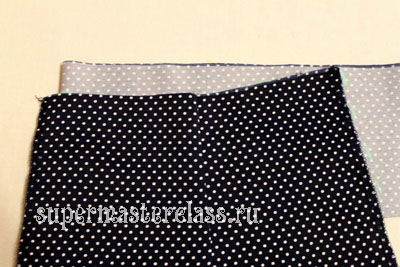
 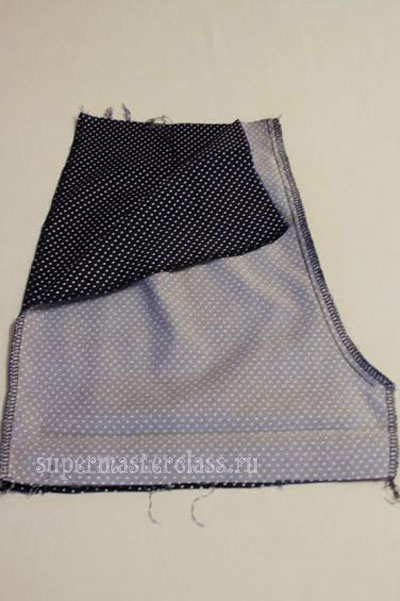 Behind on average cut from top to bottom we postponea segment equal to the length of the buckle - “zipper” (its working part, which is with teeth) plus 1 cm. And we grind down from this mark down the middle sections of the back halves, placing them face to face.
 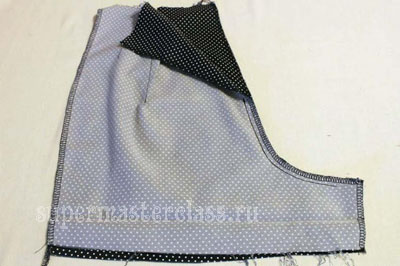 Laying another line on top of this.
 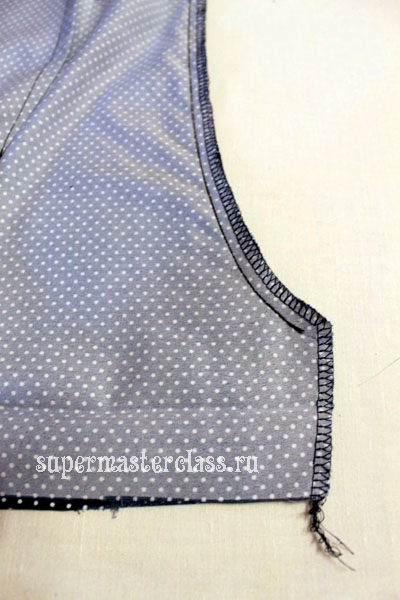 Note: the middle cut of the back halves is lengthened in me, that is, the reserve is 1 cm, therefore it is better not to finish the line by 2 cm on the back and 1 cm on the front halves. We grind stepping cuts, pushing back by 1 cm. We grind the side cuts of the front halves with the rear ones.
 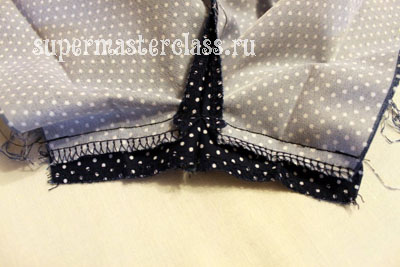 Nastrachivaem in the middle of the side cut of the facing bent in half the loops, do the same with the second side.
 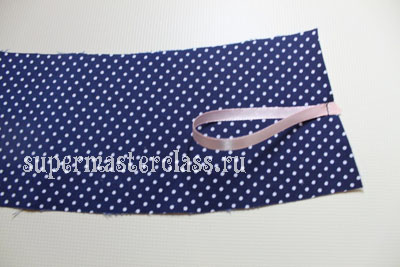 We sew the side seams of the facing. Iron up allowances. Middle sections of the rear parts are cut by 1 cm. We grind the lower section with an oblique inlay.
 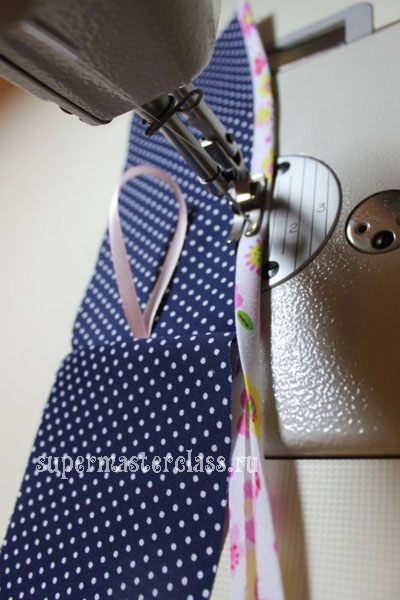 We grind the upper cut of the shorts by turning. Cut the corners. We turn on the front side and lay the finishing line 2 mm from the seam, the stock from the inside is bent to the side of the facing.
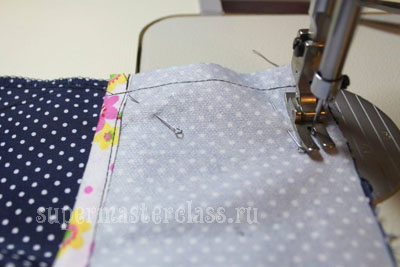
 Iron the corner and the entire top edge, forming a 1mm edging of the main parts.
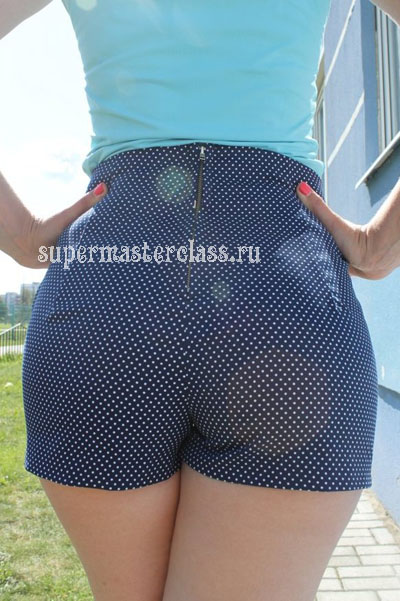
 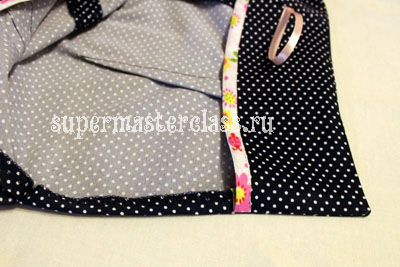 We sweep the “zipper”, then stitch it in 1 cm from the middle, simultaneously bending the “lightning tails”.
 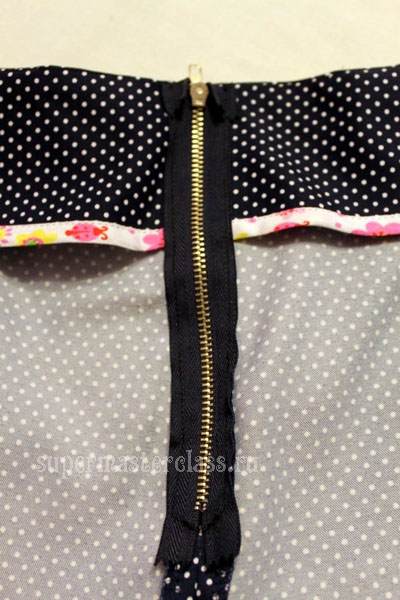 We iron from above through a wet ironing. We make vertical bartacks on the side and front middle seams, only 1 mm away from the seam.
  We sweep the lower sections. Hemmed with manual stitching. Iron all product.
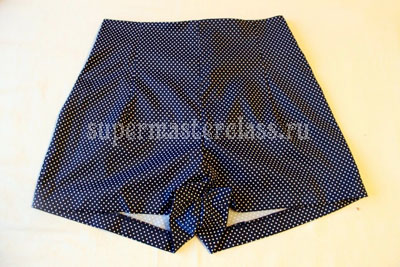
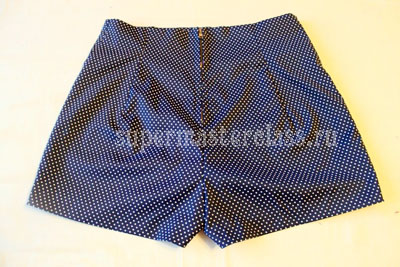 Enjoy the update and wear your own high-waisted shorts with pleasure!
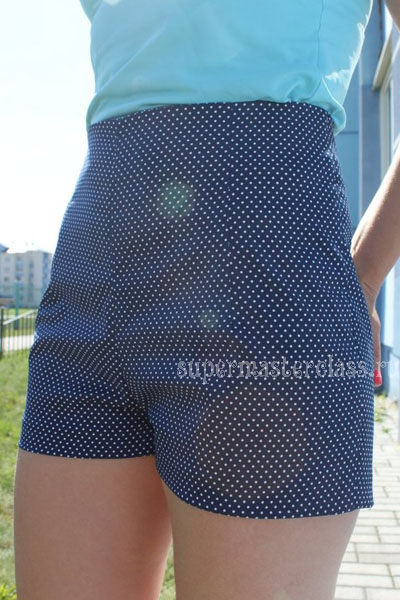
 Are you afraid to take on such a large-scale event? Then we advise to get acquainted with the master class,. It’s better to start small! Jana Kalgina specifically for the site Previous article: Next article:
Comments
Related posts:
 Detailed instructions on how to create a dress with an overstated waist with your own hands
 How to sew a dress with your own hands: a master class
 Flowers from Foamiran with their own hands are a master class. MK from Foma.
 Kanzashi is a master class. Flowers from satin ribbons with their own hands.
 Detailed construction of a pattern of a skirt with an overstated waist.