
A simple master class on sewing an apron with your own hands will help in the work of a beginner seamstress
The master class for sewing an apron will be excellenthelp for beginner needlewomen. A stitched product will be useful and relevant in the daily life of each hostess. However, those who can already sew complex variants will be able to look into our leadership with one eye and learn new ideas for their next works. 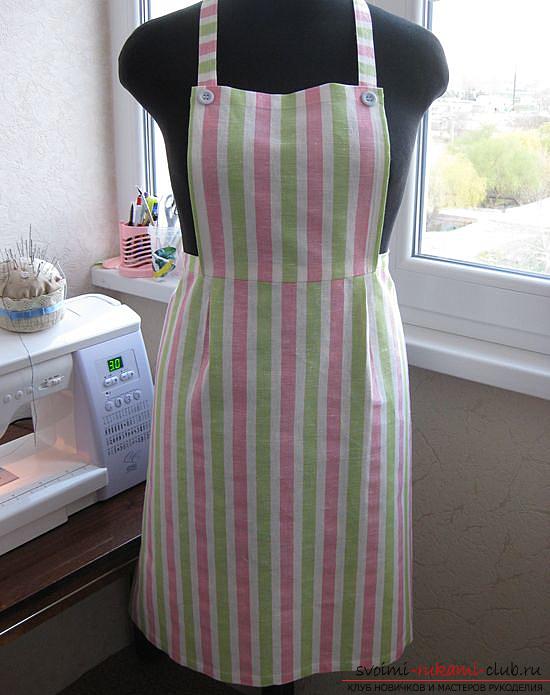 Although the store shelves and abound in textilegoods, including aprons of various colors and models, but sewing with their own hands the thing pleases the eye and heart. In order to start a master class on sewing an apron, you should prepare. It is necessary to take a cloth (excellent models are obtained from natural fabrics, flax or cotton). It is also necessary to have scissors, a tailor's meter, tailoring pins, a ruler, a chalk or a small remnant.
 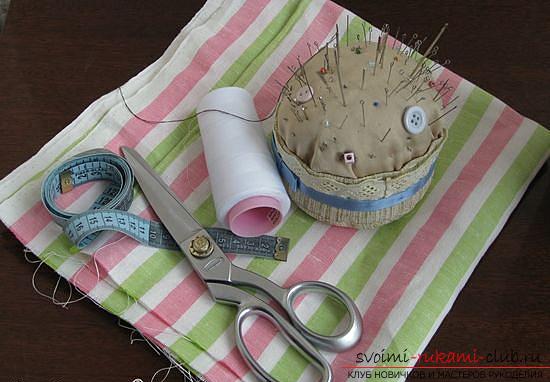 First, the parts are cut out, namely:
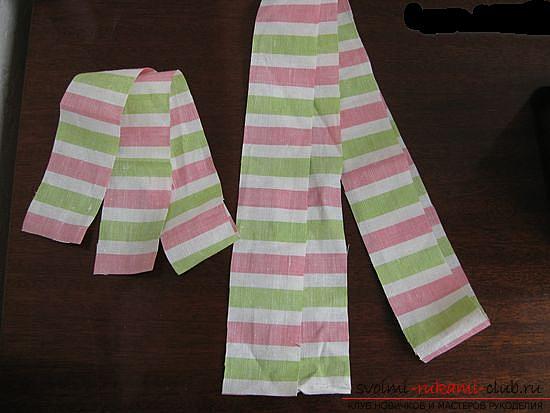
- Stretch short, having a width of 5 centimeters, and length - 75 centimeters;
- The length of the string is long, width, also, 5 centimeters, and length - 1 meter 40cm.
 Then the upper part of the future product is cut out. Its width is 27 centimeters, and for a length of 28 centimeters is enough. Here is a piece of cloth, almost square.
 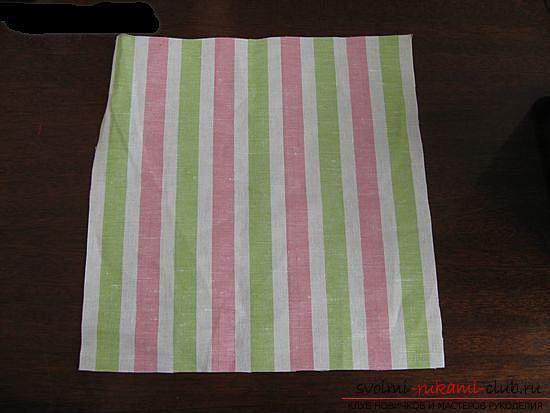 Getting to work on the bottom, you should measure the waist circumference of the future owner of the apron. In this case - 75 centimeters. The length of this part is half a meter.
 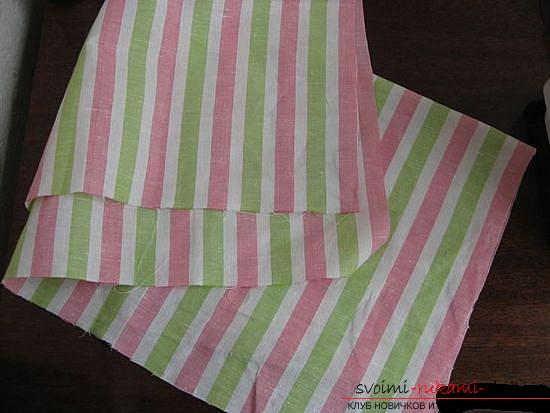 Before grinding, the details of the apron need preparation. First of all, one side of the upper pattern for the product is bent to half a centimeter and is pressed.
  Then again bends and again ironed.
 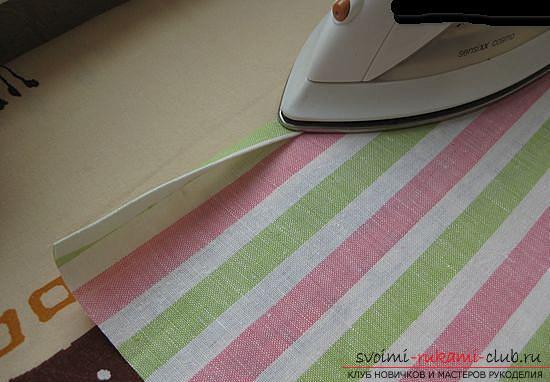 Similarly, the other sides of the upper part of the apron are treated and chipped with pins.
 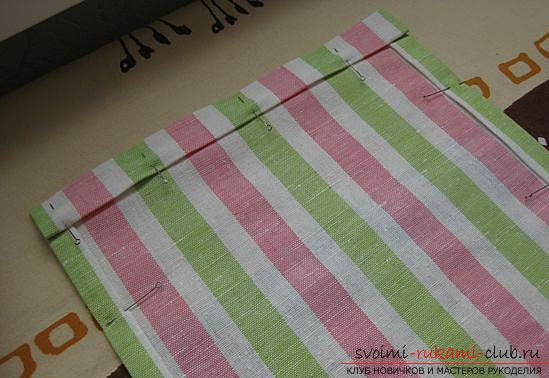 The next stage of the work is the sweep. In the same way, the lower part of the product is processed.
 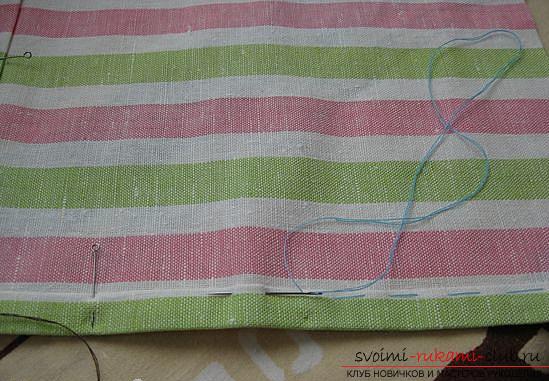 After the upper and lower workpieces are prepared, they must be sewn on the sewing machine. After this, the notch is removed, and the finished seams are pressed together.
 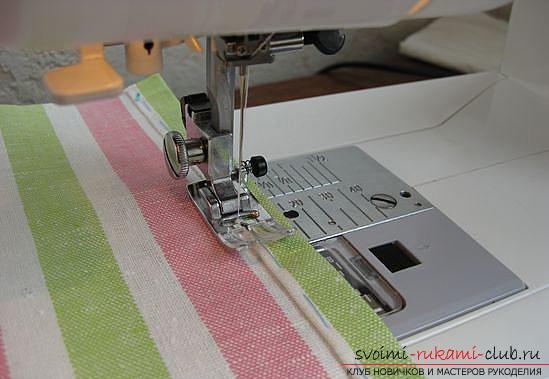 Corners should be handled carefully. Here's how they should look after the machine line.
 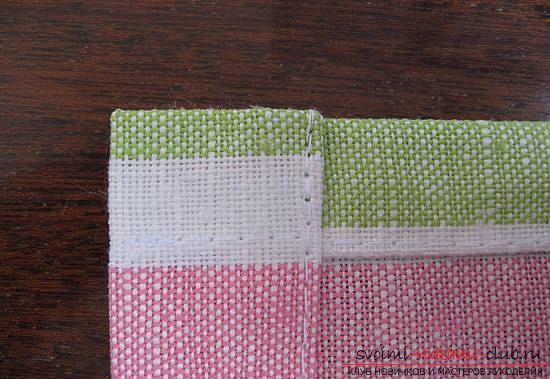 The apron does not have to stick, but it's good to sit downon the figure. To do this, the lower part of the product needs a recess. Darts should be made at a distance equal to the middle of the lower workpiece in the upper part.
 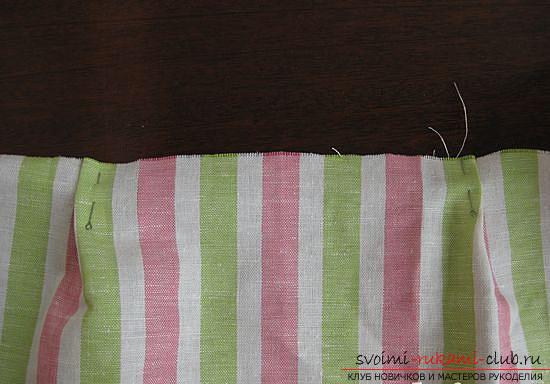 To continue the work, the upper and lower parts of the apron are cleaved together, and the centers need to be combined.
 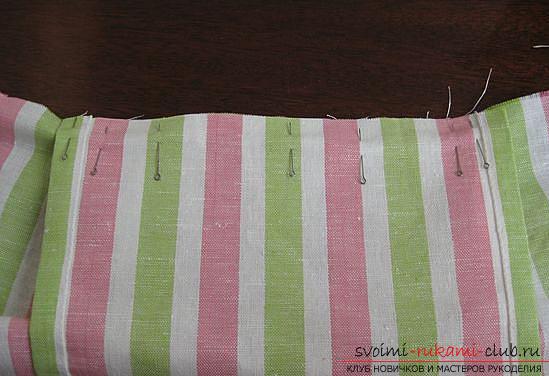 Now - work for the sewing machine. It is through this, to all the known instrument, that we will unite all the details together.
  The next step will be pinning a long strap, combining it with the central part of the apron.
 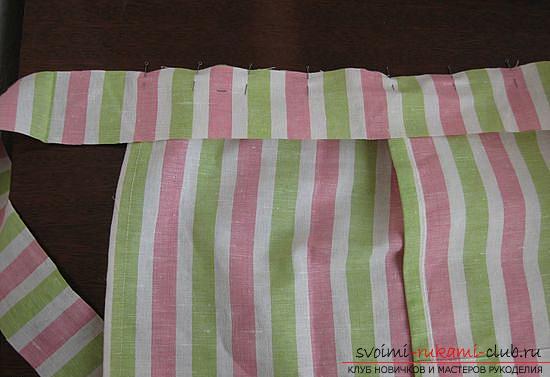 Pratachivaem detail to the product.
 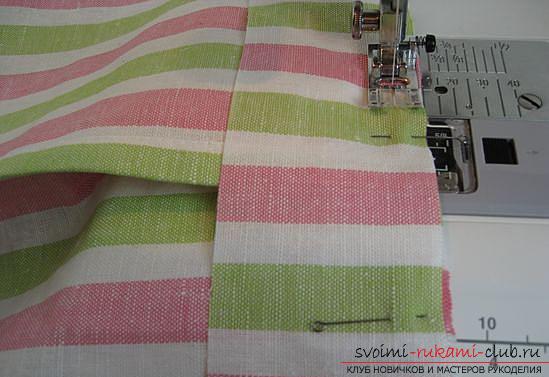 The further course will be bending the slices inward by half a centimeter, the stitch seam should look inside the long strap. Puncture the part with pins.
 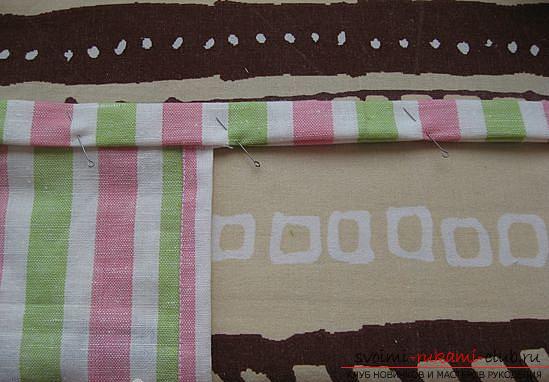 After this, sweep the room fixed with a hall.
 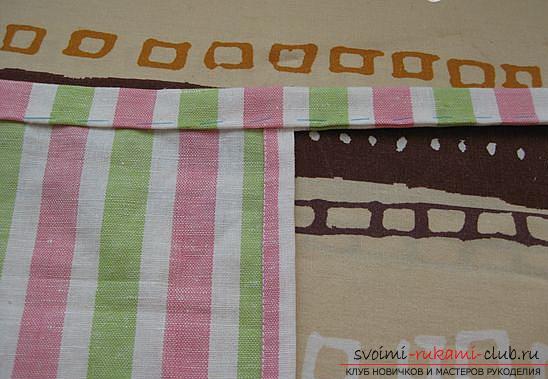 After marking again, walk along the seam with a sewing line, remove the marking after.
 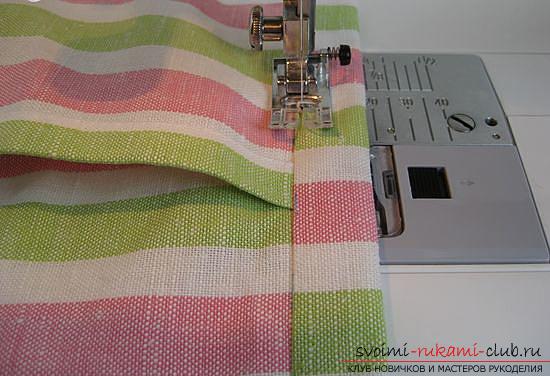 Now the turn of work with a thin strap. It folds along, then in half. After that, it is grinded by the machine. It is important not to forget to leave a small hole when grinding, it will be needed to unscrew the part.
 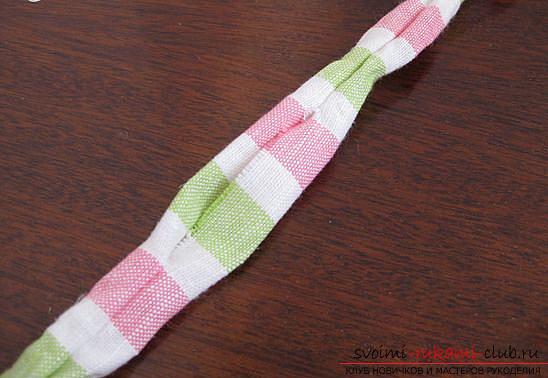 The turned strap is straightened and ironed.
  Now you can try on an apron. The length of the short strap is adjustable in the shape, and then sewn. To do this, you can take the buttons that fit the coloring.
 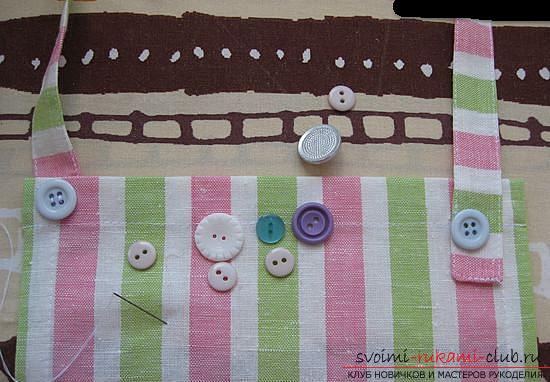 The top part of the apron is pressed.
 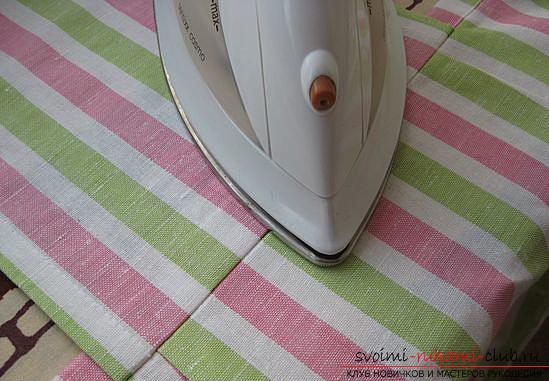 After that, the strap is sewn longer with a sewing machine to the upper workpiece with small attachment seams. The apron is ready. If desired, you can iron it well and use it for your own pleasure. Also, a masterpiece created by himself can become an excellent gift for any occasion, and will always please the owner with the memory of the donor!
Comments
Related posts:
 An accessible master-class for sewing a baby's undershirt is suitable for beginner seamstresses
 Master-class on sewing a light summer dress with your own hands, using detailed recommendations with photos and diagrams
 An interesting master class on sewing a baby blanket from triangles will help you learn how to sew from shreds
 Interesting master class on sewing bedspread "Maple Leaf" will help you learn how to sew from rags
 A simple and detailed master-class on work in technology is "isolate" for those who only make the first steps in this kind of needlework.