
A simple master class on sewing a dark mask for sleeping will help yourself to sew a useful thing
Master class on sewing a dark mask for sleepingwill help you easily sew this useful accessory, which in some cases is the only way to fall asleep. Even a beginner skilled worker can cope with the work, since this is absolutely not difficult and does not require special skill. The dark mask for sleeping in the form of cloth glasses for many people is an indispensable tool that provides a full rest. Many people can not fall asleep when a light is on or in daylight, although this is sometimes vital, especially for people with a busy schedule. If you or your loved ones belong to this category of people, then our master class will be very useful to you. Very quickly from the usual piece of material you can independently sew the necessary thing. 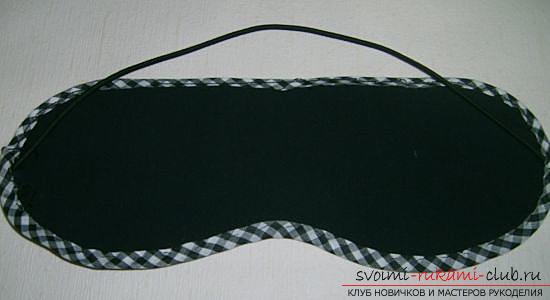 In order to sew a mask-glasses, you will need some consumables
- For the side of the product that has direct contact with the face, you need to take a dark (preferably black) fabric of natural origin.
- Material for the outer part of the product. You can take the same as in the previous case or use any other material.
- In order to keep the mask in shape, it will require a non-woven fleece, which is not too thick.
- The braid is special, elastic for attaching the product to your head or elastic.
- Bake for edging.
- In case the mask is intended for a girl or a woman, you will need material for decoration, which can be lace, appliqués, ribbons, beads, embroidery threads.
Now we will proceed to the most working process. Tailoring products will consist of several stages. Stage one Initially, on any sheet of paper folded in half, you need to draw a pattern of the product (its half). Turning the paper, we get a complete pattern. Before we proceed to the drawing, we make special measurements - the width of the face, as well as the height of the bridge of the nose. We will sew a mask according to average size. Thus, we have received patterns (on the bridge of the nose). 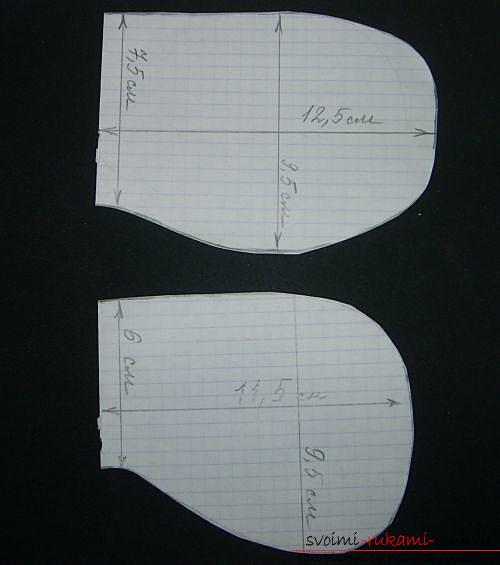 Stage Two Now you need to transfer the receiveddrawings of the pattern on the prepared fabric. If we use the same material for both the inner and outer sides, we need to double it. Then we can immediately get two details. We cut out two details for the male model of the mask and for the female model.
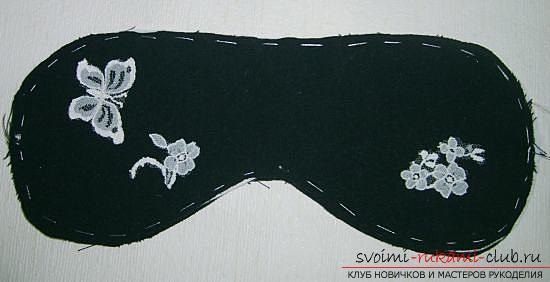
 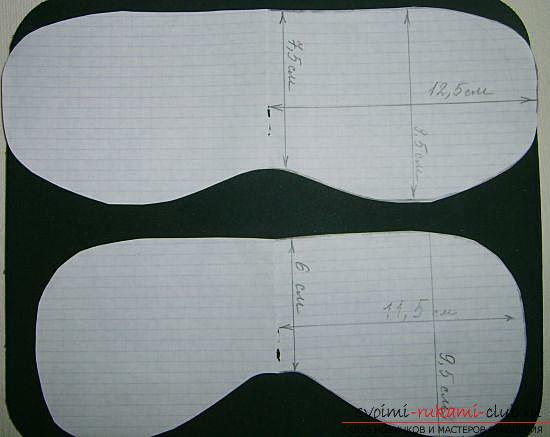 Stage Three We cut one by onedetails for each of the masks from nonwoven. Stage four Now you need to fold all the details and sweep or chop the sewing pins. To do this, the part intended for the inner side of the product should be put face down, then we put the part from the nonwoven and on top the second piece of fabric, the outer one, which we place the face up. All the details are swept away. Also need to sweep the elastic band or elastic band. Note that you need to match the edges of the tape and the edges of the pattern. Step Five The details for the female mask we put together in a similar order, only do a little decoration. For this, we fix the patterns cut from lace or other elements of decor.
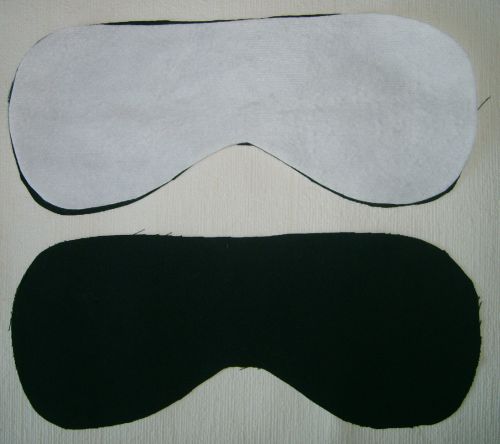
 Step Six We make the edging of the edges of the product oblique bye.
 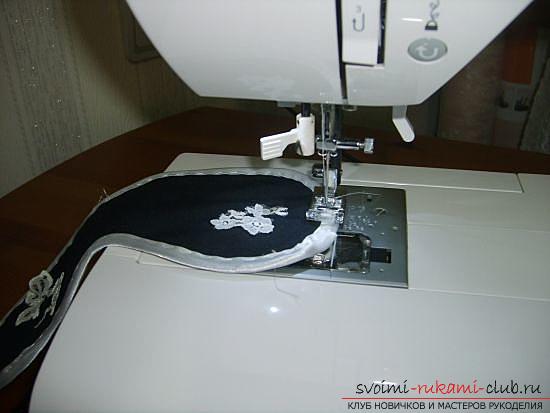 Stage Seven - Final At this stage, you just need to remove the marking stitches or pins and you can apply the mask to the destination.
Comments
Related posts:
 Sewing any thing you will help remove the measurements from the model for example, sewing a straight skirt
 We prepare the dough for modeling yourself - a master class with a photo and a simple instruction
 New Year's costume is not always convenient to buy, andTo sew a carnival costume for a boy can even a beginner skilled. A master class with photos and videos will help create a New Year's children's costume in the image of Santa Claus.
 The master class will teach you how to connect your own hands with a useful hand-crafted article for your home - a glass bottle for a glass
 We make bookmarks yourself - a master class from professionals!