Simple drawing of a wooden house in several stages for beginners does not require much time
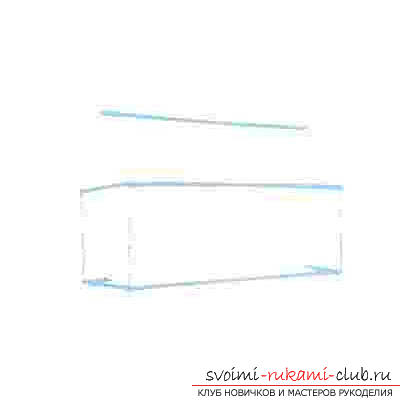
Drawing a wooden house in several stagesfor beginners painters - a good option to practice and consolidate the knowledge. The whole drawing consists of lines and simple geometric figures, so in its execution there is absolutely nothing complicated and impossible. Simply following schematic images and describing the stages of work will make it possible to create a drawing in a short time, and a little imagination and desire will allow to depict an interesting landscape. Everyone can draw at any age. Of course, it is better to start from early childhood, but even if this wonderful time is lost, it does not matter, there would be a desire. It is necessary to start your own creative career from small, in this case from the simplest images and drawings. It is desirable to choose such objects, for drawing of which you do not need special efforts, it is enough to learn to draw lines and simple geometric figures. That is why in today's lesson we will try to explain to you in detail how to draw an ordinary wooden village house on your own. Each of us knows how he looks. Many more than once visited such houses and kept about them the most pleasant memories - happy moments of childhood, grandmother's pies, vacations. Drawing a wooden house in several stages for beginners is not something tricky. With this drawing, not only the adult, but also the child can easily cope, since the drawing of the individual lines composing the overall composition and the finished image is very simple. Draw a house of wood we will be in several stages. The first stage of drawing our village house of logs is to draw out the contours of the object that define common shapes. This principle of work applies to virtually all objects and objects that you will independently depict on paper in the future. To do this, we need to draw a few lines, which in the future will serve as walls and a roof. 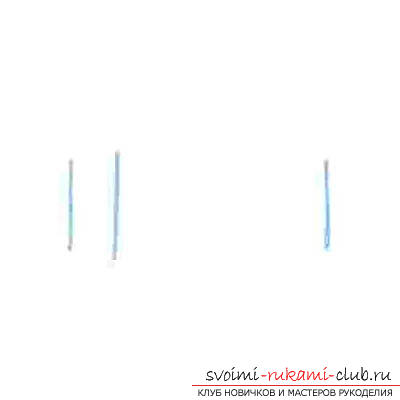
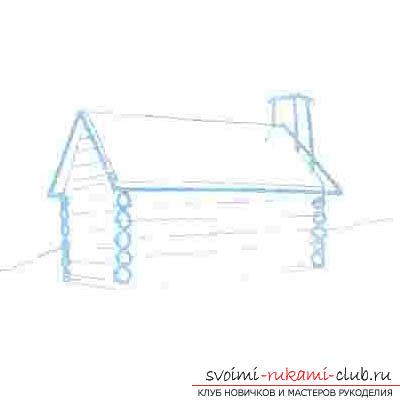
 In the second stage of drawing, we need to more carefully draw the walls, as well as the roof of the building and add several lines, as shown in the figure, to denote its log structure.
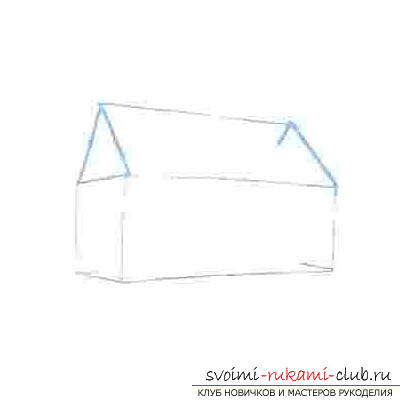
 Now we will focus onlogs, of which our wooden house was built. We need to make them more expressive, point with a pencil, as shown in the picture. Also, we need to finish the chimney (same as in the second picture). At the same stage, we will finish one more additional detail - the road passing near the house. Unlike the building itself, we use a wavy line to represent the road.
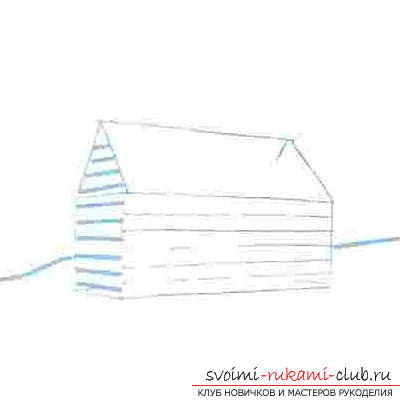
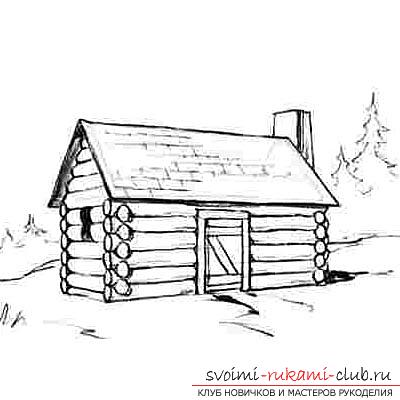
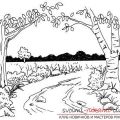
 The fourth stage is the drawing of additionalelements that are windows, doors with all the details, objects in the background are a Christmas tree (you can picture several fir trees that will create the impression that the house is on the edge of the forest).
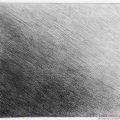
 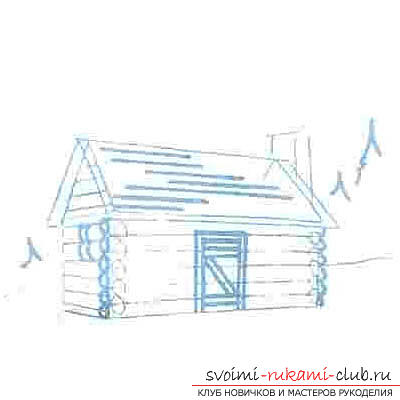 The fifth stage is final. Here we give the picture a finished look. To do this, we need to correctly apply chiaroscuro using hatching techniques. The result will be such a wonderful drawing, created with your own hands. If desired, you can make some of your details and strokes in the overall composition or make a color image.
Comments
Related posts:
 A simple drawing of a 3d drawing, an image of a ladder, a pencil for beginners will not take long
 For beginners, painting in several stages of the lion is the right decision
 Pencil drawing gradient shading for beginners requires special attention
 Beautifully depict the spring, drawing in five stages, it will be easy for even a beginner painter
 Pattern and sewing body for a newborn baby, described in this article, will not take long