Uncomplicated sewing a vest for a boy can be done by absolutely all needlewomen, even beginners
Sewing a vest for a boy is very simple. Any woman who has elementary skills in this kind of needlework will be able to cope with it. A little patience and free time and your child will receive a wonderful new thing, which he can wear to school or kindergarten. To make it easier for you to work with tailoring, we offer a simple step-by-step instruction with detailed photos. Any mom wants her child to be the most beautiful, so that he has the most fashionable and stylish clothes. of course, everything can be bought nowadays, but you will agree, it is much more pleasant to provide him with a new wardrobe created by his own hands. Moreover, it is not only practical, but also economical. Today we will sew an element of clothes for the boy - a vest. It would seem that this part of the wardrobe is not as important as, for example, trousers, shorts or a shirt, and you can do without it. But it is not so. There are times when even a toddler can not do without the classical clothing, especially if you need to attend a morning performance in a kindergarten or school. 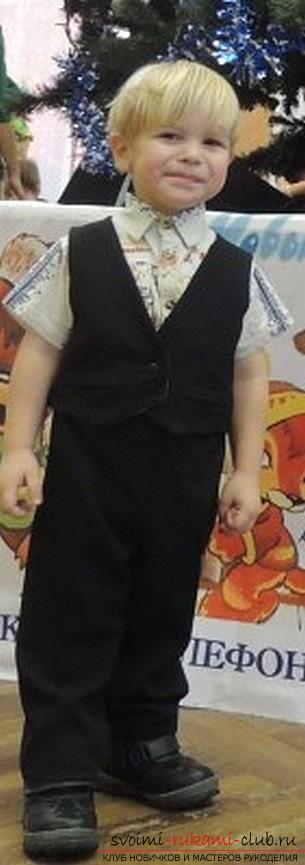 We will not go into details and detailsschool life and the importance of school uniforms. Just get to work. Sewing a vest for a boy, first of all, begins with a preparatory stage. To begin with, we need to prepare everything we need. For work we need to take:
- pattern of the product;
- a piece of the main fabric of the required color (in our case it is traditional black);
- lining fabric;
- buttons in the number of two pieces.
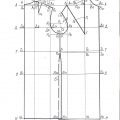
Now you can proceed directly topattern and sewing. First, as in the case of sewing any other product, we need to transfer the pattern (we took it from Burda magazine, you can also use another option that is acceptable to you) on the main fabric. Cut out all the details - the front section of the product and the backrest. Also, we'll cut two leaves, the width of each is five centimeters, and the length is nine centimeters. 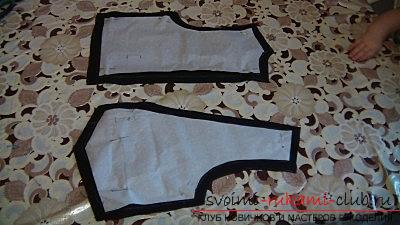 Each of them we add half so that the front side was inside. We cut off short sections, and then we will turn the obtained details out.
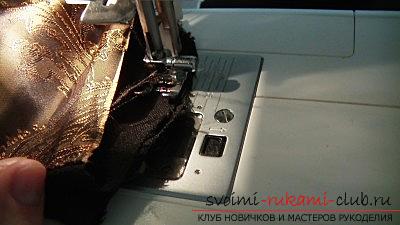
 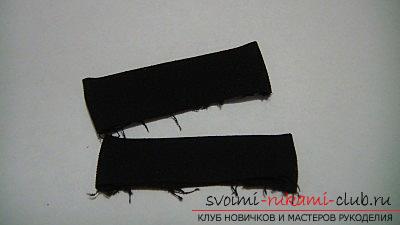 Pritachaem leaflet along the line (marked earlier) to the shelf. We need to press the part well upwards. The short sections that we have available are stitched on the typewriter.
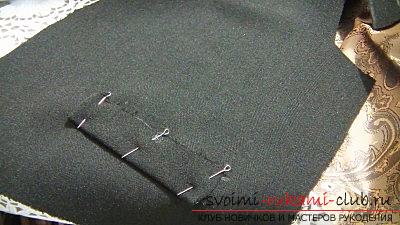

 We pass to the implementation of the seams. we make a seam (middle) on the back, stitch the shoulder seams. The allowances must be carefully ironed.
 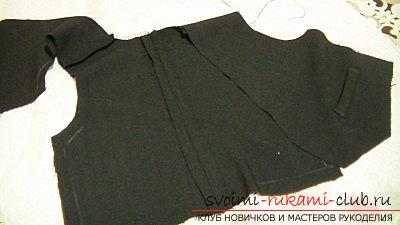 All the same manipulations we do withthe lining of our future vest for the boy. Now connect the lining with the waistcoat itself. To do this, we need to pin it to the main fabric, so that the front side of the lining is facing the front of the waistcoat. We can do this with the help of sewing pins.
 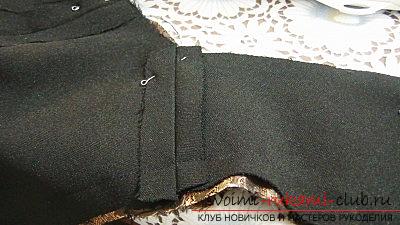 We grind both parts along armhole for arm, throat, as well as cuts of sides, back and shelves of the front part of the product.
 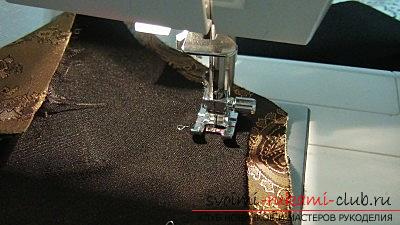 After the work done, we turn out our waistcoat, using the shoulder tunnel.
  With the help of the machine we sew off sections on the sides of the waistcoat. On the lining we will do this not with the help ofmachine, and manually. It remains to make loops for the buttons and sew the buttons themselves. Our stylish classic vest is ready. Now your child will surely be the most beautiful among his peers and, naturally, the happiest. After all, his new thing was created by the most expensive person for him - his loving mother.
Comments
Related posts:
 The pattern and sewing of growth dolls are within the power of all needlewomen, regardless of their experience in this direction
 How to build a pattern-base of the dress will be interesting to learn absolutely all needlewomen
 We knit a warm female sweater with knitting needles. Schemes and photos will help to cope with the task even for beginner needlewomen
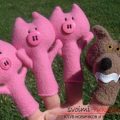 We create felt, bright toys with our own hands, the creation of such a toy is possible even for beginners
 Knit beret "Blue Leaf" for women with knitting needles for detailed description, with detailed schemes and photos, available even for beginner needlewomen.