Beaded Snowflake: Christmas ornaments with their own hands (diagram)
Content
- Snowflake beads and glass beads for beginners
- Beaded Snowflake scheme
- Video: Lessons weave beaded snowflakes
Weave of beads is very interesting and entertainingnot only for professionals but also for beginners. Created masterpieces of their own hands will be able to please friends and relatives become for them a real gift for the holiday. If there is a small child it will be just delighted with woven beaded horses, bows, snowmen, which do not at all difficult. To do this, there is a detailed master class, which will tell and schematically shows the entire weaving technology of a masterpiece.
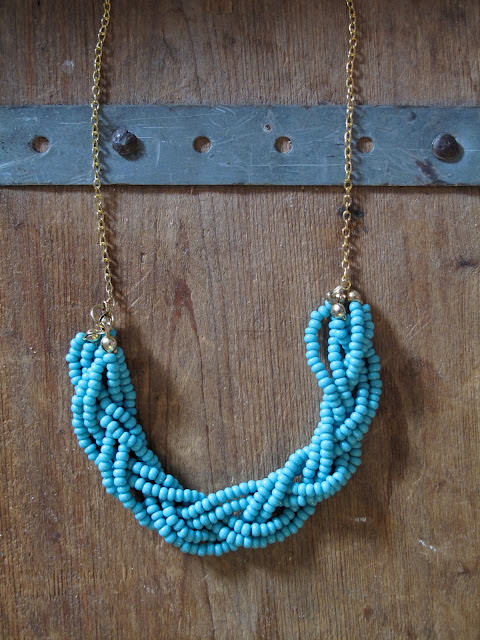
So you want something unusual and original,tired of ordinariness, bustle and monotony. Why not tie the delicate colorful bells for the new year with the help of a hook or a cheerful angels? Perhaps the original will and snowflakes of beads or glass beads? Also similar decorations will simply irreplaceable attributes and will be able to decorate any carnival costume.
Through the use of soft blue beads,white, yellow snowflakes come alive in your hands and virtually indistinguishable from the real thing except just the size. If you are new and you think that the creation of this masterpiece is not under force, while initially watch the video tutorial, which you will understand what should be the beading.
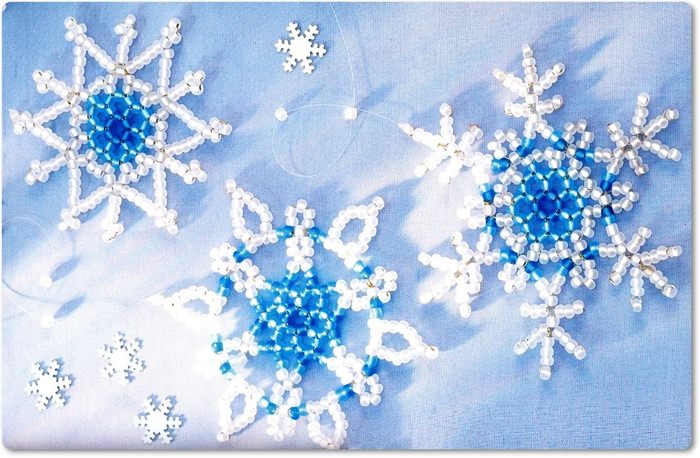


Snowflake beads and glass beads for beginners
For the work you need to stock up on the white beads(Cyan, magenta, yellow) color, as well as glass beads and take the wire, the thickness of which must be chosen depending on whether the diameter of the holes in the beads, silver paint, a small piece of foam and scissors. If you are new to beading, and you then try the puzzle is the easiest option to create beaded snowflakes for beginners, since it does not require special weaving, you can restrict use of the description of the circuit manufacturing process.
What is the wire?

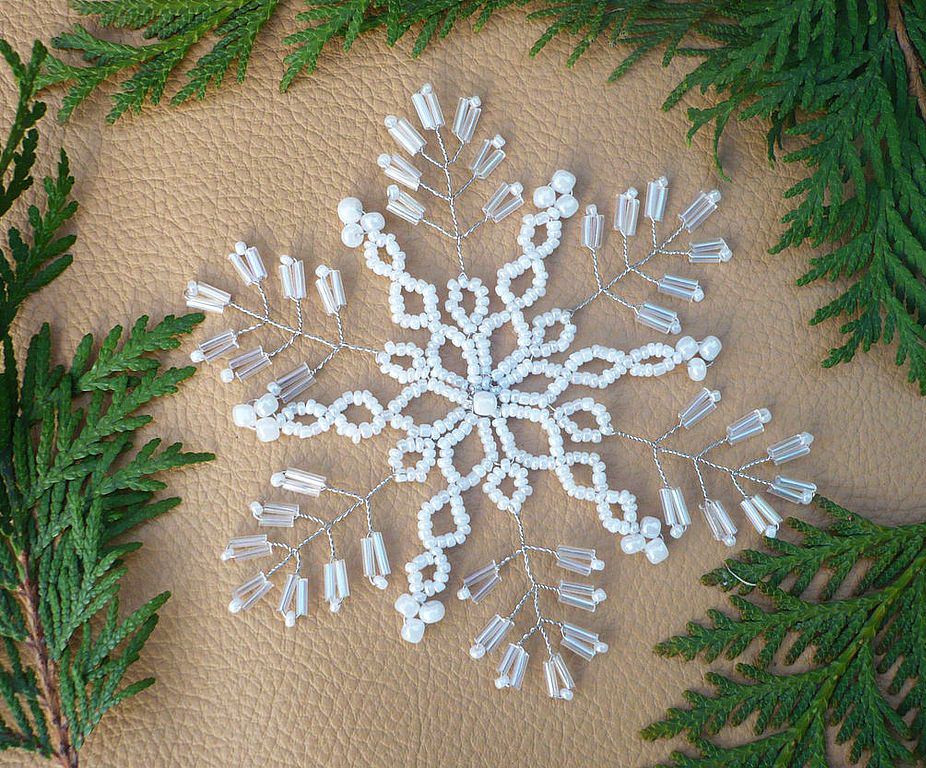
It's simple: you need to take the beads and put them on a wire. Take the wire and start to cut it into equal parts, which will serve as the rays of snowflakes bead. At the end of a wire to do a small loop, which will protect the beads from falling. Now take the beads, bugle beads and and start to put them on the wire in any convenient manner. Do not forget to measure 7 mm wire, which then start stringing beads. By the same principle, you must create a certain number of a ray, not forgetting the rules of weaving, as the master class, which generally have an asterisk there are from 6 to 8 pieces.
How to make a core: foam or gold paint?
The foam will serve as the coresnowfields. If you like the white color, you can leave everything unchanged, otherwise take the gold paint and paint over it to make the foam snowflake more presentable appearance.
Wait until the paint is completely absorbed anddry, and only after that you can gently insert rays snowflakes in the core. It should be noted, in order to give additional miniature snowflakes recommended pins that have pearlescent head or a different color glass beads.
Our workshop is over, now it's just a miracleyou can hang on the Christmas tree or to include in a Christmas song. Remember, snowflake beads, made with his own hands, will turn out beautiful and original, if you do it with love and put a piece of his soul.
More sophisticated versions of weaving a variety of snowflakes you can learn step by step with the help of video master classes presented in this article.
Beaded Snowflake scheme
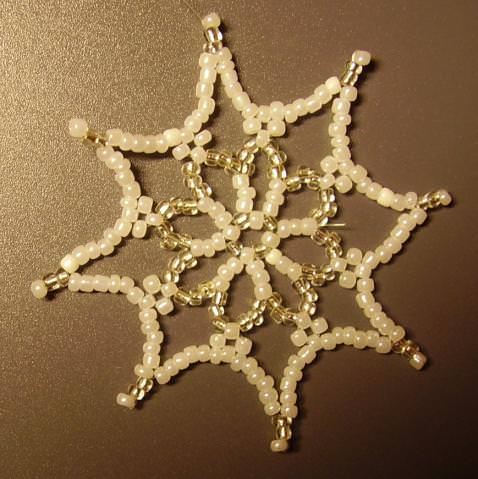
So now you are a little acquainted withbeading, albeit a bit primitive. Now it's time to engage in more complex options. Take the beads at number 11, the color can be quite diverse ranging from white, clear and silver finishing. Do not forget about the fishing line or white thread, needle and the desired diameter. Take the string and tying the knot on her small, well-performing schemes, cut off part of the order of 20 cm in size and vdevaem it into the needle.
Colors and basic ranks snowflakes

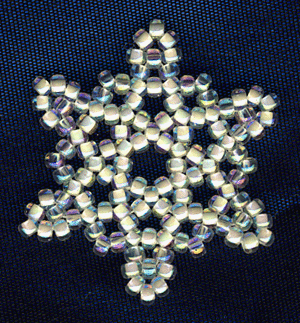
Fig.1Snezhinki of beads will consist of five series, each of them will have a corresponding color. First - it is green, the second - lilac, the third - brown, fourth - and fifth red - violet.
It's time to weave. Take the thread and type on it twelve beads, and then do one round, then you need to skip the needle through the first bead and the rest. Outside the needle should be withdrawn through the first bead. Thus, we get the initial number (Figure 1).
The second and third rows: how to follow pattern
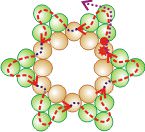
Fig.2Nash master class goes to the production of the second series. In the thread you need to collect three beads, according to the scheme. The needle should be threaded through the initial set of bead and bring it out. Here we get a triangle. Next, you need to dial another further three beads, thread vdet the fifth of them, and so should be done until the end, if done correctly, it turns out six triangles. Ultimately, should thread the string through the first and second beads in the second row and output, it is important to get it right (Figure 2).
The final stage
I came the third row, and here to helpcome workshop. Take the thread and is threaded into it five beads. The thread should be passed through the triangle at the top of the two second-row number. We are making the same manner five times. Once close to the end of the series must pass the thread through the beads of the second, third and first rows and output, so that nothing is more confused view diagram (Figure 3).
Now more detail on the fourth row. On thread recruit a few beads and pass them through the fourth bead in the third row. Next, add three more beads, run them through the seventh bead in the third row. The thread should be output. Beading should be done in the same way, using this scheme, and this should be done as long as until the end of the fourth row. After the work is finished, the thread should be removed through the first bead (Figure 4). Almost ready snowflake beads for beginners.
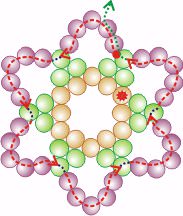
Figure 3 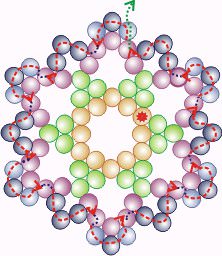
Fig.4 And this is almost finish, it's time to spin the fifth row. We need to take the thread and typing on her five beads then thread the string in the fourth row by the second beads, followed by the fifth and fourth in the third row, the top of the second triangle of the second row. We need all this technology again about five times as long as until the end of the fifth row, the thread should be removed and tie to create a beaded snowflake subsequently blossomed (Figure 5).
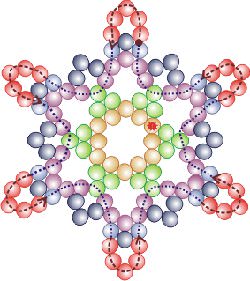
Figure 5
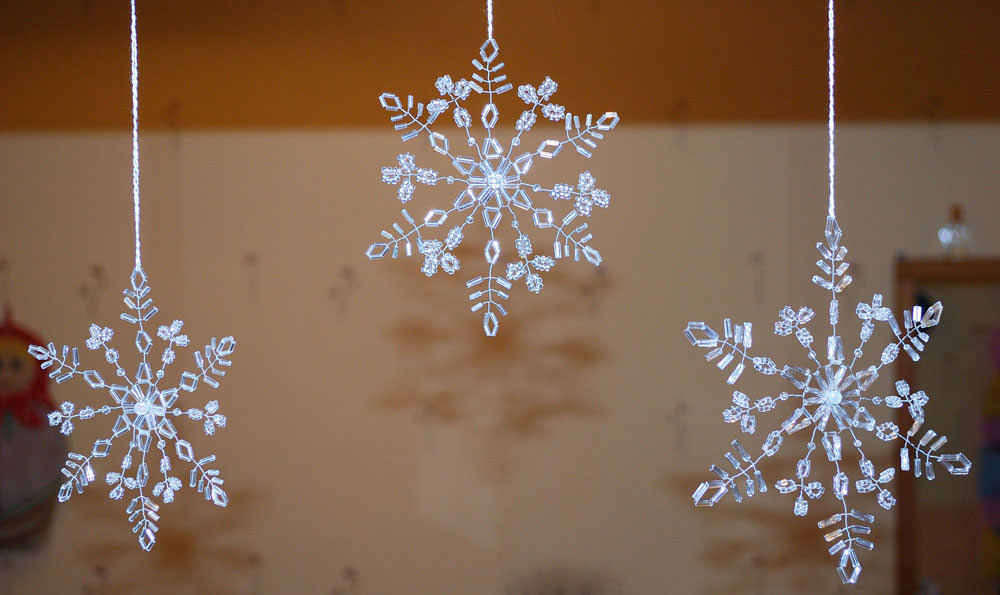
These snowflakes become an exclusive decoration of Christmas trees, and if they do a lot, then you can also hang throughout the room, creating a real holiday!
In recent years, widespread weaving patterns with snowflakes and video lessons, as without them, newcomers, and professionals can get confused and do something wrong.
Beads - a unique material, usingwhich you can create any kind of compositions using the your imagination. Remember that the weaving skill comes from years of rigorous practice and hard work. If there is a desire, diligence, all sure to succeed!
Look, step by step video masterclasses, which are divided by experienced masters and you will see firsthand how to create small masterpieces.
Video: Lessons weave beaded snowflakes