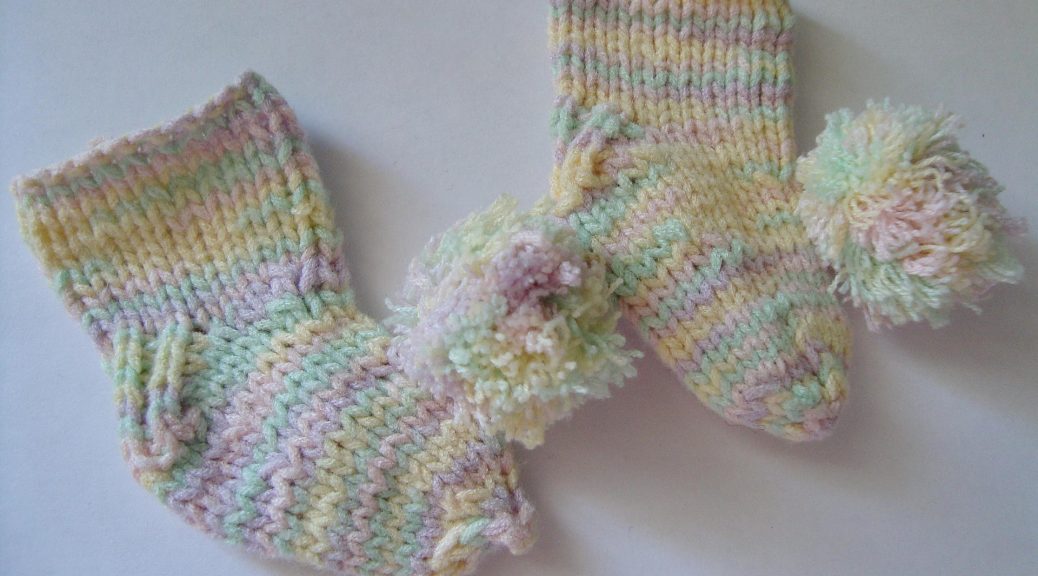
Knitted socks knitted on toothpicks for dolls or for beginners with detailed descriptions and photos
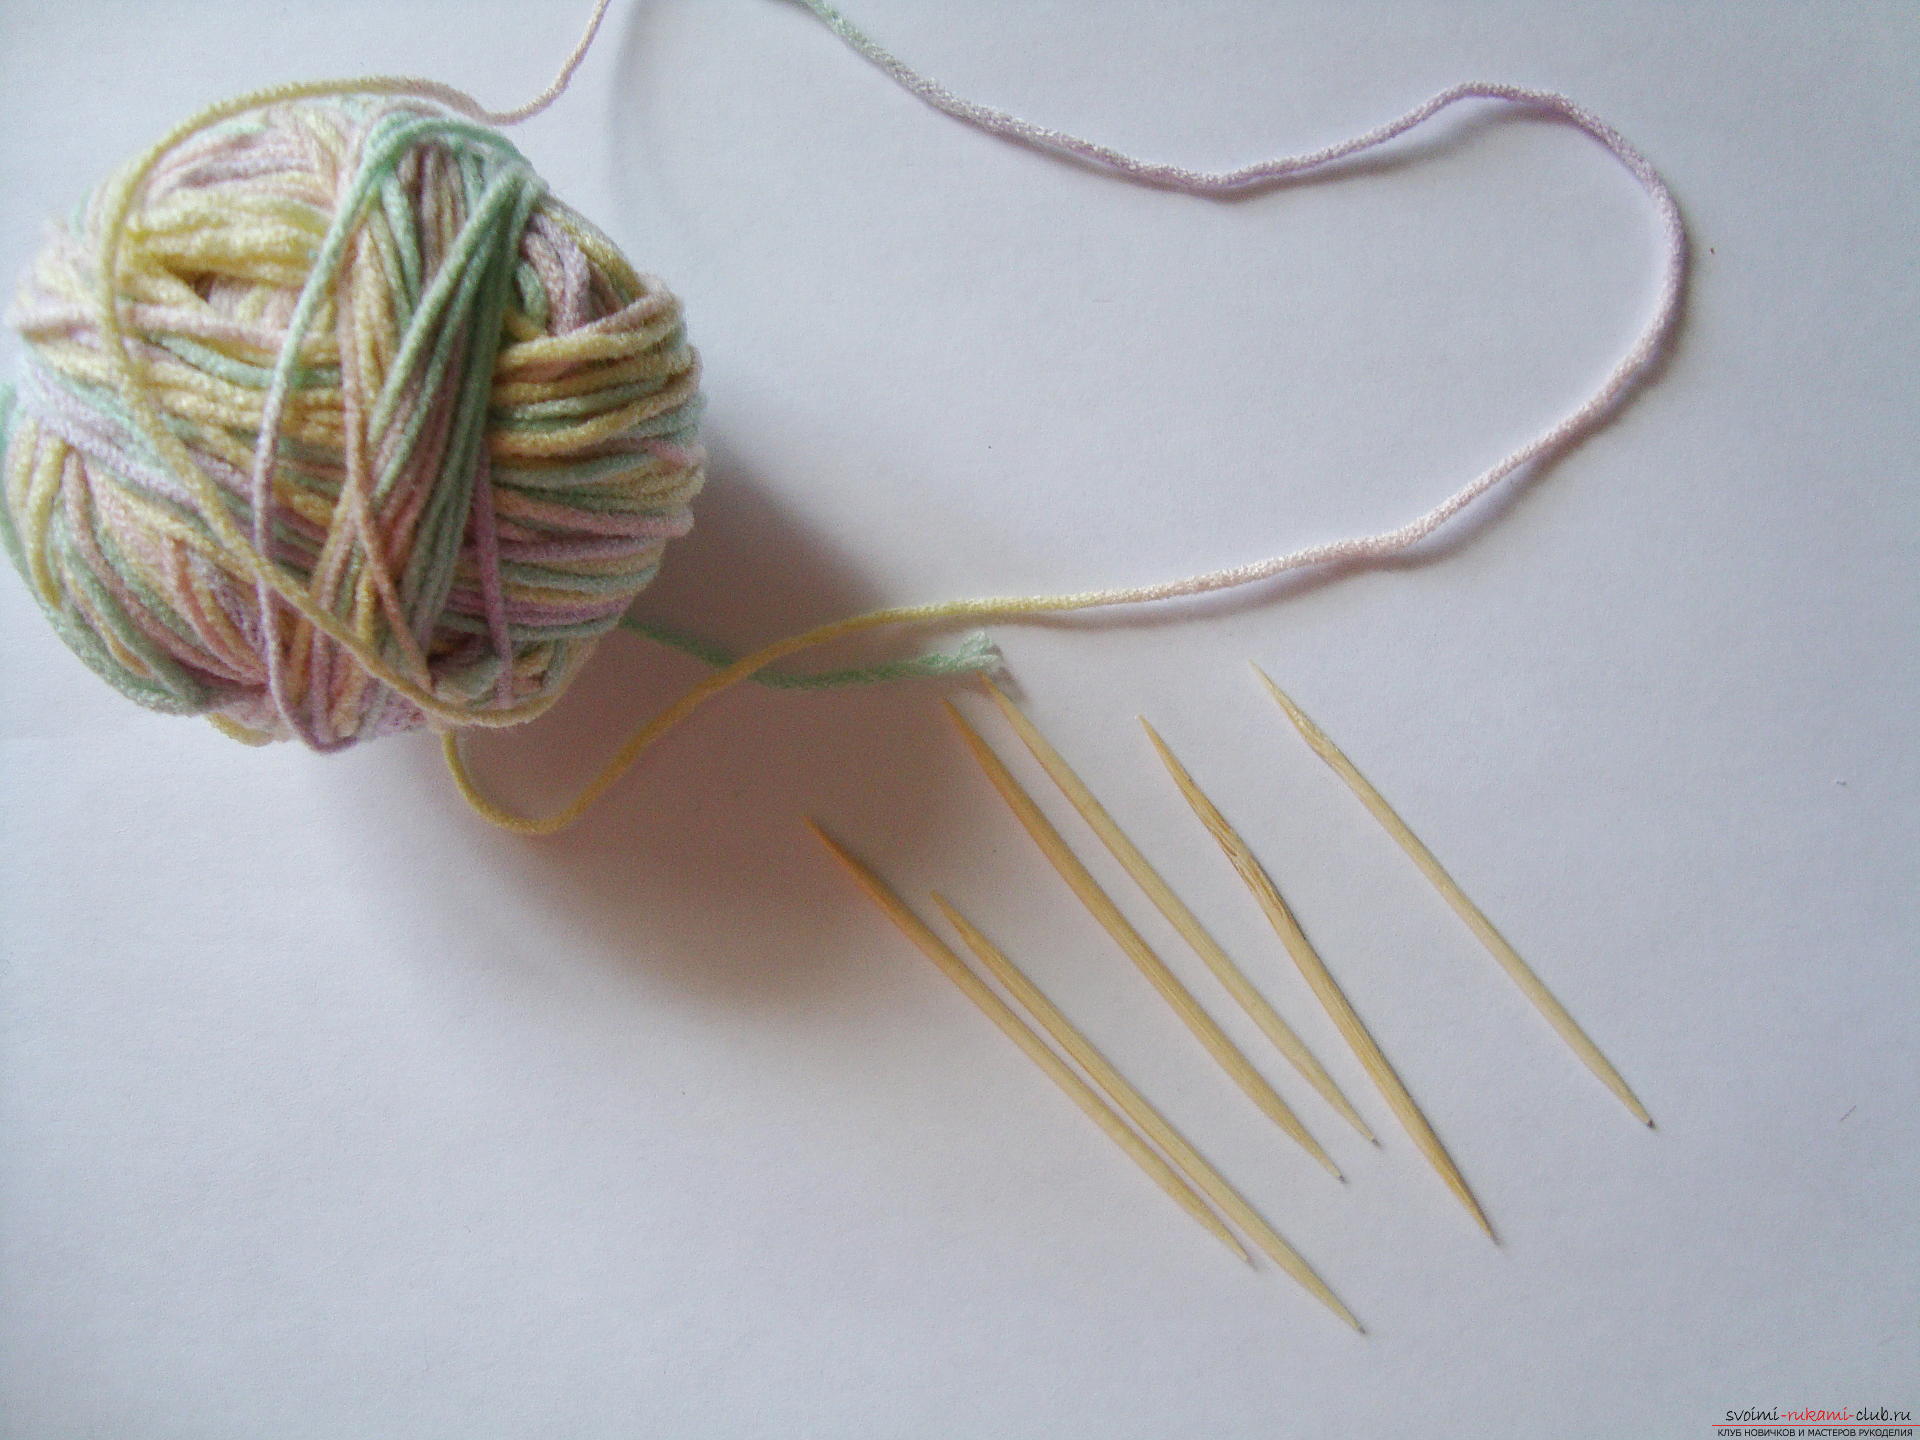
Miniature and unusually tender are obtained socks,associated with toothpicks. You may need them as doll clothes or they will serve as an excellent guide for beginner craftsmen, when you can learn knitting faster and with less effort and time. 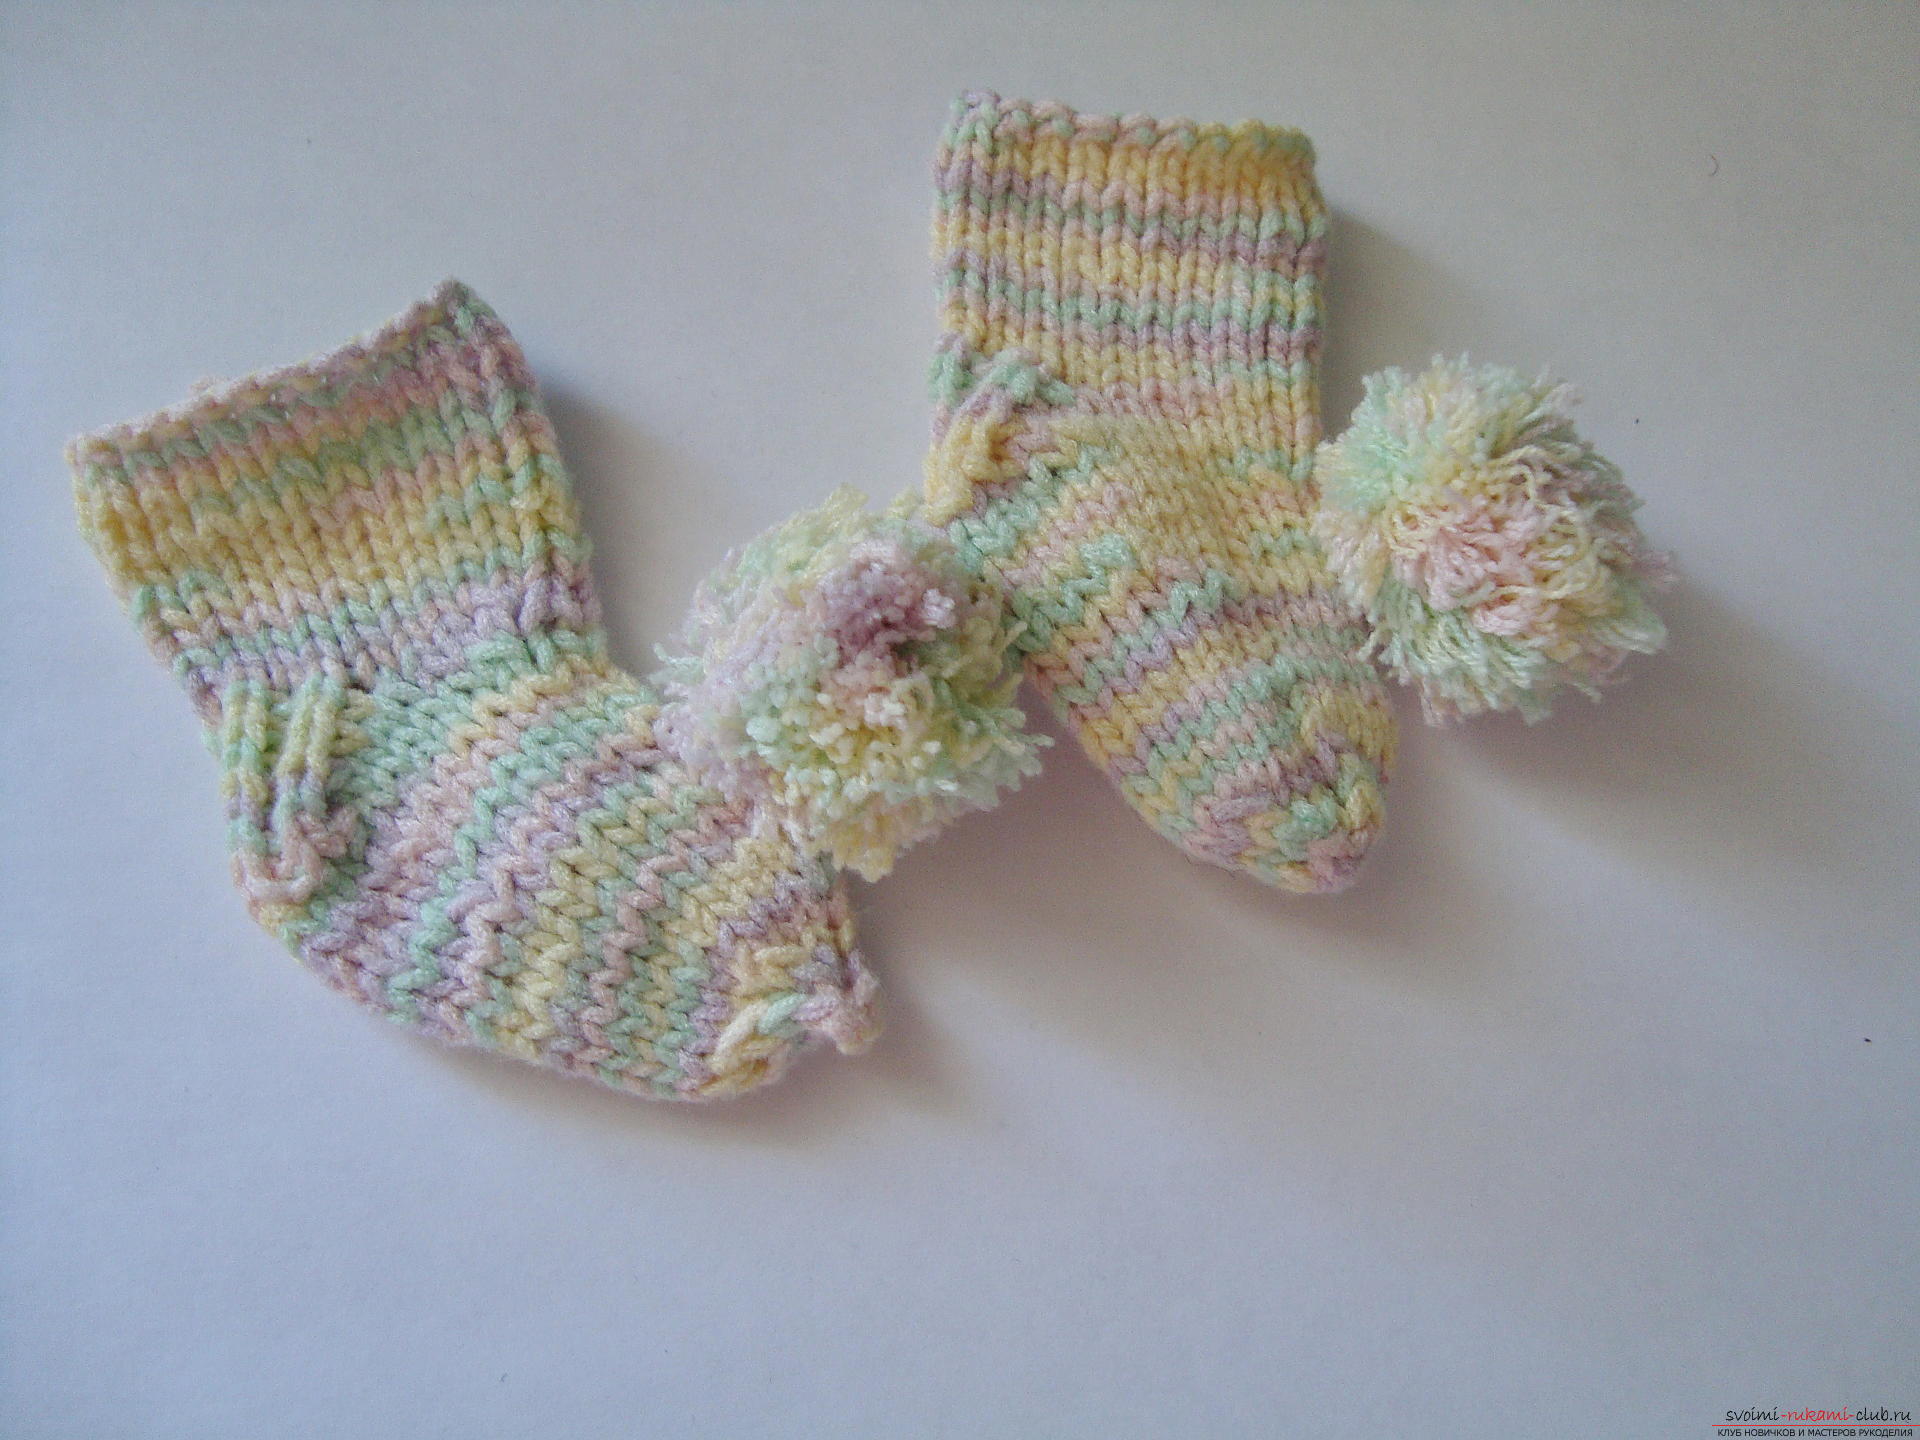 Such socks may have different sizes, but allit is equally not very wide, as the number of loops that fit freely on the toothpick varies from 6 to 12, so the width of the sock will not be more than 5 cm. For knitting, prepare:
 The knitting of socks on toothpicks beginsthe same principle as the product on the knitting needles, so if you follow the algorithm for creating a product on sticks, it will be easy for you to tie socks of any size on knitting needles, but you will have to collect more loops. First, connect the two toothpicks and make a set of 24 loops, that is, the first loop is thrown about 20 cm from the end, then the two strings are fixed on the different fingers (large and index) of the left hand, and with your right hand, holding the rods, you capture the loop with the index finger, but each time the toothpicks are held under the string on the thumb and after the grip of the loop again return to its original position. This action allows one thread to tighten the loops created from the other end, and the first row will not be unraveled later.
 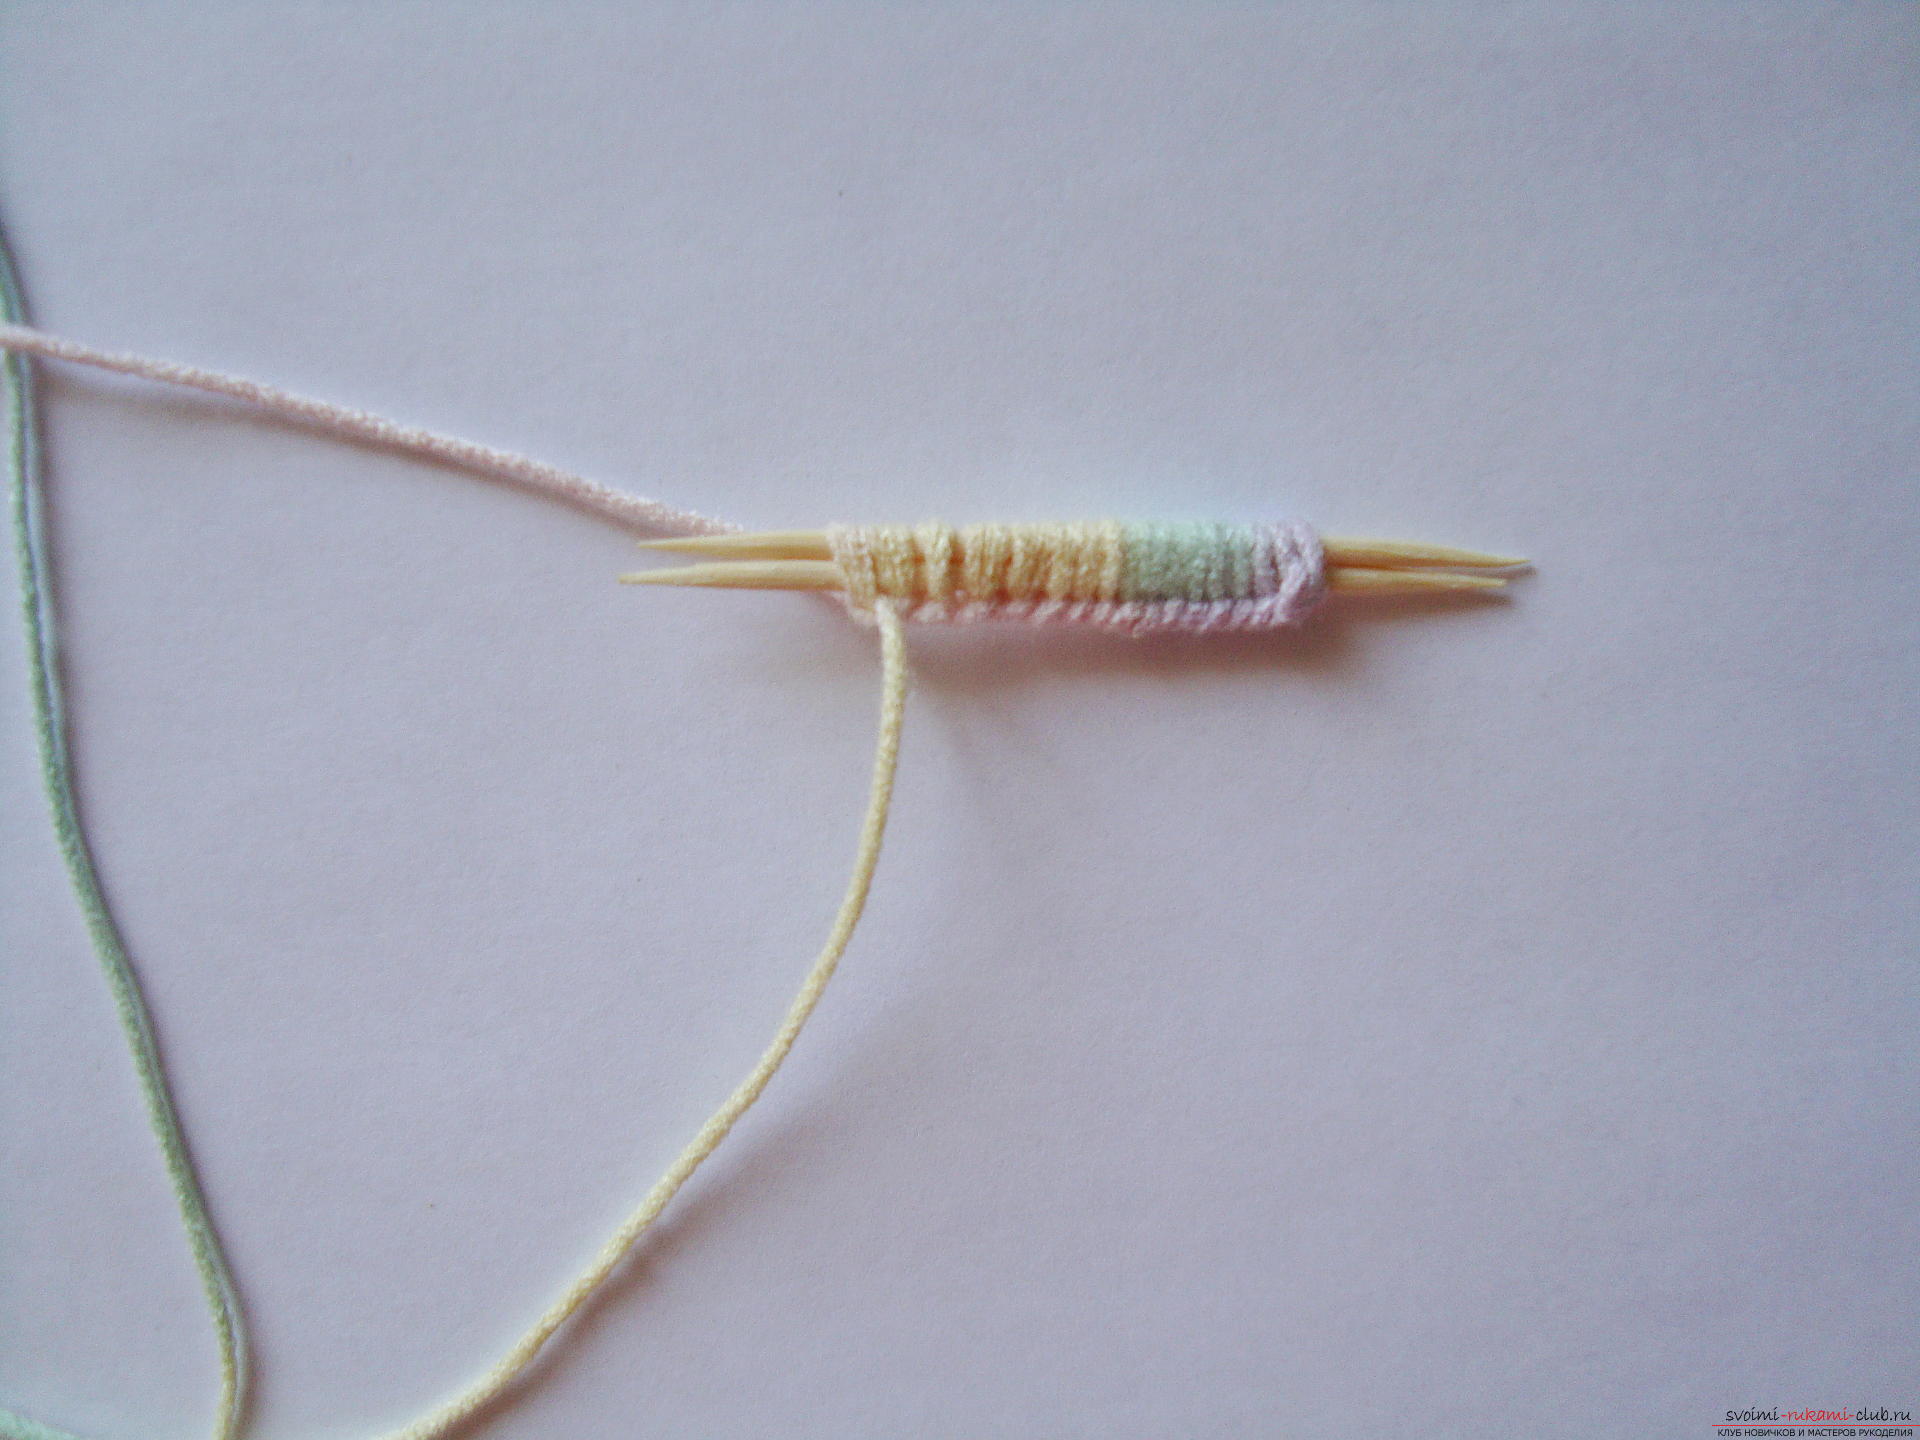 Remove one toothpick so that the loops remainfree to be on the second stick. Now you need to distribute all loops on four toothpicks in equal quantity, that is, 6 loops each. The fifth toothpick is needed, as a "working" needle.
 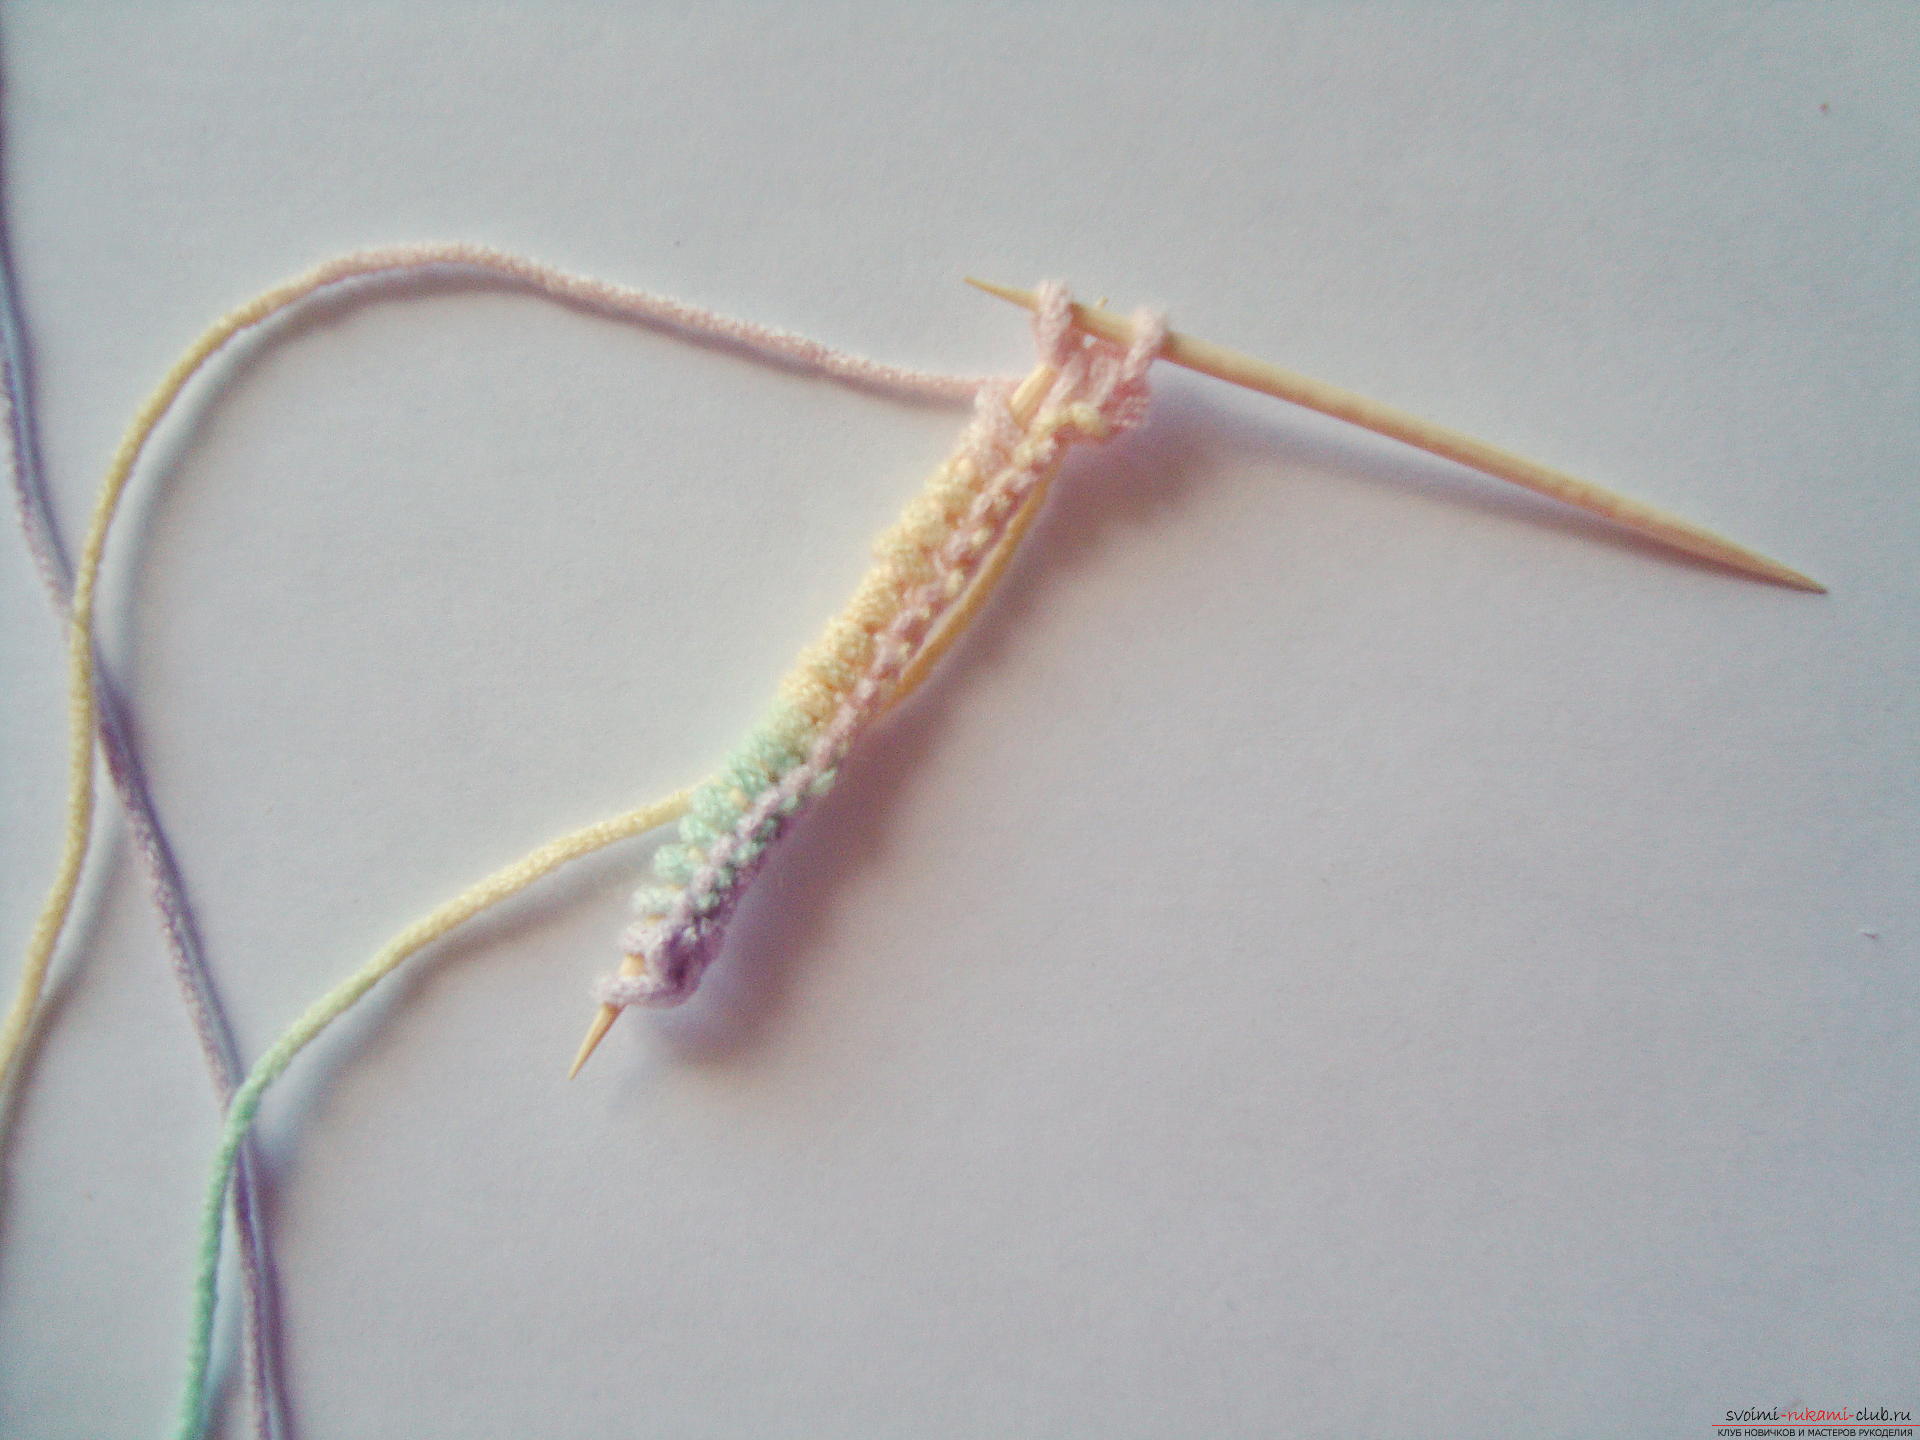 Take the second spoke in the right (at the firstput on the hinges and it should be in the left hand) and tie the 6 loops with the front loops, that is, the "spoke" picks up the loop on the left side, then thread is threaded onto it, and the toothpick with the new loop returns to the original position to the right.
 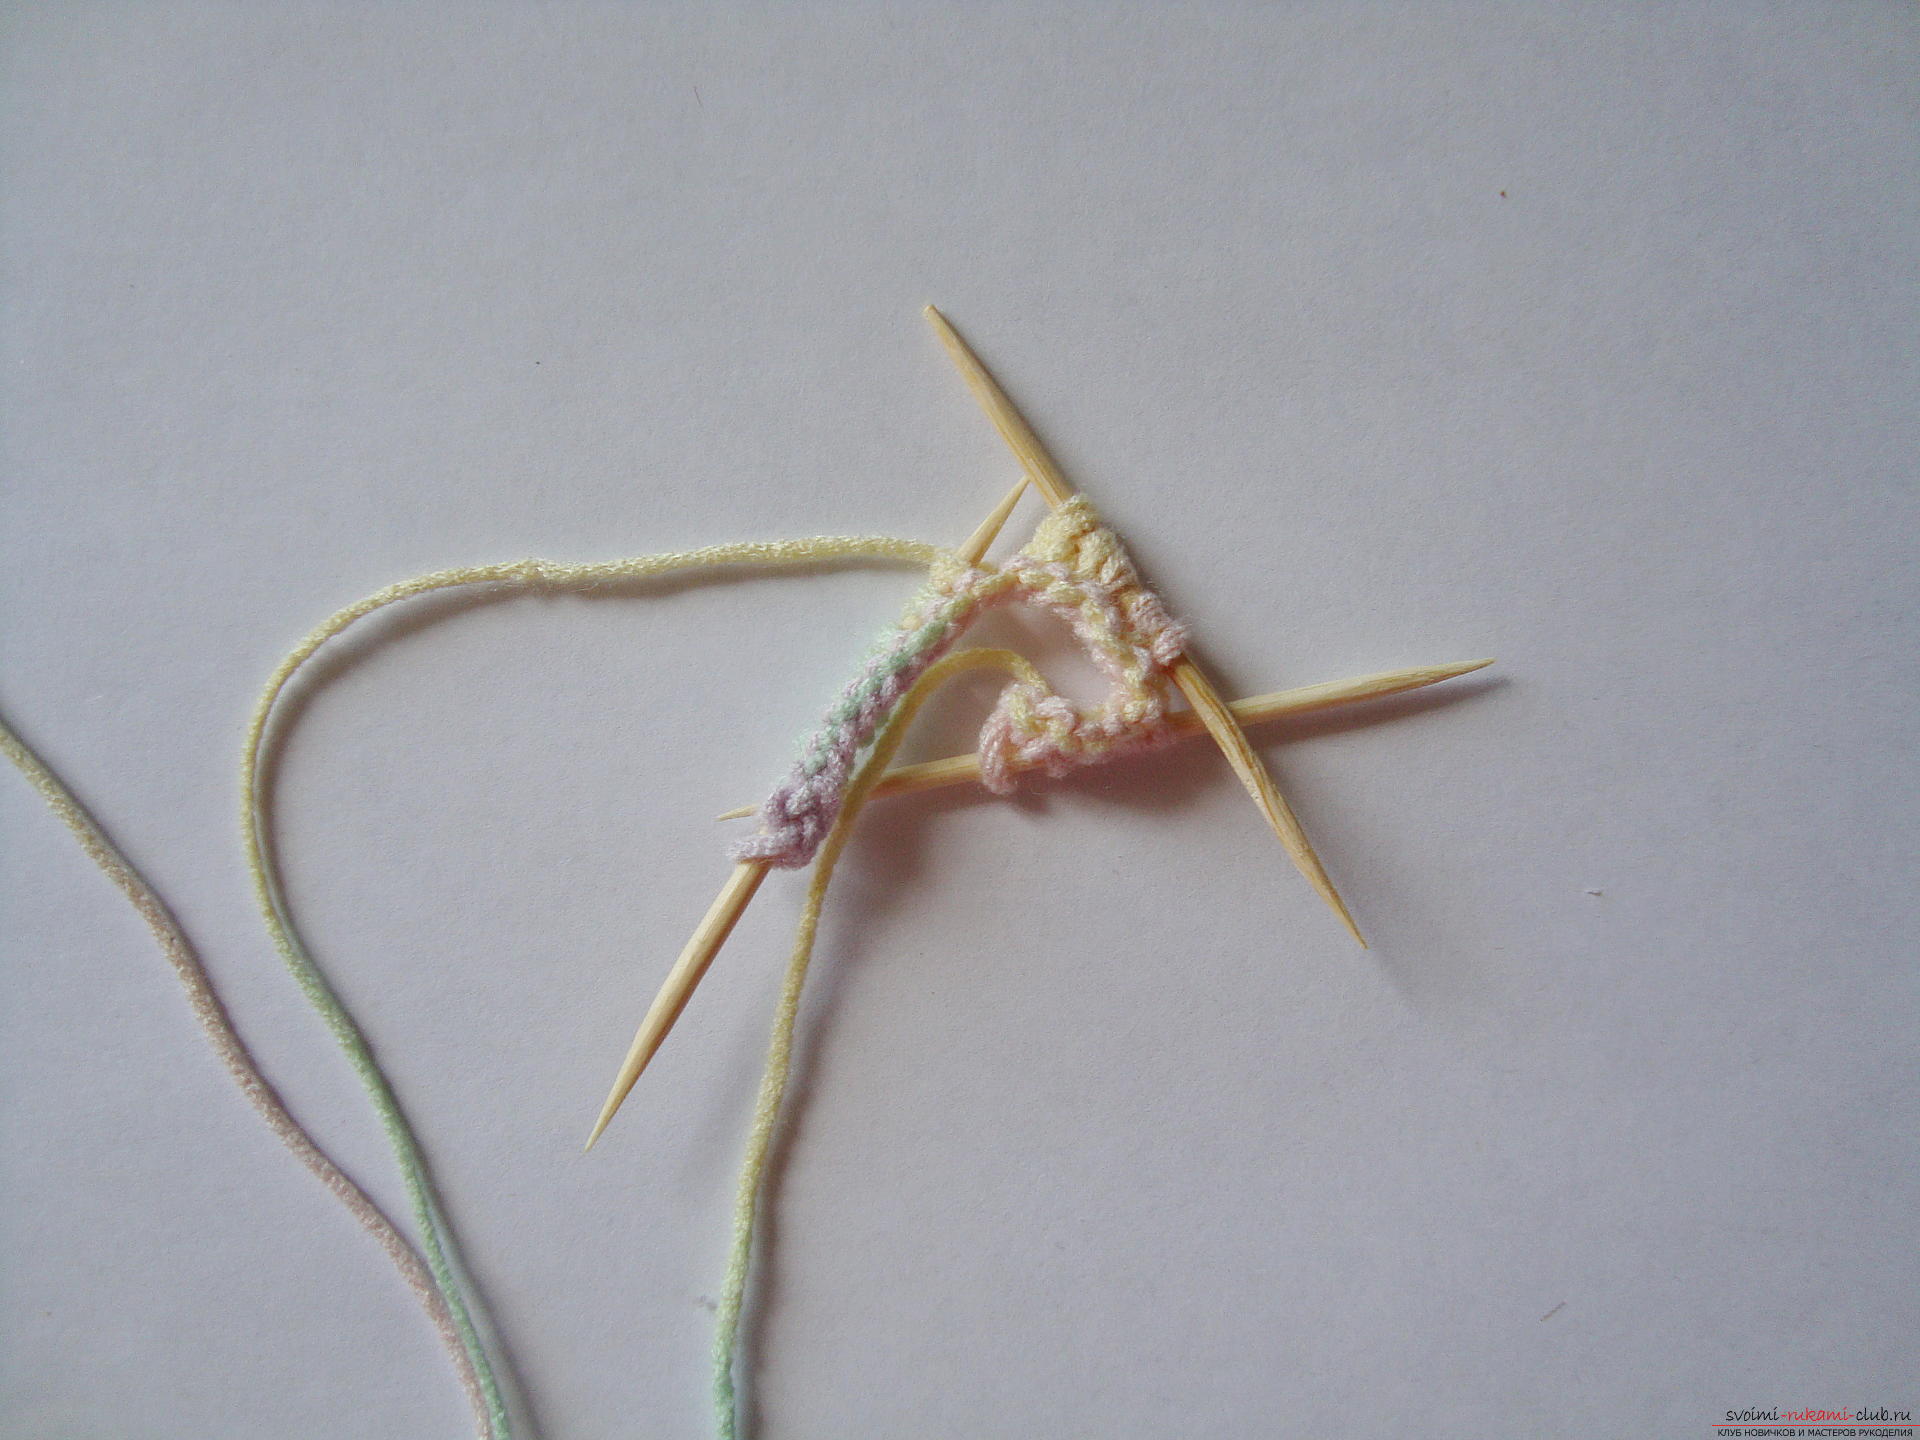 The next six loops are tied to the thirdspoke, then the six elements are put on the fourth spoke, the last loops are tied to a new spoke, and the first is released and later becomes "working", that is, the one that the right hand will take off and tie the loops.
 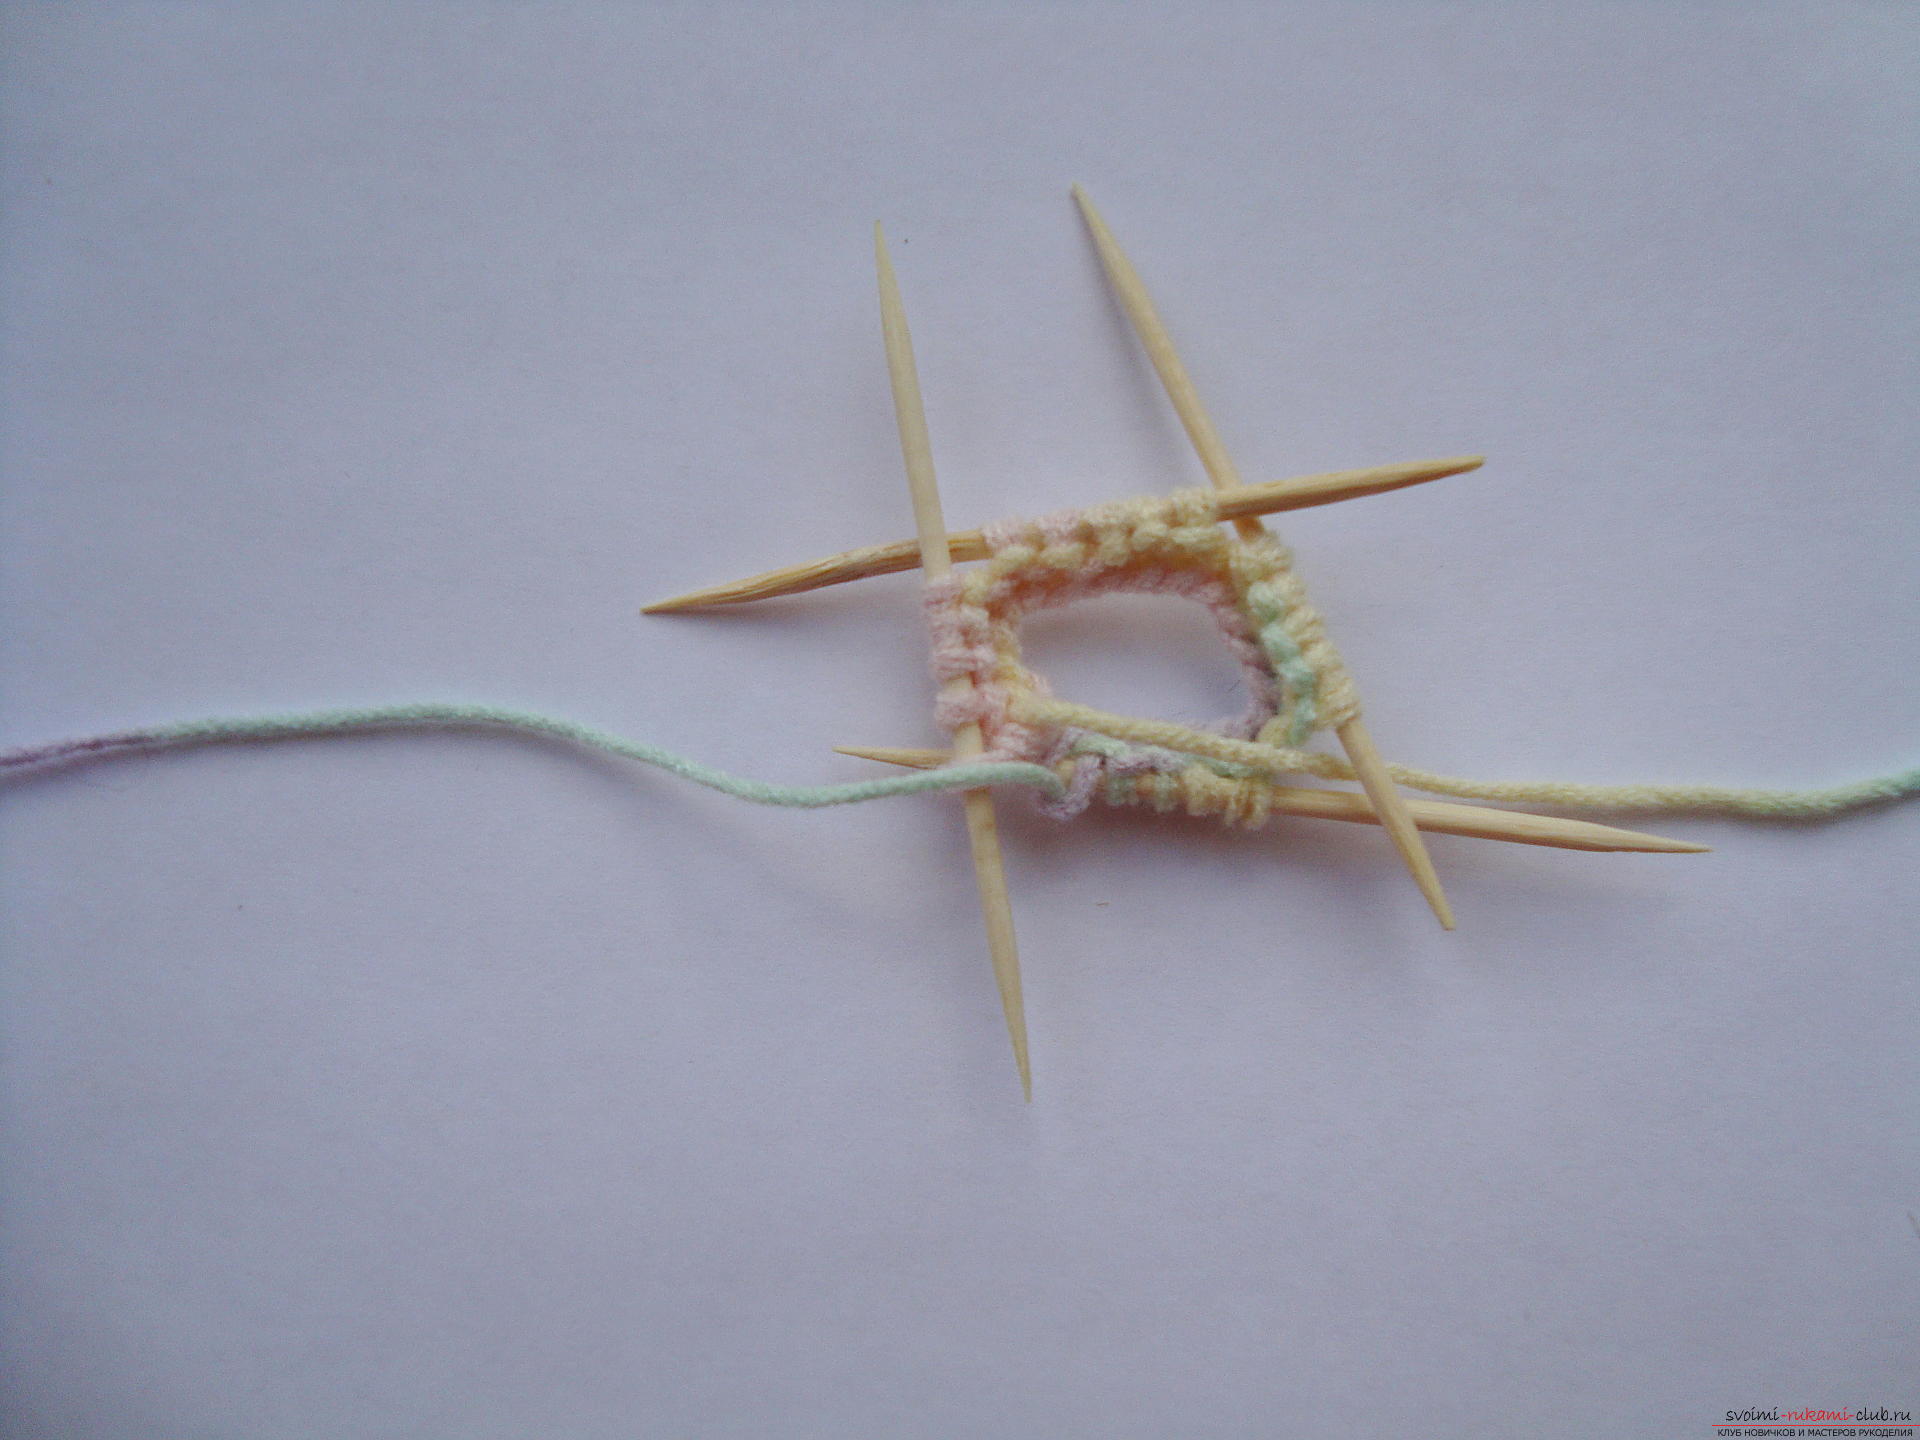 Four spokes with an equal number of elements onthey should be distributed in the form of a square, such an arrangement is accepted for all round products, for example, cuffs of mittens, mittens, etc. Each time loops are tied like facial, so mastering the most common skills in knitting skills, you can create a worthy thing - neat socks. But it should be noted that for non-puppet socks the upper part of the sock is tied with an elastic band, where the front loop alternates with the wrong one or a pair of loops of the same type with a pair of loops of a different kind.
 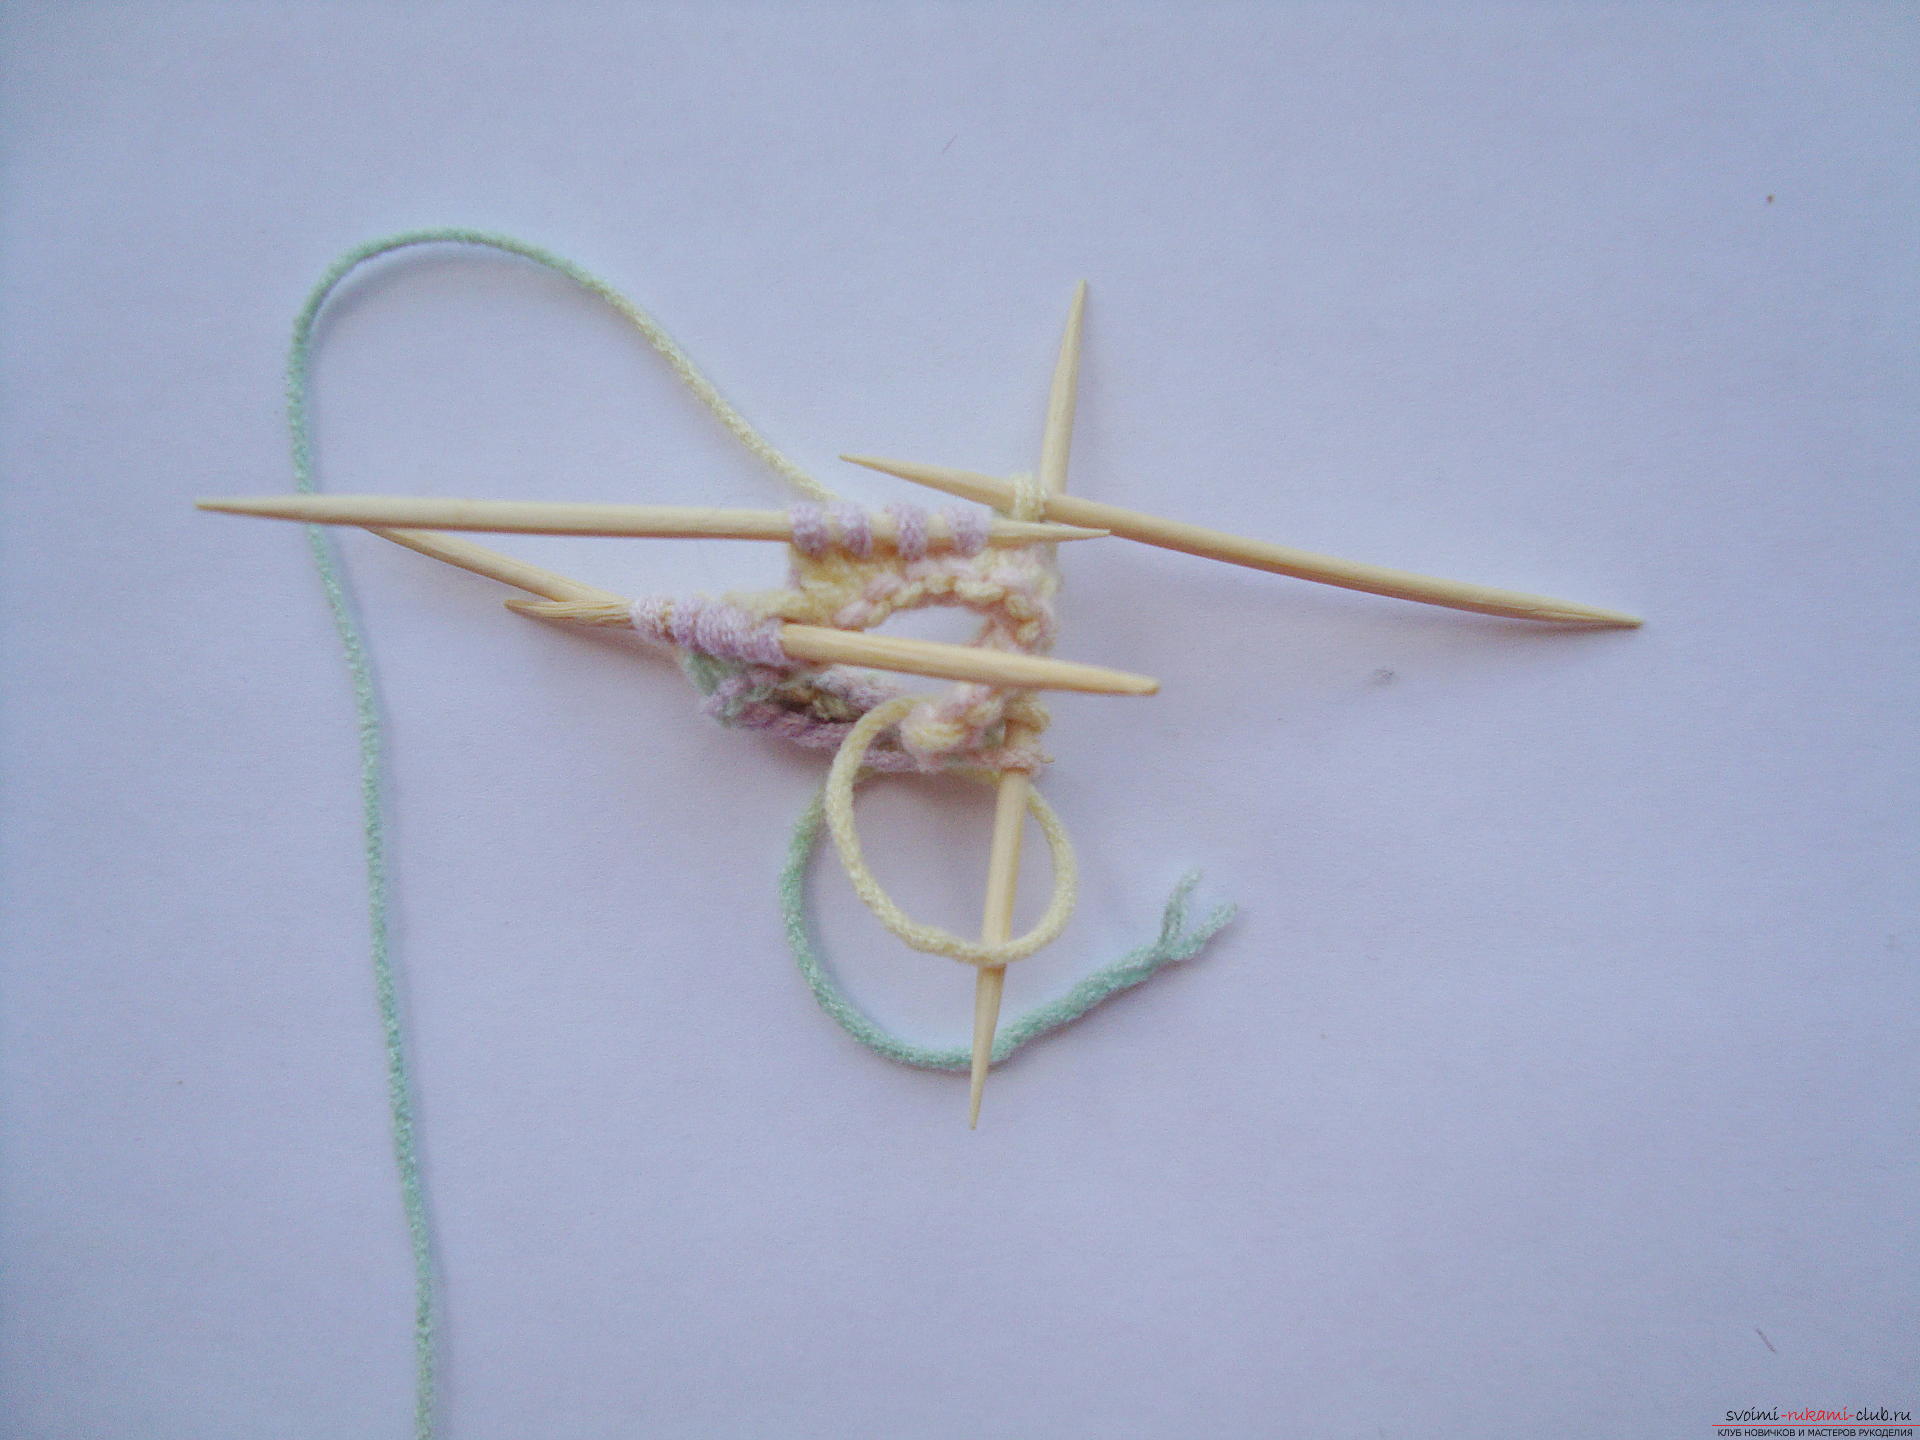 The third row is knitted from the first knitting needle, and you do nottear off the thread and do not tie the rows from the last spoke in the opposite direction, as when knitting products, where the odd rows are facial mating, and the even ones are the wrong one, but simply continue to create the eyelets from the first knitting needle, the thread at the junction of the edges needs to be tightened. Such a mating is convenient only on those toothpicks that are sharpened on both sides, because first one side of the tool fits the thread, and on the next row the loops are removed from the other side of the stick. Spray several rows of facial loops on all four toothpicks, the height of the toe for the shank of the doll should be about 2 cm, so you need circular 10-12 rows.
 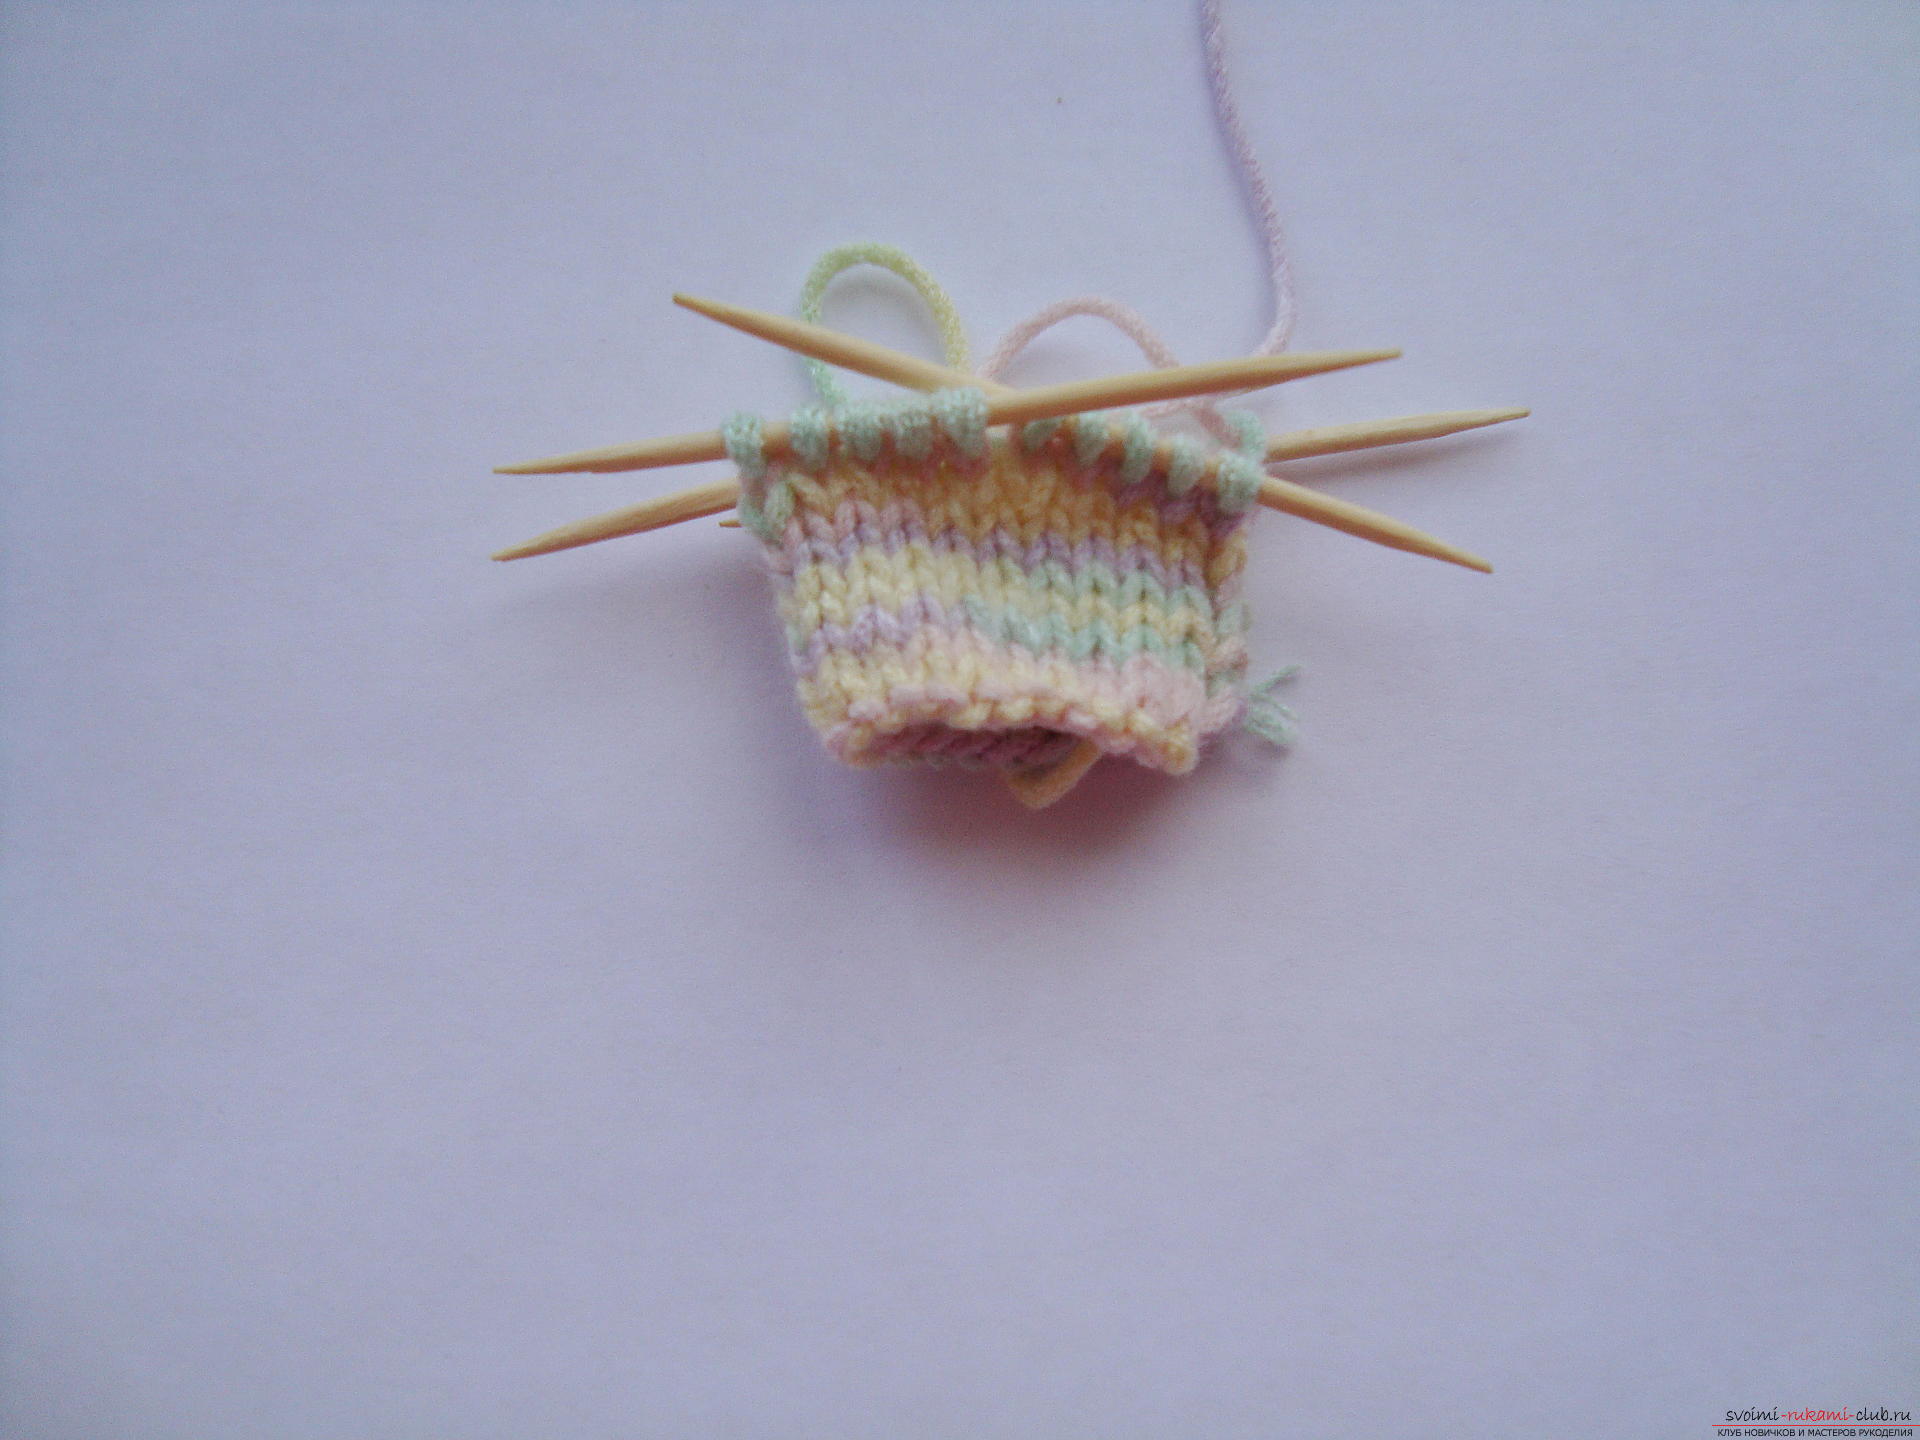 In the next step, we begin to untie the heelsock, for this, loops are only sewn on two toothpicks, that is, half of the work is tied. For convenience, you can transfer these 12 loops to one spoke and knit an elastic band, alternating the 2 face loop and 1 purl, on the one hand, then you need to turn the work and tie the purl strings.
 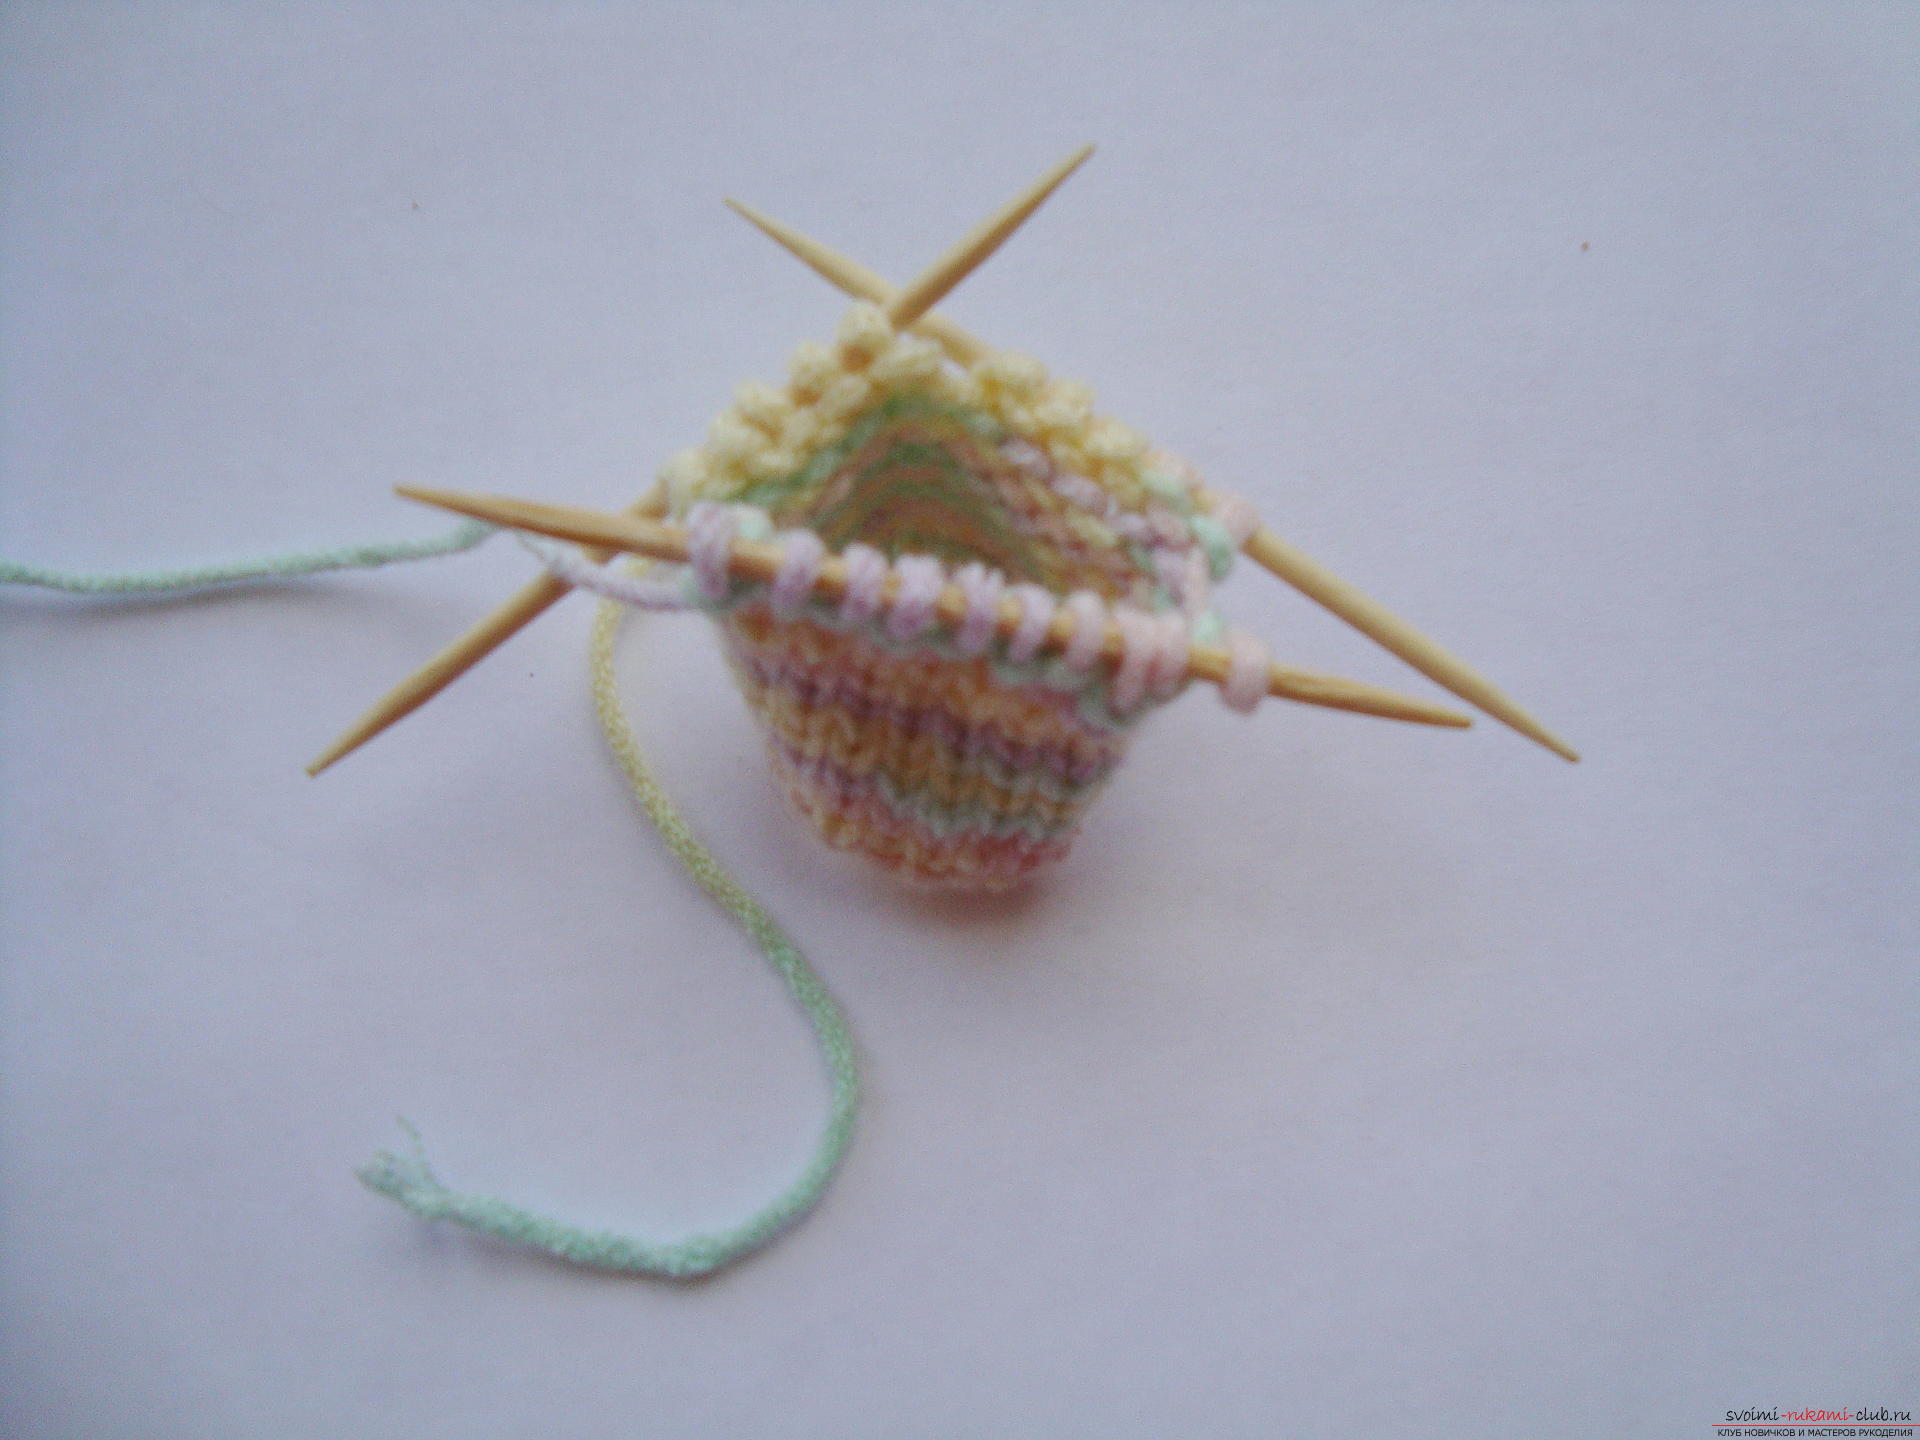 To unseal the reverse loop, you passthe right toothpick in the loop of the other stick (towards her towards her), grab the thread and pull it out on the right toothpick, remove one loop from the left side. Ten rows are needed, that is, five faces and the same number of purlins.
  Further, with a new toothpick, type the loops along the edge of the knotted part for the heel, about 1 row in each row, in the end, 4-5 newly recruited elements should be obtained.
 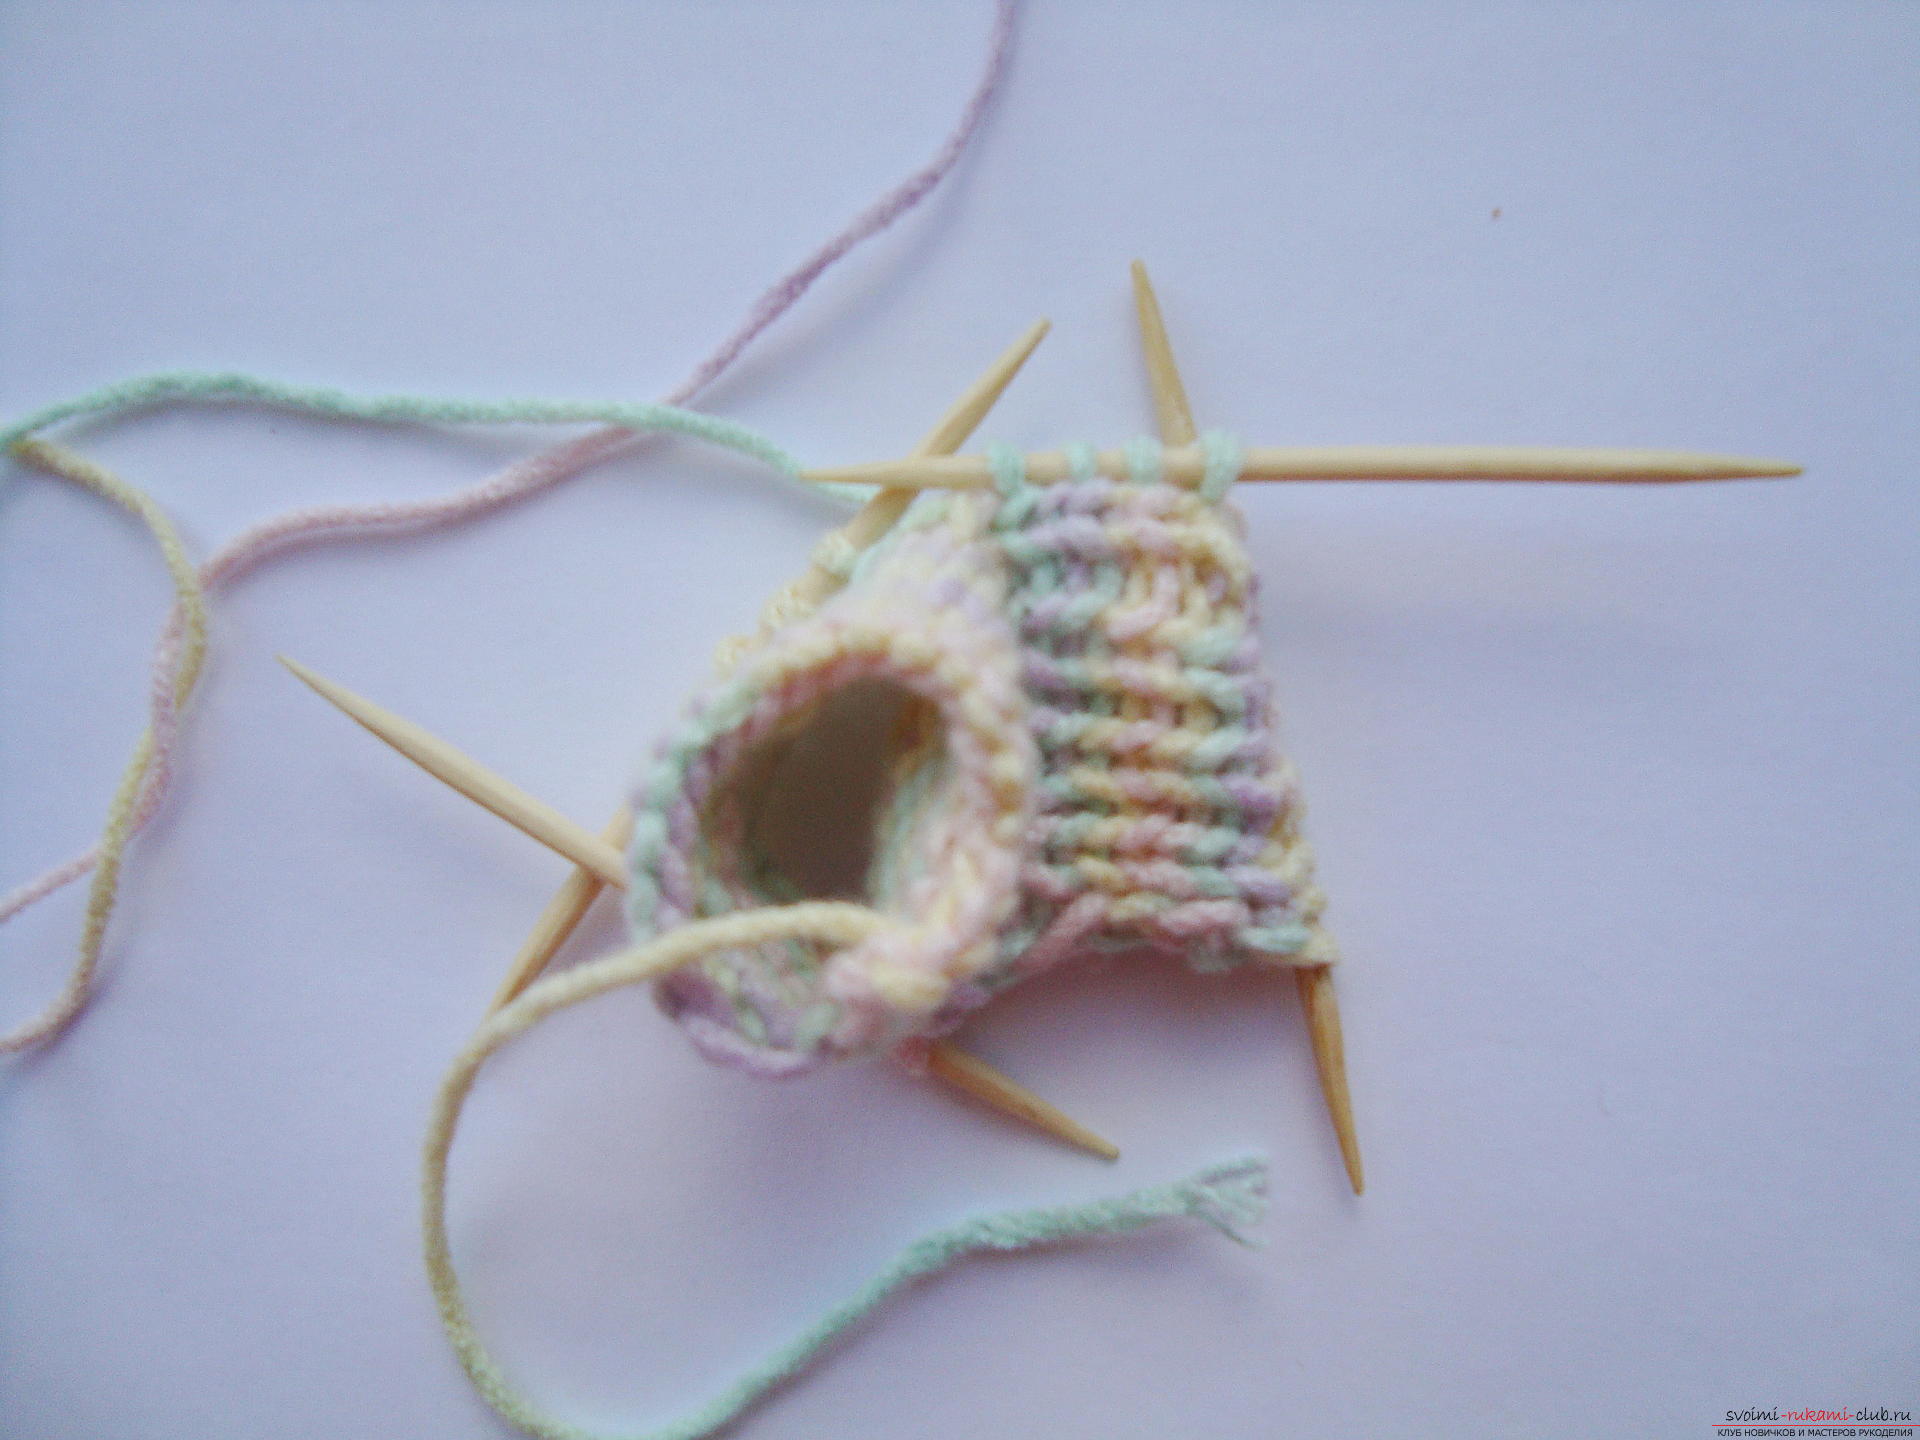 Continue to create a facade and the twotoothpicks, which did not participate in knotting the heel. When you come to the second edge of the knotted part for the back of the sock, it also needs to raise 6 loops. Continue the usual mating with the facial loops to the level of the fingers. To make a smooth bevel of the toe in the area of the toes, it is necessary to tie two outer hinges together on each stick.
  That is, after the first bevel on the toothpicksthere will be 4 loops, then two, which on the third row will be tied together and there will be only four extreme loops from all the work. These loops you put on one stick and tie them together with a face loop, then pass the end of the thread through this loop and tighten it. It is better to tighten the thread with a crochet or a needle on the inside of the sock.
 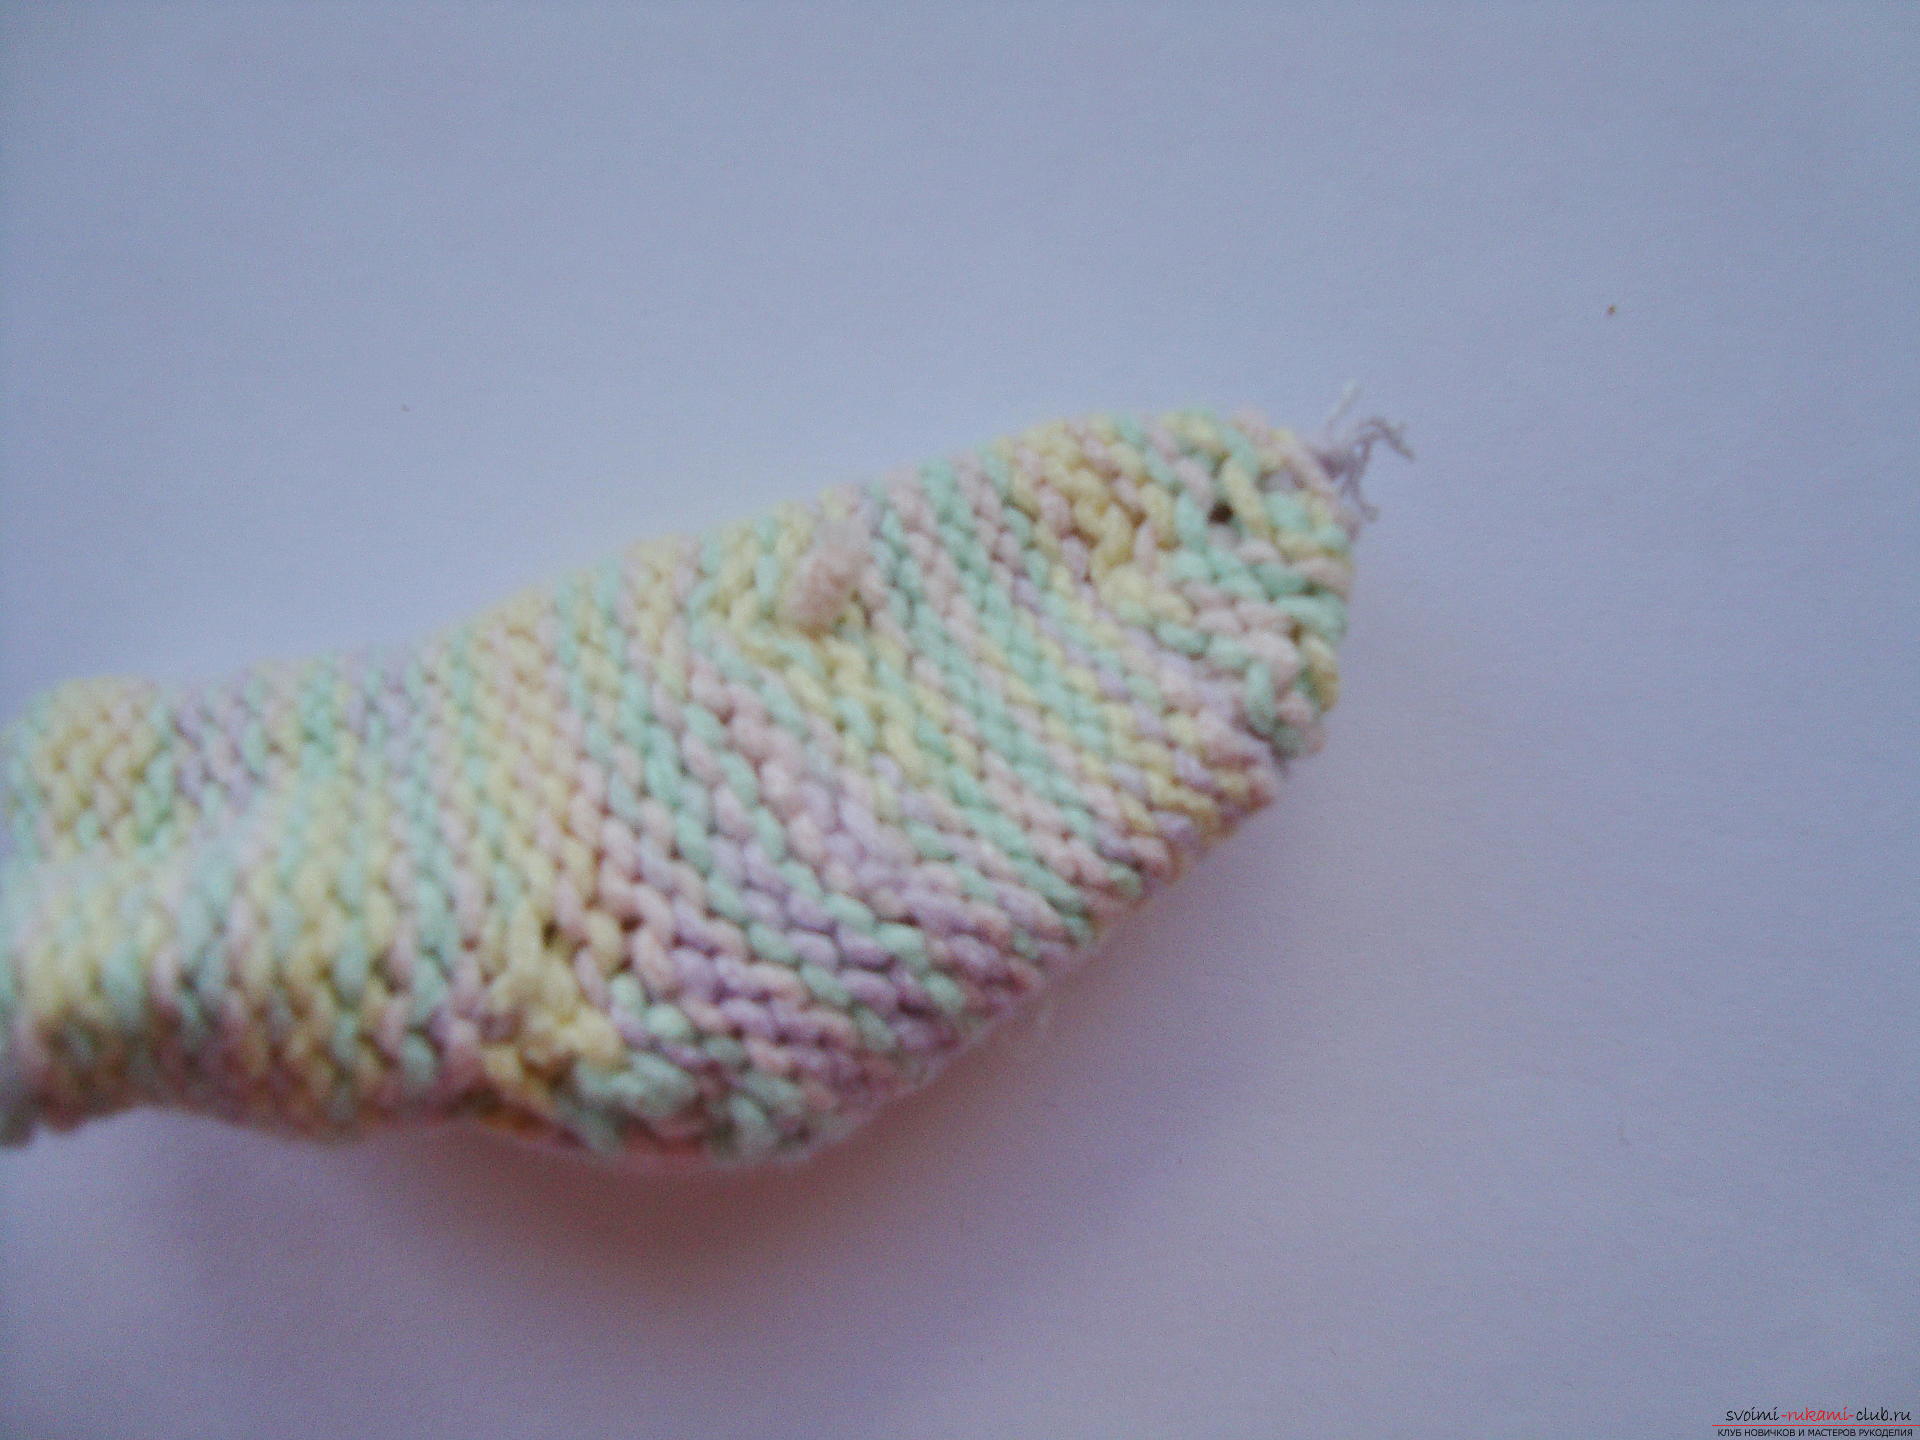 For pompoms cut out of the cardboard two circles with a diameter of 2 cm, center the hole.
 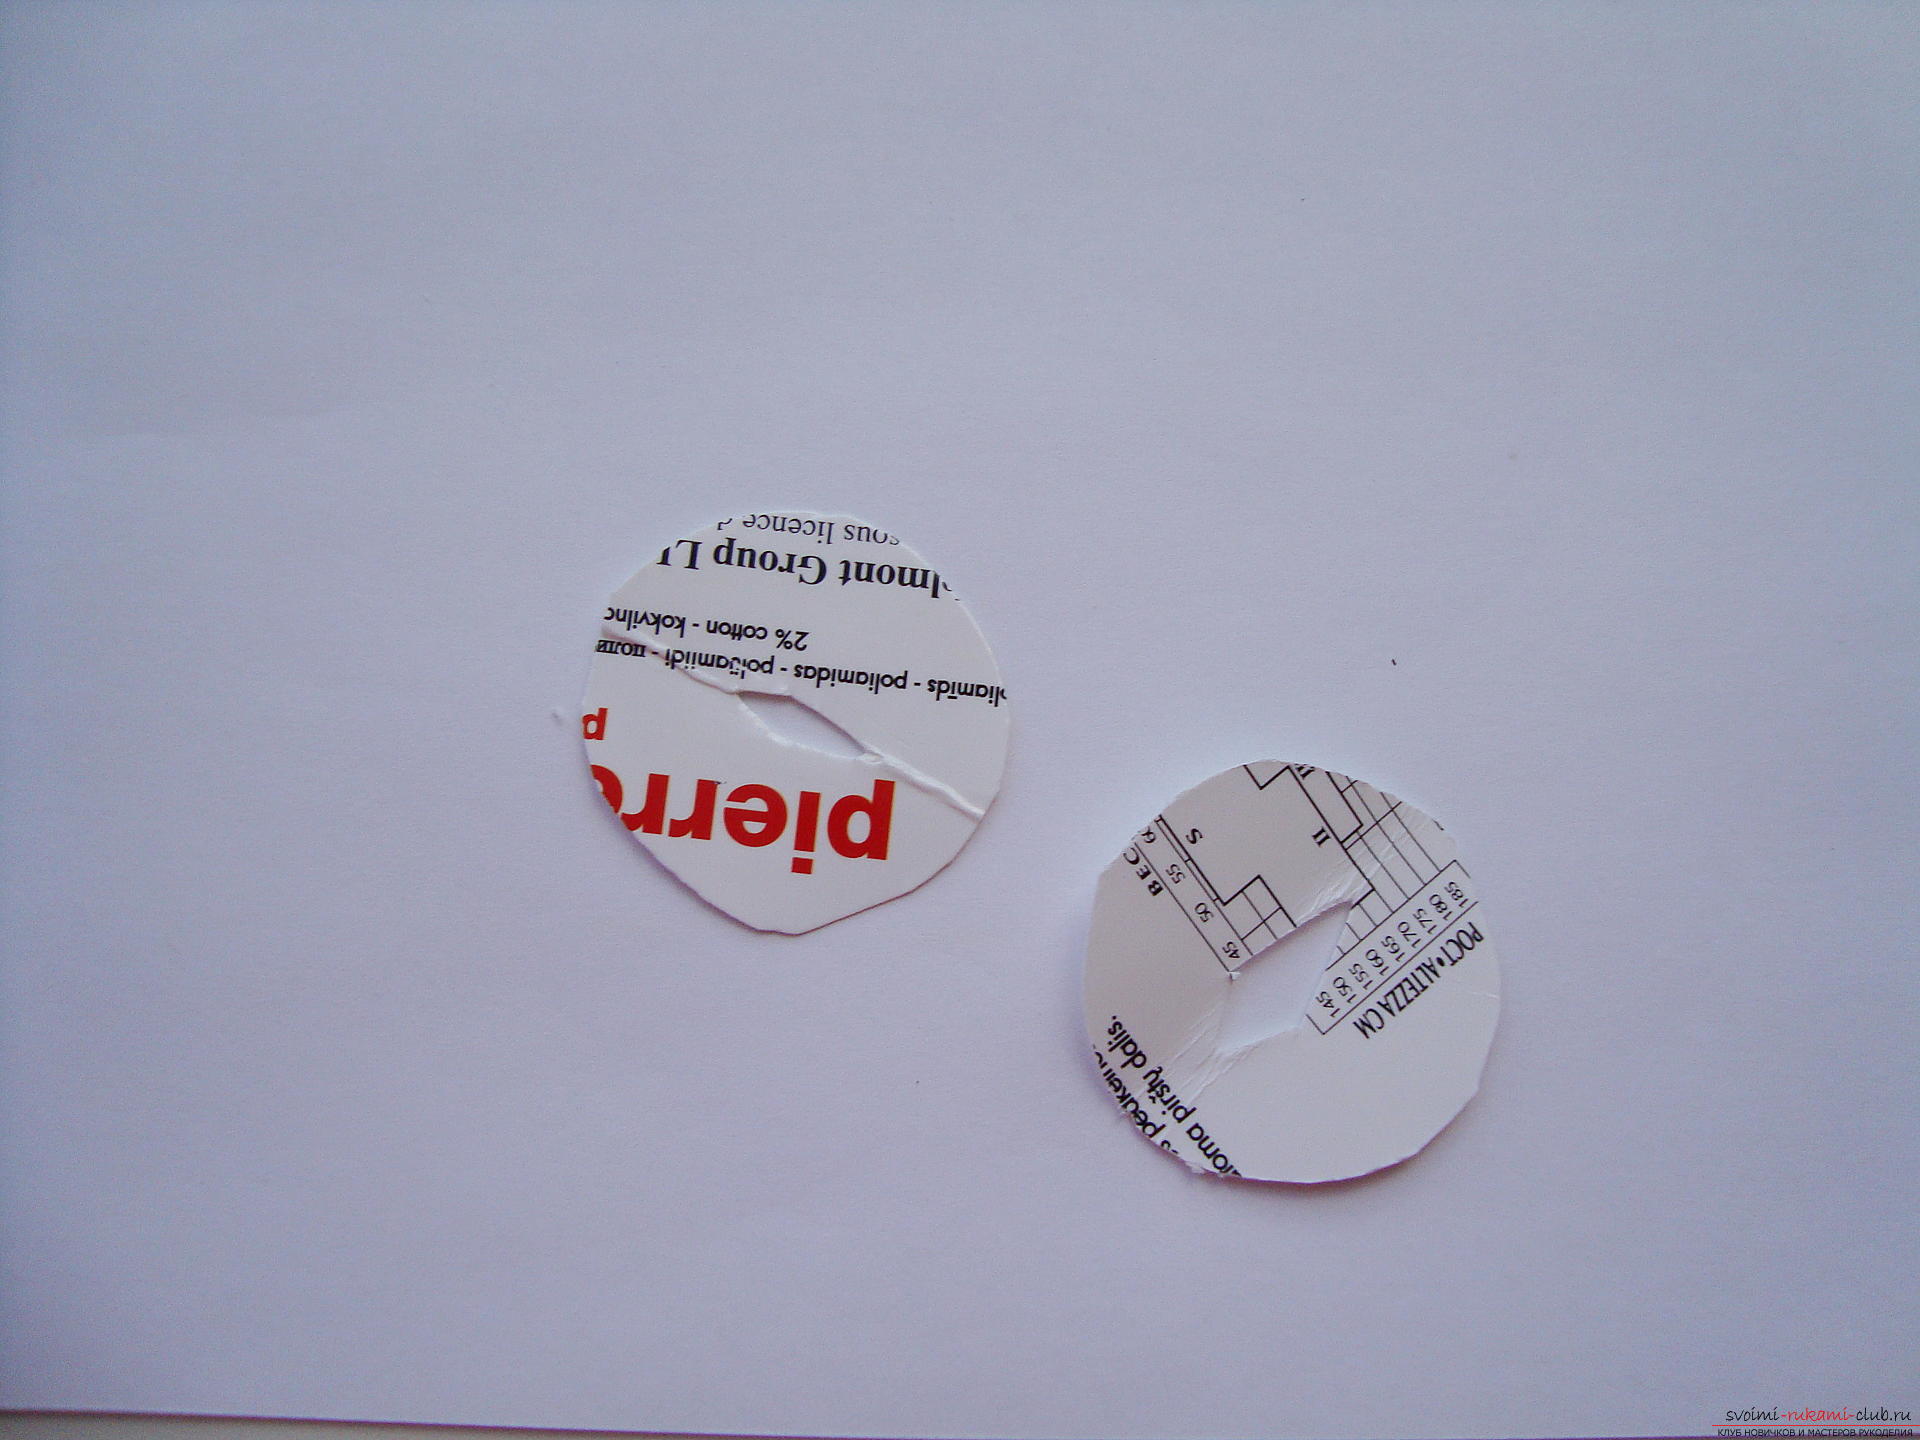 Wind the thread in a circle in several layers. Then use the scissors to cut the threads along the edge, thereby disconnecting the two cardboard circles.
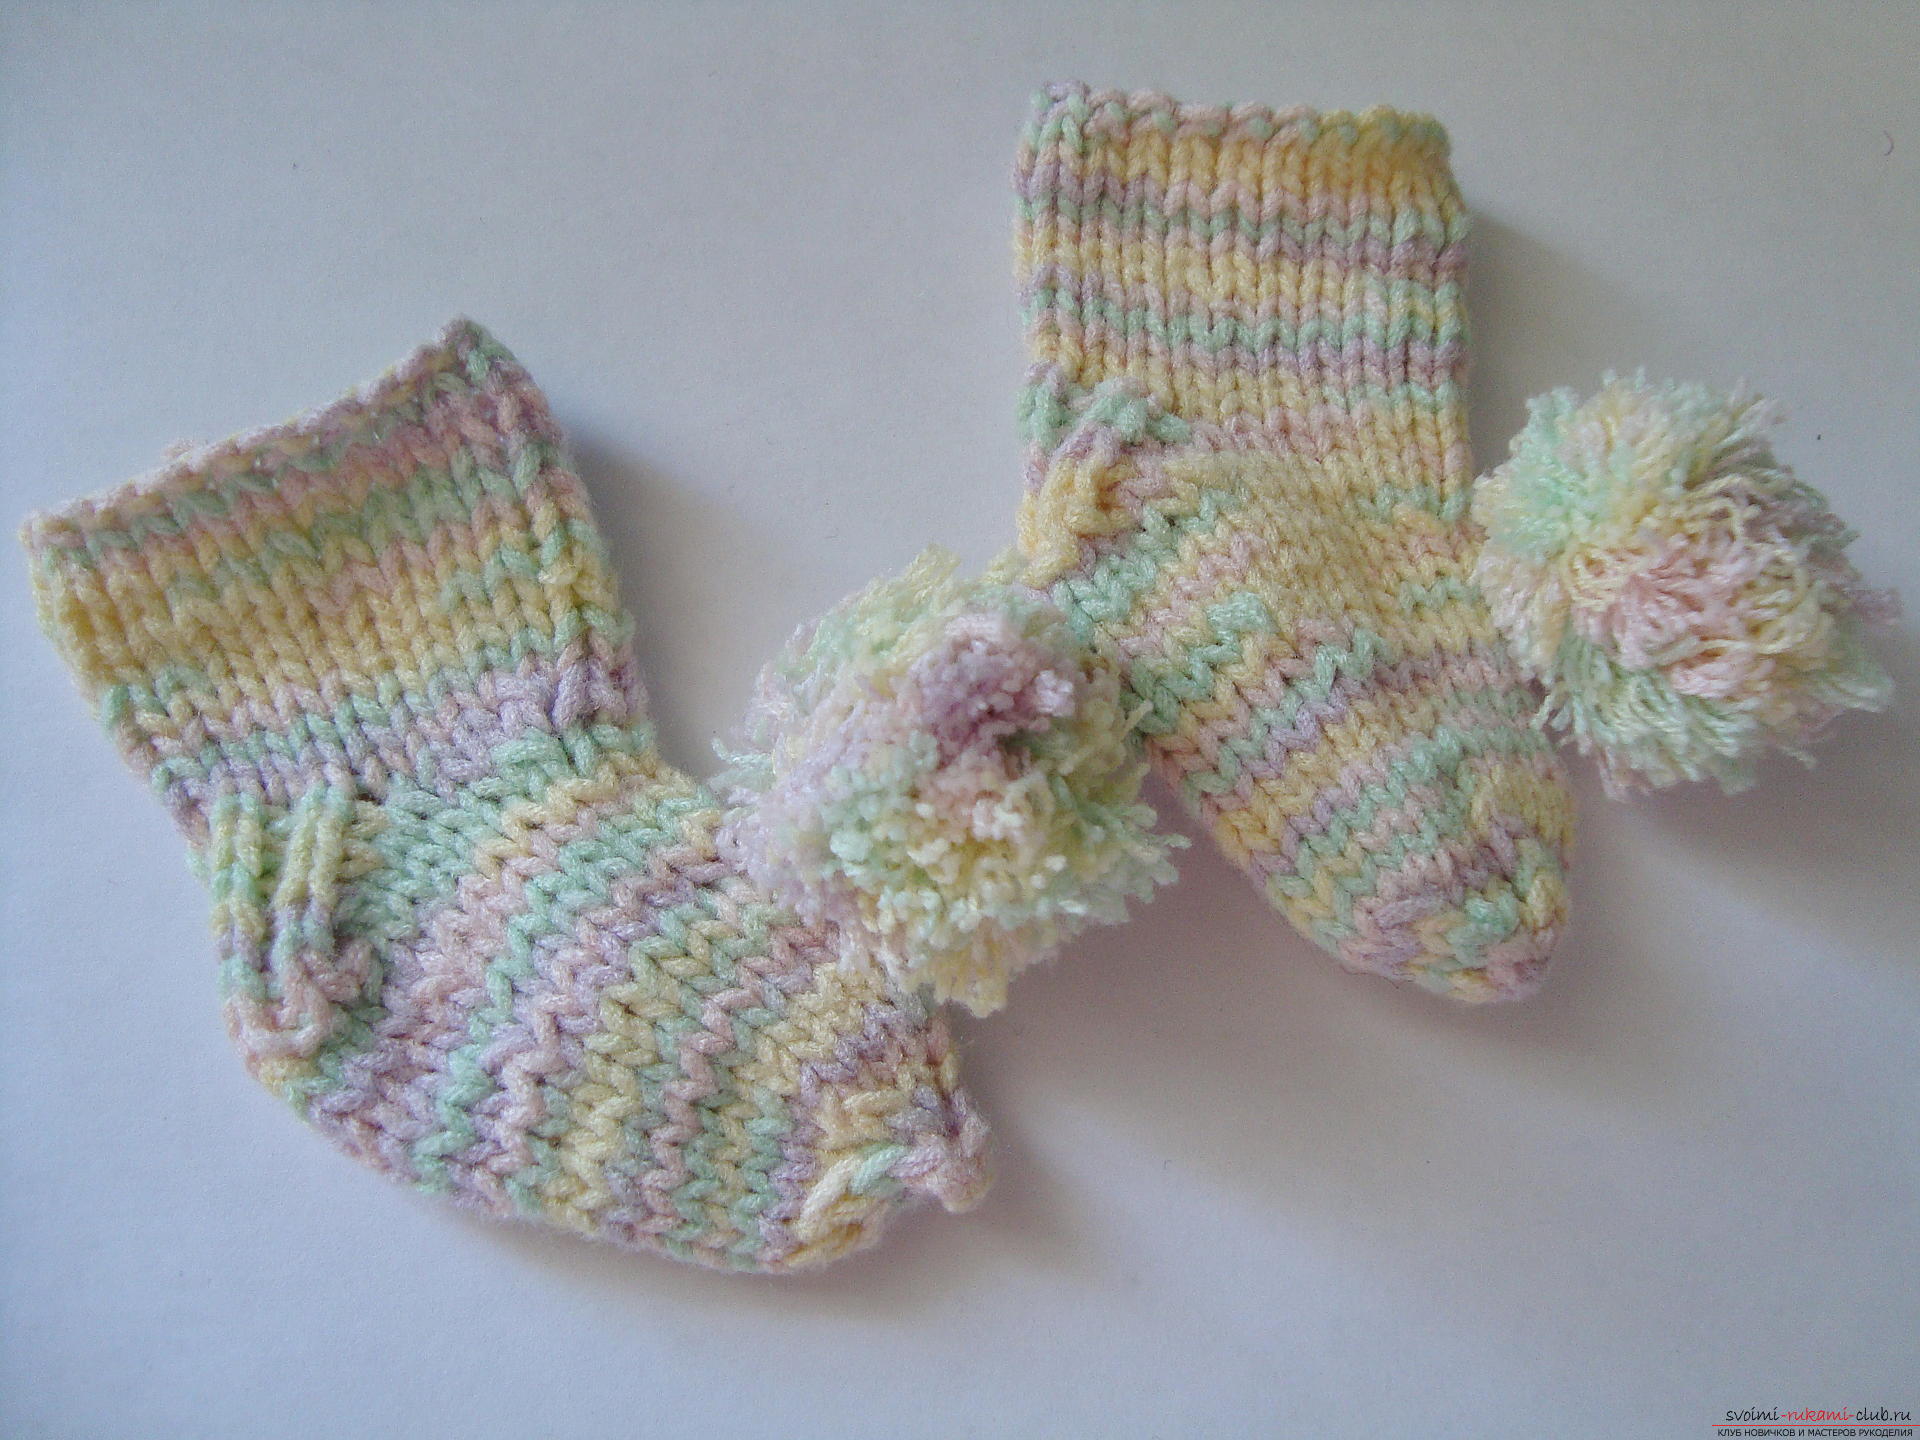
 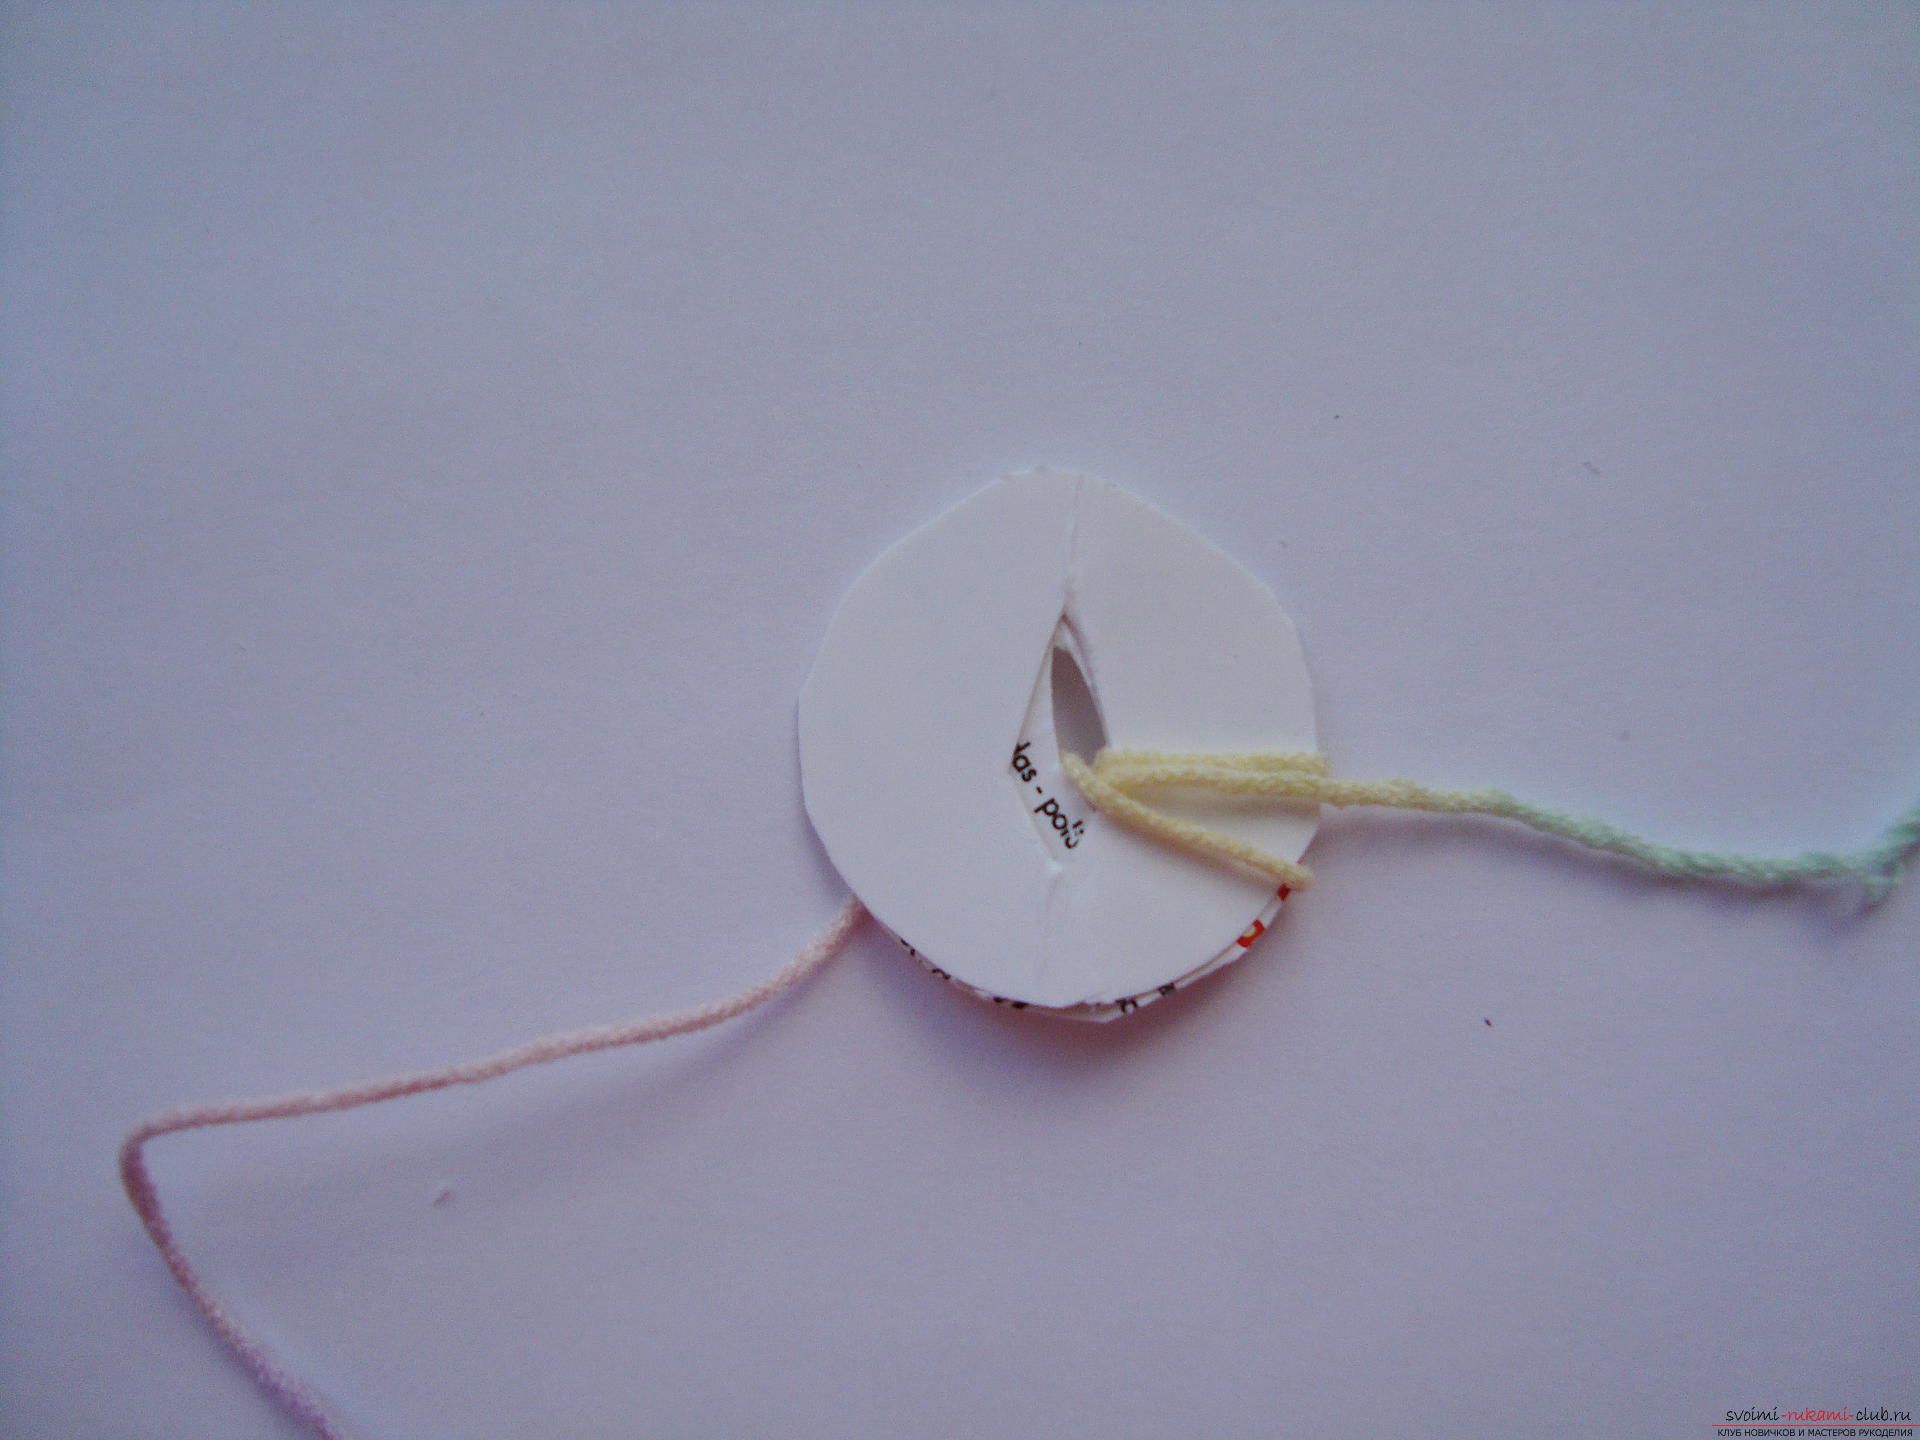 Pompons are sewn on the front of the socks or to the upper part of the lower leg from the side.
 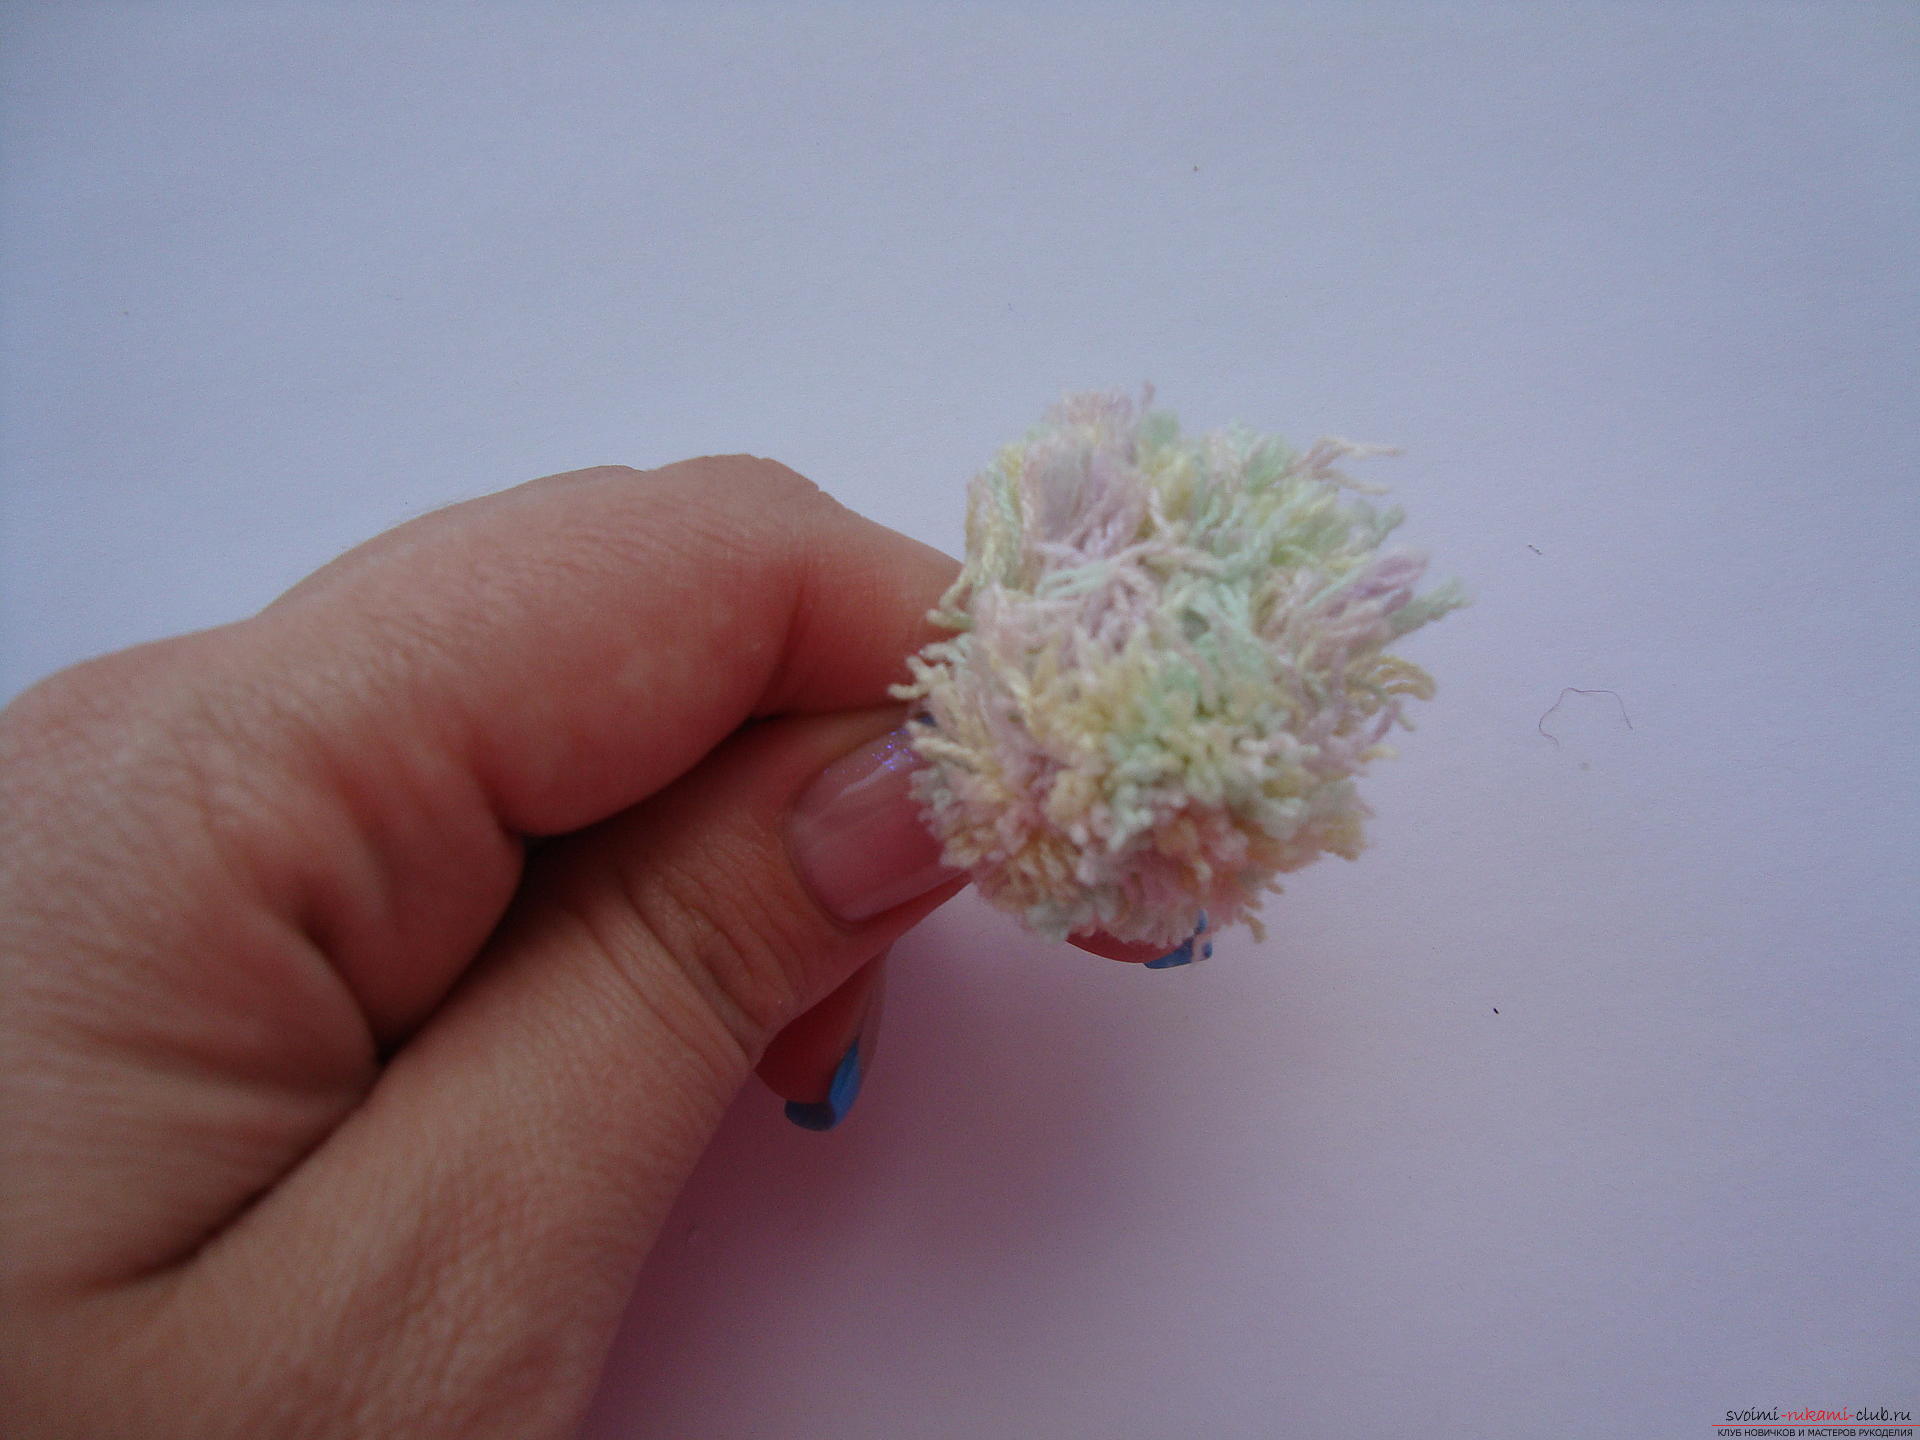 Charming socks are ready. They will decorate the legs of the dolls or, by analogy, you can create socks for the child, using double-sided knitting needles and increasing the scale of the mating.
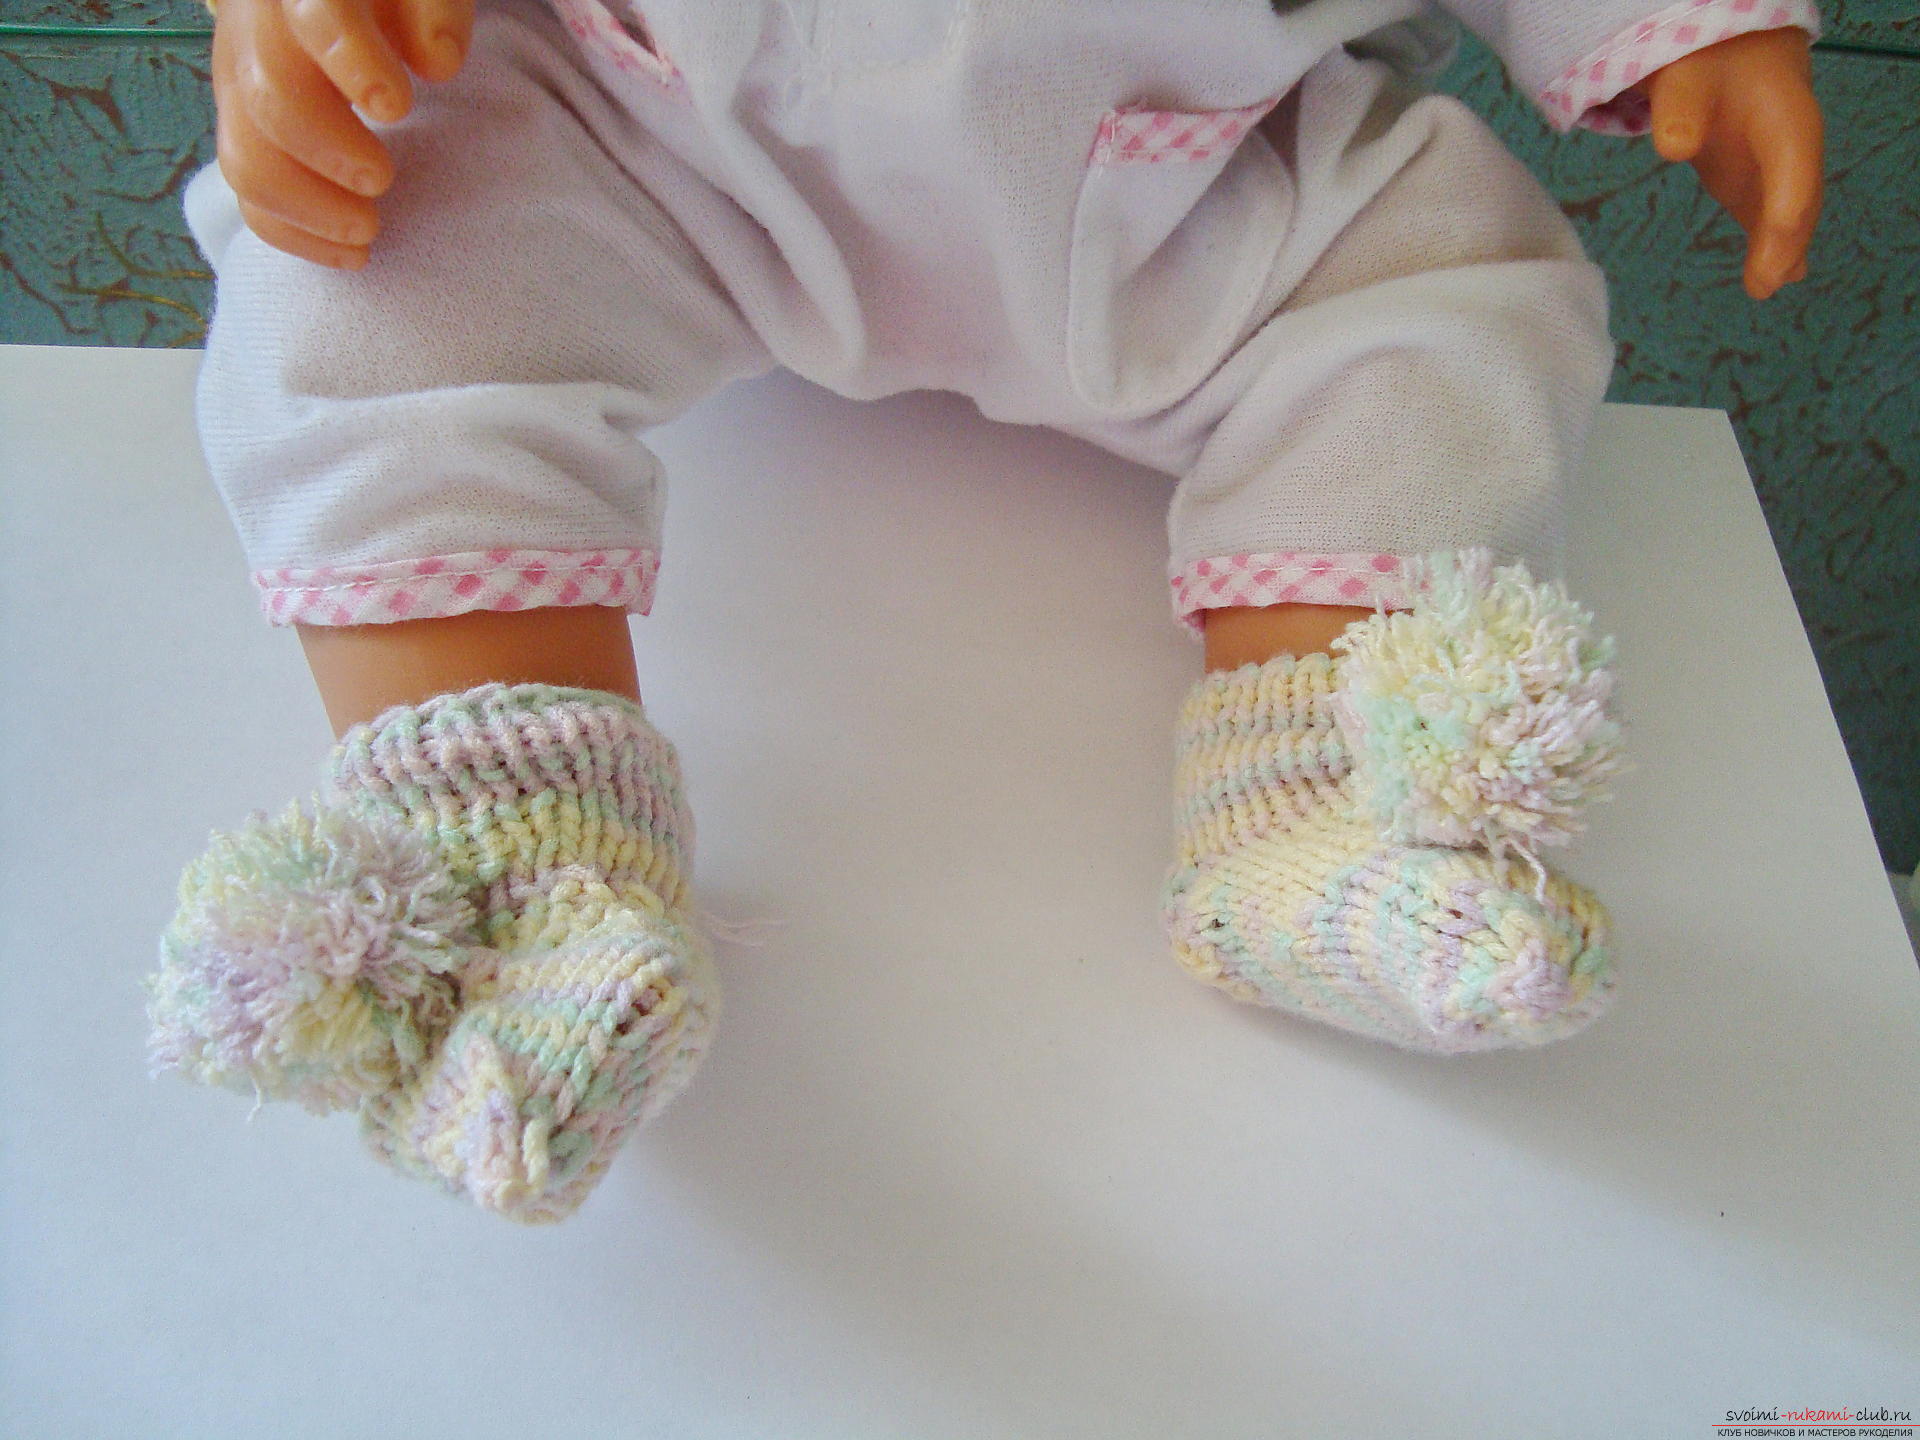
Comments
Related posts:
 Knitted knitting socks for your baby with your own hands. Detailed diagram with photo and description
 How to tie children's warm socks "Winter" with knitting needles? Lesson on knitting with children's socks "Winter" with detailed description of the technique of binding, recommendations and step-by-step photos
 We knit warm socks with knitting needles for a child. Detailed scheme for beginner needlewomen with a photo
 Knitted wool socks with 5 knitting needles. Detailed diagram with description and photo for beginners
 How to tie two-spoke slippers, seamless for beginners, with detailed descriptions, photos and diagrams for free