
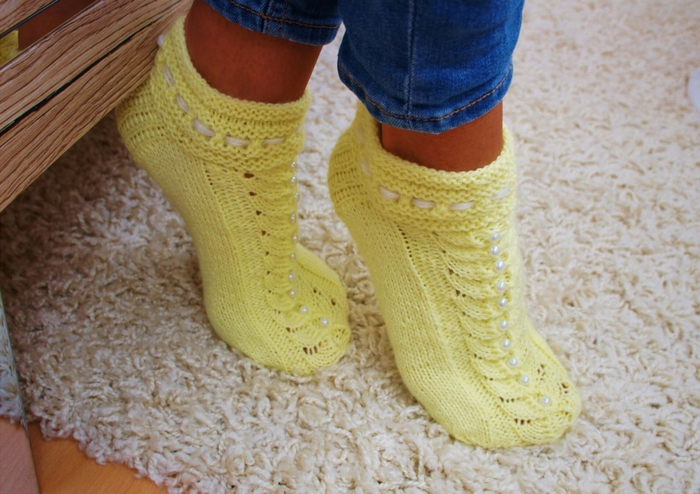
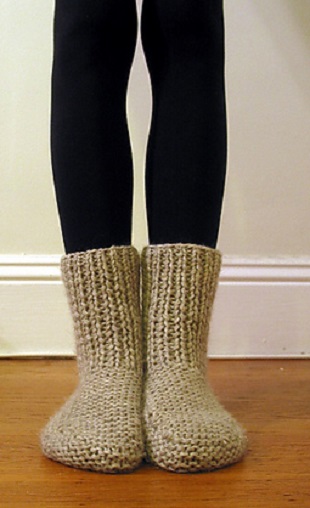
Socks on two spokes: a step-by-step master class (photo)
Content
Knitters know very well that the mostA common way to knit socks involves the use of five spokes, of which four are loops, and the fifth performs knitting. This technique is suitable for both experienced and novice craftsmen. But not all needlewomen know that for a long time there is also knitting of socks on two spokes. Now we will try to master this method, and we will conduct a master class with step-by-step photos. The technique of manufacturing is convenient for those needlewomen who experience discomfort from having a large number of spokes in operation. It often happens that they slip out of work, and loops can easily blossom. Knitting on two knitting needles is more convenient, so we suggest you familiarize yourself with this technique. This method is quite simple, and it allows you to make a product without a seam, similar to another knitting.

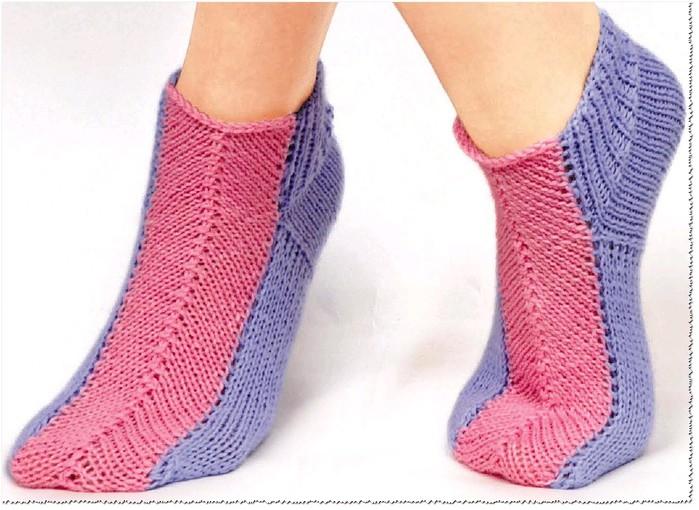
We knit socks on two spokes
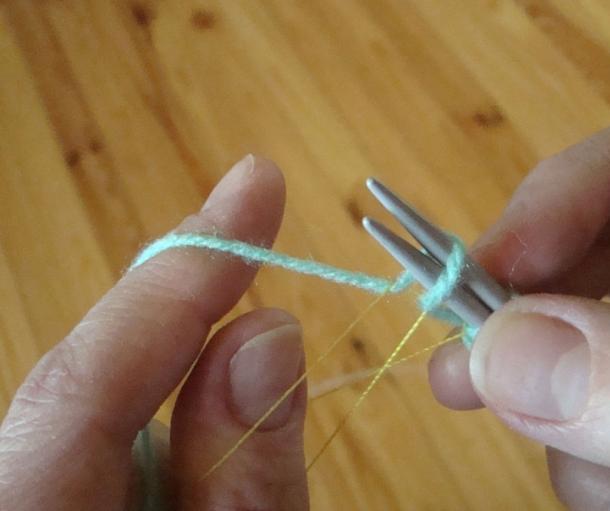
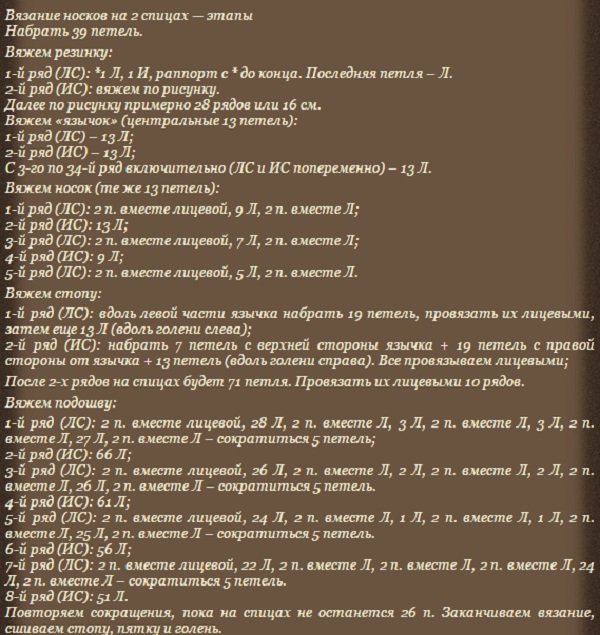
To connect them, at the very beginning of the needleworkUse an additional thread about thirty centimeters in length. Cut off a piece of extra thread, preferably silk, so that it slides. We will tie the main and auxiliary threads in a knot, not very tightening it. The main thread is on the index finger. The auxiliary thread is on the thumb. After that, you can type loops, but the set should be in the amount of half the required. If you need forty-six loops, then get twenty-three, and for a child's toe, the number of loops (P) will be even smaller.


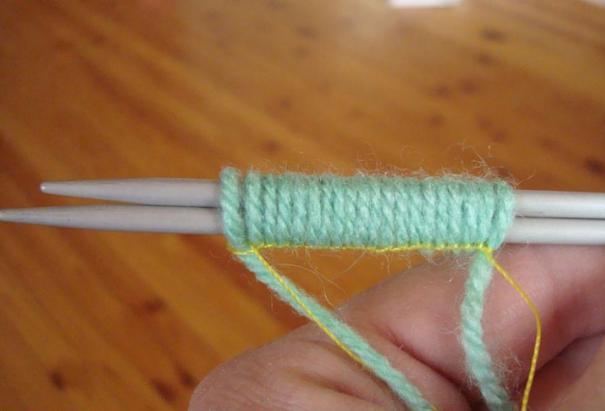
After we completed the set of necessaryNumber of loops of a sock, proceed to knitting. In the first row, all P are knitted with facial (LP), and the latter must be the back loop (PI). Next comes the second row, in which all the P are purl, and the final row is not tied.
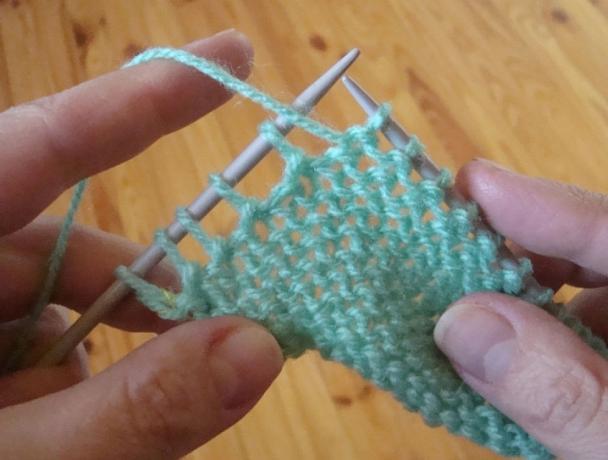
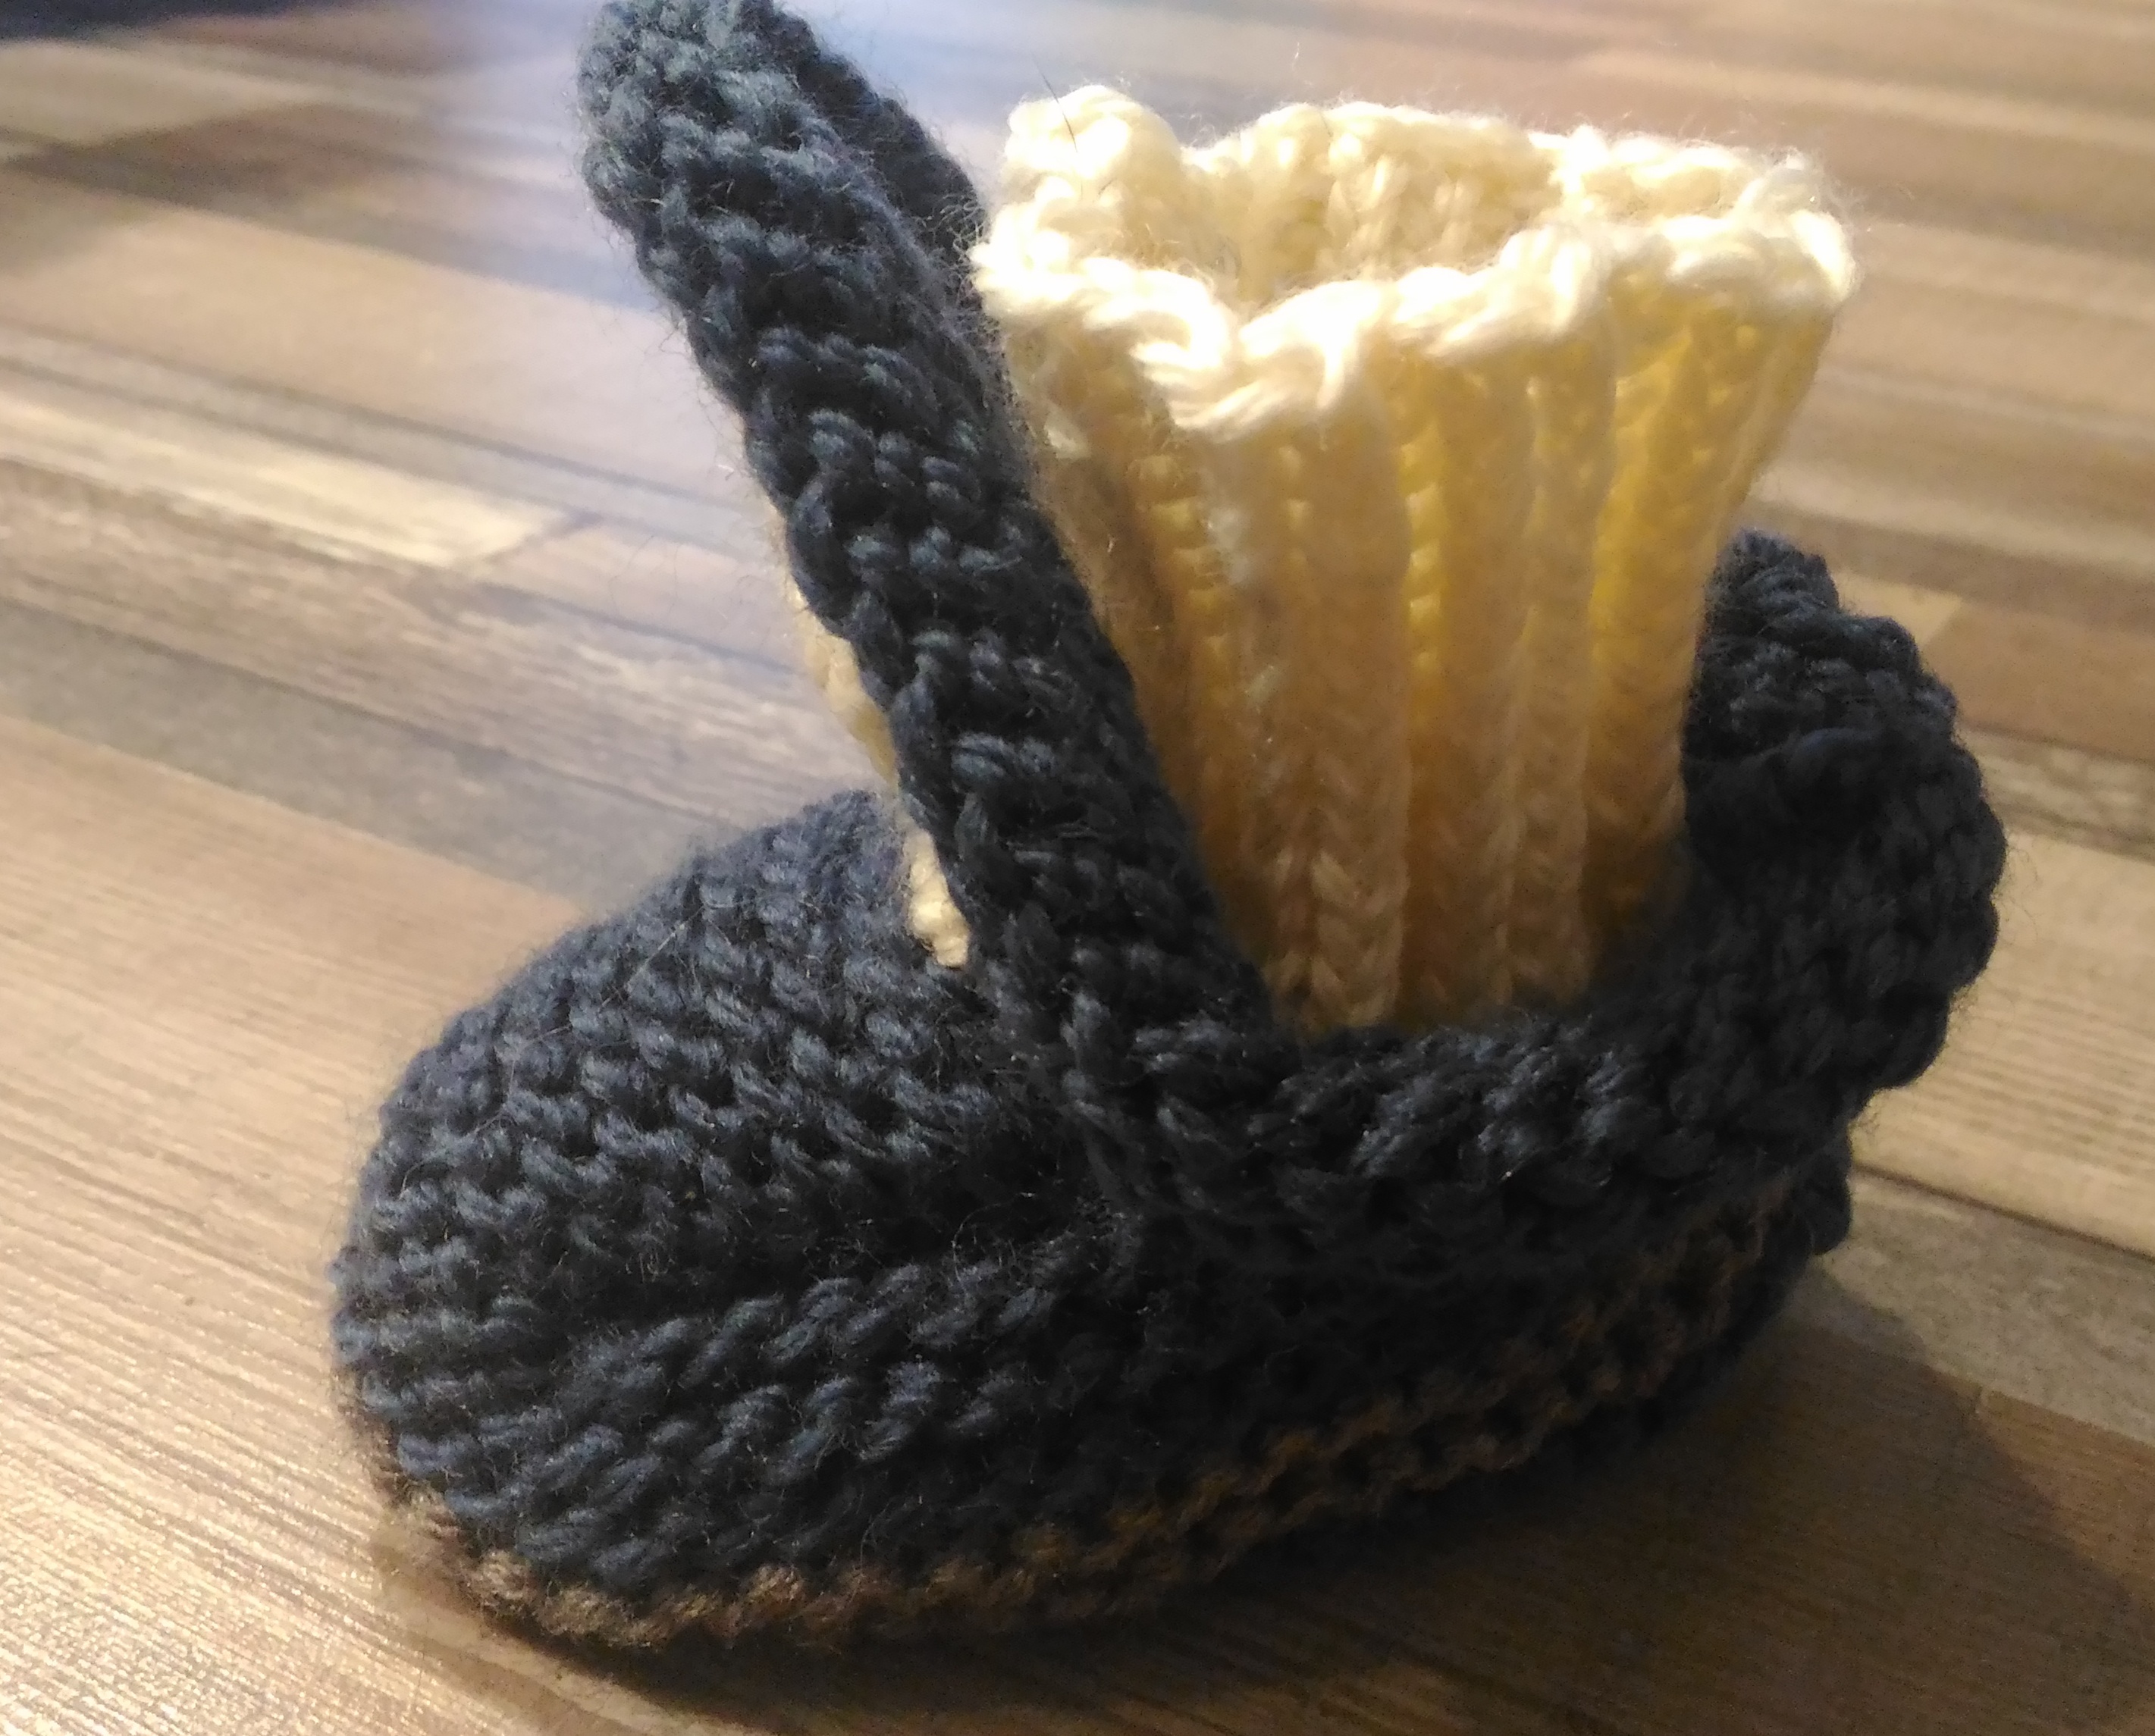
Exactly the same technique performed facial and purl rows. Without tying the last P, we make incomplete ranks. Performing knitting with this technique, we get one third of the P
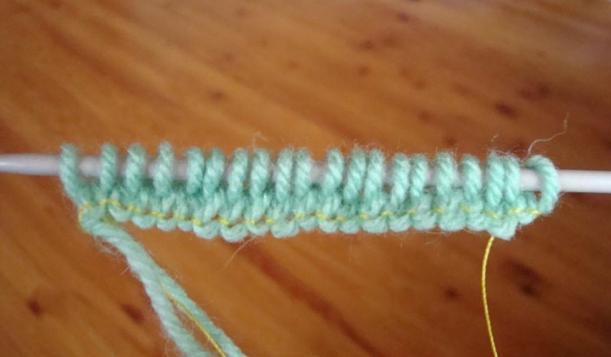
. Approximately, this should look like a canvas with the last not hinged loops. Pay attention to what kind of appearance of knitting you should get in this case, when this stage is completed.
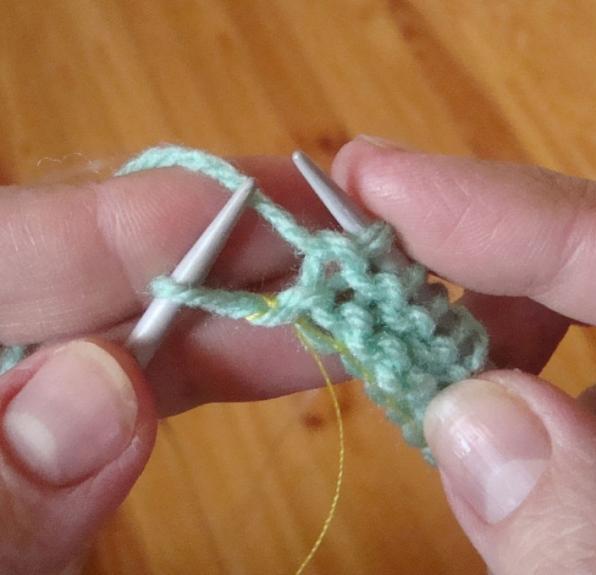


This master class assumes the presence of twentyP, five of which remained untied. Continue making a sock on two spokes, performing knitting previously unbonded P, one piece in one row. To ensure that no holes are formed in the knitting, execute the mantle in the middle, after being lifted and in front of the others.
Delete P from the left side, and make a CAP, afterThen again on the left spoke we put the same previously removed loop. After that, we'll tie two loops together. Exactly in this way, it is necessary to tie P on the other side of the canvas, picking up a crochet between two P, one of which is not tied, but the second one. It is done in the same sequence as with the underside of the sock cloth.
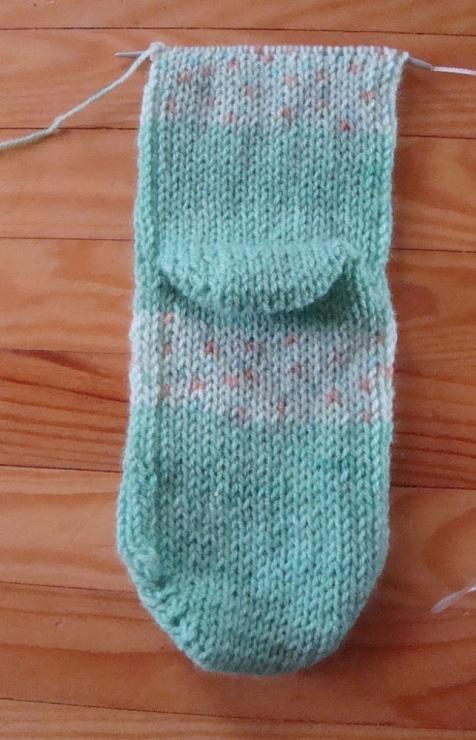
Previously removed P is then placed on the spoke on the left. Then again, two hinges are knitted together with a face loop. When you finish this stage of work, you get this form of cloth, which is a toe cap.
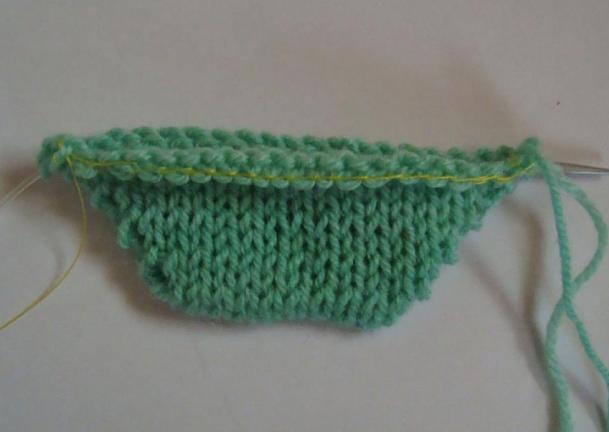


Then remove the thread from the sock, andPut on the spoke with the P released. Now we have received two spokes with loops, the number of which is sufficient for knitting a sock without a seam. As you managed to notice, it's not hard to tie a sock. This is quite possible for experienced and novice needlewomen. Then place it on one spoke. At this stage, the knitting of the sock is performed as follows. The first П from the knitting number one knit LP. From the spokes number two (back), the eyelet should be removed. The thread while removing P remains in front of the blade. It is necessary to know that the last П must be fulfilled as a back loop.
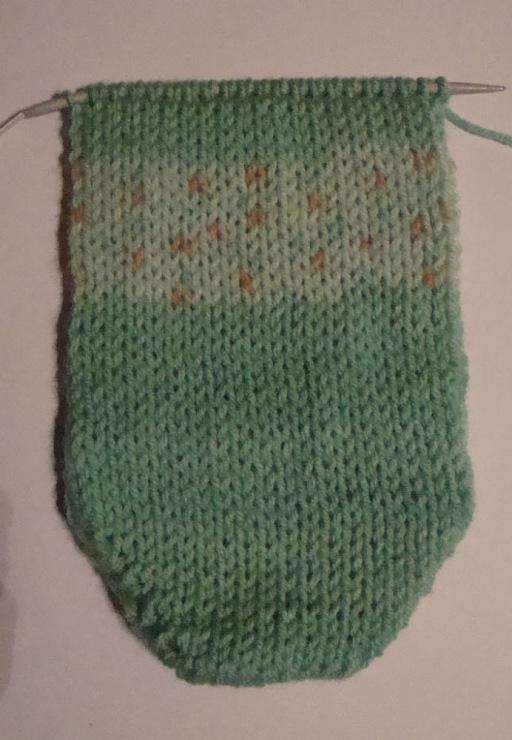
Further knitting of the sock is exactly the samePreviously described operations, and it can be performed automatically, resulting in a so-called "pipe". This form of sock is obtained at this stage of work. After the completion of the stage, we proceed to the formation of the heel. The technique of work here is the same as when performing a toe.

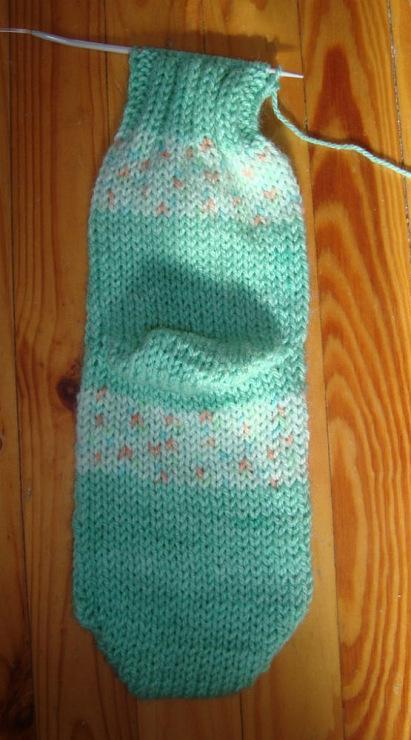
After the end of the work on forming a heelAll the noses are divided into two parts, one of which is located on the spoke, the second on the auxiliary pin. Then follows the continuation of the knitting of the pipe until the zone of the toe gum is reached. We knit an elastic band of a sock two on two, alternating face and not tied P, and also purl and not tied.
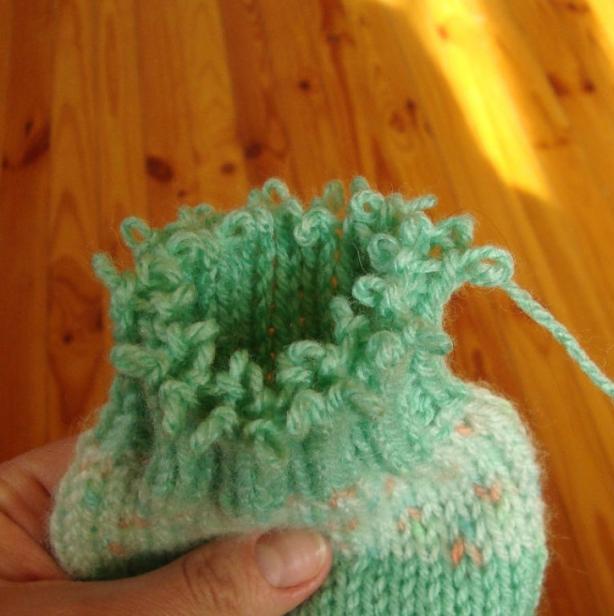
Now you need to remove the spoke, and finish the series in some way, from you known. In order to stretch the toe of your product, pull the thread as much as possible while closing the loops.

Video masterclass on knitting socks
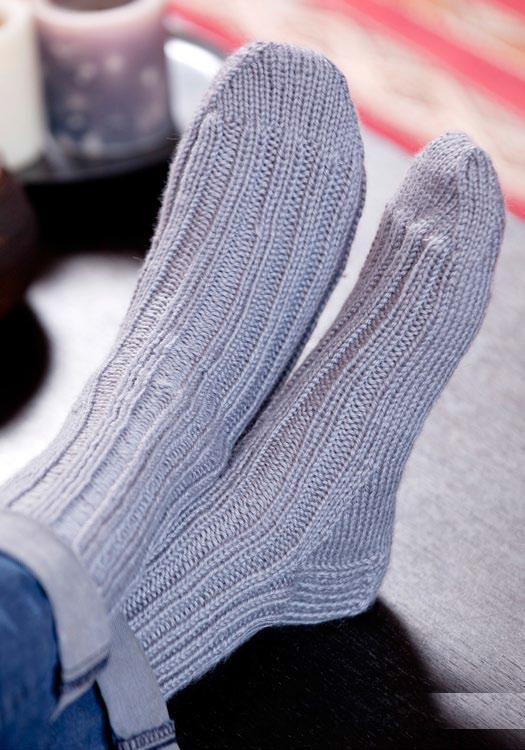
We offer you a video master class by lookingWhich socks on two spokes can connect any of you, even a beginner needlewoman. At first it is recommended to dial an even number of loops and make a small sample that will help you determine the number of sets for forming a socks according to your size. Note that the technique is fundamentally different from the previous master class, and needlework begins with knitting the elastic, and not the toe. We continue to watch the video, and at the same time do needlework. We tie six centimeters of gum two by two. Note that the number of rows for the rubber band must necessarily be odd. After the gum, we need to make a transition to the implementation of the facial smoothness, which must also be performed six centimeters. Then we divide the pins on the spoke into four equal parts, and mark the places of division with small pins.
Next, we distribute the whole of II on three spokes. At the same time, one-third of all P should be on the last spokes, and two-thirds on the middle, that is, twice as much. Now it's time to tie the heel, and this process is perfectly illustrated on this video. The heel knits on three spokes. When it is finished, the canvas is again transferred to the previous position. Depending on the size of the product after the heel, it is necessary to connect a certain amount of length to the face surface. Having reached the required length, begin the decrease of the buttonhole loops. In this technique, there is a feature when the reduction is not performed at the expense of the edge loops, as shown in the video. After completing the toe, carefully close the hinges, and sew the sock cloth from the side of the rubber band. The elastic and facial stitches are sewn together by several different techniques, which are also present on the video. After viewing this material, you'll definitely like knitting socks on 2 spokes.
Video: Lesson for Beginners
Photo of knitting knitting socks

Comments
Related posts:
 Booties on two spokes: step master class in the photo and video
 Sledkov two spokes seamless: knitting master class (photo)
 Booties spokes: step master class (photos, video tutorial)
 Step-by-step photo masterclass on knitting socks "enterlak"
 Step-by-step photo master-class: how to tie booties machines