
Bright soft turtle made of cloth. We sew a soft toy with our own hands
Cute and cute soft toys will not leaveindifferent to you or your children. Our today's small, but very detailed master class, is dedicated to making by yourself a soft amusing bug from bright and summer cloth flaps. 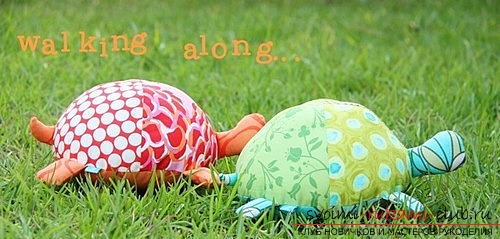 Believe me, these pretty little turtles are verylike your children, for their little fingers it will be useful to fiddle with soft rag legs and a tail. For better effect, the legs can be filled with rustling material or wrappers.
 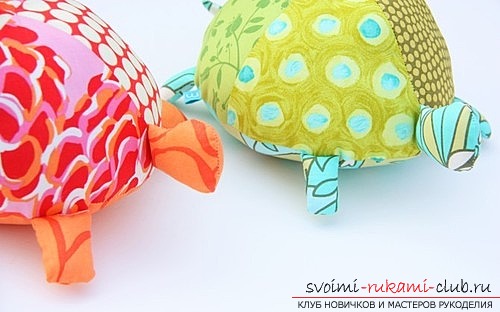 We are sure that sewing one turtle, you just can not stop at this, and you will certainly sew a company to it. We approach the process creatively, and proceed!
 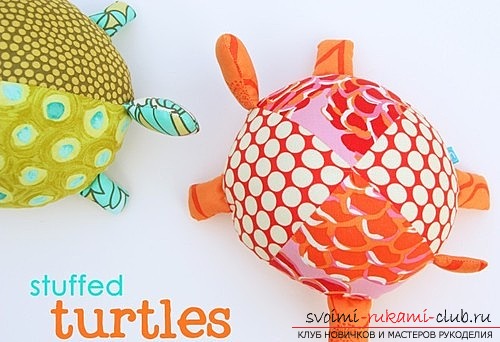 We select a bright and beautiful fabric. More suitable cotton fabric, no knitwear or stretch. We do not need toys to stretch too much, and they did not keep the shape. Take monotonous and multi-colored coarse calico.
 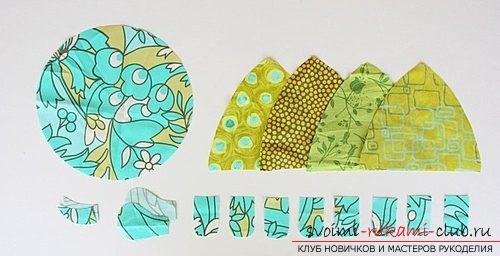 We circle the details of the patterns, and cut them out.
 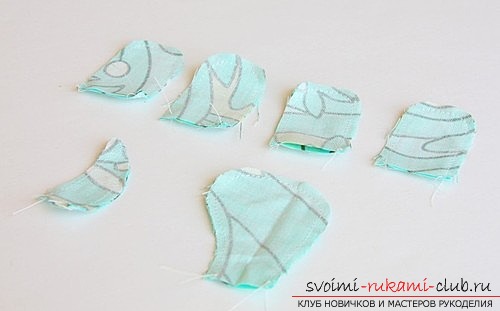 We take two parts of the legs. We sew the fabric face to face. We sew in a circle, not sewing only the upper part. Repeat the same for the tail, head and other legs.
  We turn out with a pencil or a stick for sushi. So it is very convenient, than to turn out very small details with fingers.
 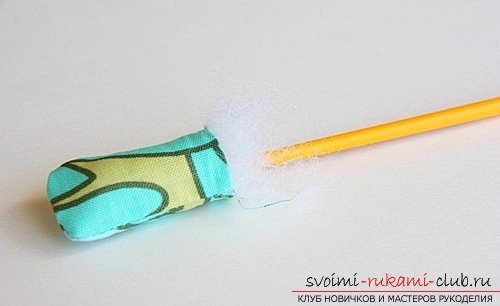 Fill the details with a sintepon or a hallfiber. In order to fill the parts tightly and quickly, we also recommend using a pencil. For weight, you can add silicone balls.
 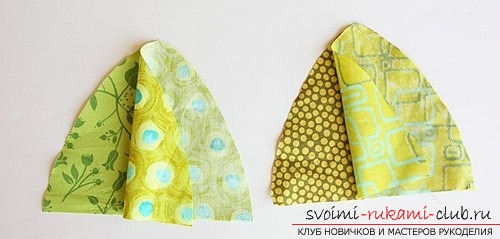 Sew the edges of the parts, retreating five or six millimeters from the edge.
 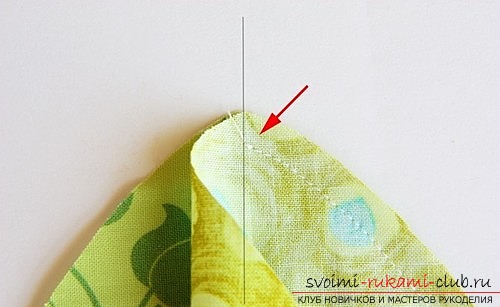 Now sew the edges of all the parts, stepping back a little from the edge.
 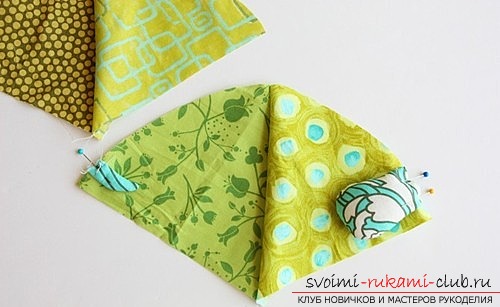 We make the shell. Most of the work we have already done, so do not give up half way and do it longer. We knead the four parts of the tortoise shell face to face with each other, and sew one edge together.
 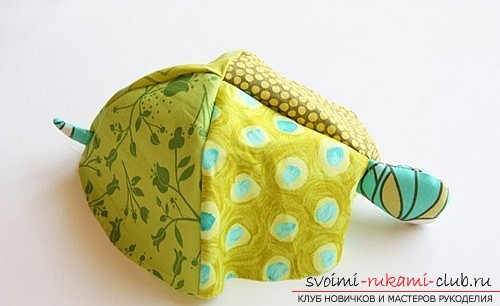 We make the details smoothly and correctly.
 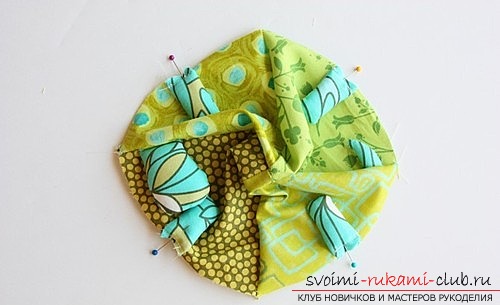 Start sewing from top to bottom, trying not togo beyond the virtual line. Next, unfold the sewn parts, and one side is fixed with needles or pins, head, retreating from the edge for one and a half centimeters. On the opposite side, attach the tail. Sew these details, retreating 5-6 millimeters from the edge.
 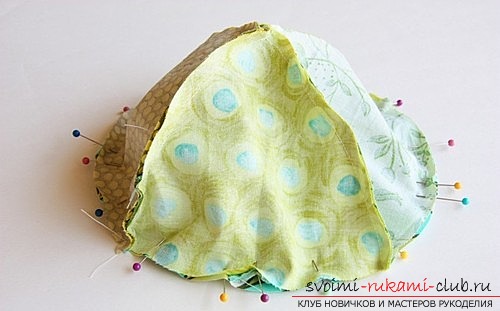 We take the second half of the shell and combine them together, after which we sew from the center. We turn the face outward.
 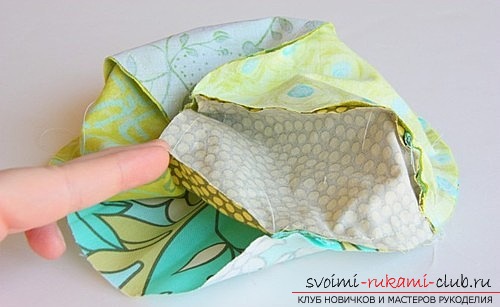 Lay out the shell on a flat surface, andpin all four of the turtles' paws. Try to arrange from symmetrically. We turn the shell inside out, and combine it with the round bottom (tummy). We prick pins in a circle. Straighten neatly on the machine, leaving a small hole 5 cm between the legs on one side. We turn the product on the front side, and fill it tightly with sinters or silicone granules.
 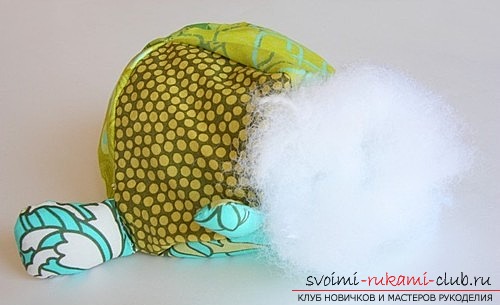 The turtle must keep its shape and be elastic. Sew the hole using a hidden seam. Wonderful cute bug is ready! Everything turned out creatively very easily and simply. We hope that you really liked our original idea! Thank you for attention!
Comments
Related posts:
 The master class will teach how to sew a soft toy with their own hands - an adorable bear made of cloth.
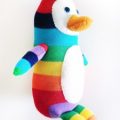 Penguin with his own hands. We sew a toy from a sock.
A master class with a photo will show you how to make your own hands New Year crafts - a soft Christmas tree made of fabric.
Penguin with his own hands. We sew a toy from a sock.
A master class with a photo will show you how to make your own hands New Year crafts - a soft Christmas tree made of fabric.
 We make a toy "squirrel" with our own hands. Just out of wool we make a soft and sweet toy for your baby
 Want to learn how to make a soft toy with your own hands? That way.