How to make a Christmas boot from felt by yourself? Lesson on the creation of an interesting New Year's craft of felt with step-by-step instructions and photo
The tradition of hanging on the eve of New Year's Eveholidays on the fireplace, the window, the front door or just in the room a special Christmas boot came to us from America and Europe and settled firmly with us. And although Santa Claus does not bring gifts to our children in the same boots, but does it as before Santa Claus, this decoration looks in every house very stylish and festive. So I decided to make something similar for my home, I hope you will like this idea, and you will also embody it with me in life. Besides, this product can become an original packing of New Year's gifts, if you are going to visit children, fill up the boot with sweets, nuts, gingerbread and other goodies, if an adult merry company is waiting for you, place a bottle of champagne in your boot, it will be very original.
Tools and materials
So, to sew a Christmas boot from felt with your own hands, we will need:
- sheet felt of red, blue, white, green, pink, lilac, orange, yellow and brown;
- thin satin ribbons of four different colors;
- scissors;
- sewing needle;
- white threads "mulina";
- paper;
- simple pencil.
Description of the stages of work
1. We begin our work with the sketch, we will do it by hand with a simple pencil on a sheet of A4 paper. Draw the boot itself, and also execute a sketch of the drawing that we want to see on our product. In my case, this is a smart New Year tree with gifts. 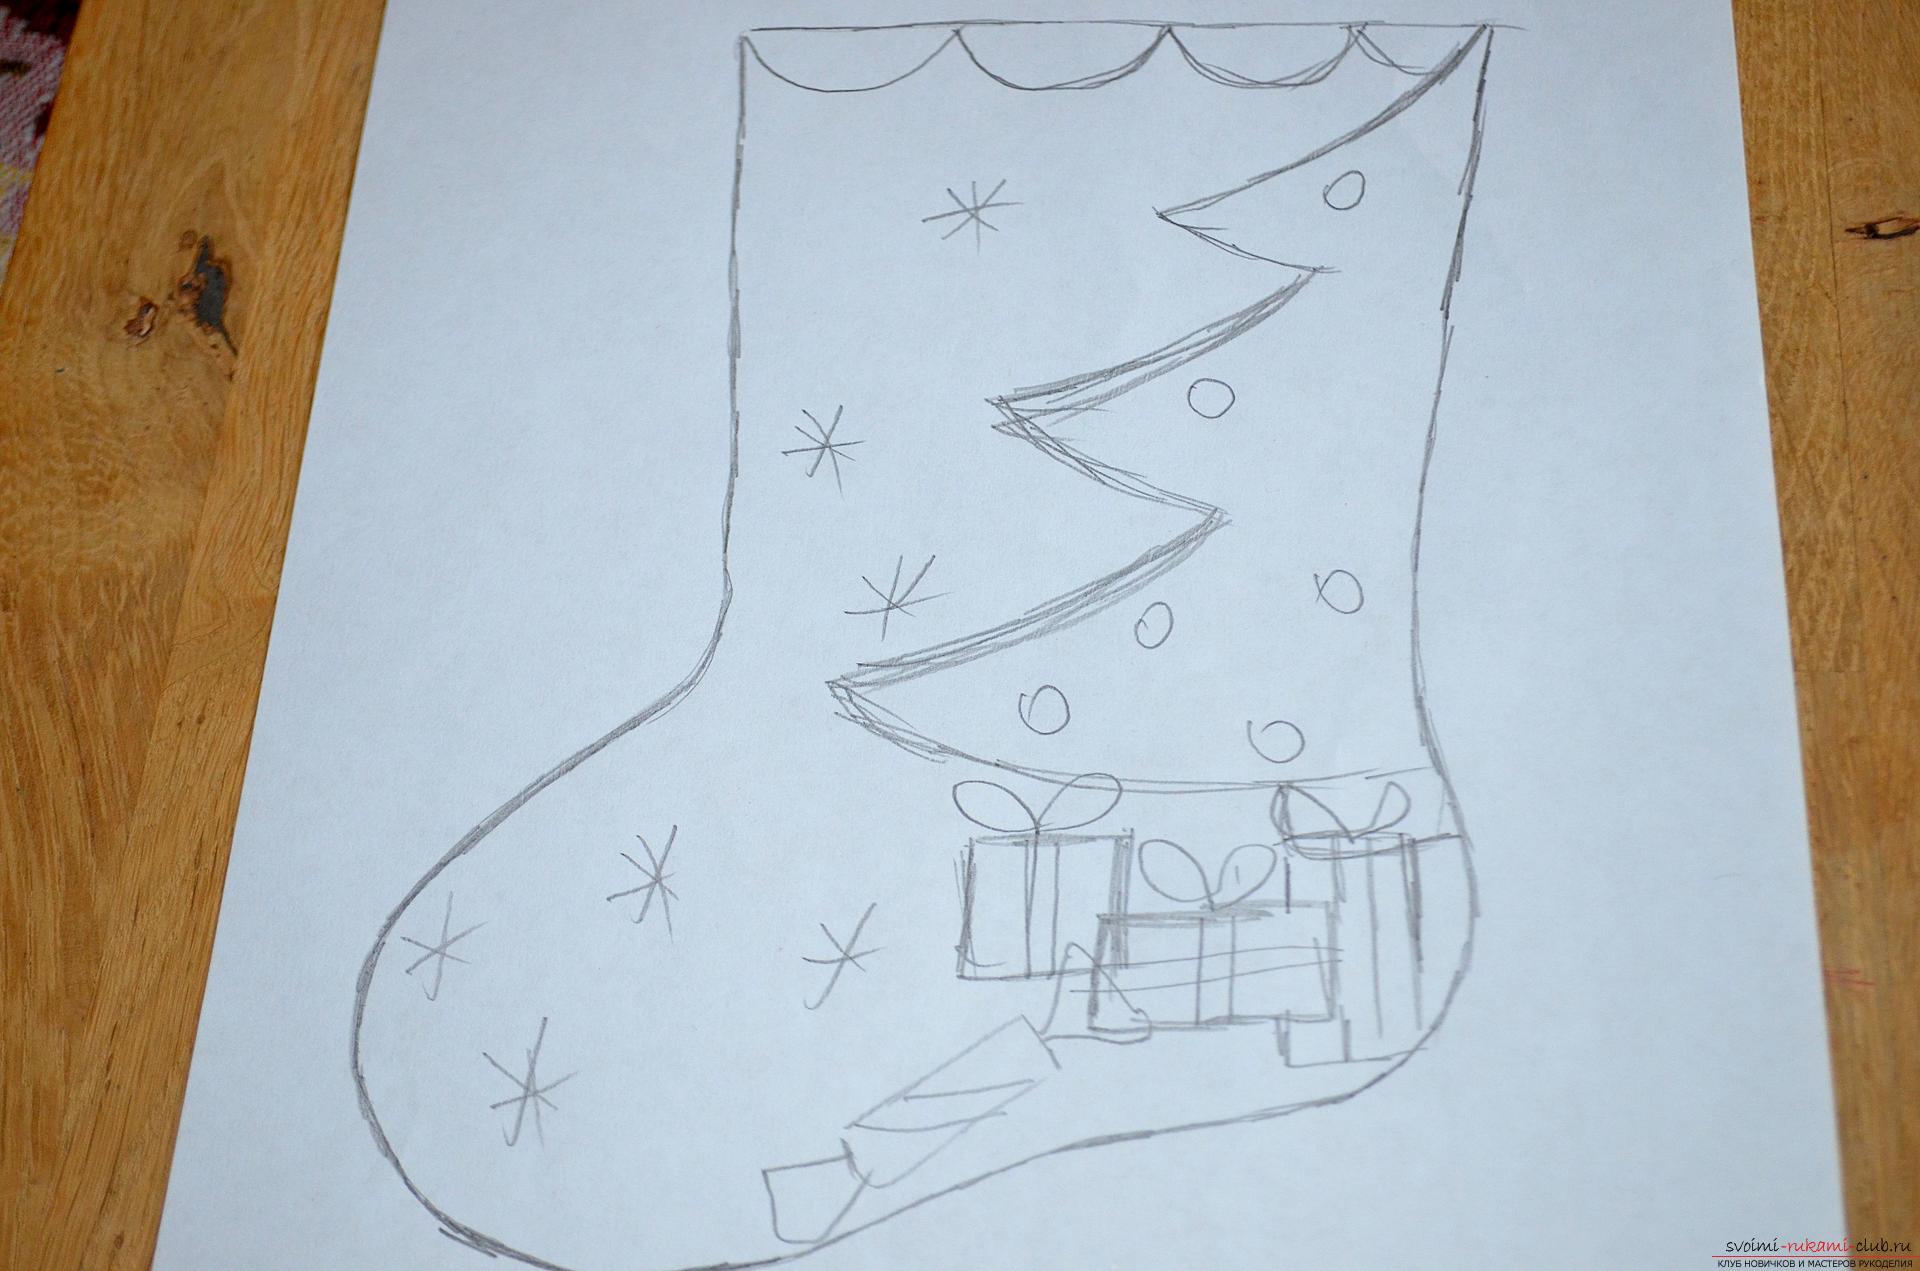 2. Next, we cut out our main sketch on the contour in order to use it as a pattern-pattern for making the product. Then we take a sheet of red felt and a sheet of felt blue and connect them to each other on all edges, then apply a template to the top layer, chop all the parts together with sewing pins or ordinary needles so that they do not move during work, and we trace the pattern along the contour.
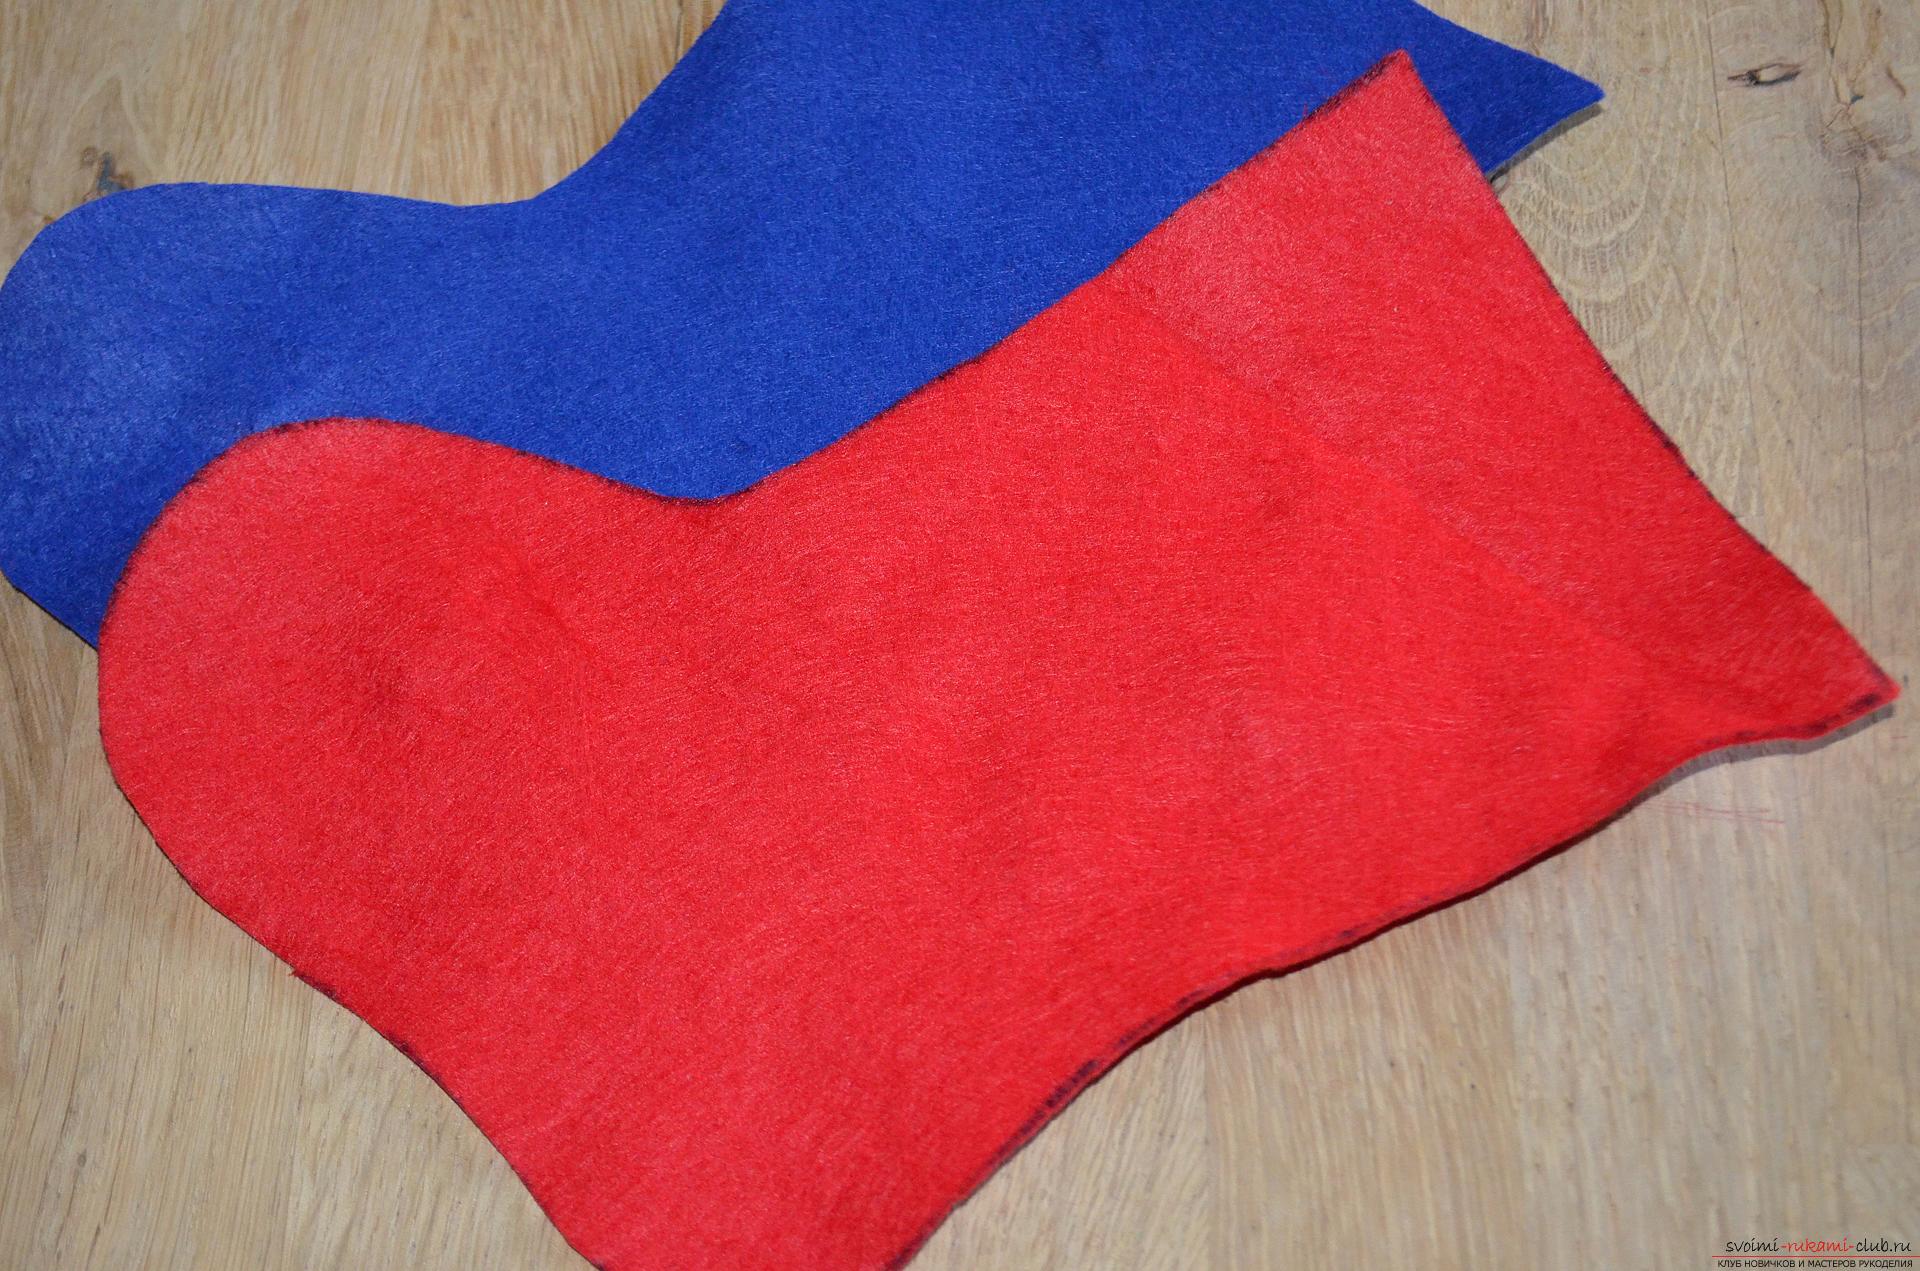
 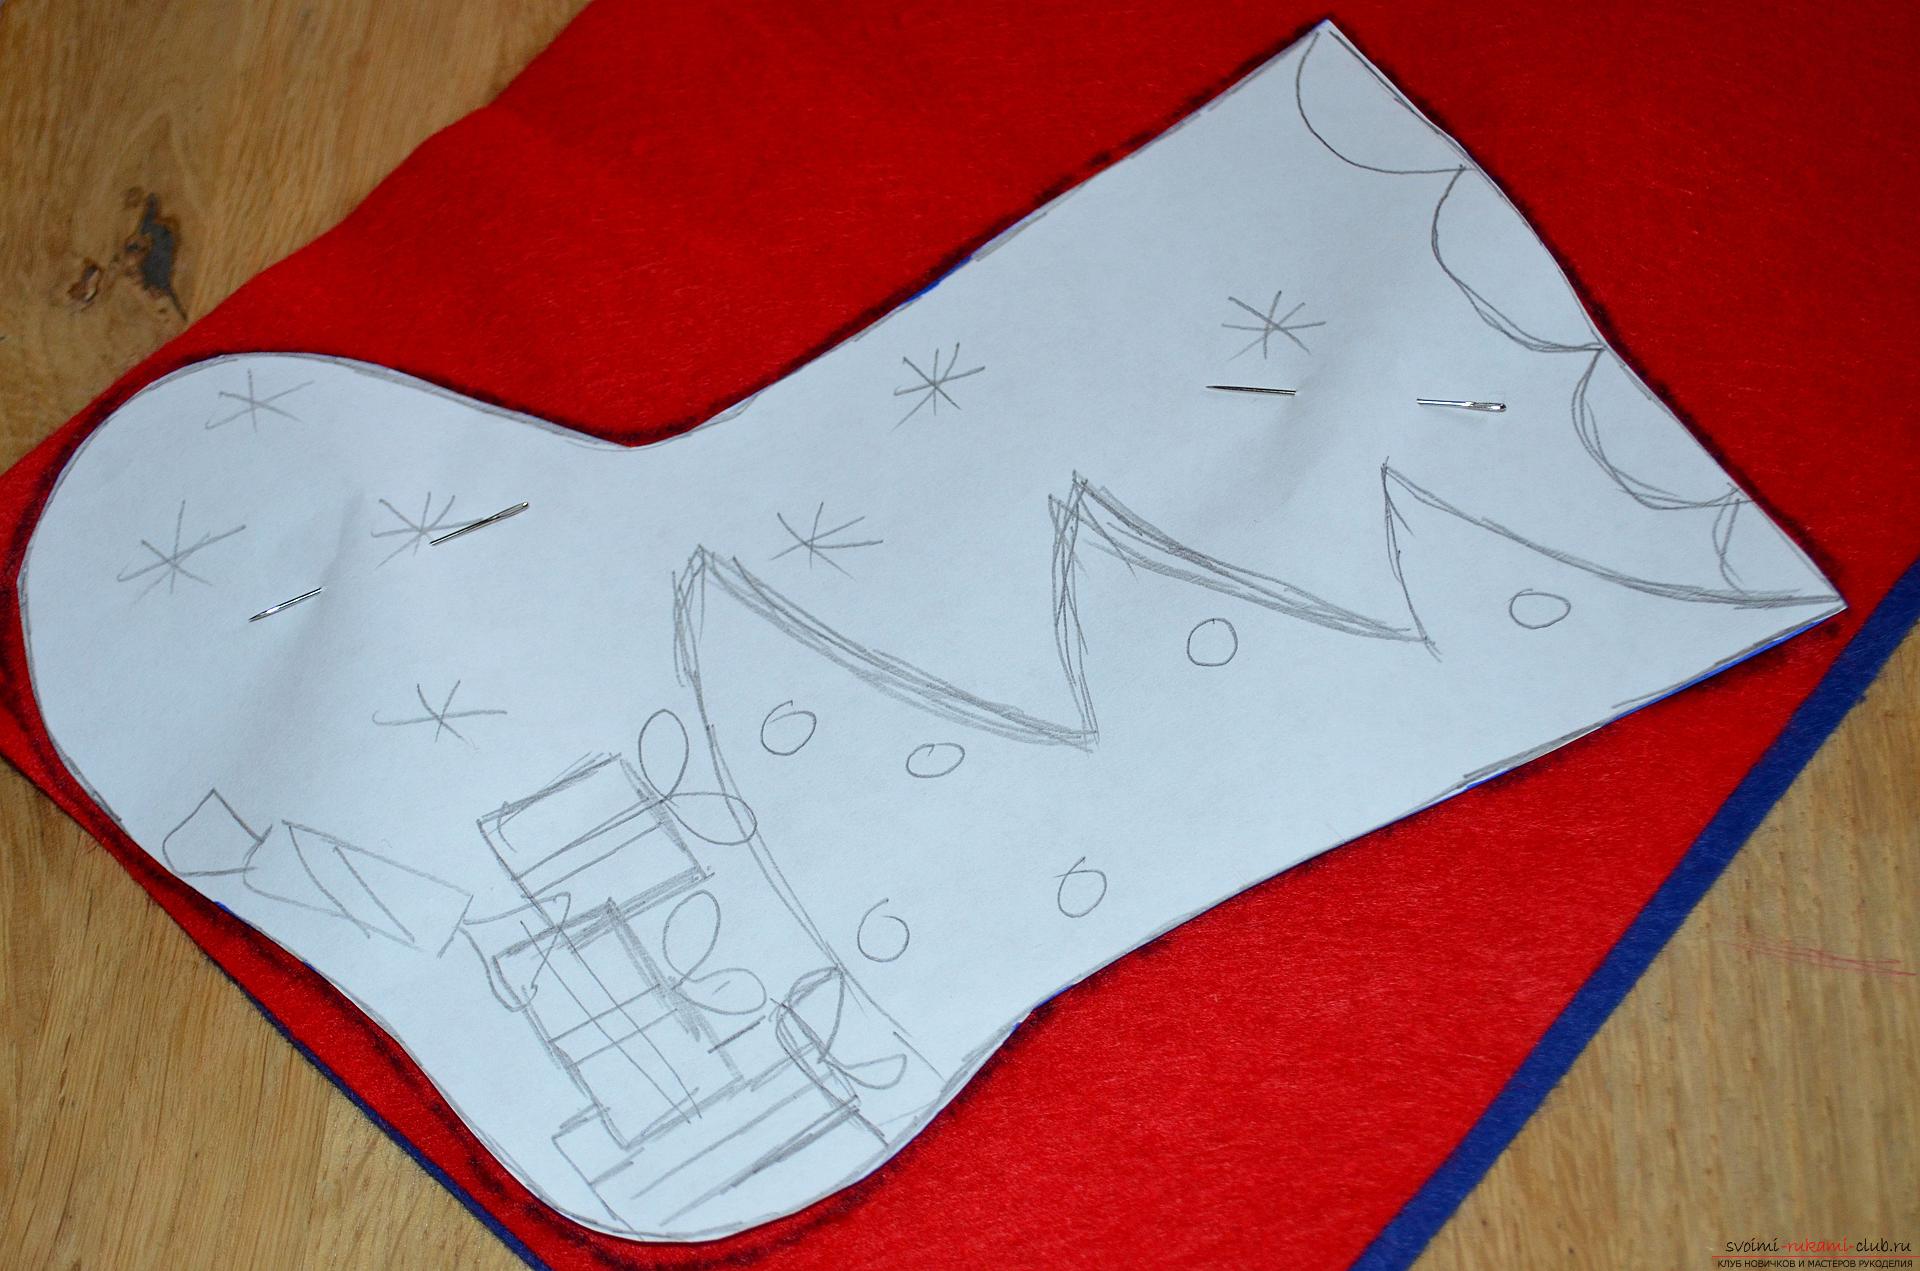 3. We cut out from the felt two absolutely identical parts of the boot, one red, the other blue.
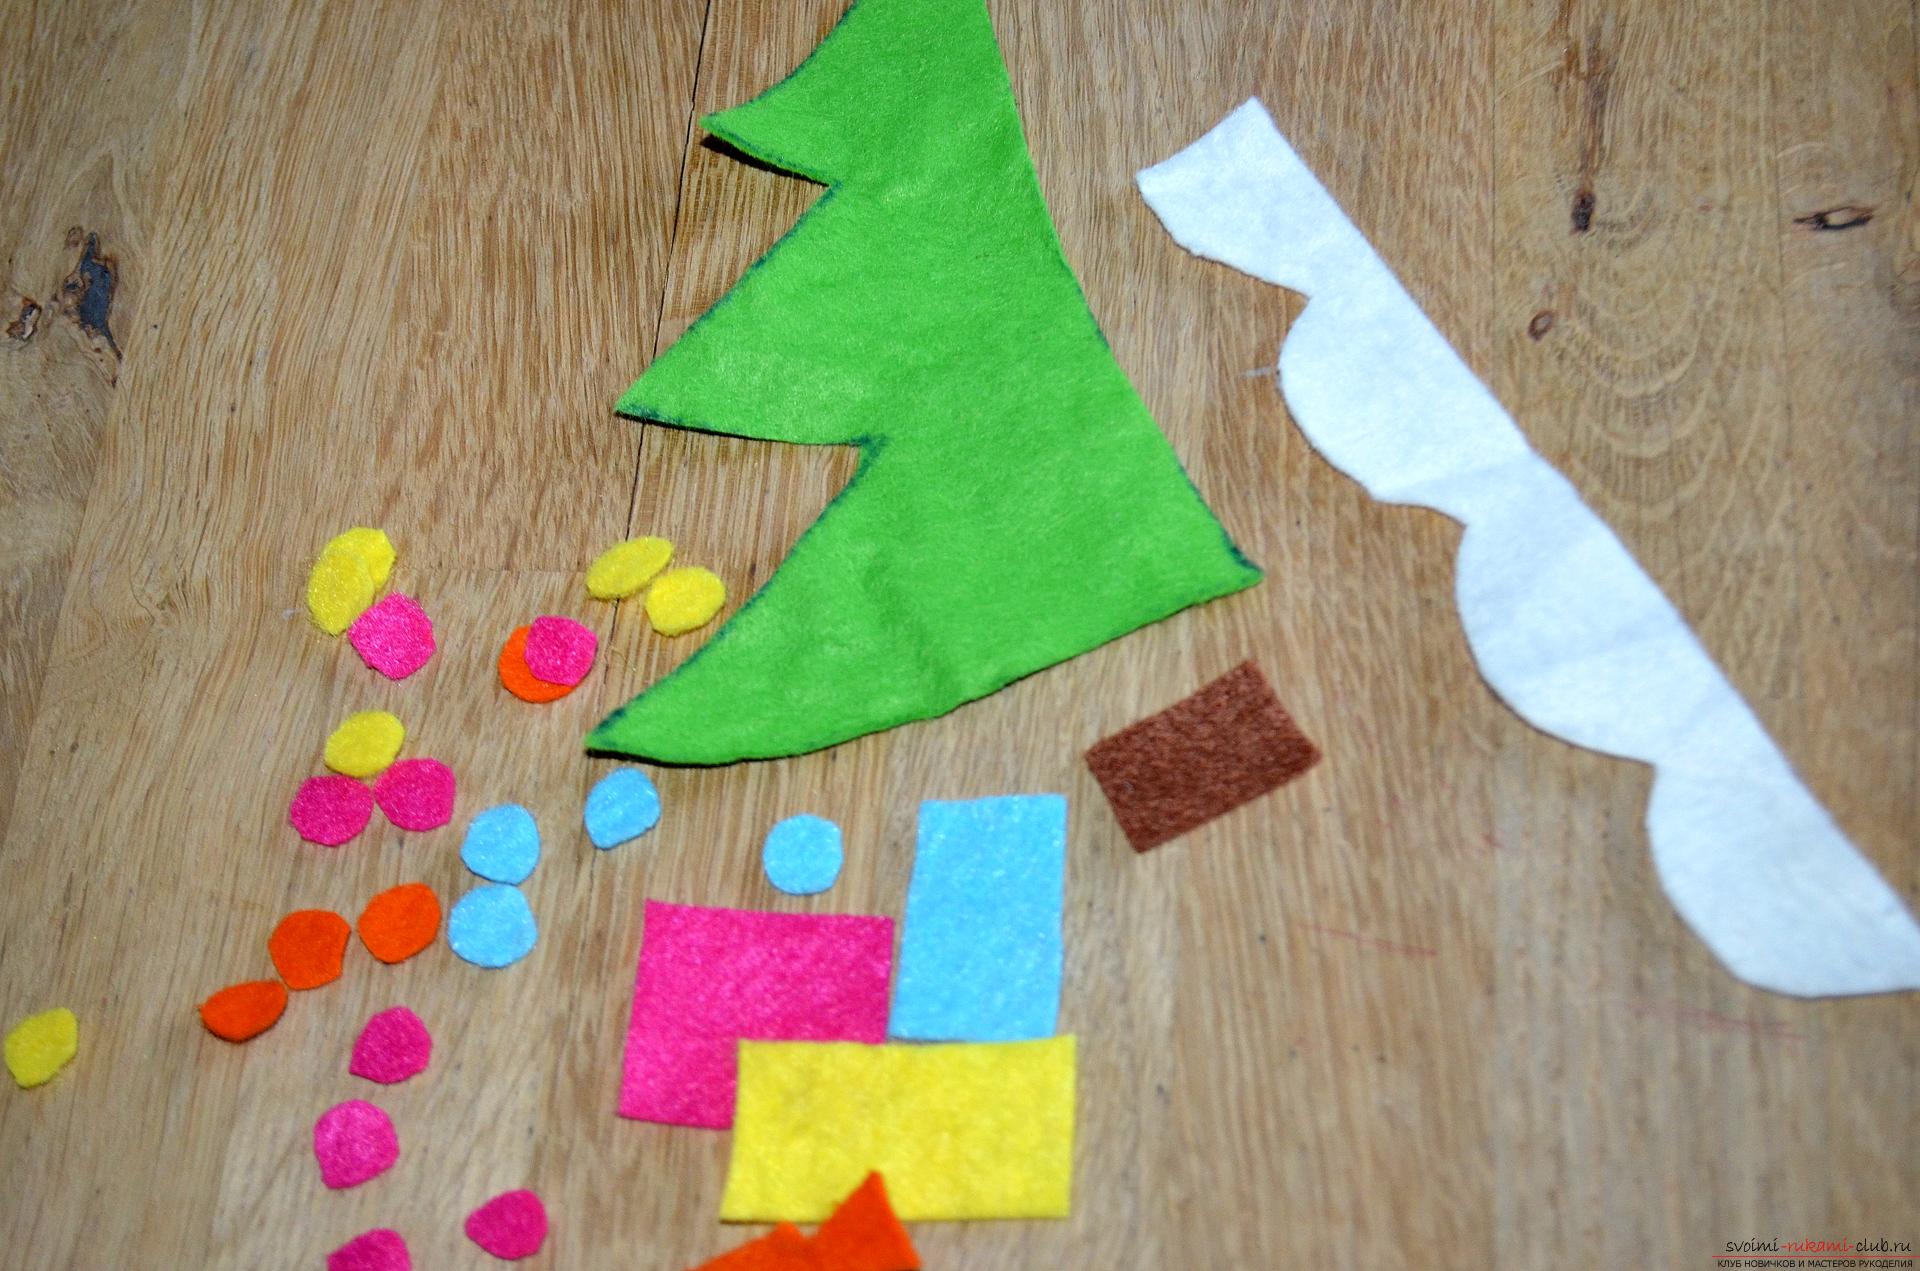
  4. After this, we cut out the smallest detail from the template, namely the Christmas tree. Gifts, decorations, etc., we use them also as templates, thanks to which we cut out all the necessary elements of the appliqué that will decorate our Christmas boot.
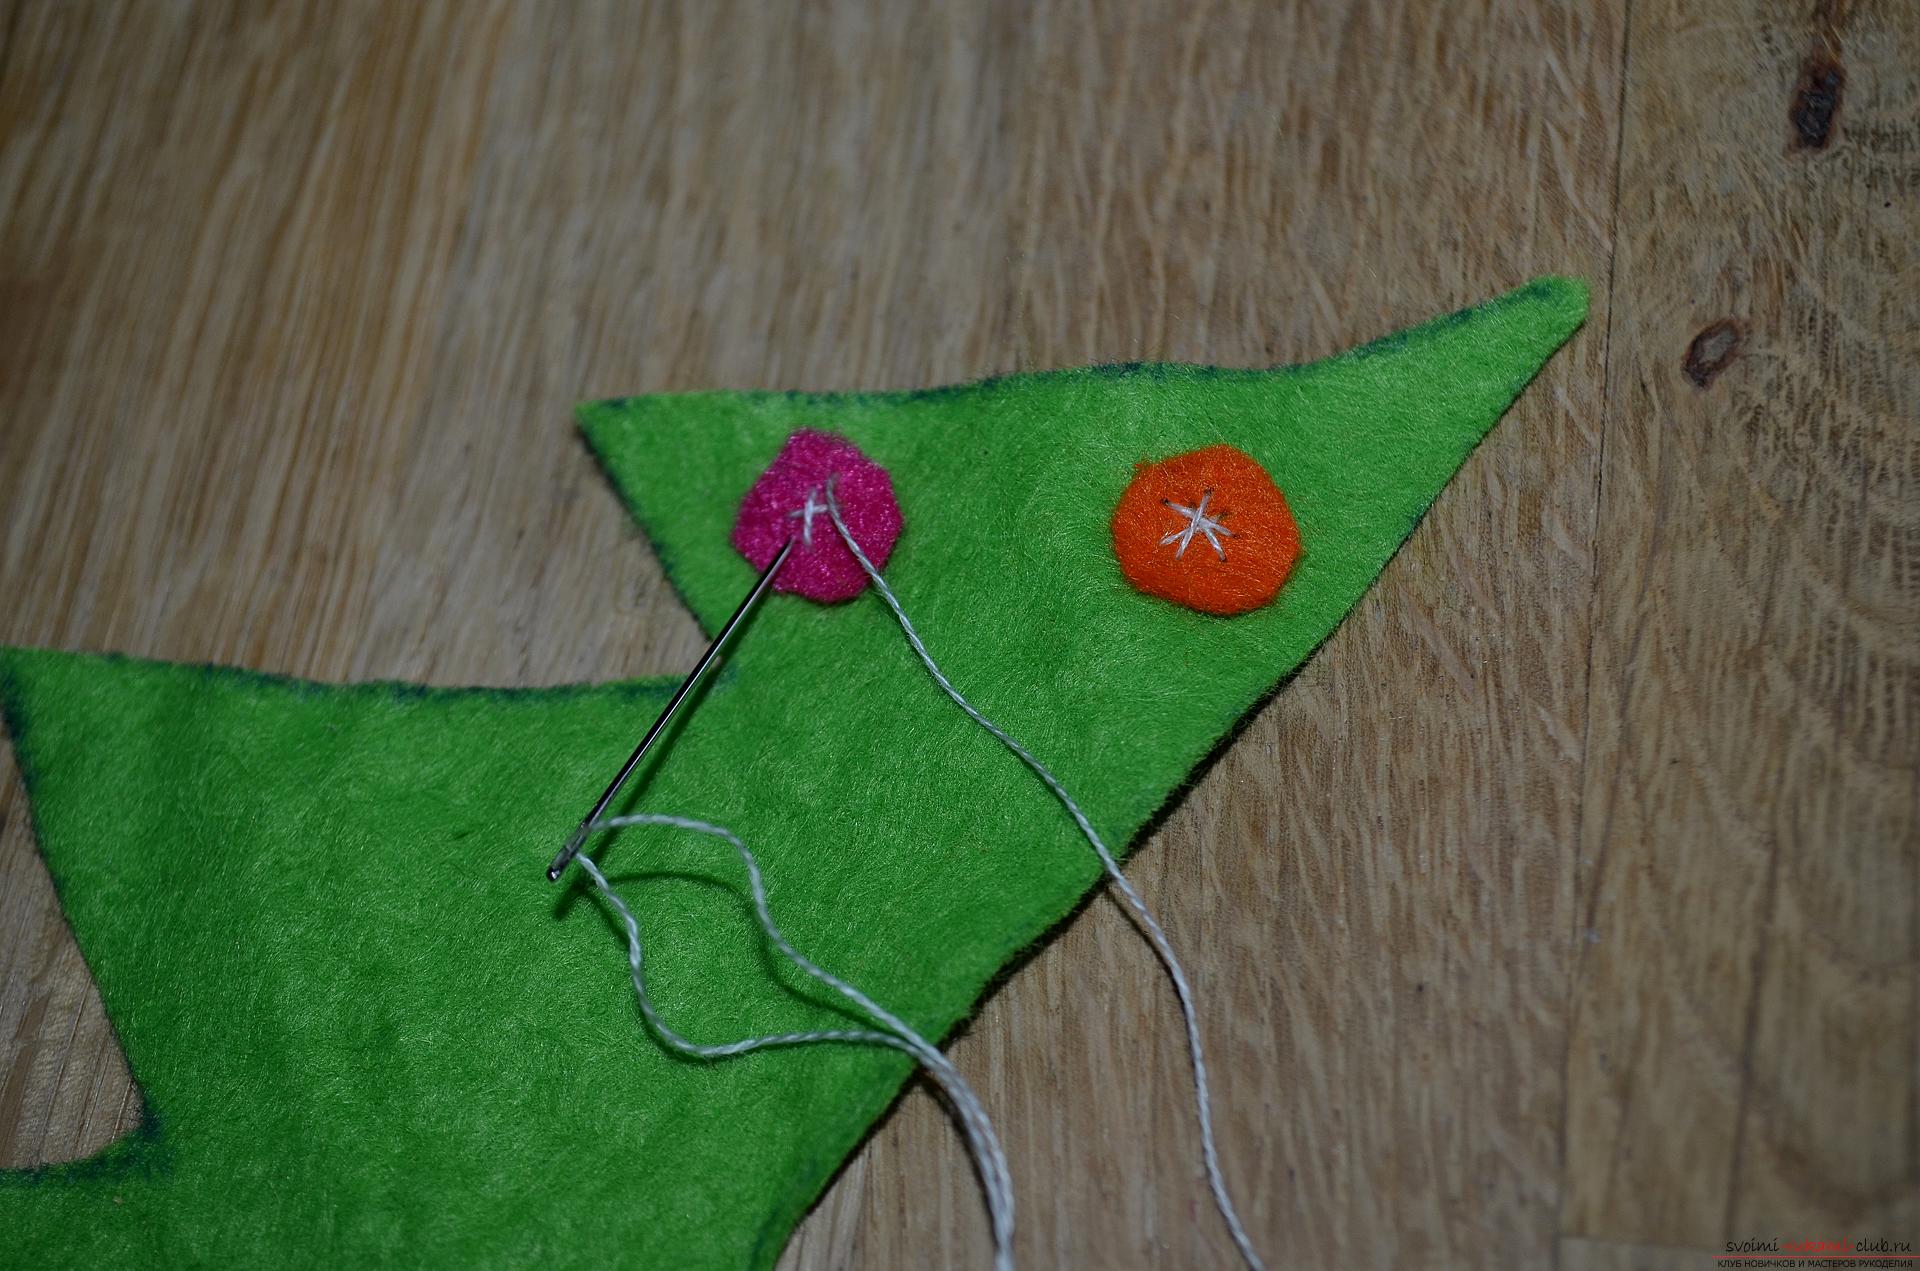
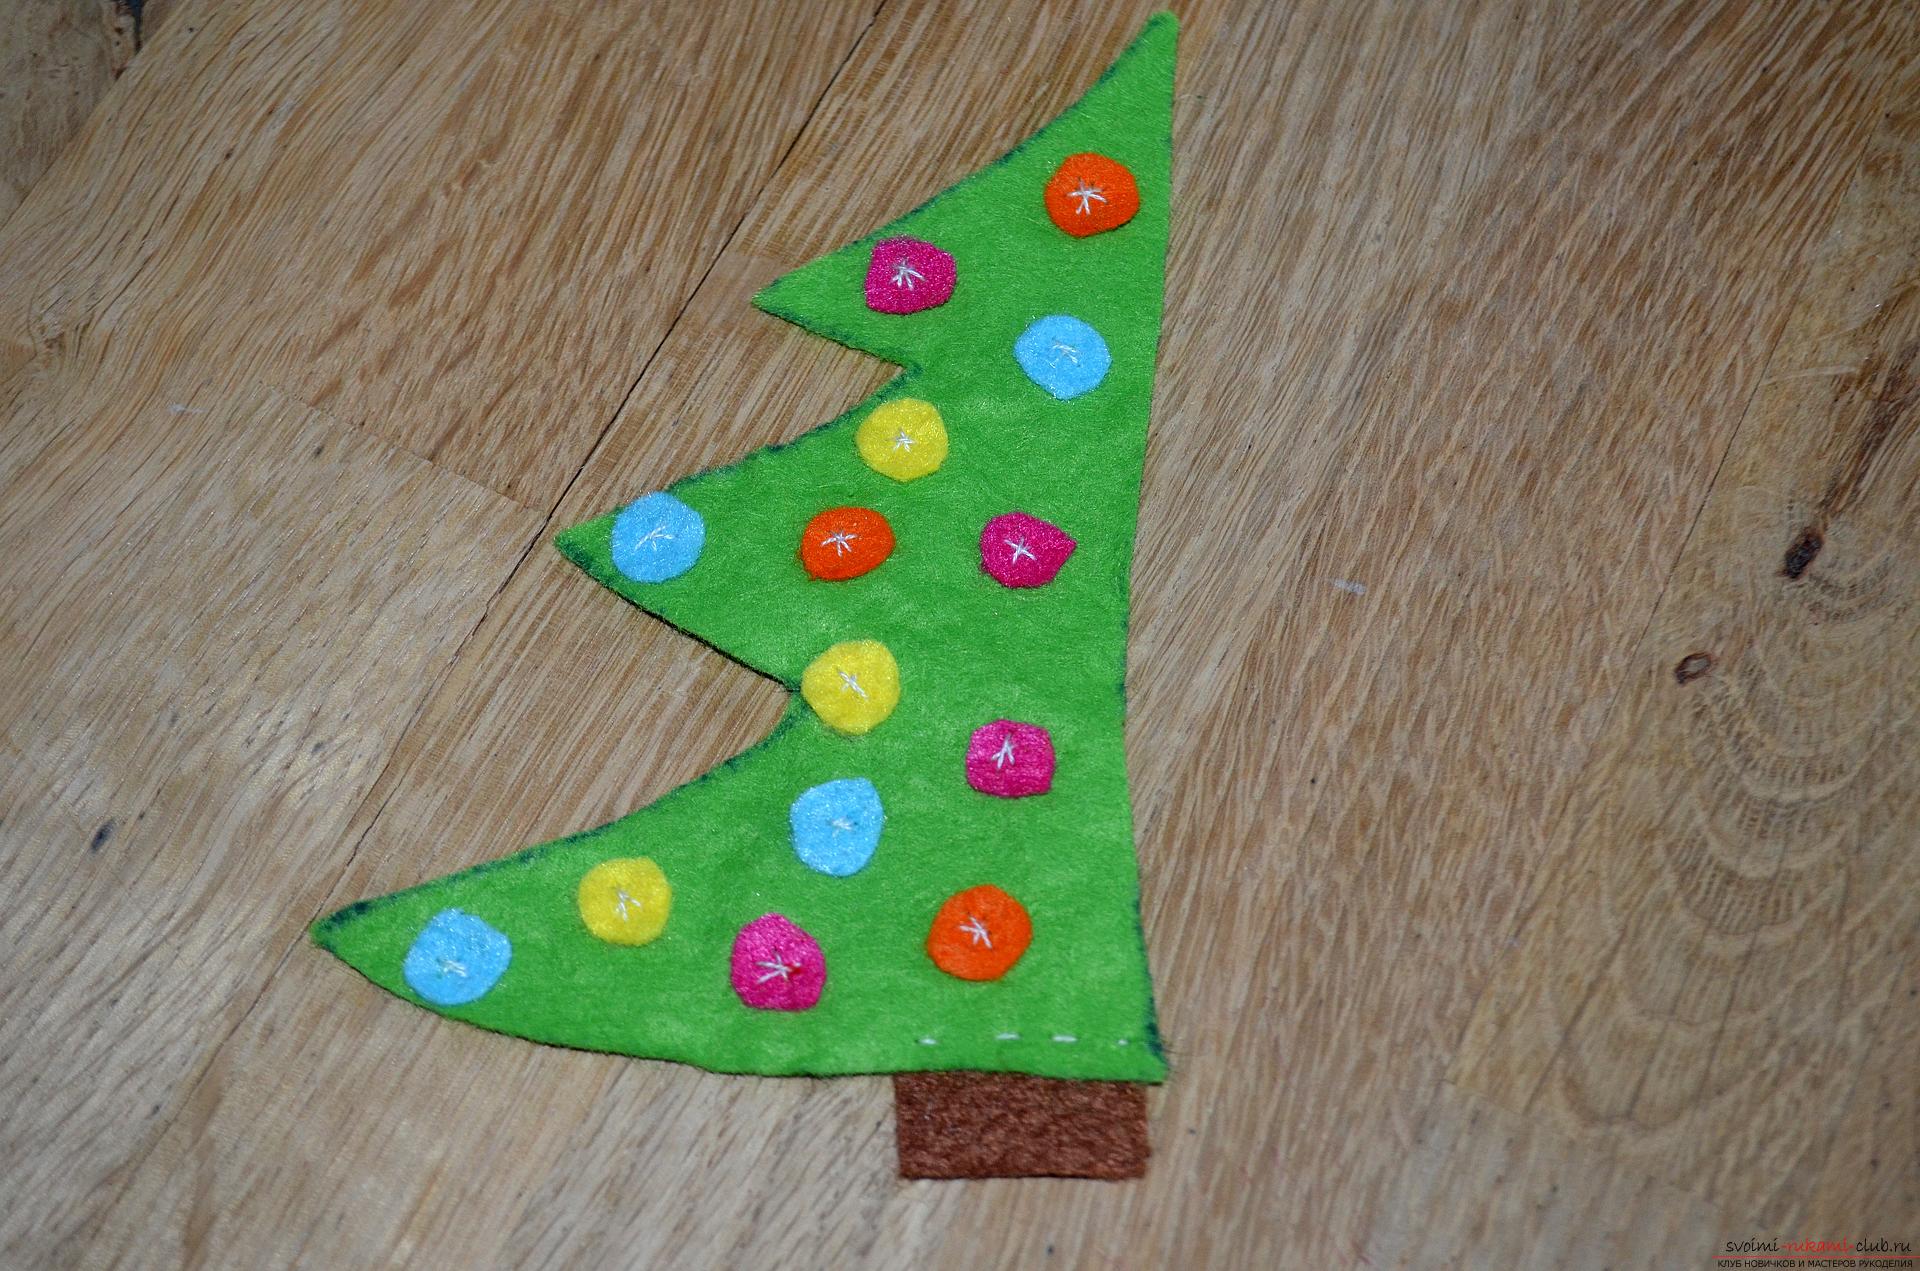
  5. Application on the boot can be glued, for this super-glue or hot thermo-gun, but I decided to sew everything. Let's start with a Christmas tree, more faithful from her ornaments. Sew on the entire surface of the part with a needle and a thin white thread, small colored balls, for this we overlay the first wide stitch in the center of the circle, the second crosswise, the third is laid between the two previous ones, resulting in an embroidery resembling a snowflake in shape. The other balls are sewn as well.
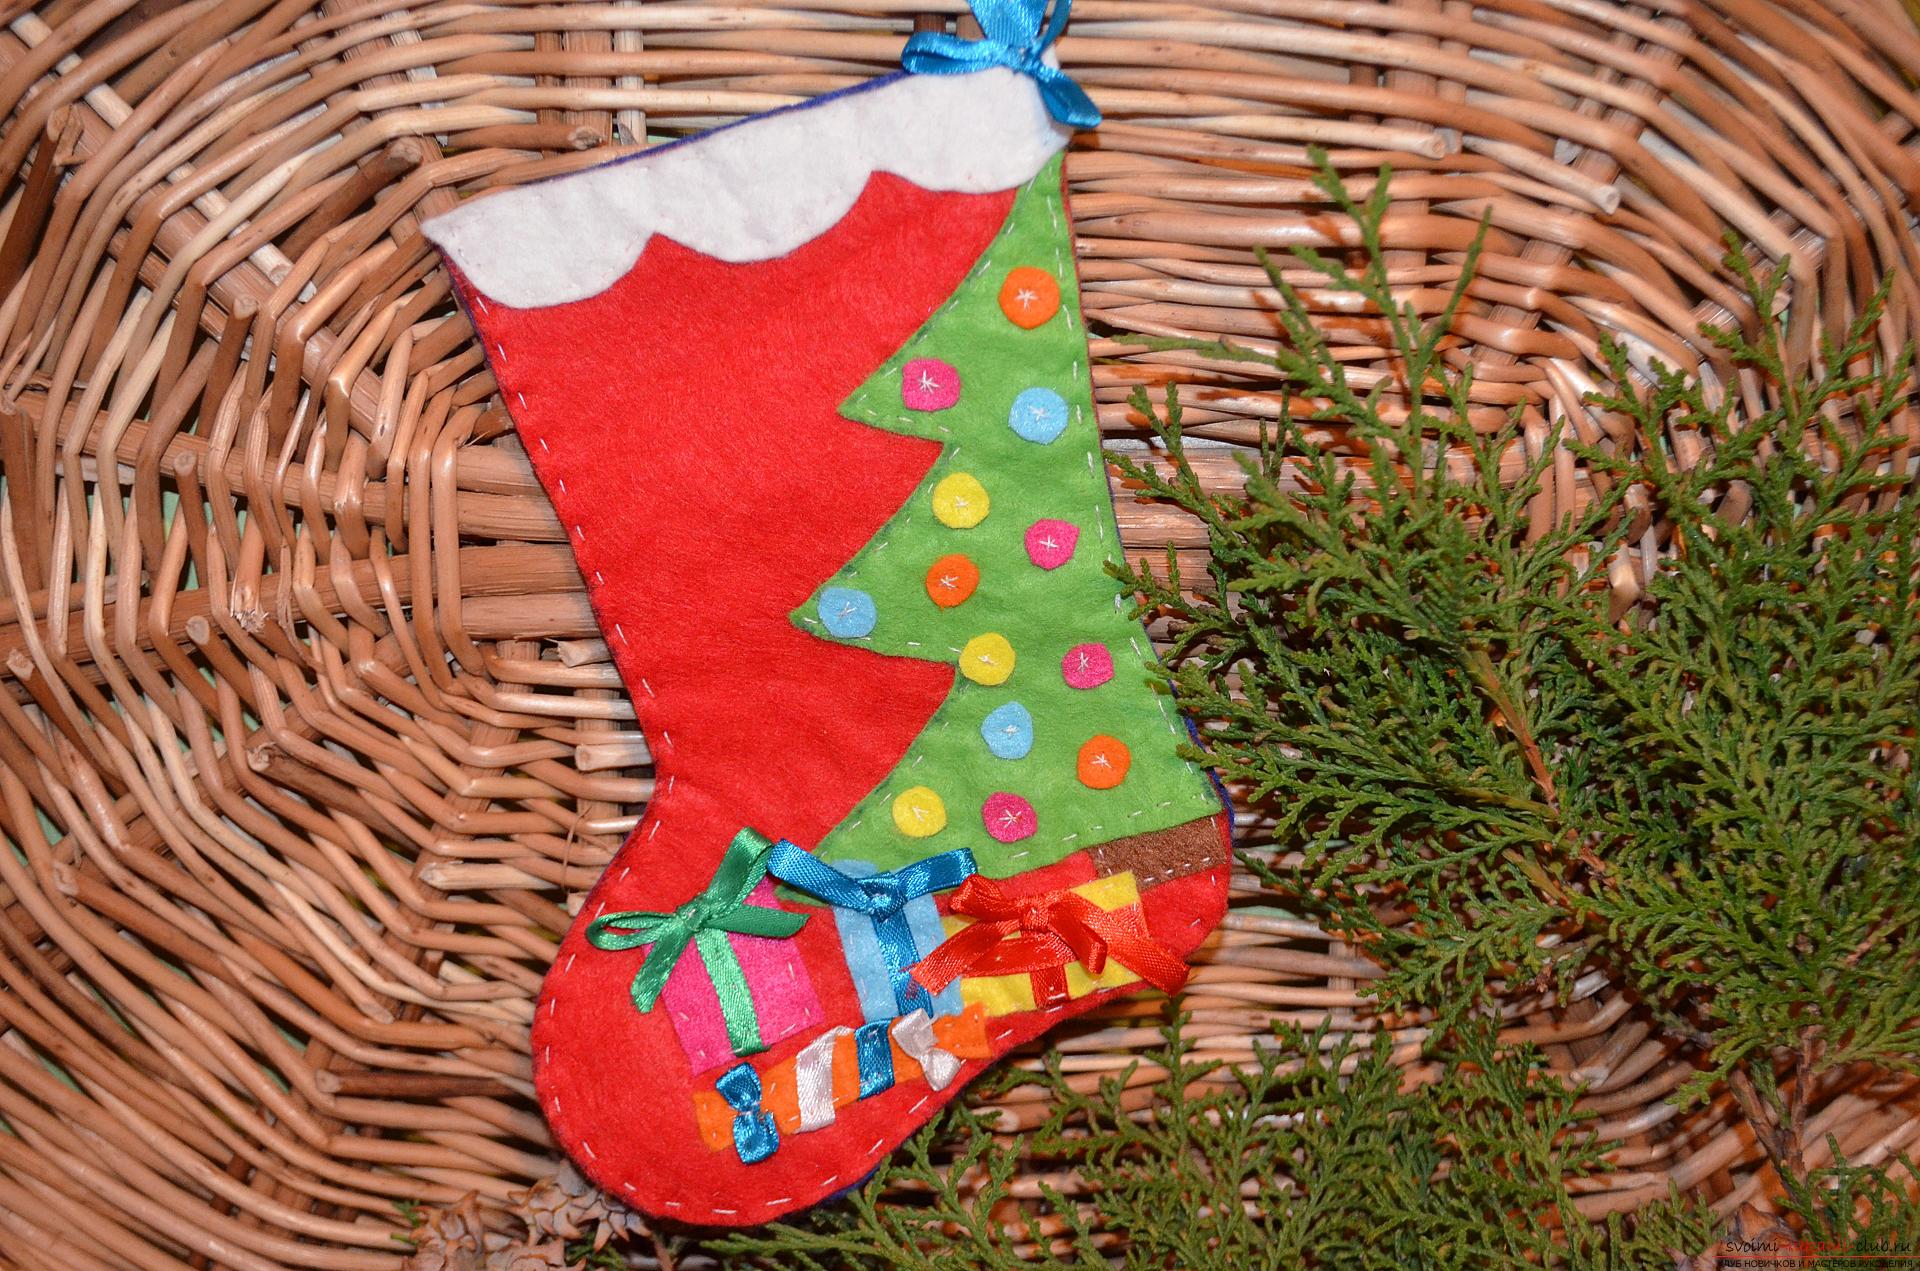
  6. When the Christmas tree is fully decorated, we sew a wide brown trunk in its lower part, we do it with a simple seam "a needle forward". Pay attention, all the details of the application are sewn exclusively with white threads, so they contrast well with each other, and the overall appearance acquires additional brightness.
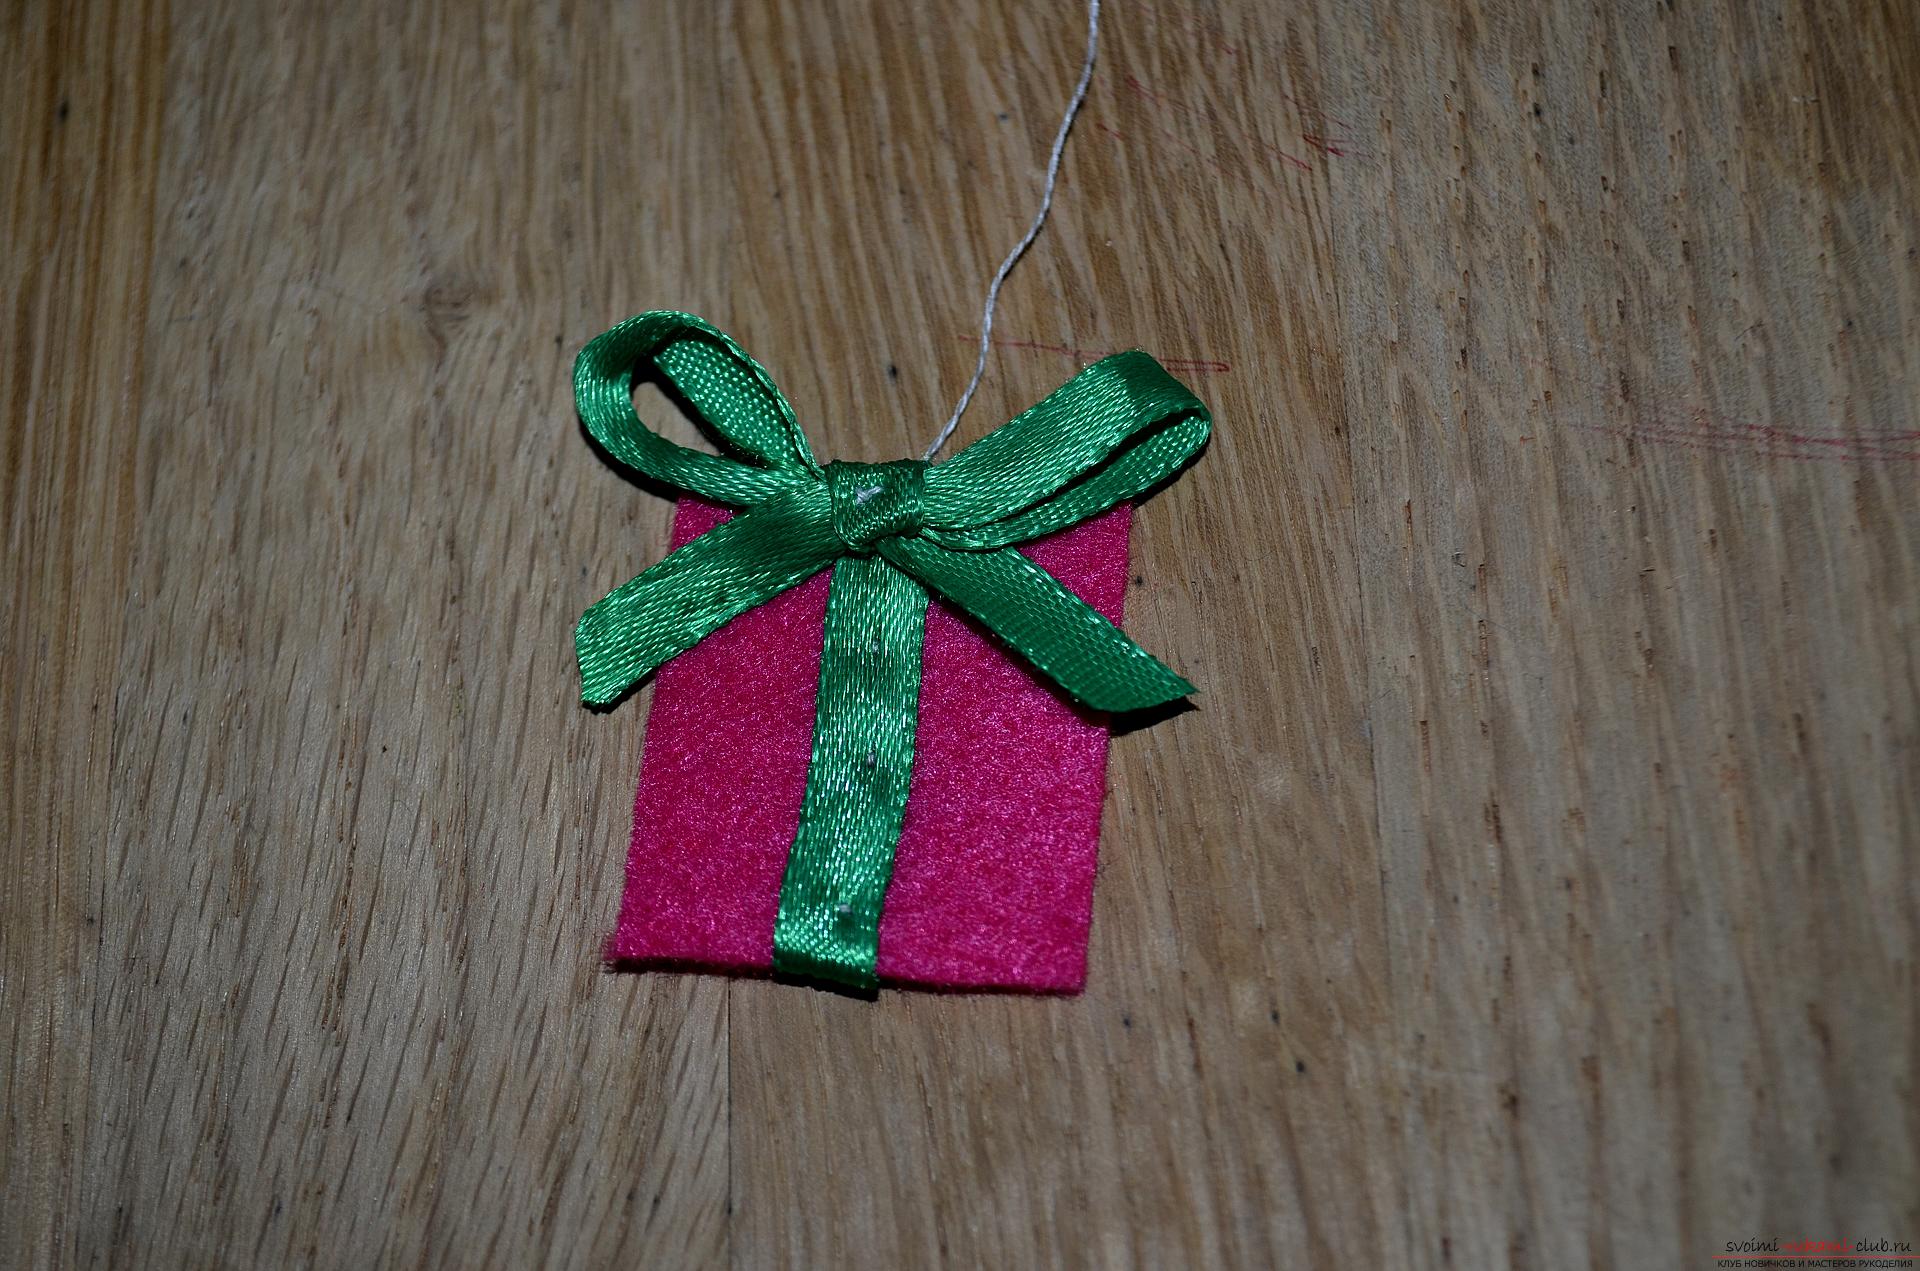
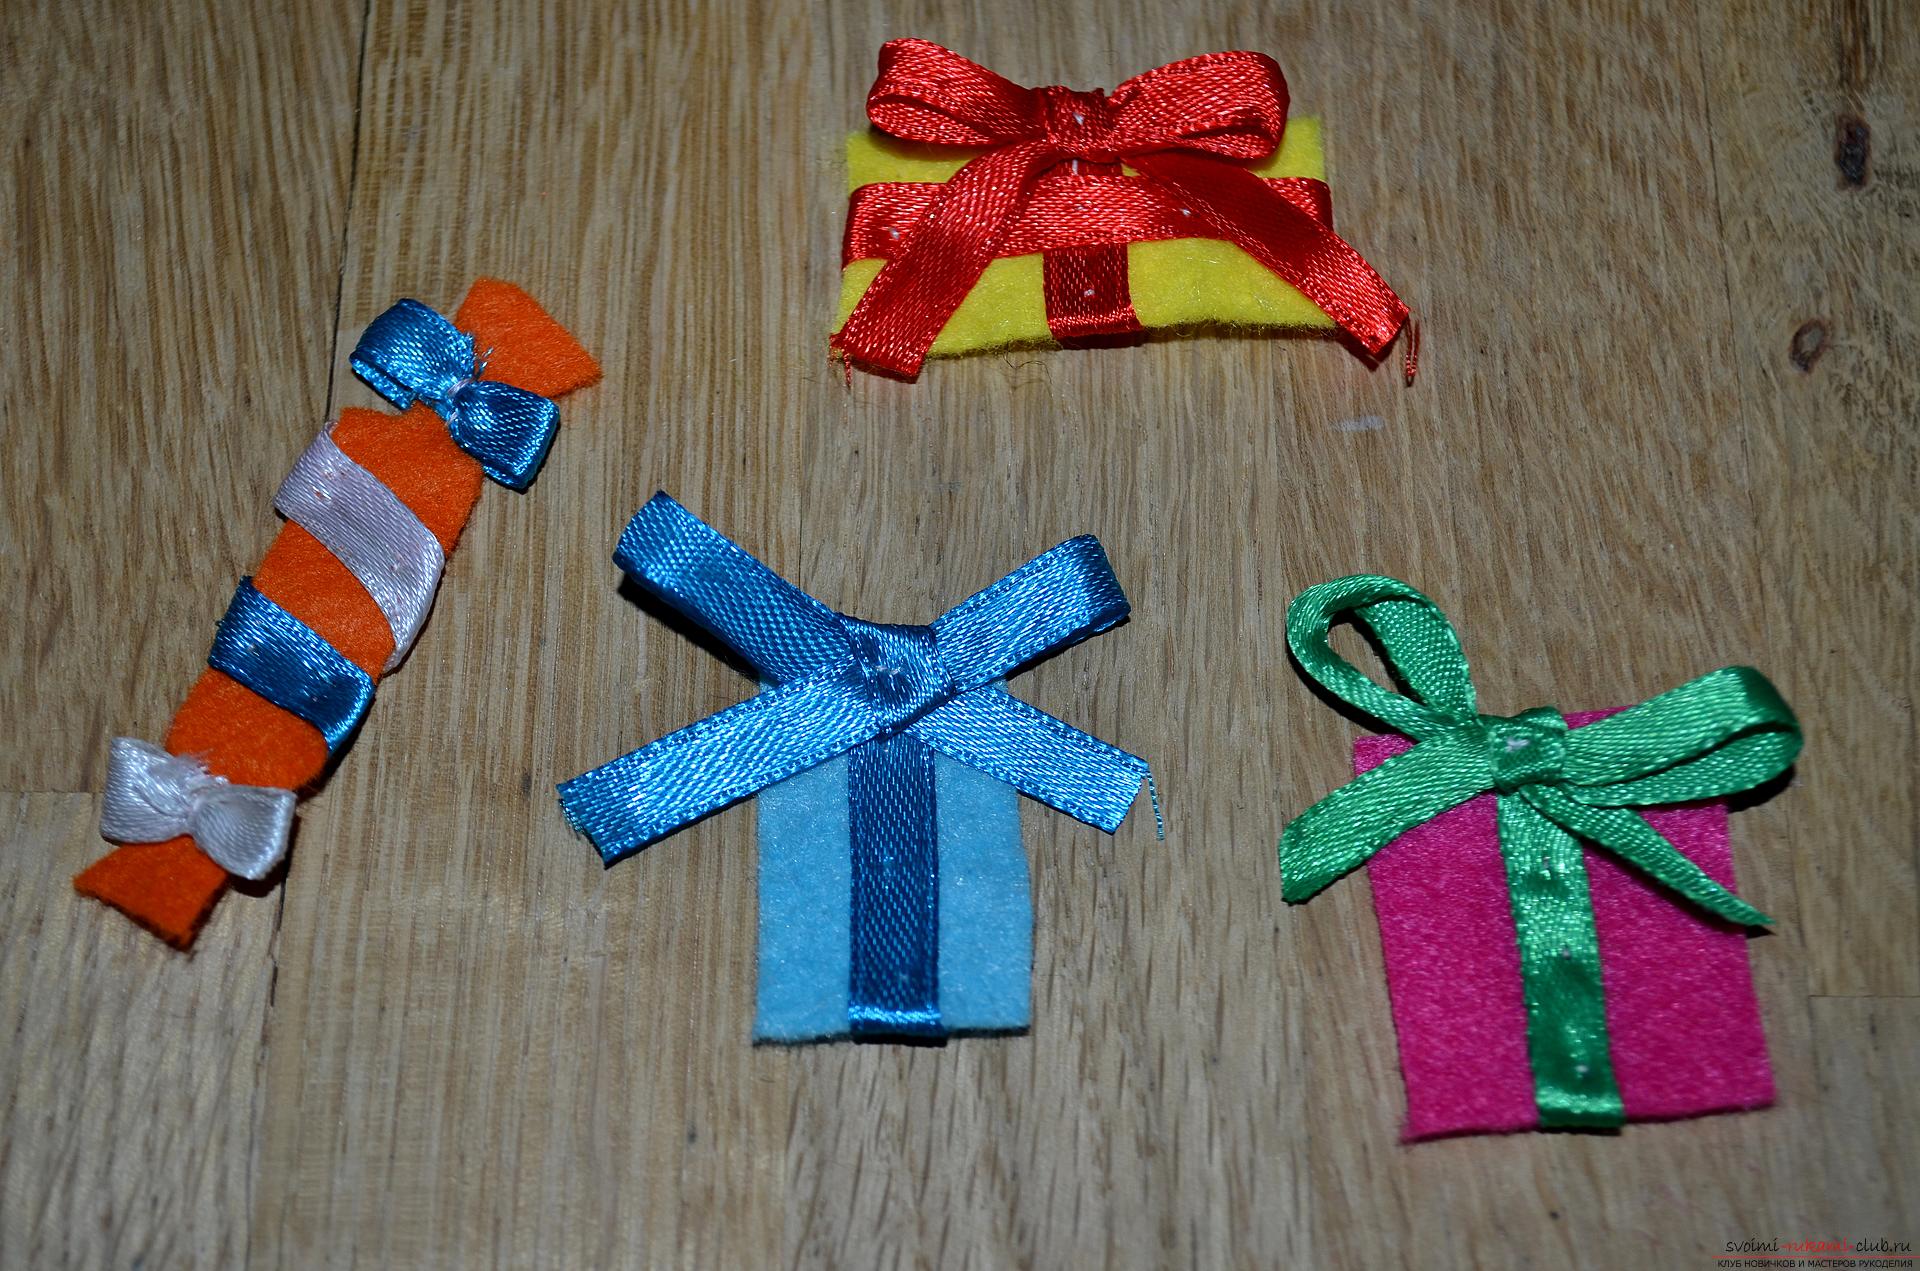
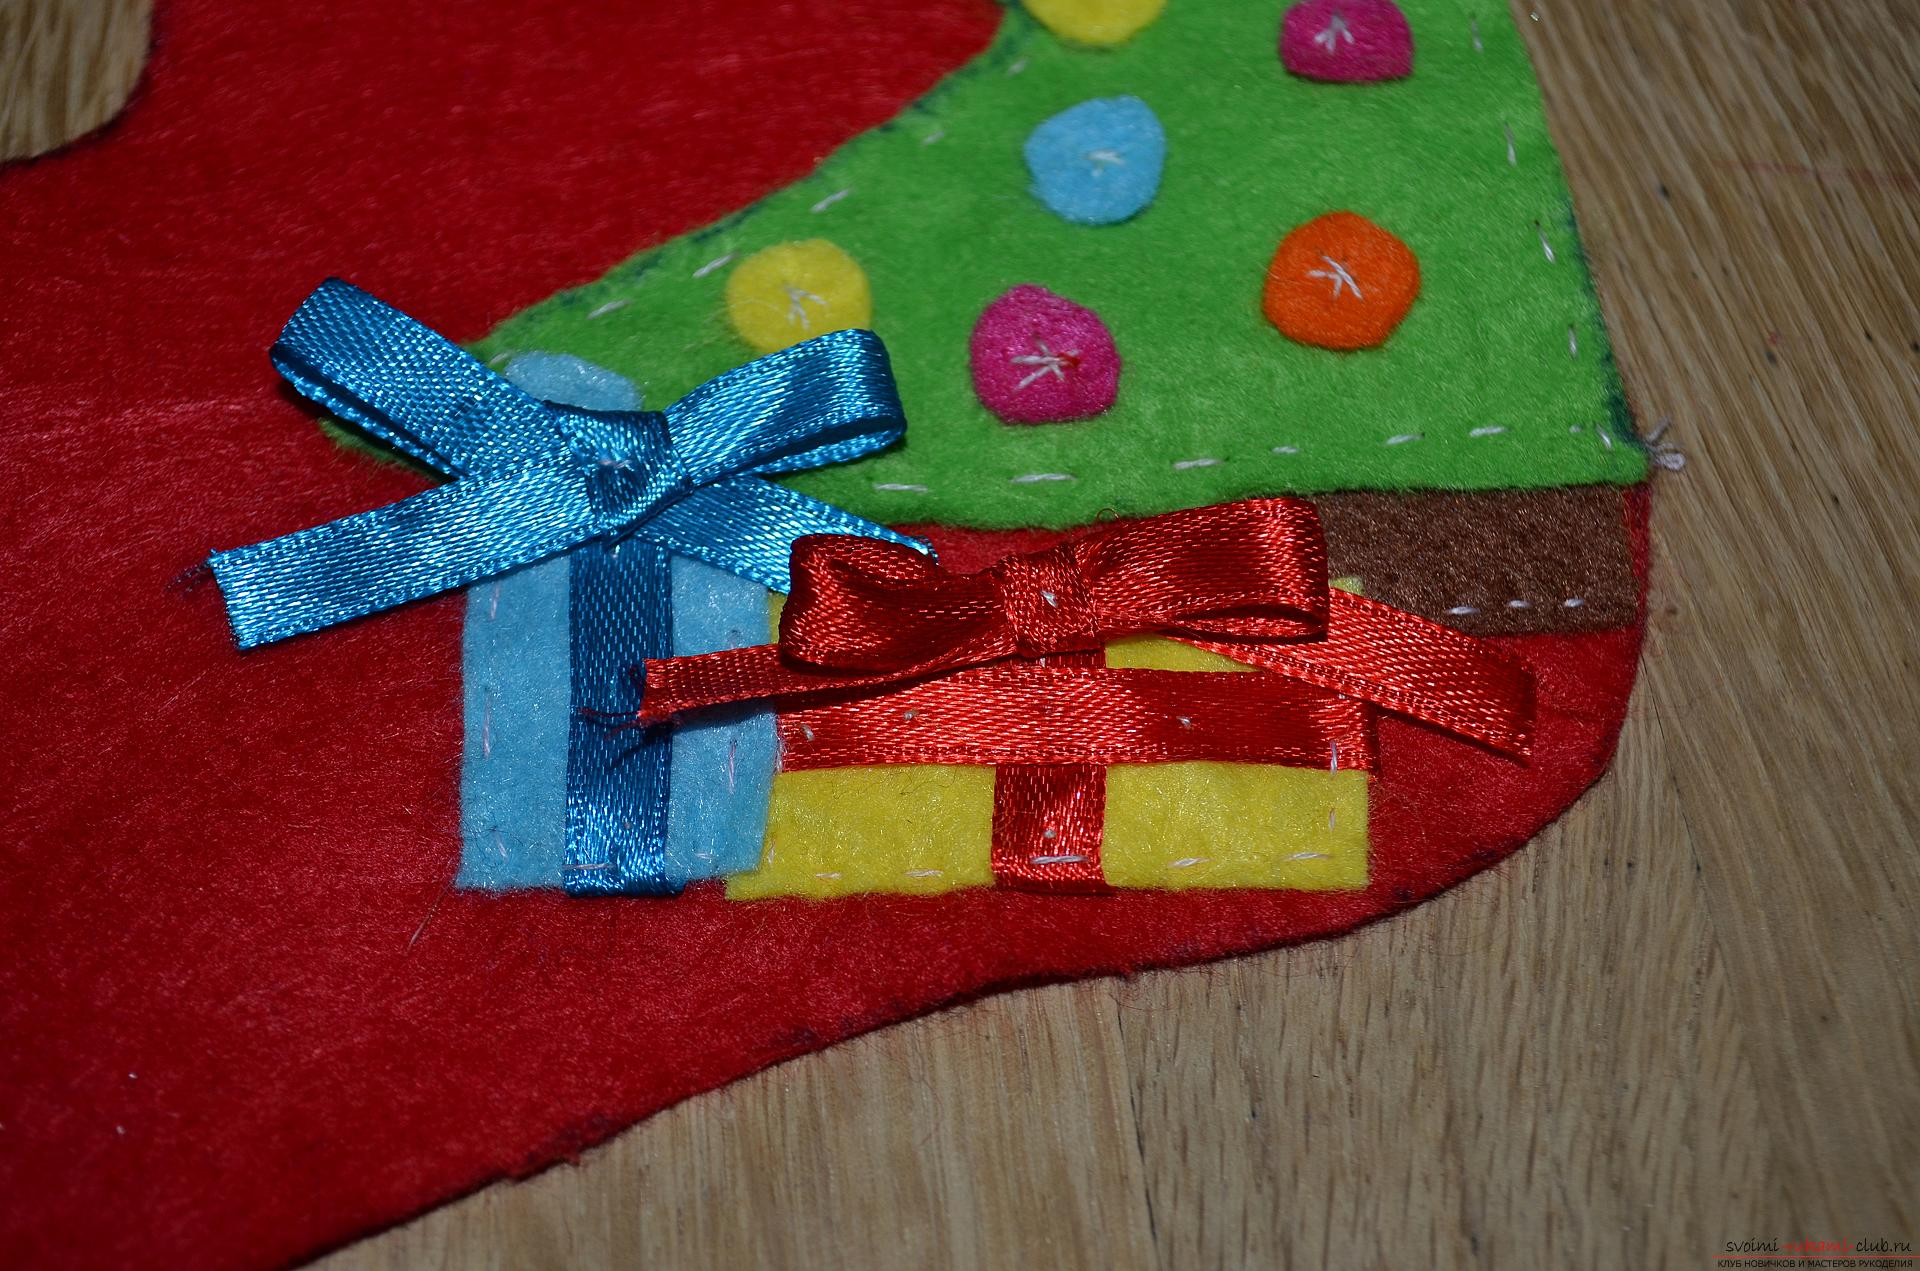
  7. We set aside the Christmas tree temporarily and take care of decorating the presents, each of which we sew a piece of a thin satin ribbon of contrasting color with the help of a few secret stitches, and also decorate them with small, neat volume bows.
  8. Here such gifts under a fur-tree at us have turned out.
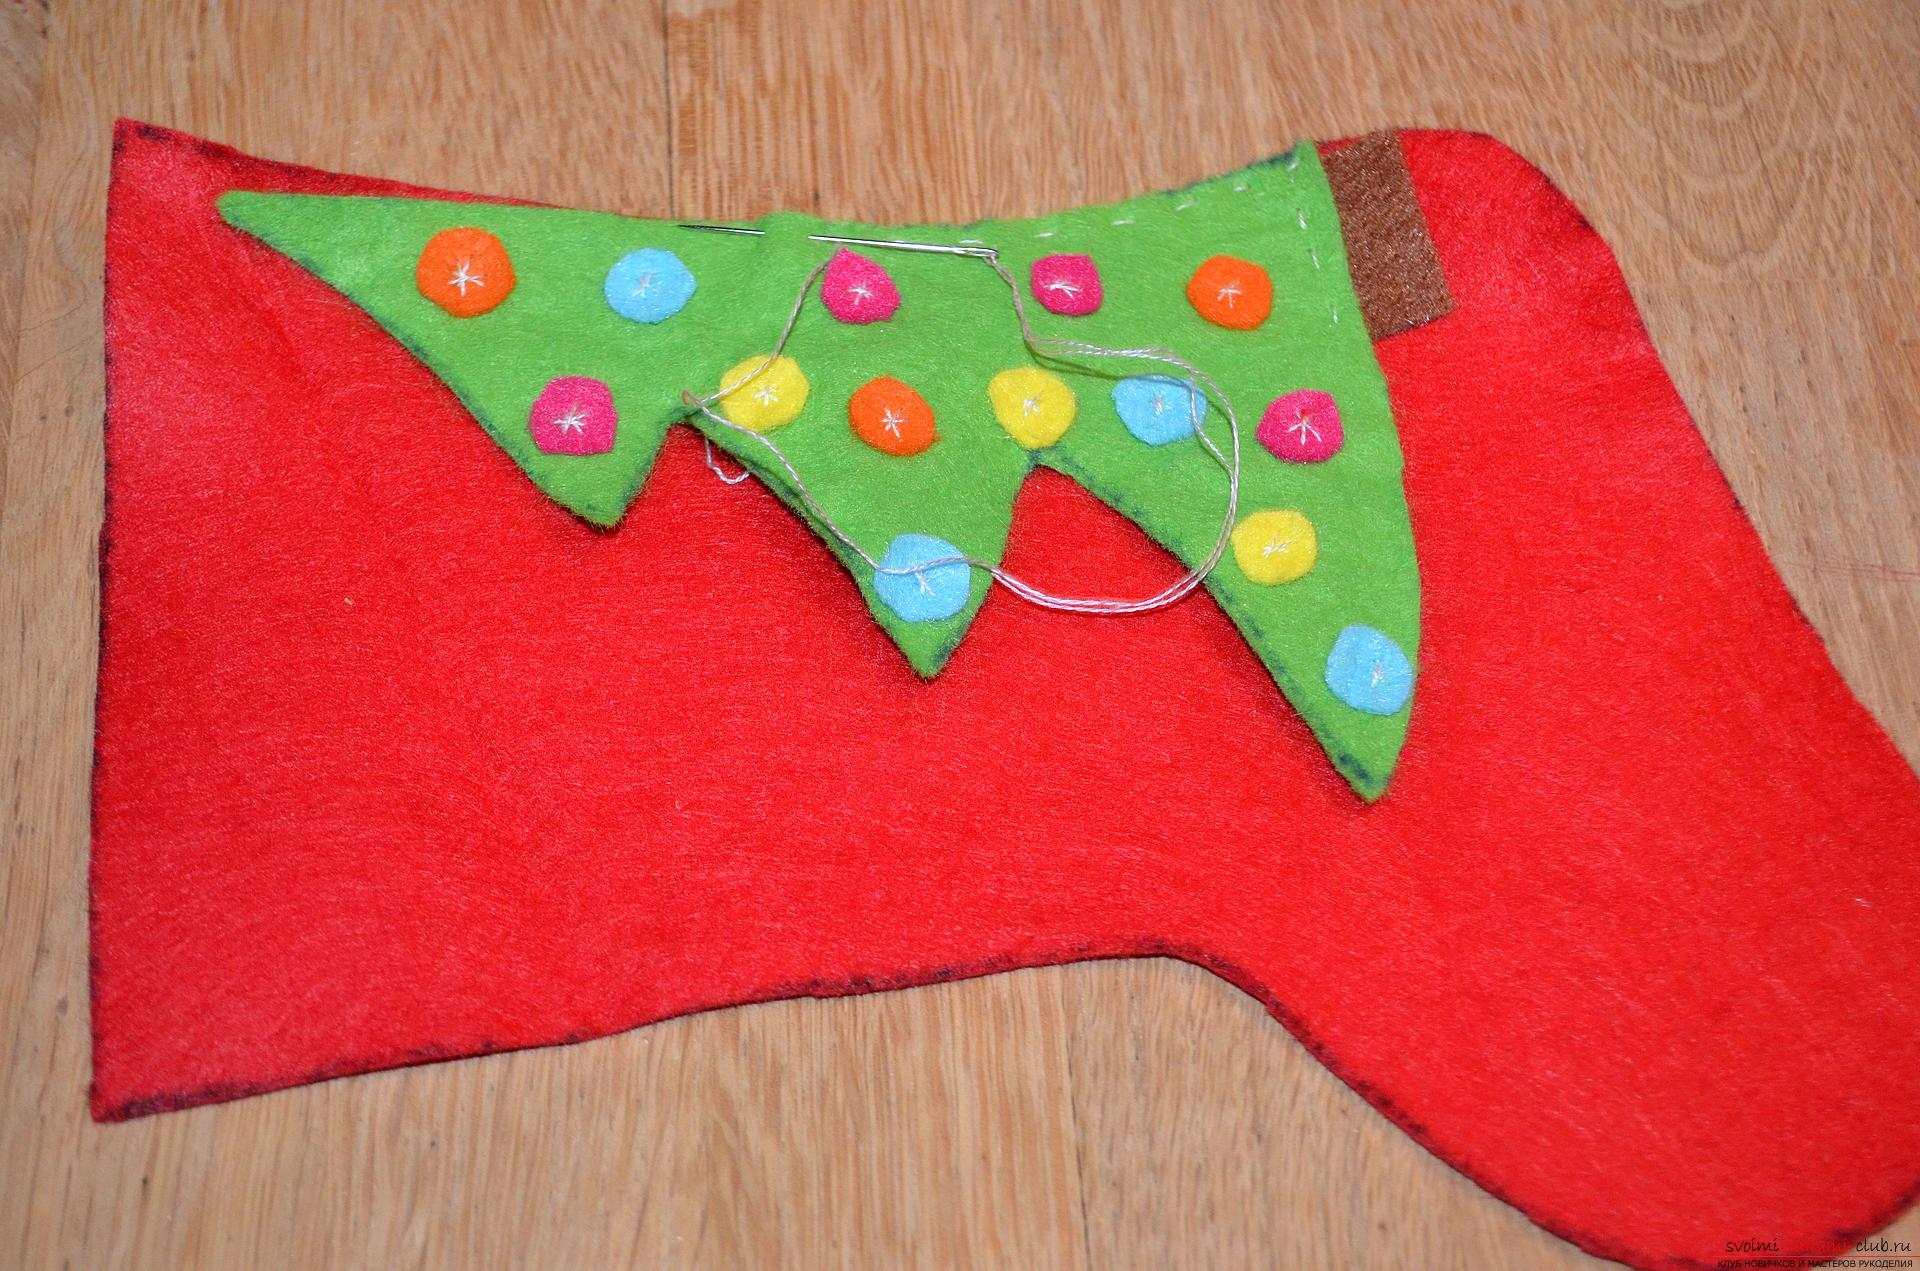
  9. Now we start sewing our appliqué to the front of the Christmas boot, for this I chose the red side, but you can also make the appliqué in blue as you like it. We start with the Christmas tree, as already noted above, sew it with thin threads of white color, using the seam "needle forward". Pay attention, we sew the seam along all edges of the picture.
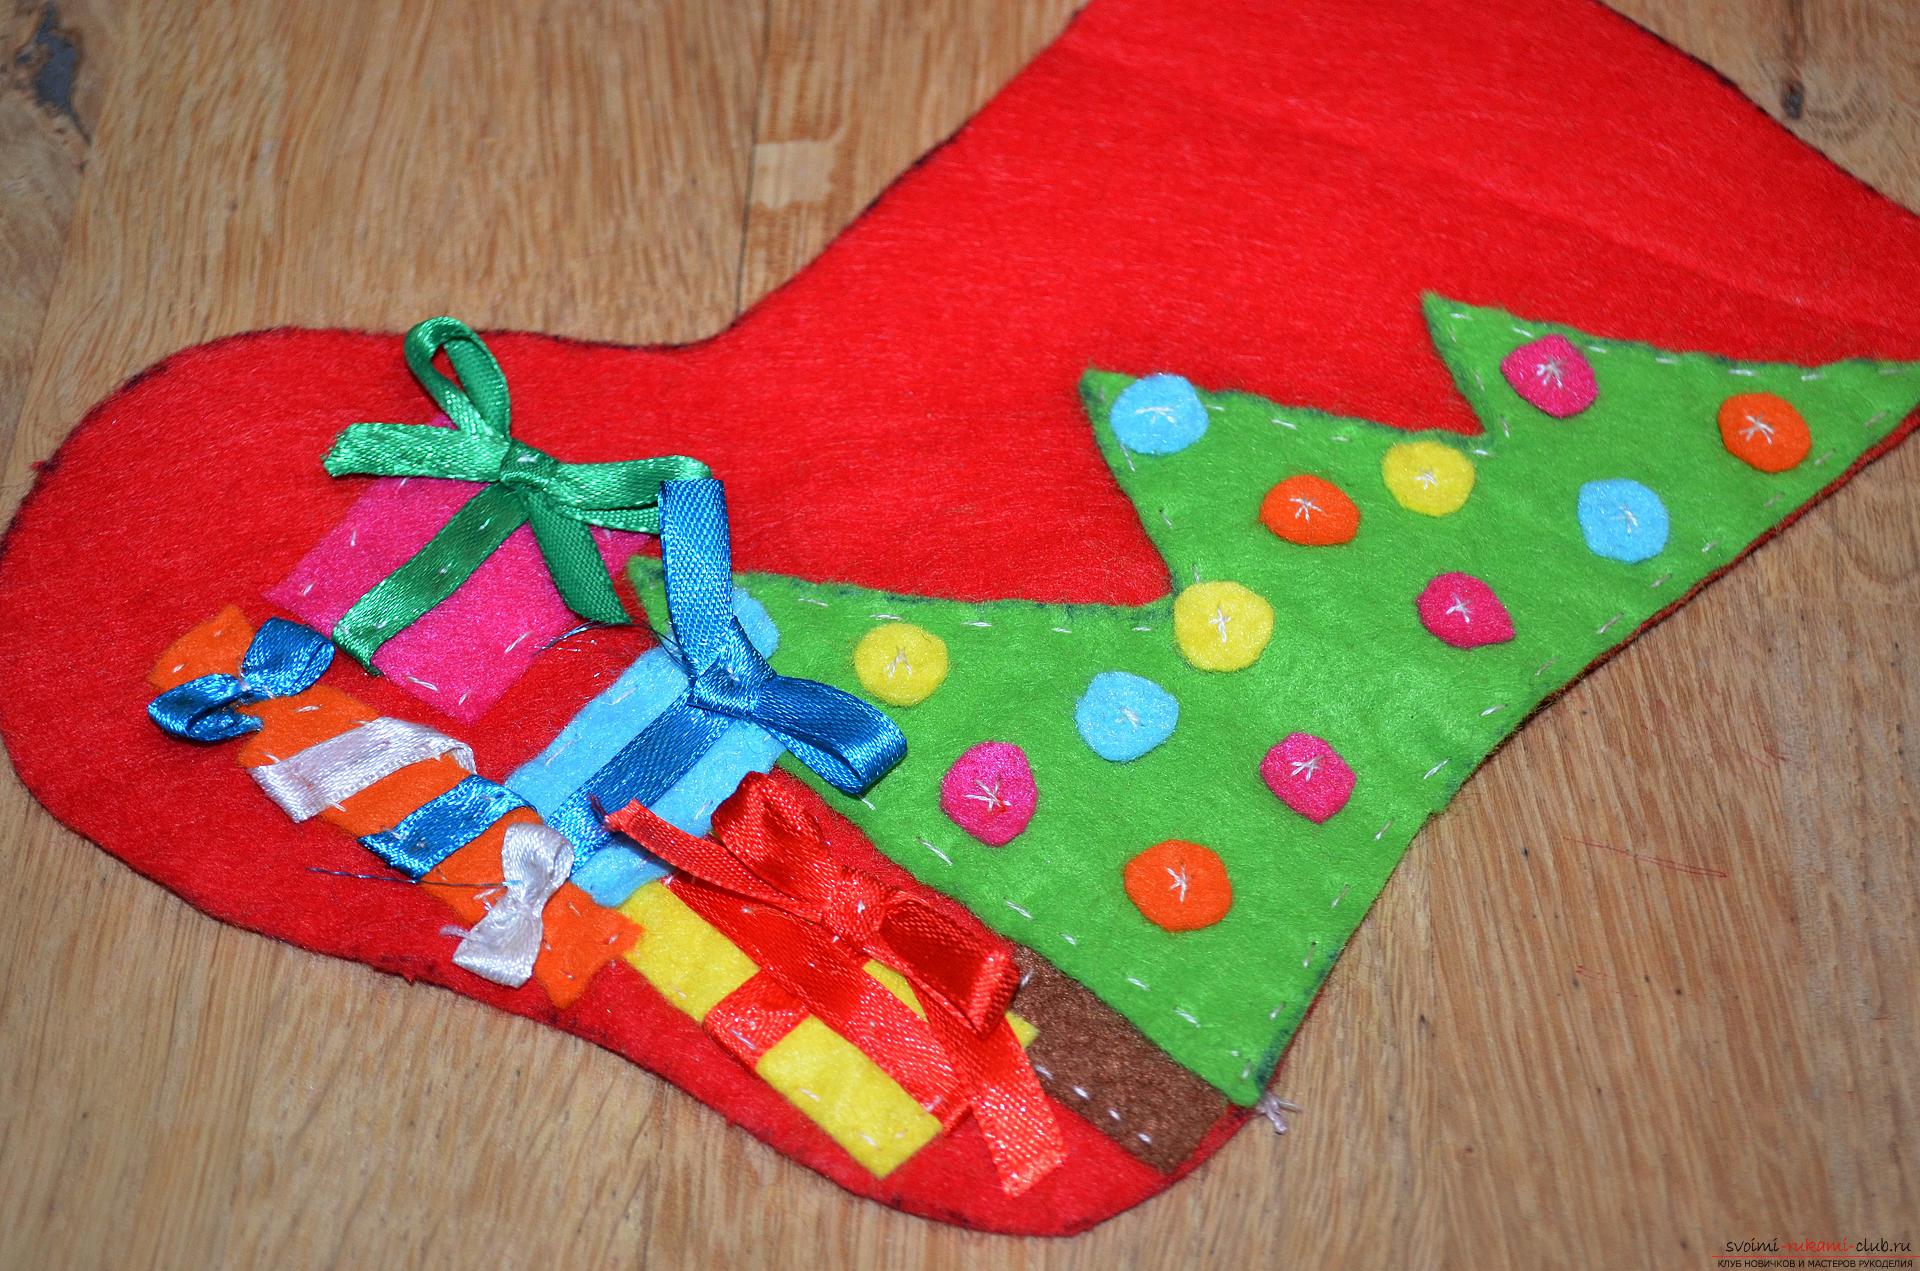
  10. Further on already familiar to us principle we sew boxes with gifts, we place them from below under a fur-tree. A friend next to each other, so that the embroidered bows are on top.
 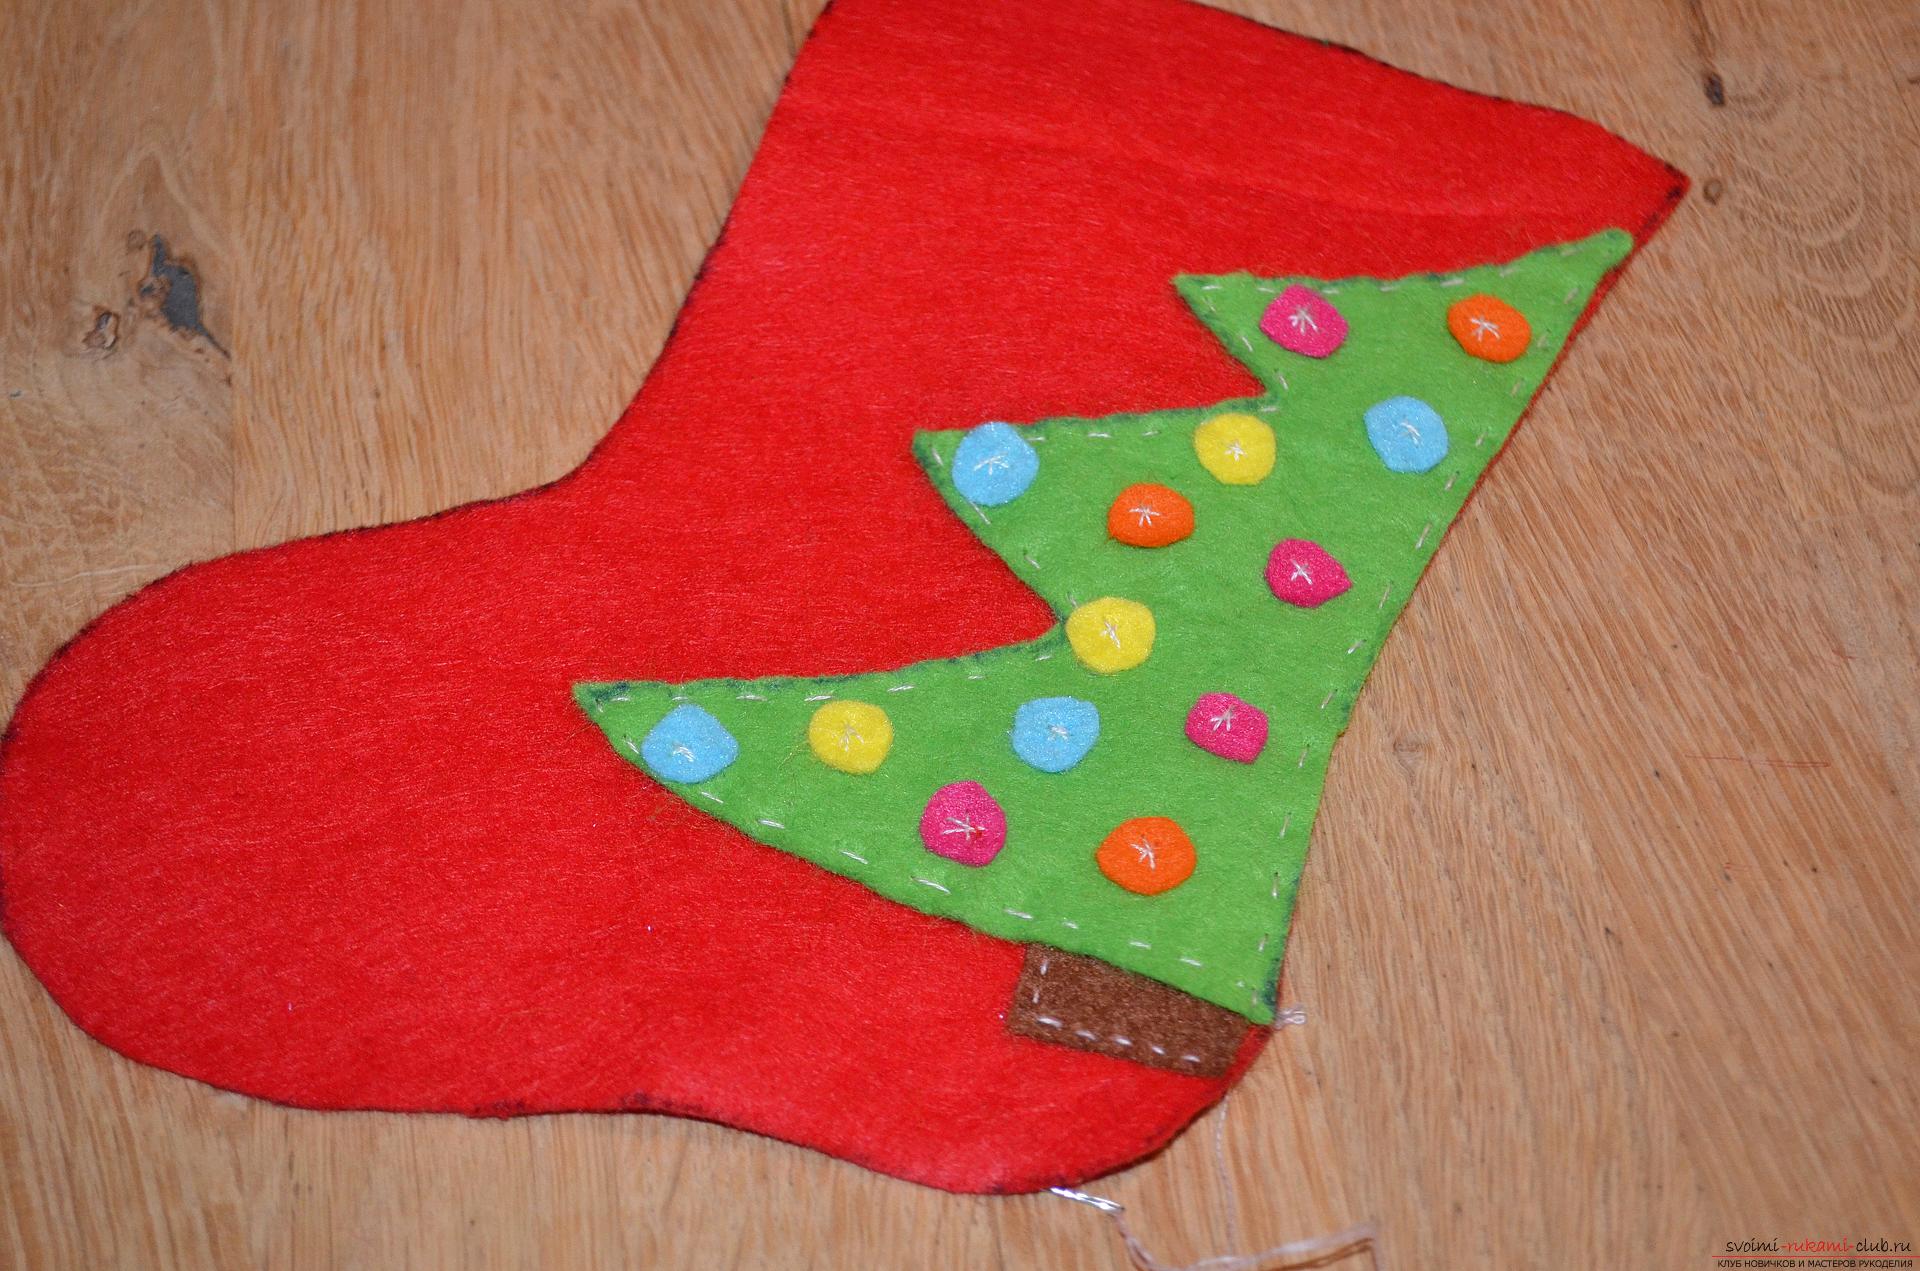 11. Here we have such a festive New Year's applique.
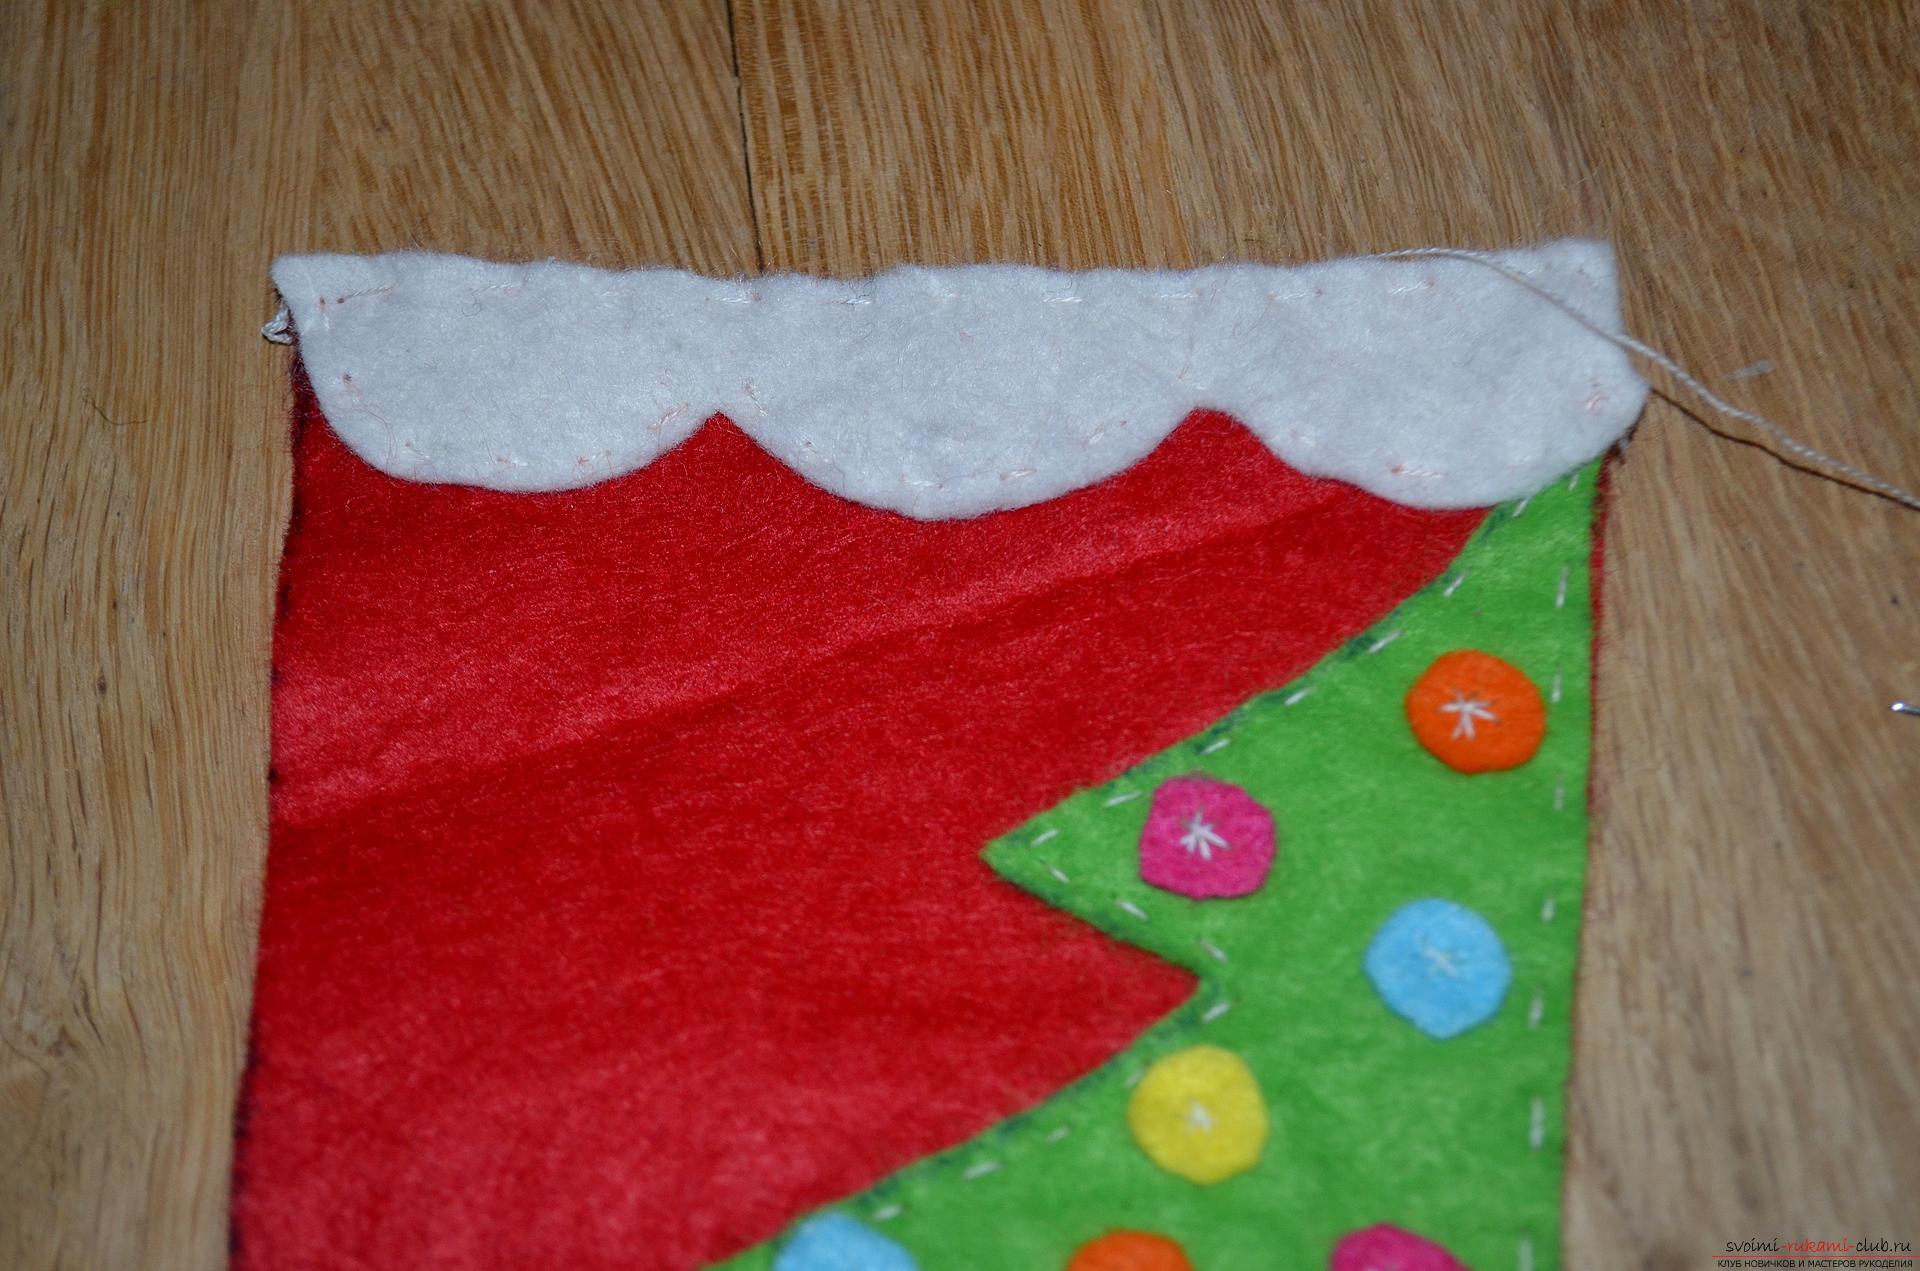
  12. The upper edge of the front of the boot is adorned with a decorative border cut from the felt white color. Sew it on the contour, as well as all the other details.
  13. After the entire application is sewn on the front of the boot. We connect it from the back exactly on the edge and we sew both together, also with the help of a seam "a needle forward"
  14. Our Christmas boot from felt is almost ready, it is necessary to add one small, but important detail.
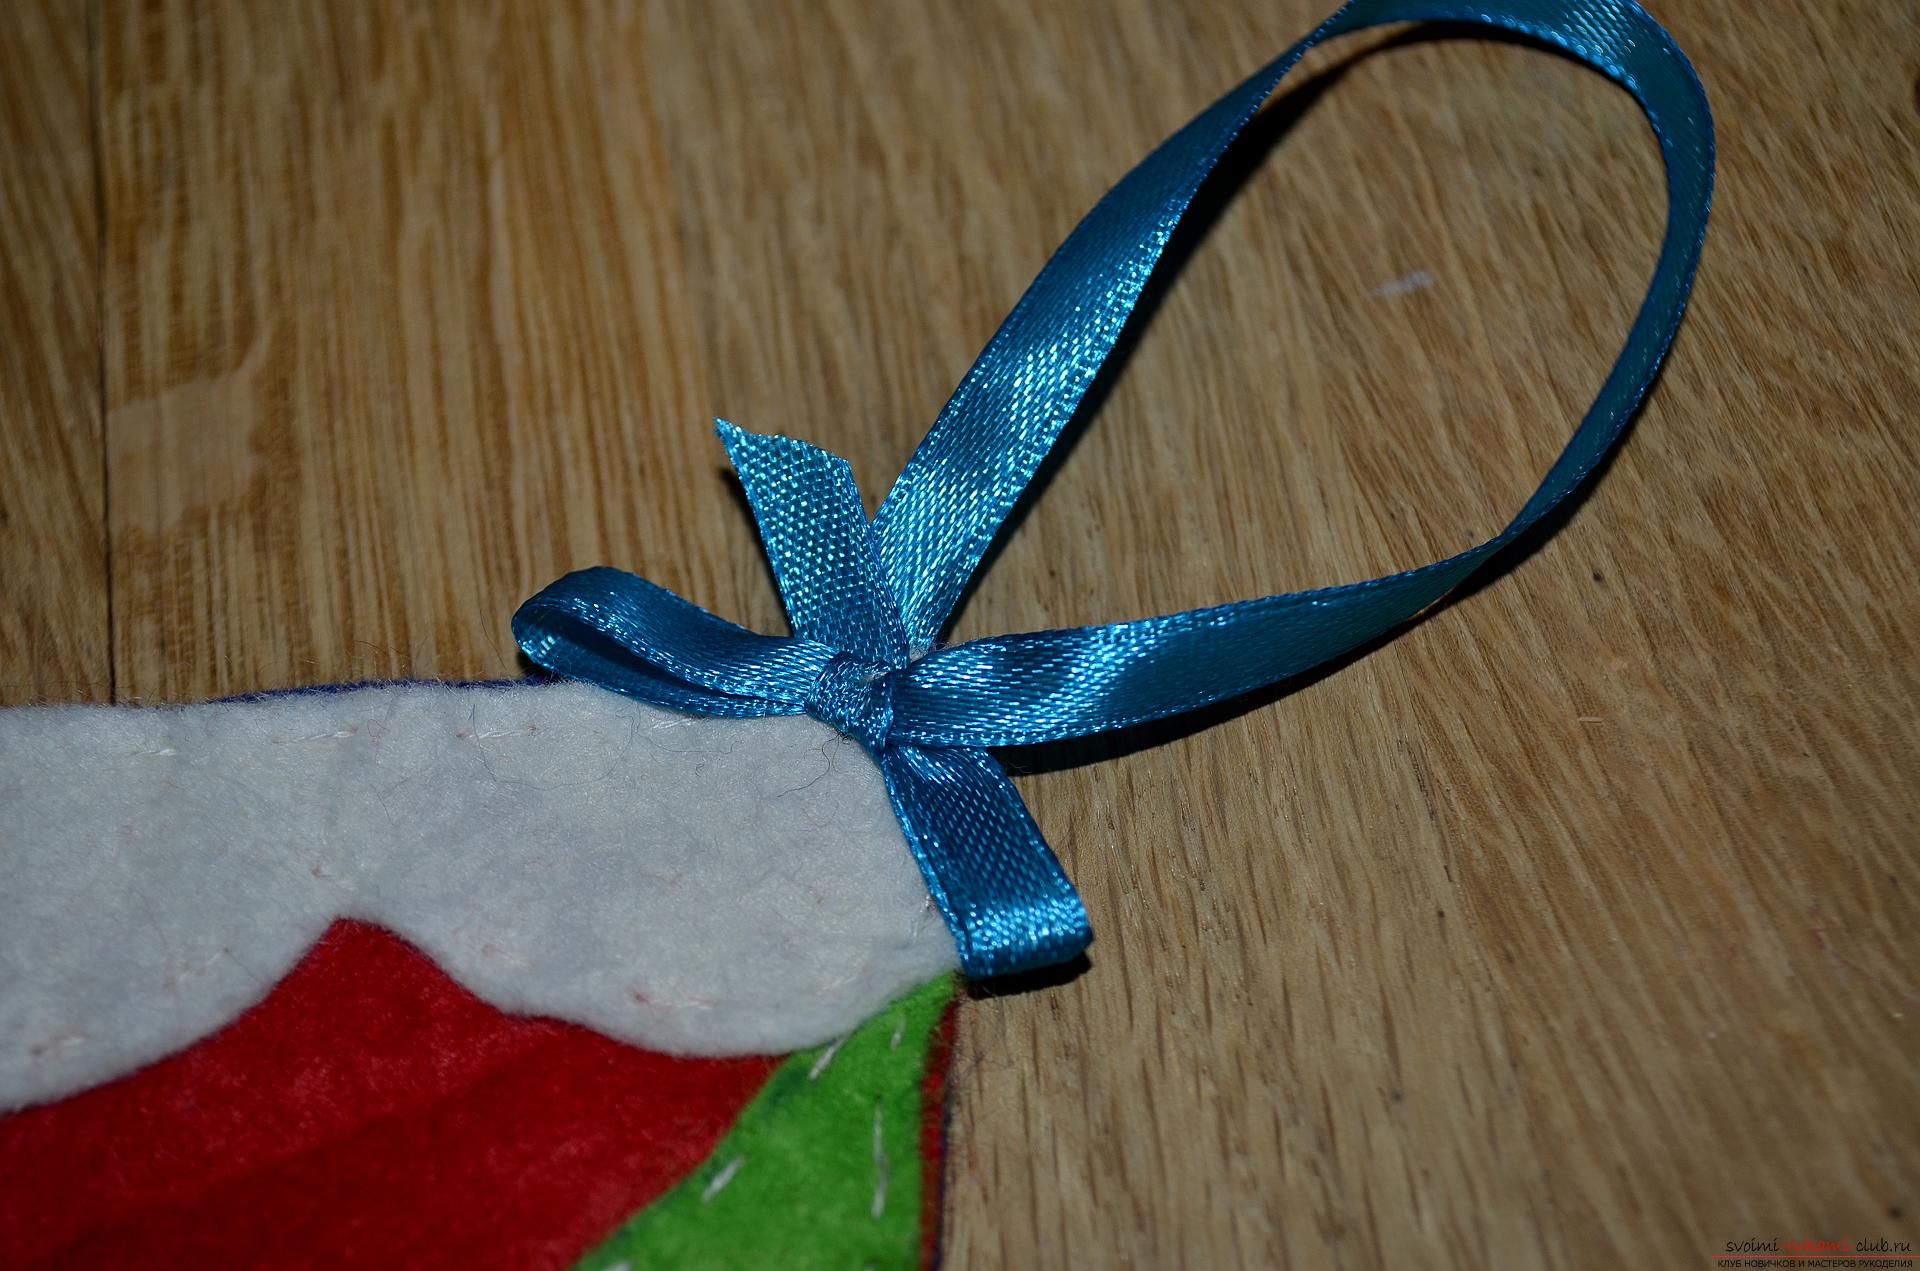
 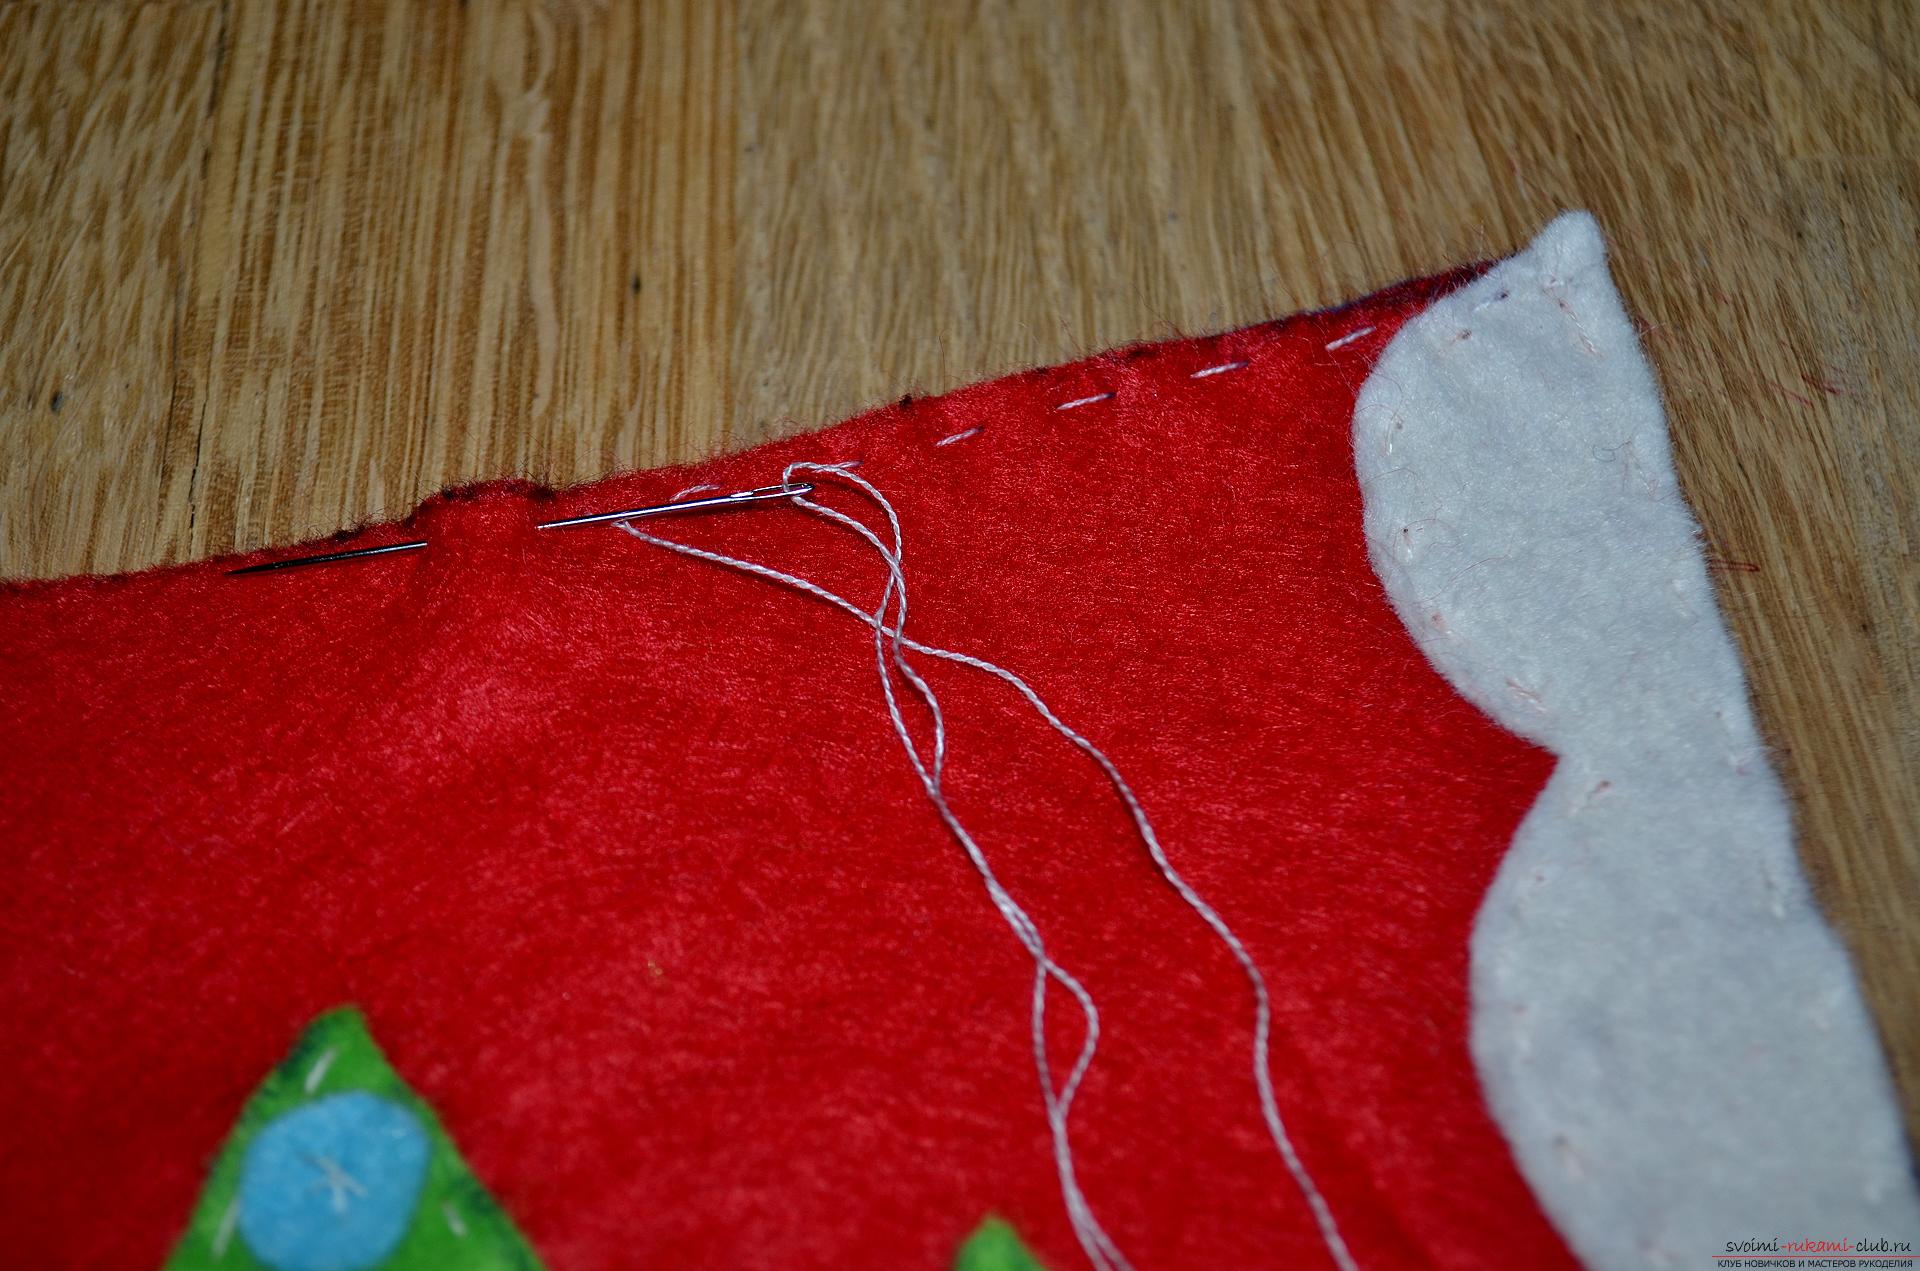 15. So that the boot can be hung, we need to sew an eyelet to it, we will make it out of a piece of a thin satin ribbon and decorate it with a small cute bow. We sew the eyelet to the upper right corner of the product, and completely complete the work on its creation.
 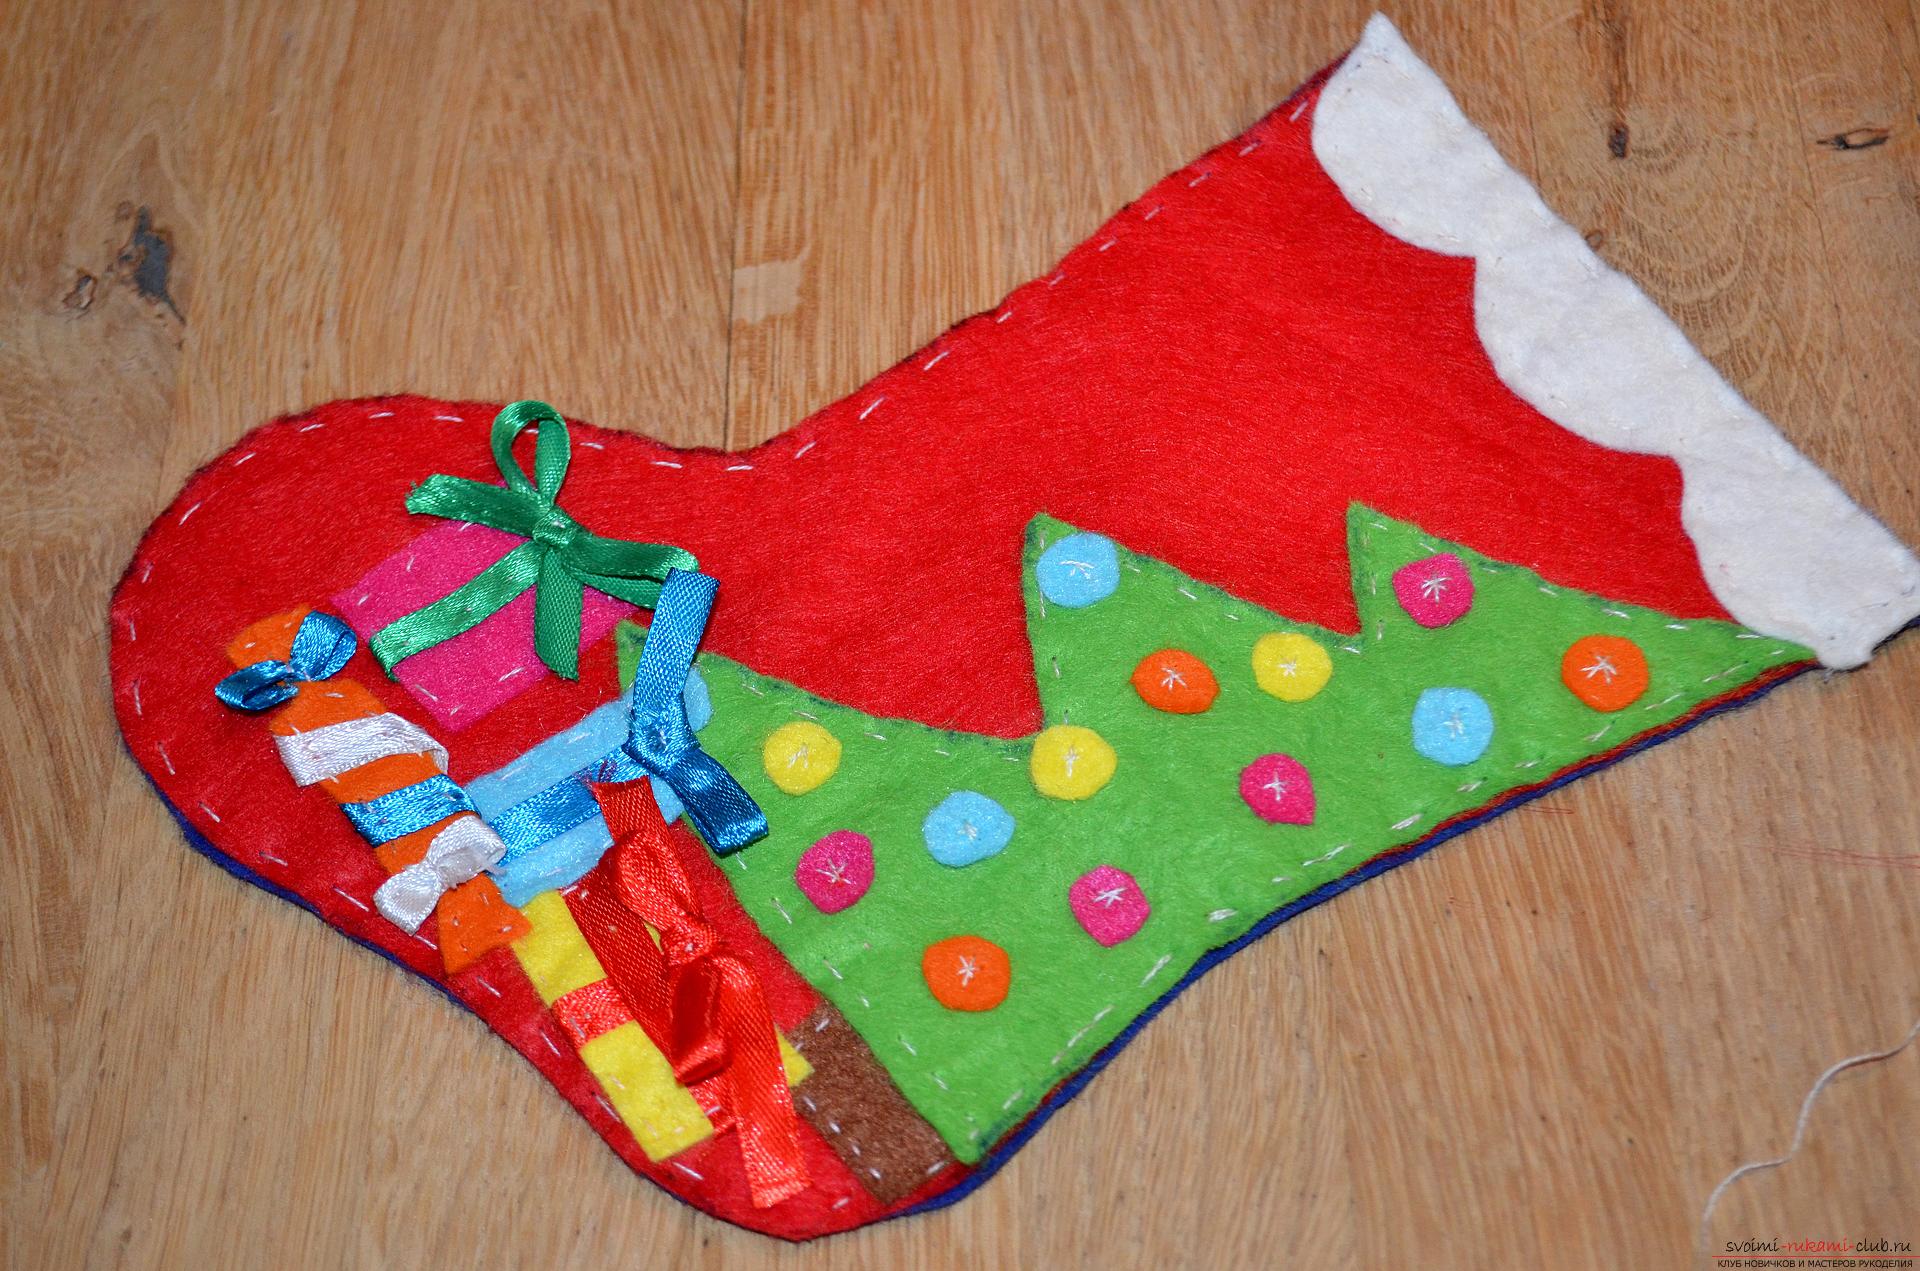 16. Here is such a beautiful Christmas boot made of felt, we have left, fill it with sweets and find a suitable place in your house.