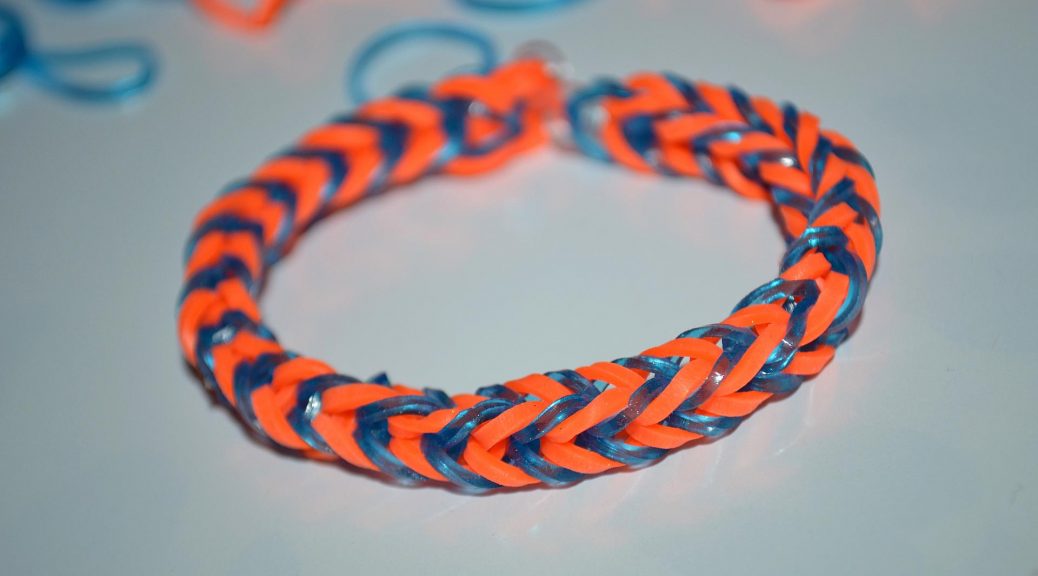
How to make a bracelet from colored rubbery "Fish tail" on pencils with your own hands? Step-by-step instructions for braiding the bracelet with a photo
Today it has become very popular to weave differenta kind of jewelry from a variety of thin colored rubber bands. And this unusual kind of handicraft creativity was born relatively recently, about 5-6 years ago in China. It was there, in an ordinary family, that a caring father, the father of two glorious daughters, watching his children devote themselves to something from fragments of colored threads, decided to create a special device and material, thanks to which this kind of creativity acquired a lighter version. So the first sets of Rainbow Loom were born, the existence of which is now known to every child from 4 to 18 years old. Looking at the intricate interlacing of rubber bands, it seems that it is difficult to create something like this, but this is not so, you just have to carefully study the technique of weaving this or that product and the work will boil. In this master class, I will tell you how to weave very easily, quickly and simply a beautiful bracelet made of rubber bands "Fishtail" on pencils. We can say that this model is designed for beginners, so you can easily cope with it, and later, in subsequent master classes, we will master with you and more complex options.
Tools and materials
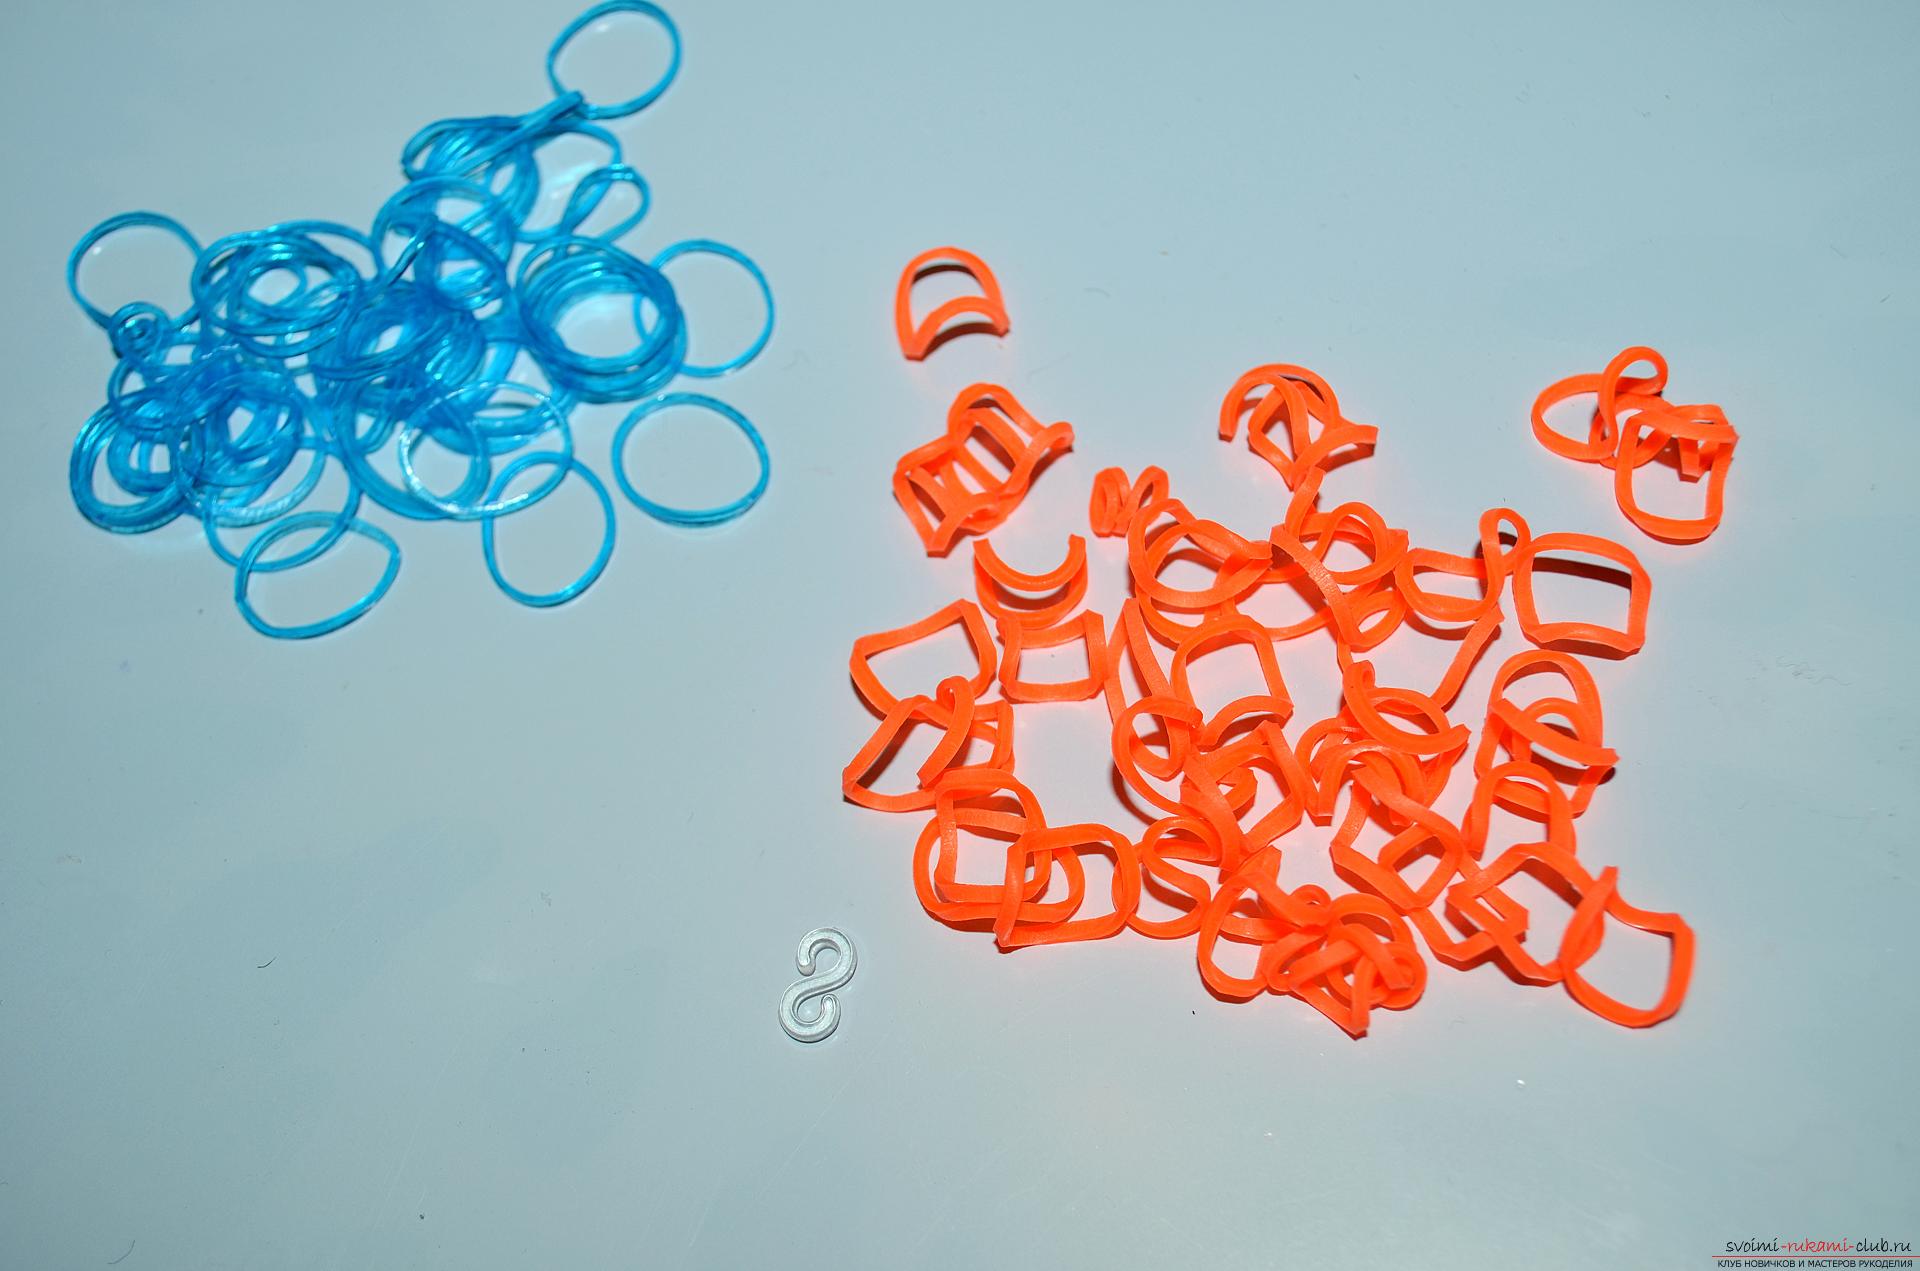
So, to weave a bracelet from rubber bands "Fish tail" we will need:
- thin rubber bands of two contrasting colors (in our case it is orange and blue);
- s-shaped plastic lock for fastening the bracelet.
 And:
And:
- two identical pencils;
- Stationery;
- paper napkin.
Description of the stages of work
1. To begin with, we'll make a bracelet. You can do this on a special machine or a special plastic slingshot, but if you have not already acquired such tools for weaving, do not worry, you can replace them with two fingers of your left hand, namely, the index and middle, or as in our case with pencils. Only for this purpose it is necessary to connect two pencils among themselves and tightly clamp them with a paper band, as it is shown in the photo below. 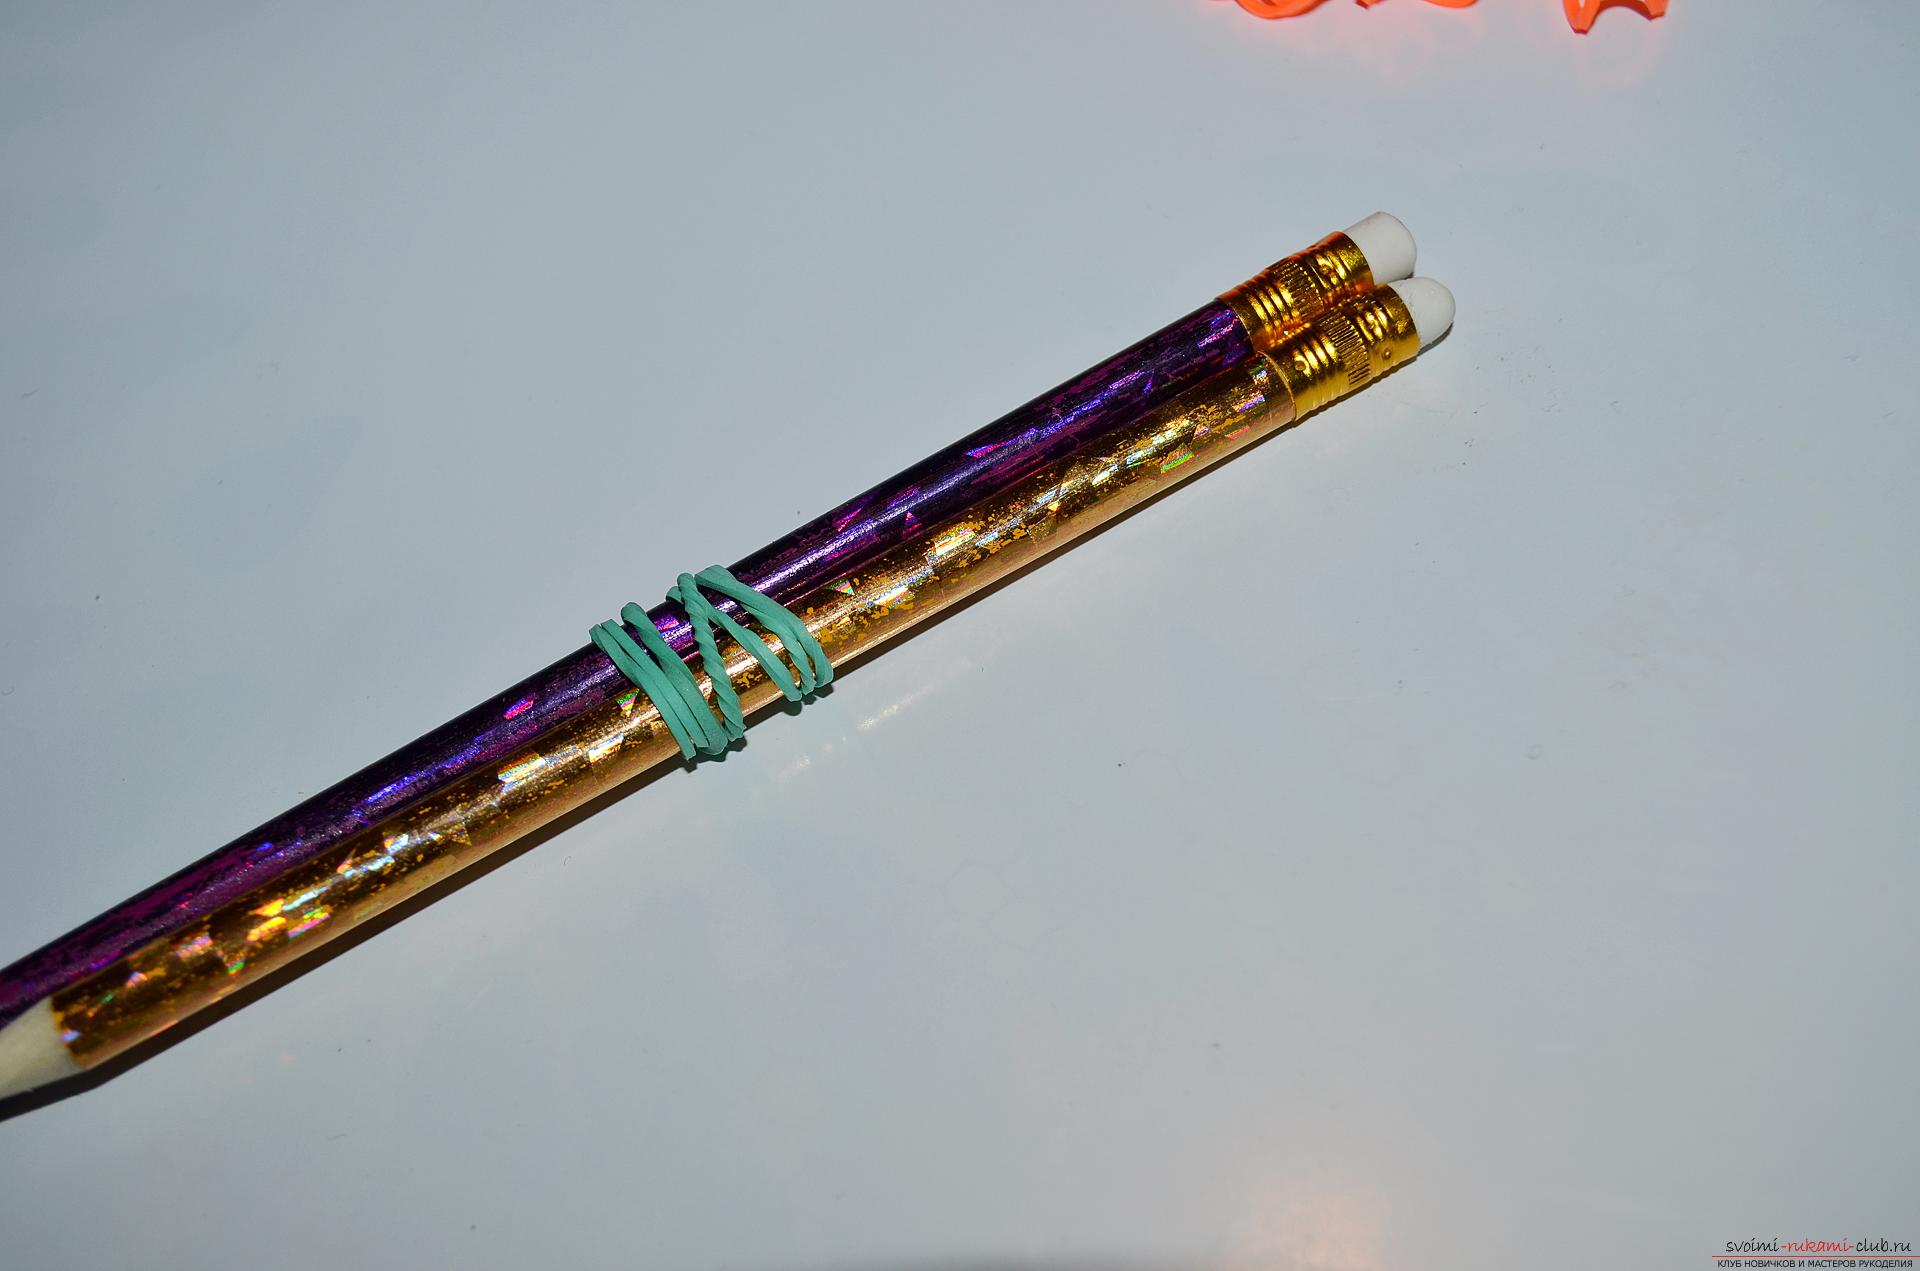 2. Then, from the paper napkin, we twist a small roll, which is placed between the pencils at the base of the rubber band. This napkin helps us to move the pencils to the desired distance, thus creating a shape resembling a slingshot.
 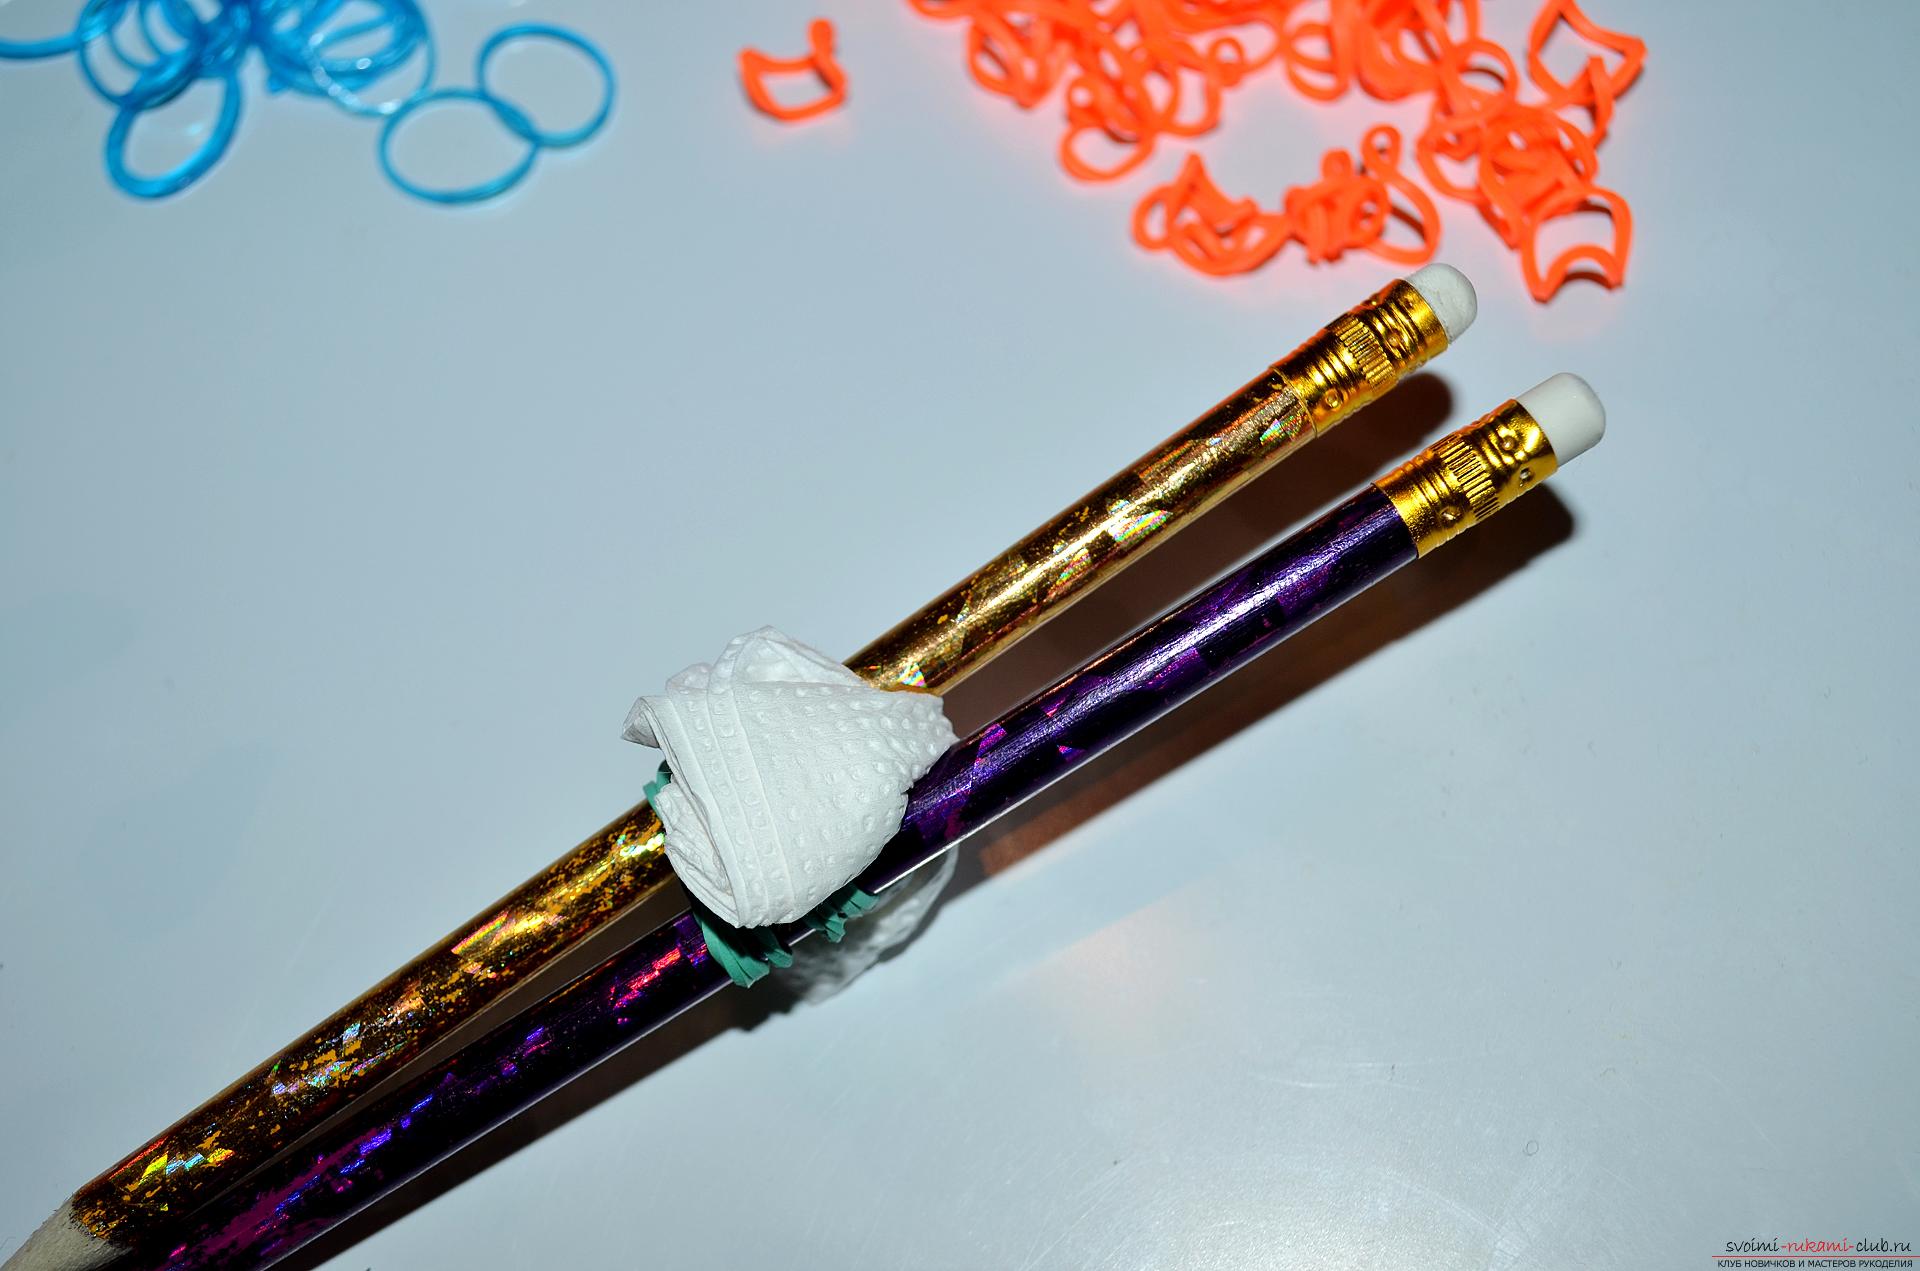 3. The braiding device is ready, you can proceed directly to work. Take our first rubber, we have it in orange, we twist it once in the form of "eight" and put on both pencils.
 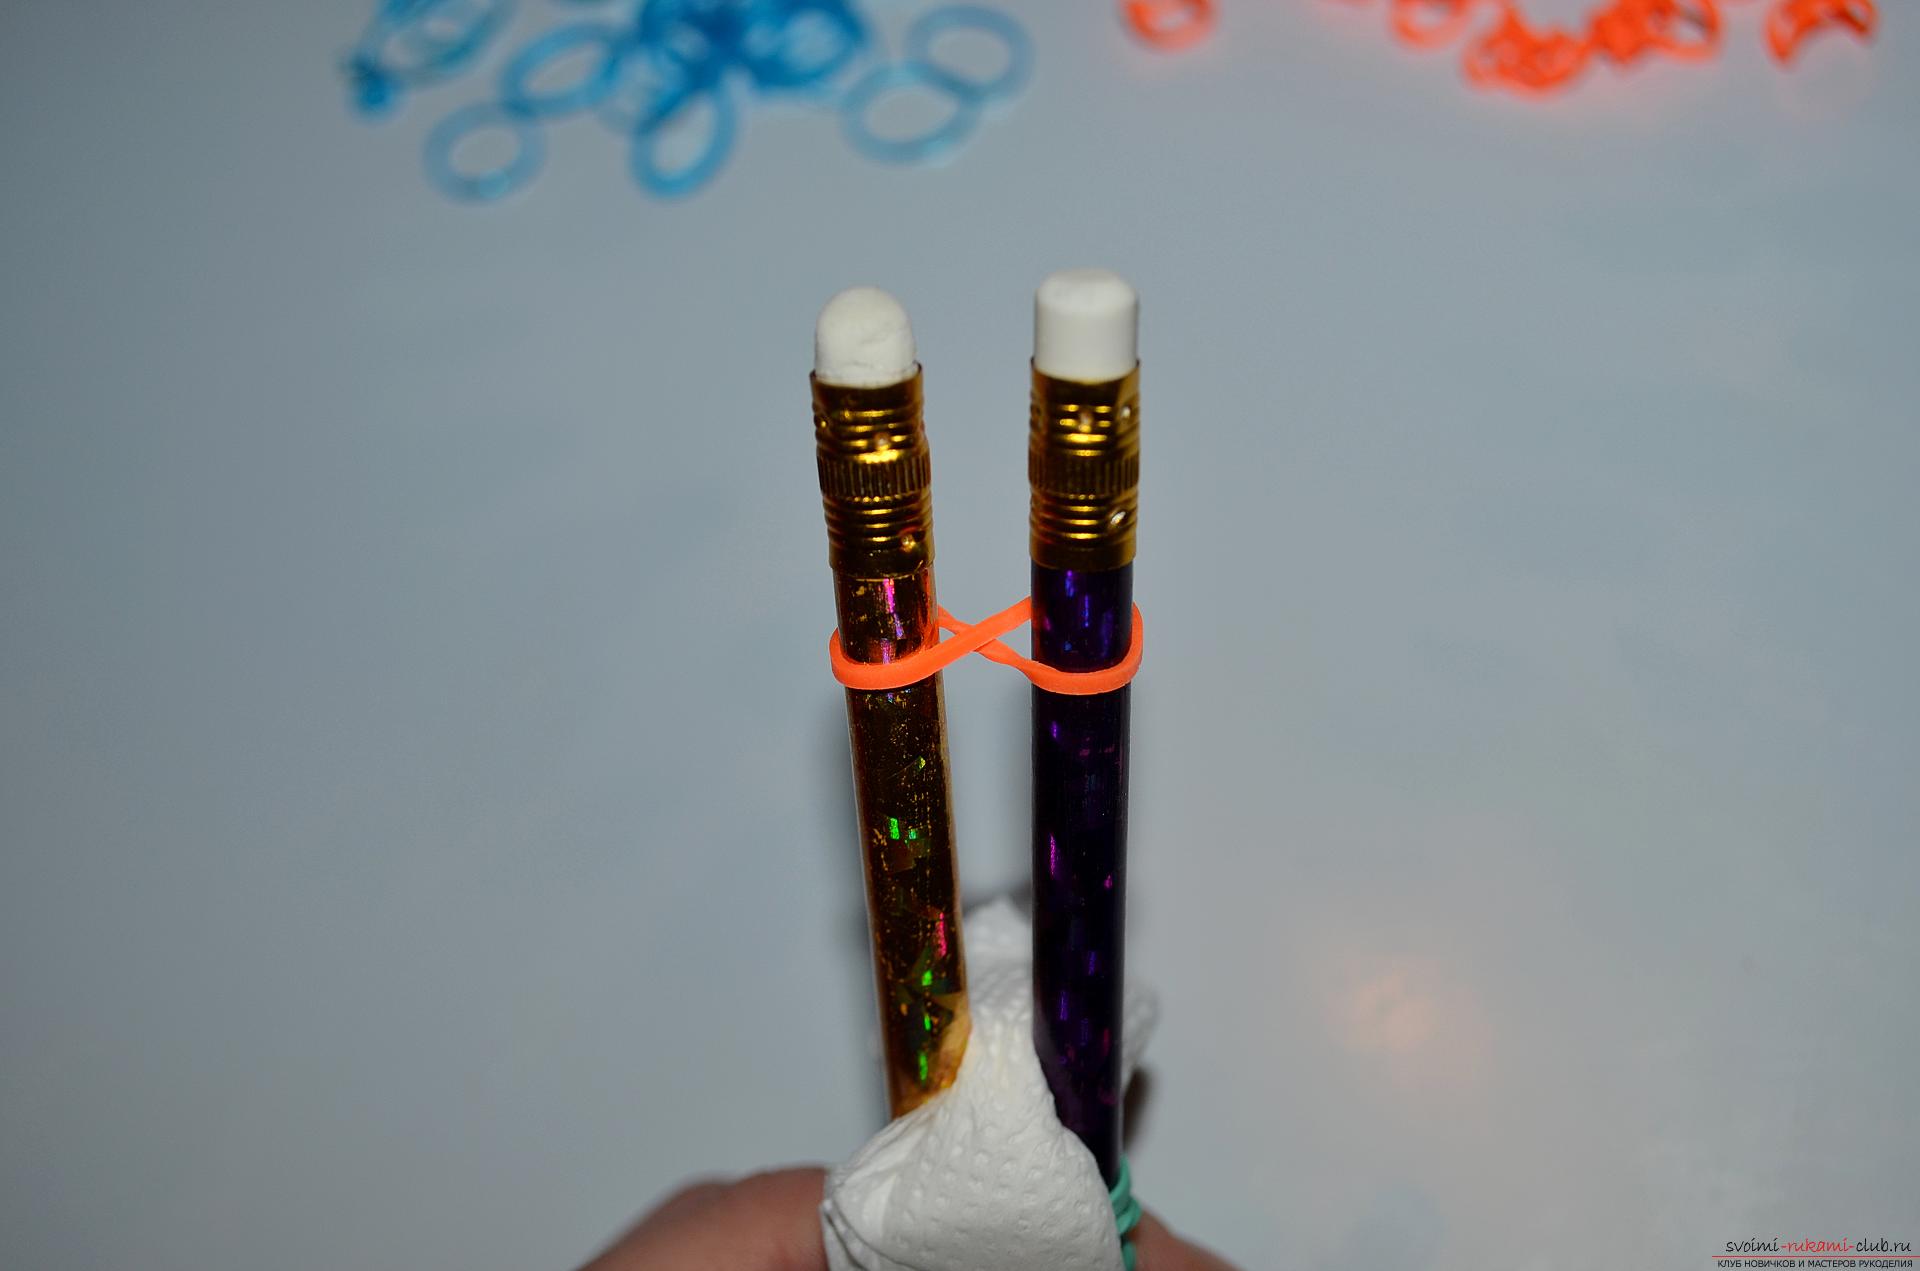 4. Next, we take the rubber band of the second blue color and this time without twisting, we put it on top of both pencils.
 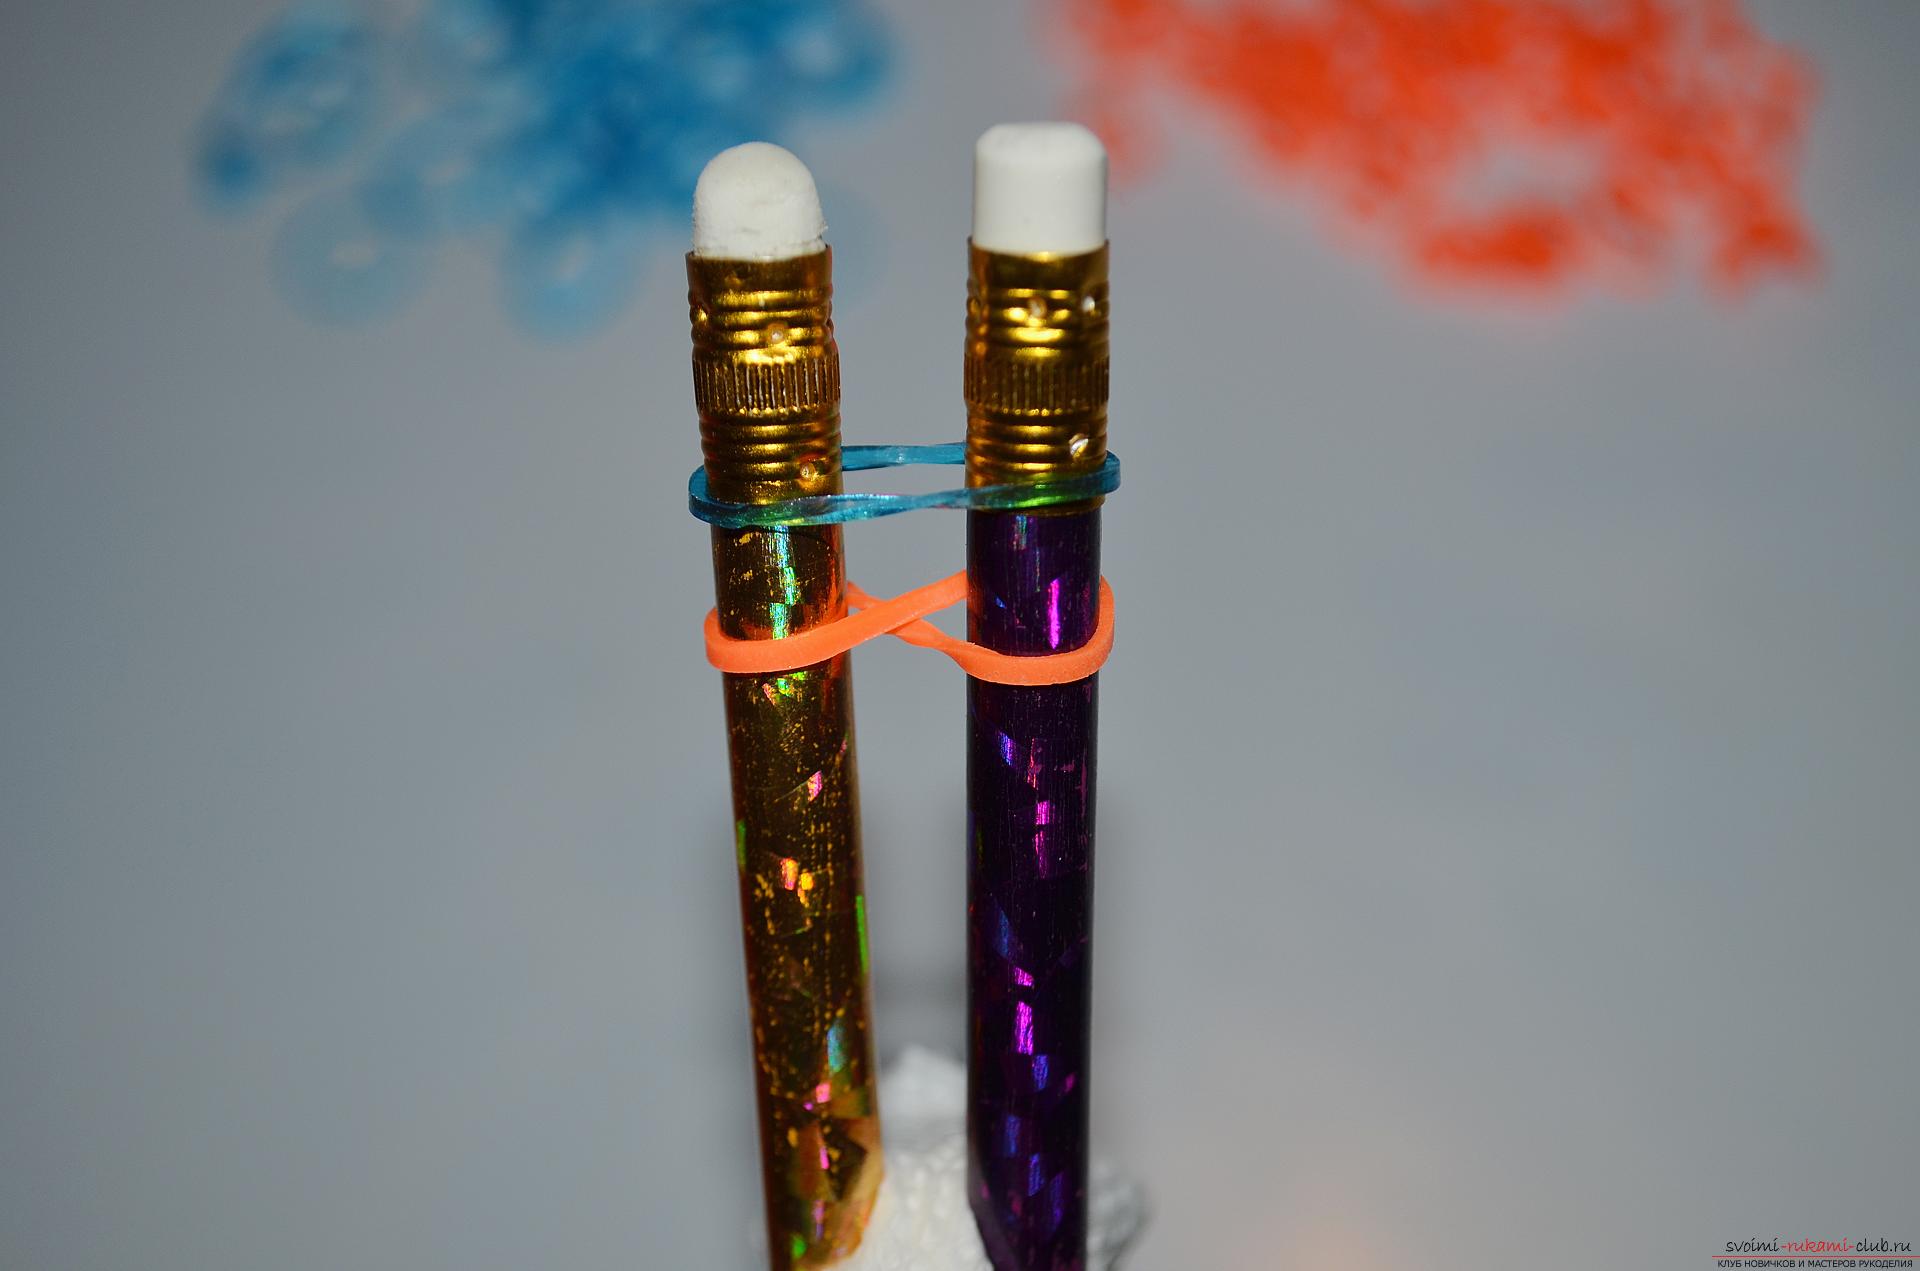 5. Observing the alternation of colors, which is extremely important in making the braiding of this bracelet, we again take an elastic band of orange color and, like the previous blue one, put it on both pencils.
 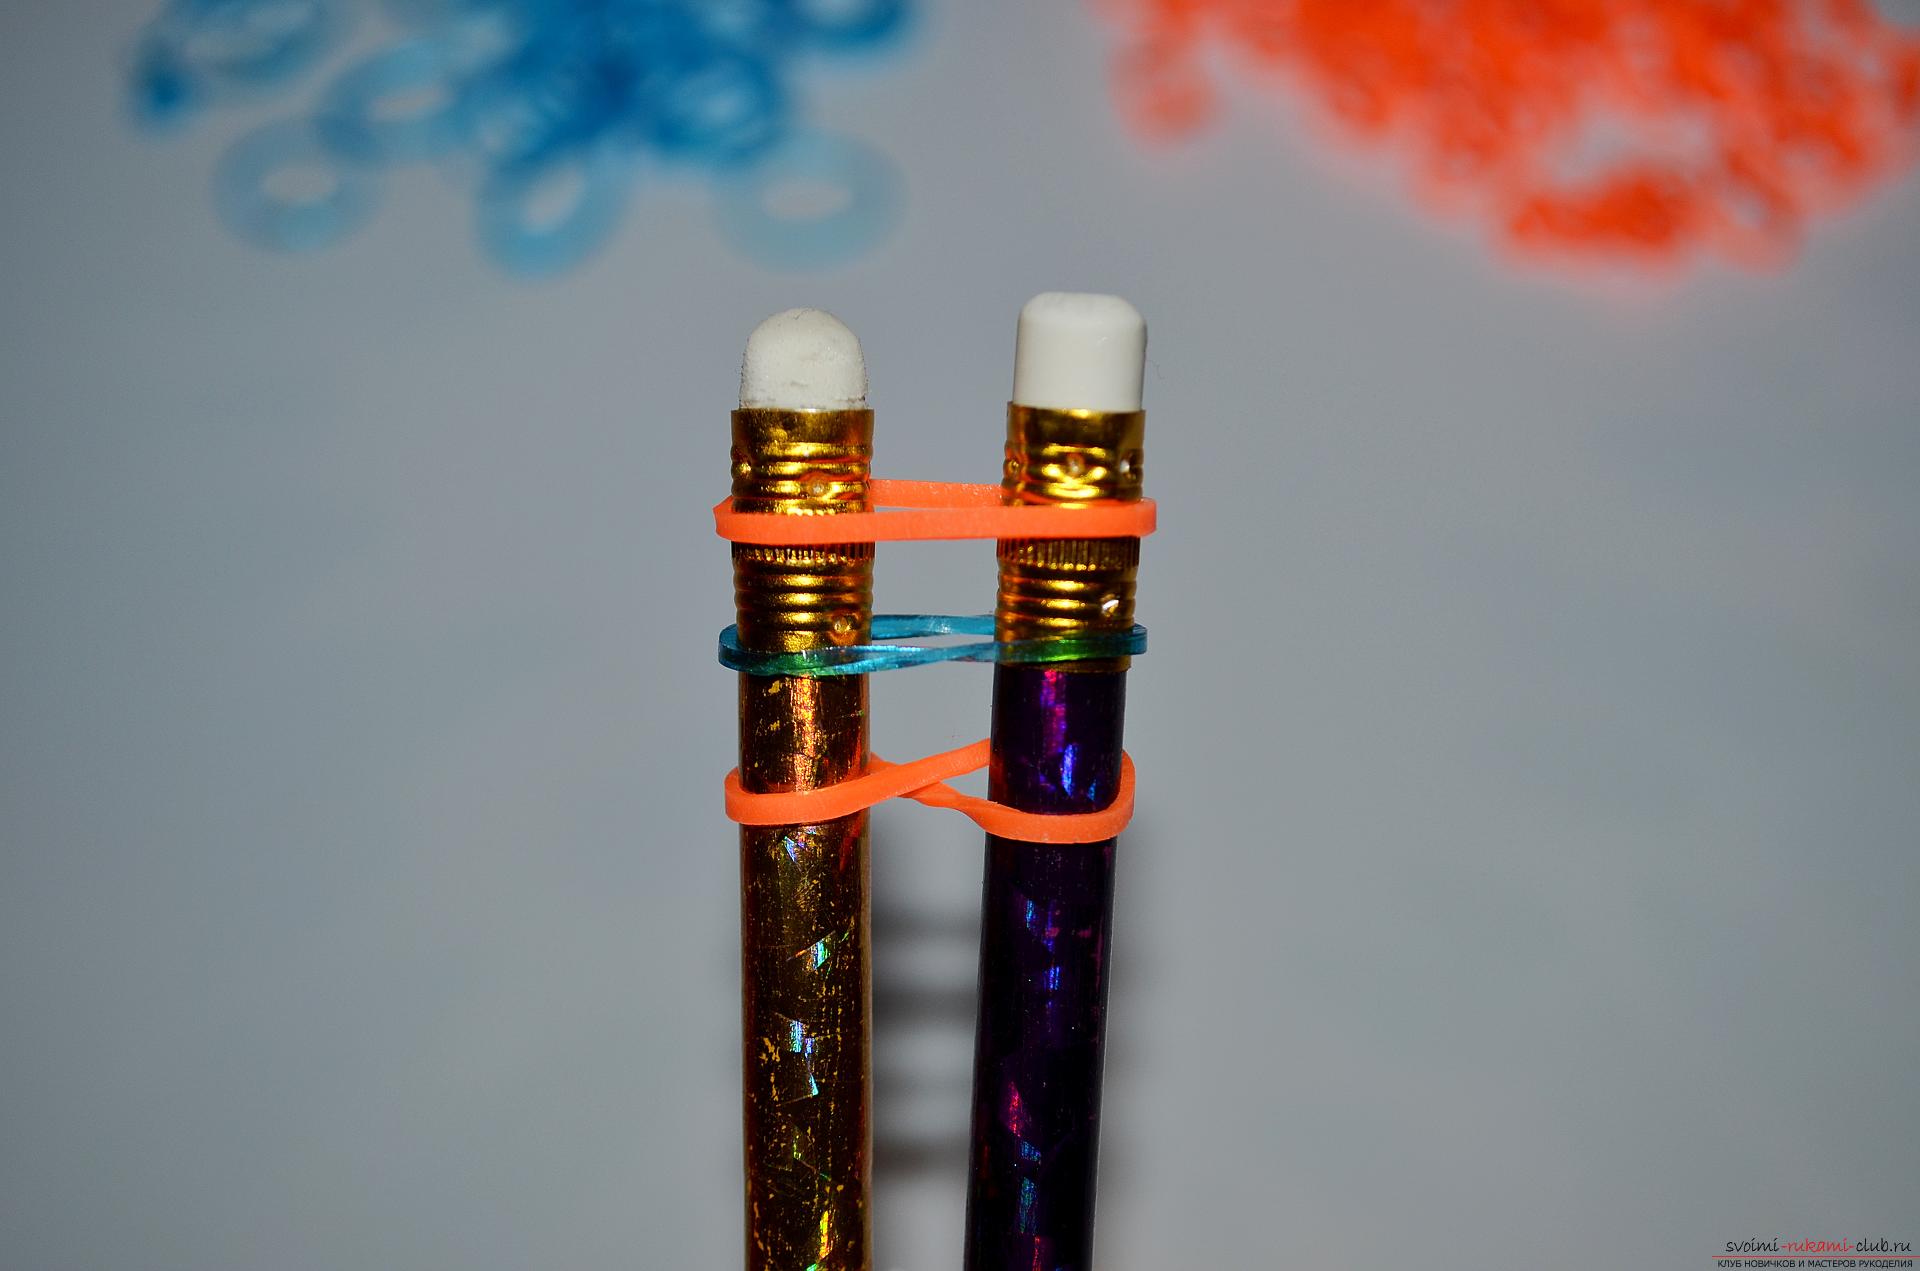 6. Now, holding the device of pencils in the left hand, with two fingers of the right (large and index), pull the lowest orange rubber from the right pencil and remove it on the center of the two upper ones.
 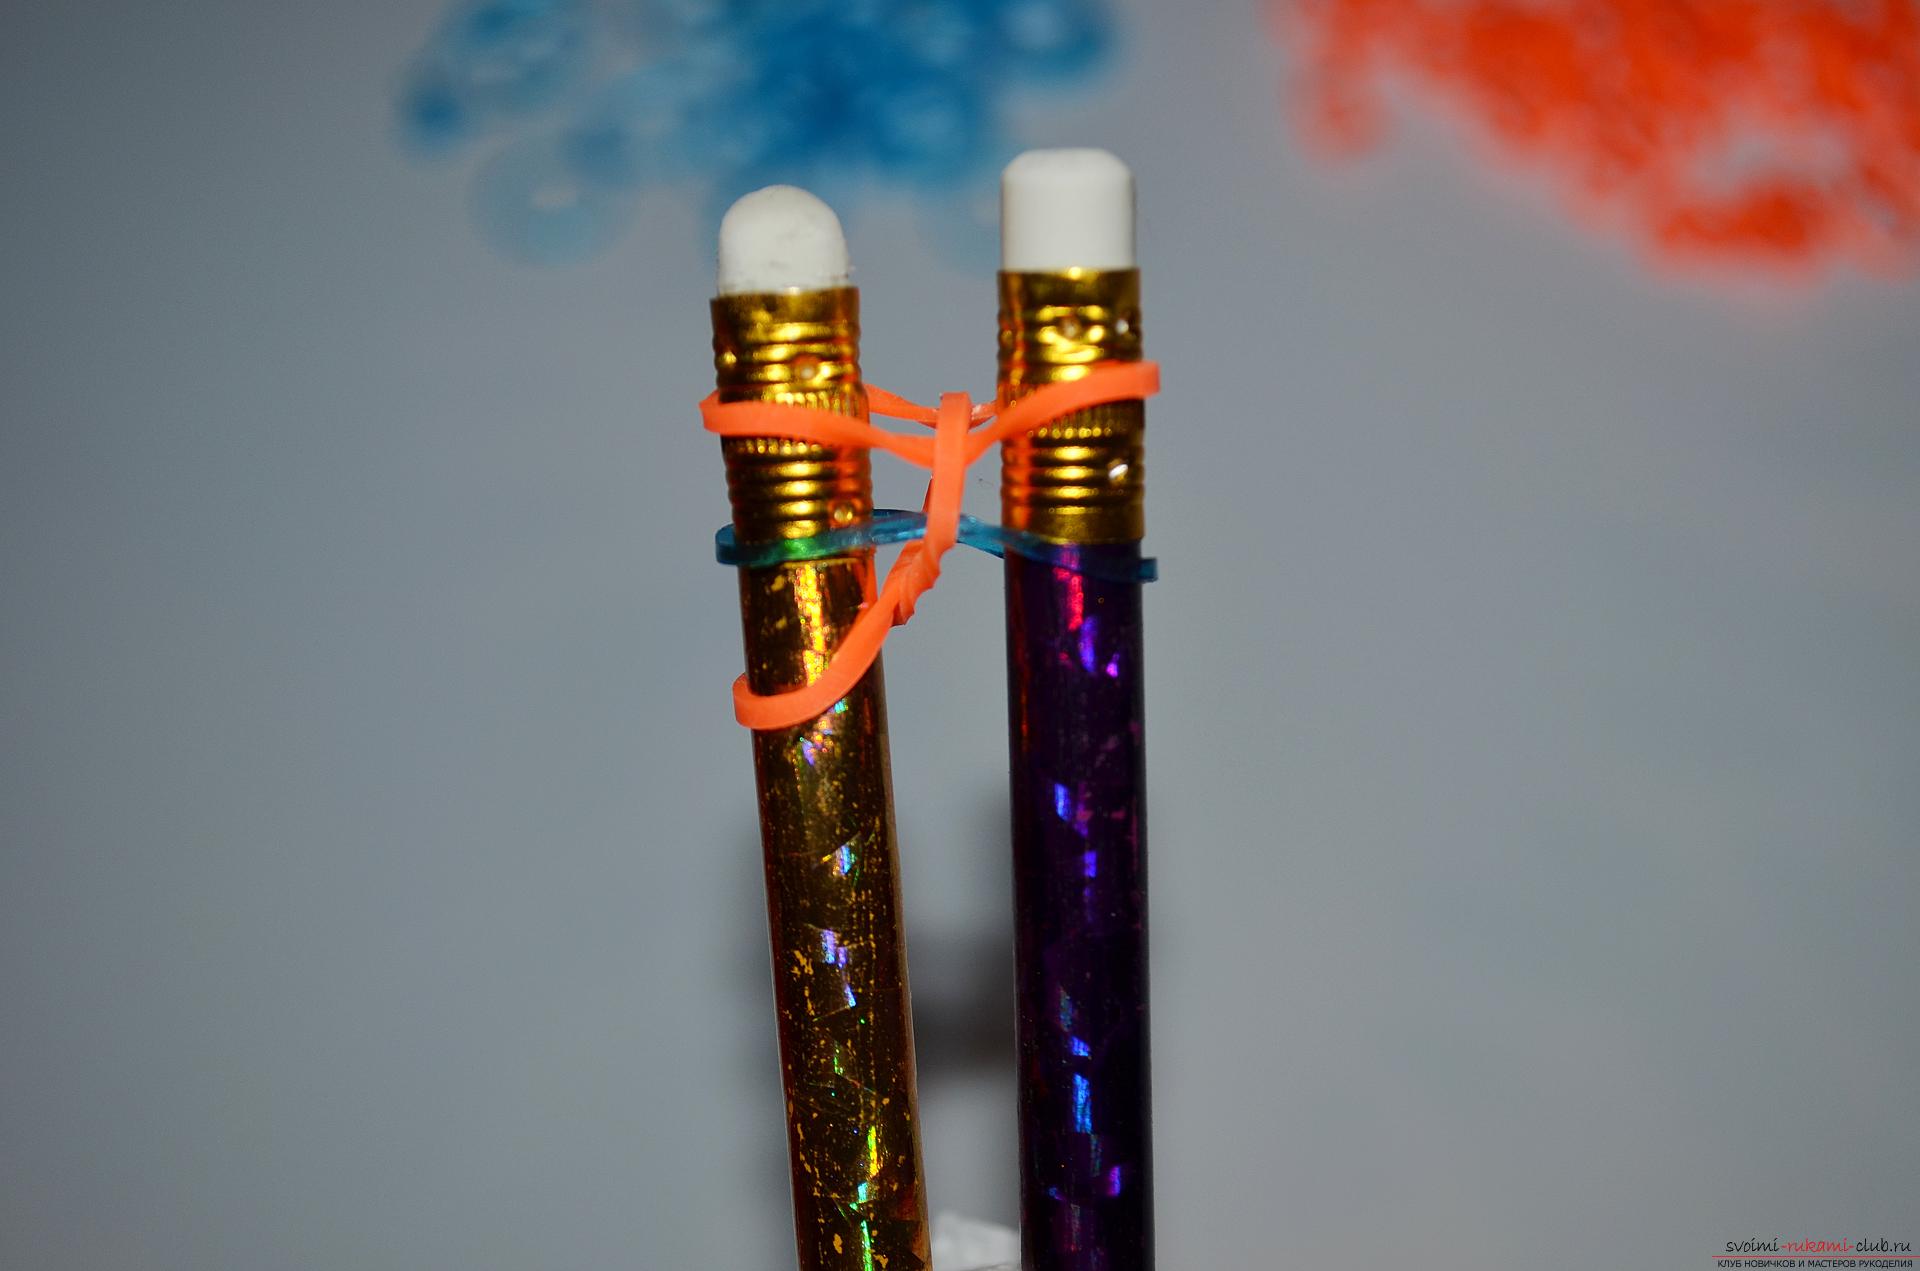 7. In exactly the same way, he removes the lowest orange rubber from the left pencil and places it on the center of the two upper pencils.
 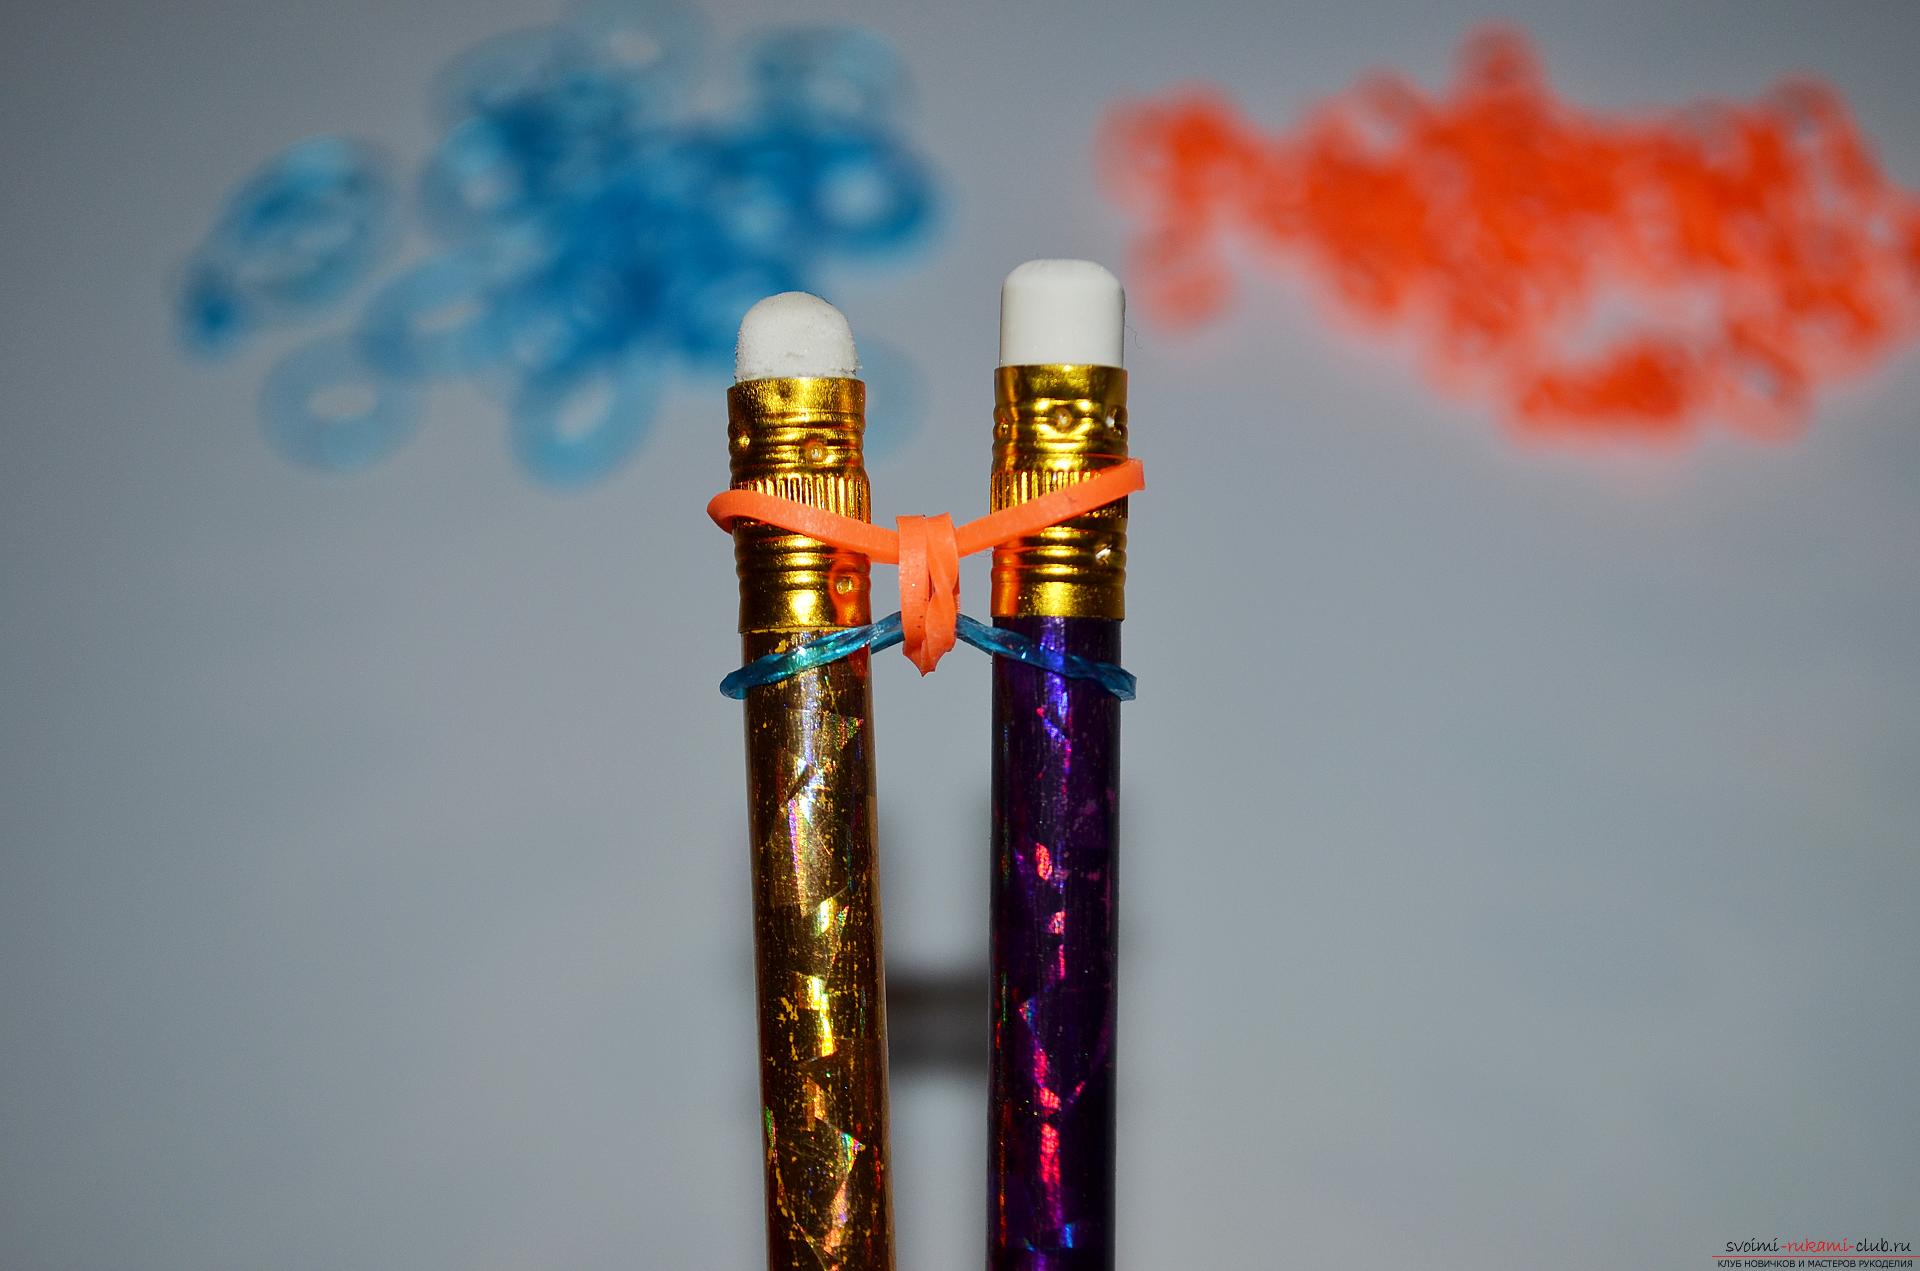 8. Observing the order of colors, we take another blue rubber band and do not twist, like all the previous ones, and put it on both pencils of the slingshot.
 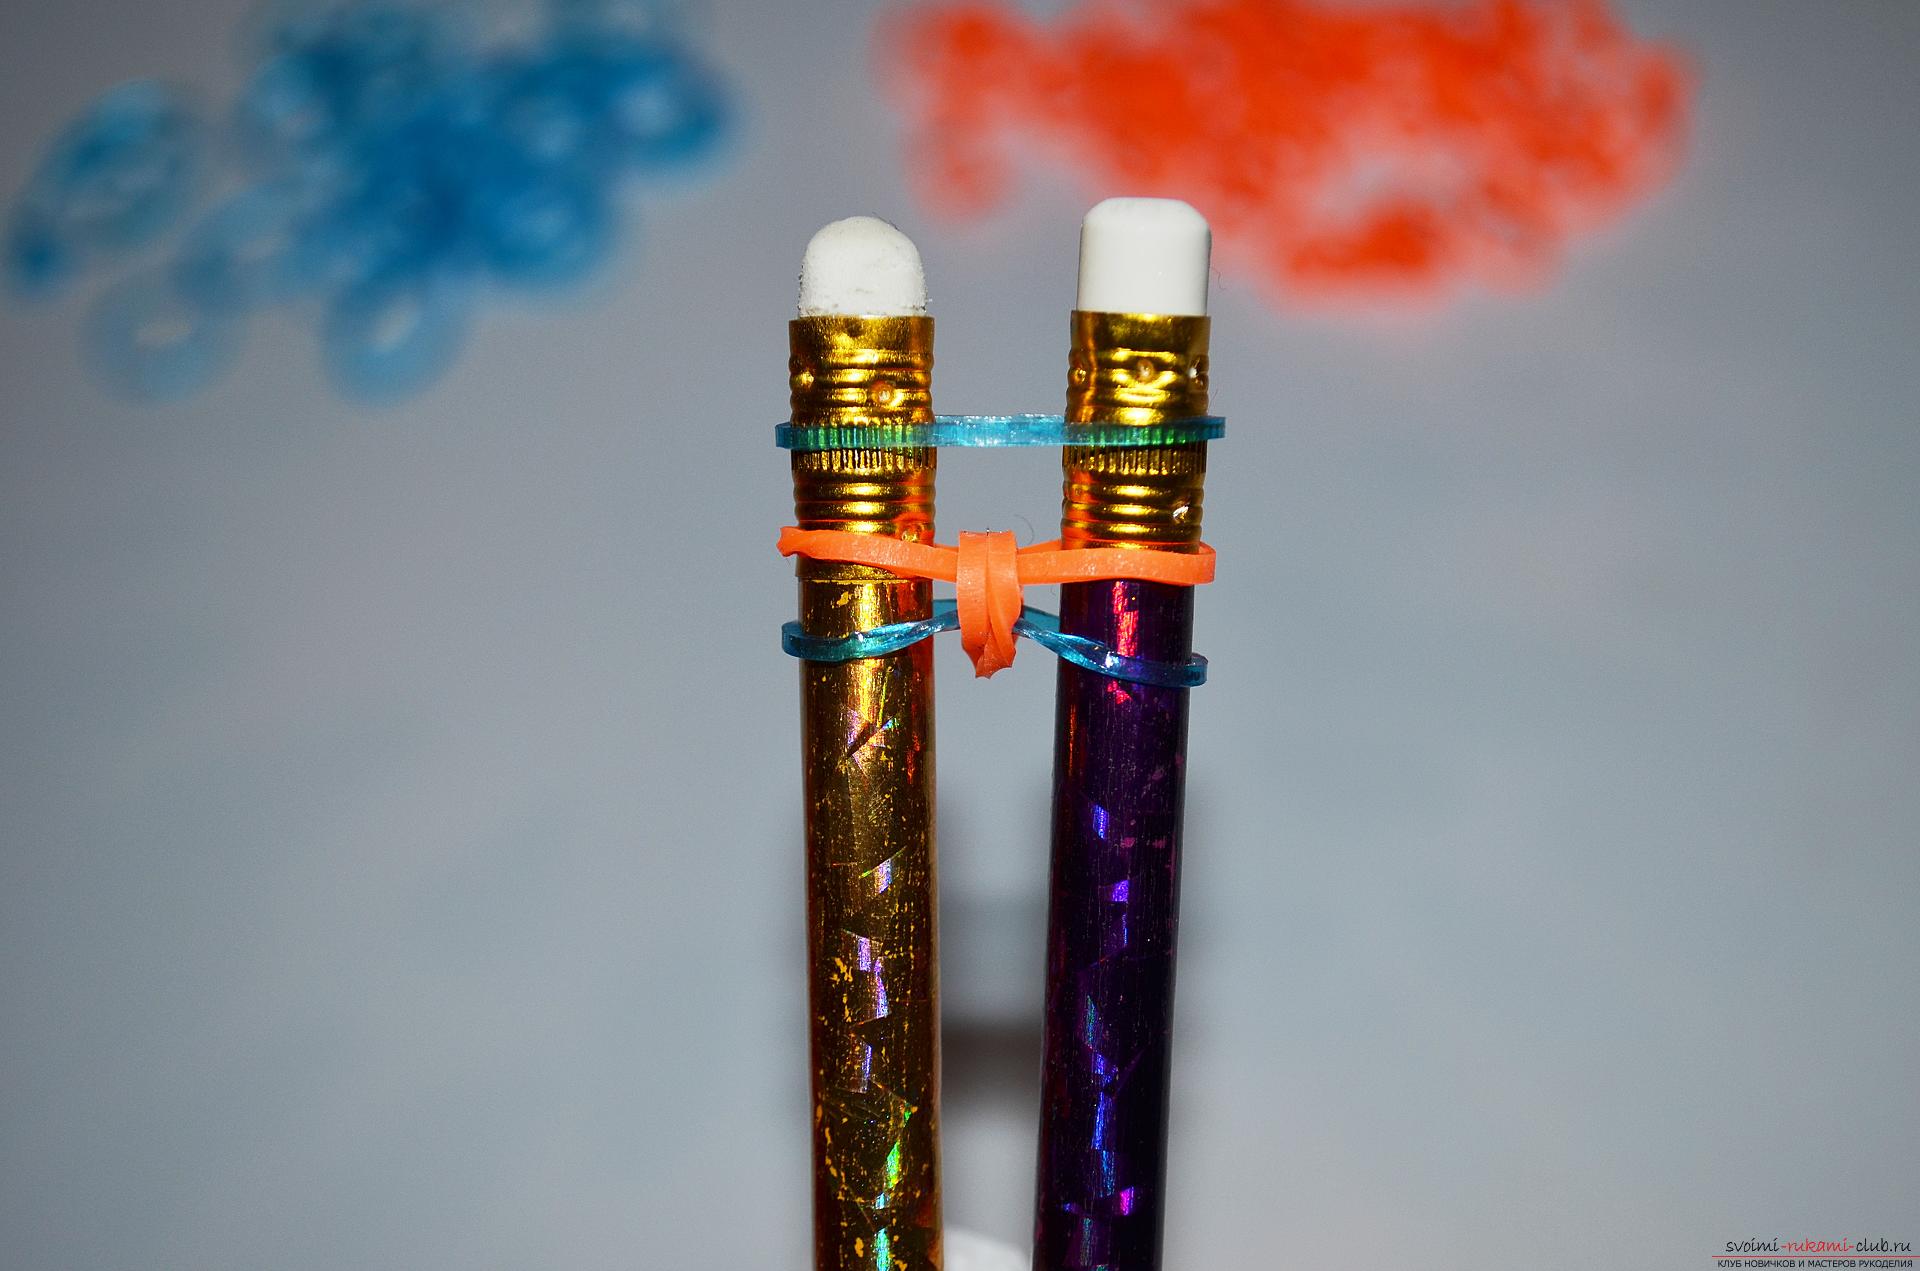 9. After that, alternately with both pencils according to the principle already known to us, we remove the lowest blue gum on the center of the two upper ones.
 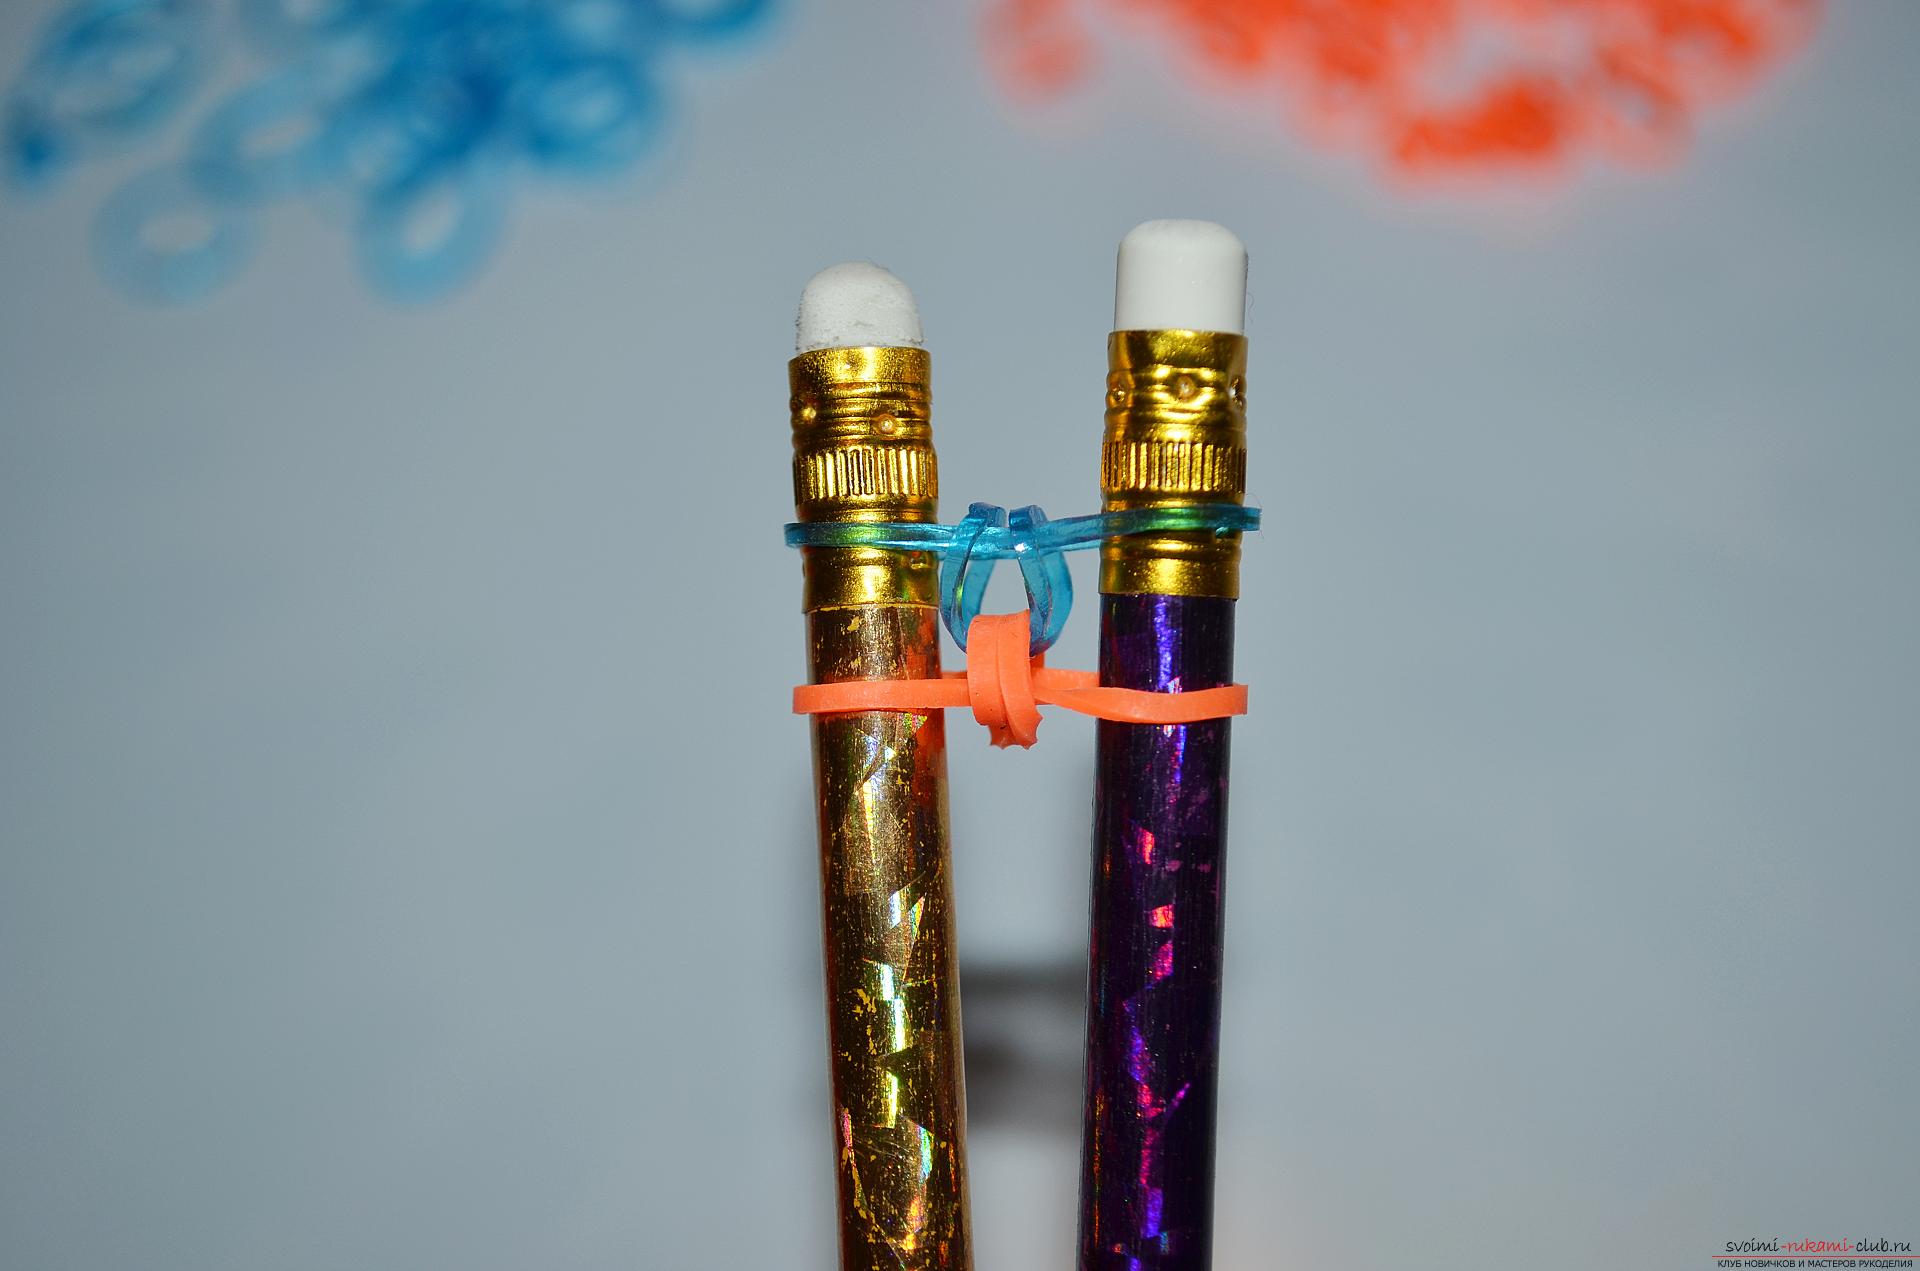 10. On both pencils we put on the next orange rubber band.
 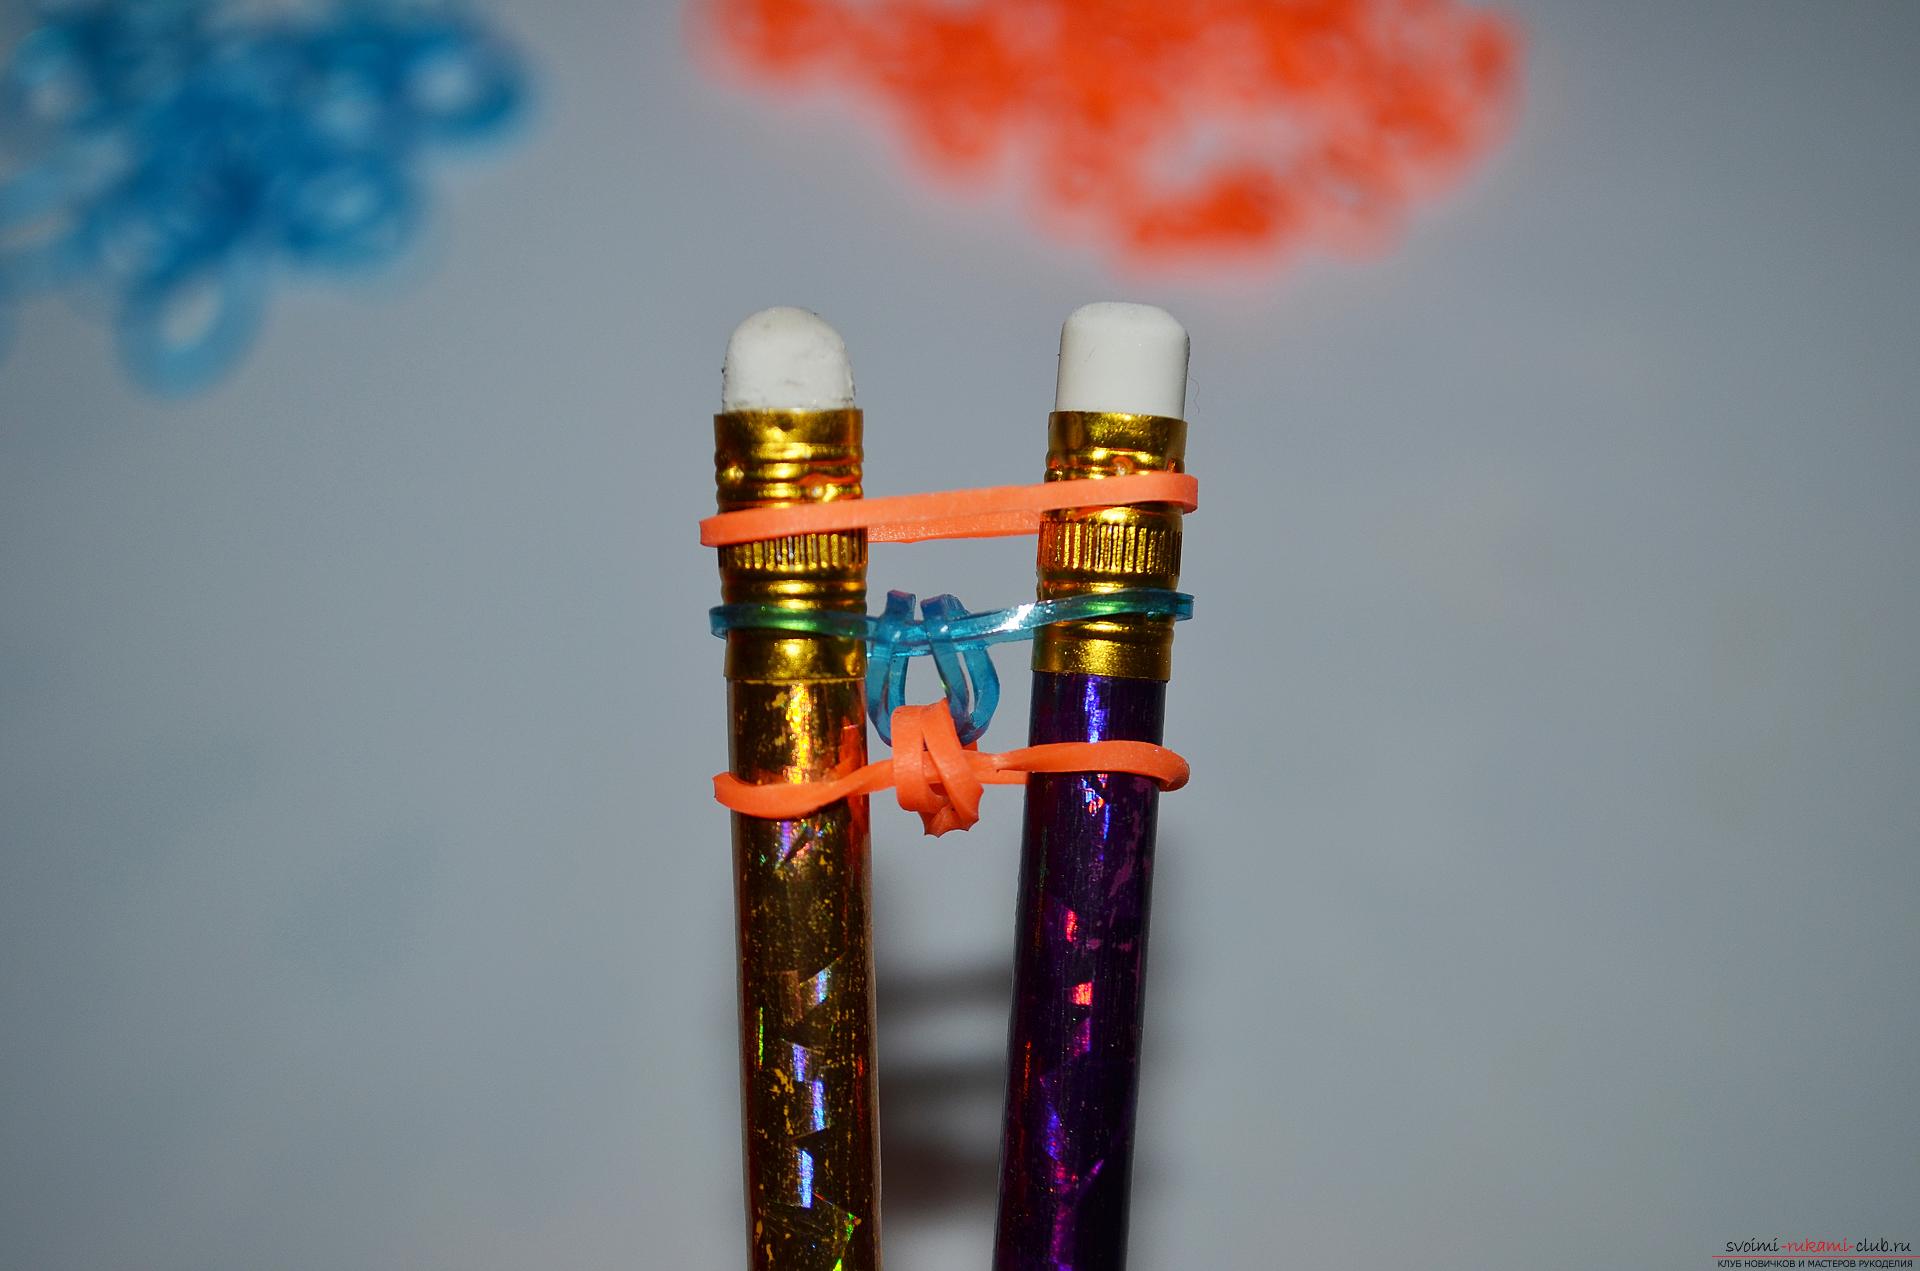 11. And just like the two previous times we throw off the pencils on the top two of the lowest orange band. Thus, we begin to appear elements of weaving bracelet.
 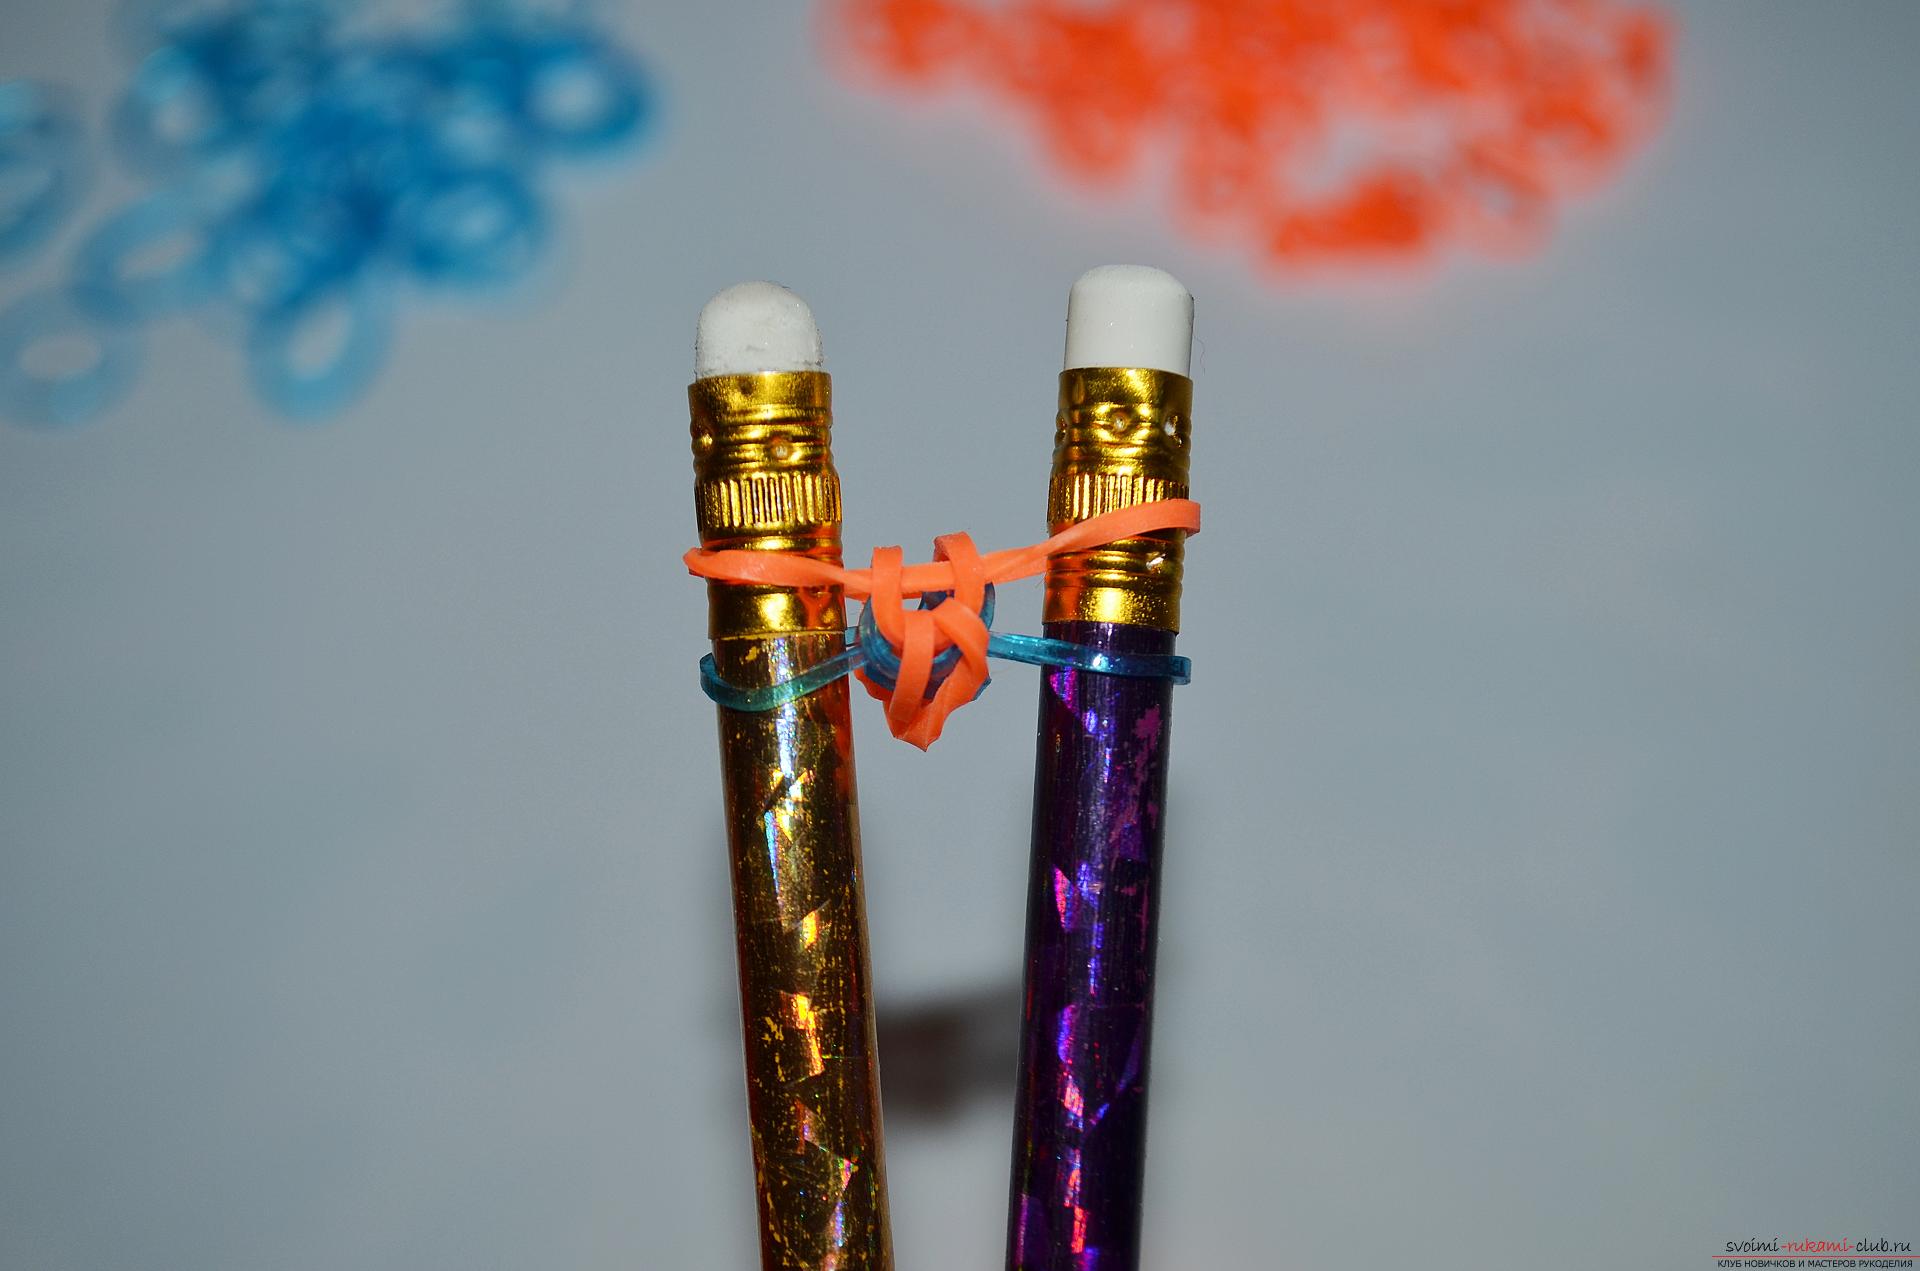 12. Again, put on the blue elastic band and again remove the lowest color of the same color from the pencils.
 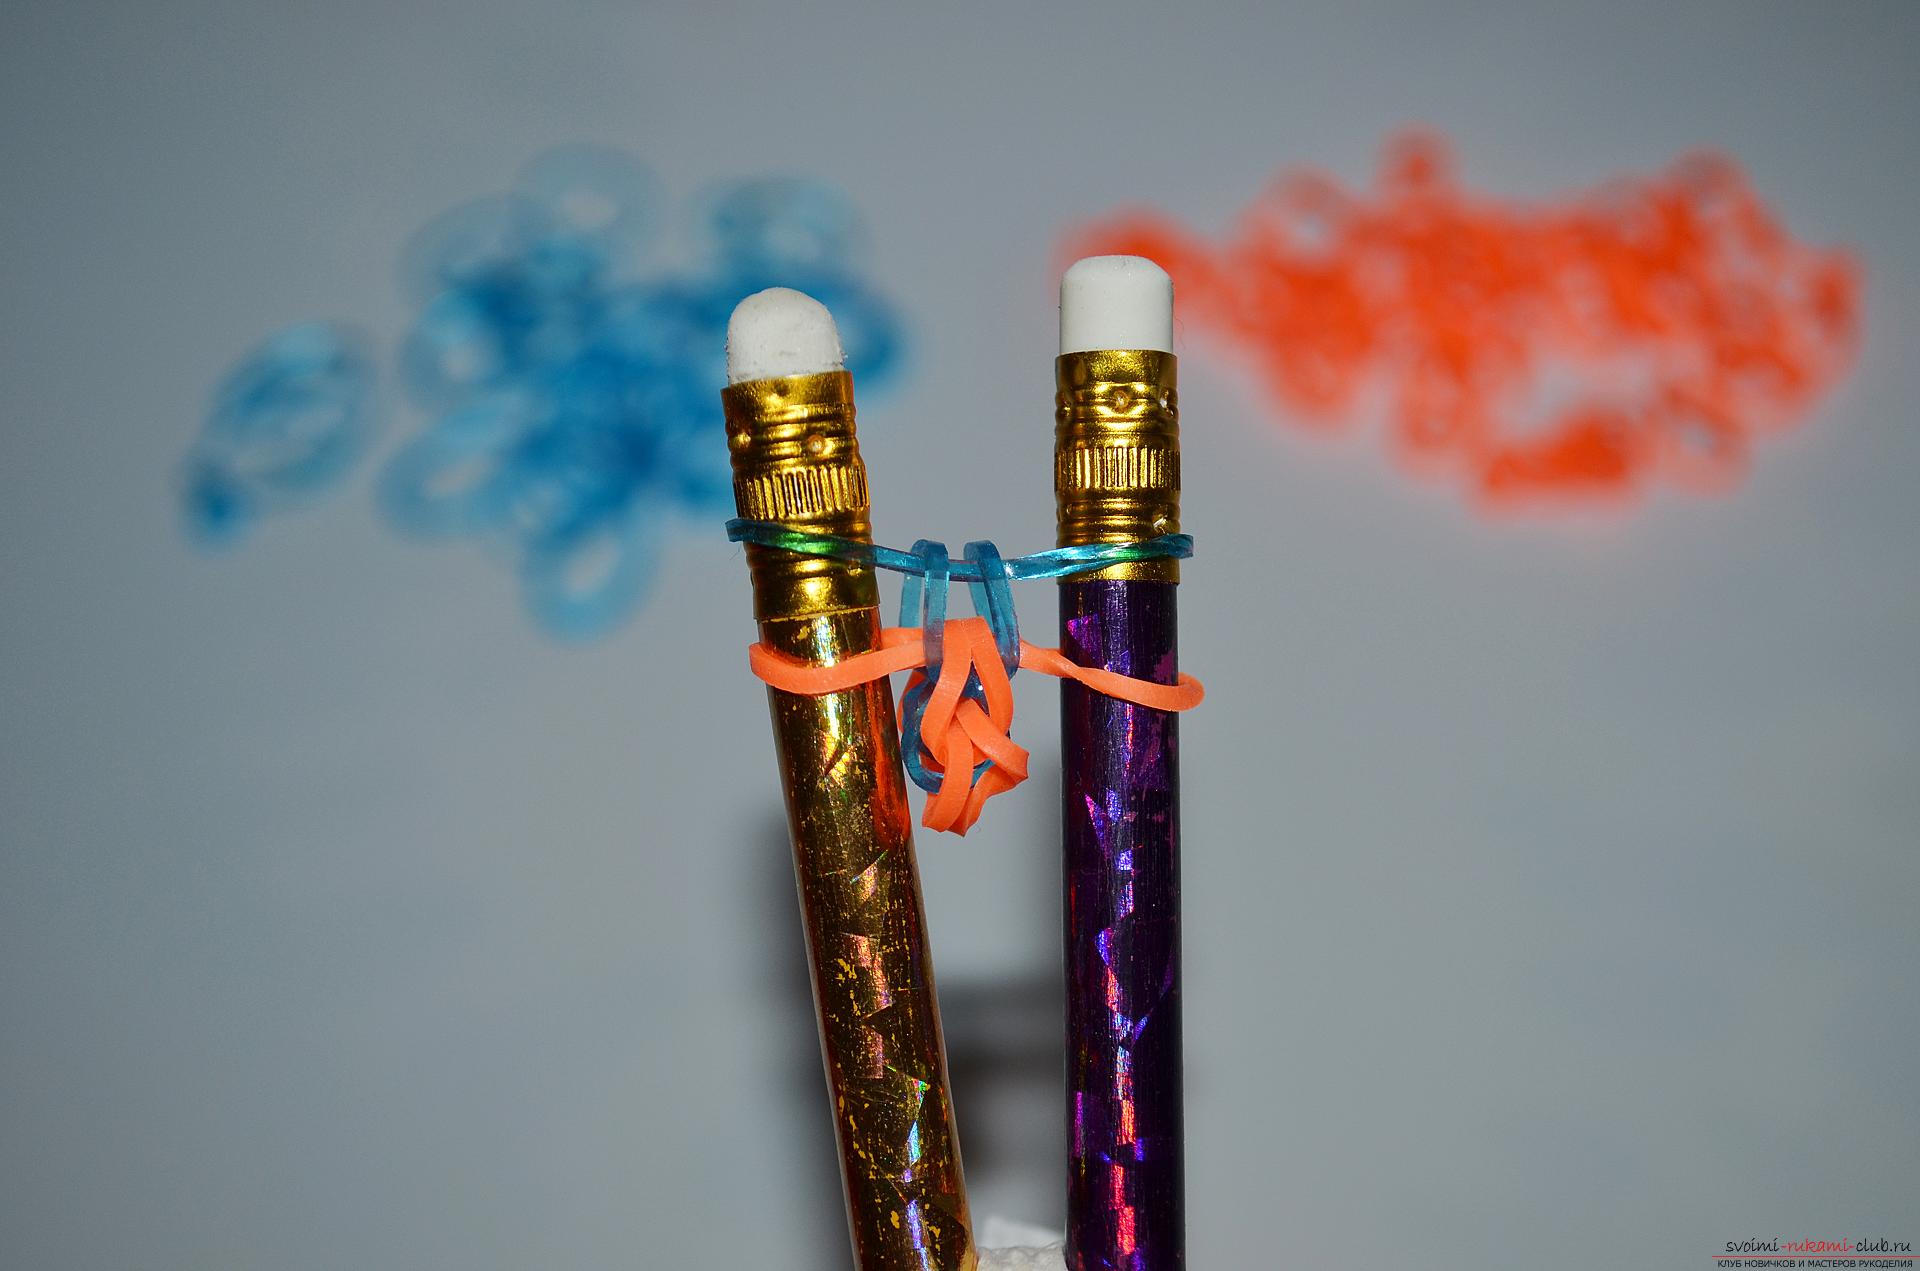 13. Observing the correct alternation of the colors of the rubber bands, the bracelets of the length required by us are braided according to the scheme described above. It is worth noting that since the material from which the elastic band is made, has an elastic base, the length of the decoration, it is better to do a little less than necessary, then it will sit well on the wrist and not slip.
 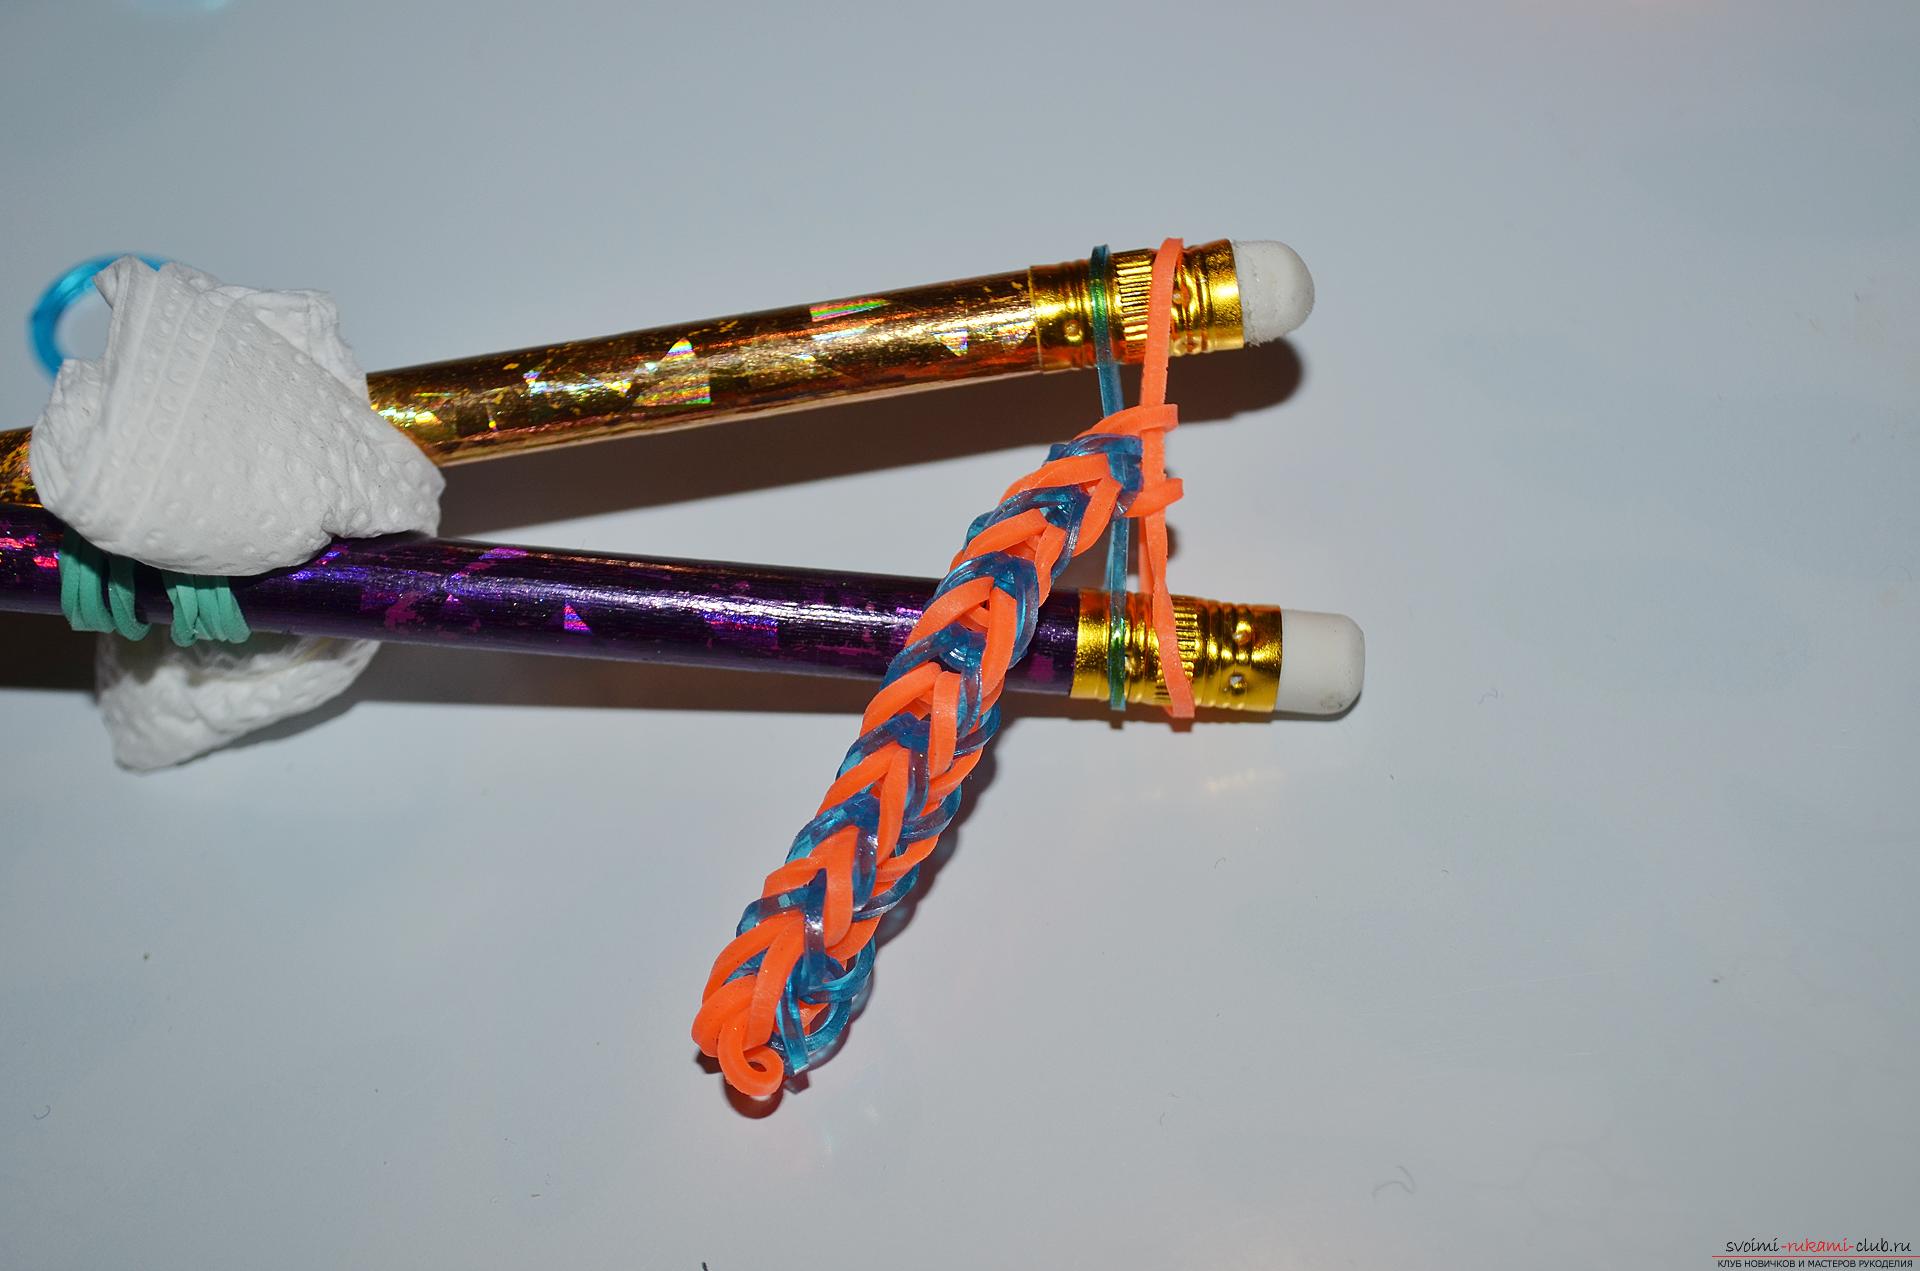 14. In order to finish the braiding of the bracelet, do not put on another rubber band, but simply remove from both pencils on the center of the upper lower, as it is shown in the photo below.
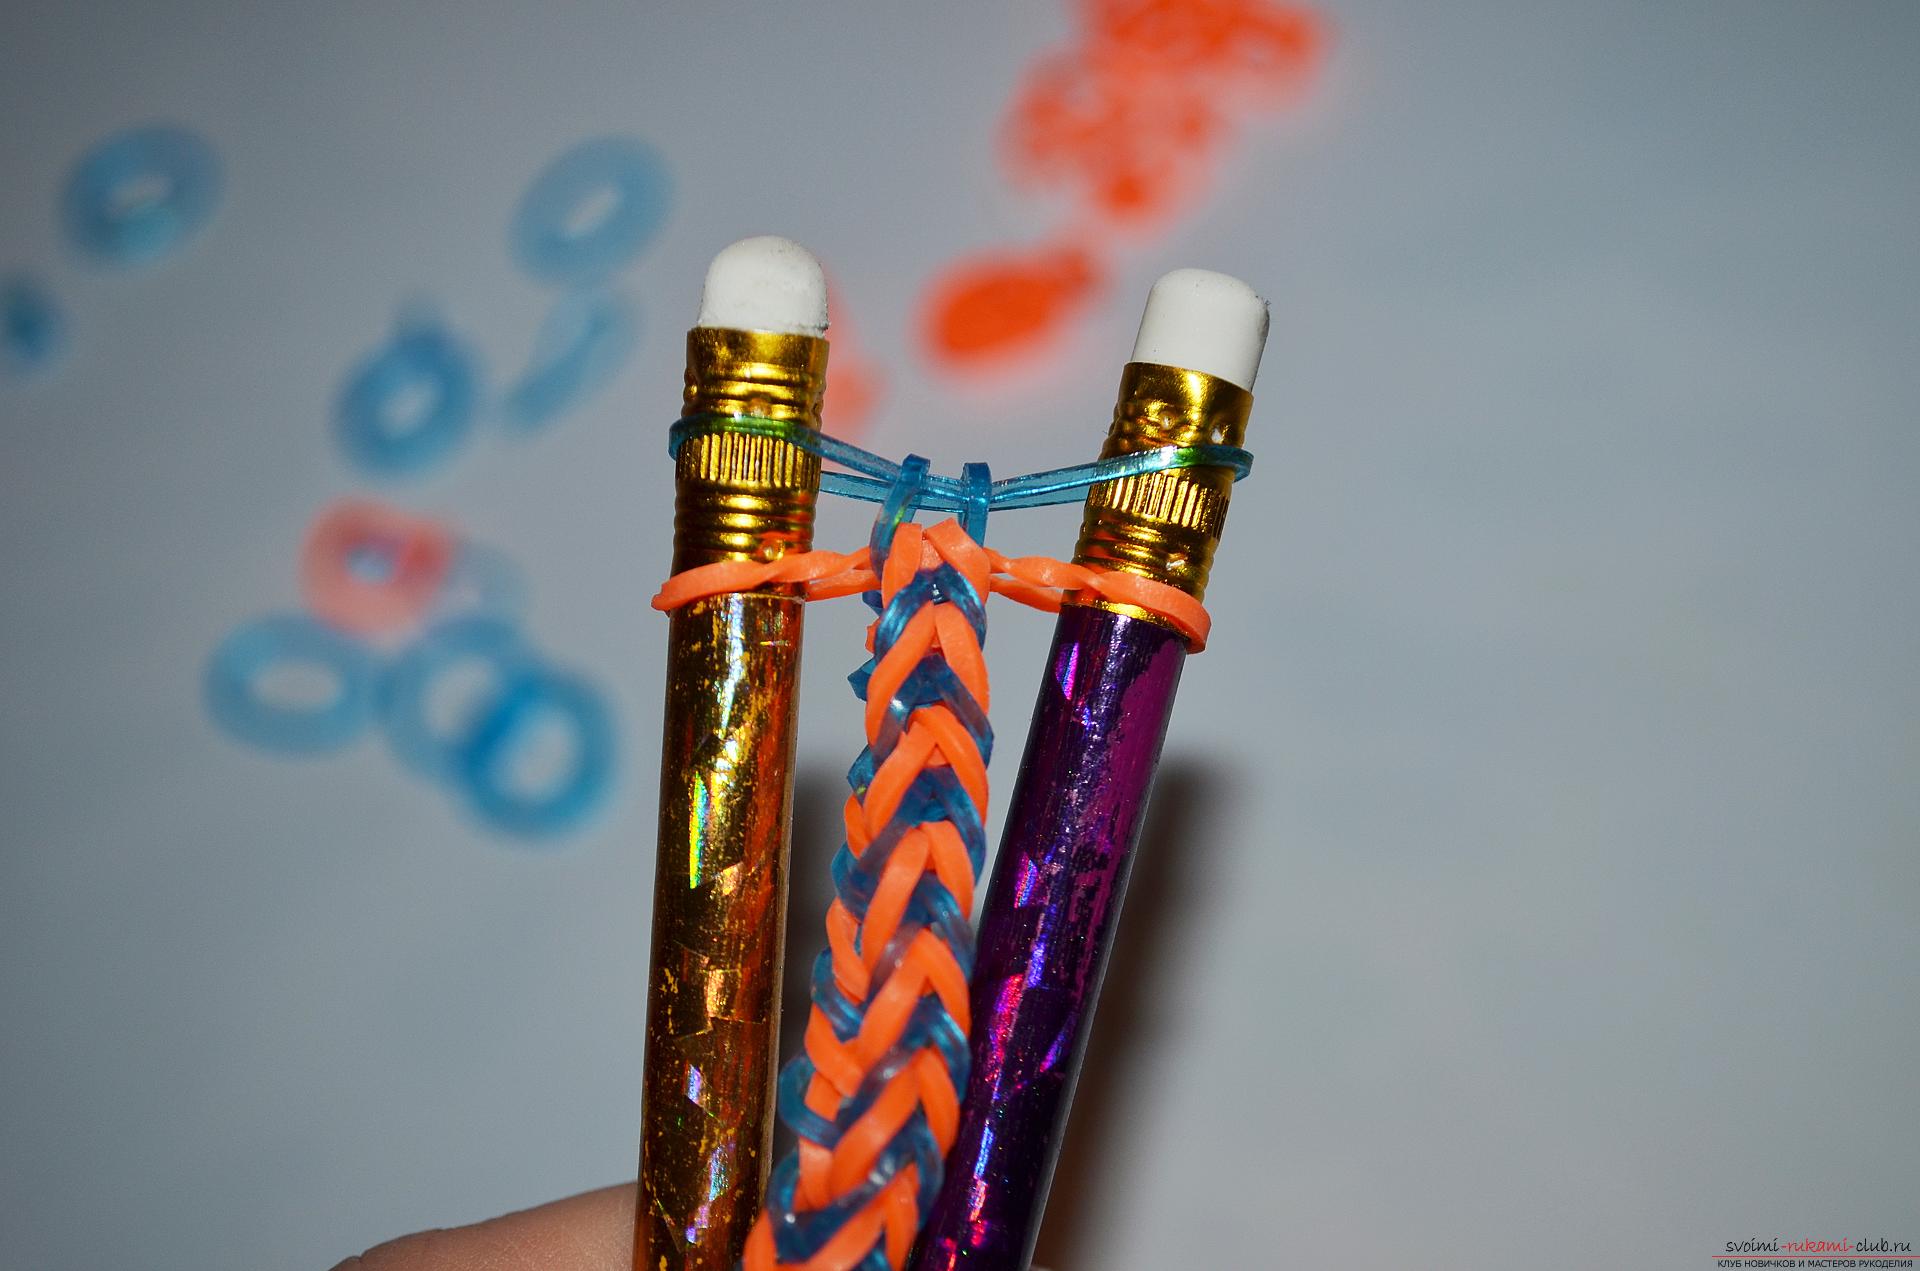
 15. Next, remove the remaining one elastic from the right pencil and transfer it to the left.
 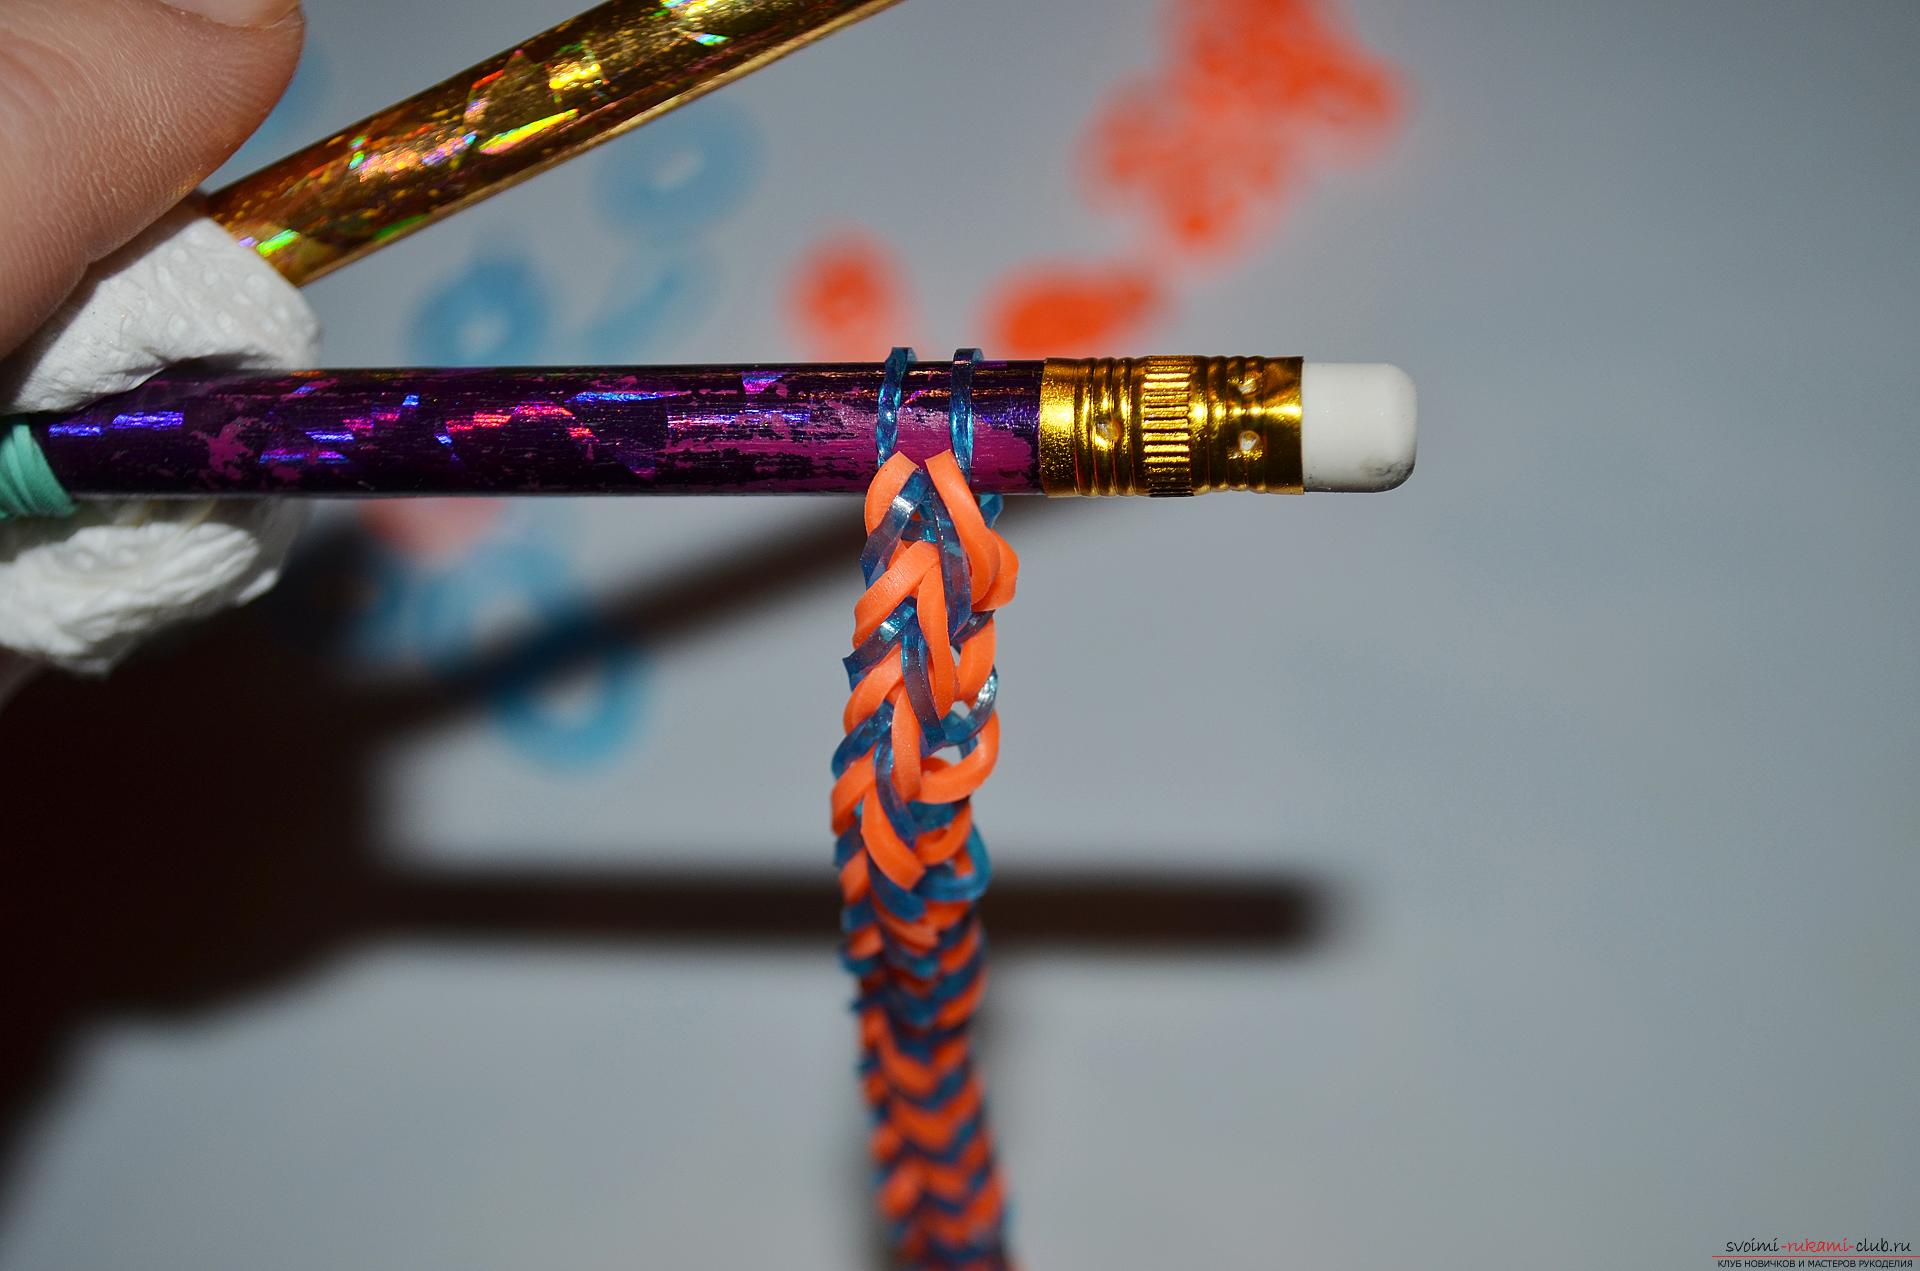 16. After that, both rubberies carefully remove from the pencil and fix them with one side of the specially plastic lock of the s-shape.
  17. The second side of the plastic lock engages the first two loops at the beginning of the bracelet, so that it joins the ring. After which the work can be considered finished, our bright and beautiful bracelet made of rubber bands "Fishtail" is ready!
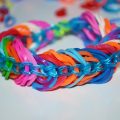
Comments
Related posts:
 How to weave a bracelet made of rubber bands with the inscription "2016"? Lesson on weaving bracelet with step-by-step recommendations and photo
 How to tie a bracelet from colored rubber bands "Friendship" on the forks? Step-by-step guide with photo and explanation of weaving technique
 How to weave a Christmas wreath for a festive decor? Step-by-step instructions and photos, a list of necessary materials
 How to make an original picture of coffee beans with your own hands: step by step instructions.
 We make our own bracelet made of genuine leather. Original bracelet on hand, an alternative replacing the bracelet under the watch