How to make an original picture of coffee beans with your own hands: step by step instructions.
The pace of our lives is so fast that, at times, notenough time just to stop for a moment and enjoy something ordinary. That is why the desire of a person to decorate his home with natural materials is the answer to the rather aggressive environment of the modern metropolis. Very often we want to create in our house an atmosphere that will give a sense of protection and comfort. The decor of housing with natural materials can revive any interior and bring positive energy, reminding us of something spiritual and pleasant. Or maybe something more pleasant than relaxing after a hard day with a cup of coffee? Of course yes! Try to create with your own hands a picture of coffee beans. She will always delight you with her characteristic scent. Scientists have proved that the smell of coffee can reduce the symptoms and manifestations of stress, and coffee aroma promotes the production of substances with antioxidant properties. 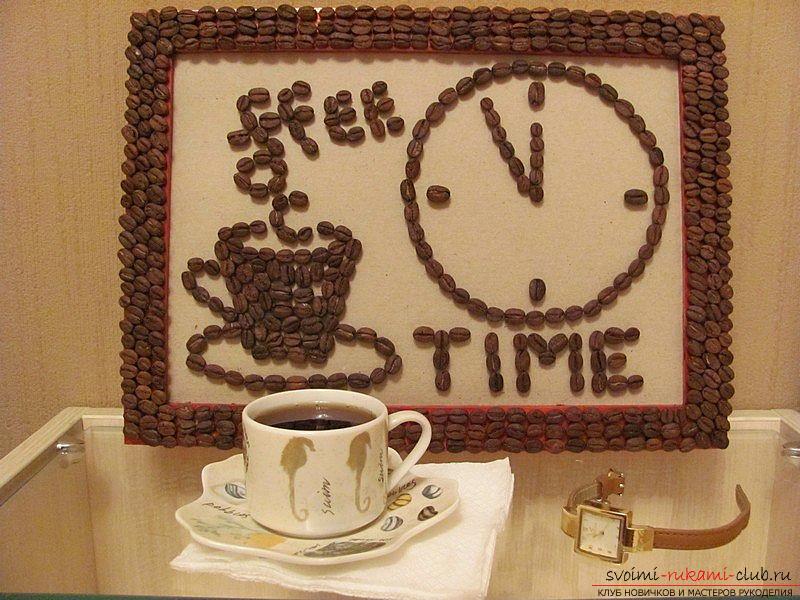 It turns out that such masterpieces do not really createcomplicated. To do this, you only need to prepare a certain set of objects and tools: coffee beans; picture frame; cardboard; burlap (a piece of any, preferably natural, fabric); adhesive (PVA or thermo gun); other all sorts of decor elements. You can also take into account that for the creation of paintings from coffee beans, you can additionally use other natural materials, cereals, seeds, etc. It will be quite useful to involve the child in the work. After all, in addition to fantasy, he will develop fine motor skills. And this, as is known, contributes to the development of his speech. The first step is to measure the length and width of the base under the frame. Draw the base on these parameters on the cardboard and cut it out.
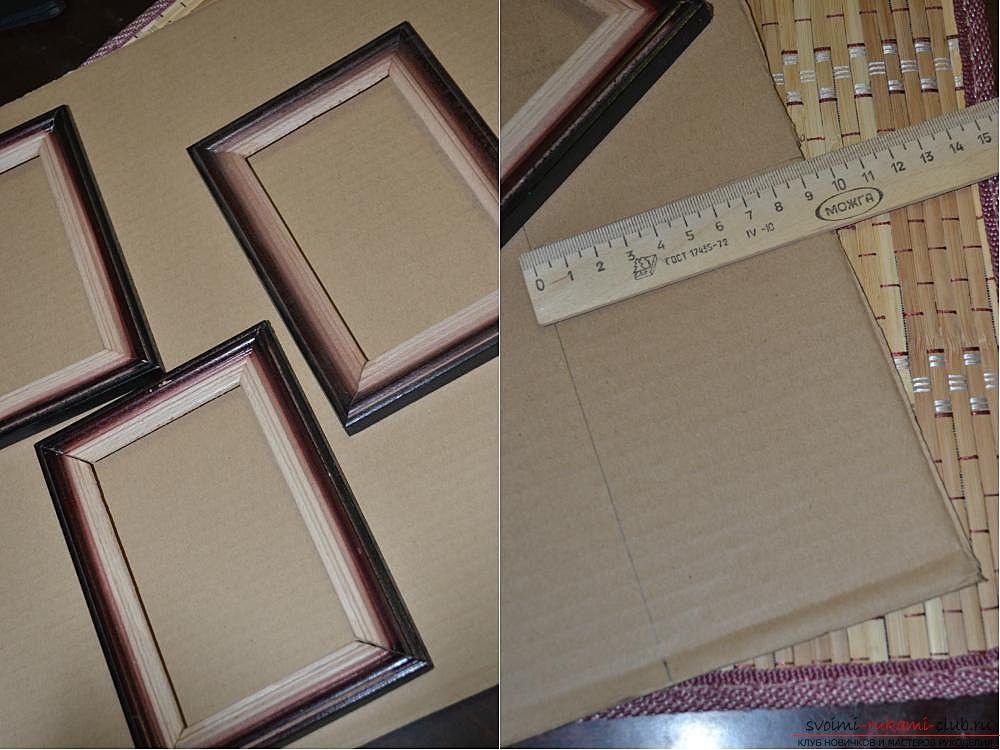
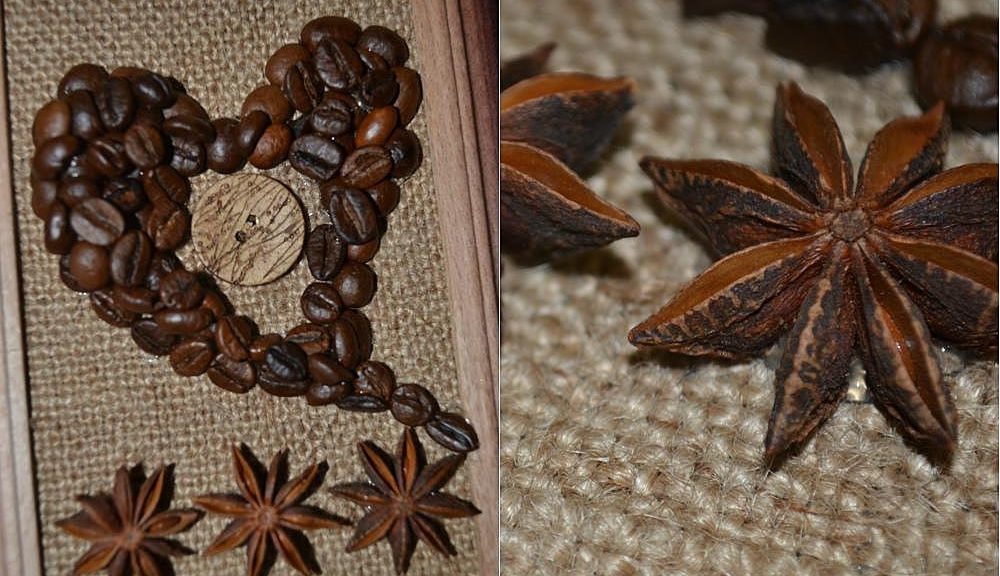
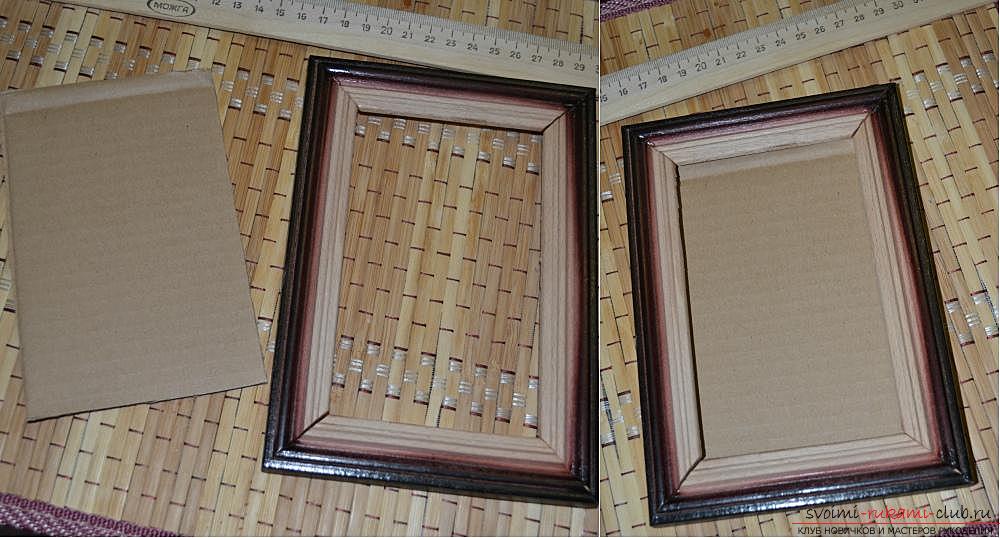 Then start making a background for ourPanorama. Measure out the material (it should be well ironed) in accordance with the values of the sides of the cardboard. Take into account allowances not less than 2 cm on each side. Carefully glue the sheet of cardboard with glue and glue the prepared fabric to it. It needs to be thoroughly smoothened. For best effect, place our workpiece under the press. After the glue dries, tuck off the allowances and glue them to the back. Now leave our workpiece to dry completely. Next, apply a pattern to the finished background. If you paint beautifully, then make up a drawing yourself. If not, then pick the right one from the available ones. Transfer the outlines to the fabric using the carbon paper. Do this as neatly as possible, do not stain or spoil the fabric. Start filling the drawing with coffee beans. To ensure that the picture is more accurate, first glue the grain along the contour. After that, fill the grains with everything else, moving from the edges to the middle. Place the seeds flat against the background. The resulting picture can be decorated with additional decorative elements to your liking. These can be vintage buttons. Very beautifully look in combination with the coffee beans star of Badian.
 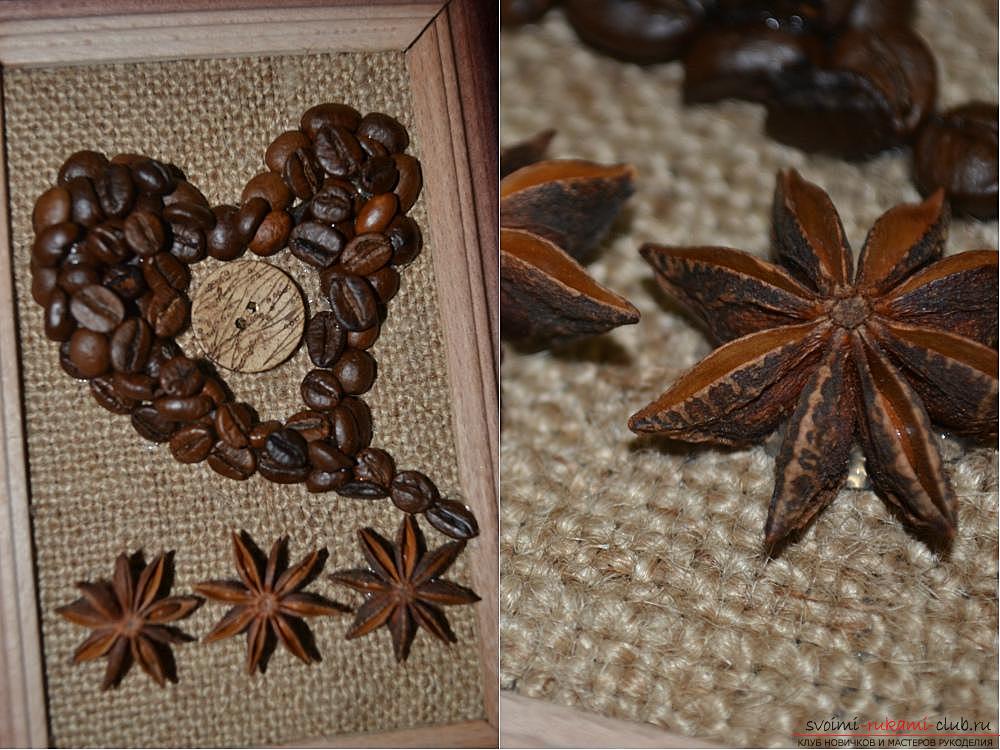 As you can see for yourself, a picture from naturalcoffee beans to make it simple enough. You can depict anything on your panorama. They will always be quite original and unusual. Surrender to the creative impulse and create your own unique masterpiece.
Comments
Related posts:
 How to make an original bookmark with the symbol of 2016 "Monkey" of felt with your own hands? Step-by-step instructions and photos
 How to make an original package of gifts in the form of a cake yourself, a diagram and step-by-step photos of the main stages of work.
 Interior decorations: hearts made of coffee beans and flower petals - crafts and homemade articles by their own hands
 How to make from original coffee beans original artifacts in the form of a picture, a panel, a "floating" spill cup, step-by-step photos and a detailed description of the work
 How to make an original picture of plasticine. Step-by-step manufacturing of an unusual picture by one's own hands