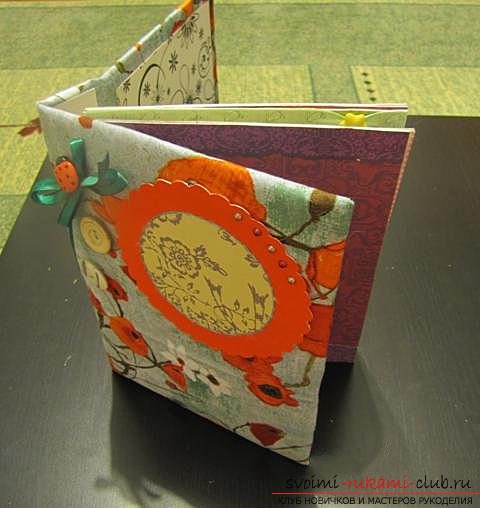
A special master class for everyone, to create a cover from the fabric for the scrapbook album
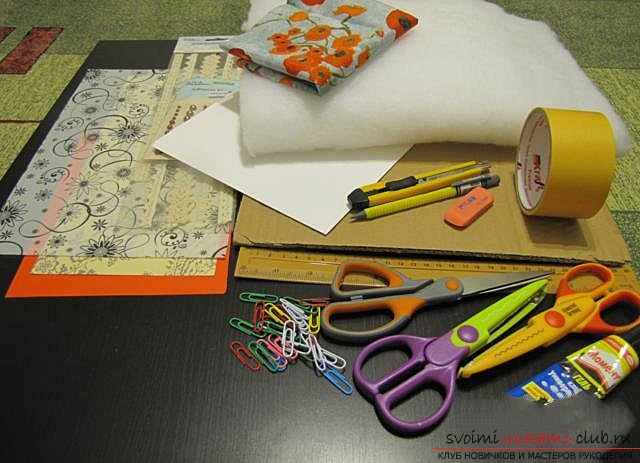
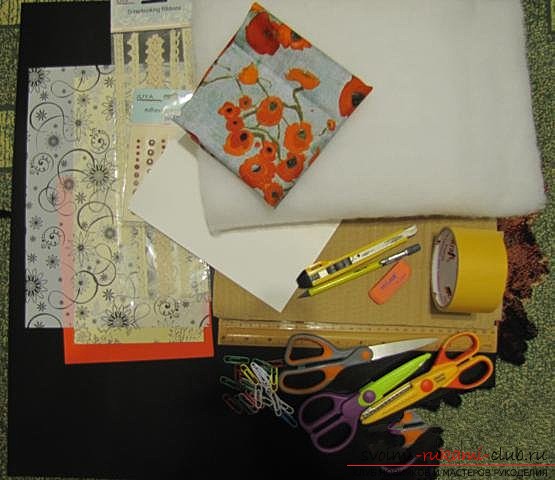
In this master class we will learn to create a soft fabric cover for a photo album. First of all, you need to prepare tools. To create such a cover we need:
- A piece of very dense cardboard;
- Cloth for cover;
- 2 - 3 sheets of white double-sided cardboard, A4 size;
- Synthepone cut;
- 3 types of colored paper, suitable in style to the idea of a photo album;
- A piece of tape, 0.5 cm thick, about 60 cm long;
- Cutter;
- Scissors and curly scissors (optional);
- Adhesive for fabric (suitable and universal gel Moment);
- Double sided tape;
- Clips and clamps;
- Pencil, ruler and eraser.
 1) First of a sheet of white double-sided cardboardwe cut out a workpiece of scrap-page for a photo album, in the size 16 * 22 see Exactly in the middle we pierce a hole with holes. We put the workpiece aside. 2) We take a tight cardboard, cut out of it 2 rectangles, measuring 17 * 23 cm and one size 3 * 23 cm.
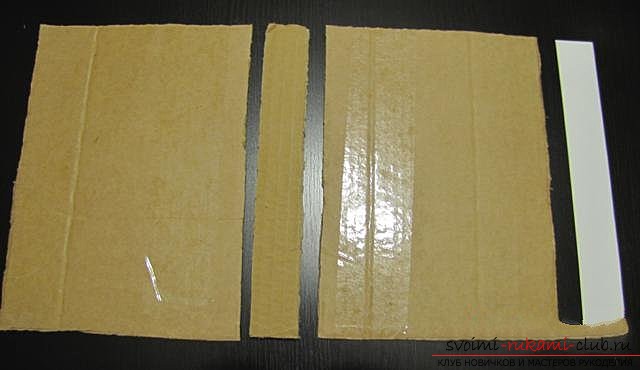
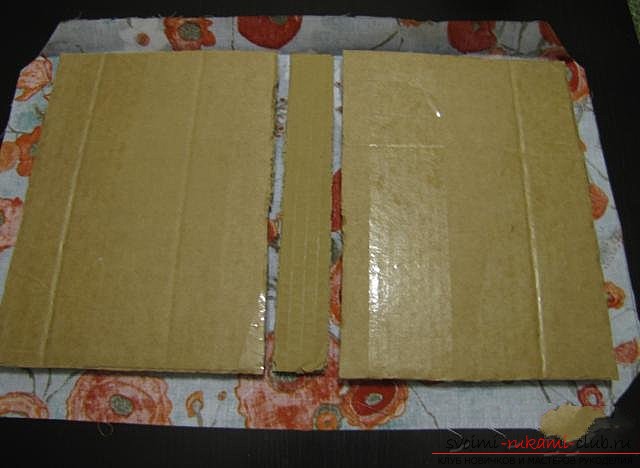
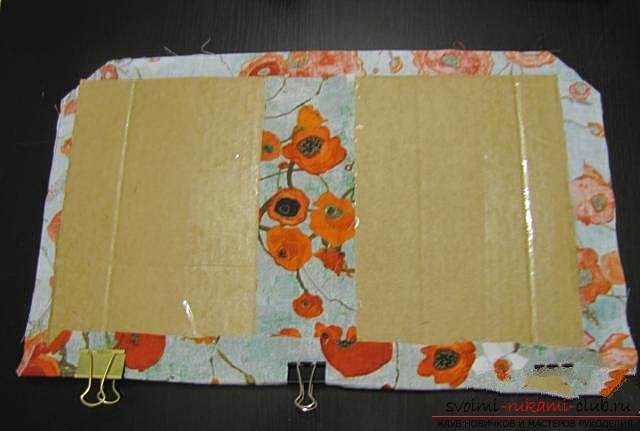
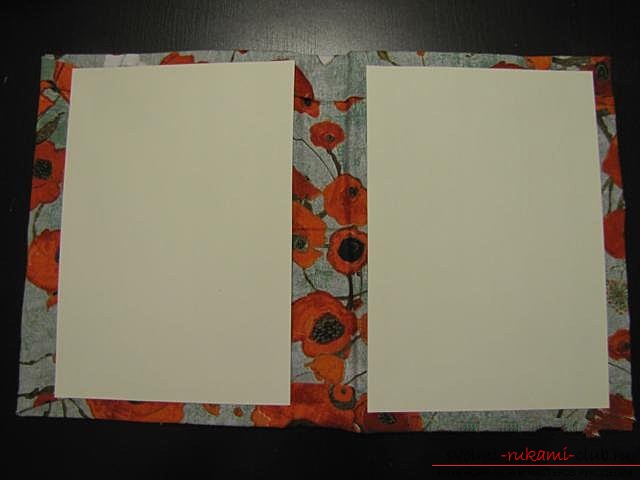
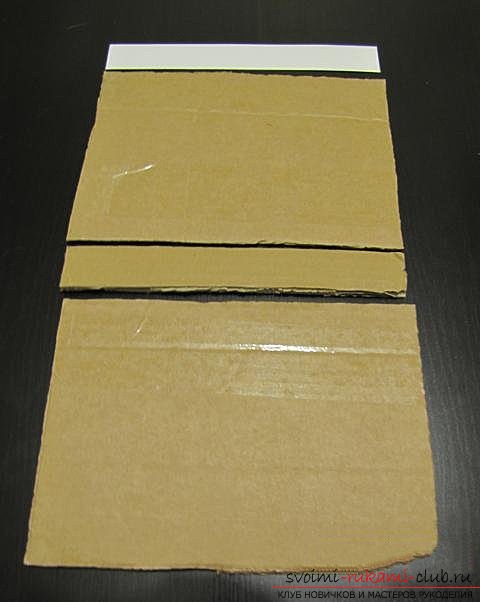 3) Lay the fabric with the wrong side up andapply cardboard blanks to it as they should be placed. At the edges of 2 large rectangles, and in the center - a narrow rectangle. The distance between all parts should be about 3 mm. With a simple pencil draw on the fabric contours of cardboard. Then we retreat 3 cm from the edge of the cardboard on each side and draw another contour. At all four corners we make bevels. We remove cardboard blanks and cut out the fabric along the outer contour.
 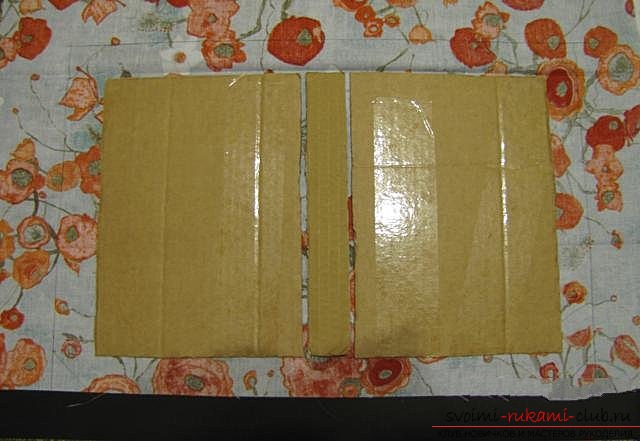 4) From the sintepon we cut out 2 rectangles of thisThe same size as cardboard blanks (17 * 23 cm). With the wrong side up we lay out on the table prepared for earlier piece of cloth. We apply our workpieces to it and replace the cardboard, which lies on the left side, with a sintepon. We fix the sintepon with pins and carefully remove it to the side.
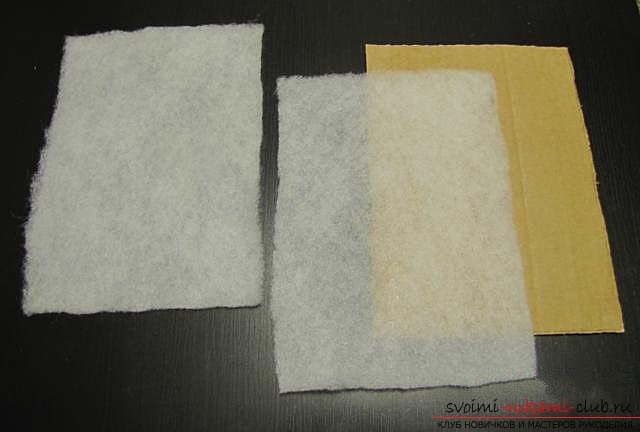
 5) Now we need to make a sign thatwill be located on the cover. On this plate you can write the name of the photo album, or paste a photo. We print out the plate template on the printer, or draw by hand. The workpiece should look like two arbitrary geometric figures: one in the other. Cut the workpiece as close to the edge as possible. Now take a sheet of colored paper, from the wrong side, glue it with double-sided adhesive tape and glue it to a piece of white double-sided cardboard. Now attach the workpiece to it and fix it with paper clips so that it does not move. Carefully cut out the workpiece along the upper contour of the template. The first part of the tablet is ready, we put it aside.
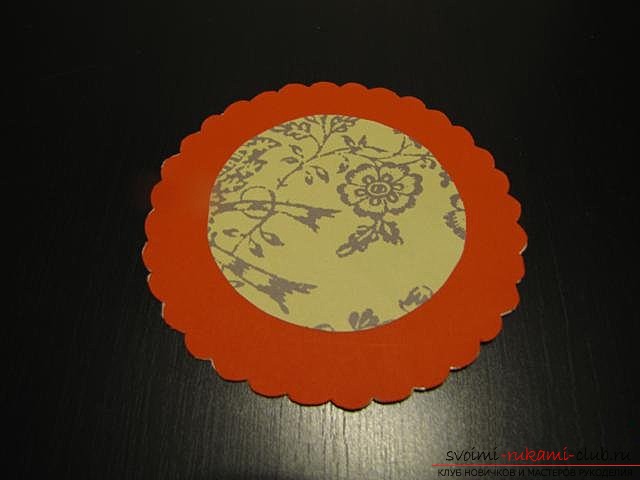
 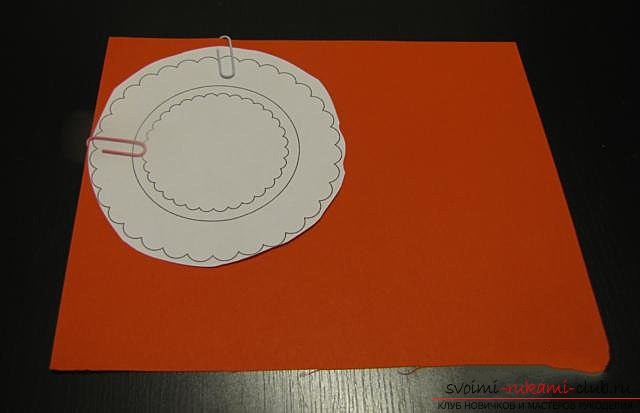 We glue the second sheet of colored paperdouble-sided adhesive tape. We take the same pattern, cut out the inner contour of the template, apply it to the paper, fix it with clips and cut it out. We get the second part of the plate. We glue this part inside the first one. Our plate is ready!
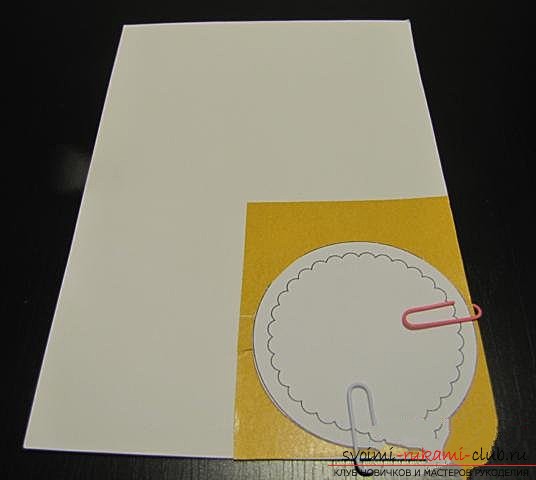
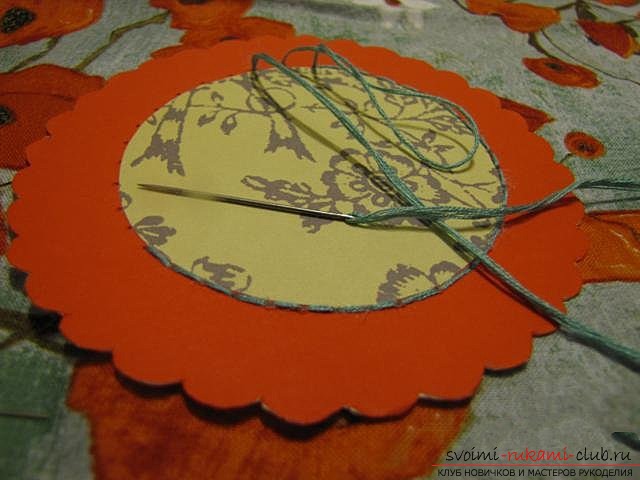
 6) To beautifully sew a nameplate to the coverphoto album, you need to pre-pierce the thick needle holes in the places where the stitch will pass. These holes must be pricked directly along the contour of the inner figure of the plate and approximately at the same distance from each other.
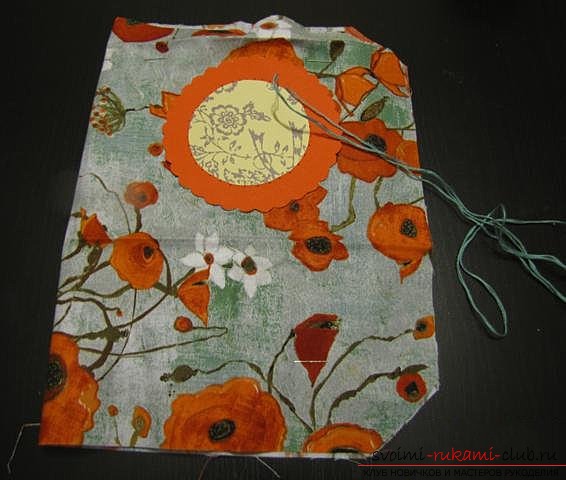
 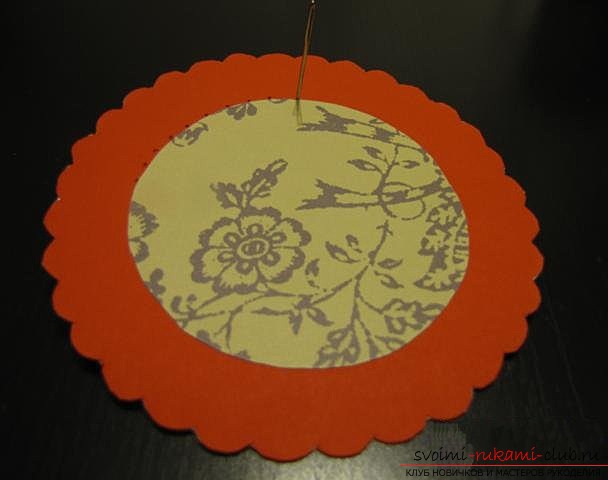 Next, turn the fabric with the pinned to itsintepon face up, fold it in half and apply a tablet in the place where you want it to be in the final version. Do not forget that the cover will be as large as the attached sintepon. We fix the plate in several places with simple stitches so that it does not move out. Carefully sew the plate with threads of contrasting color, using the "back needle" seam. Be careful, the plate is sewn only to one layer of fabric and a sintepon. When the plate is sewn, take out the pins from the sintepon.
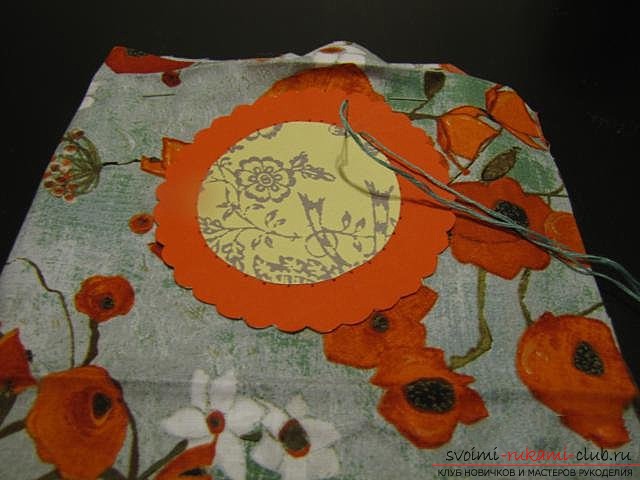
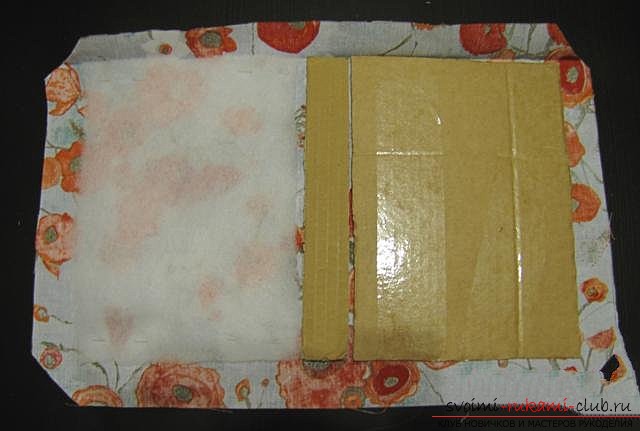
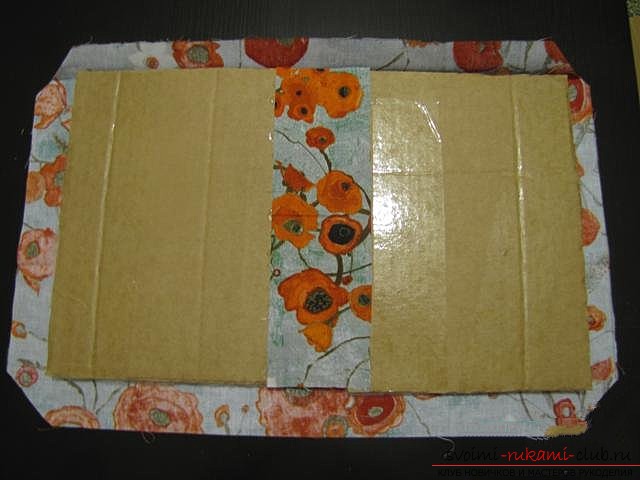
 7) Take a piece of the remaining fabric and cut outa rectangle measuring 23 * 5 cm. We lay the fabric blank of the cover with the wrong side up. We put all the parts in place (do not forget to lay a layer of sintepon under the cardboard on the right side of the billet). We smear the middle with glue and firmly press against it the prepared tissue rectangle.
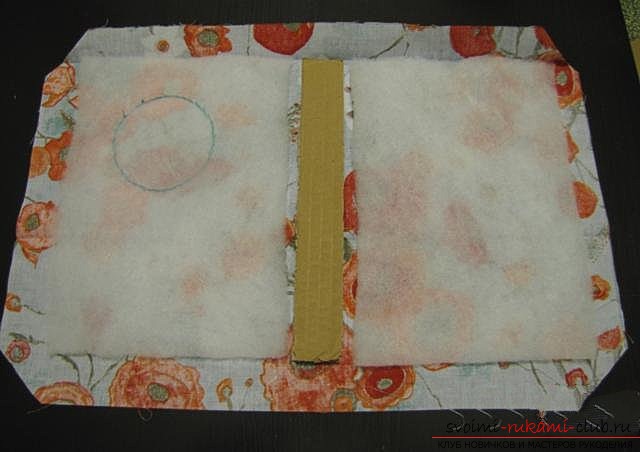
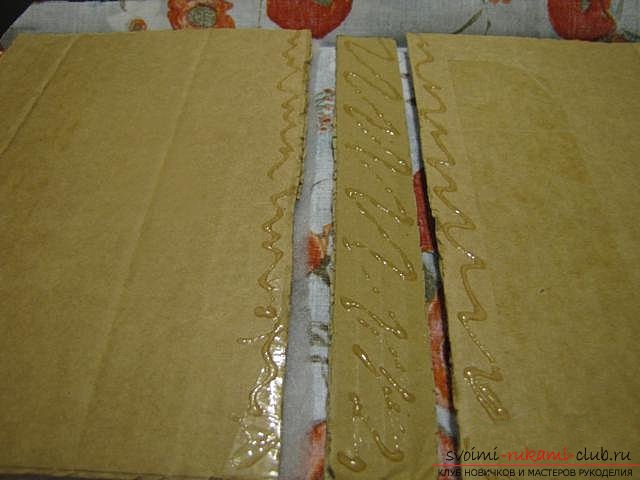
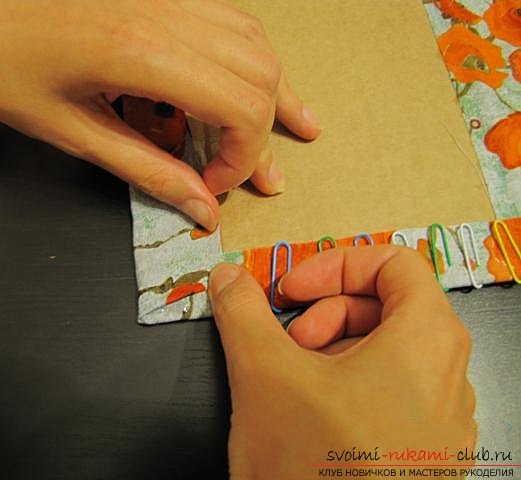
 Bend the bottom edge of the fabric and glue it to the cardboard. We fix clips and paper clips so that the fabric grips better.
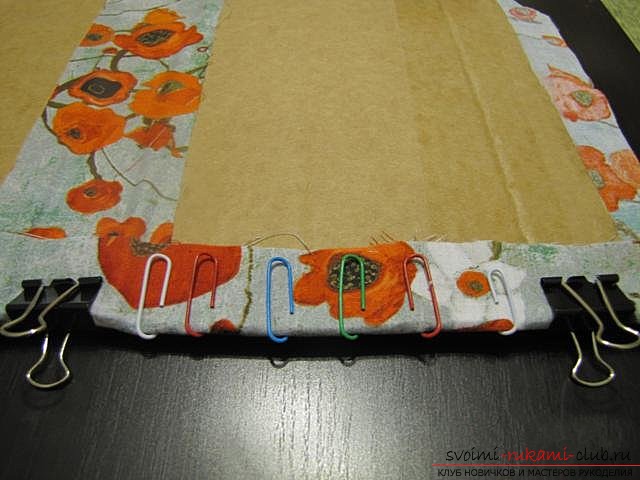
 The same manipulations are carried out with the upper edge. Leave for 3 - 5 minutes. Remove the paper clips from the edges and gently glue the side, while slightly tucking the edges inward as you can see in the photo. Fix all the clips and put it aside.
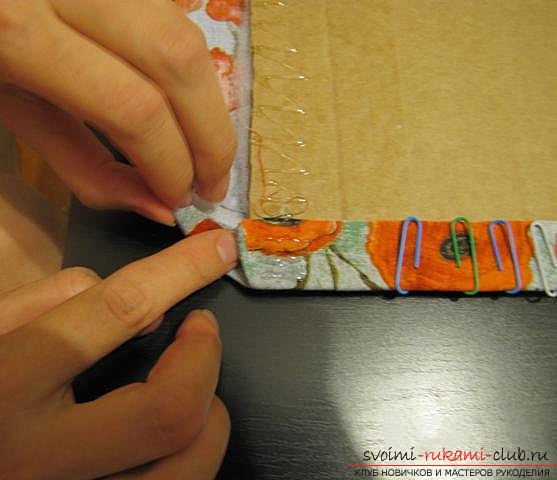
 8) Sheet of white double-sided cardboard with A4 sizecut into 2 parts. From a sheet of the same white cardboard we cut out a narrow rectangle, measuring 22 * 3 cm. We take the blank of the cover, we take off all the clips and clips. Apply a narrow rectangle to the center, and the remaining 2 on the edges, so that they cover the edges of the fabric. We paste the sides of the cardboard with double-sided adhesive tape and glue it into place.
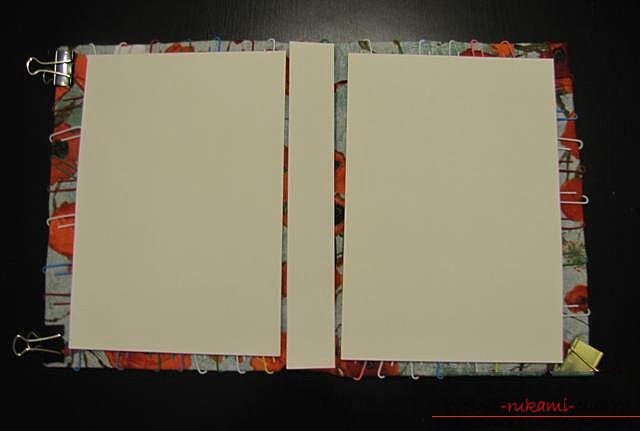
 9) We take in hand a narrow cardboard rectangle -the middle and the workpiece of the scrap page, which we did at the very beginning. We mark in the middle the place where the pages will be fixed and the hole-hole make 4 holes.
 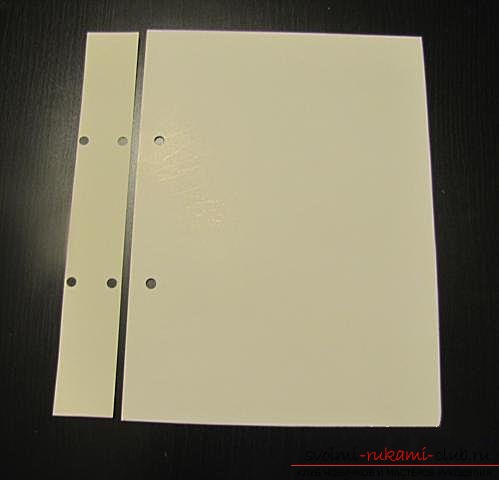 Ribbon cut into 2 parts, and we put both tapes into the holes made, across the prepared middle.
 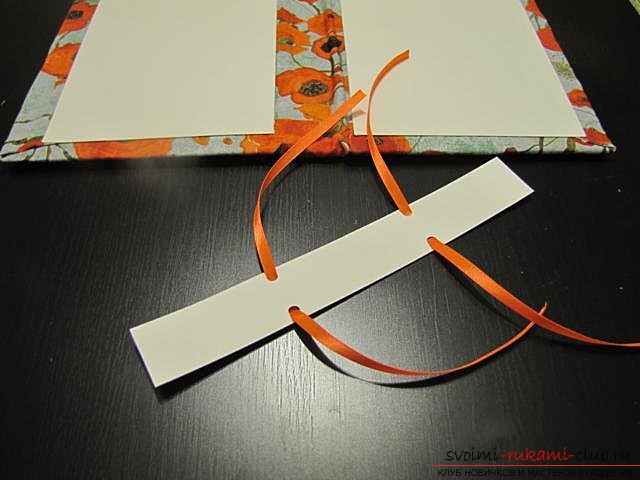 We glue the middle to the cover of the cover so that all 4 ends of the ribbons protrude outward. We fix with clamps.
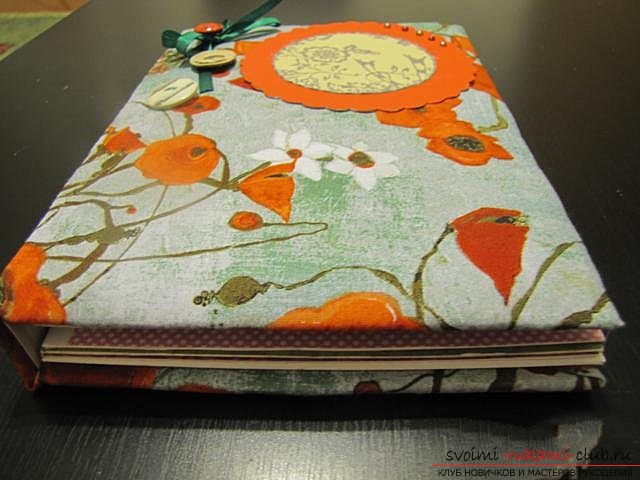
 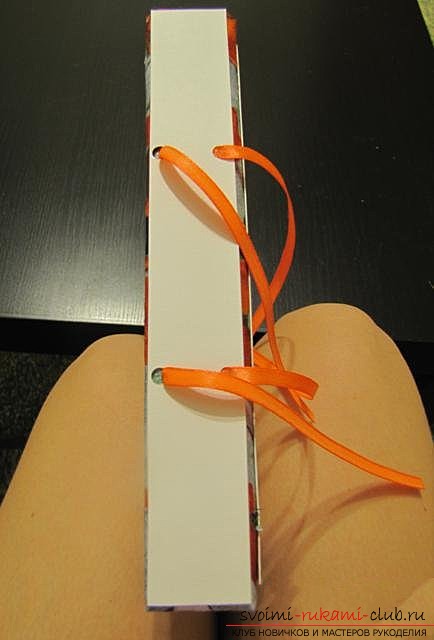 10) That's it, our cover artwork for the photo album is ready!
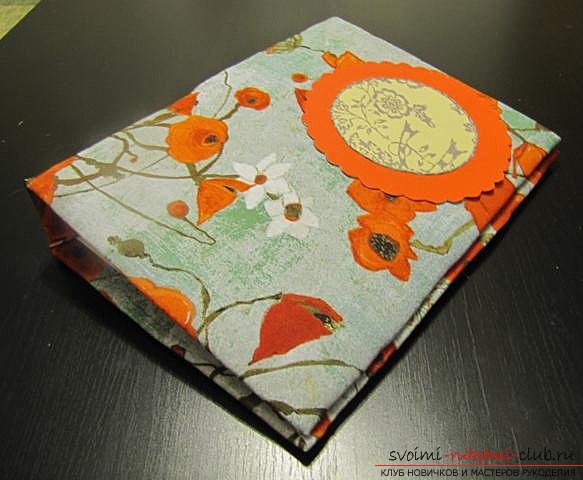
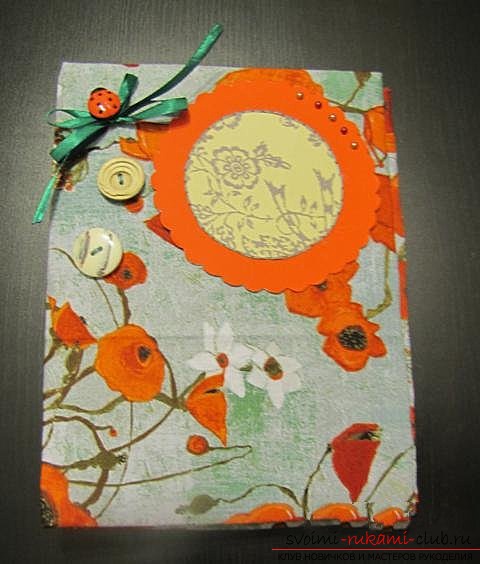
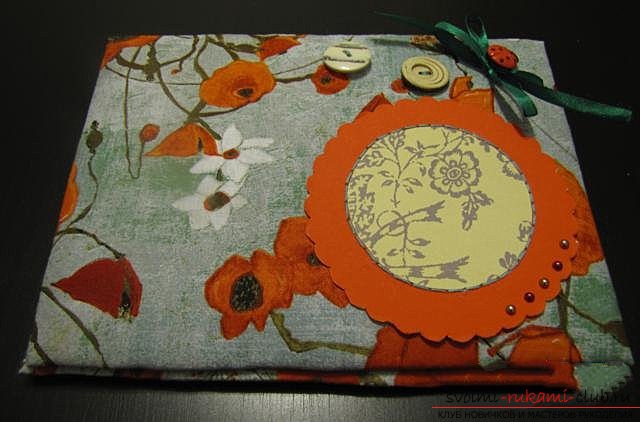
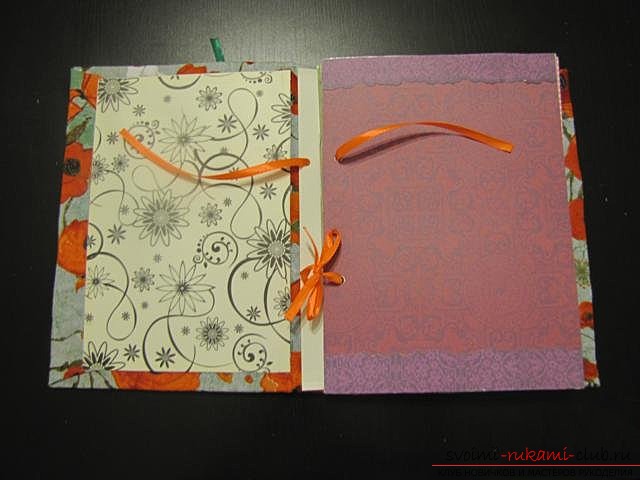
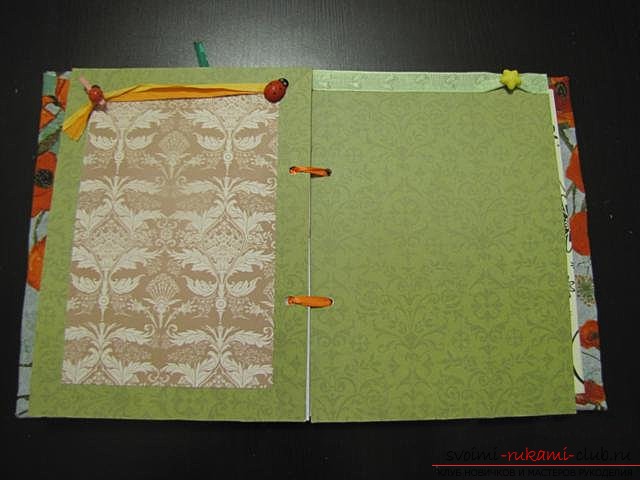
 11) Now you can decorate it to your liking. For example, glue white cardboard on the inside of the cover with colored paper. Here you can come in handy figured scissors. You can also sew on the cover buttons, or bows. You can give free rein to fantasy!
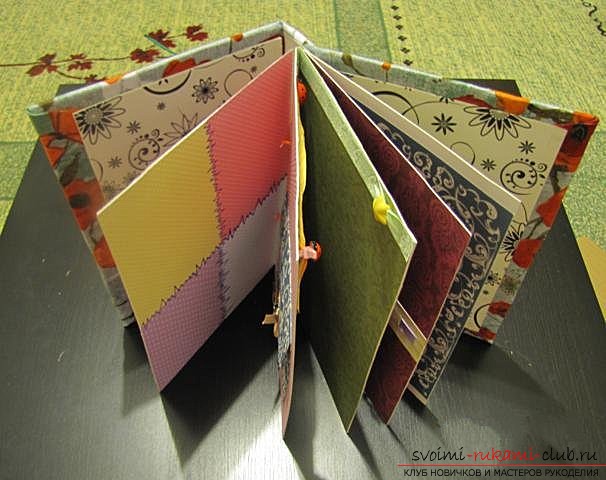
 12) After you have painted the coverphoto album and prepared a scrap-page for it using the template, which we made at the very beginning, you can start assembling the photo album. Simply put the pages on ribbons and tie ribbons with ribbons.
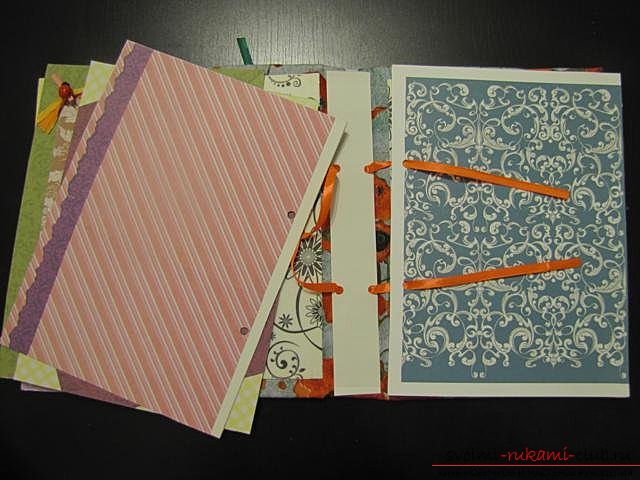

 13) Everything, your scrapbook is ready!
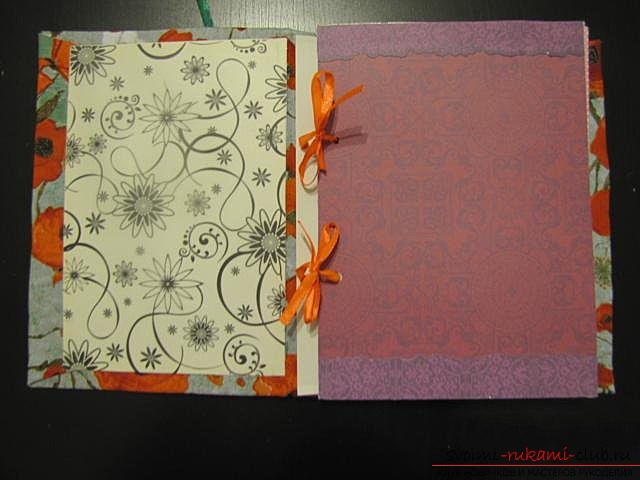
Comments
Related posts:
 Master class on the creation of colors will teach you how to make your own hands a rose from fameirana or leather
 Wedding scrapbooking - ideas and realization of the album - master class
 How do I make an album of my birth? - Master class album for moms and dads
 Scrapbooking women's passport passport with flowers and drawings - master class
 Master class on making soap with their own hands Snowflake at the 2015 contest, soap making. Master Class