Stem seam in video and photo performance lessons
Content
- Technique of execution of the stalk seam
- Nuances of preparation for work
- Video: stalk seam and other types of hand welds
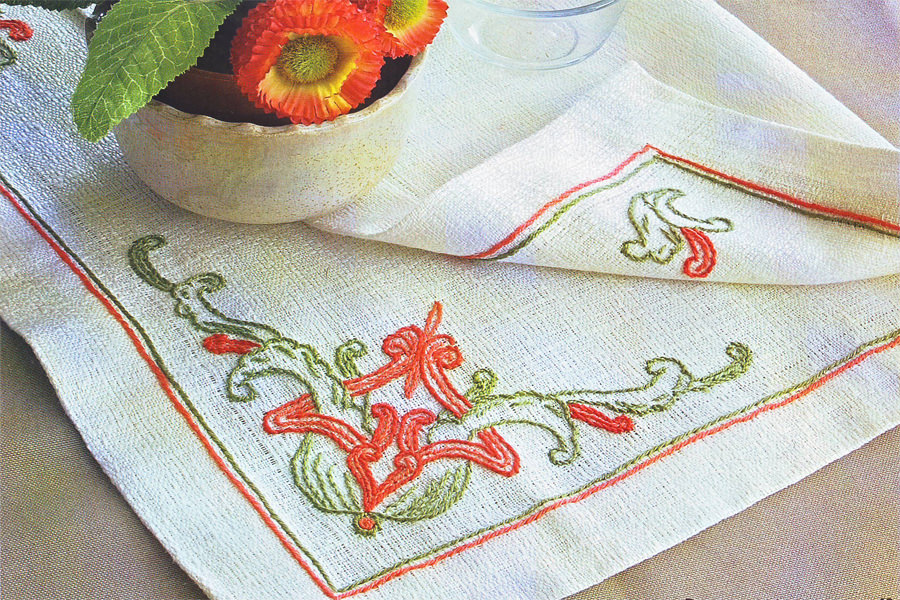
The stalk joint is one of the mostUsed for ease of embroidery. Its name is the same because it is this way often embroider stems of different colors. As a rule, it is with this seam that lessons of experienced craftsmen begin, which train those who wish to embroider.
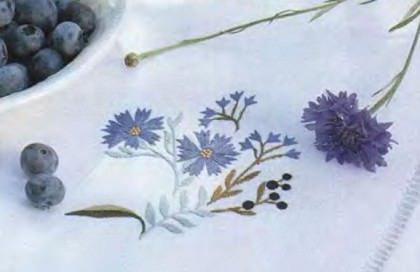
With this seam, you can create both the borders of a drawing and fill it completely, like a smooth surface. In addition, it fits perfectly with many other sutures: goat,
, Counting or printed cross. This is a universal technique, thanks to which embroidery can be created only with the help of this seam, or it can serve as an accent, adornment of some nuances.
Technique of execution of the stalk seam
According to the technology, the stem joint can be divided into two types:
- ordinary;
- Condensed.

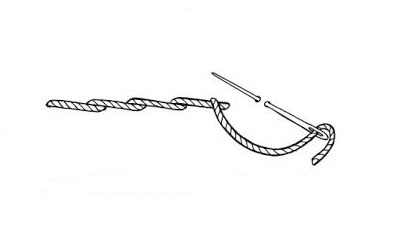
Ordinary stalked stitch of the species, as well asThe vast majority of stitches are embroidered from left to right. In order to fix the thread without knots on the wrong side, two consecutive stitches must be made on the edge of the contour of the pattern. Then, according to the sketch, retreat 2-2.5 mm to the right, execute the first stitch, turn the needle back to the left under the underside, pull it out together the previous puncture. Then - pull the thread, again retreat the same distance, and repeat the above manipulation. It is important to ensure that you do not tighten the thread tight after removing it to the front of the embroidery.
As a result, you should get a thin slightly convex line, as in the photo.
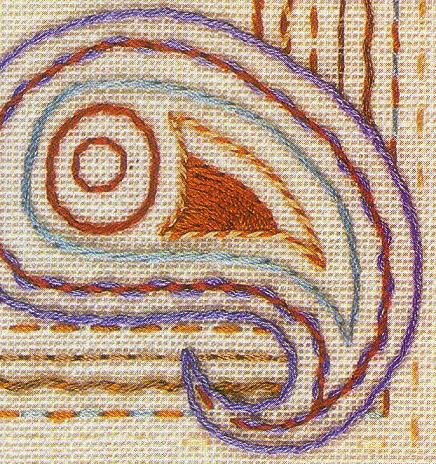
Sealed stalk joint To embroiderCompacted stalk seam, you need to remove the needle not in the place of the first puncture, but in the middle of the previous stitch. The drawing that turns out, in the end, looks like a neat little shoe. Its thickness depends on the thickness of the thread and the length of the stitch.
Photo of this seam:
As a rule, such a seam is used to make a beautiful binder. To sew it, you should take a thick thread - so the seam turns out to be more effective.
In other words, the stalk stitch capturesMaterial from the front side. A characteristic feature of this seam is that the thread from the underside is half as long as the one that, in fact, forms the pattern on the front side. That is, each next stitch will be for the previous one half the length.
Thus, the seam is sewn, moving the needle to itself, and it is stacked on the contrary - from itself.
In no case can you try to make several stitches at a time, which is allowed, for example, when making a seam "forward needle". This will lead to tightening the fabric and entangling the thread.
In such an embroidery, one stitch comes after another, so you need to make sure that the thread is always above the needle when the next stitch is made.
A beautiful picture of a crocheted suture formsOnly in the event that each stitch in size does not differ from each other. How long it will be, it is necessary to decide, depending on the thickness of the embroidery thread. The thinner it is, the shorter it is to make a stitch, and vice versa. The maximum stitch length should not be more than 5 mm.
Also, the length of the stitch can depend on the pattern. So, on the bends, the stitches should not be large. Therefore, if there are many of them on the selected sketch, you should take this into account in advance and perform stitches of the same size along the entire length of the line. If the embroidery on the bends is made with too long stitches, then it can ruin the overall state of the picture due to the fuzzy outlines. Also, you need to take the needle out to the front side of the bend on the side to which it is wrapped.
To make a thickening of the twig in the flower pattern, gradually increase the length of the stitch, while drawing the needle to the front side slightly lower than the middle of the previous stitch.
In case the thread ends, or you need to startWork elsewhere in the picture, you need to enter a needle at the point where the embroidery could be continued, take the thread inside out, circle around a few stitches, cut the thread. Starting the next fragment, you can also fix the thread by passing it through several existing stitches on the wrong side.
To make sure that the seam turns out correctly, you just have to look at the wrong side: there should be a straight line, similar to the machine one.
It should be remembered that when the stalkThe seam is important to monitor the location of the working thread - it must be either all the time on the right, or all the time on the left. If this rule is violated, then it will not be possible to achieve the desired pattern.
Nuances of preparation for work

Before starting work, the fabric on whichEmbroider a pattern, it is better to strip. If this is not done, the material after the first wash can sit down and thus the pattern may be deformed. It is better to embroider a stalk seam on pure linen or cotton material. On the canvas, it will not look so organic.
To make the drawing more precise, it's better to be simpleWith a pencil or a special flushable marker, copy it to the front of the fabric. Beginners should choose patterns that have clearly defined limits.
The thread should not be taken very long, otherwise it will be twisted and tangled, which will break the structure, and the embroidery will look sloppy.
To summarize, we can distinguish the following conditions for a beautiful stalk joint:
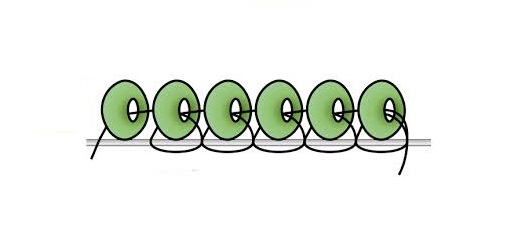
Also, the stalk suture is often used when embroidering with beads. It helps to make the drawing more even and dense.
To do this, you need to fix the thread or fabric, takeTwo pieces of beads, thread them, insert the needle through two ovals, as in the drawing, bring it between strung beads. Next, you need to stretch the thread through the last bead, add the next, insert the needle into the fabric through another oval, pull the needle between the last two beads. And so on, repeat these actions as much as necessary for the drawing.
If you start the work, you get the impression that the embroidery turns out to be wrong, you can see a video that will help you to understand everything.
Video: stalk seam and other types of hand welds
Comments
Related posts:
 Semi-cross embroidery stitching technique (photo and video)
 Embroidery crochet for beginners in photo and video lessons
Cross Stitch for Beginners in the photo and video lessons
Embroidery crochet for beginners in photo and video lessons
Cross Stitch for Beginners in the photo and video lessons
 Embroidery Rococo basic techniques of performing seams (photo and video)