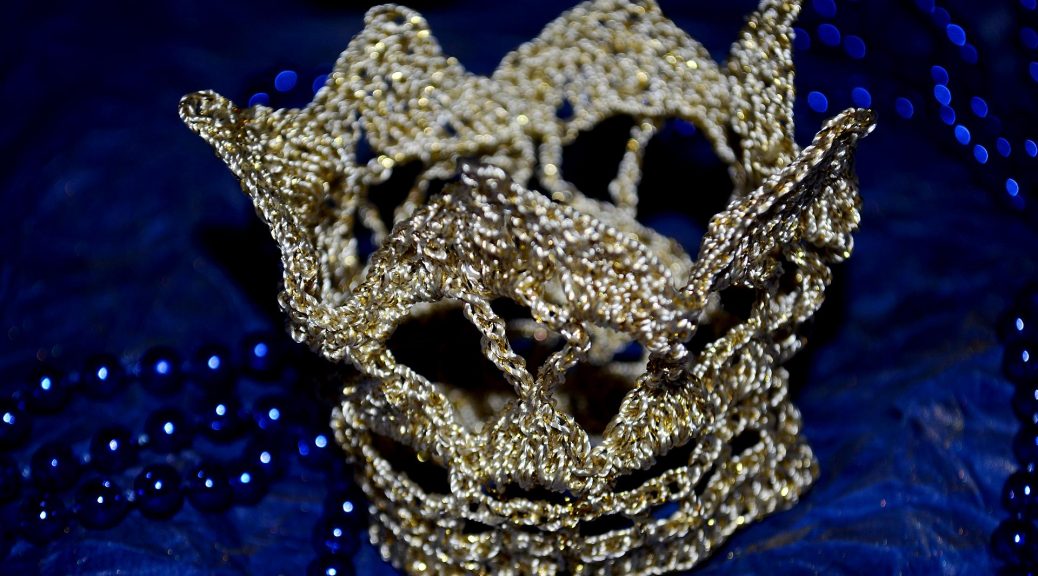
Step-by-step master class will teach how to crochet a knitted crown for a girl
Perhaps every little girl dreams of becomingPrincess in a chic dress, bright decorations and with an elegant crown on her head. And when not on the New Year, such dreams are realized, besides, in virtually all kindergartens and schools, New Year costumes are held where you can demonstrate your unique image in all its glory. And create it will help skilled mums and grandmothers, in whose hands the usual cuts of fabric and skeins of yarn turn into real royal apparel. How to tie a Crown Crochet for a little princess, that's what this master class will be about, which I hope will help you put your old dream into life. So, for work we need:
- thin mercerized yarn of golden hue with the addition of lurex yarn;
- Crochet hook number 1.5
Description of work. 1. Recruit a chain consisting of 60 air loops, and close it in a ring. 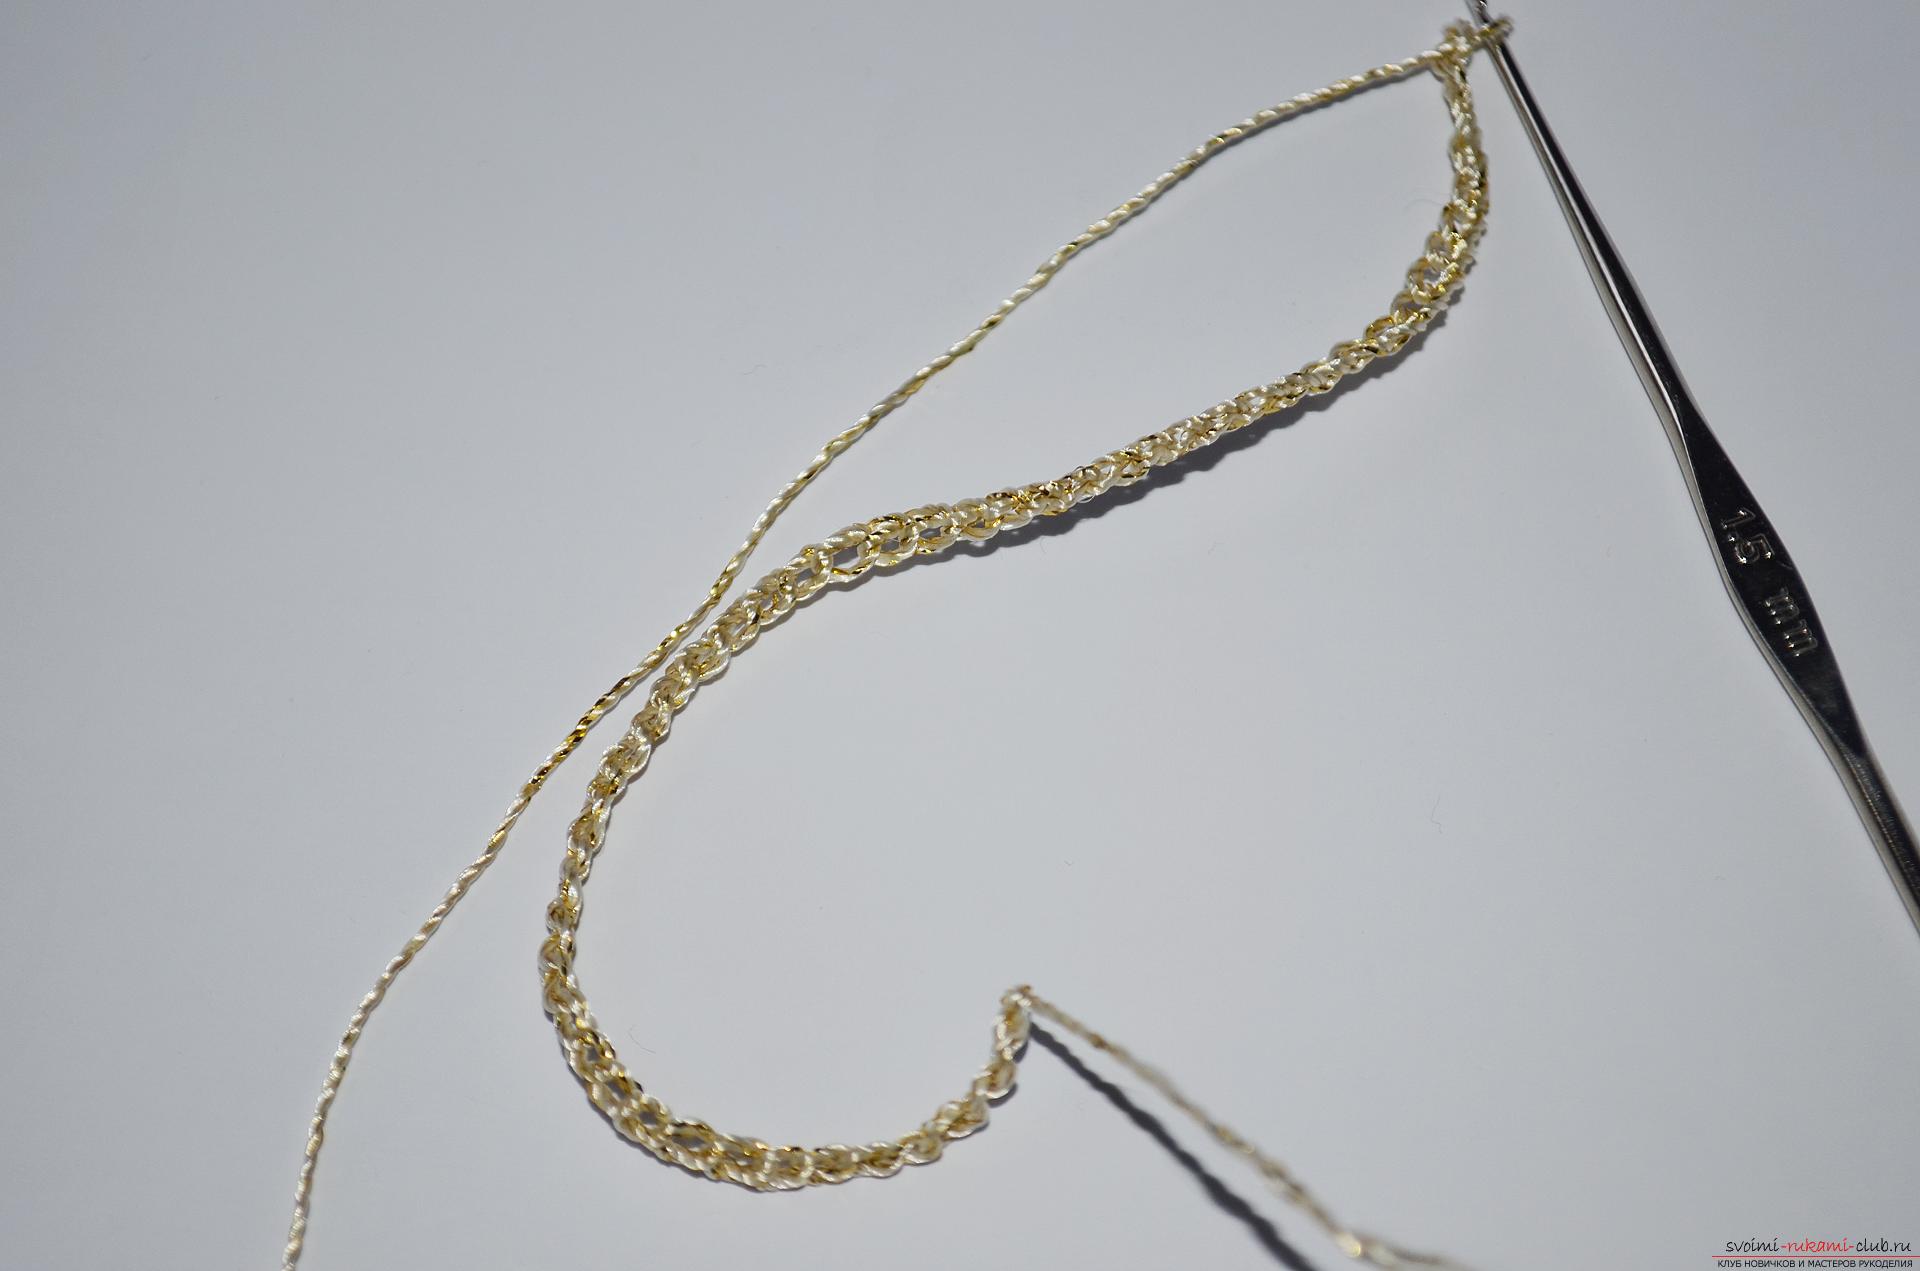 2. The second row of the product is tied with columns with a single crochet, and from each loop of the lower row we only cut out one post.
 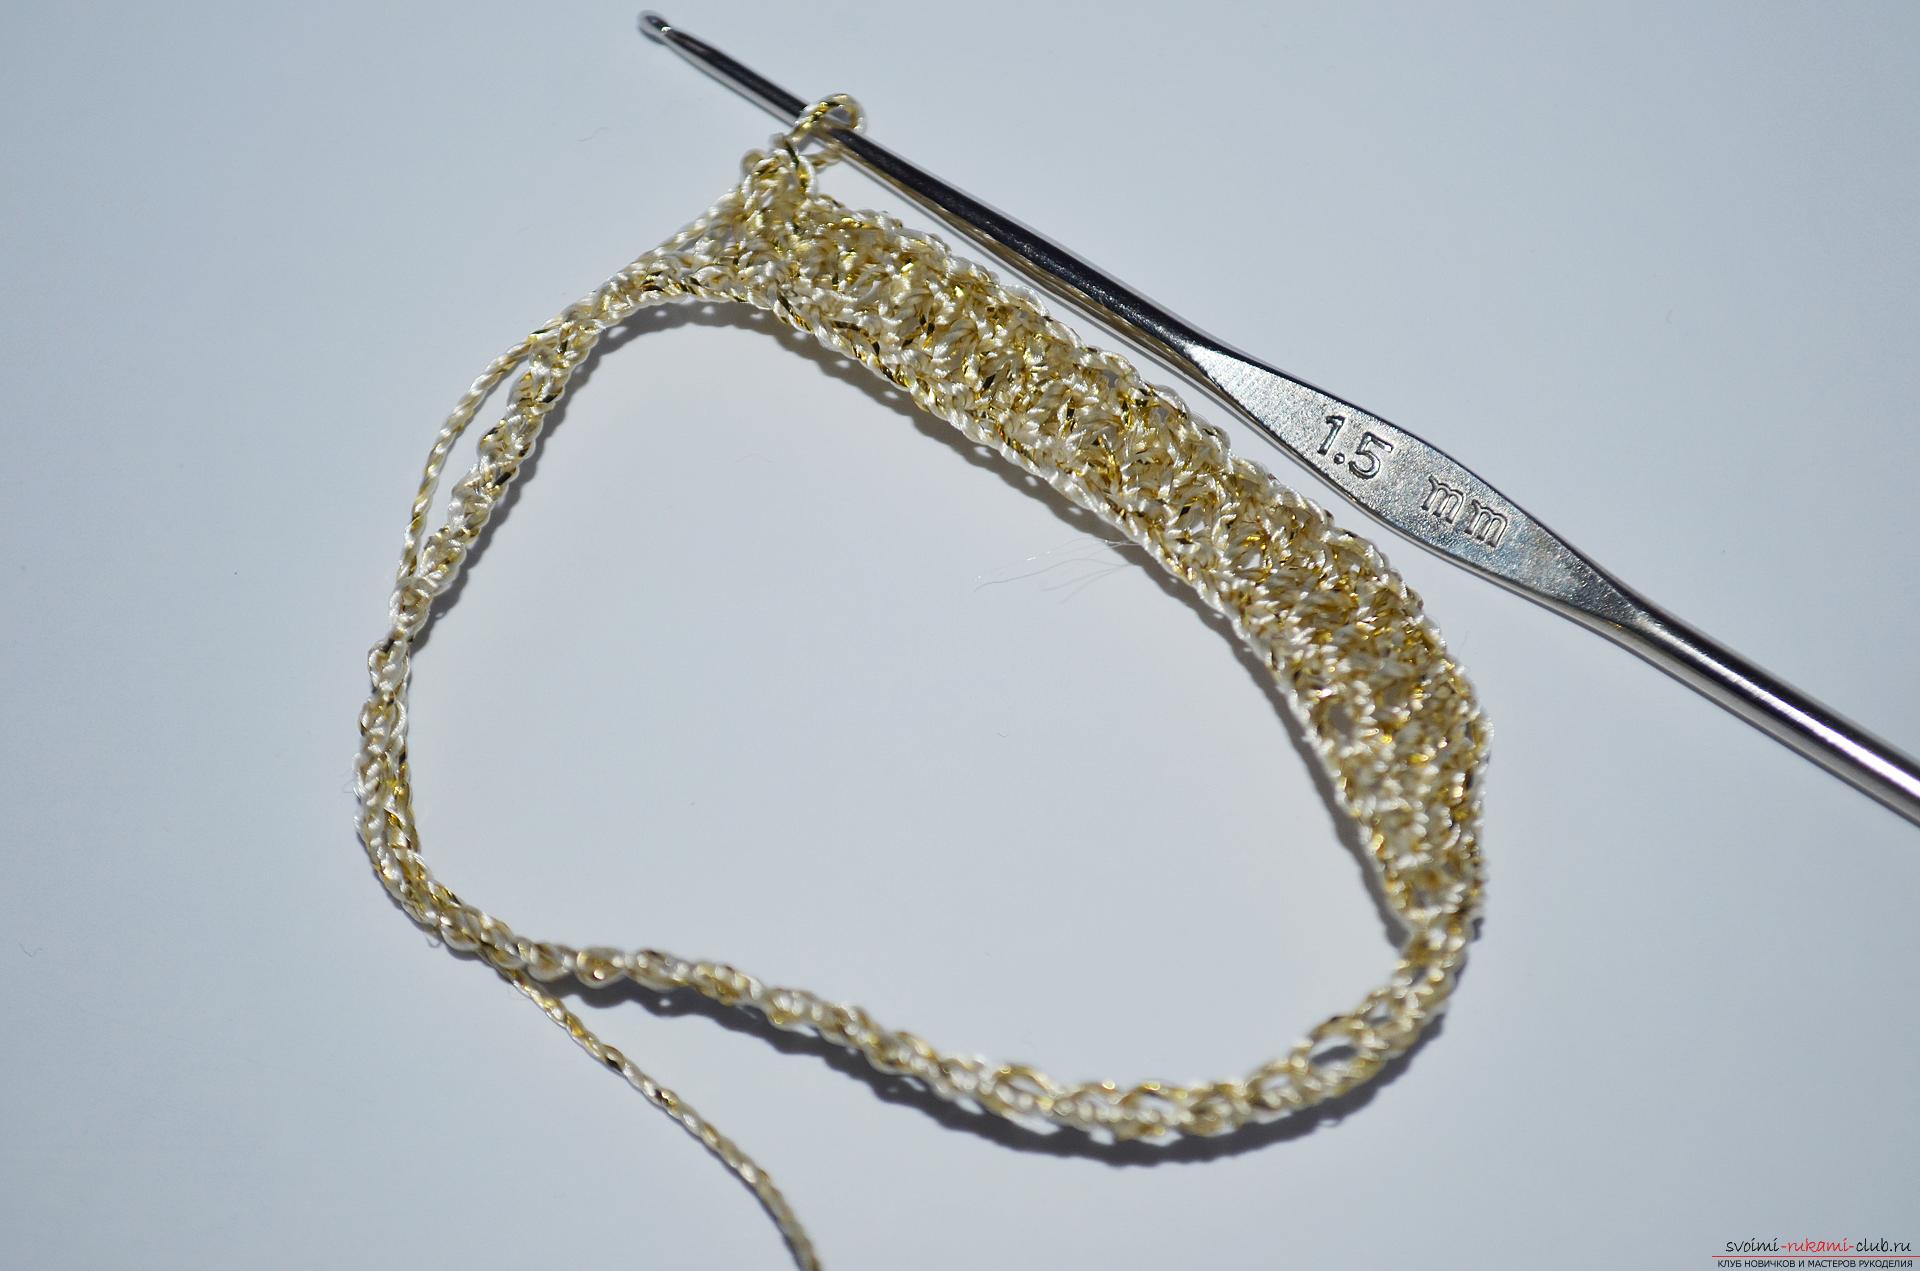 3. The third row will be knitted according to the pattern of the pattern "fillet mesh". To do this, start with a series of three air lifting loops, then we sew two more air loops and attach them to the fourth from the beginning of the loops of the lower row using a column with one overhang. Then we knit in the same way to the end of the row.
 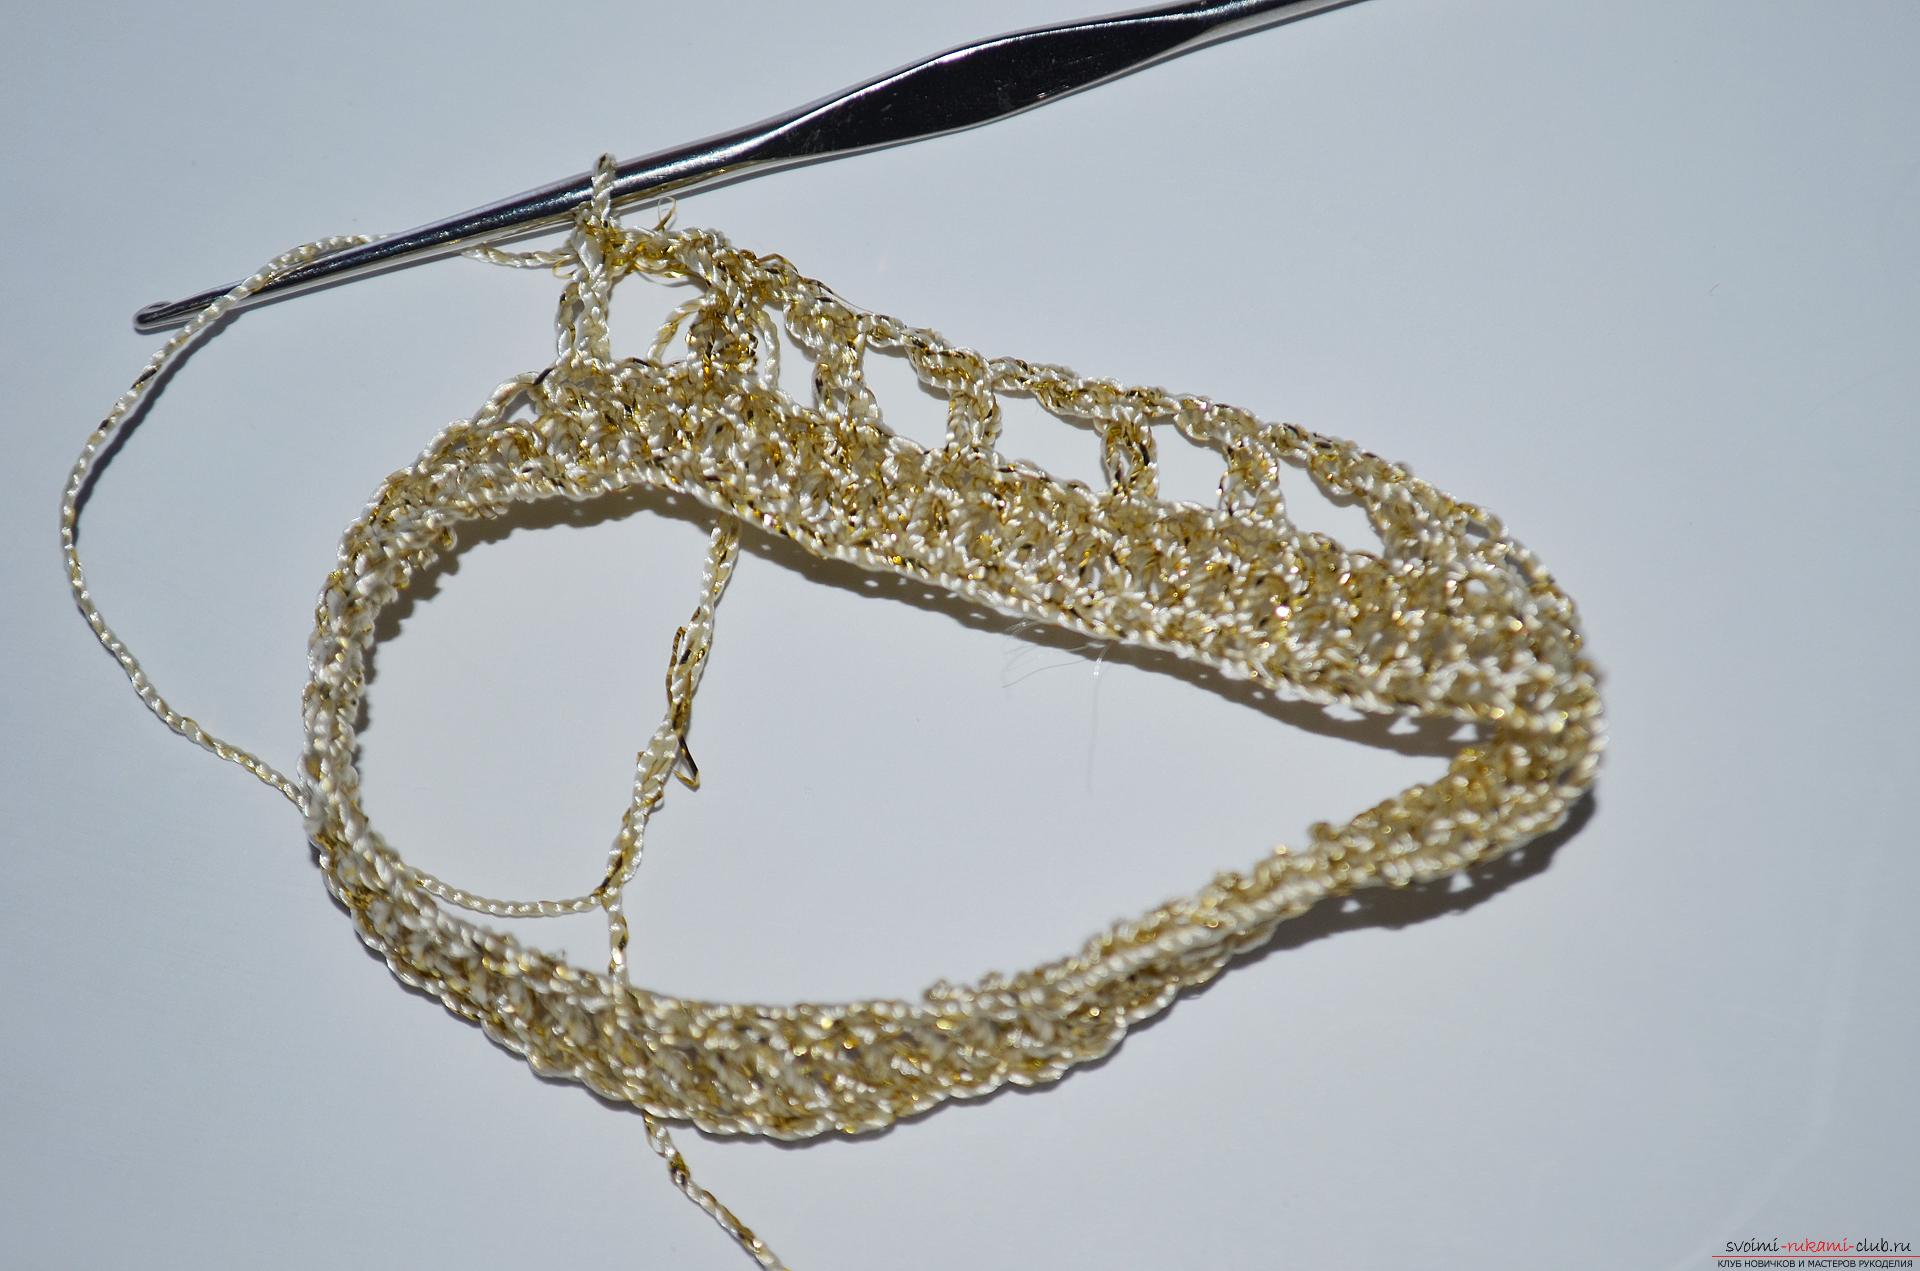 4. The third row we will knit arches, each of which consists of six air loops.
 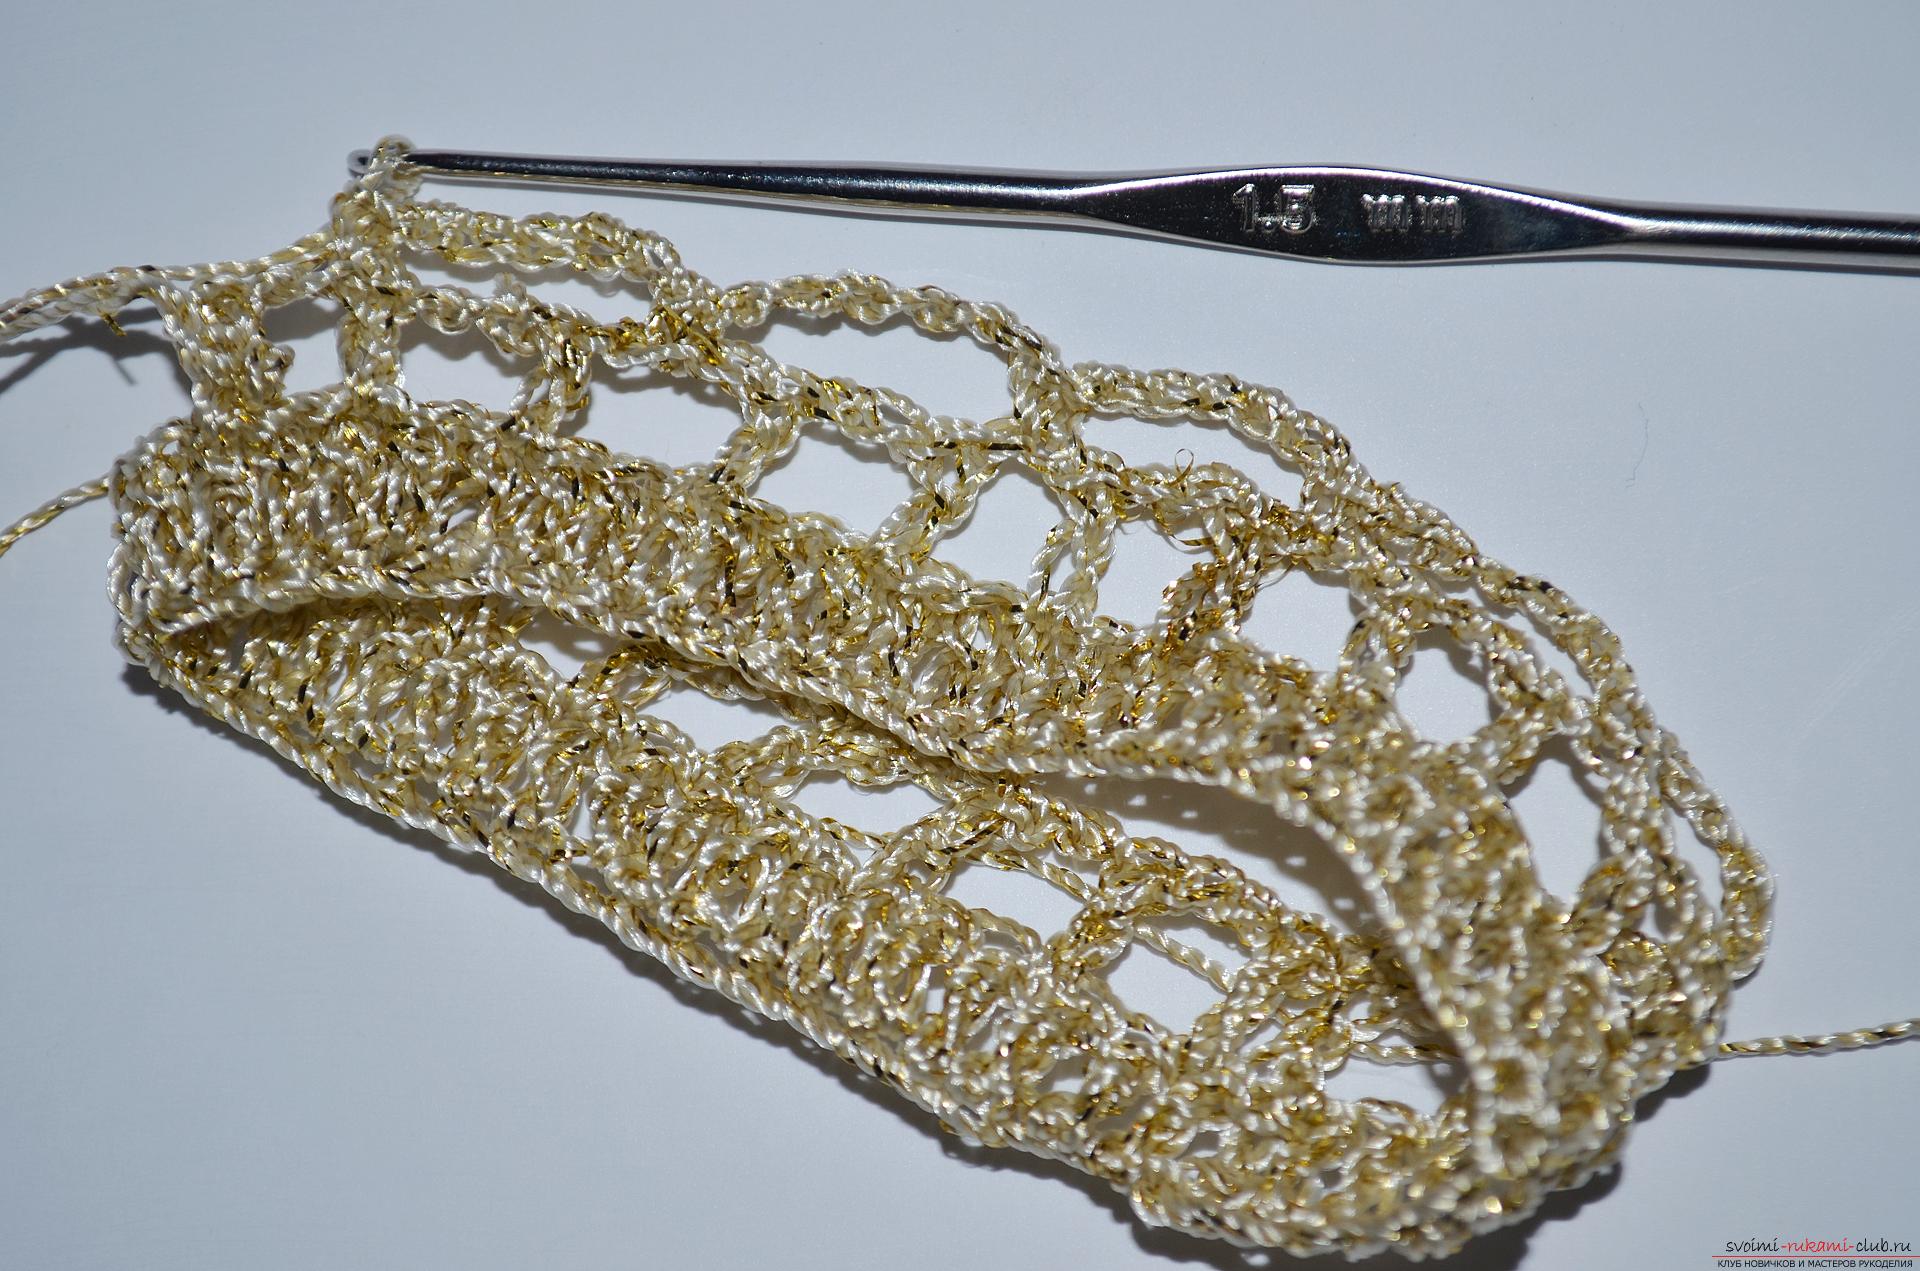 5. In the next row, we have to tie each formed arched knob, the pattern "fan" according to the following scheme: one column without a crochet - two stitches with one crochet - one column with two crochets - two stitches with one crochet - one column without a crochet.
 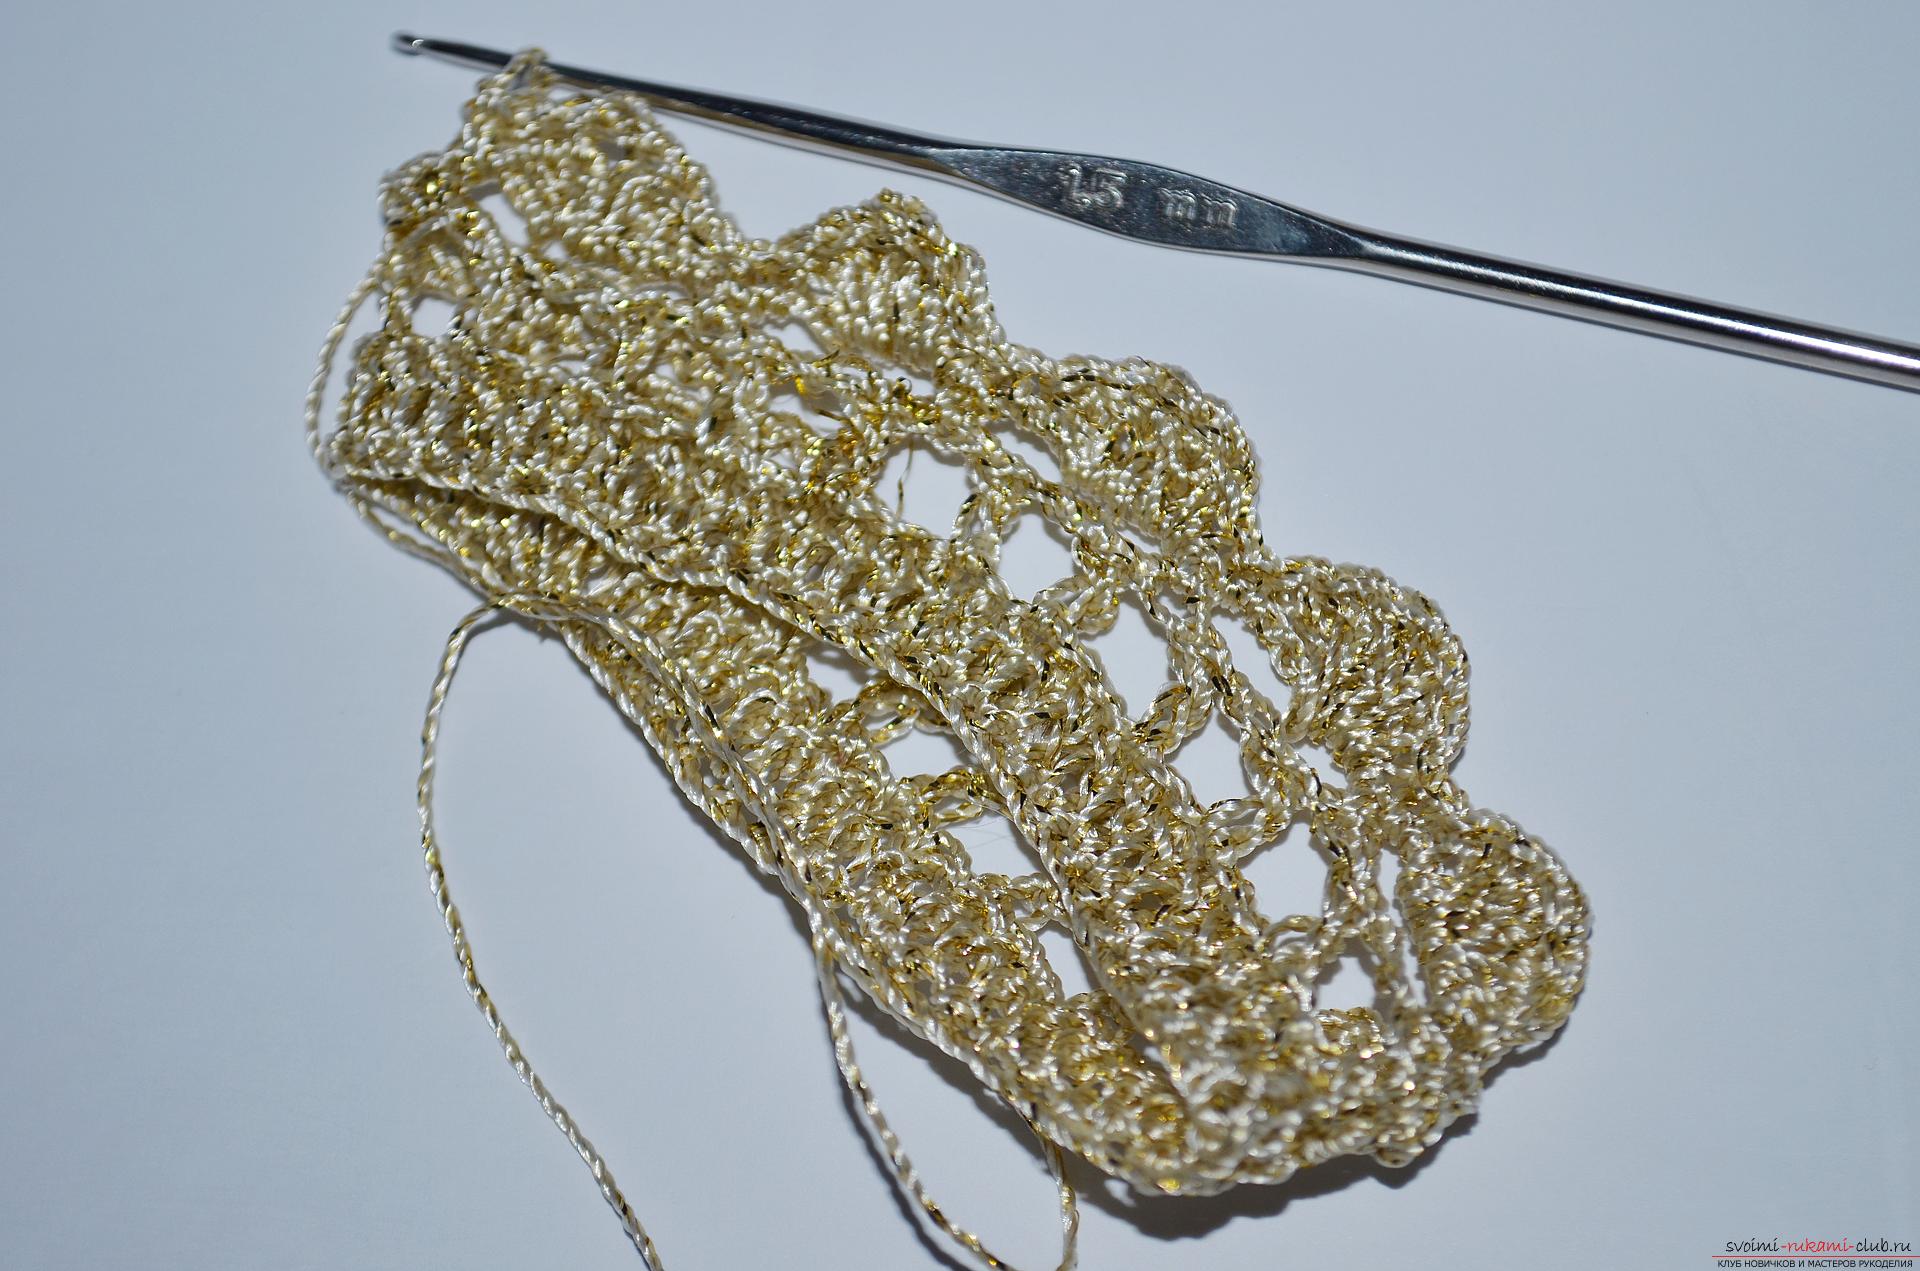 6. Next, we begin to form the crown teeth, for this, from the middle of the first arch, we untype a chain consisting of five air loops and attach it to the center of the next arch using a column with three crochets.
 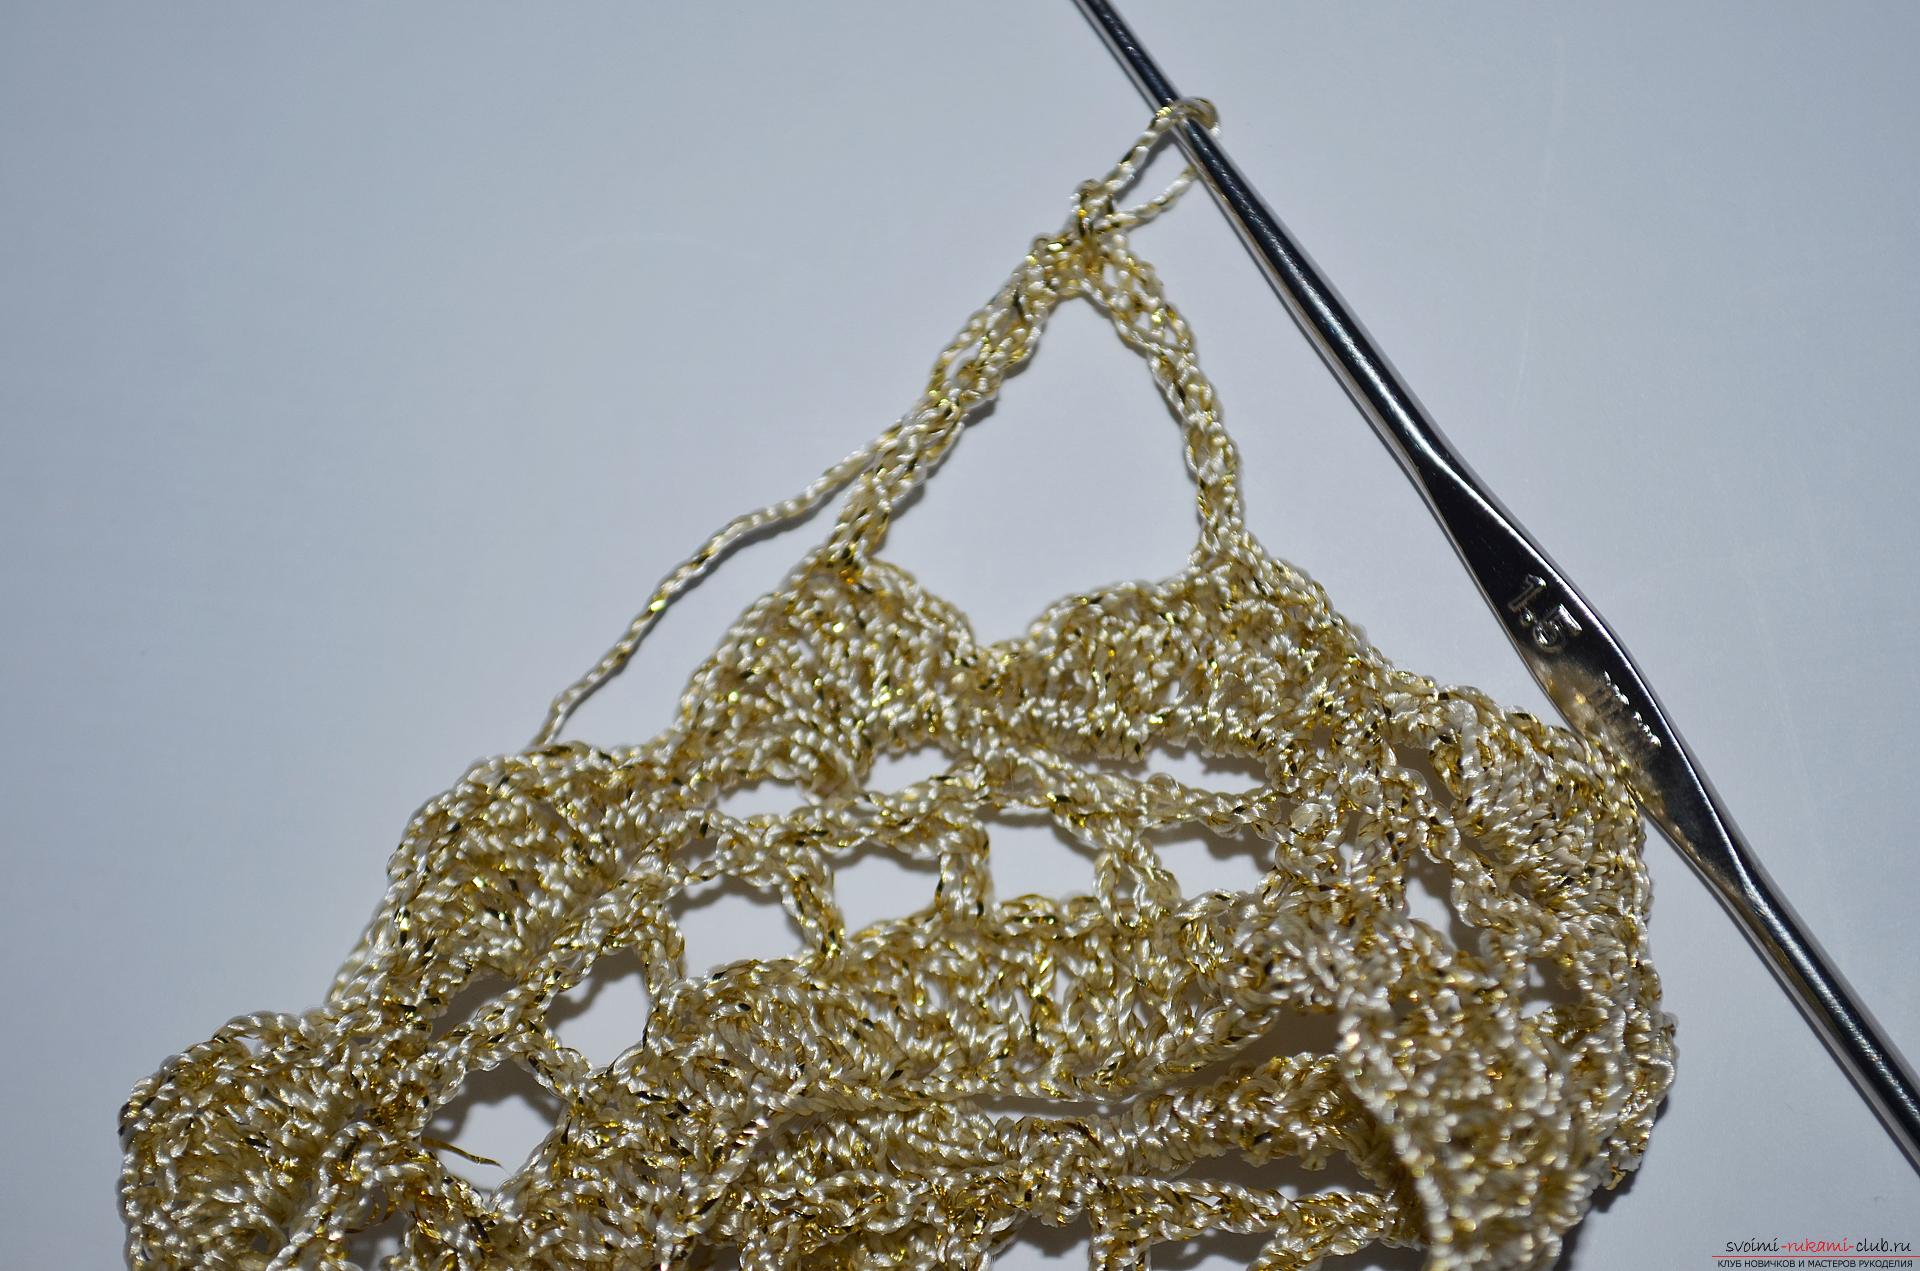 7. Again we knit a chain of five air loops, and attach it, like the previous one, also using a column with a triple overhang to the center of the same arch.
 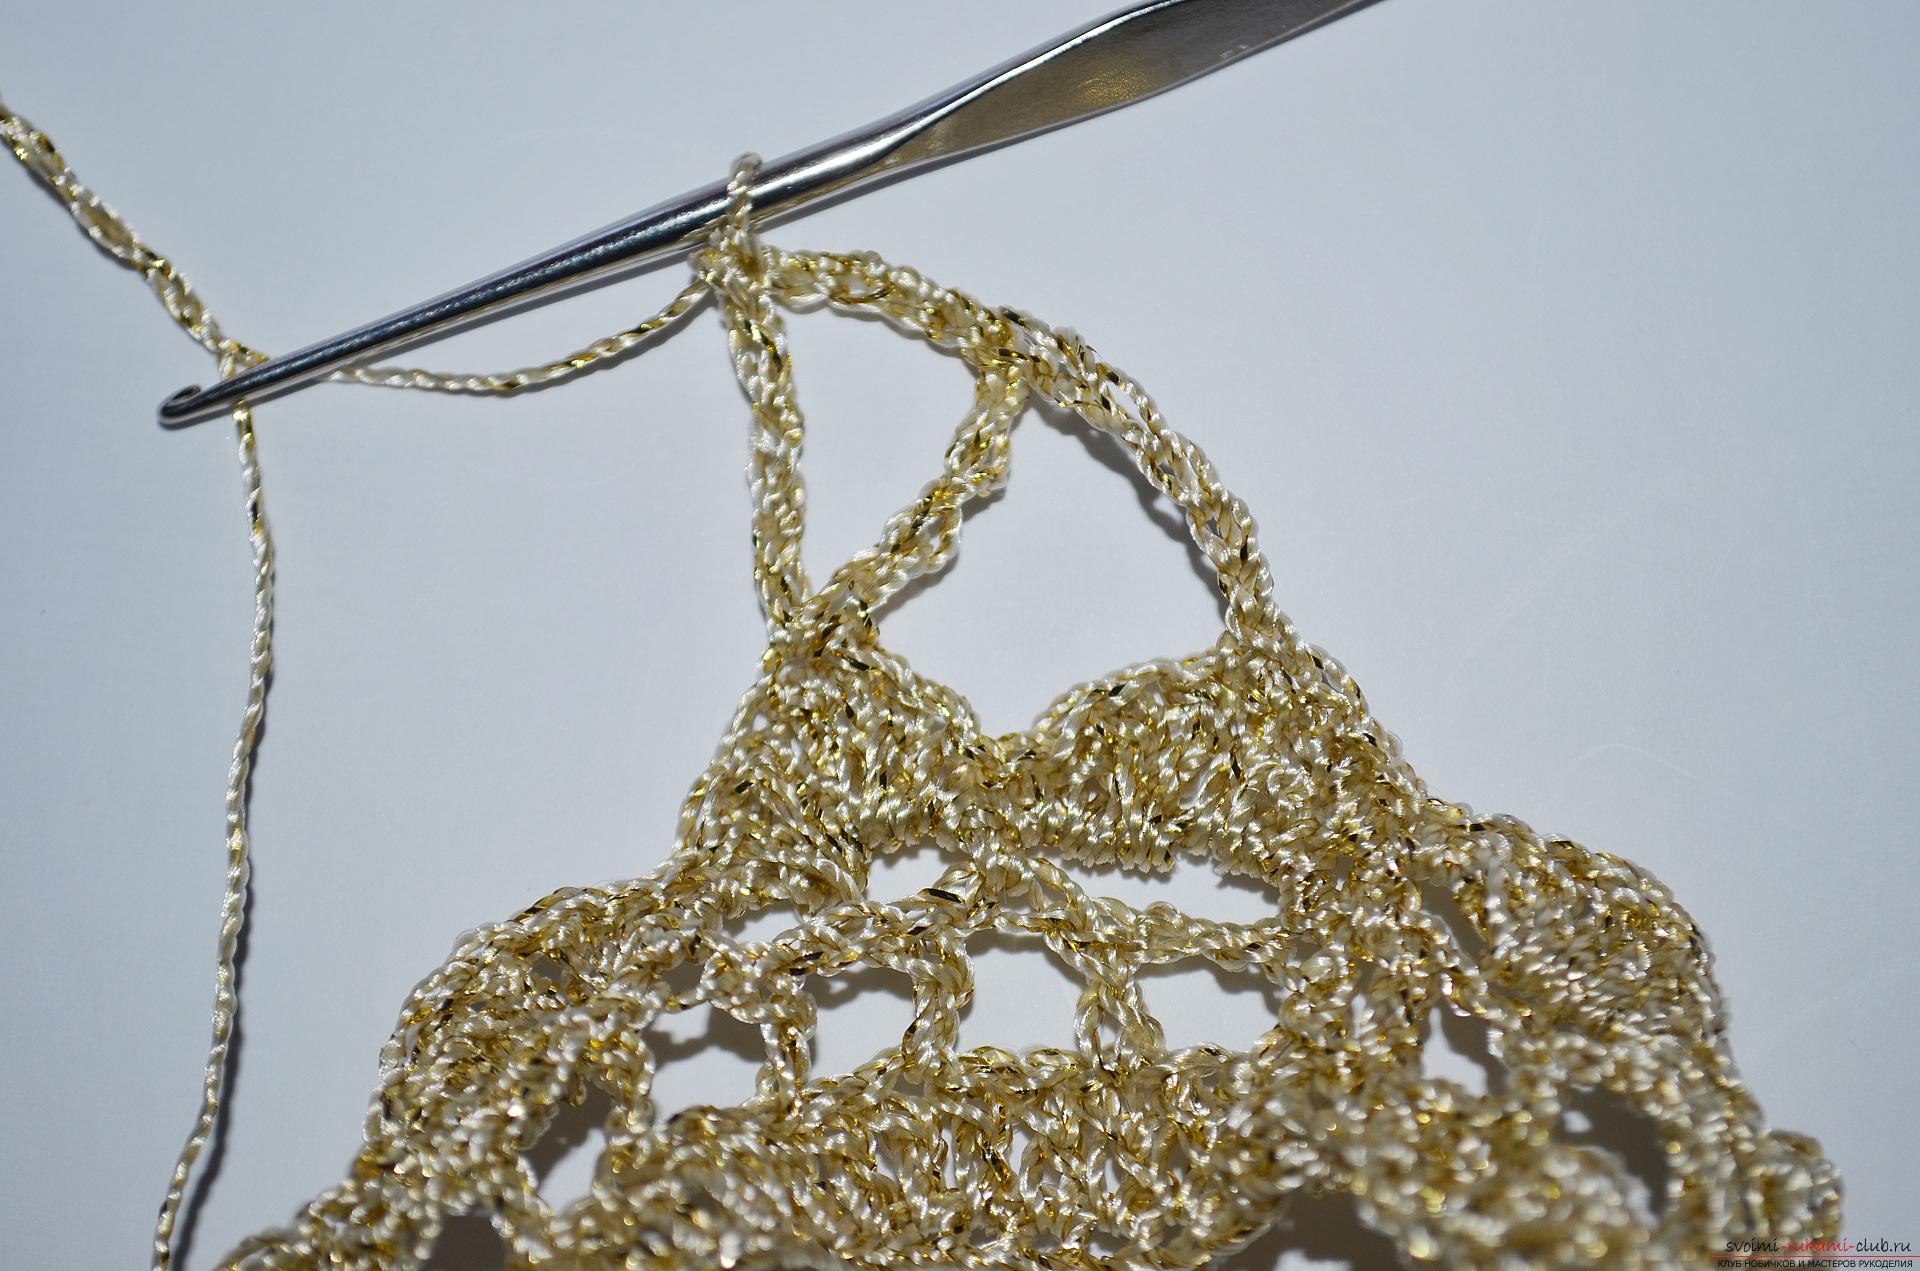 8. Again, we untie the five air loops, but this time we attach the resulting chain to the center of the next arches with the help of a connecting column and get the first tooth of our crown.
 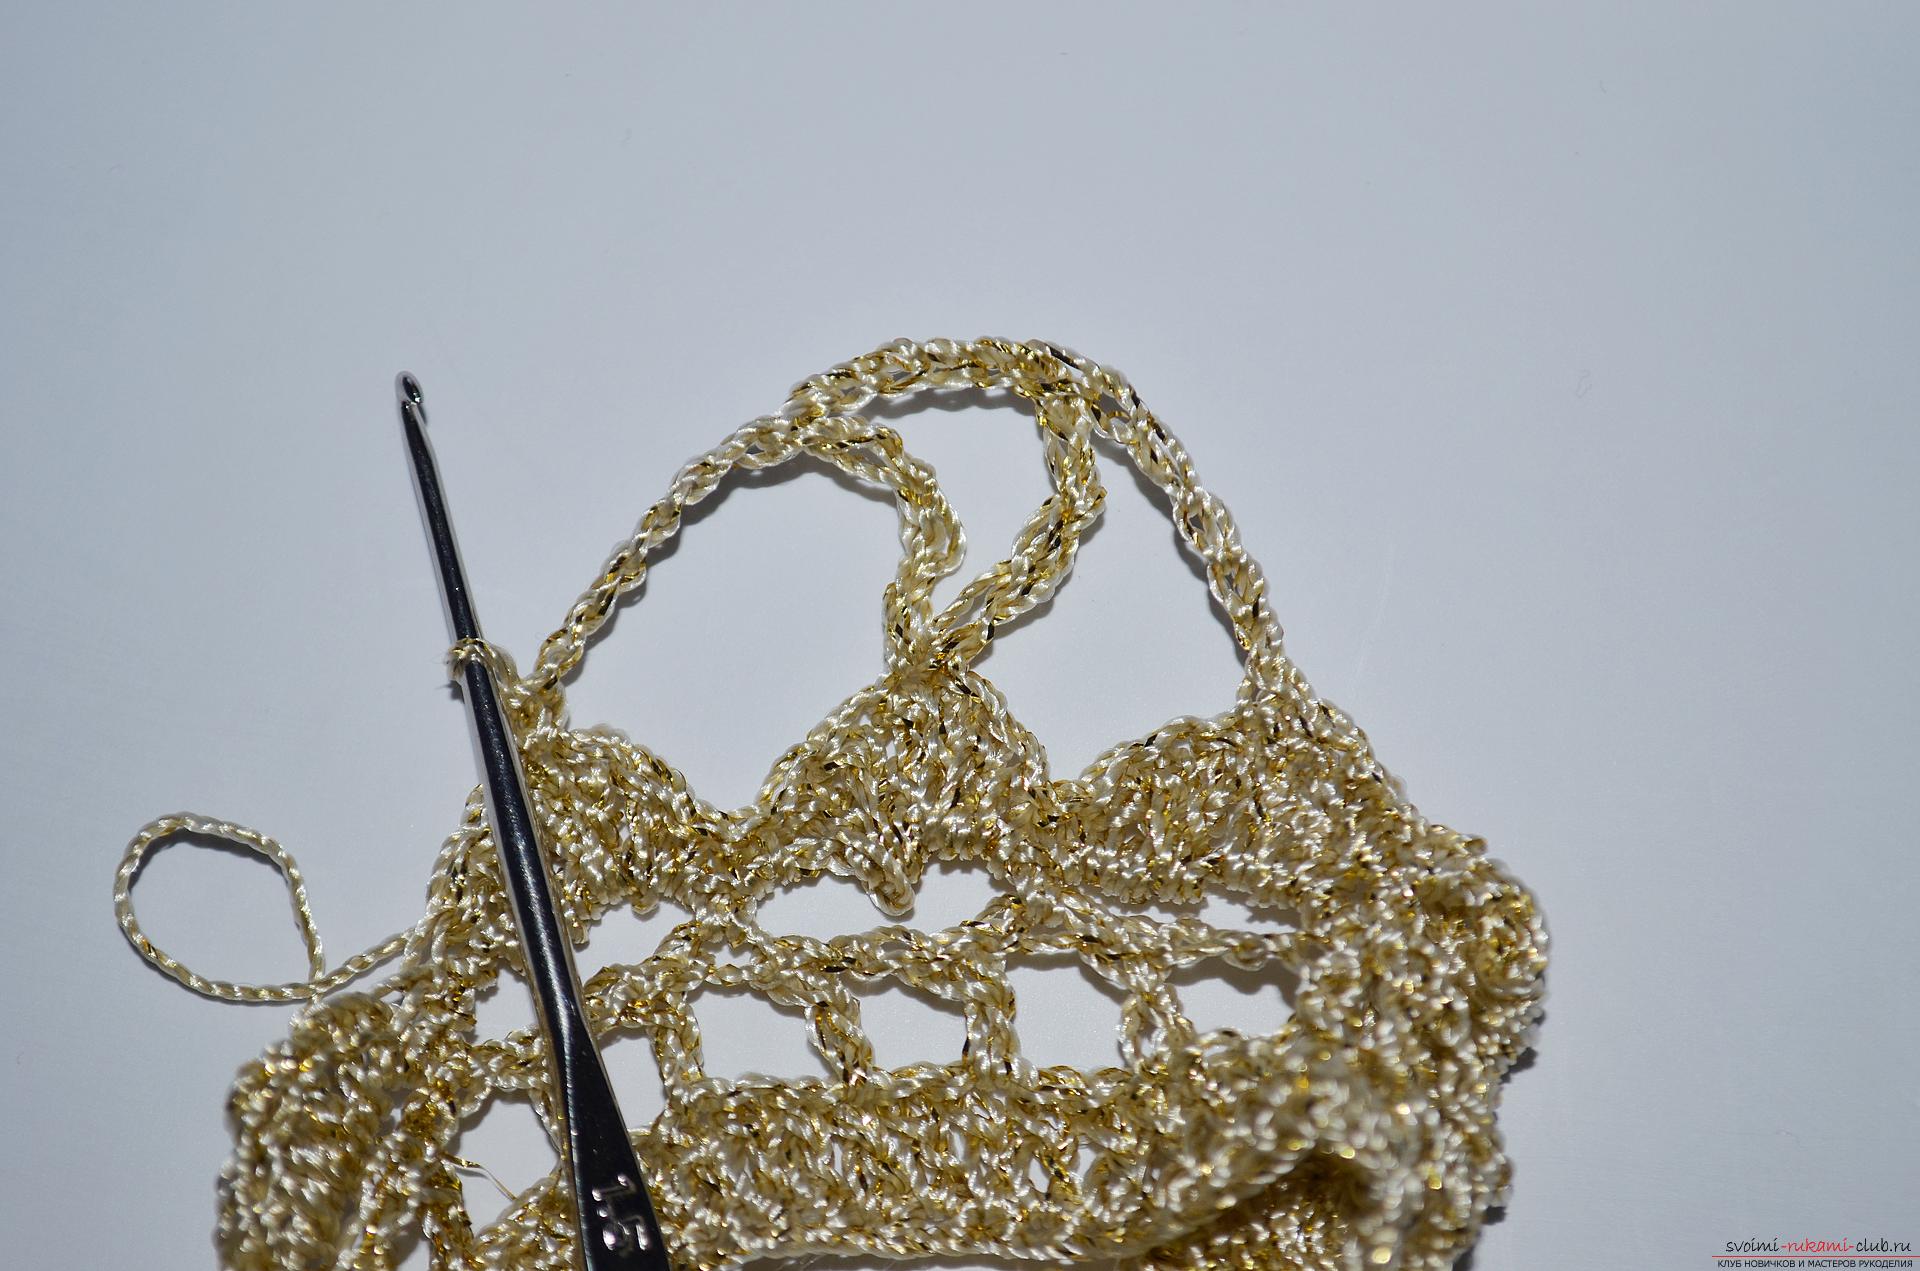 9. By the same principle, we remove all the other teeth.
 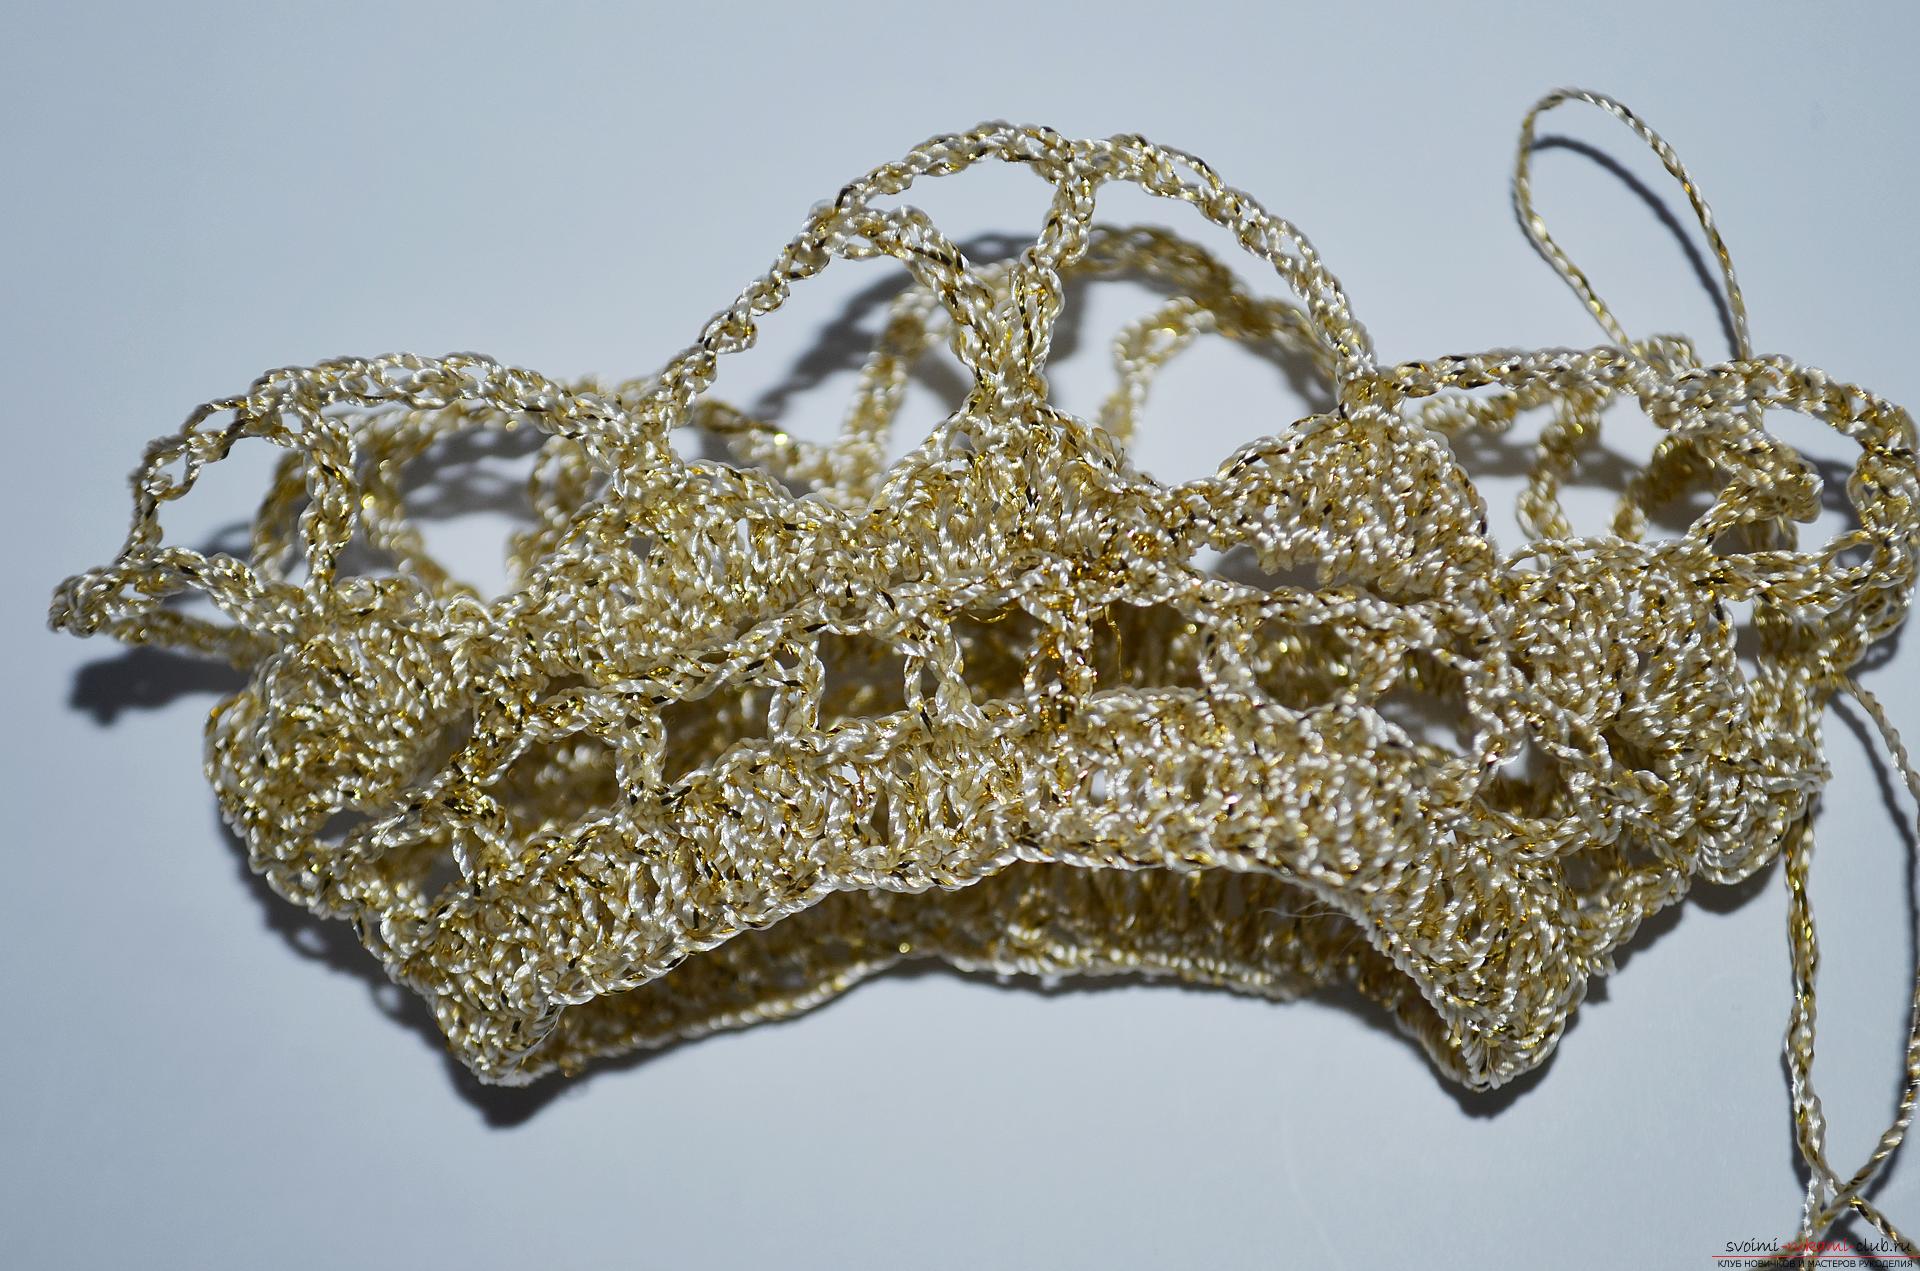 10. Now we need to tie each prong. We do it step by step, the first part is knitted like this: - two bars without a crochet and four with a single crochet.
 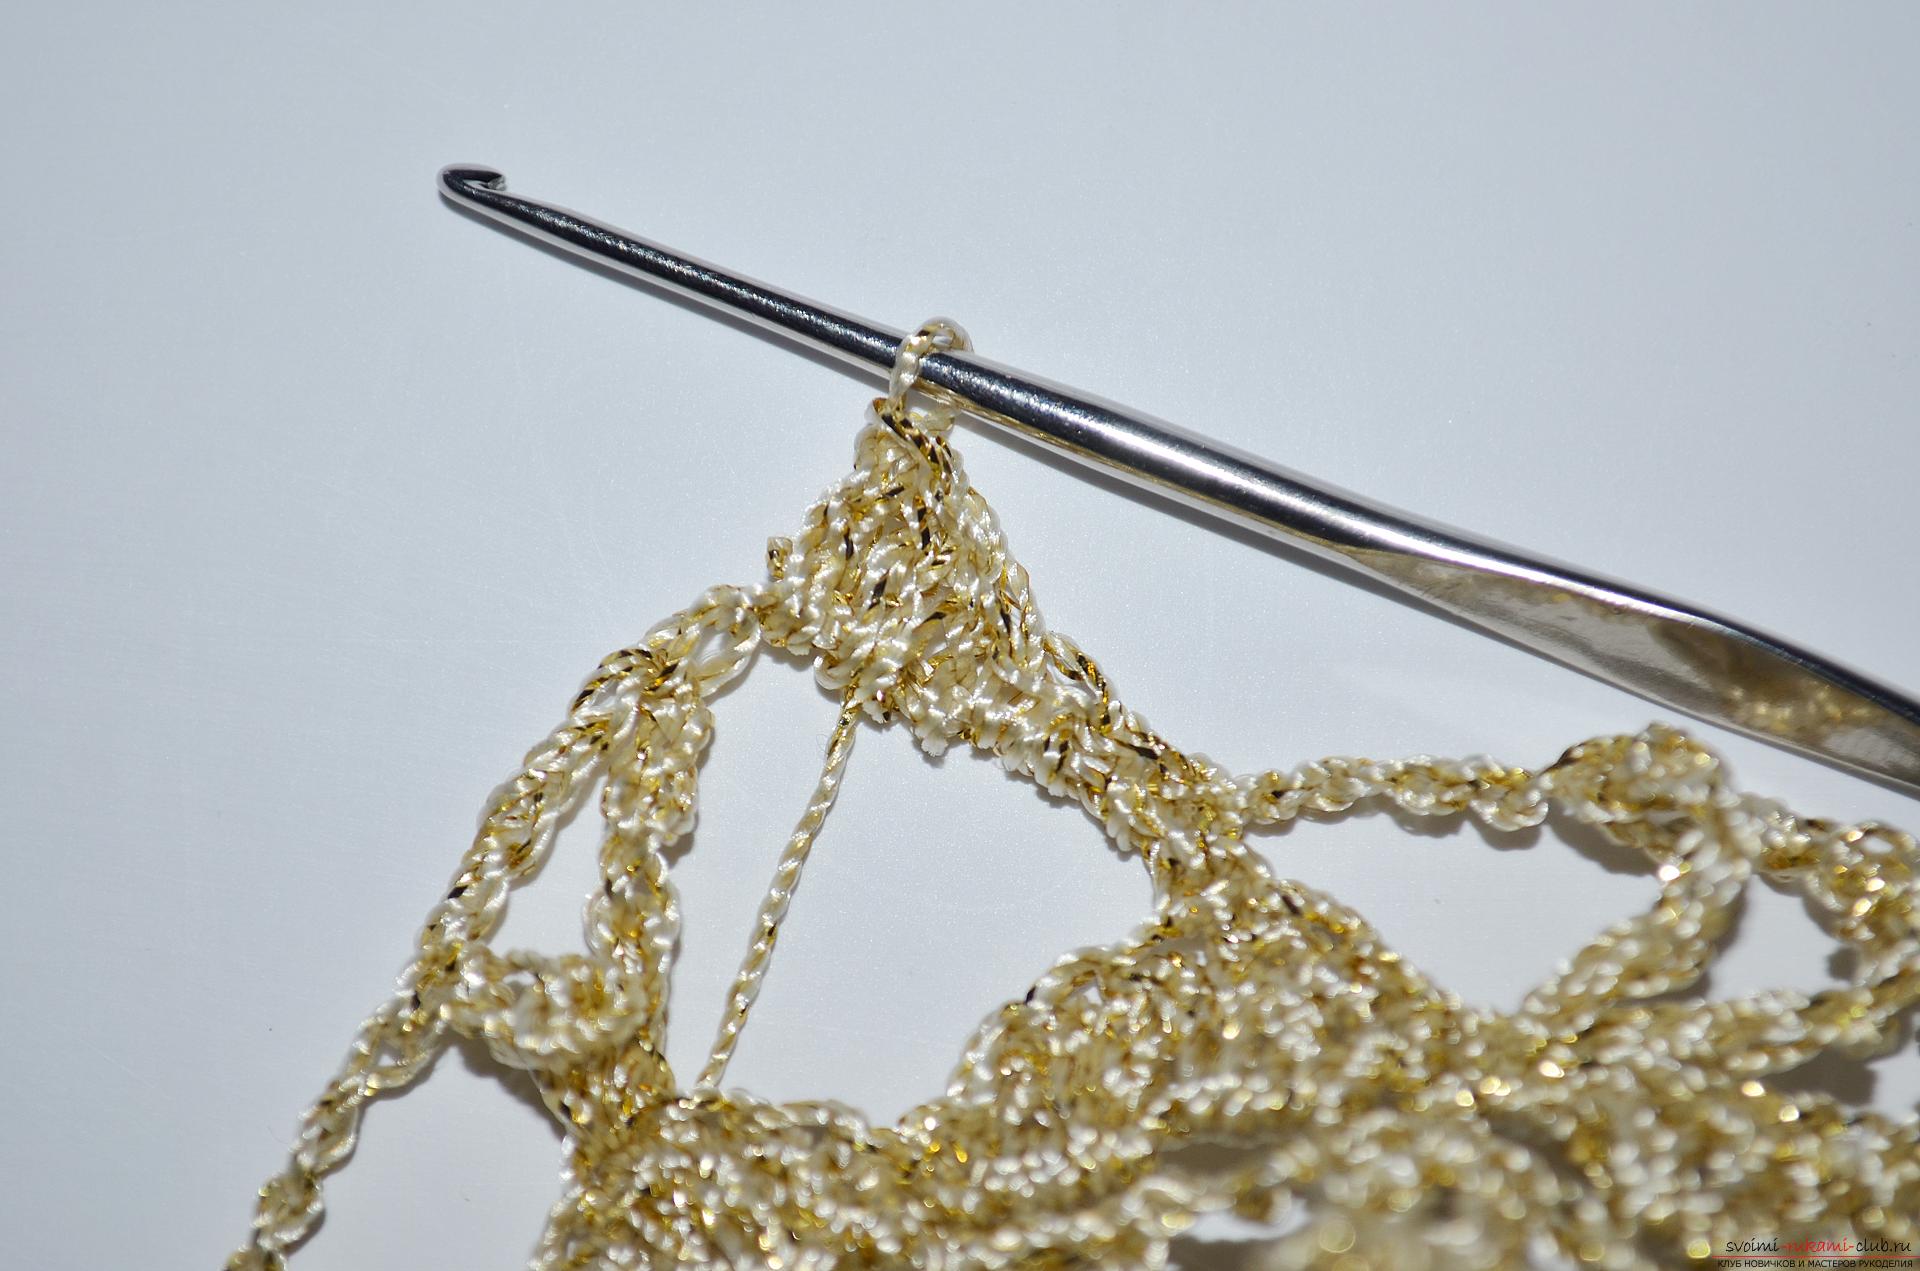 11. The middle part is knitted according to the scheme: one column with one crochet - three sticks with two crochets and again one stool with one cuff.
 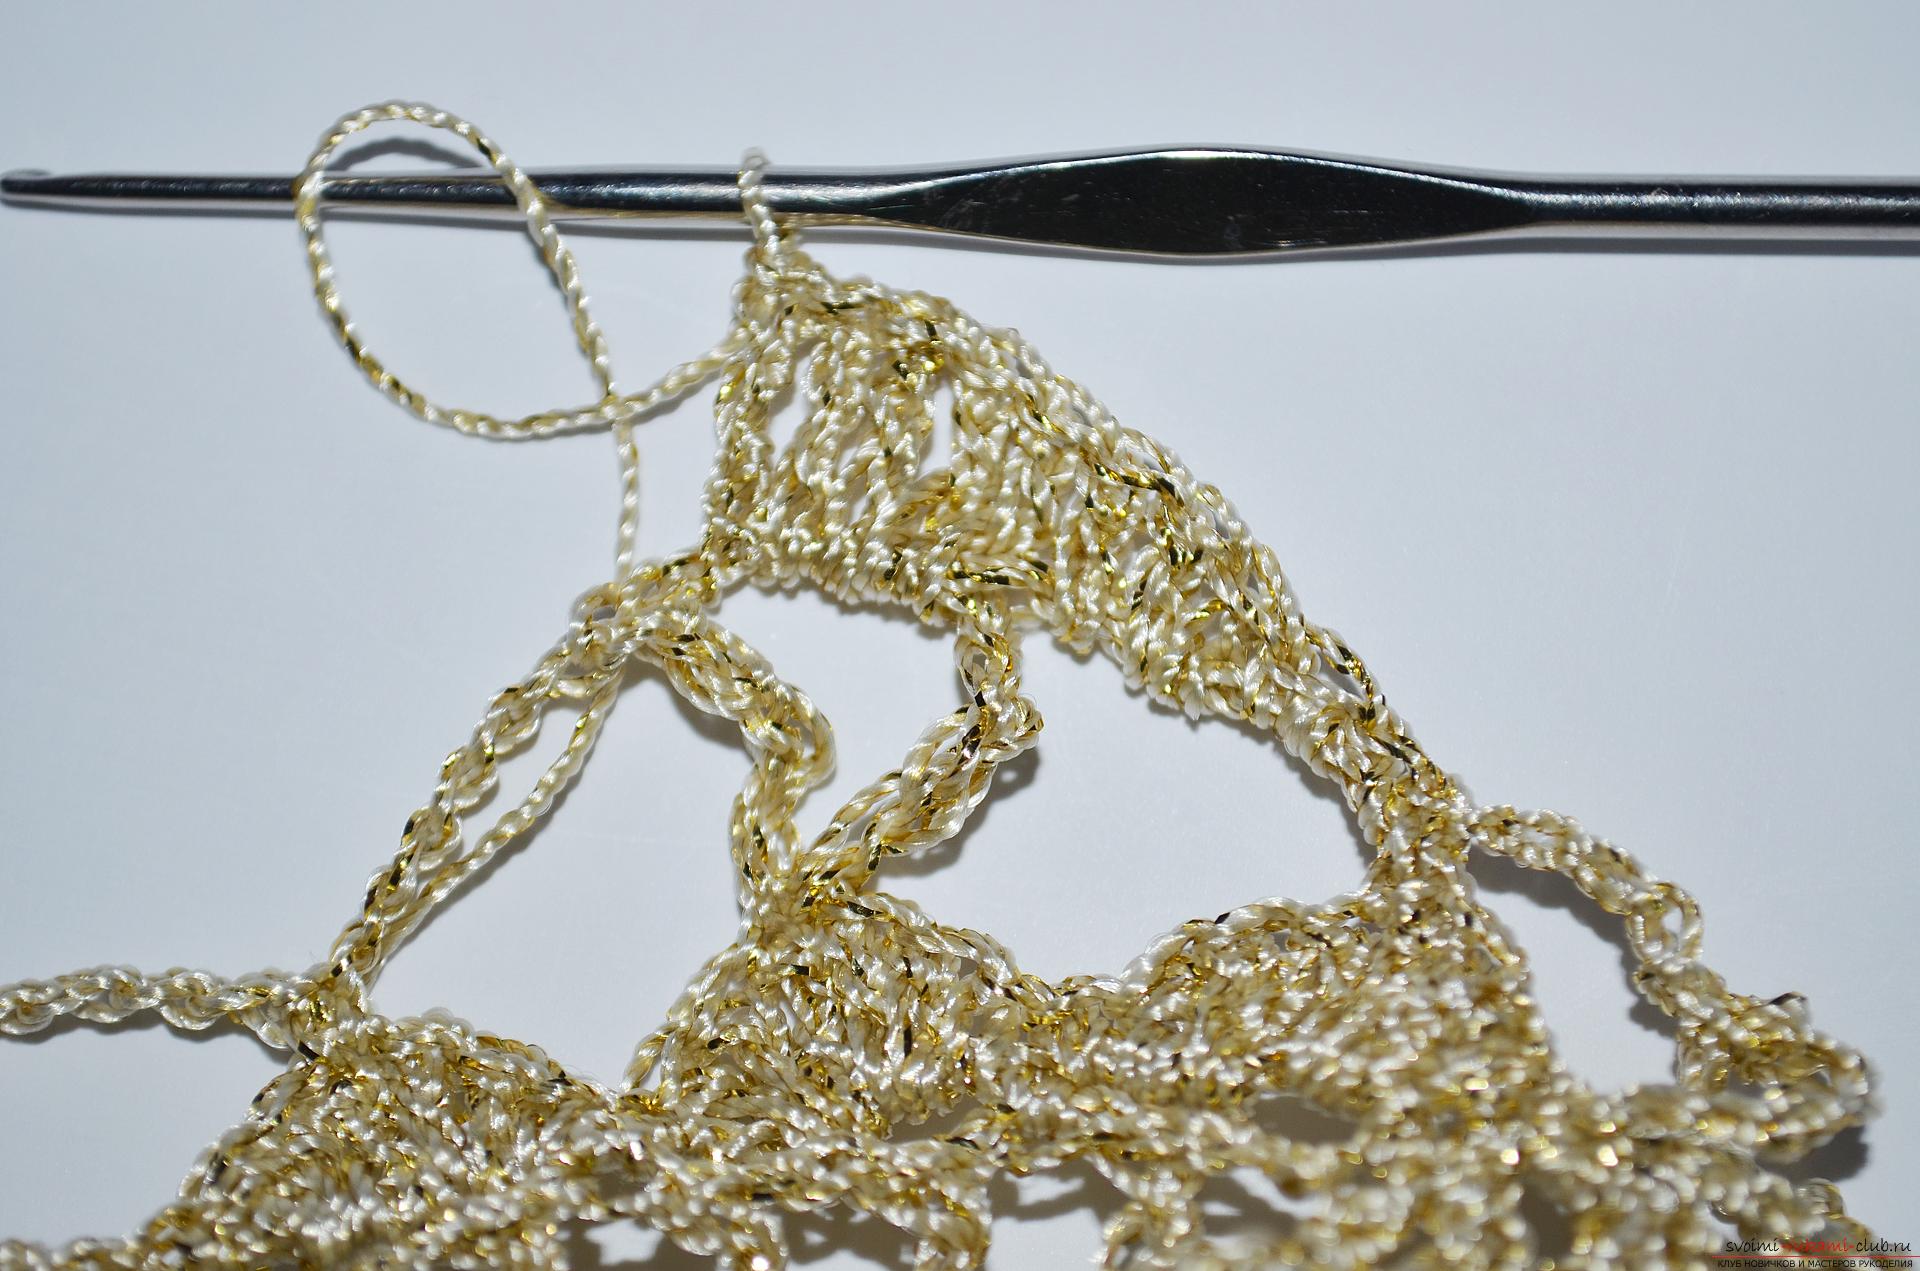 12.The last part is tied in the same way as the first, only in the mirror image, that is, first we unfasten the four columns with one crochet, and then two columns without crochet. We thus corrode all the teeth of the crown.
 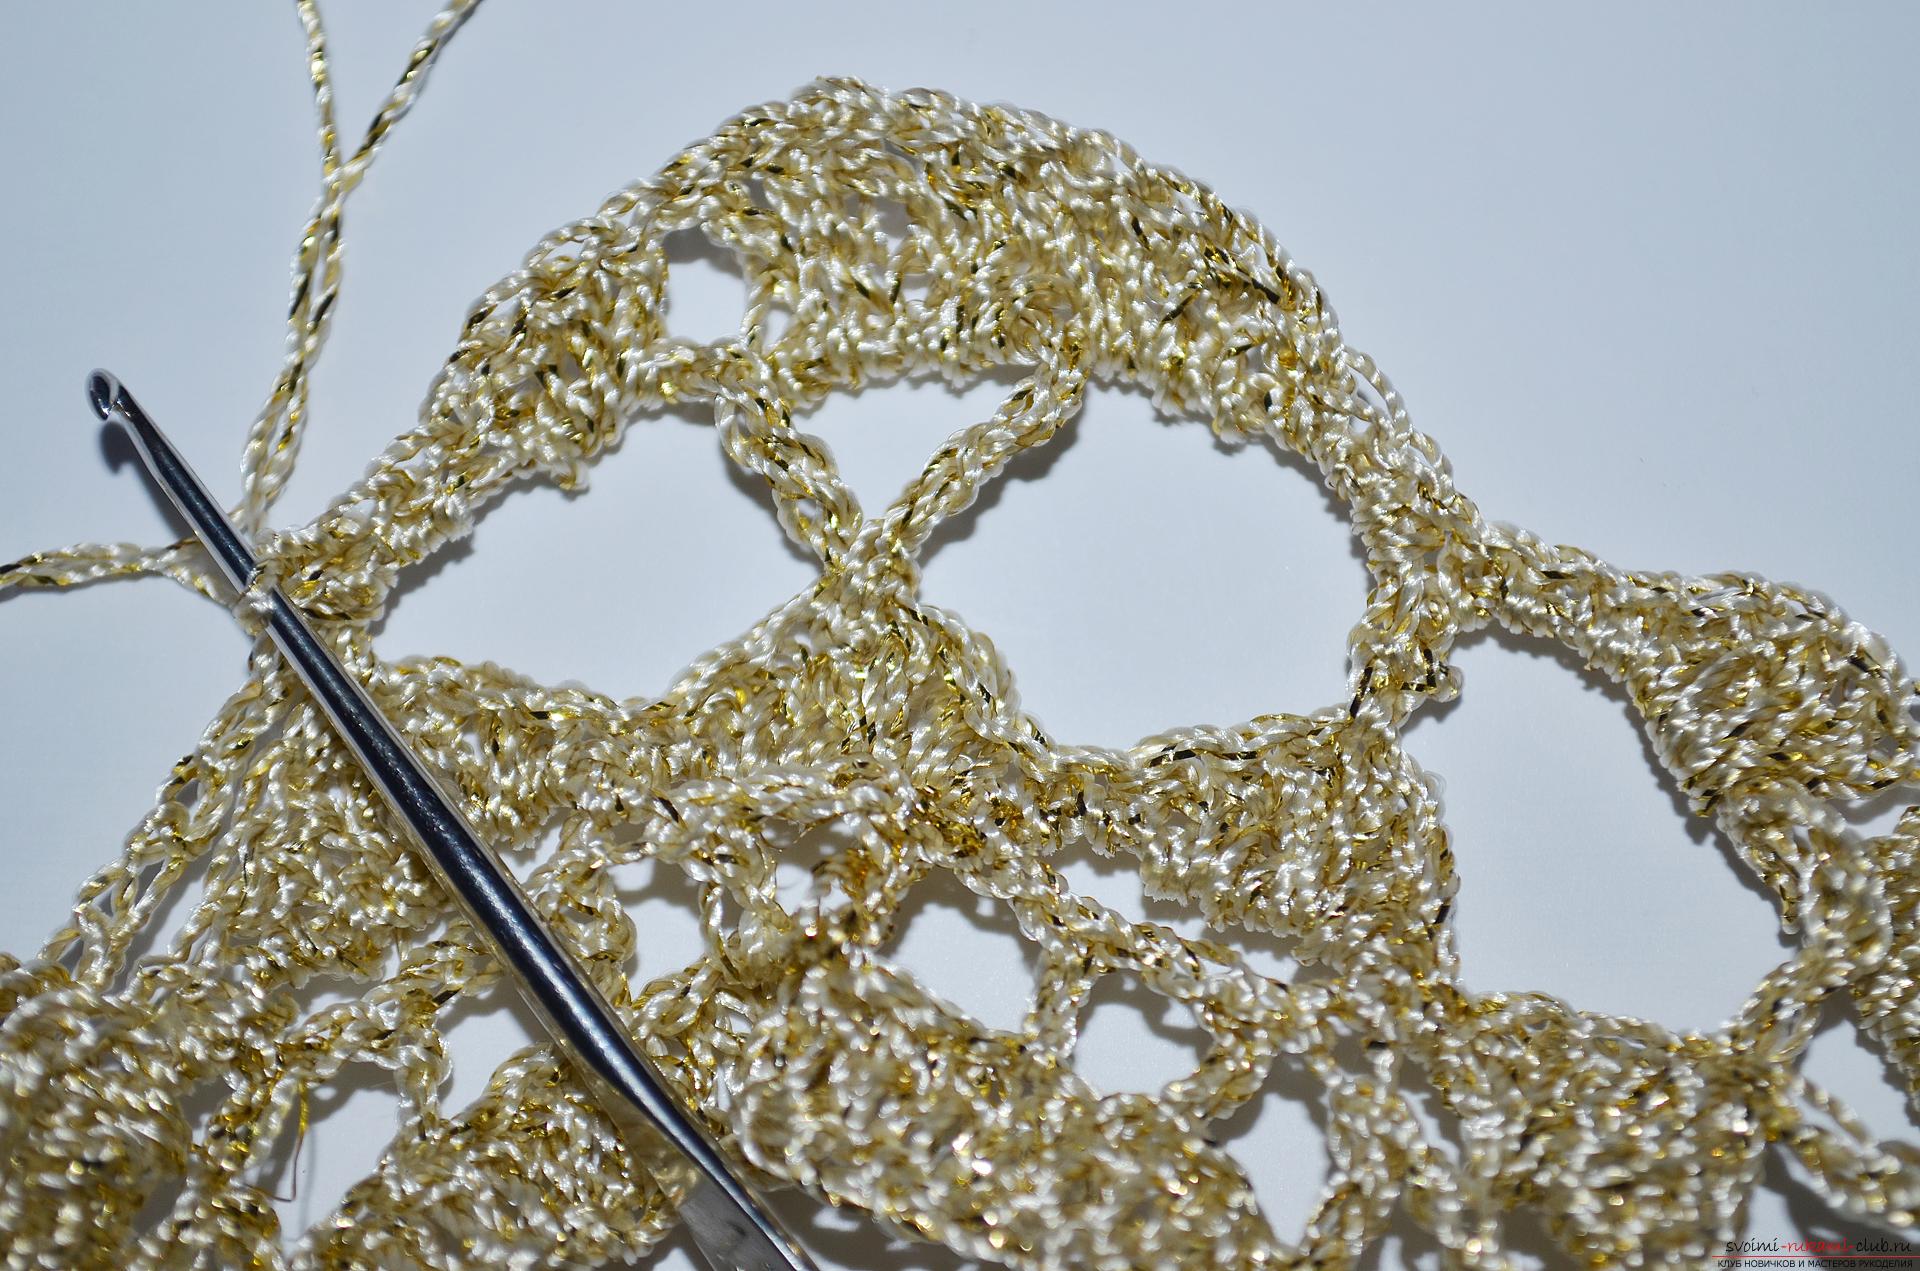 13. The last row is tied with columns without crochets and at the top of each tooth we form a pico consisting of three air loops.
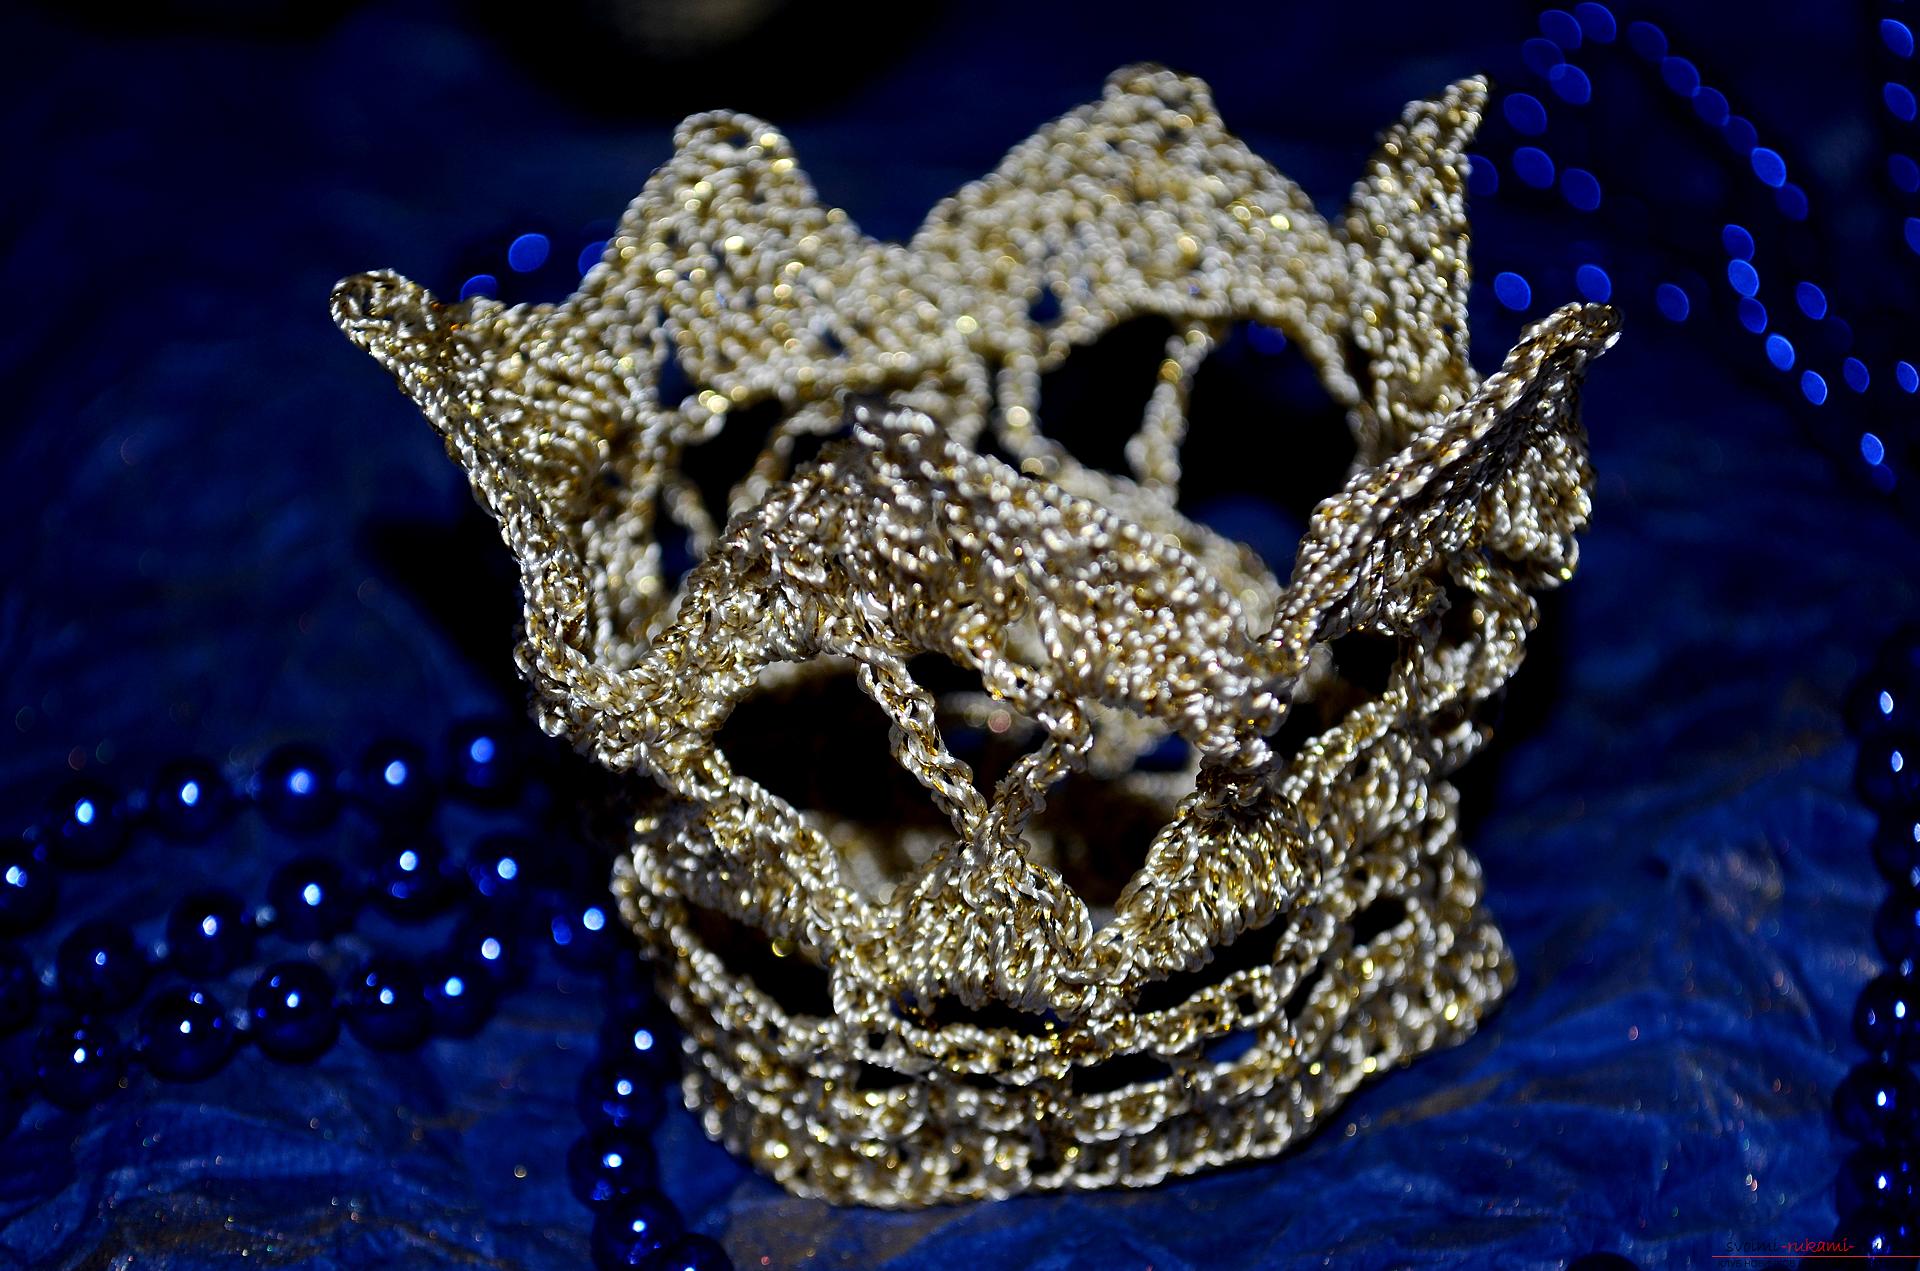
  14. Our crown is ready! To make the product stiff, it can be starched in a traditional way, with the help of PVA glue or concentrated sugar syrup. The crown is attached to a small bar or rim, at the request of a small princess.
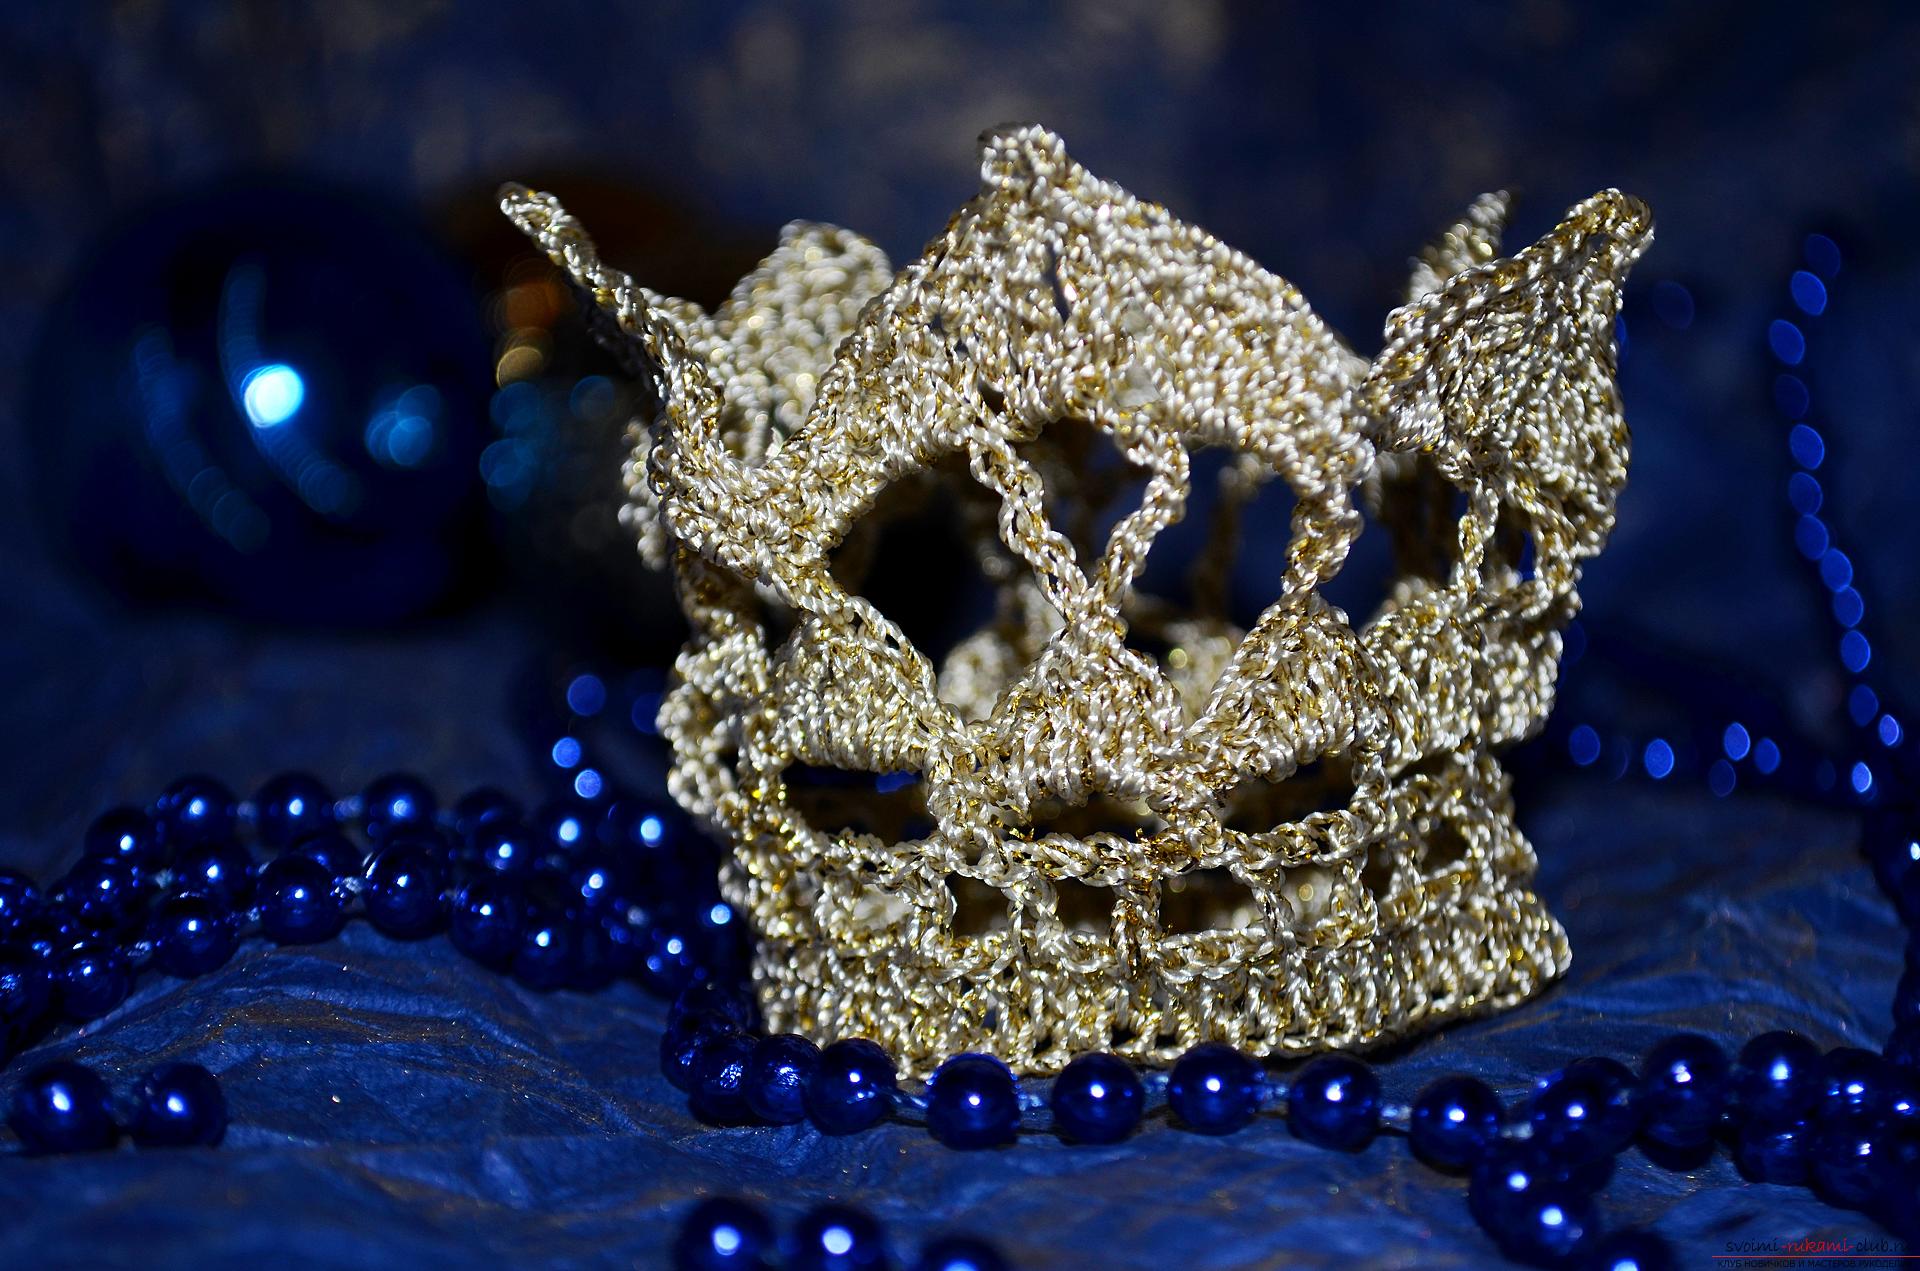
Comments
Related posts:
 This master class will teach you how to tie a cap for newborns - a cap-bear crochet.
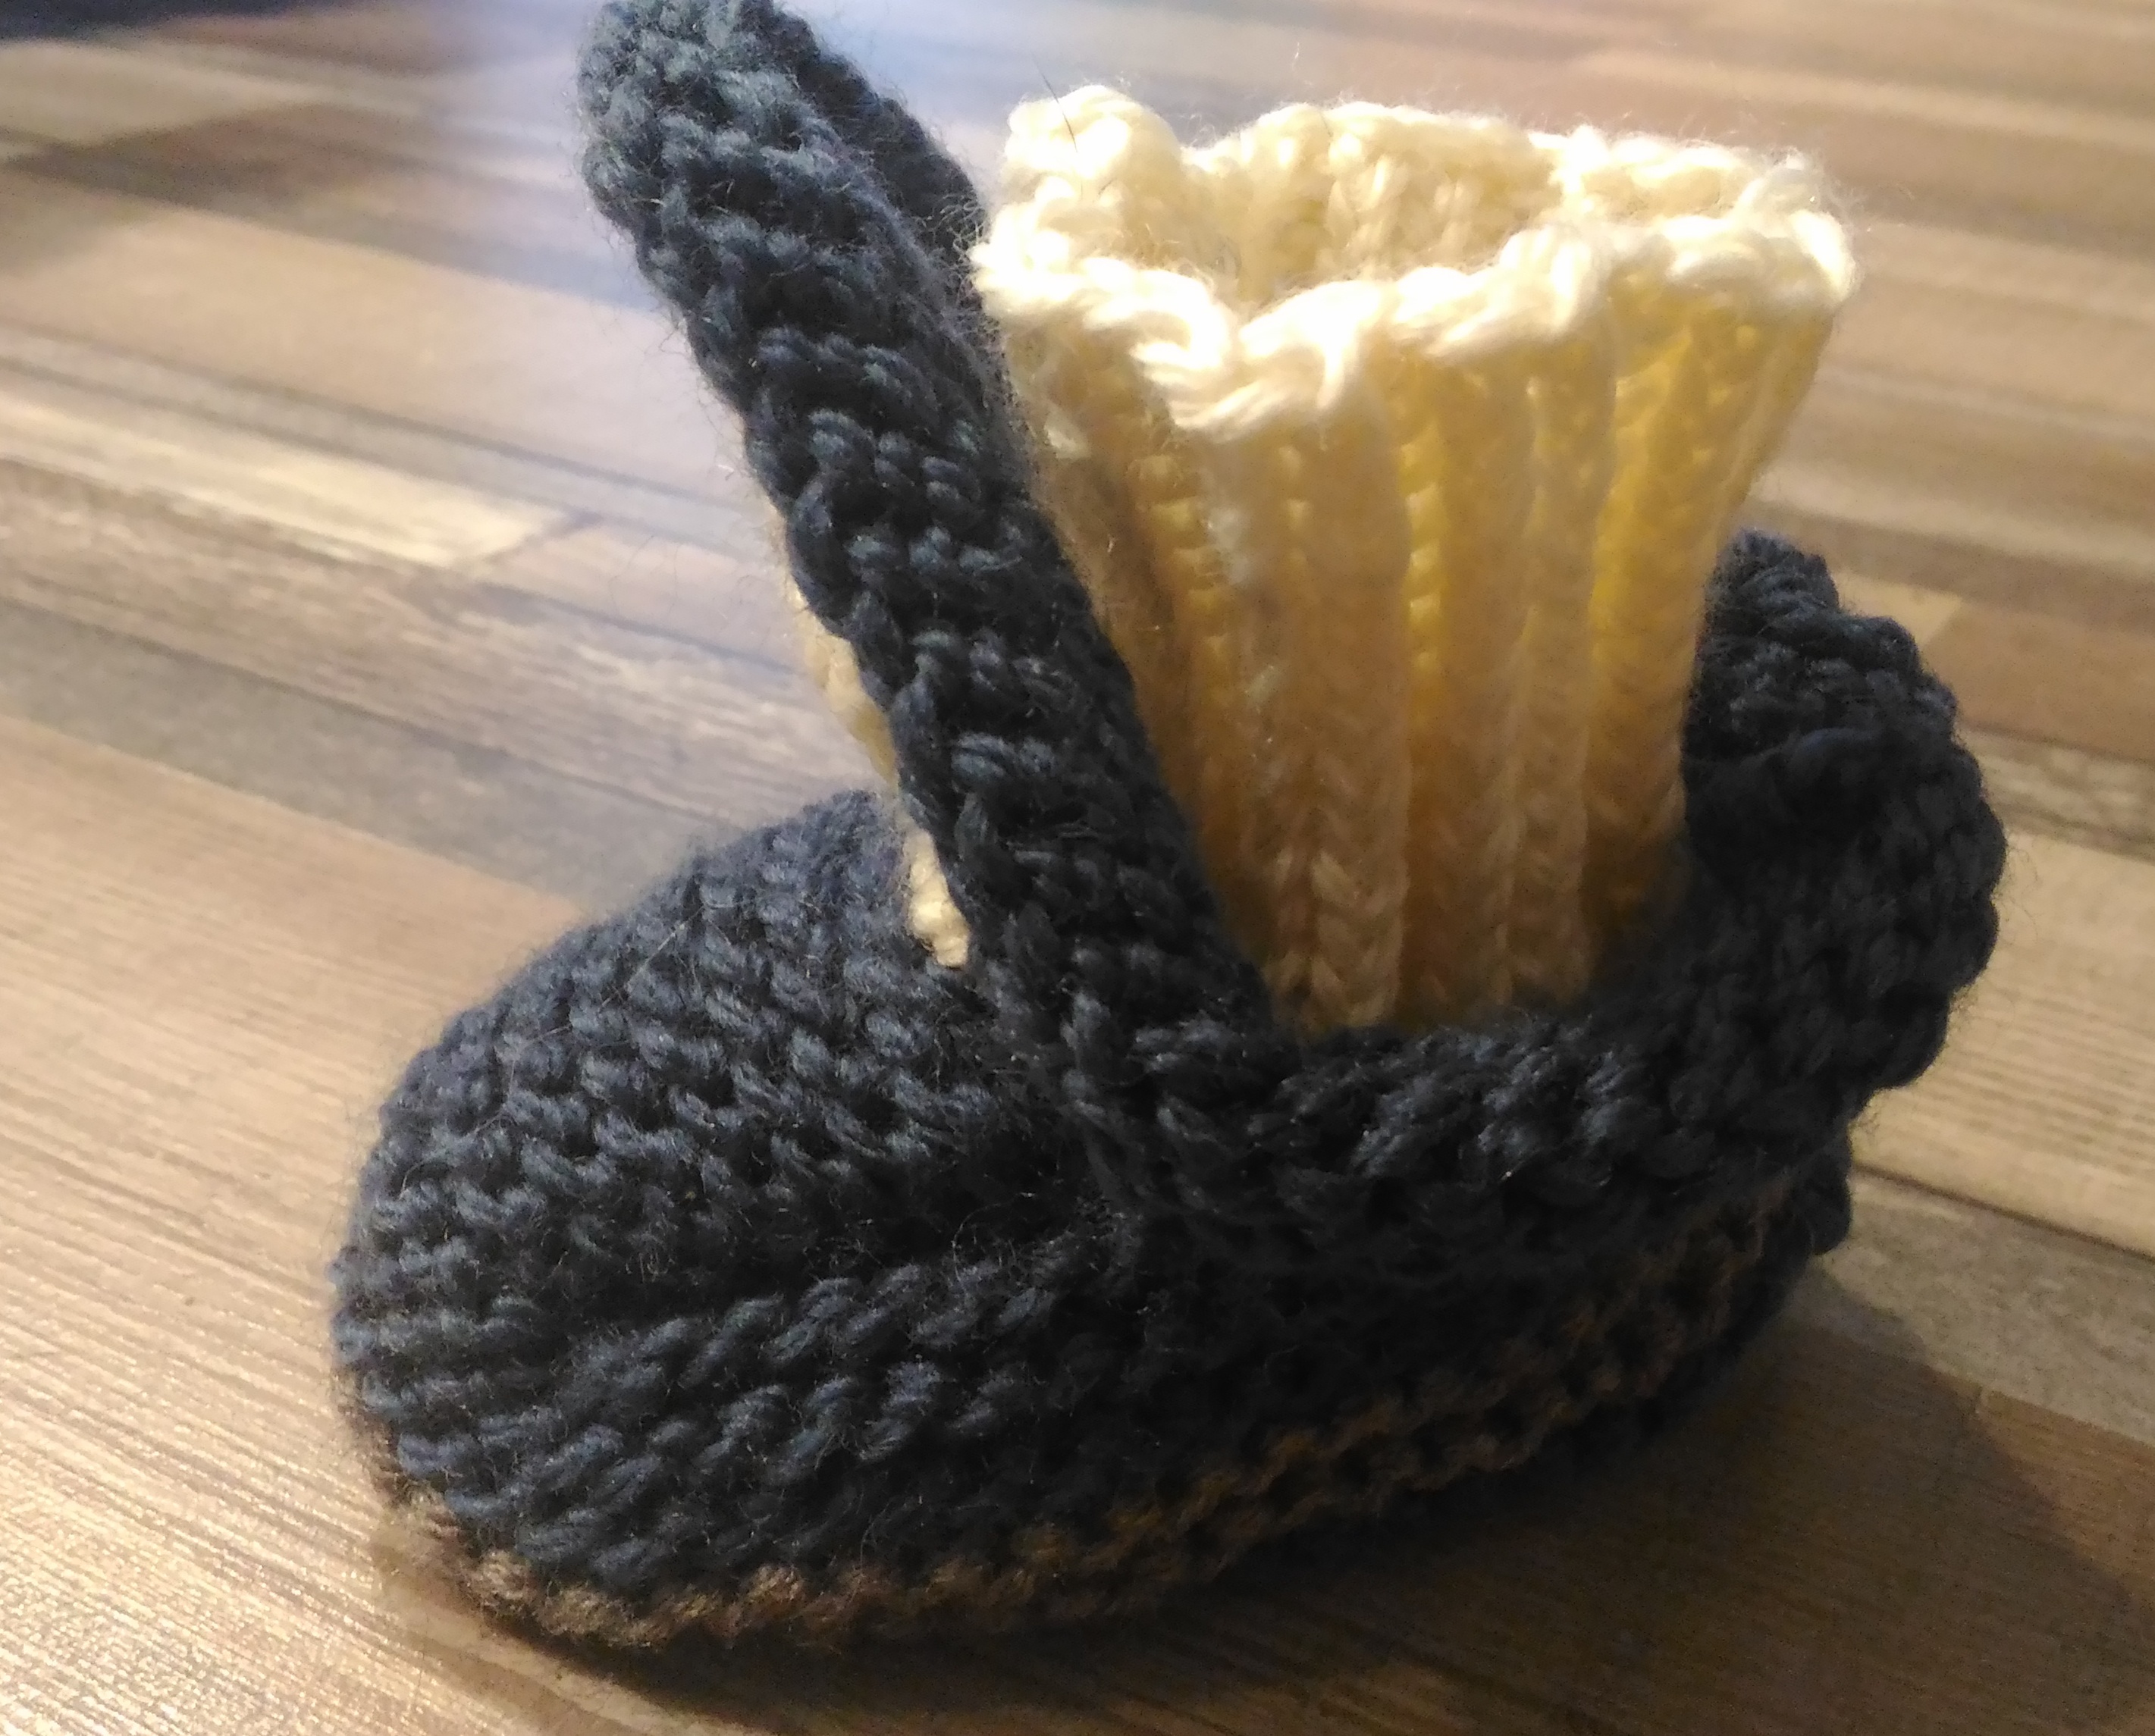 Step-by-step photo master-class: how to tie booties machines
 This detailed master class with a photo and description will teach you how to make origami for beginners - an origami-crown made of paper.
 This master class will teach how to sew with your own hands a children's fox costume for a girl
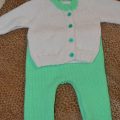 This master class with a knitting pattern will teach you how to tie a suit for a newborn or babe with knitting needles.