Quaker embroidery on the example of six-piece in the master class
Content
- Materials for embroidery of the ball in Quaker technique
- Variants of ornaments on balls
- Cutting out canvas and embroidery patterns
- The process of assembling an embroidered ball in the Quaker style
- Video: master class on the assembly of the Quaker ball
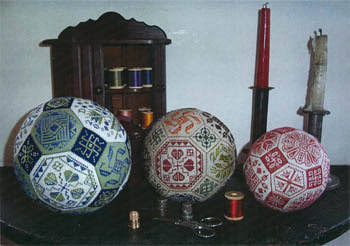
A fairly well-known brand in the field of embroideryAre magic balls or a quaker ball. This product is unusual in that it has a three-dimensional shape of the ball. Such a ball will be an excellent gift for your family and friends, a toy for a child or a Christmas tree decoration.
With this lesson you will be able to independently understand and sew your first quaker ball.
And so let's go!


Materials for embroidery of the ball in Quaker technique
As for any embroidery, the first stage is the selection of the necessary tools and materials.
Canvas
For the ball you can use both the uniform and the Aida. Depending on the canvas of the canvas, the size of the ball and the required amount of fabric will vary.
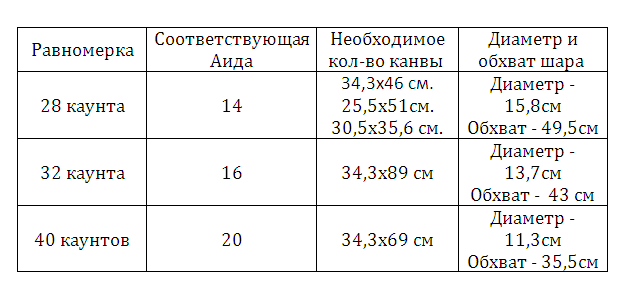
On a note! A color canvas (one or several shades) or a canvas with an already applied pattern will be beneficial. In this case, you can only embroider a piece of space without losing the appearance of the ball, which will noticeably shorten the working time.
Threads
For work, we will use threads of any company's mulina. Their color will depend on the chosen embroidery scheme.
On a note! When embroidering ornaments and flower motifs in the Quaker style, it will be beneficial to look melange or thread with color transitions.
To decorate the ball, you can also use beads, patches, beads, small accessories, etc.
Scissors, needles, sintepon for packing (if not, you can use unnecessary cloths, gauze, cotton, cotton), fleece.
And the most important thing is a good mood and desire!
Variants of ornaments on balls
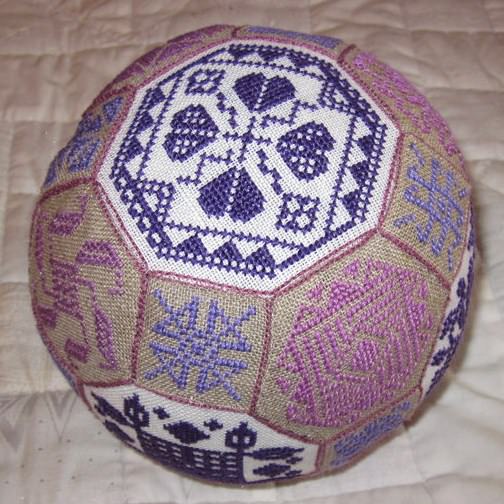
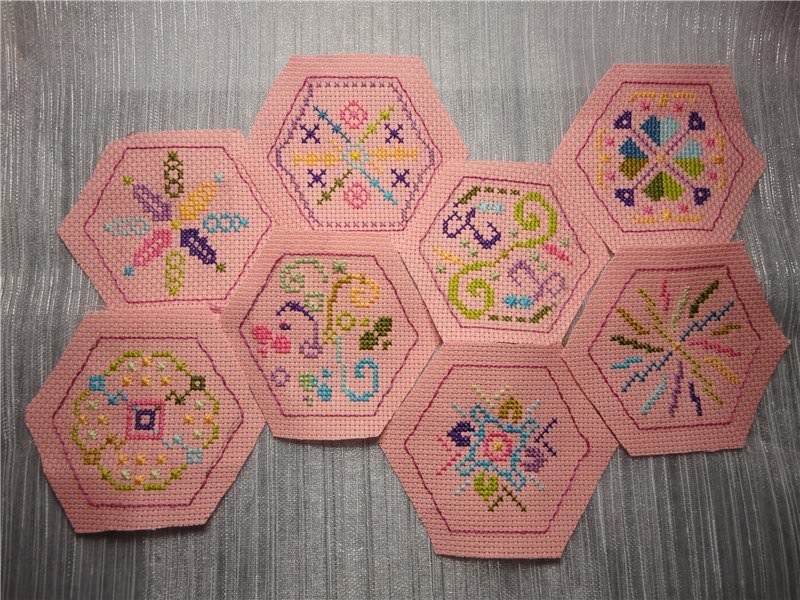
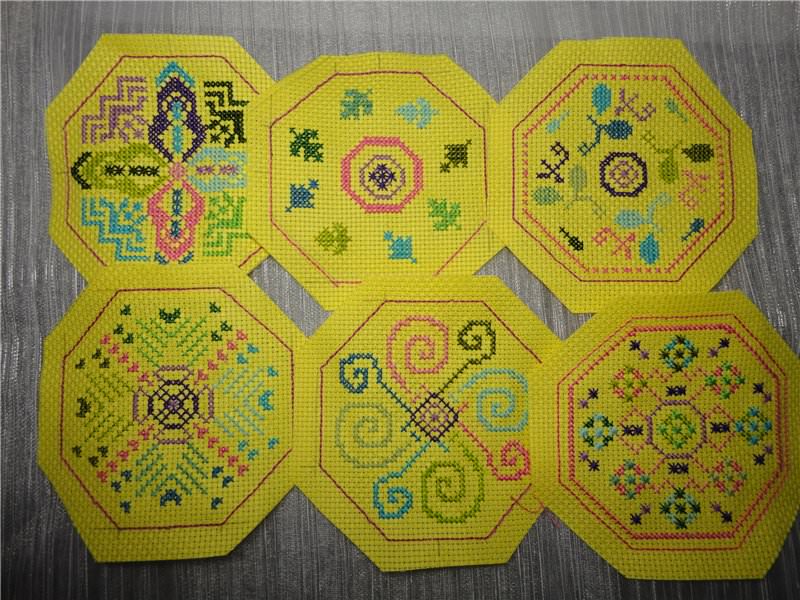
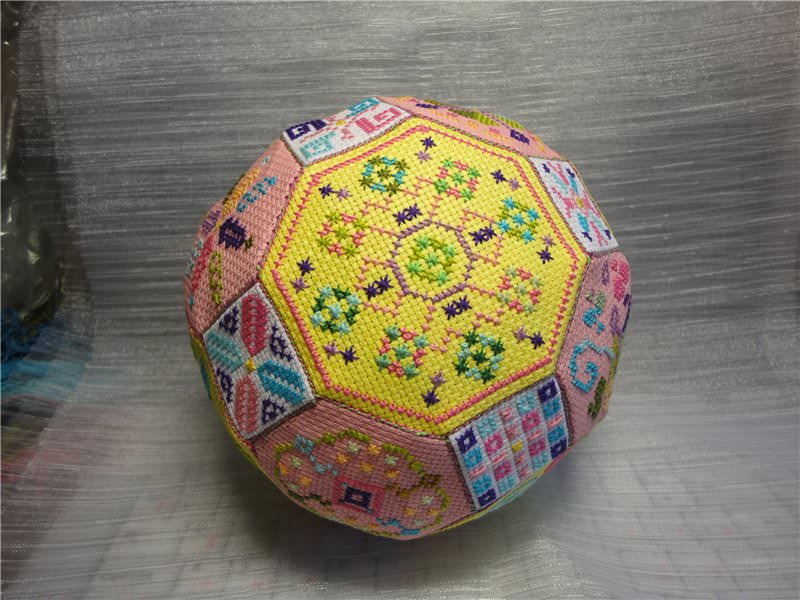
Now we need to decide on the theme of the ball andChoose embroidery schemes for each part, and there are not many of them, not a few - 26 (6 octahedrons + 8 hexagons + 12 squares). A collection of photos of ready-made balls you can see at the end of the lesson.

Variants of schemes for embroidery of a ball in engineeringQuaker On the edges of the ball can be depicted as one and the same ornament, and 2, 4, 8 different motifs. Do not be afraid to show your imagination, and then your Ball Quaker will become a truly original and unusual decoration of your house!
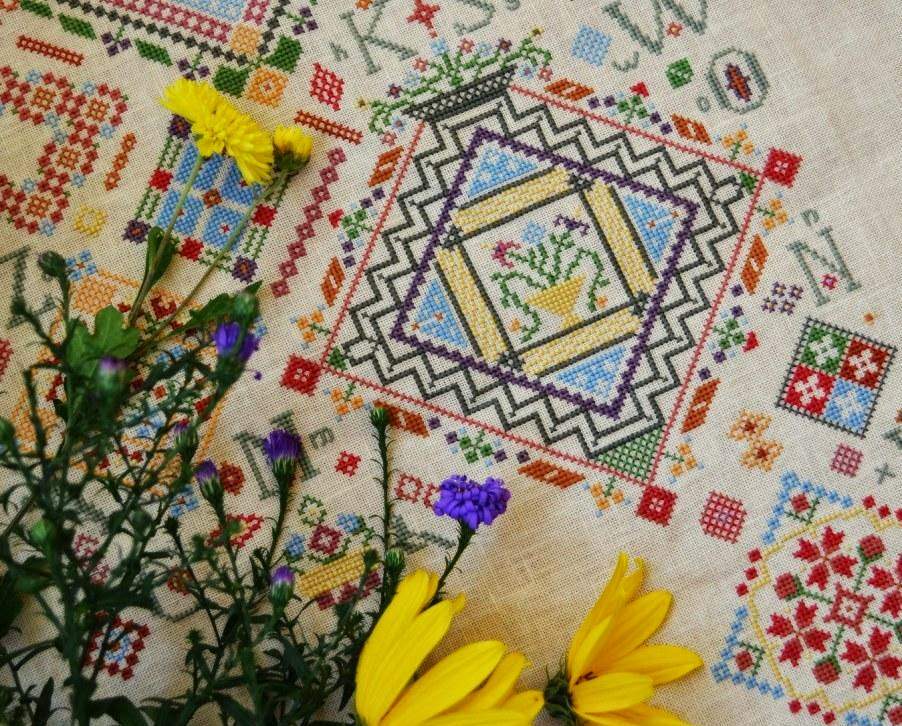
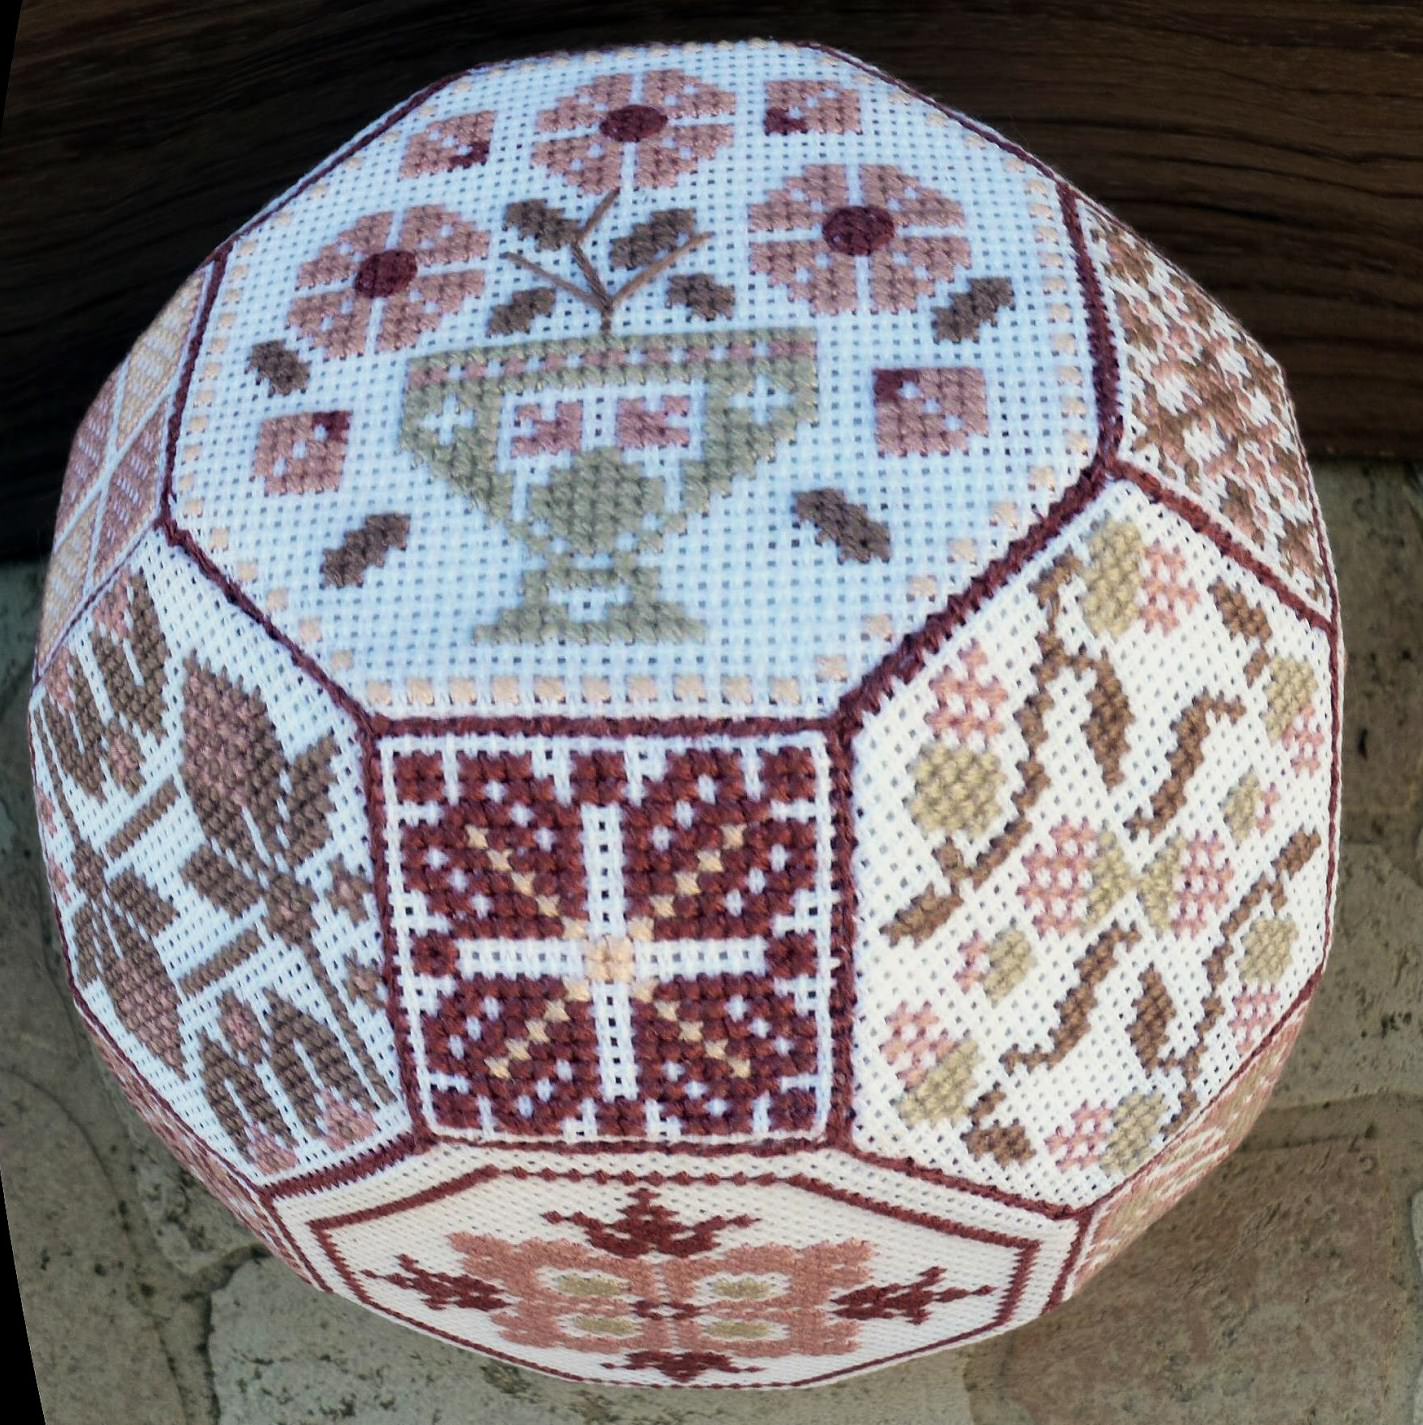
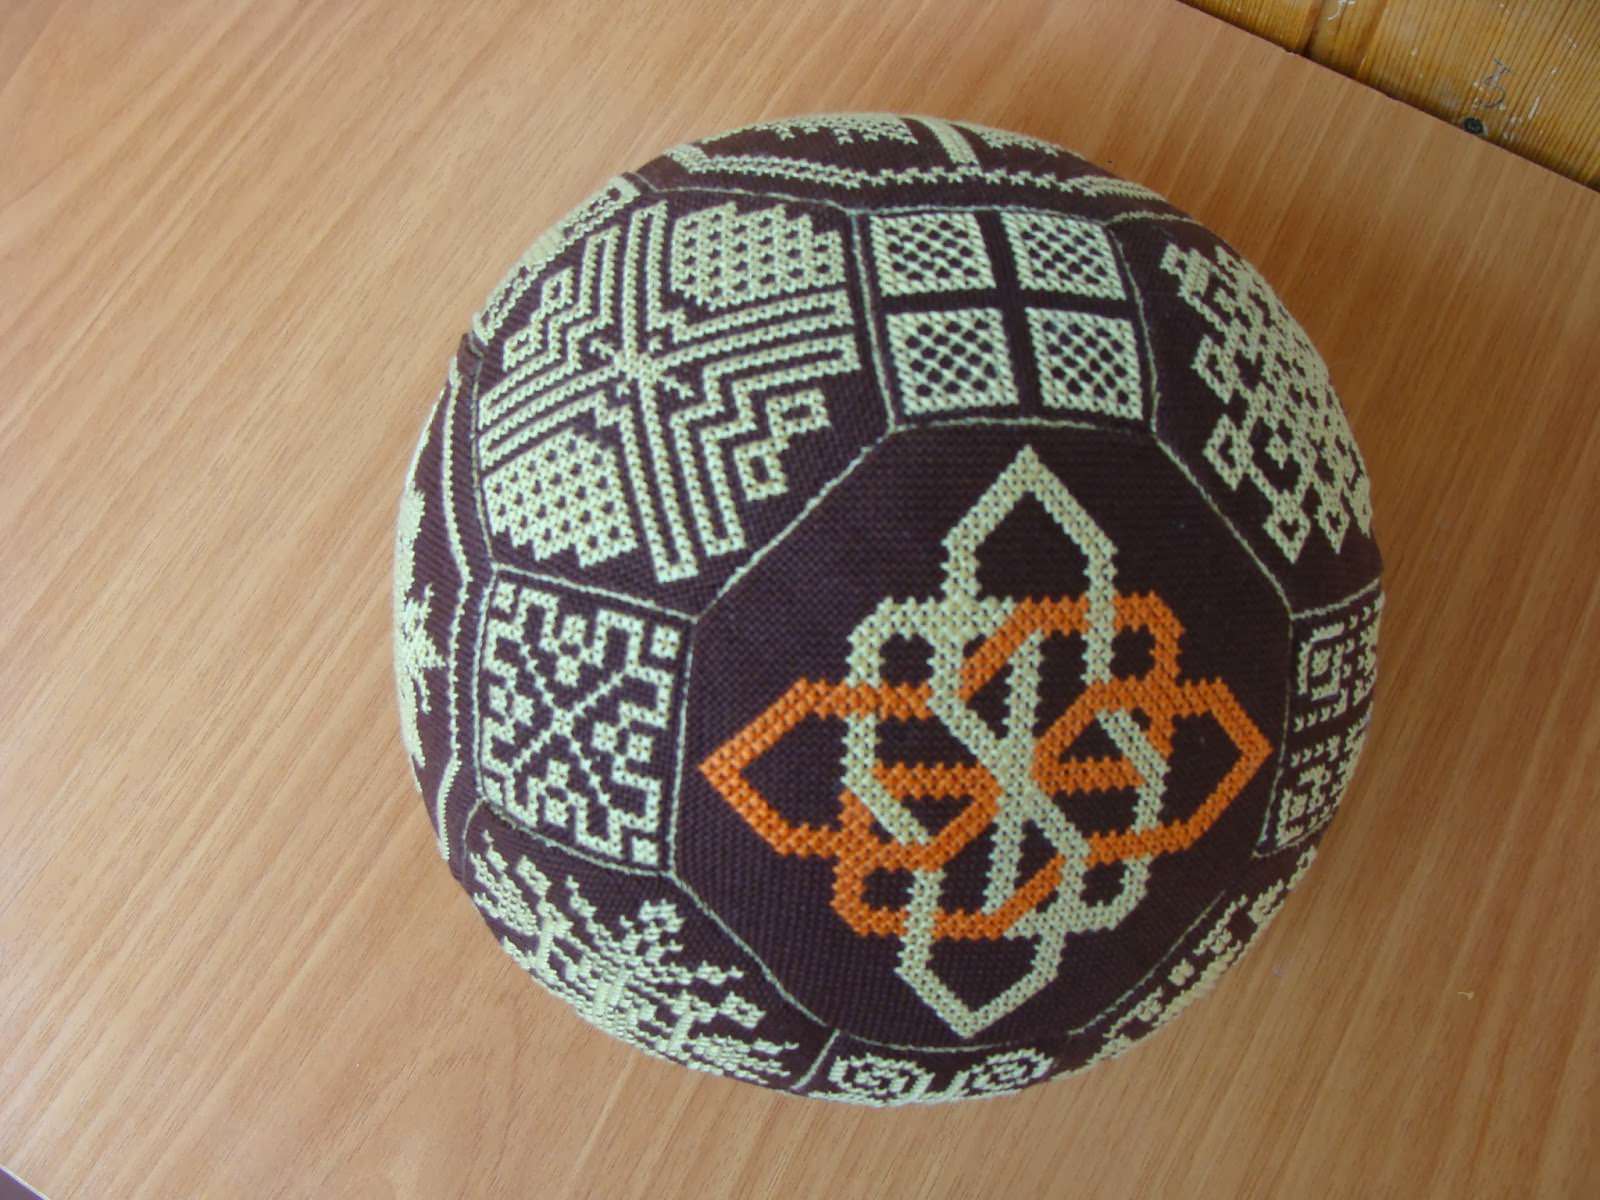
Traditional Quaker motifs are usuallyGeometric or floral ornaments (at a later time images of animals), executed in calm, strict, "noble" tones. Each symbol of such embroidery has its significance and its role. For example: a tree - family happiness, a deer - nobility and meekness, a rabbit wealth and prosperity, flowers in a vase - a strong friendship ...
On a note! Among such motives, organically can fit into the significant dates of your family or graphic wishes.
Not less beneficial will look and modernDrawings. If you sew a ball for a child, use for the elements bright images of figures, geometric figures, cartoon heroes. Beasts and flowers can also be embroidered in a modern interpretation.
Inspired, you can develop your own unique scheme of embroidery.
But if this option is still not to your liking, you can come up yourself with plot drawings for embroidery.
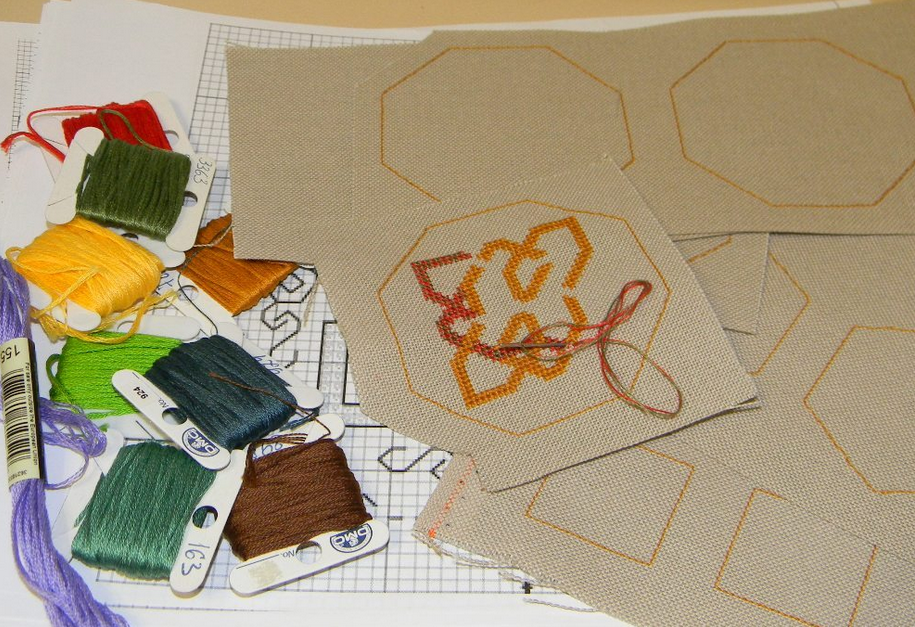
Cutting out canvas and embroidery patterns
The materials are already ready, the scheme is selected - you can proceed with the opening of the canvas.
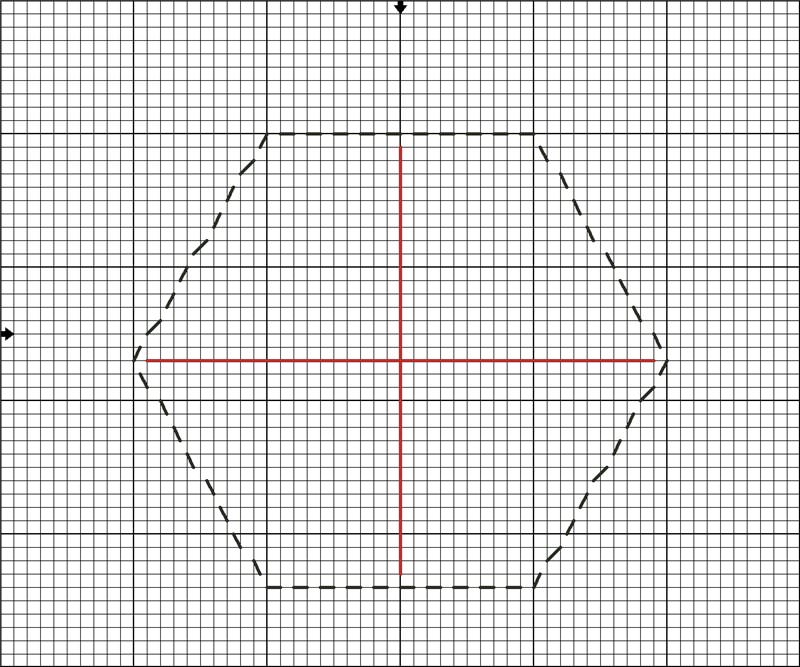
The ball, as we already described above, consists of 12Squares, 8 hexagons and 6 octahedrons. The figures are cut according to this scheme, they should be placed on the canvas at a distance of at least 3 cm from each other.
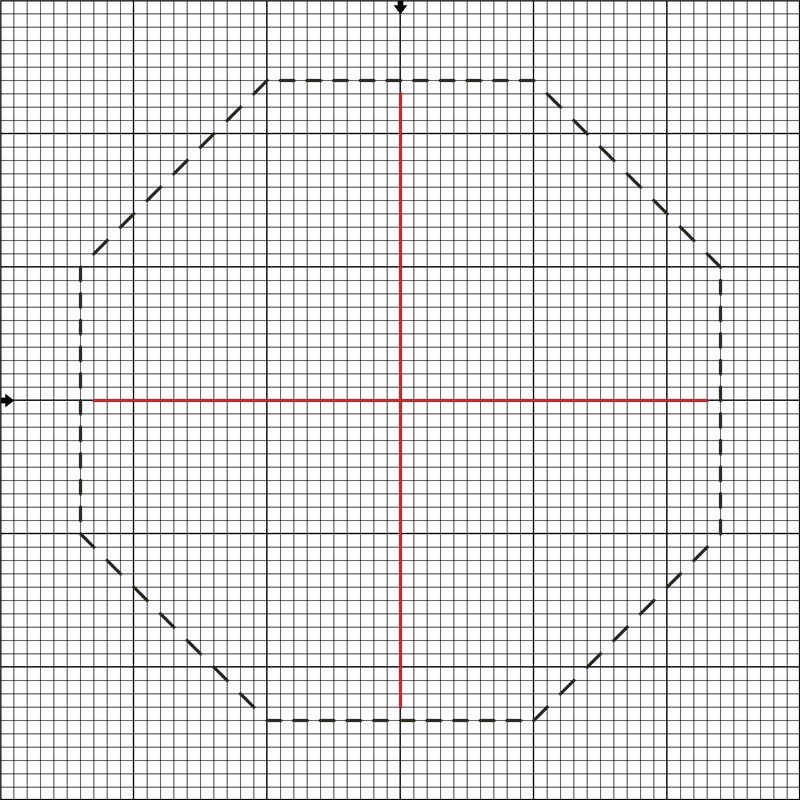
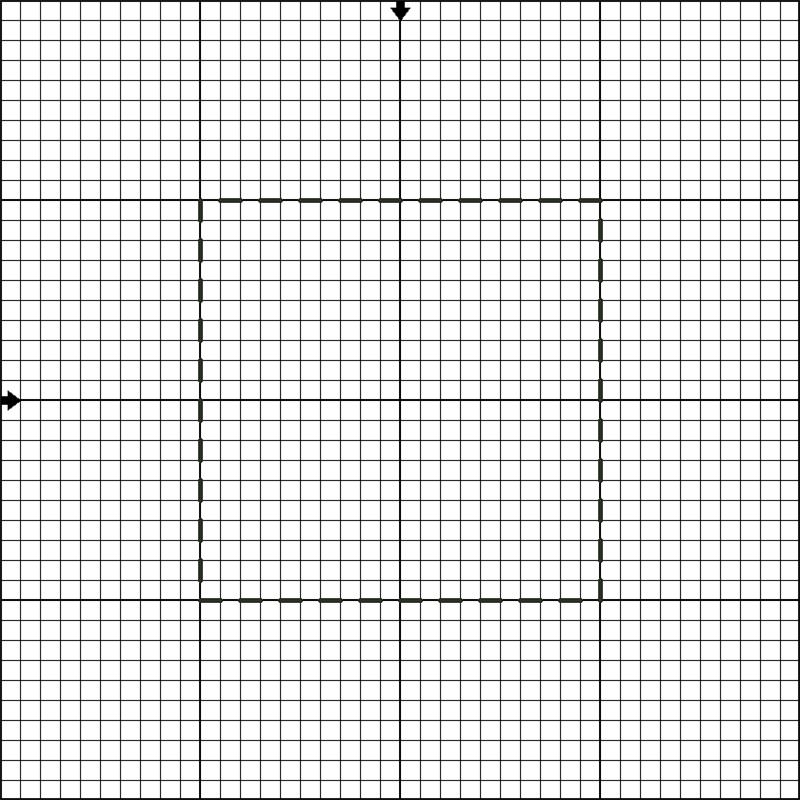
Contours of each figure I recommend to note whenAid stitches. Attention! A pencil, marker and other marking methods are highly desirable not to be used. Can remain unpleasant traces and stains on the canvas. And since usually the embroidery does not cover the whole surface of the ball, it will be especially visible. Also, in this case, assembly of fragments will be much more difficult.
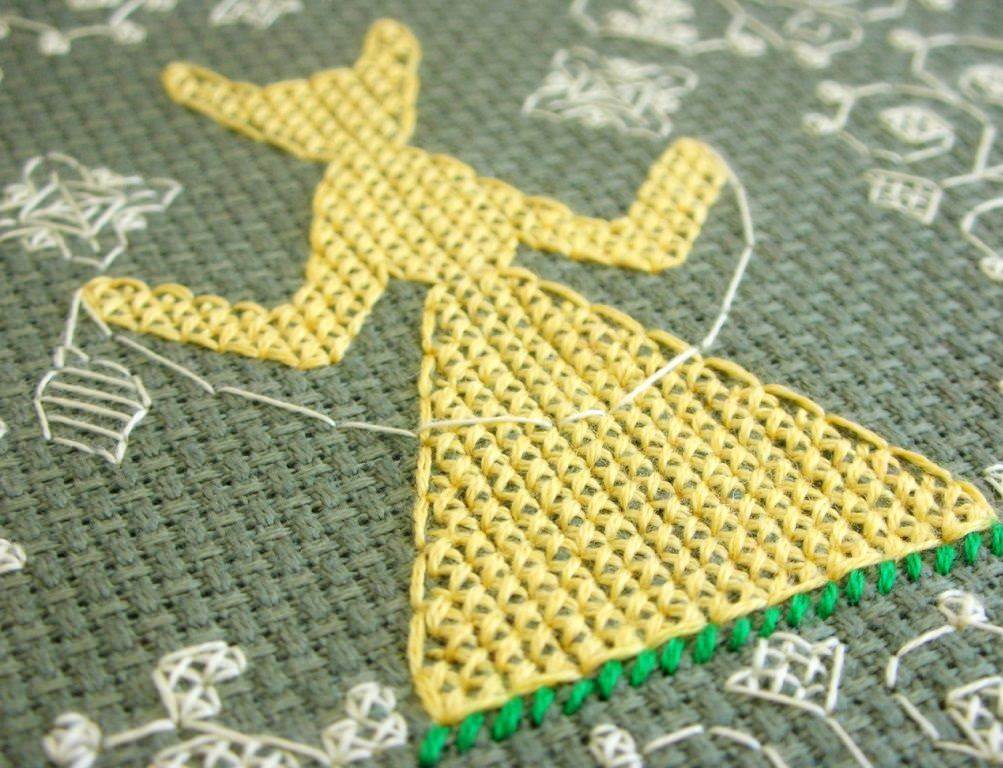
Next we proceed to the most difficult and long part of the work - directly embroidering the selected drawings. This stage can take you from a few months to a year or more.

The process of assembling an embroidered ball in the Quaker style
The actions described in this step are the preparation for the assembly of our Quaker ball:

Attention! Do not use the iron when bending indentations, because The embroidered contour of the element can be flattened, which will complicate the assembly with the help of a biscorridal suture. If you did not manage to make up the first time with your fingers, just repeat the procedure several times.
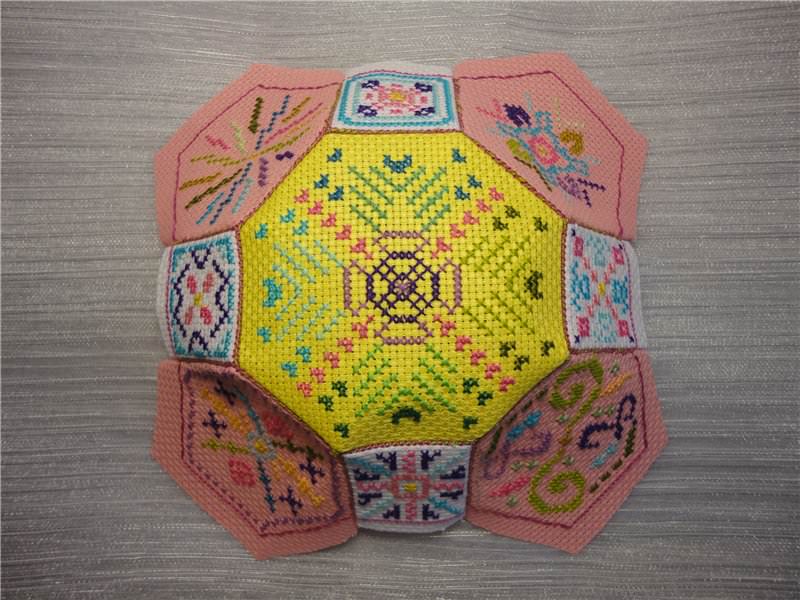
Now we can start assembling the ball. This is the most important stage of the robots. It's because of how carefully you do it, will largely depend on the impression of your ready-made quaker ball.
The sequence of this step is simple: First we will assemble the two halves, and then dock and join them. The assembly of each of the halves you can see on the video. All fragments are sewed together with a biscorridal suture. That is, we sew two fragments together by connecting their contours.
The difficulty lies in the fact that when stitchingMost of the fragments we have to compensate for the difference in the number of contour stitches. All vertical and horizontal sides consist of 20 stitches, sides located in octagons at an angle of 45 degrees - out of 14, and inclined sides of hexagons of 17.
In order to smooth this difference, we will have toPeriodically make two seams in one contour stitch, for a figure with a smaller side. Such additional seams should be distributed as evenly as possible, otherwise the seam between the two elements will turn out to be a curve and "wrinkled". What, you see, negatively affects the appearance of the product.
When you finish the connection of the two halves (only two fragments will not be stitched), do not forget those about stuffing. Filling the balloon with filler, finish the remaining seam and fix the thread.
Advice! Try to fill the ball as tightly as possible, so as not to give the impression of "one-sidedness" and the curvature of the resulting ball.
And so, I can congratulate you - you have finished making your ball! I hope you enjoyed working with our lesson and you will continue to be engaged in embroidery, including Quaker style.
And now we give you a photo selection of balls:


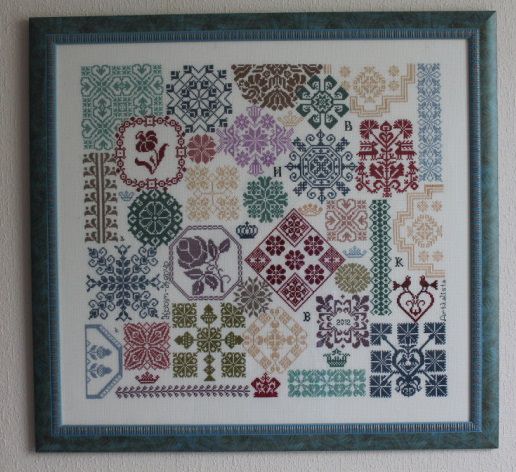
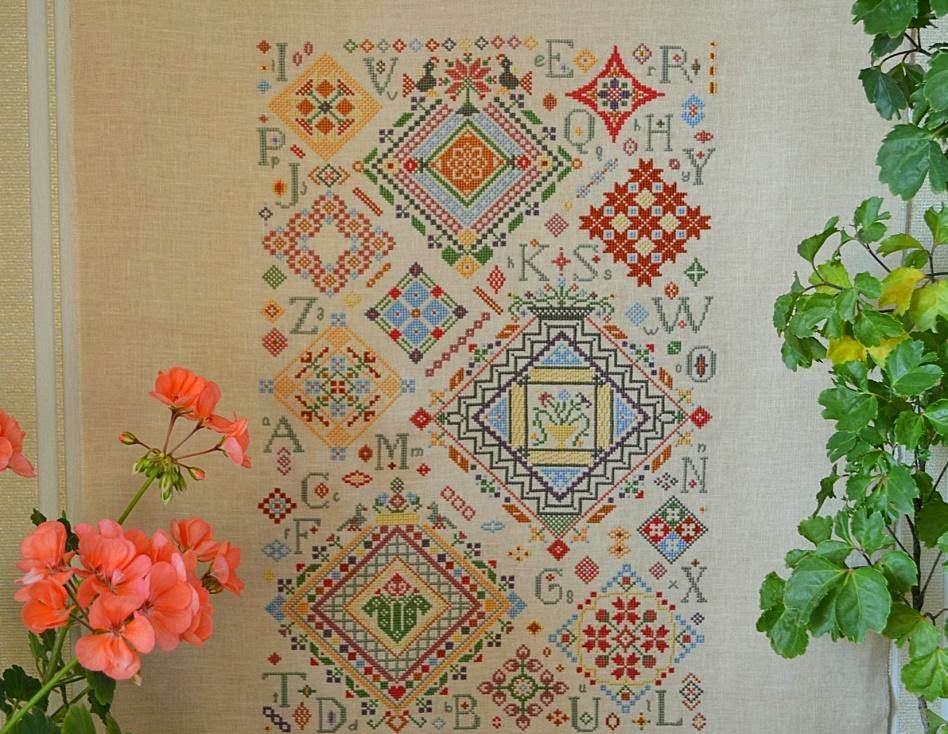
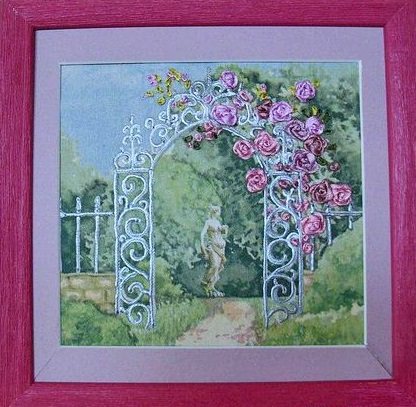
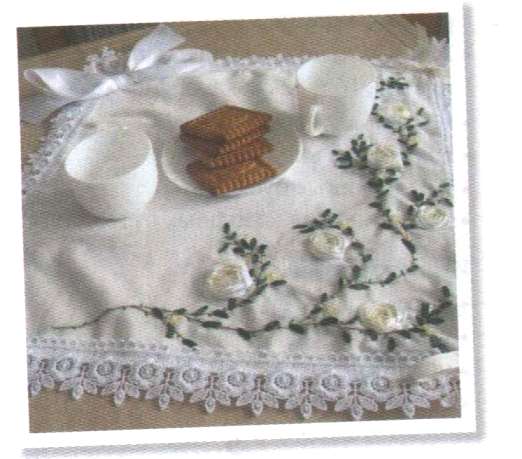
And a few Quaker-style products:


Video: master class on the assembly of the Quaker ball
Comments
Related posts:
 Embroidery ribbon paintings in the photo and video master class
 Embroidery makosh scheme of the amulet and symbols in the master class (photo)
 Buti elegant embroidery volume in the master class (photo and video)
 Tablecloths embroidered ribbons in a master class (photo)