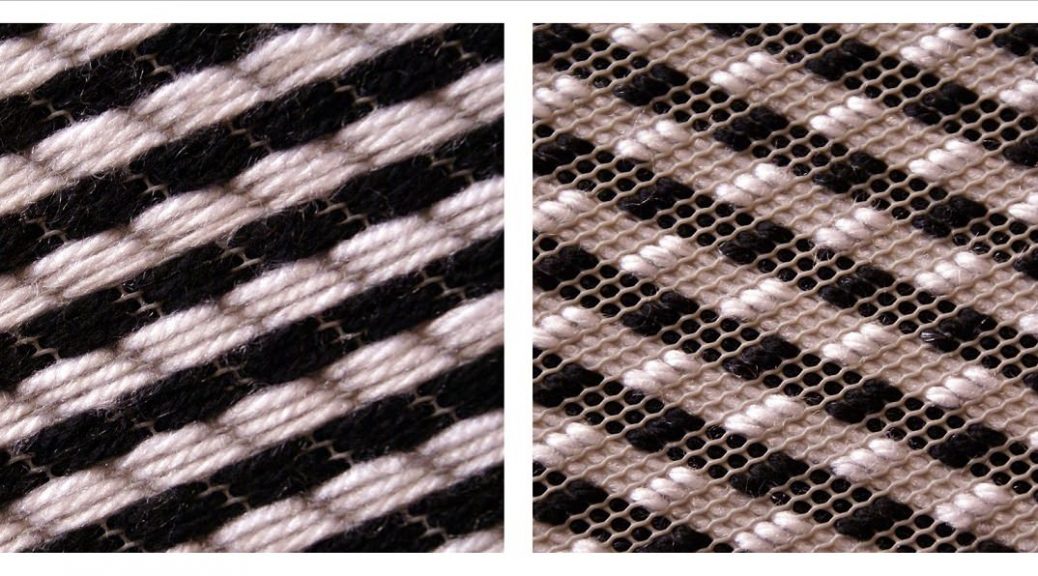
Embroidery on the grid and its performance technique (video)
Content
- Getting Started
- Technique of the embroidery on the grid
- Variety of methods for embroidery on the grid
- How to finish the embroidery on the grid
- The use of embroidery on the grid in the modern world
- Masterclass Embroidery bands on the grid
- Video: different techniques of embroidery on the grid
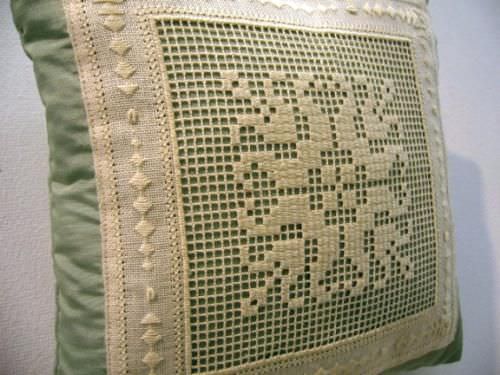
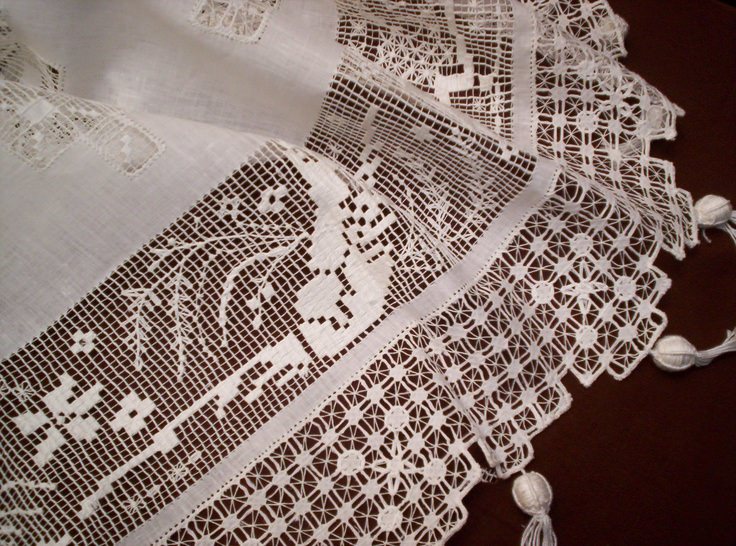
Embroidery on the grid or loin embroidery - ita great way to help create a needle women beautiful and unique things. It is based on the embroidery of empty and filled cells. When they are brought together - to provide the desired pattern.
Embroidery on the grid as a finished product will lookoriginal and unusual. Things started in a way reminiscent of an expensive antique. Presented below technology - simple, which is suitable for a large number of patterns.
Getting Started
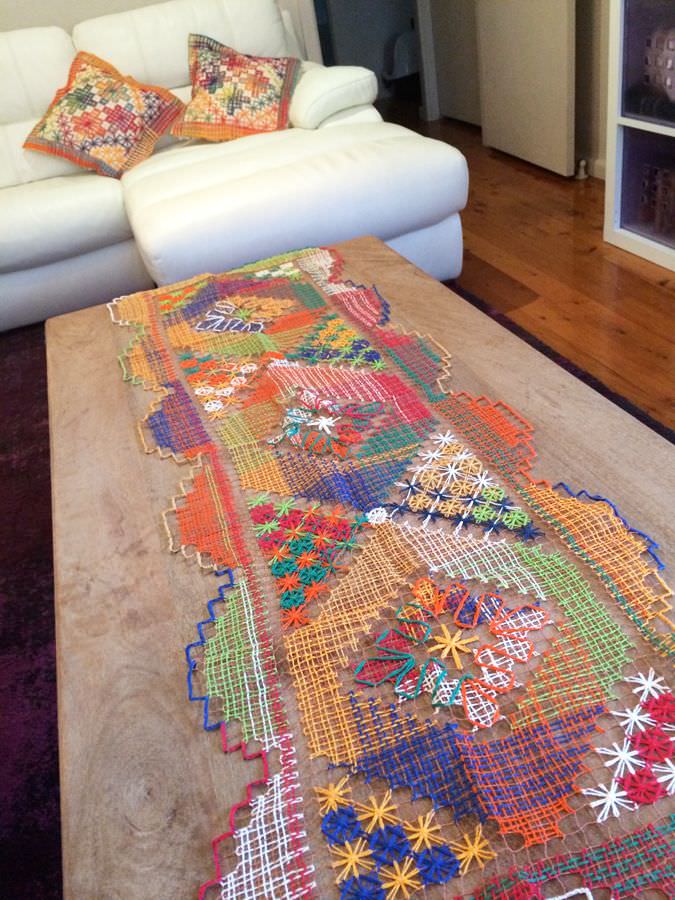
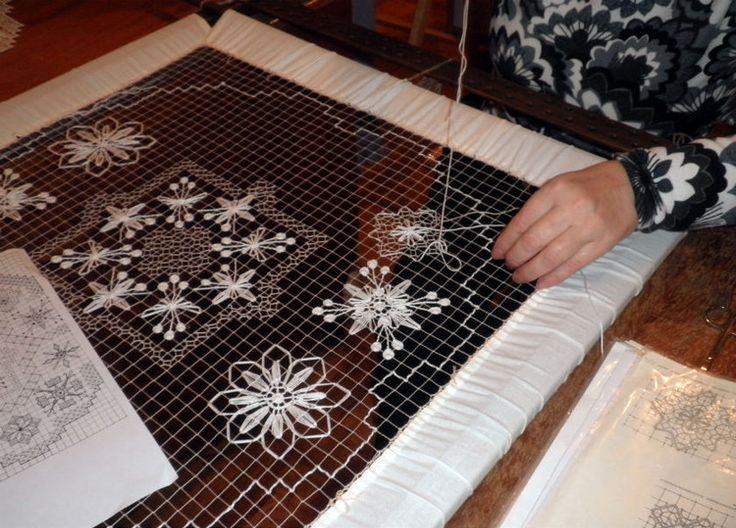
To get started, you need a grid. It can make your own or buy at the craft store.
Several methods for creating an independent basis for embroidery:
- cut from the fabric mesh. To do this in certain locations and cut the thread draw out fabric;
- plaiting bases can be used a dedicated shuttle. At the end of the work turns the classic grid;
- Crochet. Grid is a simple pattern that can even link a beginner needlewoman. To make the blank cells need to be alternated with columns nakida with air loops.
When you buy in the store ready-made grid, you need to pay attention to its magnitude and location of the cells.
Tips that can help while embroidering:
Technique of the embroidery on the grid
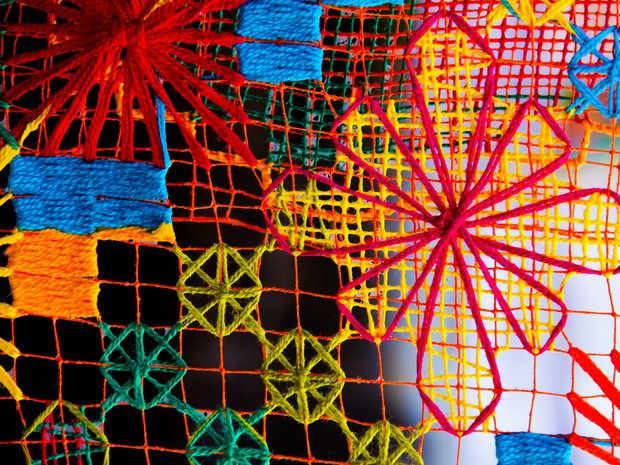
Embroidery on the grid can be done with colored threads. This rule does not apply for embroidery curtains;
Variety of methods for embroidery on the grid
This embroidery can be done in two different ways - a weaving and darning.
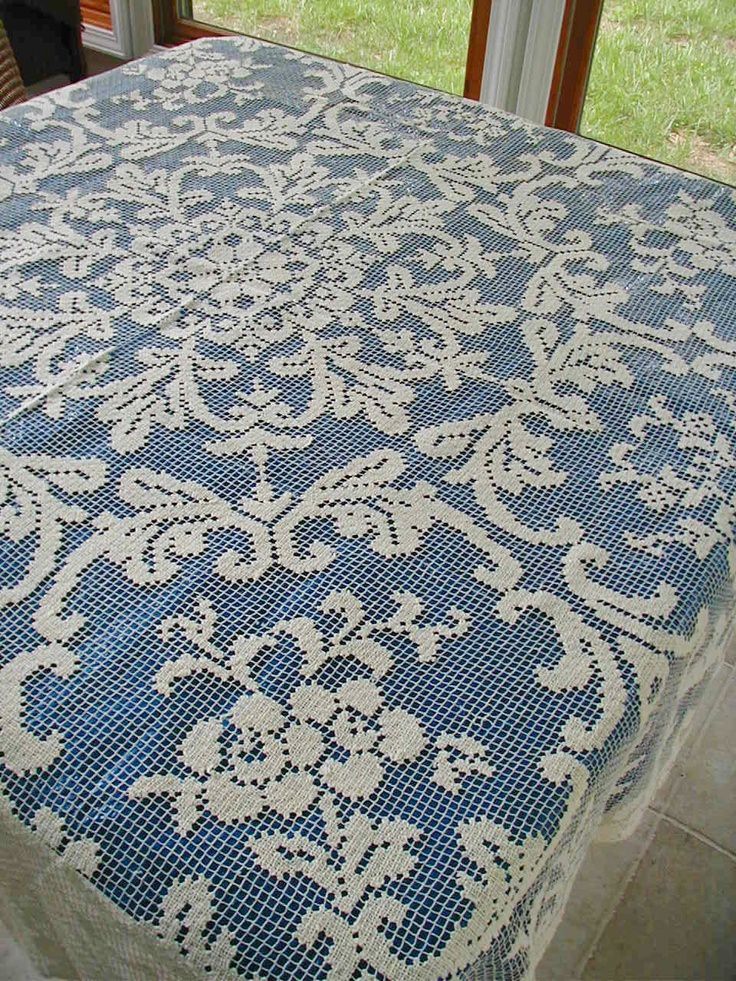
embroidery using braided fashionIt meant by a thread passing through the cell by means of a snake. Thus it is necessary to leave the working thread only in the grid - position above or below. With the two sides should twine only every second thread on the upper side. To pattern was more beautiful and aesthetically pleasing to fill in the cells often enough. If they have a large size, for maximum strength you need to stretch one or two threads. Thus, the cell will become smaller, and the pattern will be durable;- darning way - is stitching thread patternalong the cell, performing a warp function. Next you need to repeat embroidery across, and thus leave the longitudinal threads at the top and bottom line. Cells must remind patching. In case small size foundations or embroidery yarns made thick enough - they must be filled with two stitches. Direction is selected in this case horizontal and vertical. If used for a thin thread or small cell, it is necessary to make a few stitches.
How to finish the embroidery on the grid
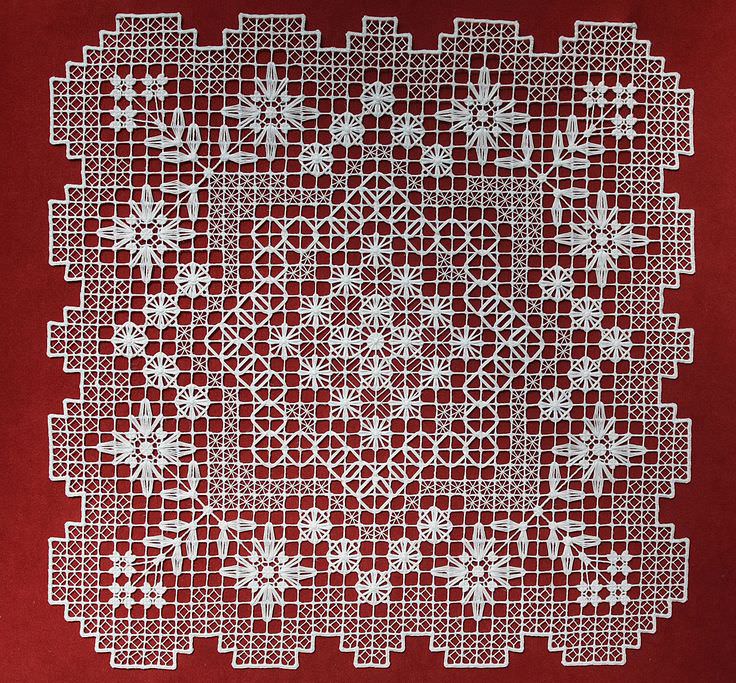
Any embroidery on the grid must be correctly completed. Perform work in a few simple ways:
Needlewoman can choose the mostoptimum working method for fixing the filament to the grid. Particular attention in this matter should be paid to the thickness of the thread used for embroidery. If it is thick, it is better to finish the job by using the first method. Otherwise, the pattern boundaries on the one hand and will look ugly more tightly.
Finished embroidery can be usedas a separate gift. Some needlewoman insert their work in picture frames to make a gift to friends and family. This may be a unique decorative element at the time of registration of a variety of handicrafts.
The use of embroidery on the grid in the modern world
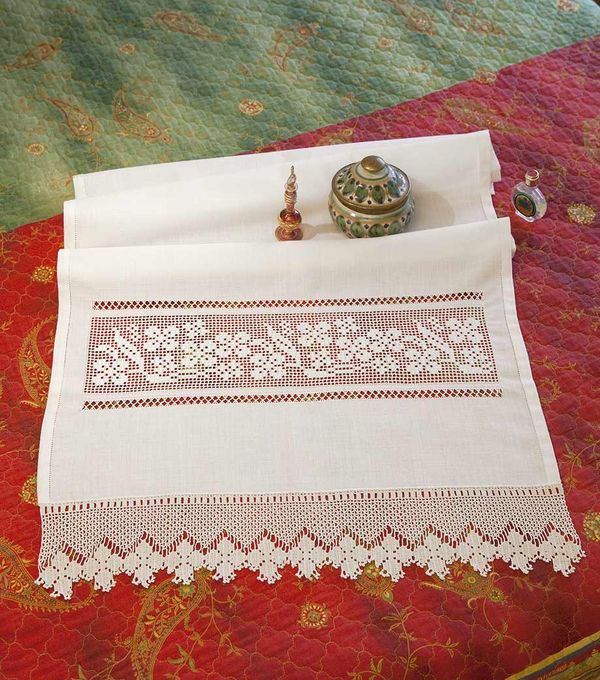
There are some basic ideas to help you use ready-made patterns, embroidered on the grid:
- thanks to this product can be used as a stand for hot meals;
- Embroidery can be tight on a cardboard box, in order to become part of a large amount of jewelry, or a cover for gift boxes;
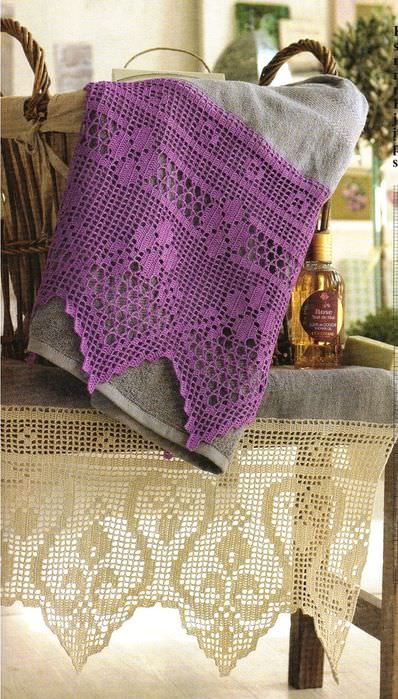
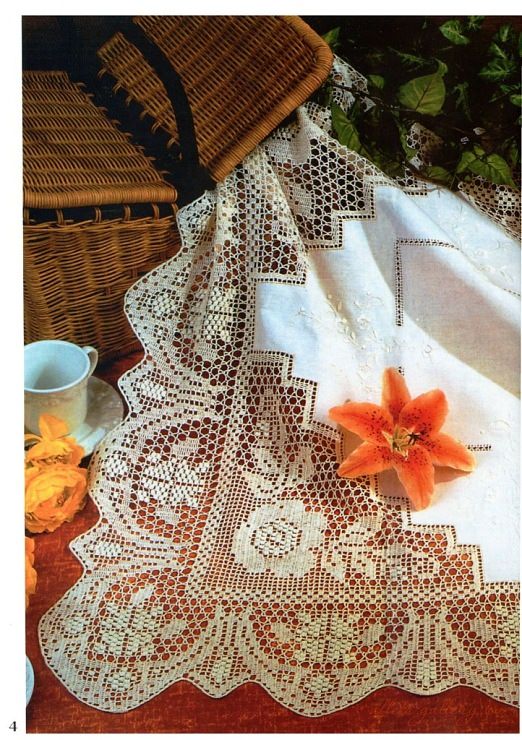
- embroidery patterns on the grid to decorate towels, tablecloths, as well as many other things.
Masterclass Embroidery bands on the grid
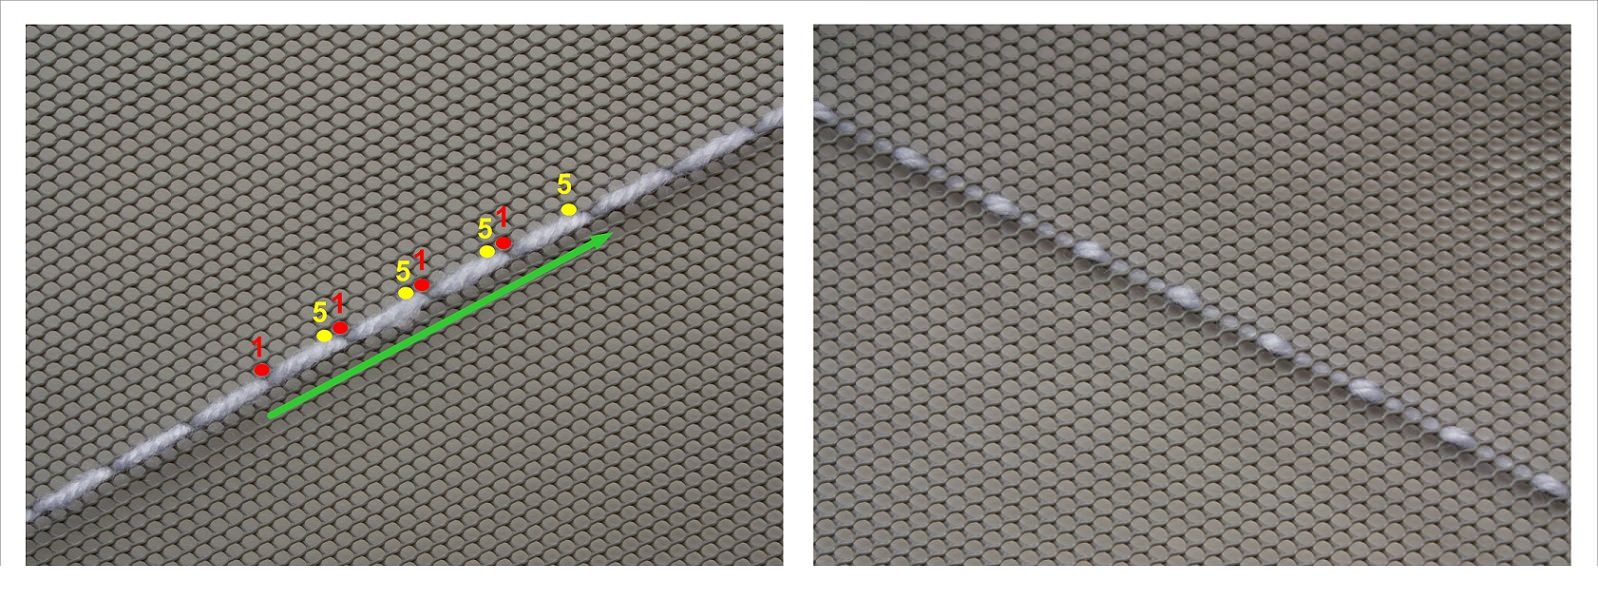
Skilled needlewoman is recommended forWork mosquito net, because it has some differences from the plastic canvas. This framework includes the main advantage - it is the location of the rows of cells are not at right angles. Skilled workers can break the finished work to the best squares. The direction of the embroidery should go only on the angle and strictly diagonally.

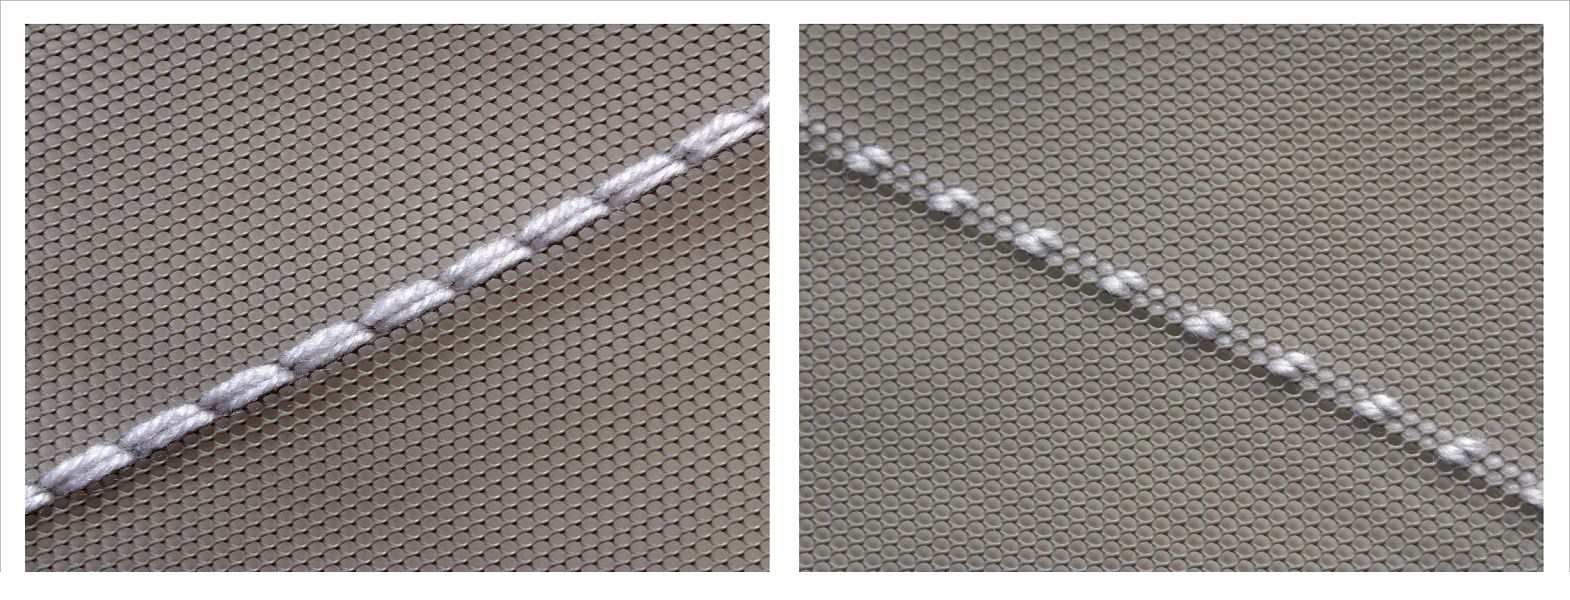

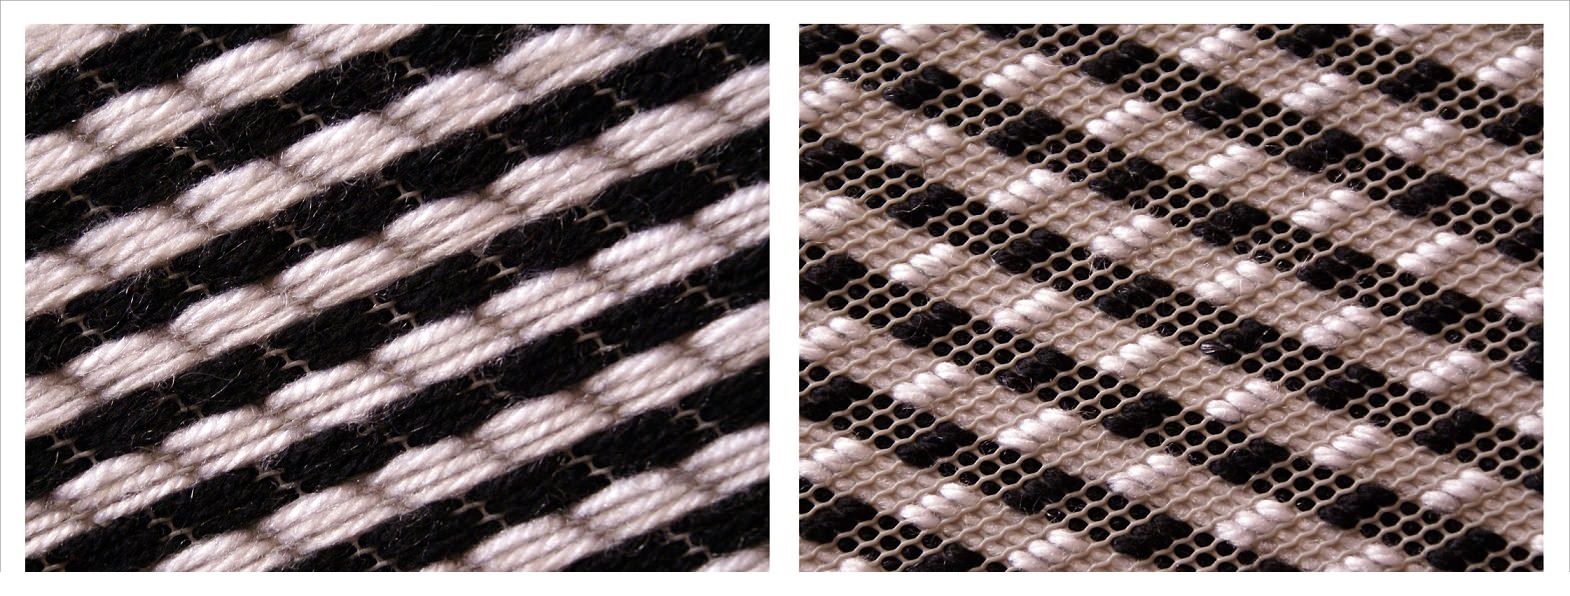
grid embroidery needle women all help to create a great and unique in its kind of thing. They can be an excellent gift or Prezent for any event.
Video: different techniques of embroidery on the grid


