Embroidery of irises with ribbons with examples of schemes
Content
- A simple way of embroidering iris
- Scheme for embroidery composition of irises
- Video: Iris Embroidery Tutorial
You can definitely say that the flower themeOccupies a leading position in such needlework as embroidery with ribbons. All the diversity of the floral world can be displayed on the canvas, using for this purpose satin ribbons of different colors. Today we will talk about the embroidery of such a flower as iris. Many beginner needlewomen have difficulties with embroidering this representative of the floral world. Therefore, with the example of several schemes, we will discuss the methodology of such a work.
A simple way of embroidering iris
For embroidery iris, beginners skilled in the necessary scheme, on which the whole sequence of actions is displayed.
 As a basis, in this master class, paper was used. You can use any suitable fabric for embroidery.
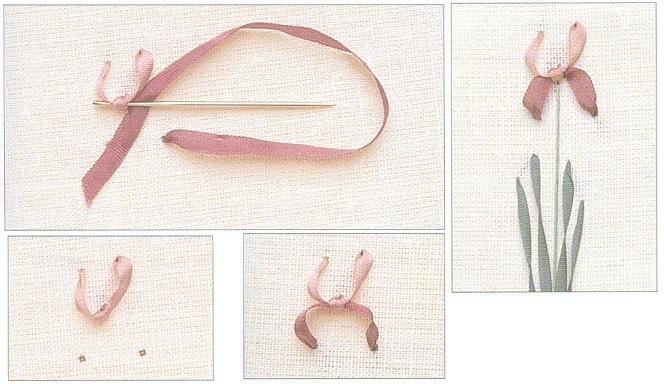
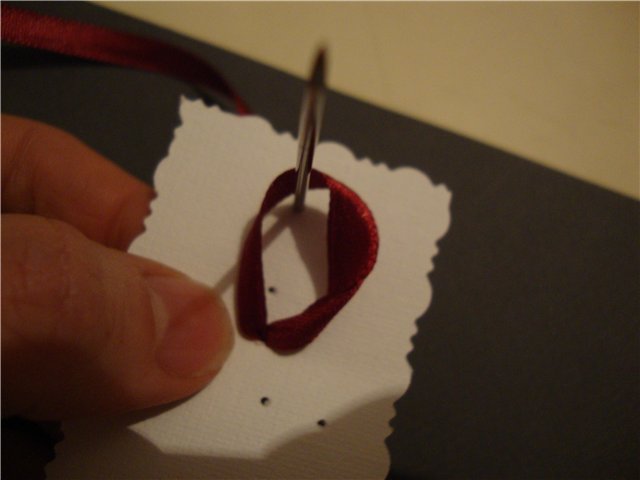
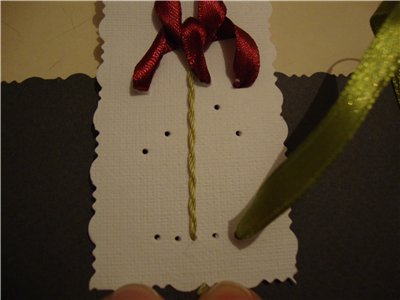
First of all, before work, according to the scheme on the surface of the base points or as in this case cause punctures.
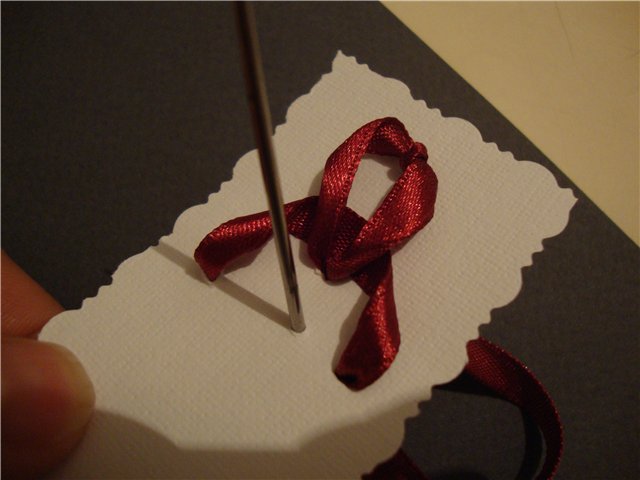
 First, a needle with a tape is removed from the first mark and a loop is made. Next, the needle goes to the wrong side to the first point. The loop remains in the outer part.

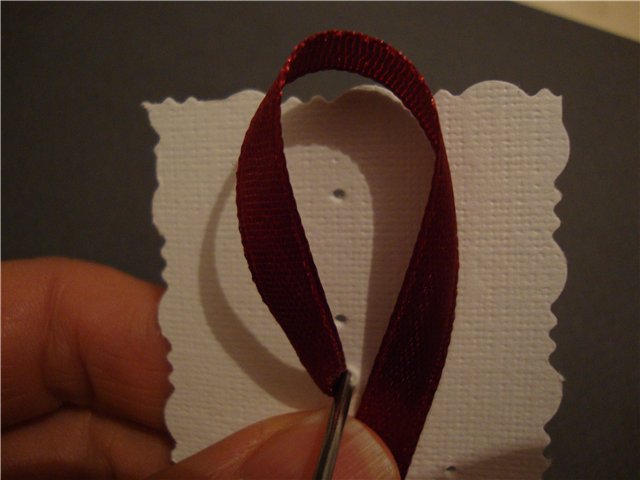

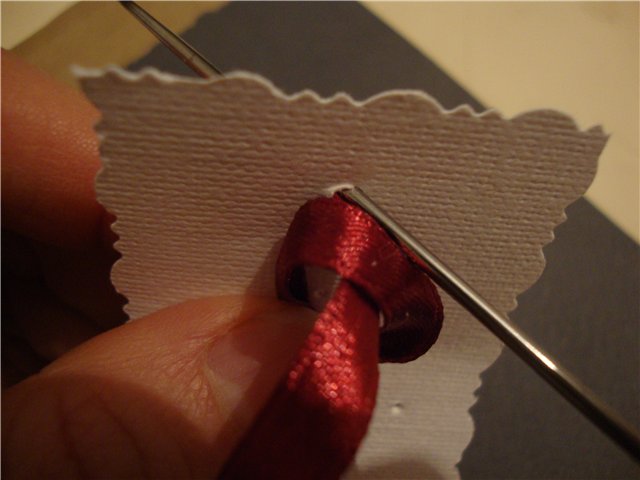
Next step, the needle is displayed on the face in the secondMark in the loop area. Now, the tape is held on the wrong side in the mark number 2 behind the eyelet. This seam is called a "loop". So you should form the top of the iris flower.

After this, the ribbon is stretched to the outside in the third mark and held under the eyelet. The needle is pushed into the fourth point and stretches to the wrong side.
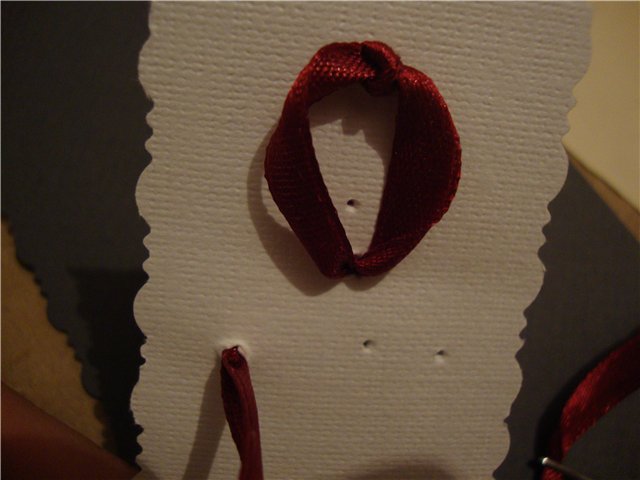
Next, the tape is displayed on the face at the fifth point, a stitch is made by stretching the satin material through the sixth point.


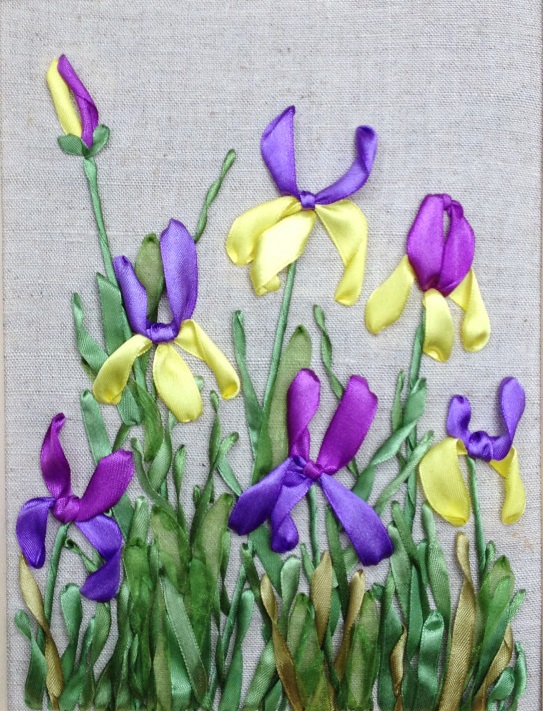
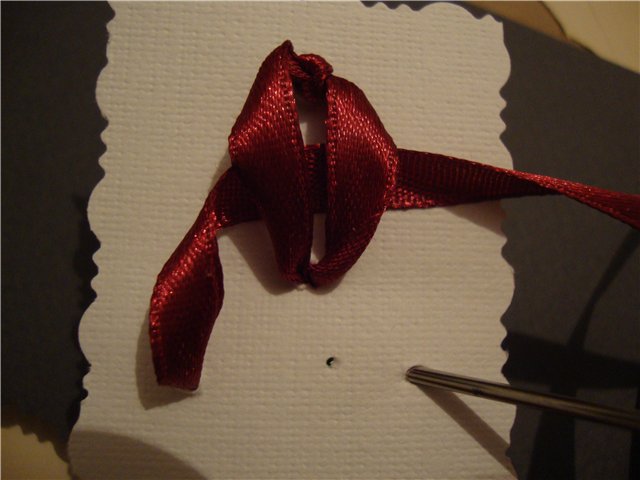
This is a simple way and embroidered iris.
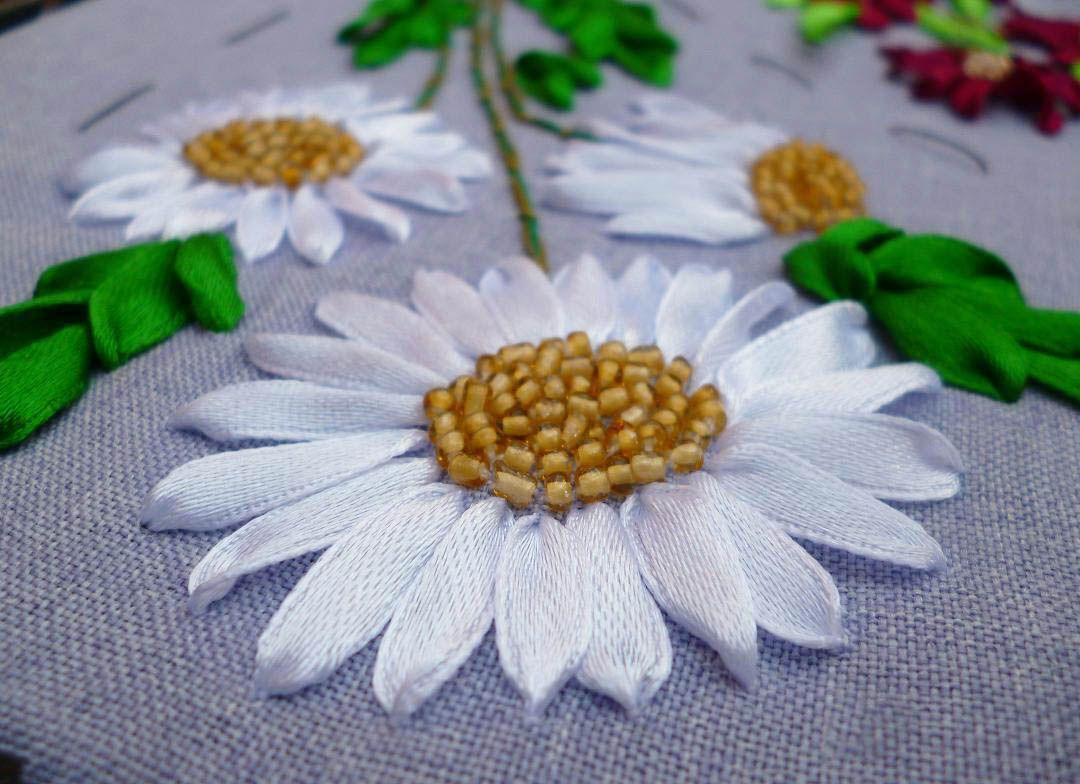
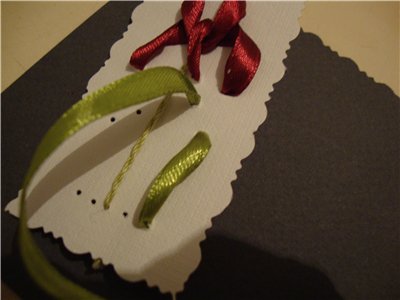
The remaining elements in the form of leaves are stitched with green ribbons stitched with straight stitches, as in the photo.
Note that the ends of the ribbonsIt is necessary to be singed by the tribe in order to avoid their shedding. At the moment when you bring the working material to the wrong side, do not grasp or stitch with the needle the ribbons located on the wrong side. In this case, the embroidery will deteriorate due to the tightening of the facial loops.

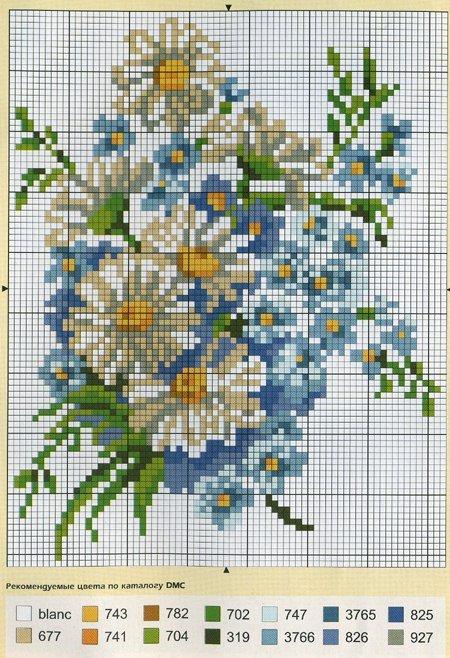
Scheme for embroidery composition of irises
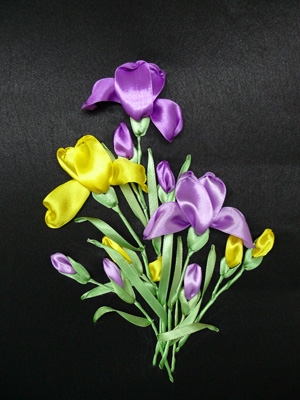
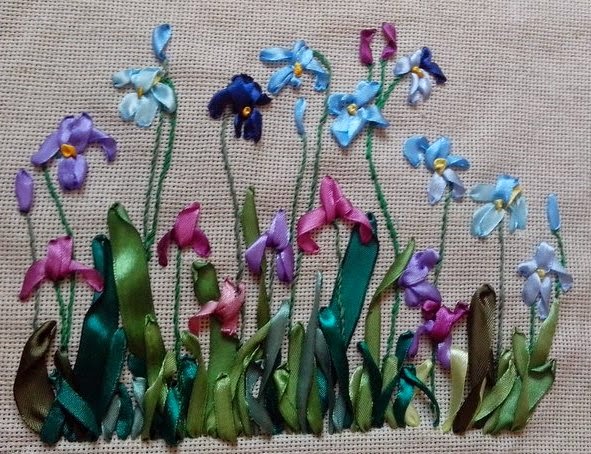
Another example with a diagram and step-by-step photos, will tell you how to embroider a floral composition and beautiful irises.
 In this case, irises are embroidered with a single loop seam, and foliage - simple straight.
Use in the work interesting combinations of shades of the main material to get beautiful ribbon overflows.
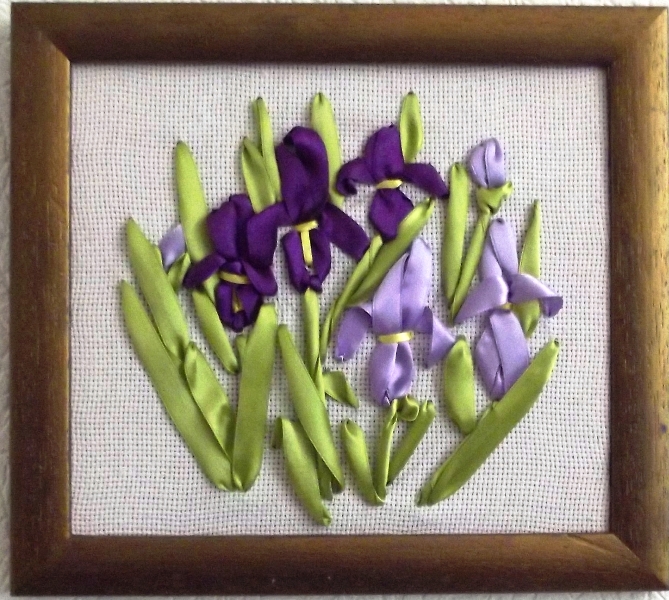
According to this variant of the scheme you can make embroidery:
 Work on the composition consists of severalStages, where you will need to make embroidery of opened and unopened irises, as well as buds. To obtain colors of different sizes, use ribbons with different widths, varying the length of the stitches.

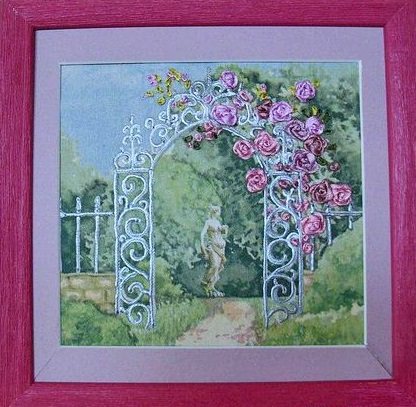
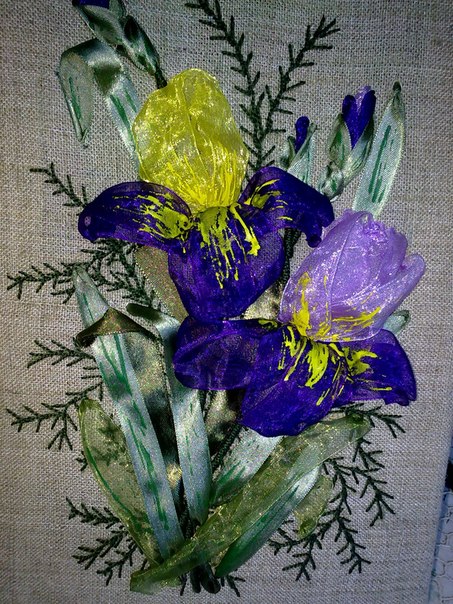
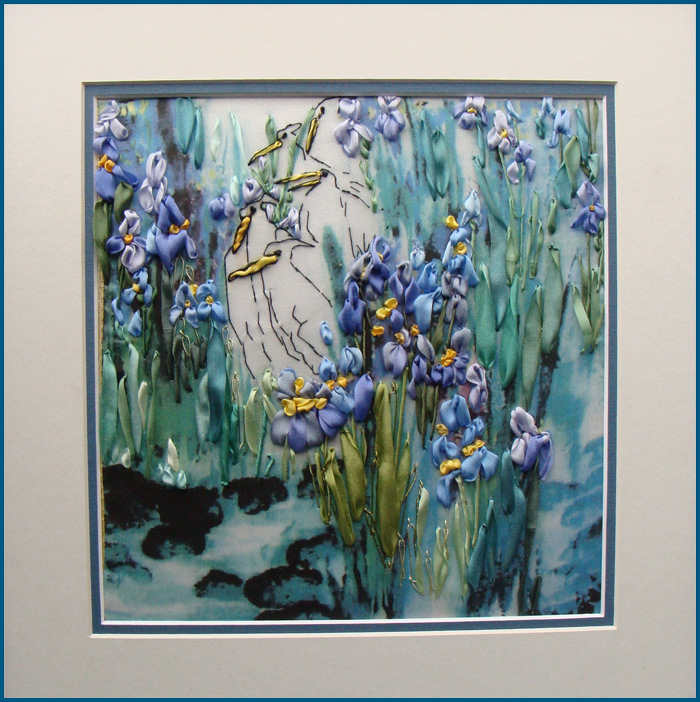
In addition, the photo of the finished work used an interesting method with the base painting the colors of a blue hue.
In more detail the process of creating irises from tapes, you will be helped by a visual video with a master class, after studying which you will certainly be able to embroider this wonderful flower yourself.