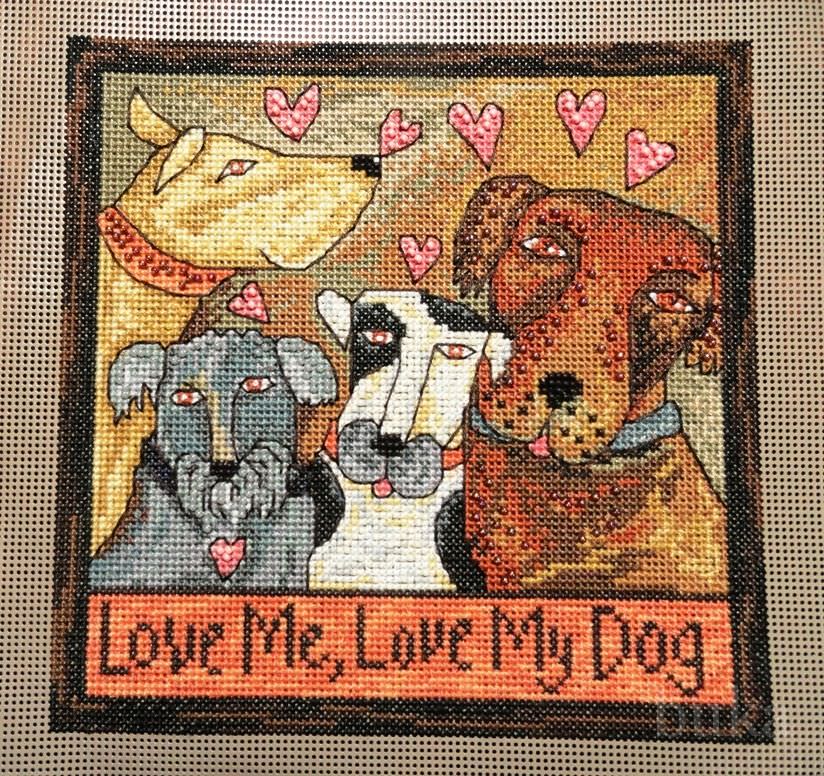
Embroidery on the plastic canvas ideas for creativity (photo)
Content
- Volume embroidery with plastic canvas
- How to make a plastic canvas with your own hands
- Handbag with embroidery on plastic canvas
- Video: embroidery on plastic canvas
Various products made by hand,Have always been highly valued, and the masters who made them were respected and respected by others. At the present time, many people decorate their homes on their own, and plastic canvas helps them in this. With this unique material, you can create not only flat, but also large products.


Volume embroidery with plastic canvas

First of all, I would like to note thatPlastic canvas is of different colors and therefore before you begin to work you must decide on the basic color of your product. After all, it will depend on what color
you need:
Also, the plastic canvas is different in size andForm of cells. Therefore, if you plan to embroider a large product, you will need sheets with large square cells, and if small, then the cells should be small and round. The overwhelming majority of specialists recommend that beginners do embroidery on a plastic canvas with an average size of cells, since this greatly simplifies the whole process.
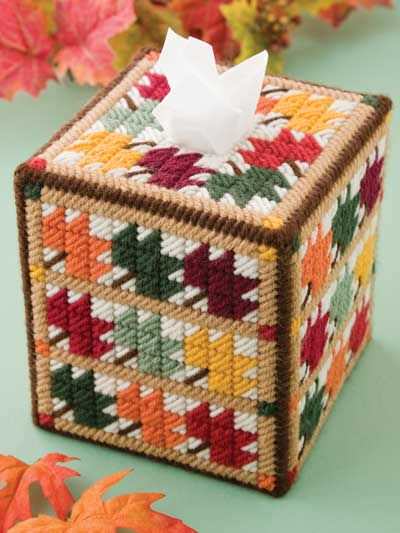
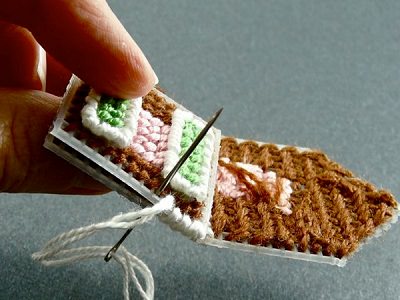
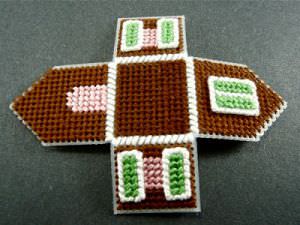
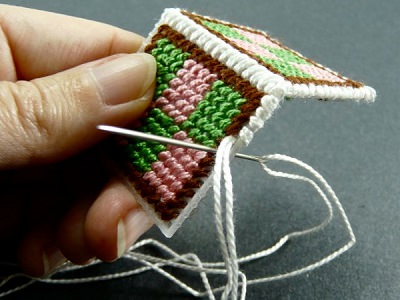
Having dealt with what this miracle is, we can start a master class to create a voluminous house:
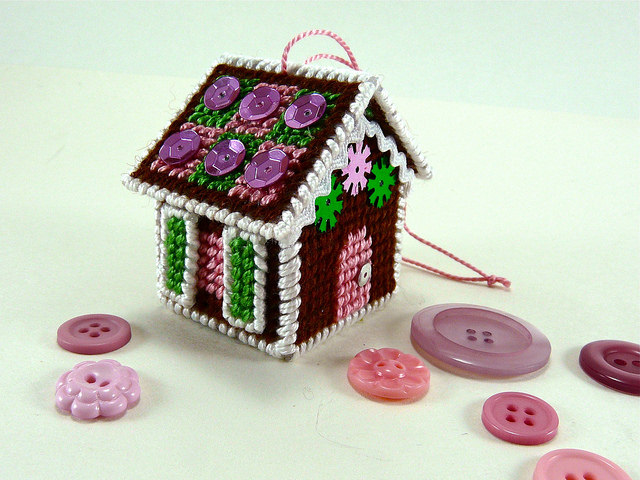
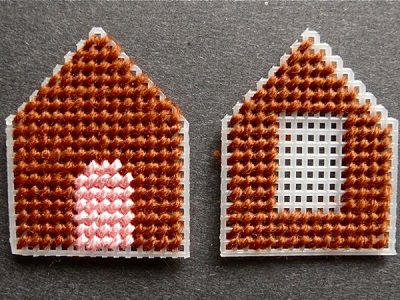
Plastic canvas is usually sold in sheetsFormat A4, so first you will need to cut out the details for the future house. First, cut out its base, as well as the back and front walls;


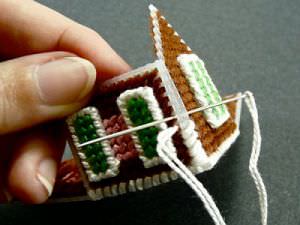
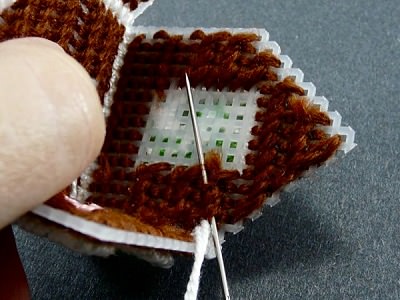


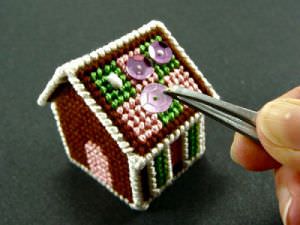
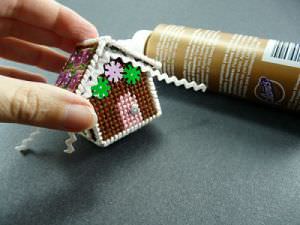
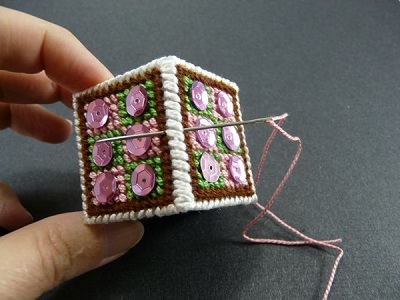
On this our main work can be consideredFinished. We can only further decorate the house with the help of pebbles, rhinestones or beads. For this we also need glue and a little imagination.
If your house is small, thenYou can quite make a small loop around the center of its roof, and then use it as an original Christmas tree decoration. Such a toy on the Christmas tree will look amazing, and your guests will certainly appreciate your talent.
How to make a plastic canvas with your own hands
Plastic canvas with their own hands - this is the firstTurn an excellent opportunity to save, because such an unusual material for needlework is quite expensive. In addition, plastic canvas is not sold in all stores and therefore it is sometimes easier to make it on your own, and not for example ordering on the Internet.
There are several ways of making plastic canvas at home:

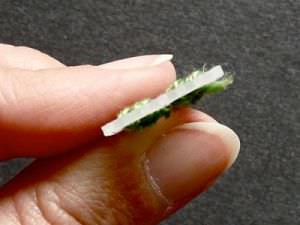
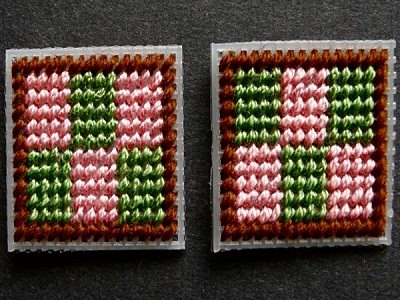
You can also embroider the selectedYou figure, and then wet it with a solution of water and glue from the wrong side. At the same time, your embroidery should be well-worked around the edges. By choosing this method you will need to give the canvas the volume you need while it is still wet and only then give it time to completely dry it;
Embroidery on a plastic canvas is prettyAn exciting activity, so you can be sure that the fabrication of the canvas with your own hands will not later be wasted time. This small master class on the manufacture of plastic canvas will help you quickly get the finished material and will enable you to proceed directly to the very process of embroidery.
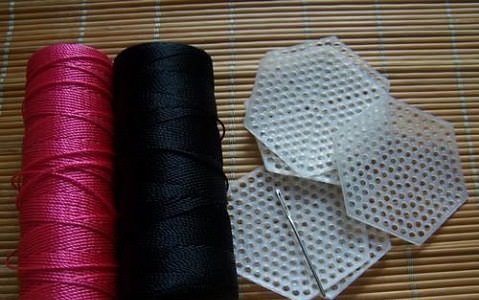
Handbag with embroidery on plastic canvas
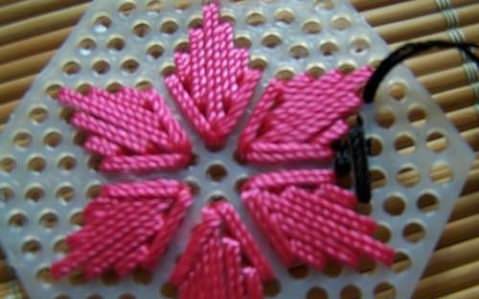
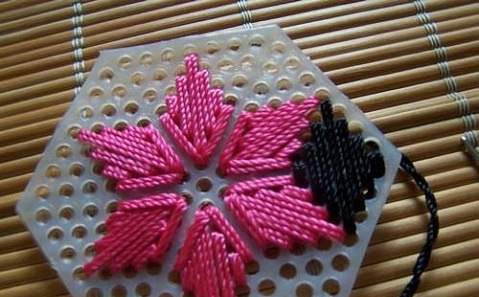
We make a handbag from a plastic canvas:
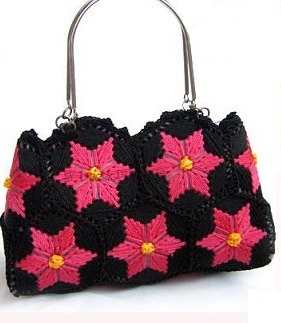
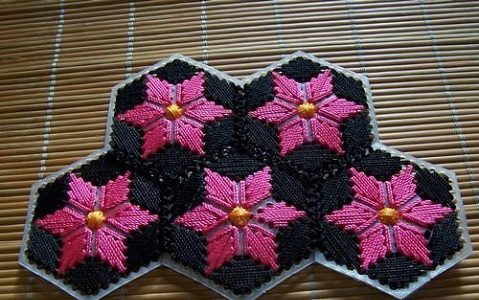
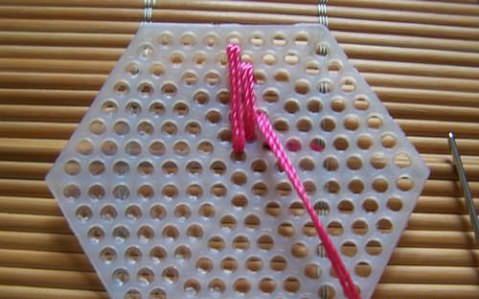
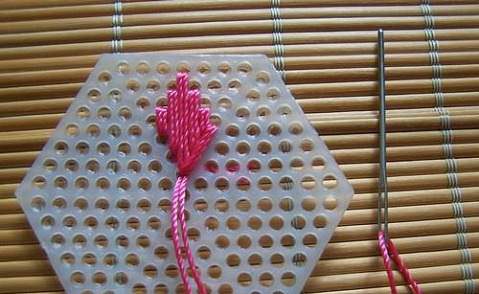
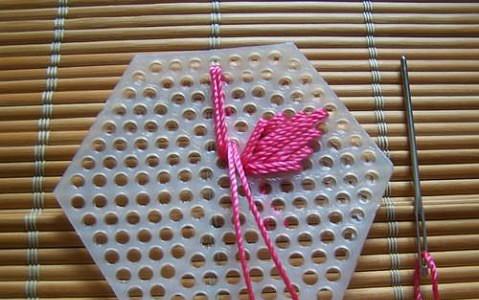
In order that in the purse afterwards there were no ugly lumens, your embroidery should be made with a double thread. Embroidery should be started from the top of the pink petal;

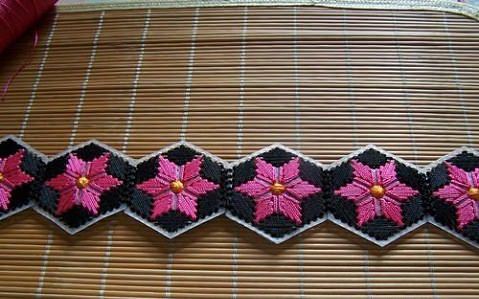
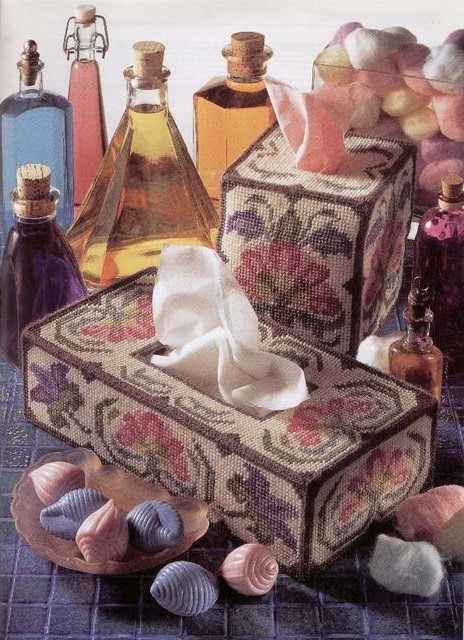
Embroidery on a plastic canvas is prettyLaborious and long process, but the result will unequivocally surpass all your even the most daring expectations. This kind of embroidery will help you in creating beautiful and unique Christmas decorations, caskets, hot-stands, vases, photo frames, bags, bookmarks and much more. You can decorate your home with irreplaceable and at the same time incredible things, and your friends and acquaintances will be delighted with your new hobby!
Video: embroidery on plastic canvas
Comments
Related posts:
 Embroidery on paper options for creativity with their own hands
 Butterfly embroidery with ribbons: ideas and master classes
 Embroidery crochet for beginners in photo and video lessons
Openwork embroidery on a napkin and types of applied seams (photo)
Embroidery crochet for beginners in photo and video lessons
Openwork embroidery on a napkin and types of applied seams (photo)
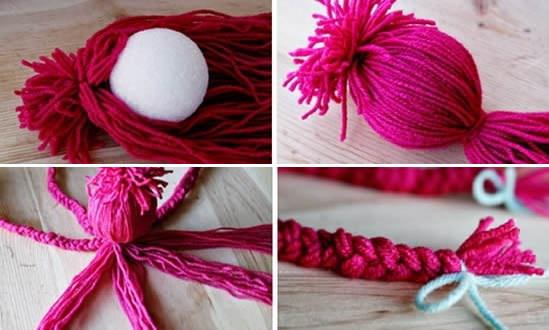 How to make a doll out of threads: interesting ideas (photo and video)