Table lamps from improvised means: 7 workshops how to make a lamp
In this article we offer step by stepmaster classes, how to make with your own hands table lamps from improvised means that are always in the house It would seem at first glance, ordinary and unnecessary things, but of them you can make the original and designer lamps for the desktop.  The most popular and simple assistantsThe materials are: glass bottles and jars, cardboard and paper, plastic vessels, pipes from water pipes and cement. How to make this lamp we will show and describe in this article. The content of the article:
Master class: Table lamp made of copper pipes
With a simple and elegant table lampmade of copper you can decorate any corner of your house, making it your own hands. It will perfectly fit the modern interior from loft style to rustic. Prostate and brevity - this is the trump card of this table lamp.  To do this, you need the following tools:
- Roulette marker
- Truborez and washcloth
- Stripping and stripping tool
- Pliers and thin flat screwdriver
- crosshead screwdriver
 Materials:
- Copper pipes
- Acetone and Super Glue
- Copper corners of 90 °, 7pcs.
- Electrical wire
- Plug and Electro cartridge
- Switch and light
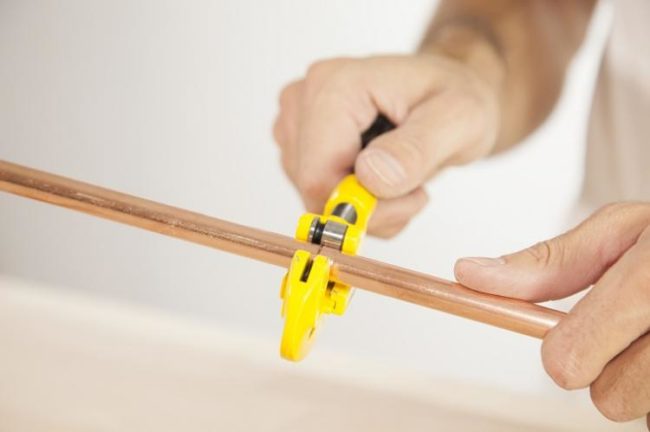
Technique assembly table lamp To start, take a tape measure, marker, pipe cutter, rag, copper pipes and acetone. Mark and cut off the tube
- Using a measuring tape and a marker, mark the place where you will cut the copper pipes.
- Do this carefully, accurately measuring out every millimeter, because if the parts are different, then the final result will not be as big as they should be.

- Place the pipe cutter and adjust with the nutpipe diameter. Look at the copper tube, gradually reconfigure the diameter with the nut, so that the closure goes until the pipe is cut.
- After using acetone and a cloth, you can wipe the marking off the pipe.
 TIP: Our items have: 3 cuts of 15 cm each, 1 section of 20 cm each, 1 section of 45 cm each, 1 section of 25 cm each. We used 12 tubes. When designing your lamp, please note that the size of copper elbows will be added. While the cable is inside, put the parts together Insert the parts together and glue with super glue. In order to avoid problems in the future, it is better to glue each part and put it to each other.
  Despite the instantaneous action of the glue, prefer to wait a few minutes before proceeding to make sure that the parts are glued perfectly.
  Tip: Apply glue will be more convenient if you use a brush. If you want the cap to be at the very top, install it first. So the first part will be ready, and the cable will go in a different direction. Instruments:
- Wire Stripper and Stripping Tool
- Cutters
- thin flat screwdriver
- crosshead screwdriver
Materials:
- fork
- electro cartridge
- switch
- Copper pipes
- electrical wire
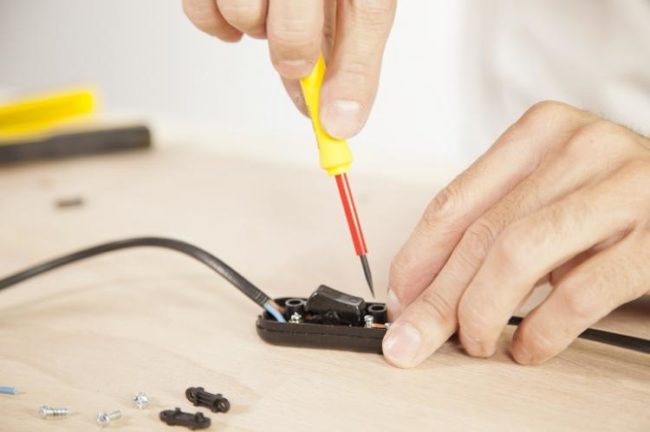
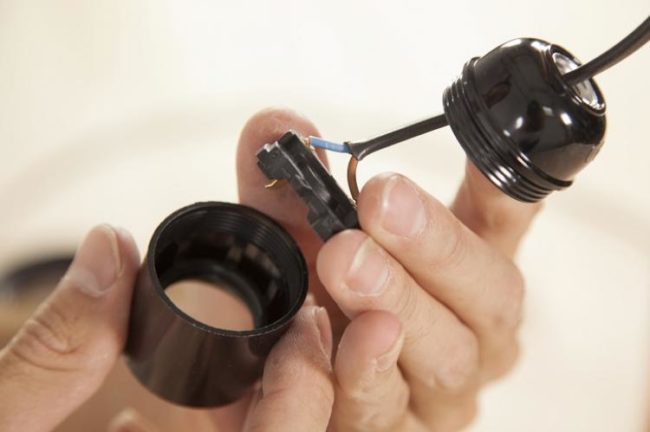 Install electrical system
 At the end, put the lamp in a corner or place that you like, and you will see how it will be a great addition to your interior, illuminating the space!
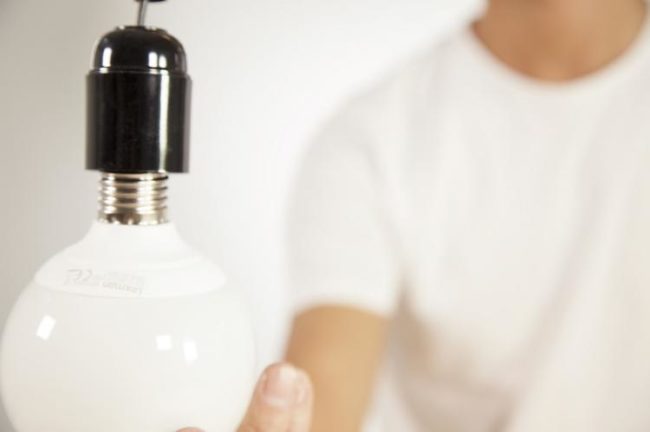
Master class: paper table lamp
When I first saw Robert's desk lampDelta, it was love at first sight! The shape is amazing, it comes in various bright colors, everything as I love. I recently thought, because the accessories were surprisingly durable, why not use them for a lamp?  Here are all the materials used:
- old lantern or lamp set
- template and thick cardboard or paper, you can take polypropylene sheets
- glue and putty
- grinding block (medium + fine)
- wooden block (add weight to the base)
Instruments:
- art tapes
- metal ruler / xacto knife
- drill (can optionally replace the xacto knife)
Lamp manufacturing technology
- First, print a pattern (6 pieces of each triangle) (1 from each hexagon).
- Cut out the forms so that they fit snugly against the board. Then use glue to attach the parts to the back of the mat.
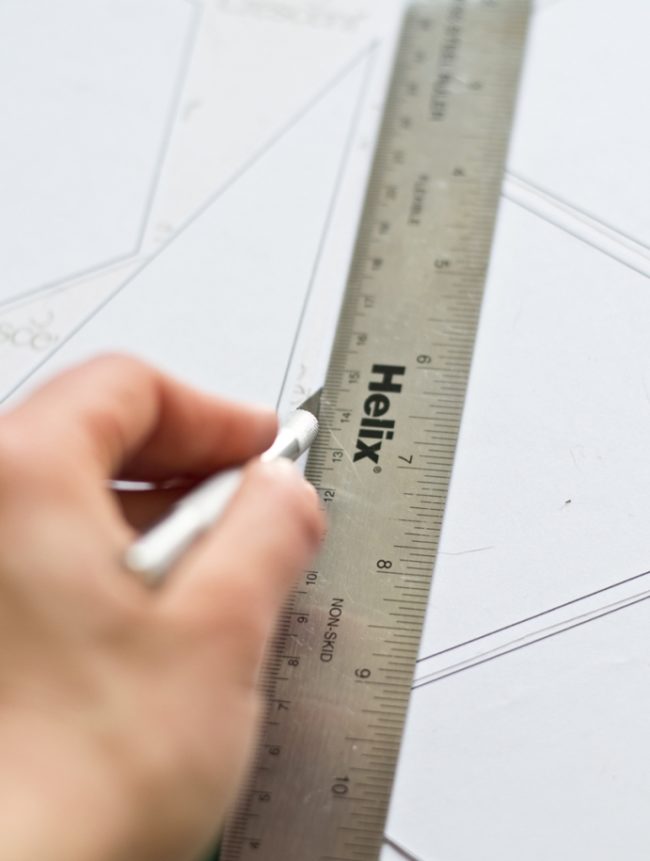
- Using a metal ruler and a Xacto knife on the cutting board, cut each piece.
- Put them together.
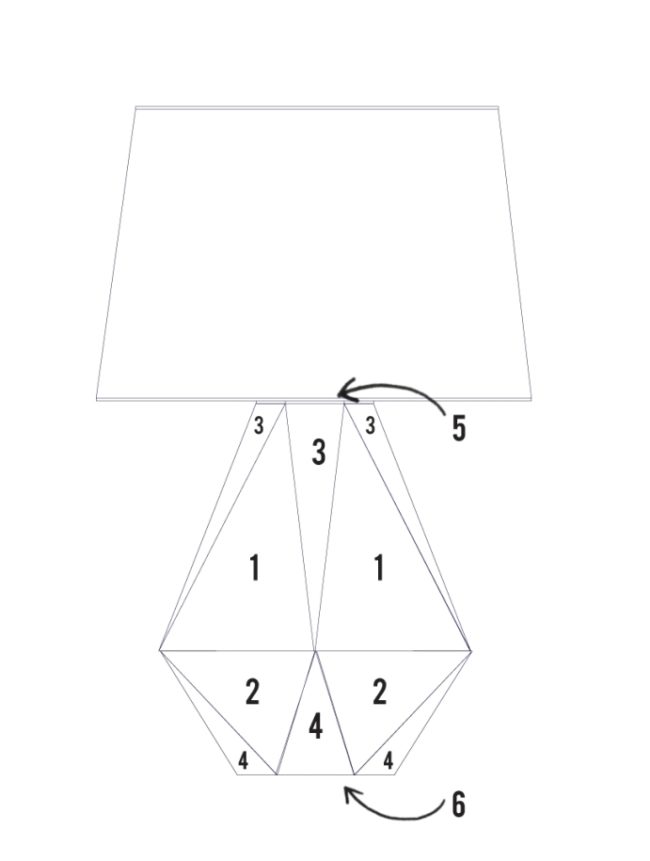
- Next, glue the bottom (form 2 + 4) to the base (form 6). The triangles fit perfectly together, and if you did everything right, they will just fall into place.
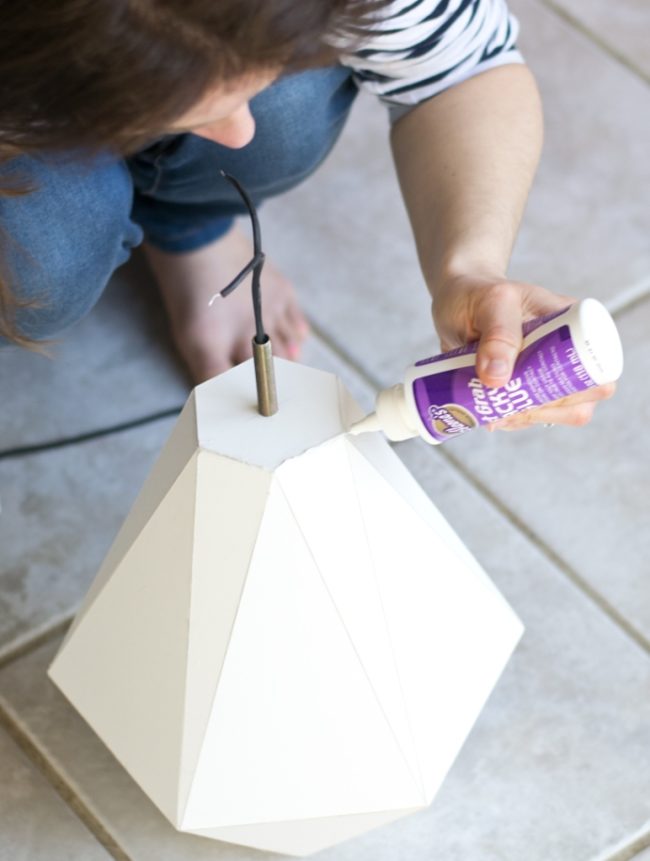
 Then use small pieces.art tape to attach them together, and wait for the glue to dry completely. TIP: Use super glue, it dries instantly (we used Aleene). Apply glue lightly and wipe off excess.
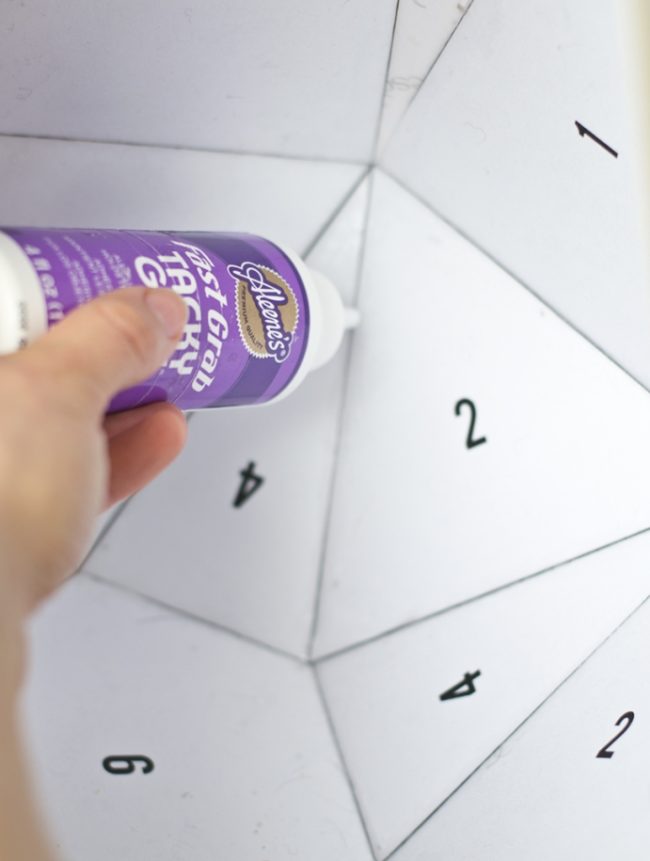
Then proceed to work on the base.lamp. The level at the bottom of the lamp needs to be made a bit more, so cut a few pieces of 1 × 4 to raise it a little. Also added extra weight, which will give him greater stability. Use screws to fasten 1 × 4 to an existing metal base. (We swapped the existing rod with one of the other lamp to get its correct height).  Next, drill a hole for the cord and insertplastic sleeve from the old lamp. The lamp should be unassembled, and pull the cord and wire through the threaded rod of the hole of the new base. Stick it in the center of the lamp.
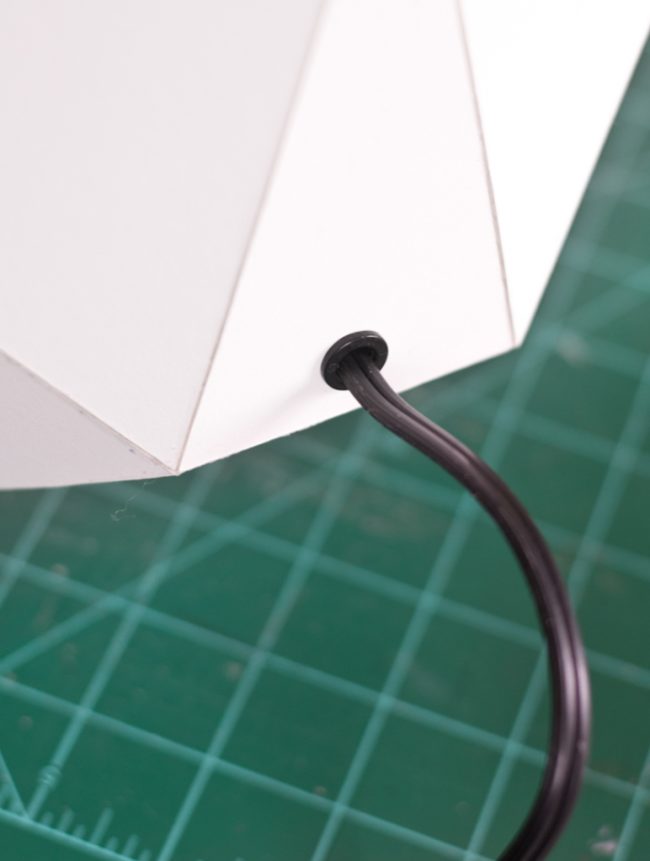
 At the top (Form 5), mark the center and drill a hole for the center rod. Then glue it in place.
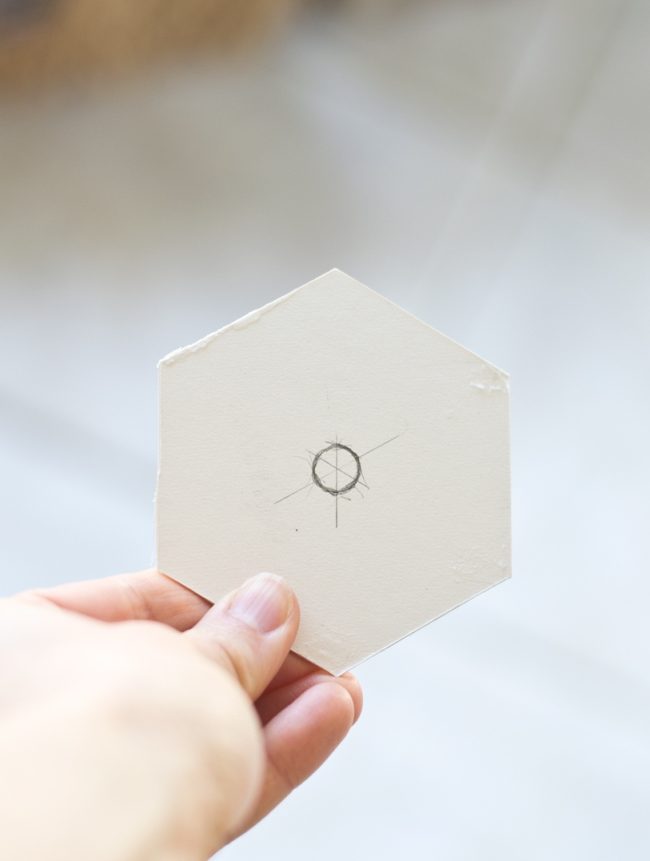
 After completing the dust removal, apply paint! To cover the top of the threaded rod, use the top of the old lamp — it just slides along the rod. Then return to the nest! Everything, the desk lamp made by hands is ready.
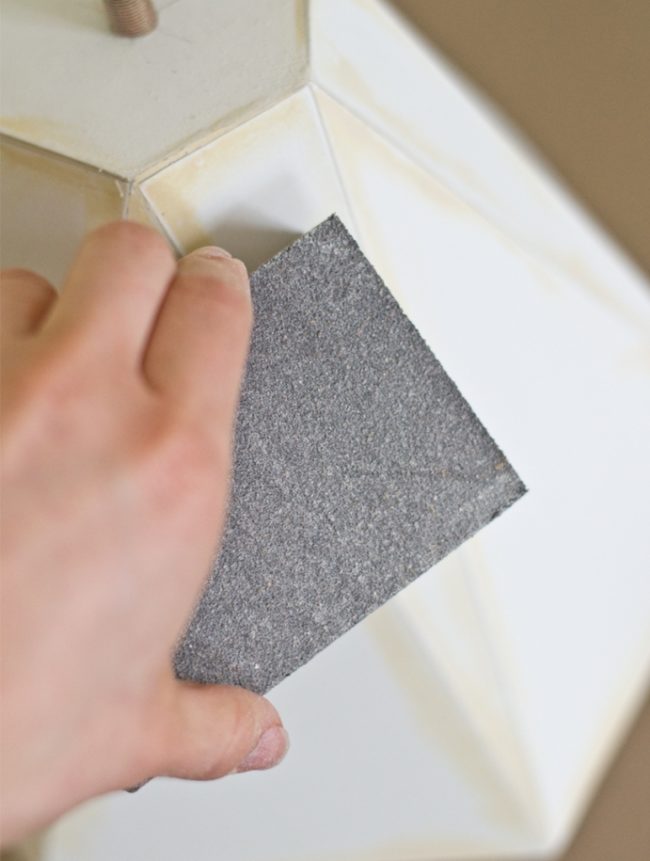

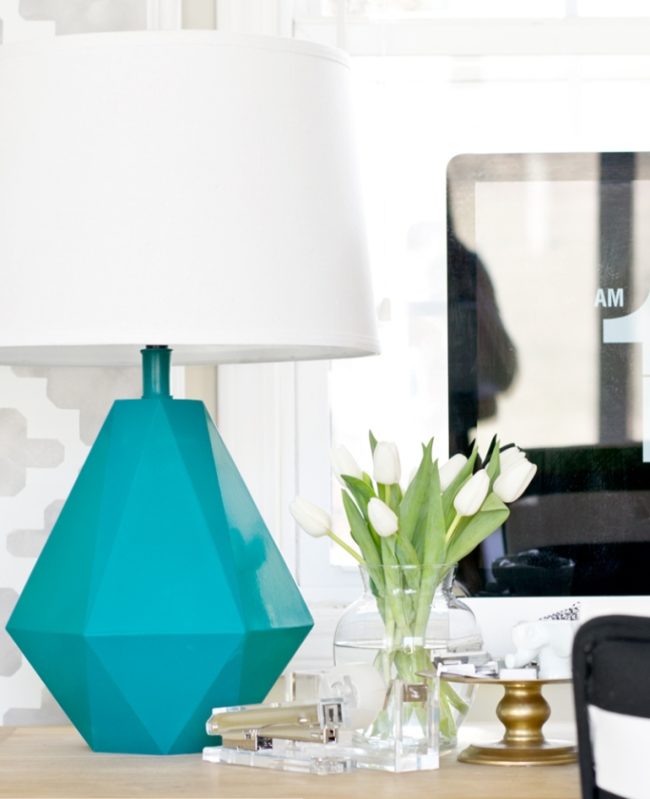
Table lamp from the bottle
A bottle or a big jar is greatbase for table lamp. You just have to come up with a beautiful lampshade and stretch the wire and electrical wiring through the hole in the bottle. Detailed master class - how to make a hole in the bottle, how to fix the lampshade - see the article "" 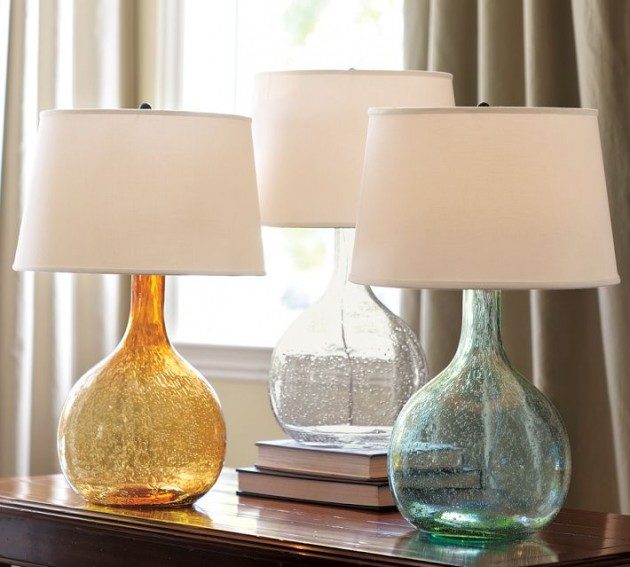

Tin can lamp
This lamp is perfect for homedesktop as a student and schoolboy. Especially it will be appreciated by boys, it looks more like a trasformer and a robot from the future. You can paint or decorate the jar itself with paper, threads or make it more embossed. How to. 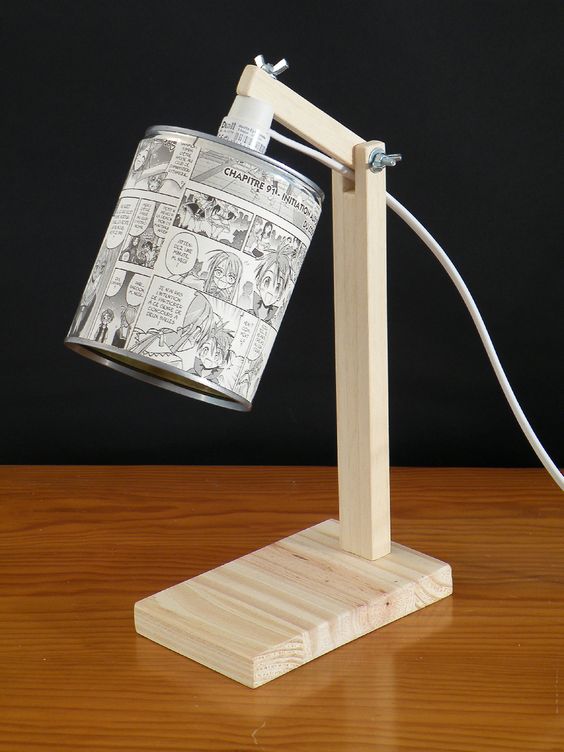

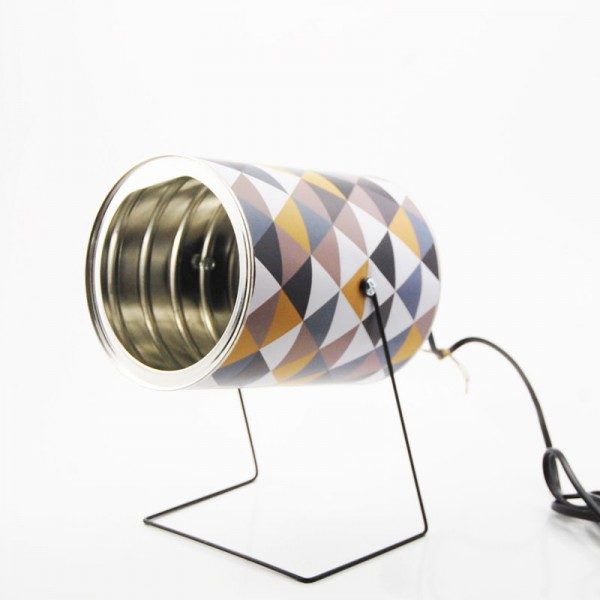
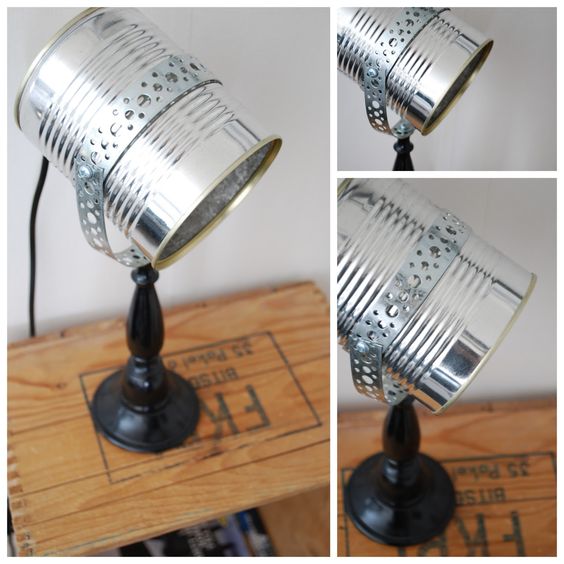
Table lamp from plastic bottles
There are always plastic bottles on the farm,so make the decor of the old table lamp is not difficult. Usually, when restoring old lamps, the bases are left and plastic is used for the lampshade. Lampshade mount usually use the old. When working with plastic bottles, remember that it is easier to cut them with a paper knife or a construction knife. Glue is used on rubber or special for plastic. You can read in detail the technology and methods of collecting fixtures - here are given step-by-step master classes with photos. 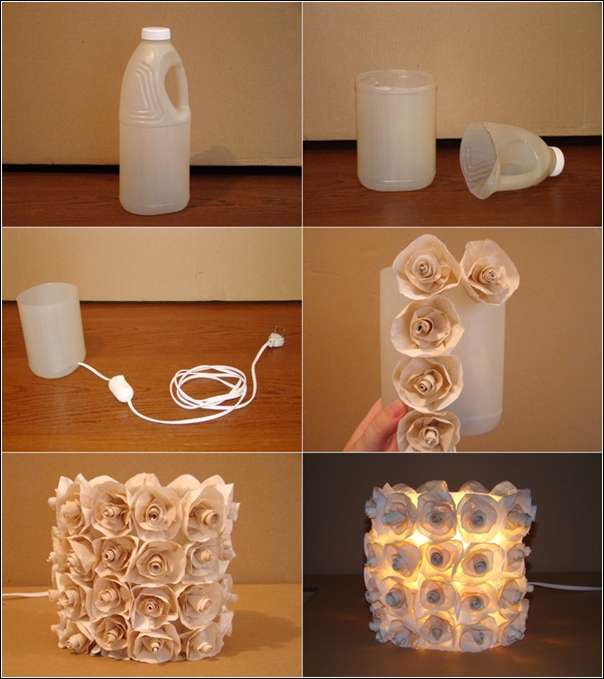
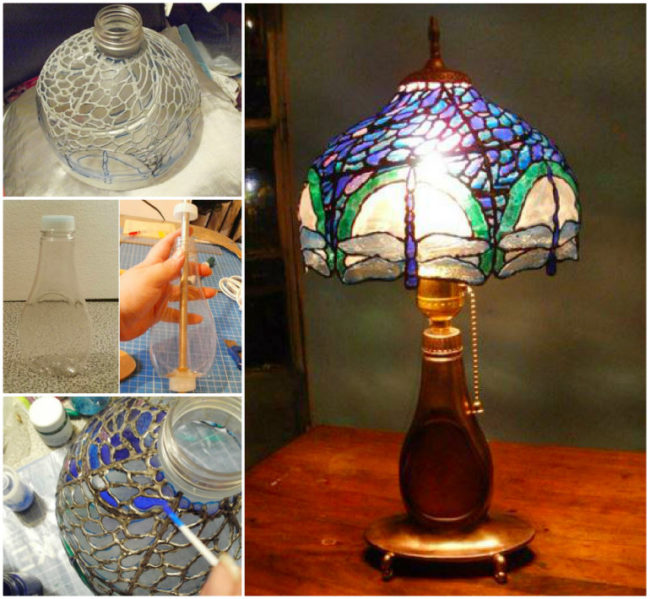
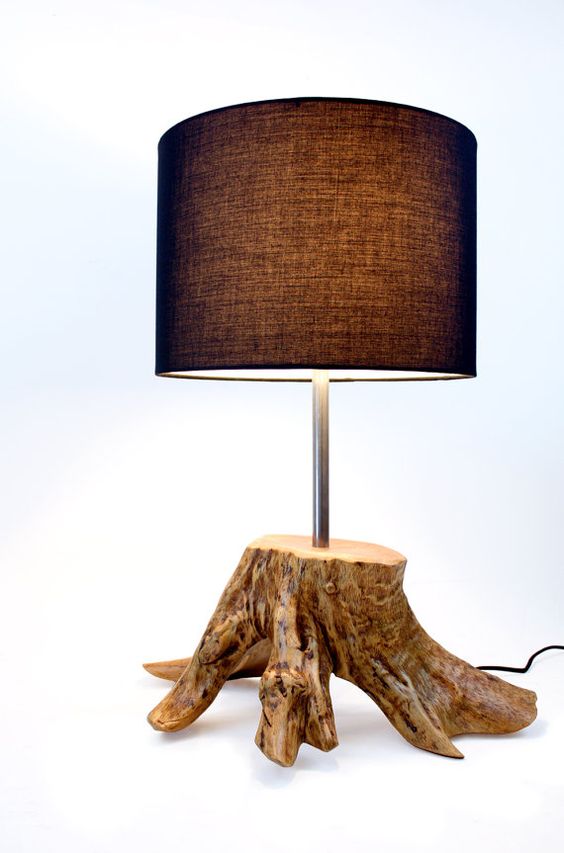
Table lamp of the branches and cuts
The tree in the interior is always a classic - it isalways fashionable and relevant. Decorating a desk lamp with a wooden cut or an old bark with your own hands, you will get a designer item that simply has no price. See here: 6 Master Classes -
To properly handle branches or cuts - read the article. 
Other original ideas
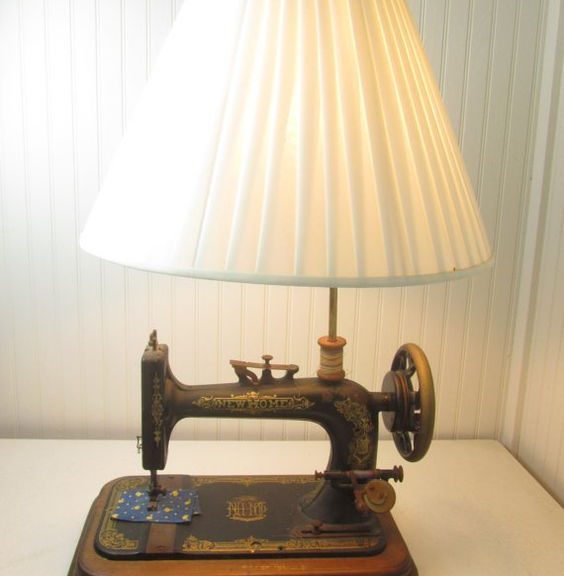
The basis for a table lamp, in principle, can be any object that you do not need: these are children's toys, sewing machines, unnecessary socks, and so on. Experiment and create beauty! 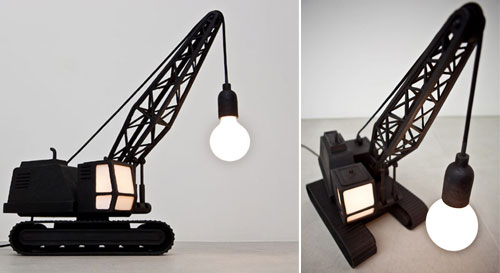


Comments
Related posts:
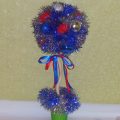 How to make a topiary from improvised funds with your own hands. A master class with a photo will help create a beautiful hand-made for the New Year.
 How to make an evening dress out of improvised means, the idea of an evening dress.
 How to make a doll house from improvised funds with your own hands? - Practical moments and tips for creating
 Master-class on making a candlestick from improvised means by oneself, advice and recommendations.
 Murr-meow: playful table lamps