Takes knitting needles: knitting lessons with diagrams and photo-video lessons
Content
These lessons we have devoted to how to tie simple or classic berets with knitting needles. More specifically, each master class of the lesson will show for beginners how to knit to take knitting needles.
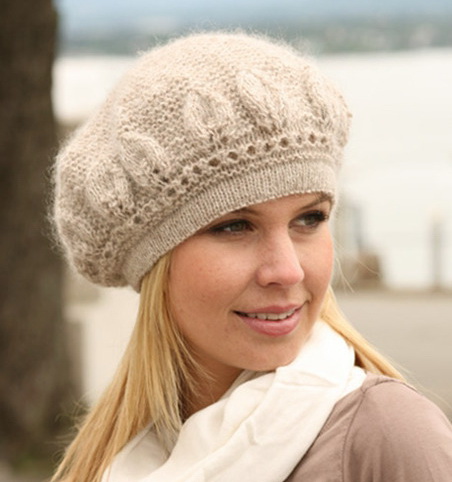
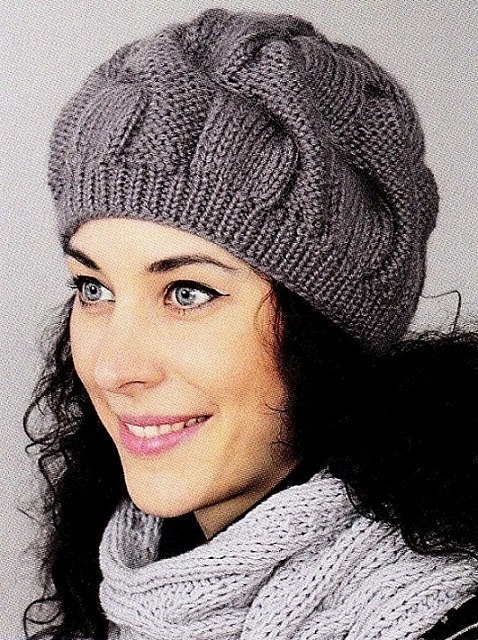

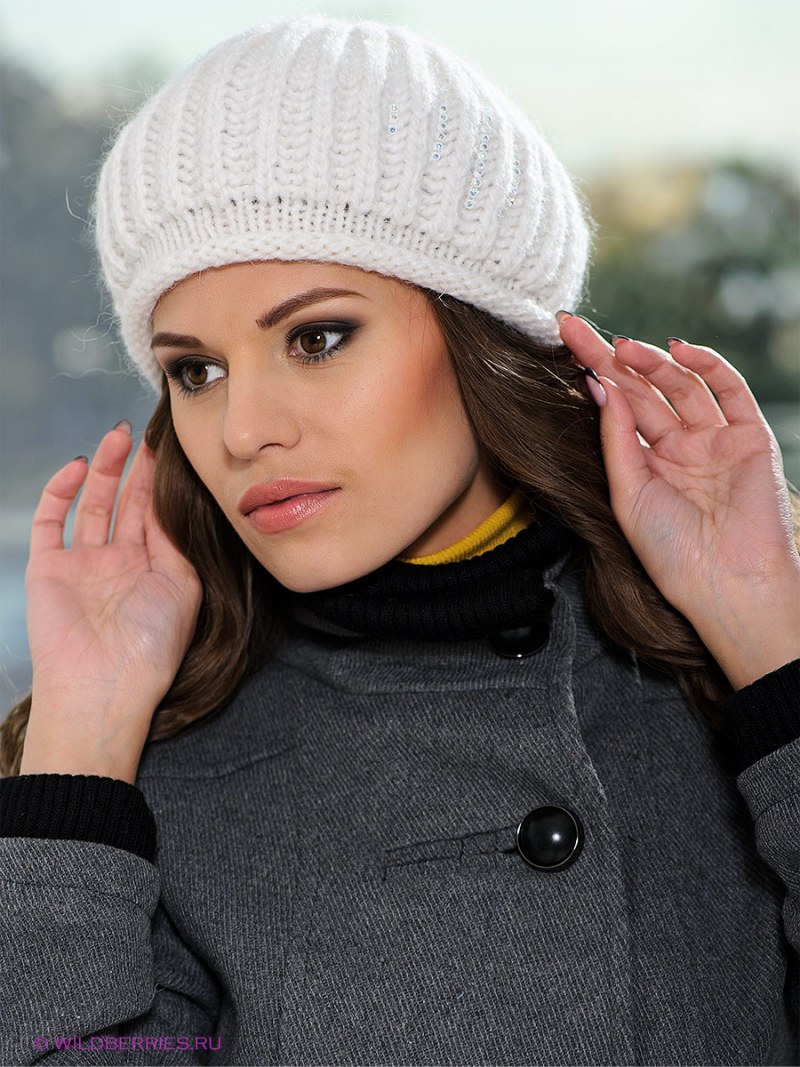

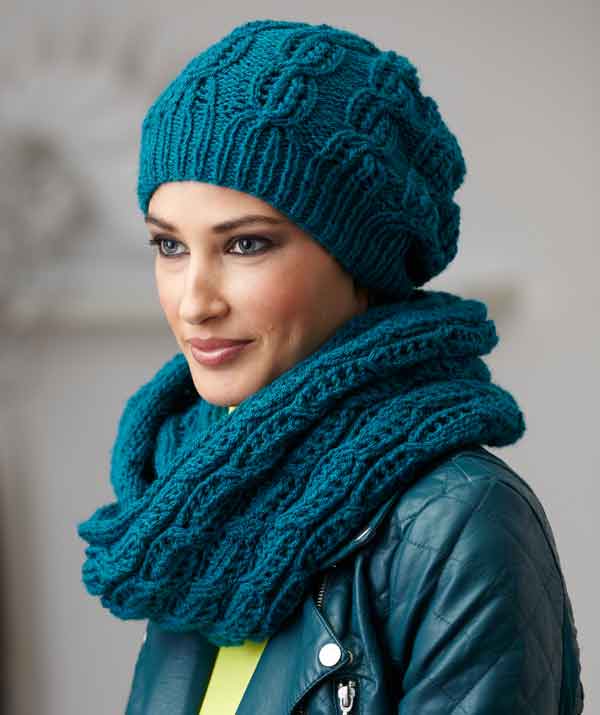
In each master class there must bePatterns for beret. For any of them there is a corresponding scheme, its description and symbols. The lesson is supplemented with special photos and video materials. Almost all the patterns that we knit are extremely expressive and adorn the face of a woman or a man, beautifully emphasizing his oval. In addition, takes knitting needles from warm yarn, perfectly protects us from wind and cold.
Still our grandmothers, when this style has becomeGradually penetrate to us along with western fashionable garments and accessories. Since then berets are deservedly considered to be one of the most feminine headdresses. In this lesson we will show how to knit a simple headdress, called beret. The first master class with a photo will show you how to knit to take knitting needles. This classic beret is for beginners, because it's easy enough to tie the takes with knitting needles. Such women's berets are the most common, they can often be seen on the streets of cities.
Simple takes with braids
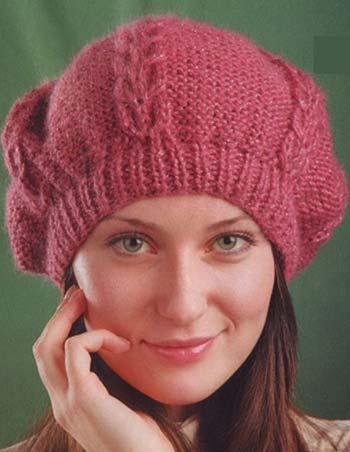
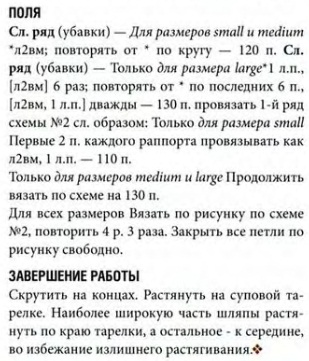
This takes both warm and very comfortable. Binding takes this model is very simple even for beginners. Takes with knitting needles is excellent for autumn spring season. To work with a beret size fifty-six we will prepare yarn from acrylic and wool color of cranberries, knitting needles three and a half and four and a half. We start the master class with the description of the product reliefs. The beginning of work is carried out by a pattern of an elastic band one on one, in which the facial and iznan alternately knit. Loops. After the elastic band, the inner surface of the hair is sewn, alternating with the braids. In the purl. Smooth all the rows are carried out solely by facial loops. At regular intervals pigtails are removed, and for them in the lesson there is a diagram, symbols and description.
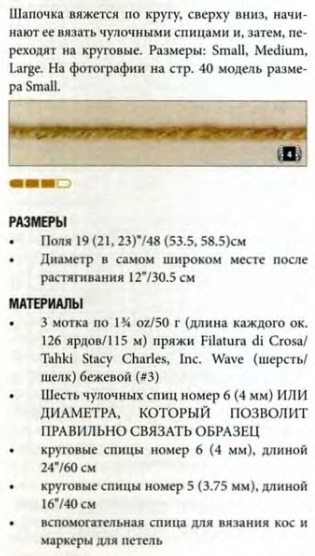
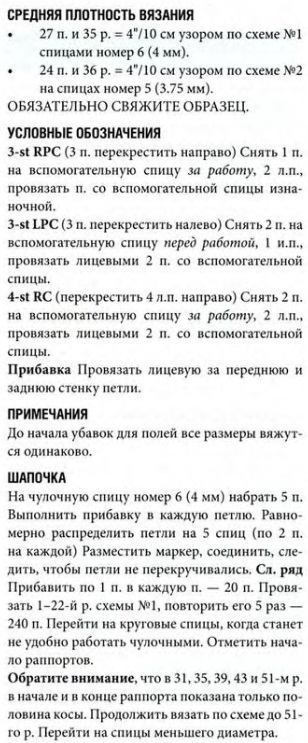
In this scheme, the photos are exclusively presentFacial odd numbers (P). Even we always knit by drawing. In the beginning of work we use knitting needles number three and a half, on which we collect eighty six loops (P). We carry out five centimeters elastic band one on one. To tie the beret after the gum, you need to alternate patterns and garter stitch, that is, eight P of the purse and eight P "braid". This sequence should be performed only six times. When you tied twenty P in this way, after the gum, begin to reduce the amount of P. To do this, we subtract twelve pieces in those places where the reverse is present, but only in the original R. After bringing the quantity to forty-four P, we knit all the remaining P Two together face, getting twenty-two pieces. At this stage, the classic and very simple takes the knitting needles almost ready.

It remains only to tighten and secure with a threadThe last loops. As you can see, these women's berets knit with their spokes very simply, which was perfectly demonstrated by the master class with the photo. When knitting this beret with knitting needles, be sure to use these photos, which have a diagram and a description of the work.
Photo MK knitting beret with braids 
Video: How to knit beret with a scythe
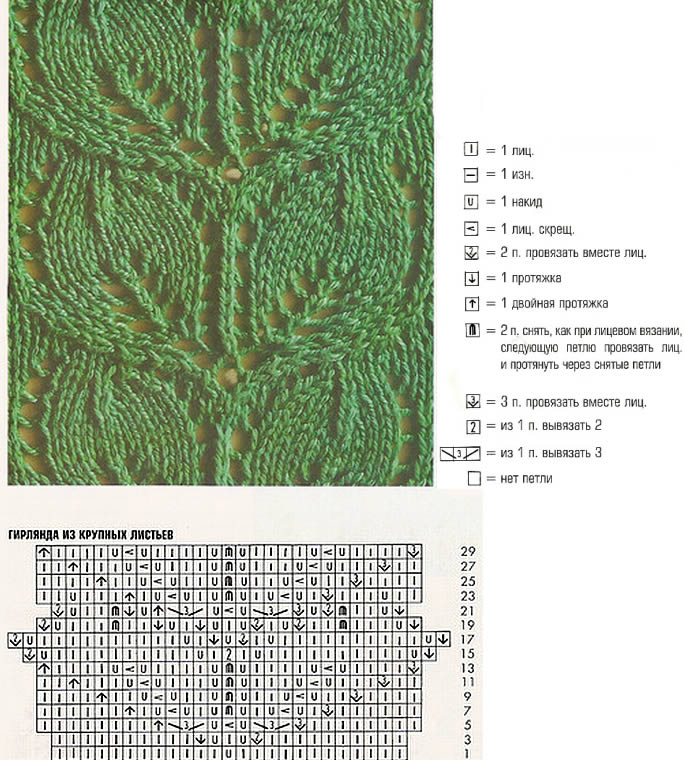
We knit beret with a leaf pattern
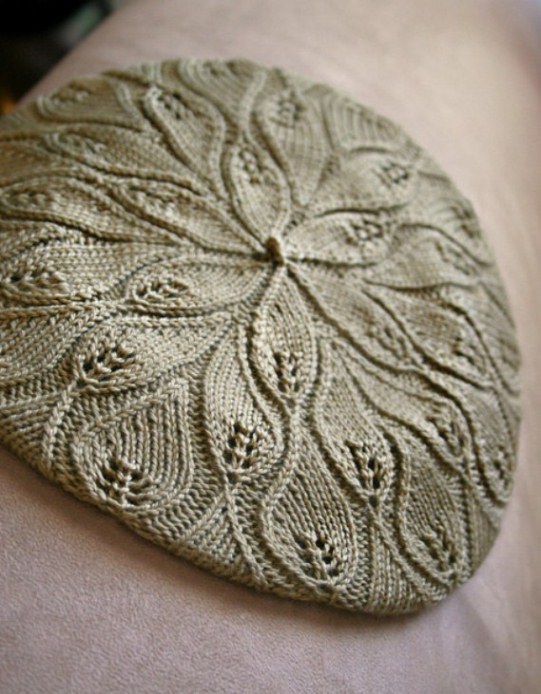
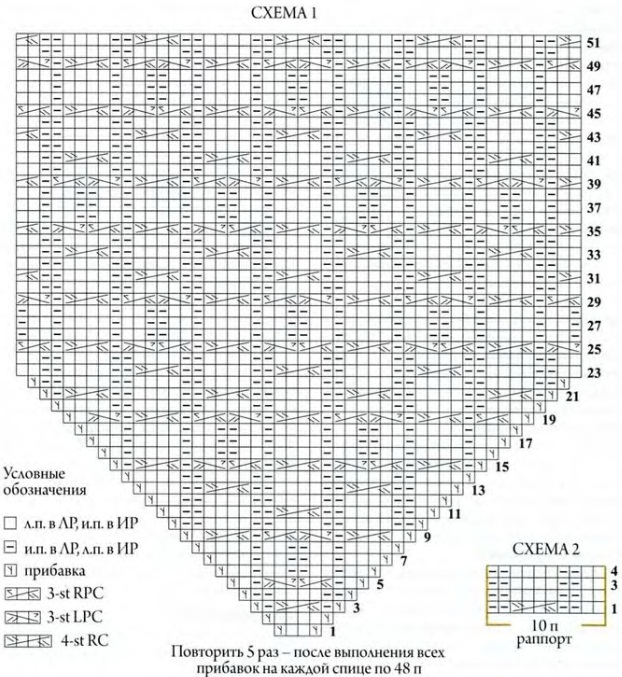
We offer you this video, which undoubtedlyWill help you tie an excellent simple beret with knitting needles. The pattern for it is called "Leaves", and is executed in accordance with the scheme. Women's headgear and in particular takes with knitting needles of this type, knit mainly from mohair threads. If the yarn is very thin, it is rewound in two tangles, and knit in two strings. For a beret size of fifty-six or fifty-seven, it is necessary to perform a set of one hundred forty P, and to connect with a regular elastic band a few centimeters, from two or more. After the gum, it is necessary to perform a calculation of P for knitting the "Leaf" pattern, which will be inserted into the beret cloth at certain intervals. The first "leaf" is marked with a special pin or plastic marker. In the master class there is a photo of the pattern, as well as its outline and description. For the correct execution of the scheme in the purl. All ranks and nakids are knitted exclusively by purl.
We note the feature when two together of Π inFirst Р, it is necessary to knit them one at a time to get the necessary increase in the number of pieces. This is necessary in order to obtain an expanded form of beret cloth. The video clearly shows how the stages of work are progressing, and how the beautiful pattern of "Leaflets" is formed. In the twenty-seventh P it is necessary to start reducing the number of loops. Perform the reduction in the following order:
- We knit six P, then together the seventh and eighth P, after which the "Leaflets" follow;
- Then we knit five loops, the sixth and seventh together, once again five pieces, a pattern and so on.
As a result, a decrease occurred in one PThe number Π by four units. Next, in each facial P until the fortieth, you must continue reducing the number of P. You will find a further procedure for reducing P in the video lesson. Fifty-fifth row is the latest, where the loops are performed. All the units that remain on the knitting needles in this last P must be carefully tied to the thread, and sew the work from the wrong side. At this stage, taking the knitting needles can be considered ready, and the video perfectly shows its appearance from different angles.
Video: How to knit beret with a leaf pattern
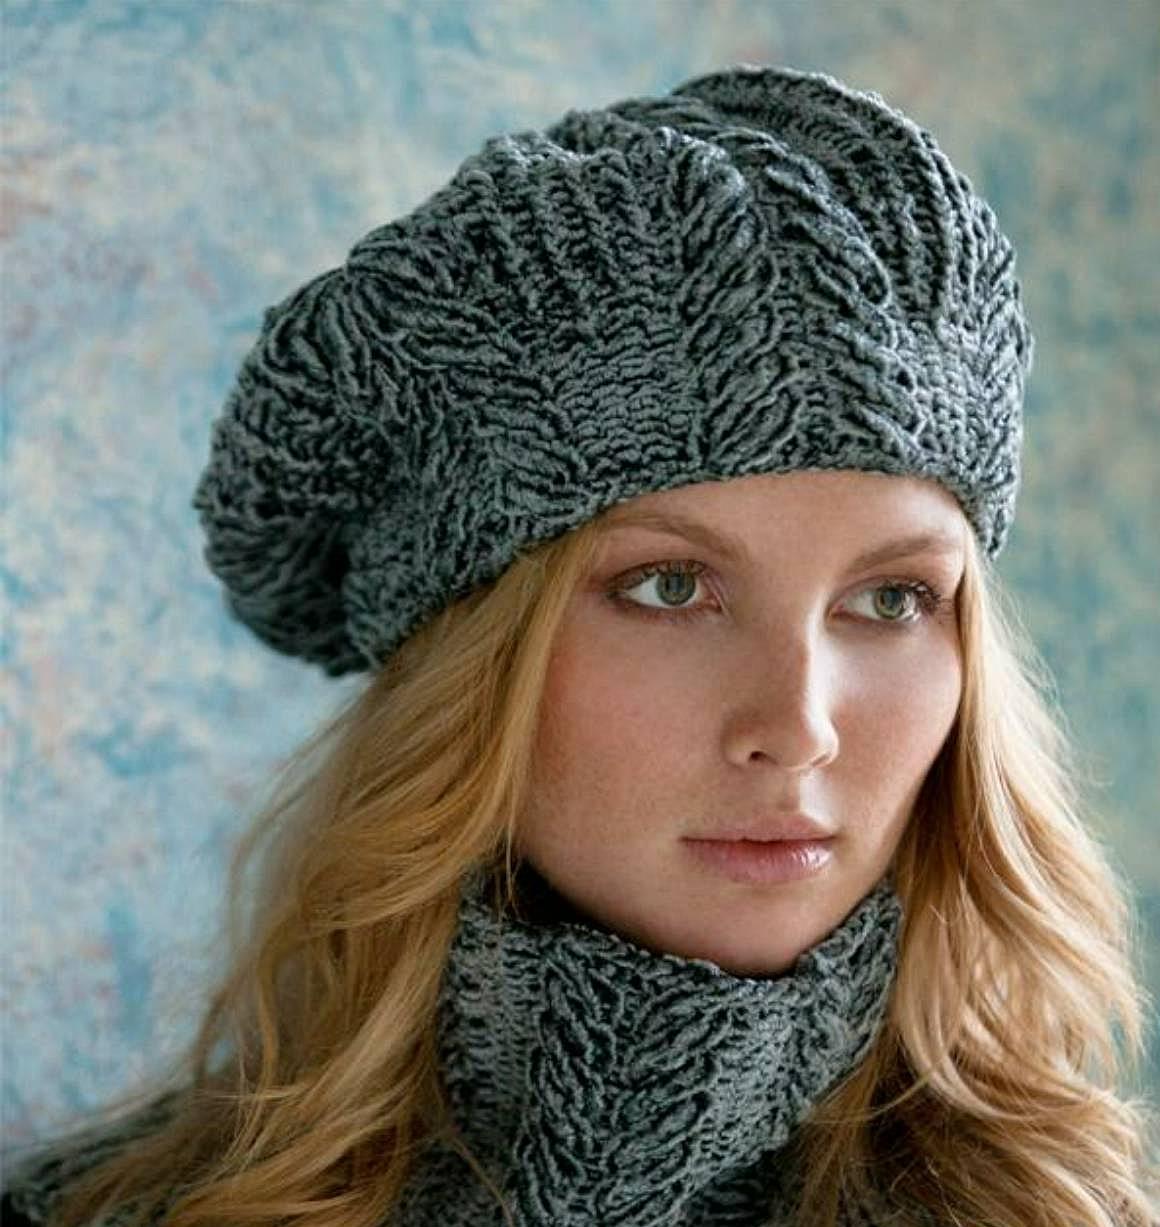
The simplest headgear existed inWardrobes of people from the very beginning of time, when mankind needed such things, which would save from the cold and wind. This part of the wardrobe was intended solely to keep warm in the cold season. Over time, hats have become a fashion accessory, designed to complement a set of clothes, and bring a zest to the face of a woman or a man. In this period of time, handkerchiefs and hats have undergone great changes from the simplest forms to those that are difficult to produce and very beautiful. In the process of these changes, some notable and wealthy women of fashion preferred hats in the form of baskets with flowers, birds, fruits, feathers or designs of towers, as well as other architectural forms. Ever since the art of knitting with the help of women, women have been able to wear hand-knitted handkerchiefs, hats or berets.
