Technique of napkins for needlework of decoupage of beginners, lesson step by step
Technique "Napkin" for self-decoupageIn order to process any surface using decoupage, you need to use the knowledge of technology that will help you improve your own capabilities. In our case, we will consider the technique of "napkin", with which it is very easy to perform the desired work.
Basis of work
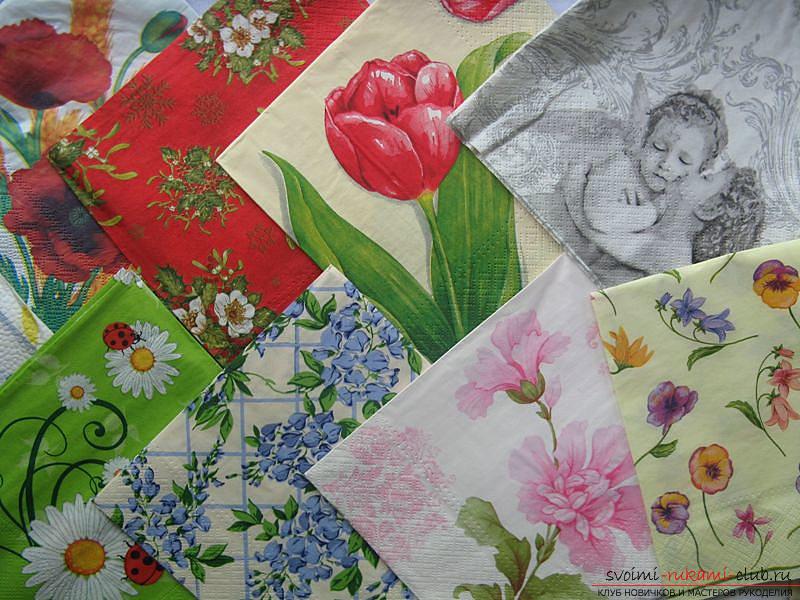
 For the basis of the work, we take a napkin with threelayers for decoupage. The difference of these napkins is that the paint on the product is resistant to the process of wetting, and the motive does not lose its color. This means that you will not spoil the basis of the picture.
Defining Borders
 The first thing to do is define the boundariesfigure and decide where the boundaries of your work will be. Then, using scissors or cutting edges, detach the pattern and edge the edges. If you want to successfully tear off your decoupage product without breakage, it's enough to hold a wet brush at the edges of the workpiece, which will allow you to easily tear off the necessary areas of work. In order to work with glass, pre-degrease your surface. The plastic can also be sanded using fine sandpaper. The wooden surface is ground to smooth the surface. The metal product is processed from rust, paint and rubbed.
Padding
 We begin to work with the product. The substrate surface needs to process the priming process. The primer will be an excellent bridge between the paint and the base of the object. In addition, the primer prevents the absorption of moisture from the paint. This is necessary to ensure that the pattern is not deformed during operation. Next, we paint the soil blank in white with acrylic paint. It is desirable to apply several layers of paint, waiting until each layer dries. Now, take our napkin with decoupage and carefully apply to the product.
Methods of application
 There are several ways in which you can apply a napkin to the product:
- Method of the traditional type - on the blank of the napkinthe adhesive material is applied, and the napkin is placed on top of the product and pressed gently so that it is completely soaked with sticky substance. After, with careful movements, the napkin stretches across the entire product.
- Lacquer - with the help of varnish, we needuse a two-phase varnish, or craquelure, which does not use a water base. Next, a sticky cloth is applied on the sticky surface and it is pressed. Thus, the material will adhere to the surface.
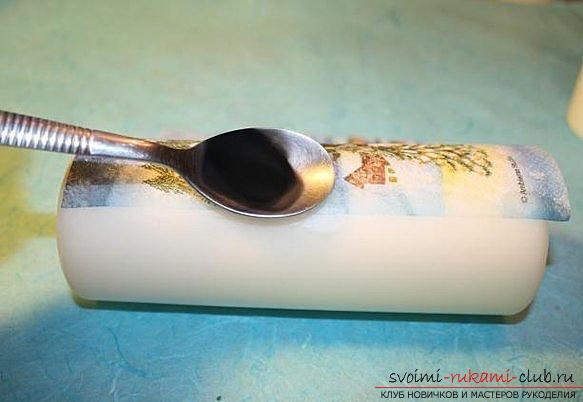
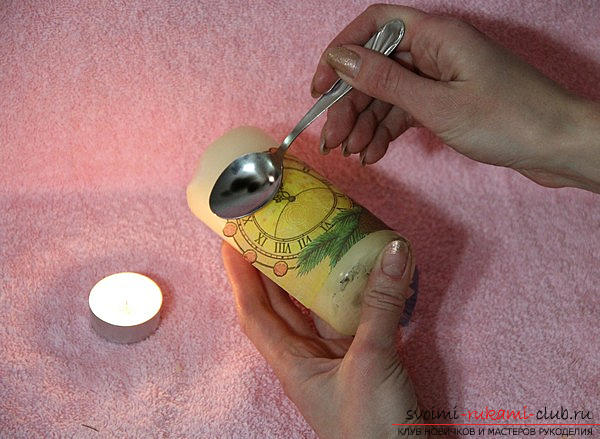
- File - the motif is superimposed on the fileThe surface is then covered with water using a spray. After that, we spread our hands. The image is superimposed on the surface using a roller tool, and the water is drawn from the image.
- Salt solution - spatter a napkin and after,we carry out with an iron. The picture instantly acquires the necessary shapes and rigidity, and the salt solution pre-stretches the image and makes the image smooth. There is no deformation, the picture will stick smoothly.
Done!
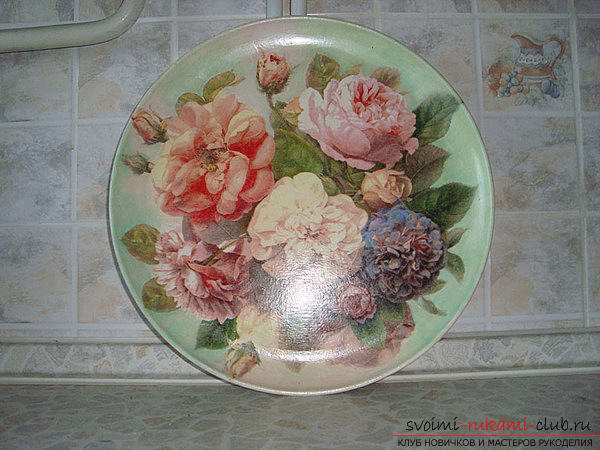
The product is dried and waiting until it acquiresthe desired form. Next, we cover the product with a varnish, which is best applied in several layers. It is desirable that each layer is thin enough. The more layers you put, the better the picture will be combined with the background, and the object - will live longer. In this way, you can apply pictures to a variety of objects, due to - make beautiful gifts to your loved ones on the basis of conventional decoupage techniques. Technique "Napkin" for self-decoupage mastered!
Comments
Related posts:
 Knitting a circular napkin crochet for beginners - circular napkin with a pattern
 Decoupage master class step by step. Photo ideas for decoupage.
 Napkins for decoupage and their application in work (photo)
 Diamond embroidery - amazing technique of needlework (photo)
 The lesson of creating a poodle with the help of quilling techniques for beginners - a master class