
The lamp made of antique wood with 10 lamps with their own hands - how to make
Perhaps the most incredible lamp onwooden antique, which can be made by hand from bottles and an old piece of wood. Wherever you hang it, she will not be unnoticed by anyone!  Such a lamp will look spectacular askitchen and in the country, both in the bath and in the restaurant. And the most important is a very economical option, because there will always be empty bottles and a wooden plank. In general, bottles are not a replaceable thing - you can make so many different and necessary articles for your home out of them, in detail in the article "". The content of the article:
Materials and tools:
- 10 bottles of wine of different colors, shapes and sizes;
- wiring for 10 wires to 10 patrons;
- 10 light bulbs (small, smaller than the diameter of the bottles);
- strong chain (coil);
- 12 hooks for fastening chains;
- 2 pine boards;
- stain - to give a semi-antique effect;
- brush or rag;
- silicone;
- glass cutter;
- screwdriver and screws;
- Nippers;
- drill;
- drill.
The process of making antique chandeliers
Manufacturing and installation of antique lamp frombottles will consist of several stages, carefully read the instructions and see the photo. Step 1: Preparing the ceiling Prepare the bottle. We remove labels from them and wash off glue well. Flush inside. 
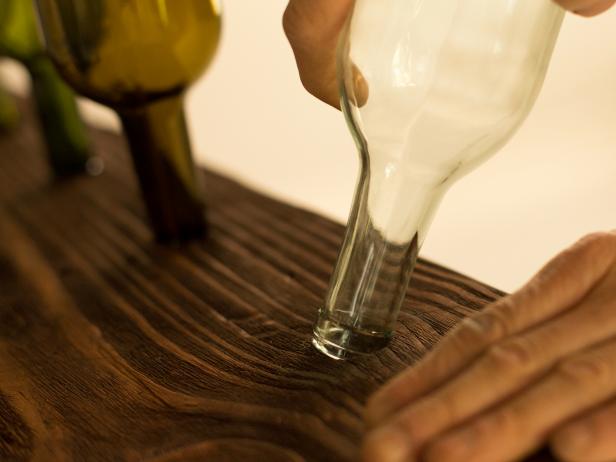
- It is necessary to cut the bottoms of the bottles forplacing lamps in them. To do this, we rest the glass cutter at a height of 1-3 cm (for example, on a hammer) and gently twist the bottle along the entire circumference, as shown in the photo.
- This should be done with caution, because chips on finished lamp bottles will be noticeable by carelessness.
TIP: If the glass cutter is not - see. 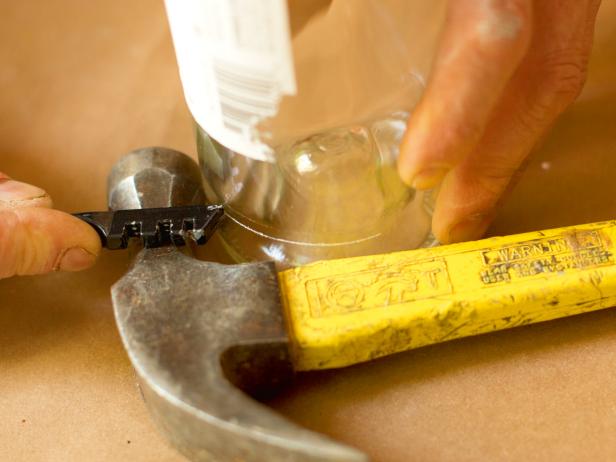 Step 2: Installation of light bulbs Tap the hammer on the cut and remove unnecessary bottoms. Do the wiring. Attach wires to each cartridge according to polarity. Do not connect the wires included in the network. Put bulbs with bullets in the bottle.
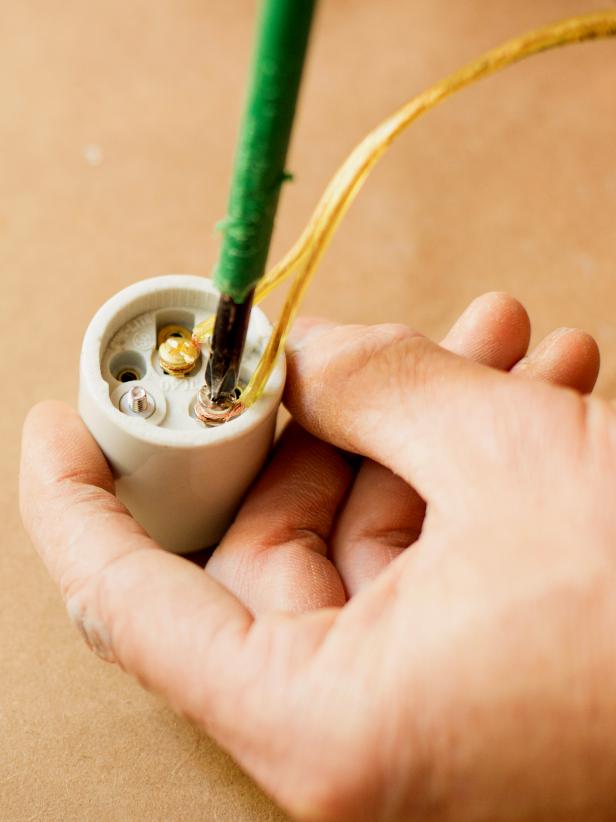
 Step 3: Preparing the box
- Immediately prepare other boards.
- Measure a few planks around the perimeter.junction box. Saw them and drill holes in them for fastening, fasten with screws. It turns out a small frame for a junction box. After painting we will fix it on the main board.
- Prepare a board that will be attached to the ceiling.
Take ready-made pine boards or saw off the desired length from a smooth board with a saw. 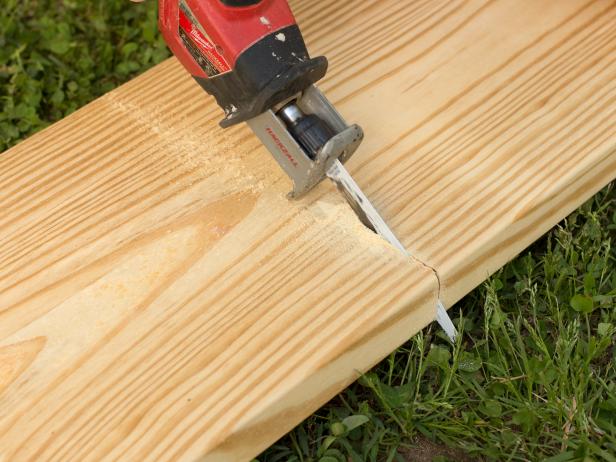 Step 4: Making a wood antique We cover the boards with wood stain. You can do this with a brush or a piece of cloth for better impregnation. This is usually done in 2 steps: first, the first layer is covered, after it is completely dried, the second layer is applied and also left until it is completely dry.
  Step 5: Mounting the ceiling to a wooden base
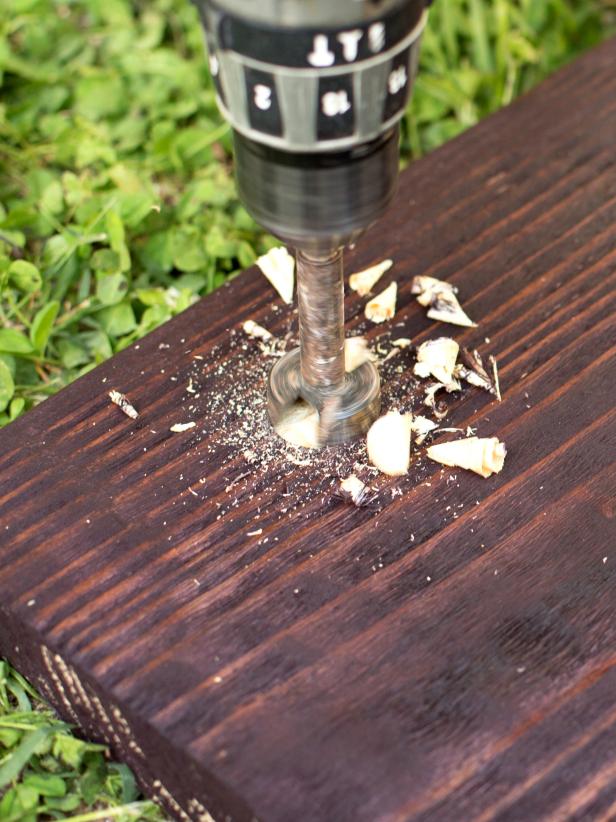
 Step 6: Installation of chandeliers to the ceiling. Take the frame and junction box, fasten it in the frame and on the main board. We make the basis for heavy construction - we drill holes in the ceiling with a drill and fasten the board, not forgetting the main electrical power wire of the whole chandelier. Display it on the junction box.
- We measure the necessary length of chains and cut into 6 equal parts with nippers (again, so that the chandelier hangs evenly and there is no distortion).
- We insert hooks for chains along the perimeter of the ceiling board and hang 6 chains on them.
- We put 6 hooks on the bottom board, on which the bottles hang, and hang them on chains.
We check the reliability of all connections, if somewhereyou are not sure, glue again with silicone or glue. After all, this product - a wonderful one - will long amaze you with a variety of shades and originality of design.
Comments
Related posts:
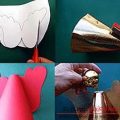
 How to make a lamp out of the bottle with your own hands - 3 lessons
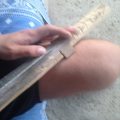 Toys made of wood. How to make a sword with your own hands.
 Do-it-yourself tree décor decor
 Do-it-yourself tree décor decor
 New Year toys with their own hands, how to independently make a toy for the New Year, New Year's crafts with their own hands, how to make Santa Claus how to make a Christmas ball with his own hands.