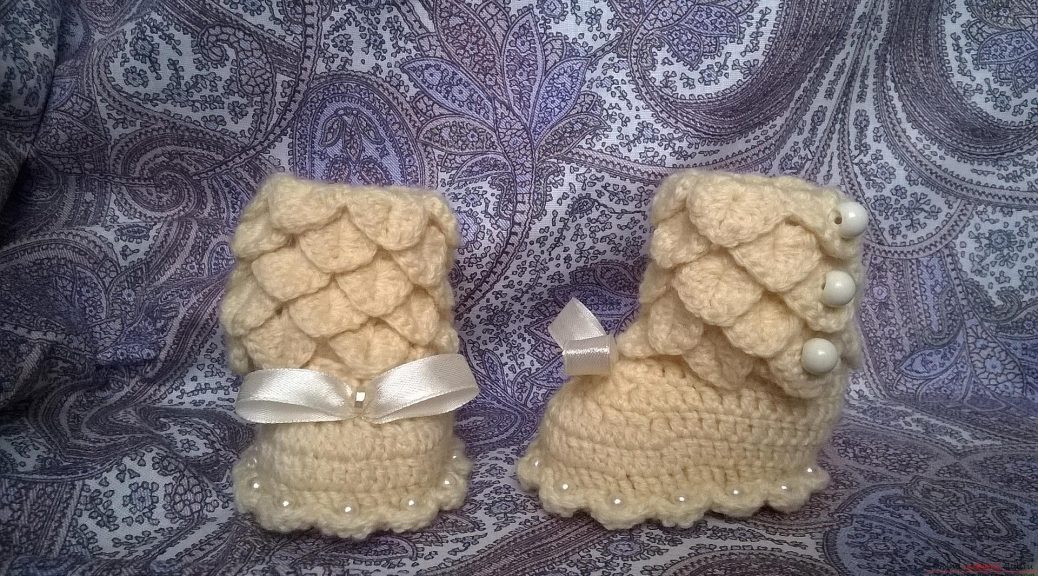
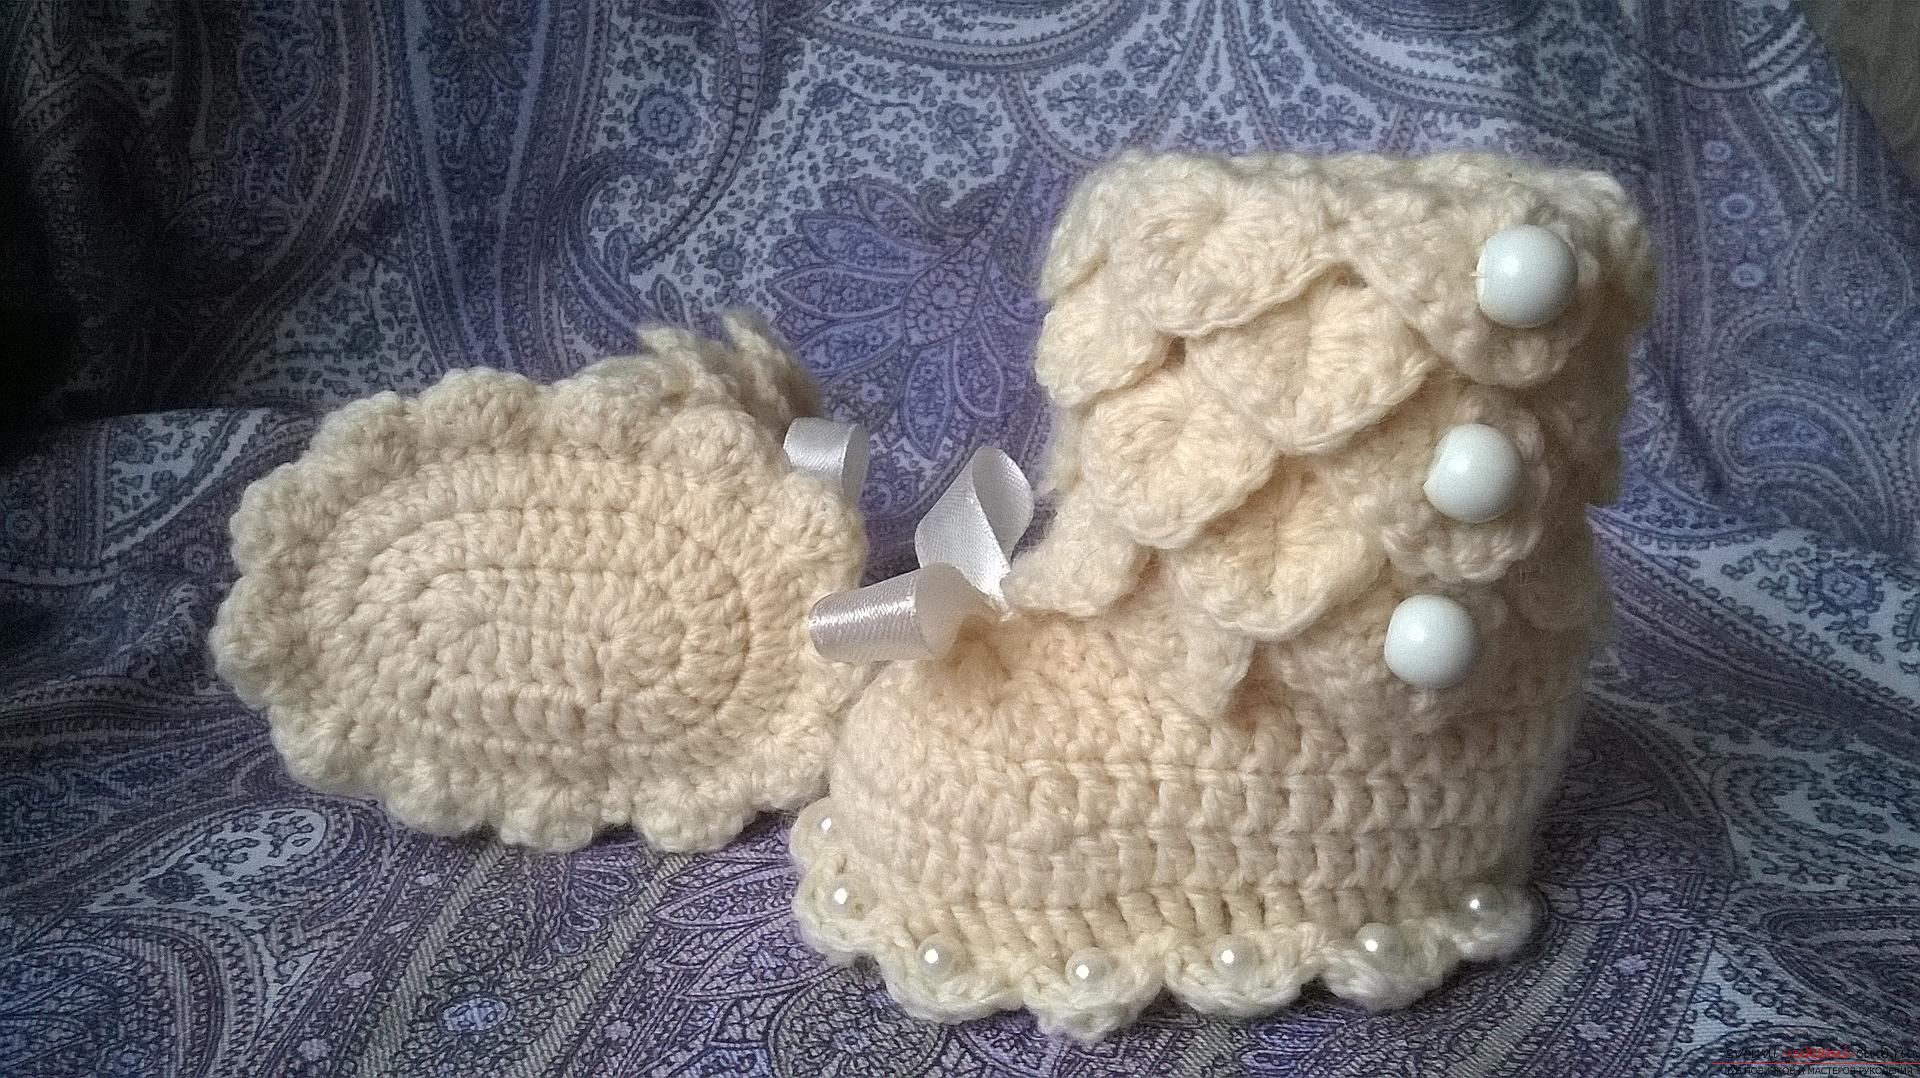
This master class with a description, diagram and video will teach how to knit booties crocheted.
 For knitting we will need:
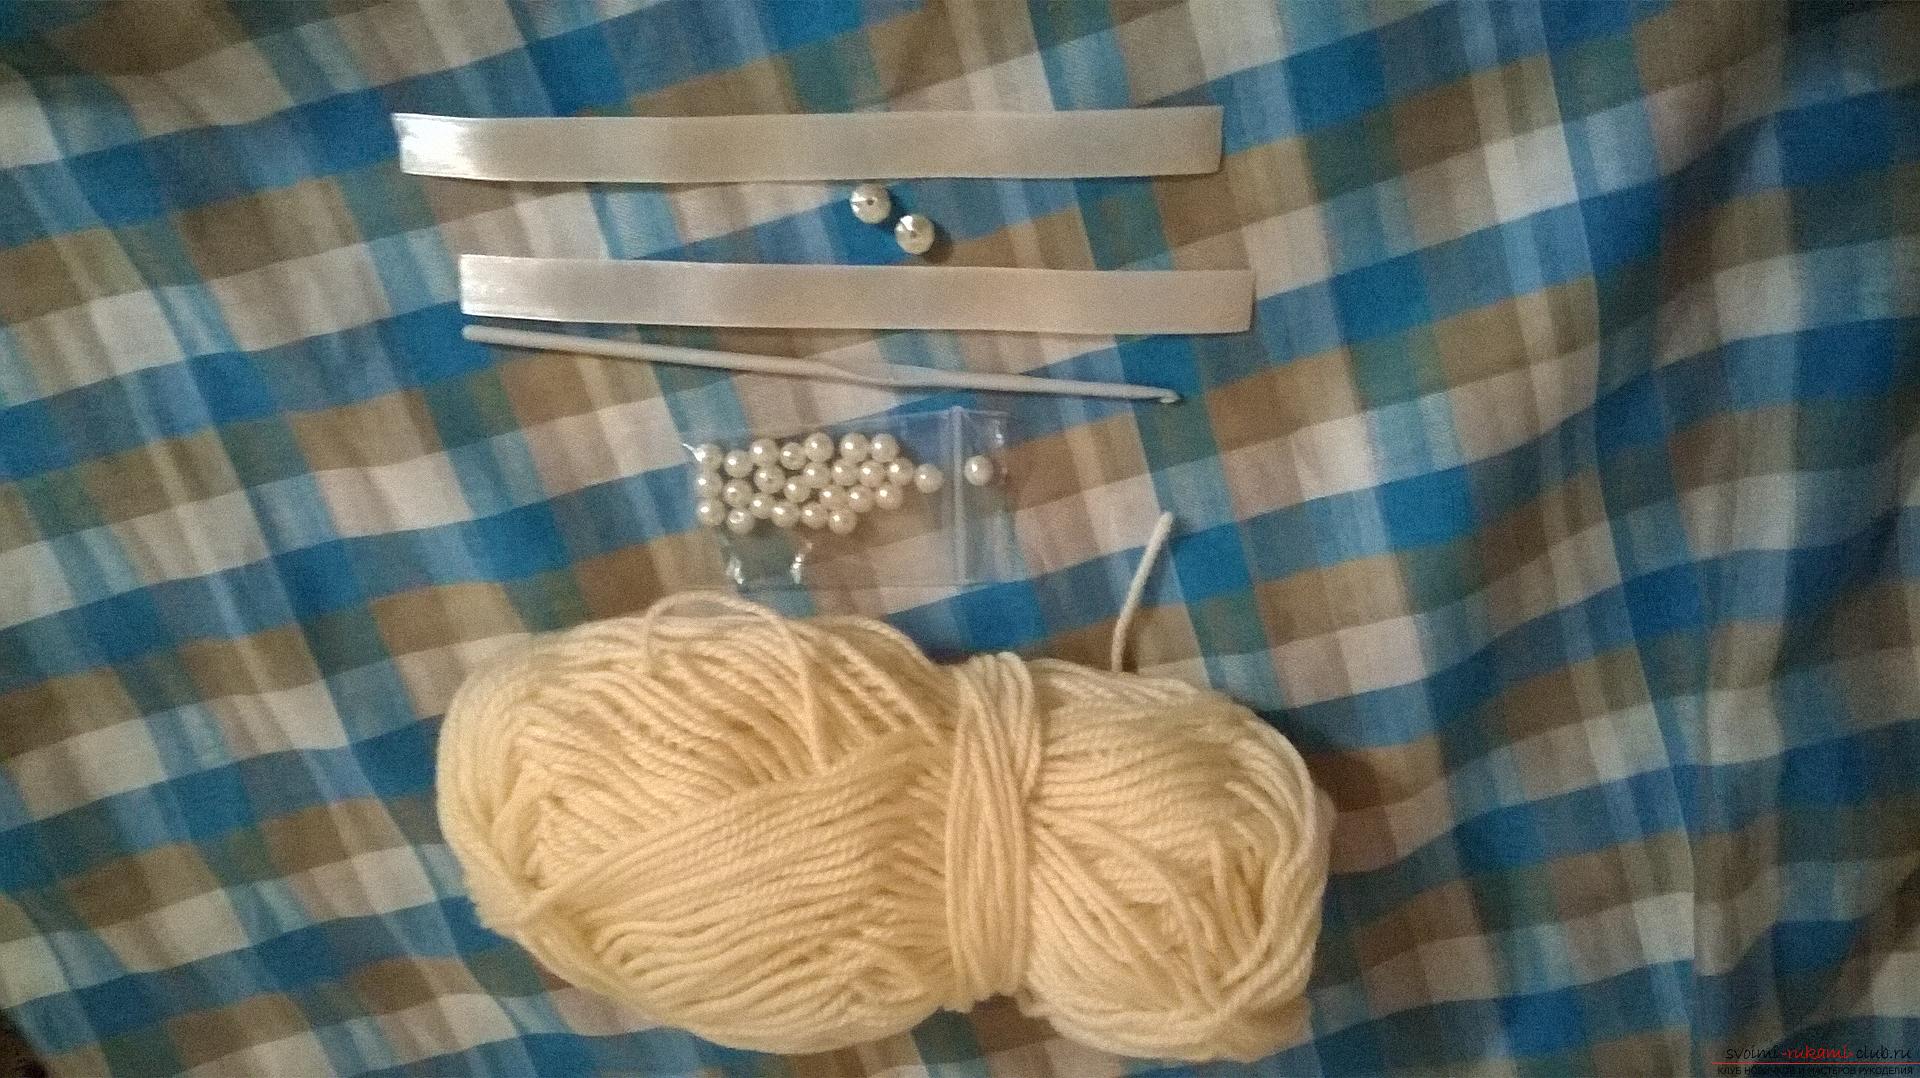
- about 50 gr. yarns for knitting with wool content (I took a folk flower champagne, 30% wool and 70% acrylic, 220 m in 100 g);
- hook on the size of the yarn (I took 3.5);
- buttons 6 pcs .;
- beads;
- tape;
- thread for sewing in the color of yarn.
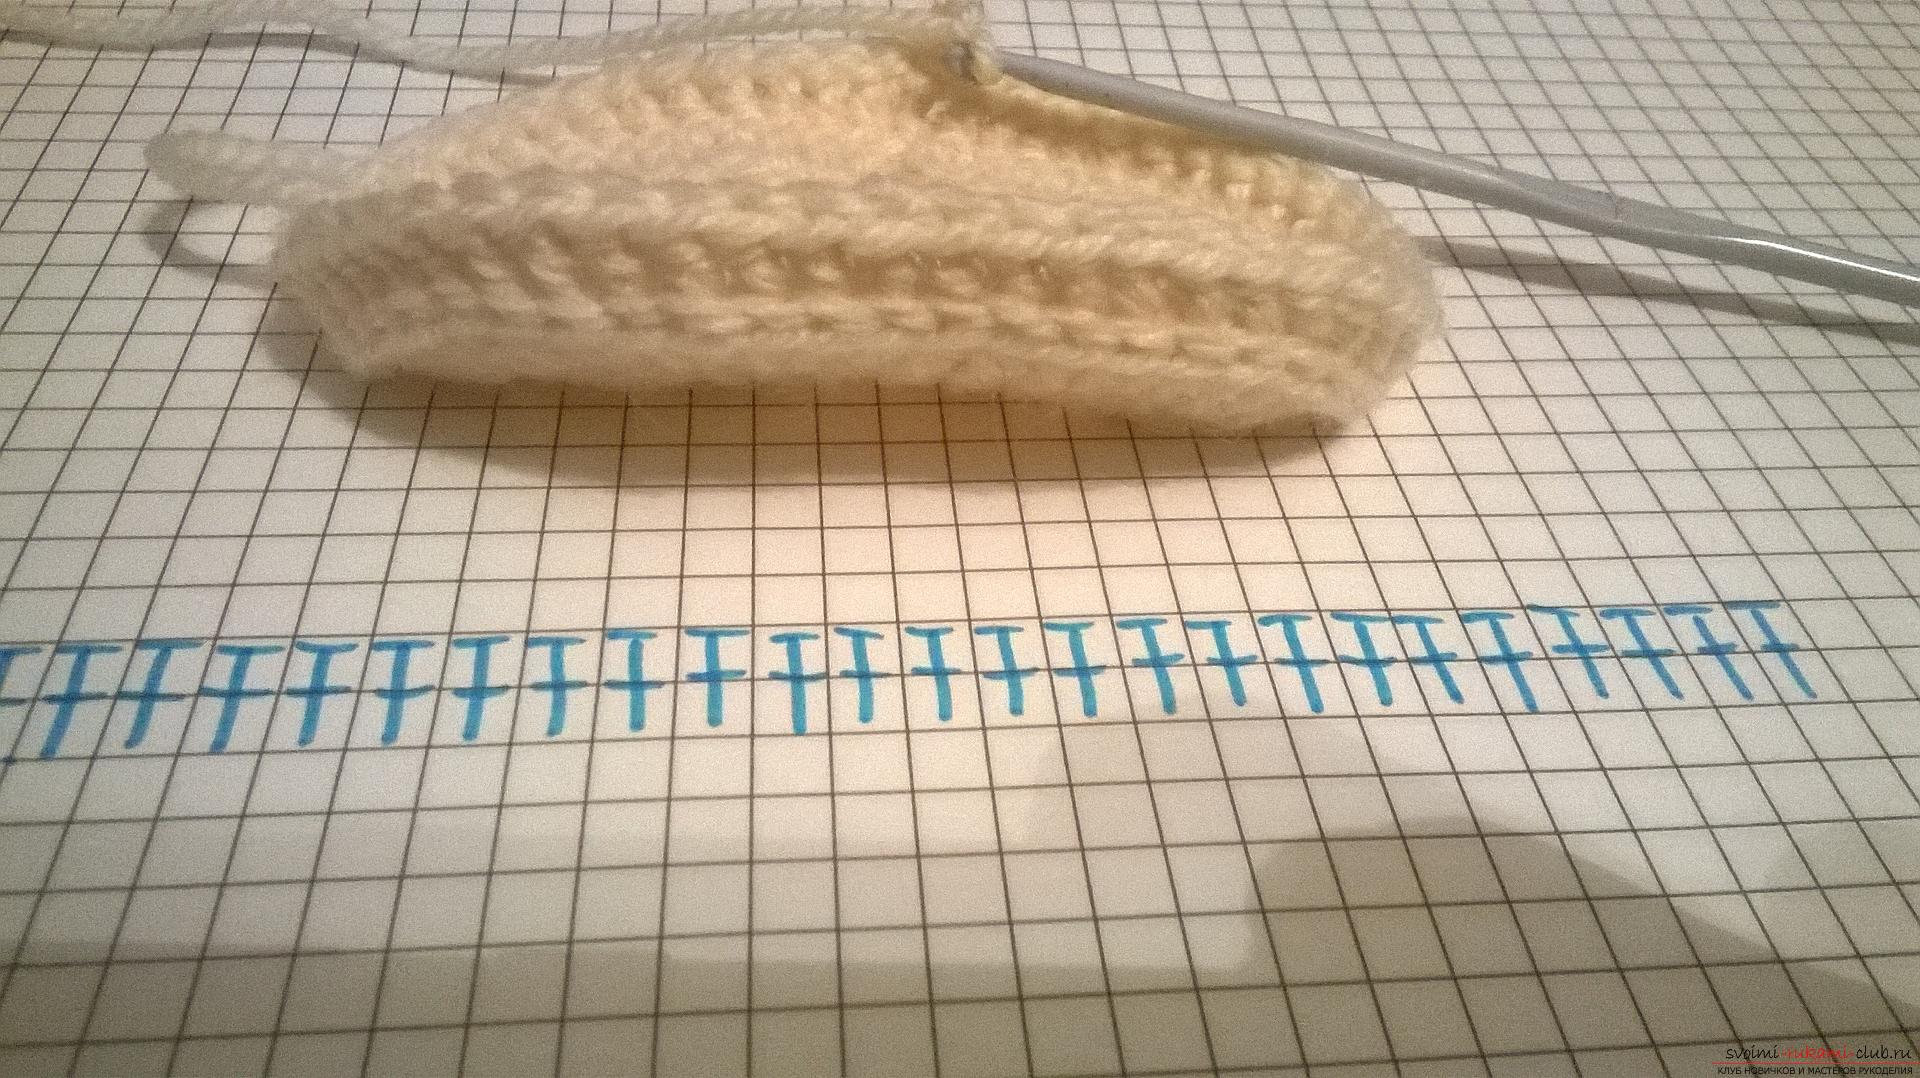
We will begin our knitting from the soles. The length of my sole was 7.5 cm, and the width of 5 cm without frills. I took such sizes specially, I need on the baby's statement. For the smallest leg. Now I'll show you the scheme by which I will knit this sole. 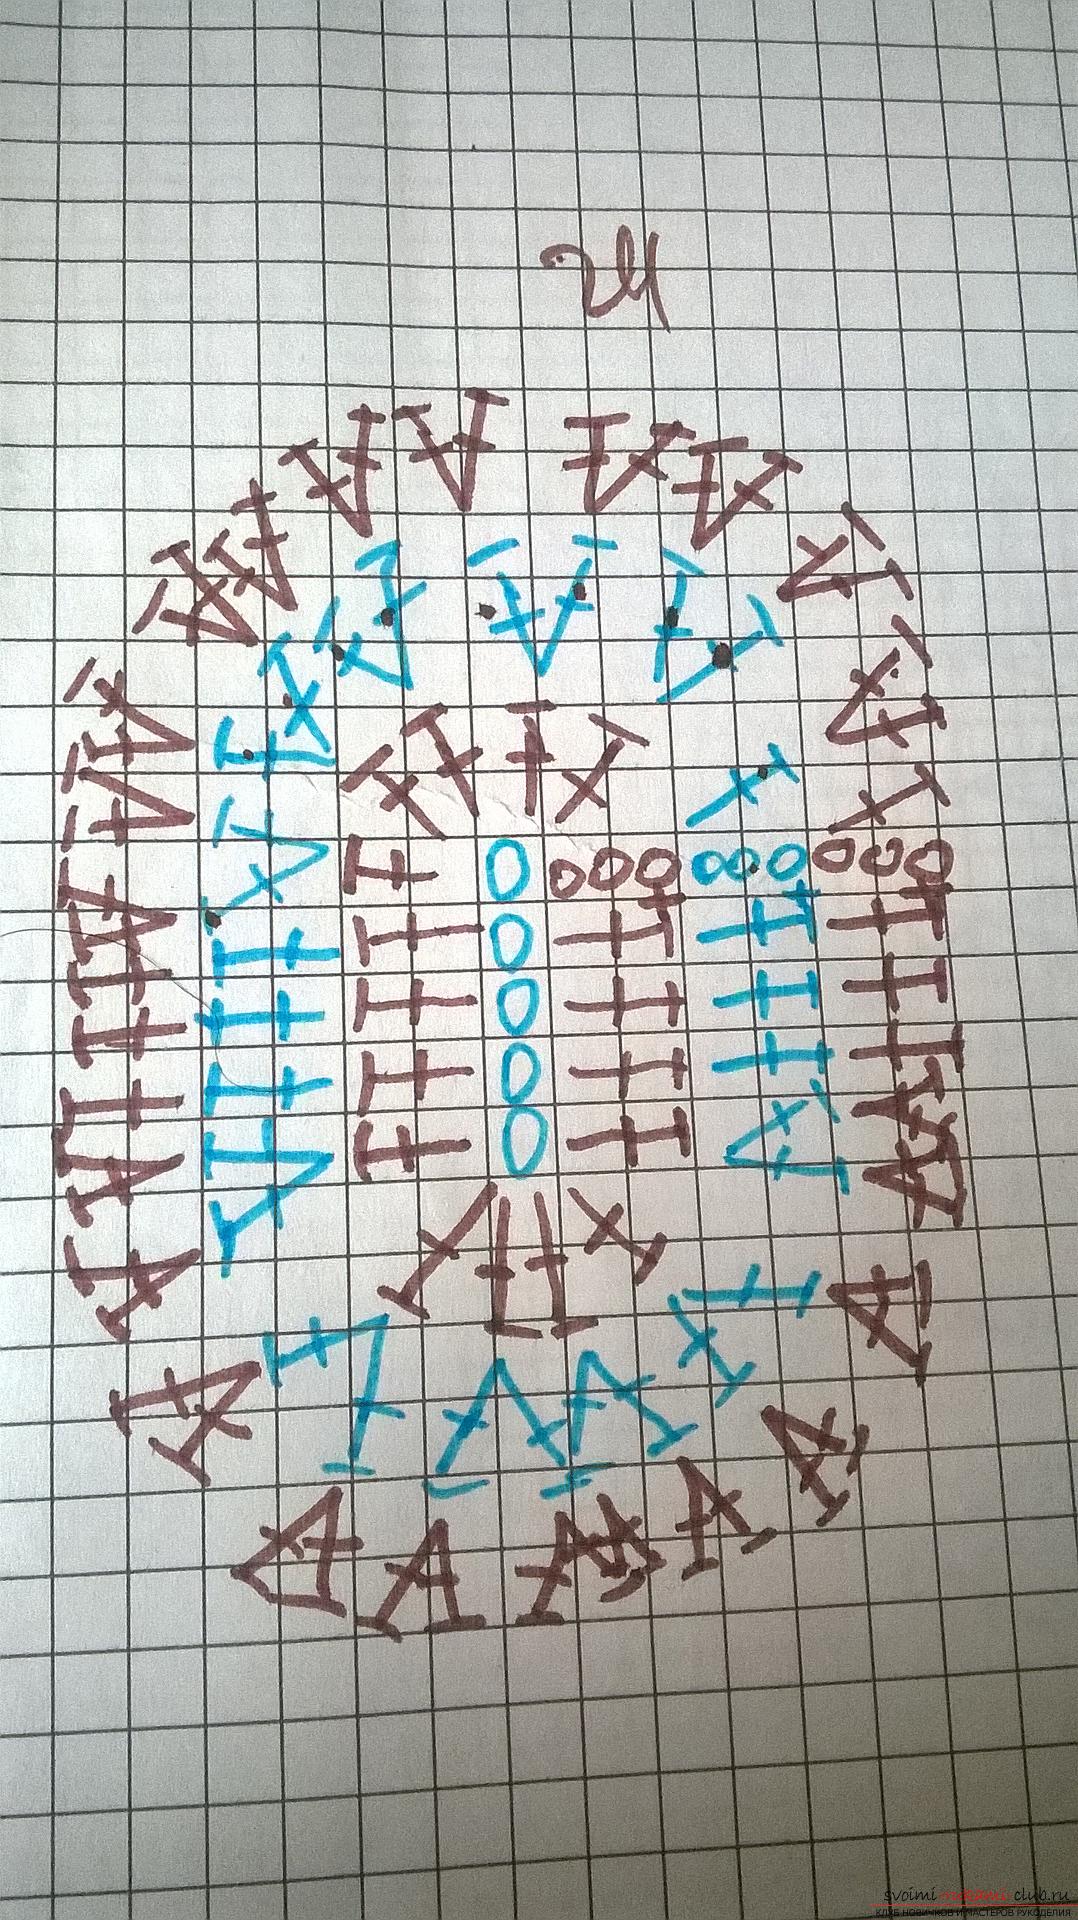 Here, according to this scheme, we will knit the sole of the datapinets. First we will dial an air chain of eight air loops. In these eight loops there are already three air lifting loops. Then in a circle we will knit our sole. It will consist of three rows, which will be linked by columns with a single crochet. We will make the same additions on each side (sock and heel). With each row doing the extension. First we dial eight air loops.
 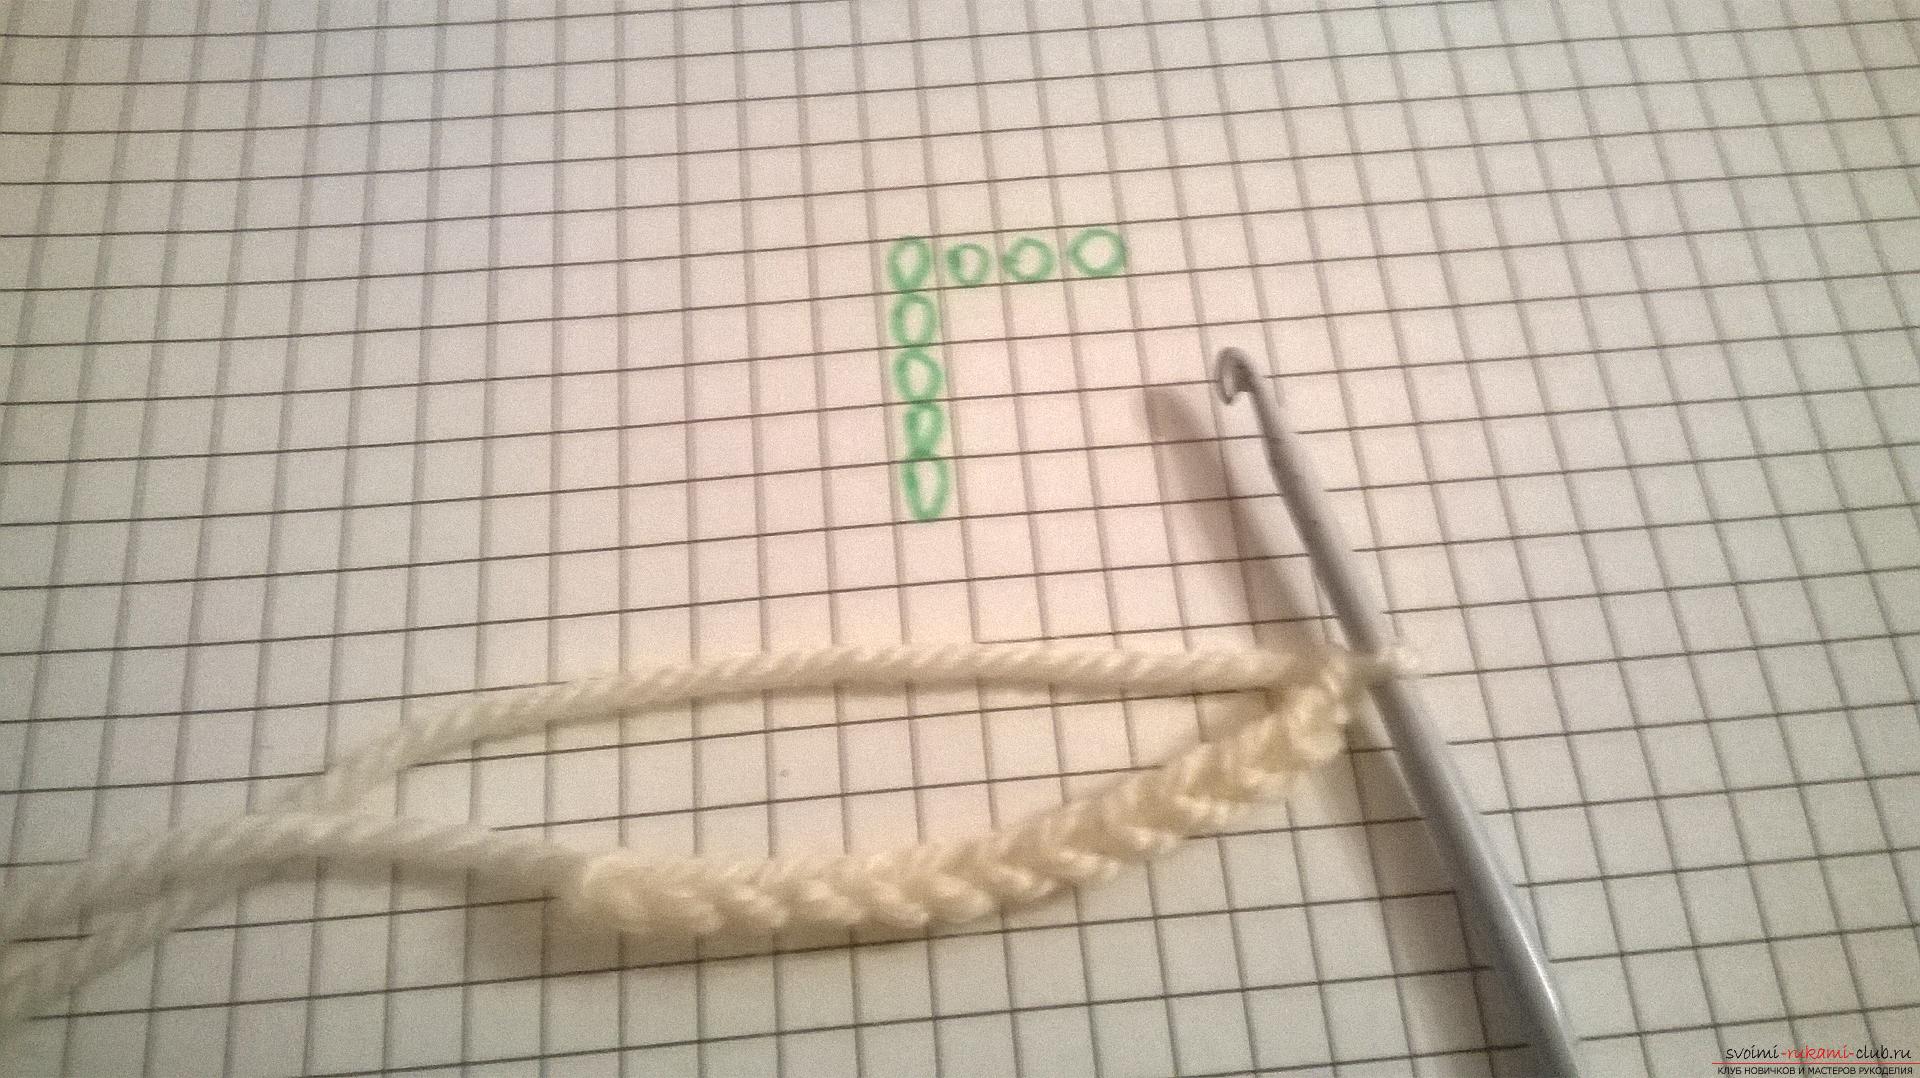 We make a cape, and in the fourth air loop andwe sew a column with a crochet. In this loop all you need to tie five bars with a crochet. Next, we tie three bars with a cuff in each air loop. We reach the last air loop, we tie six columns with a crochet out of it. We turn over and, on the other hand, we tie in three air loops one column with a crochet. We make a connecting post between the last column with the crochet and the third air lifting loop.
 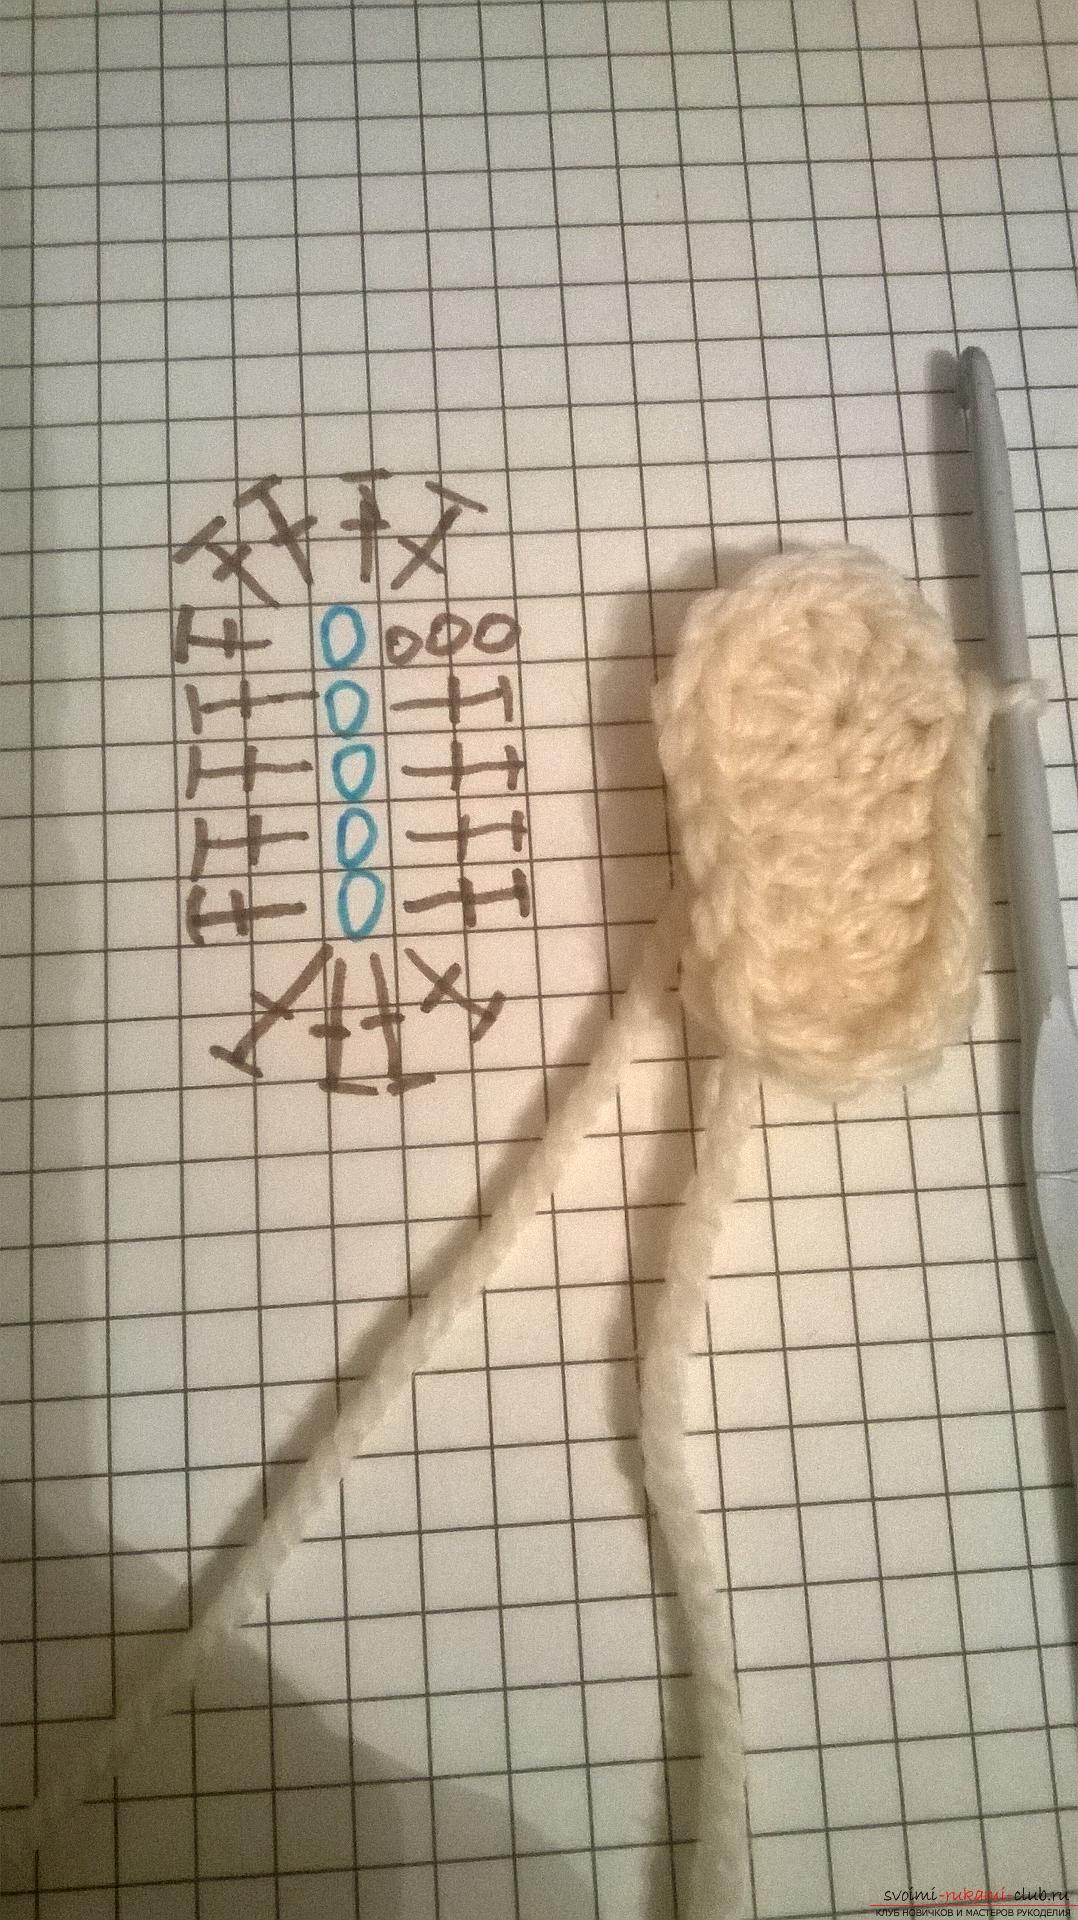 On this I finished the first row of the sole. We pass to the second row. We make three air lifting loops, they replace us with one crochet with a crochet. Next, I make the cape enter the loop into the third air loop, i.e. In the loop in which the connecting post was carrying out, I grab the loop and tie one column with the crochet. I make a crochet, I enter a loop into the table with a crochet of the previous row, I sew two columns with a crochet there. Completed the addition. Our addition represents two columns with a crochet, tied in one loop. So we tie all the columns with a crochet, made from one loop of the first row. In the first row we had five bars with a crochet and one lifting loop of three air loops, which replaces the sixth column. Over each column of these six columns with a crochet should be tied in addition (from one loop to tie two bars with a crochet). It turns out at one turn we had six bars with a crochet and in each of them we tied two columns with a crochet, so in the second row there are twelve loops. Next, I will knit without adding columns with a single crochet. Now it is necessary to knit one column with one crochet in each loop of the previous row and you need to knit up to six bars with one crochet, which I performed in one loop. In the next six loops with a crochet we make an addition, of which I wrote earlier. We receive from six columns with a crochet twelve columns with one crochet. Finished the second turn further we tie one column with a cuff in one column with a crochet of the previous row. Next, make a connecting post with the last column with a crochet and a third loop. That's what we should get.
 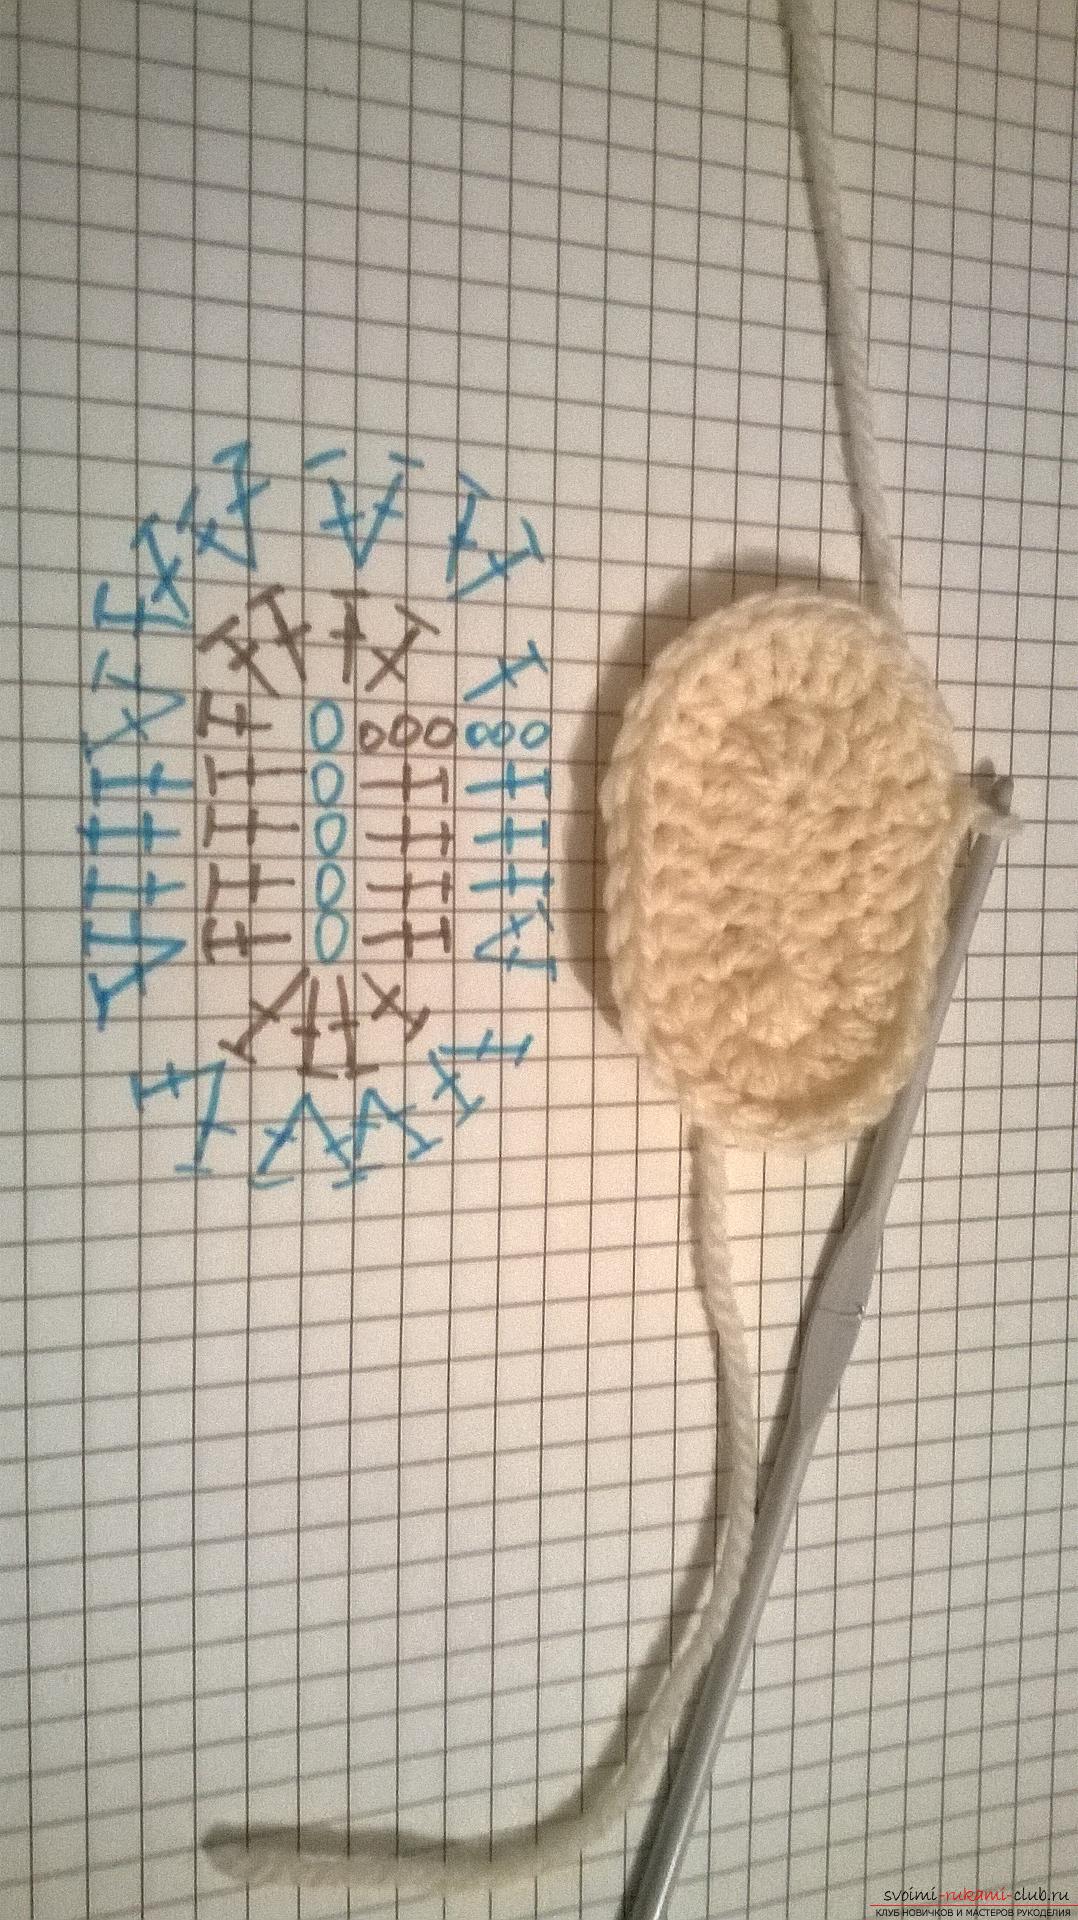 We make three air loops, it will replacewe have one crochet with a crochet. And in the twelve loops of the previous row, we make an addition of twenty-four columns with one crochet. So do it from two sides. We connect the last column with the crochet with three air lifting loops. After we finish the third row should be like this stop.
 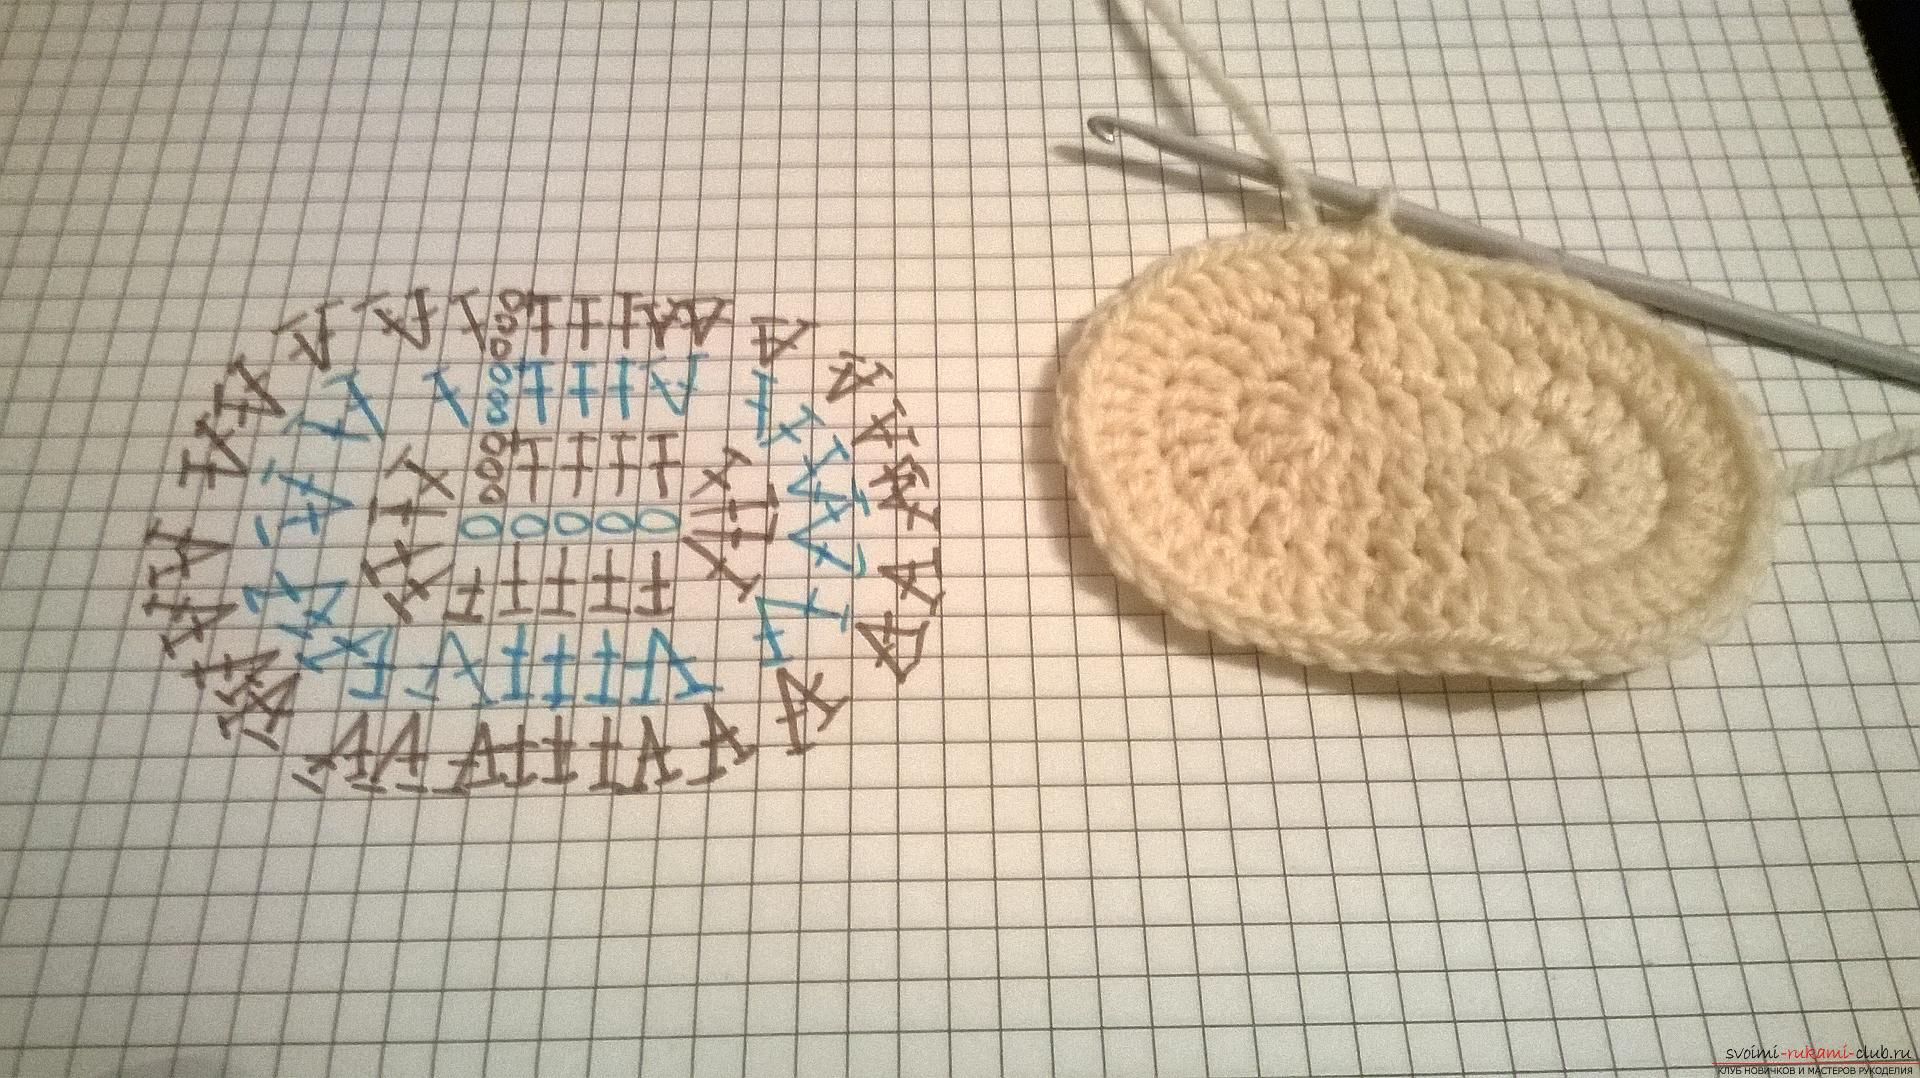 Here we have finished knitting soles and now weturn to knitting the top. We make three air lifting loops. They replace us with the first column with one crochet. We will knit all this series with columns with one crochet. Therefore, I make a crochet, I enter into a column with one overstuff.
 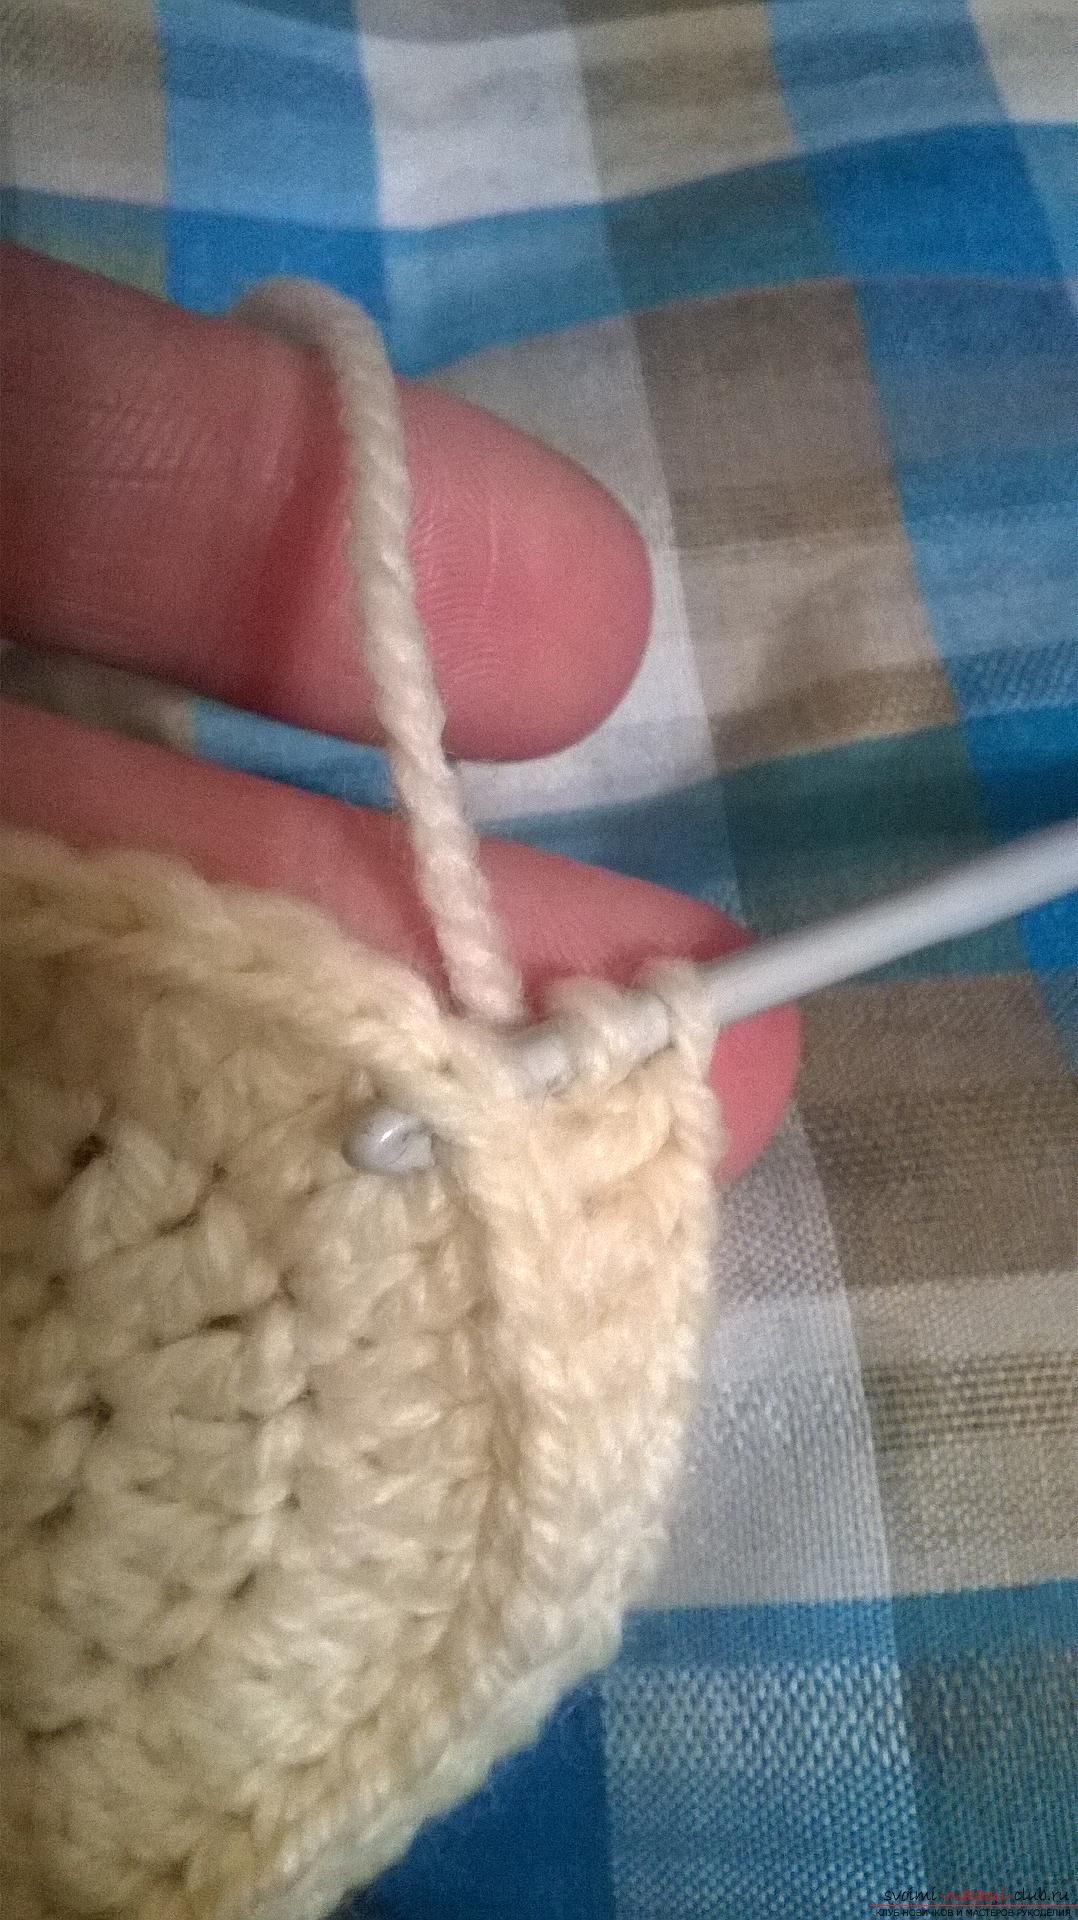 Figure 1. And then in the second column with a crocheted I introduce in front, the hook appeared at my back.
 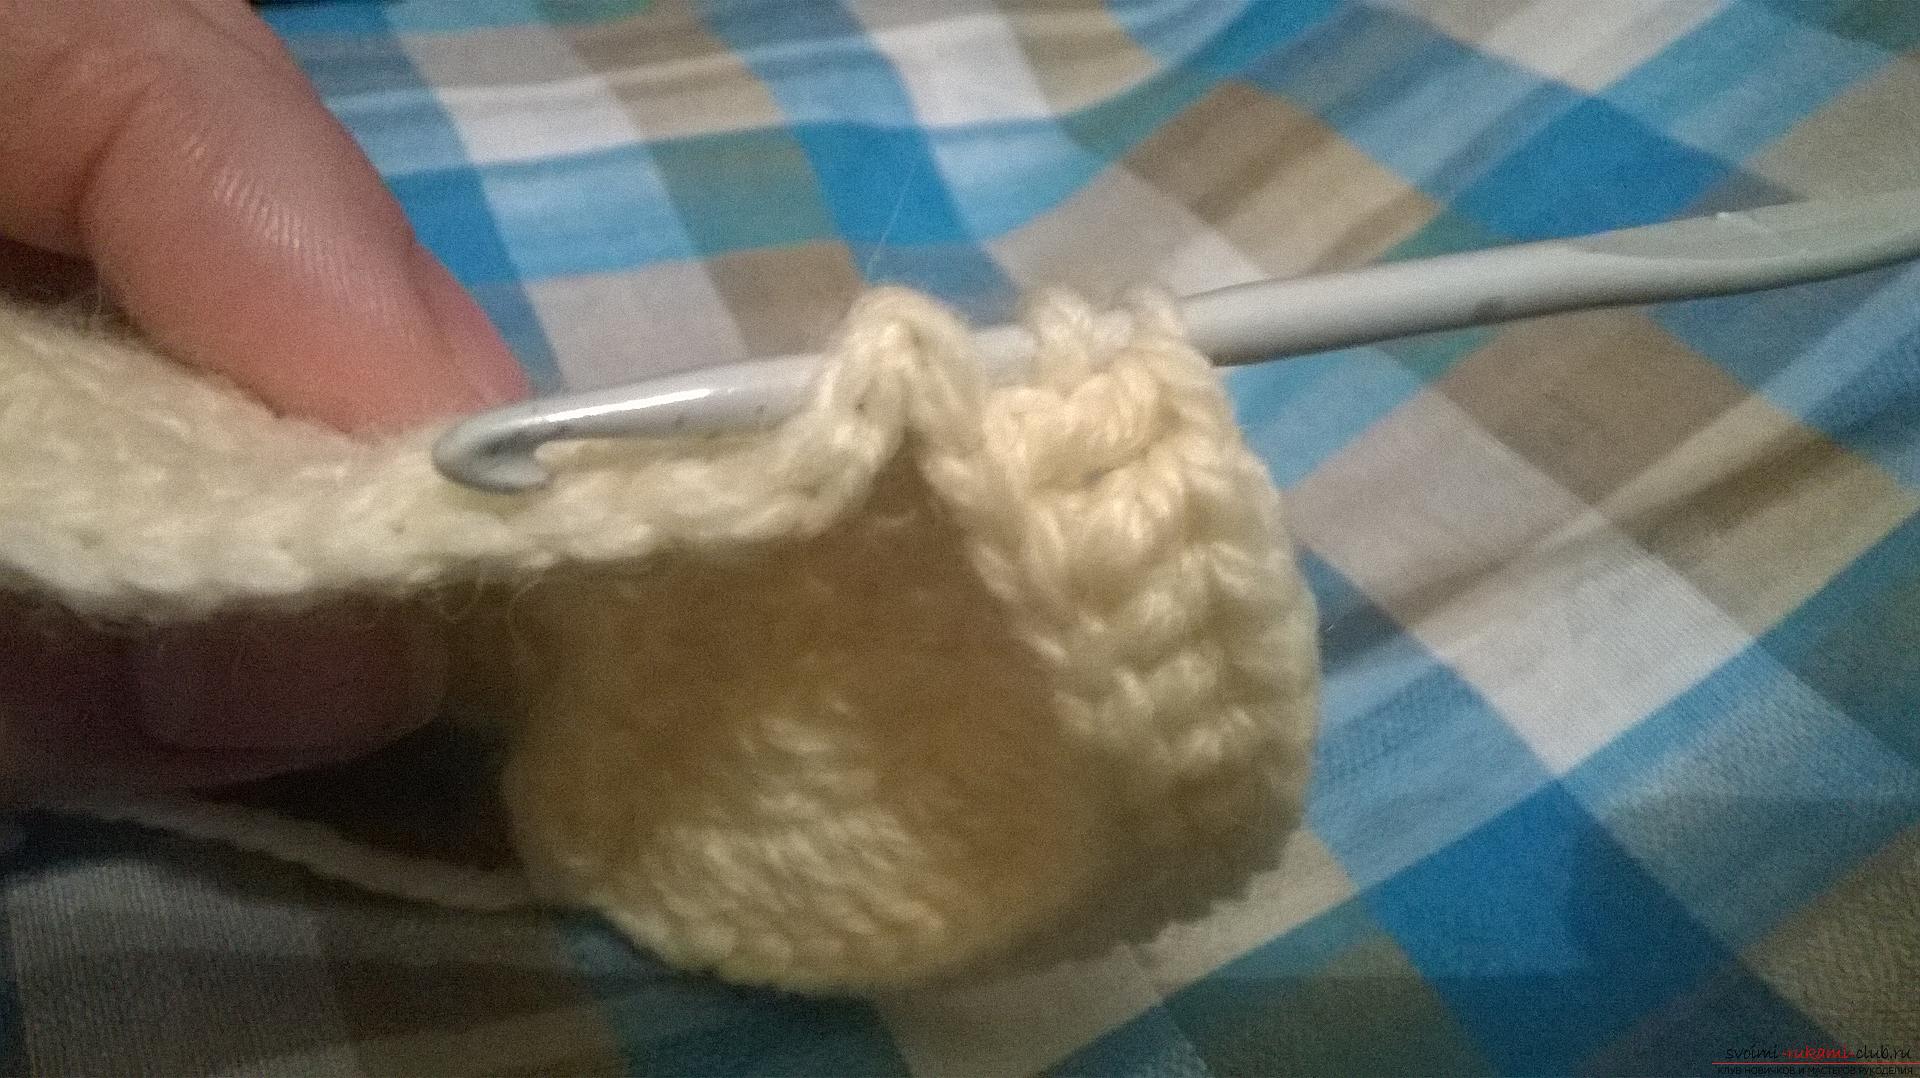 Fig. 2. Now grabbing the thread, stretching it, I got three loops on the hook, and now I'm tying a regular post with one crochet. Now it is necessary to knit up to the end of the series with such stitches with a single crochet and knit as shown in Figures 1 and 2. We, as it were, embrace the column. If you do everything correctly, you have to create such a small stitch over each column with one overstock of the last row of the sole.
 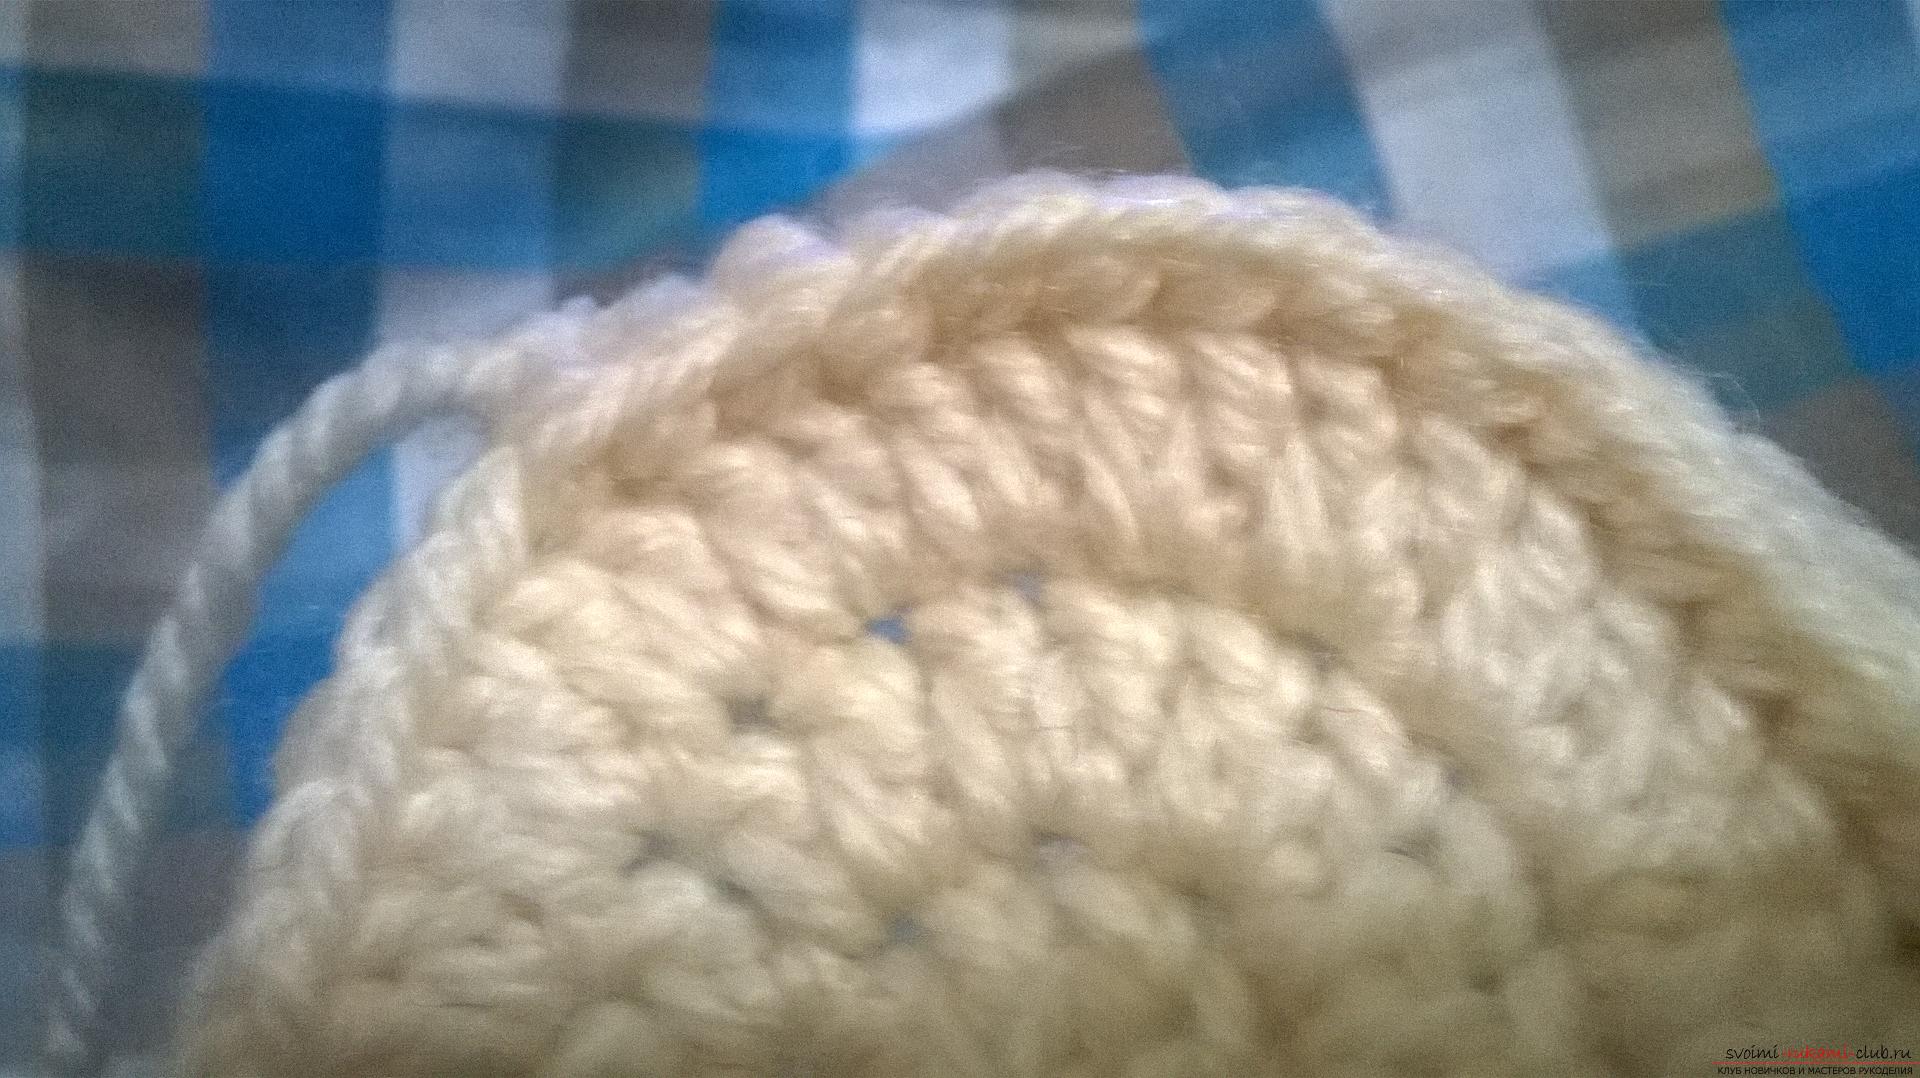 Here we are tied to the end of the series. We make the connecting column with the last column with the crochet and the third air lifting loop.
 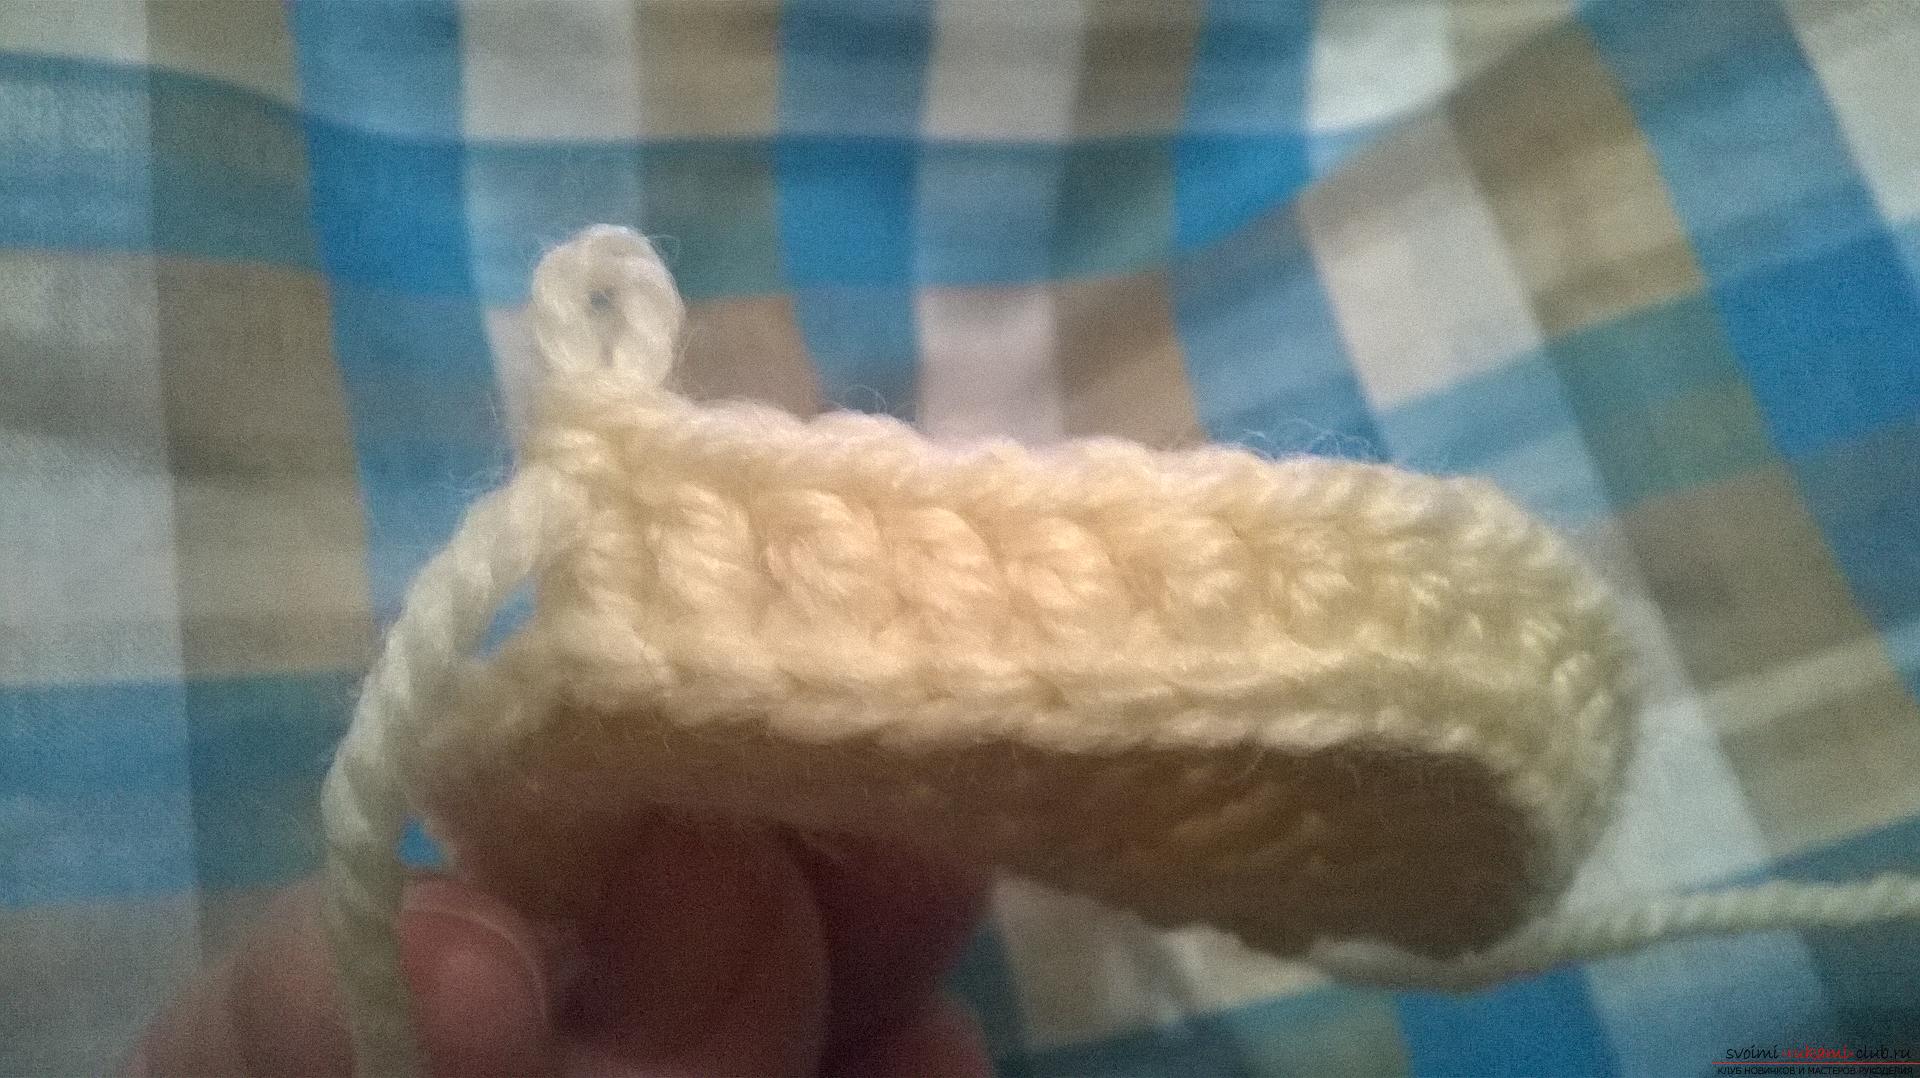 It should look like a furrow from the air loops.
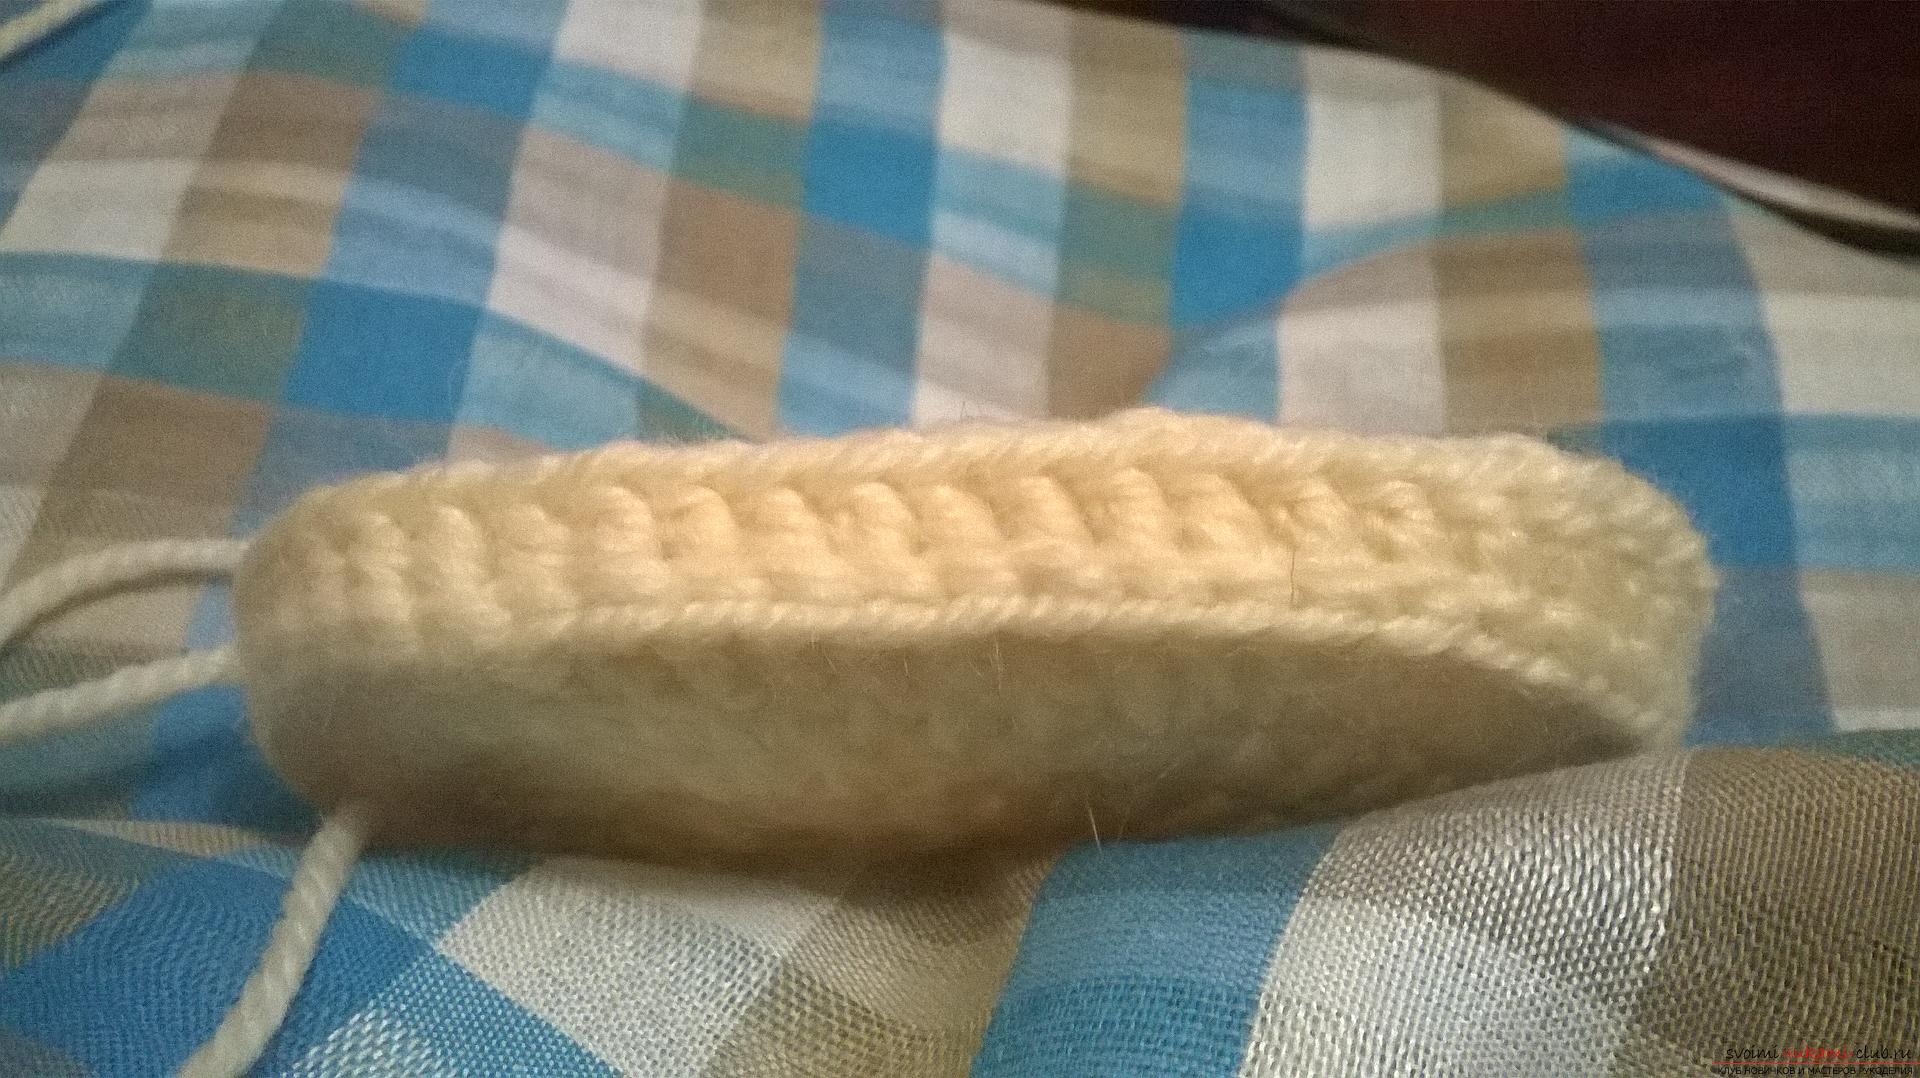
 Then we make three air lifting loops. They replace us with the first column with one crochet. Now, over each column with one overrun of the previous row, we'll knit an ordinary column with a single cape. So we sew the second row of the ascent. We connect the last column with the crochet and the third air lifting loop.
 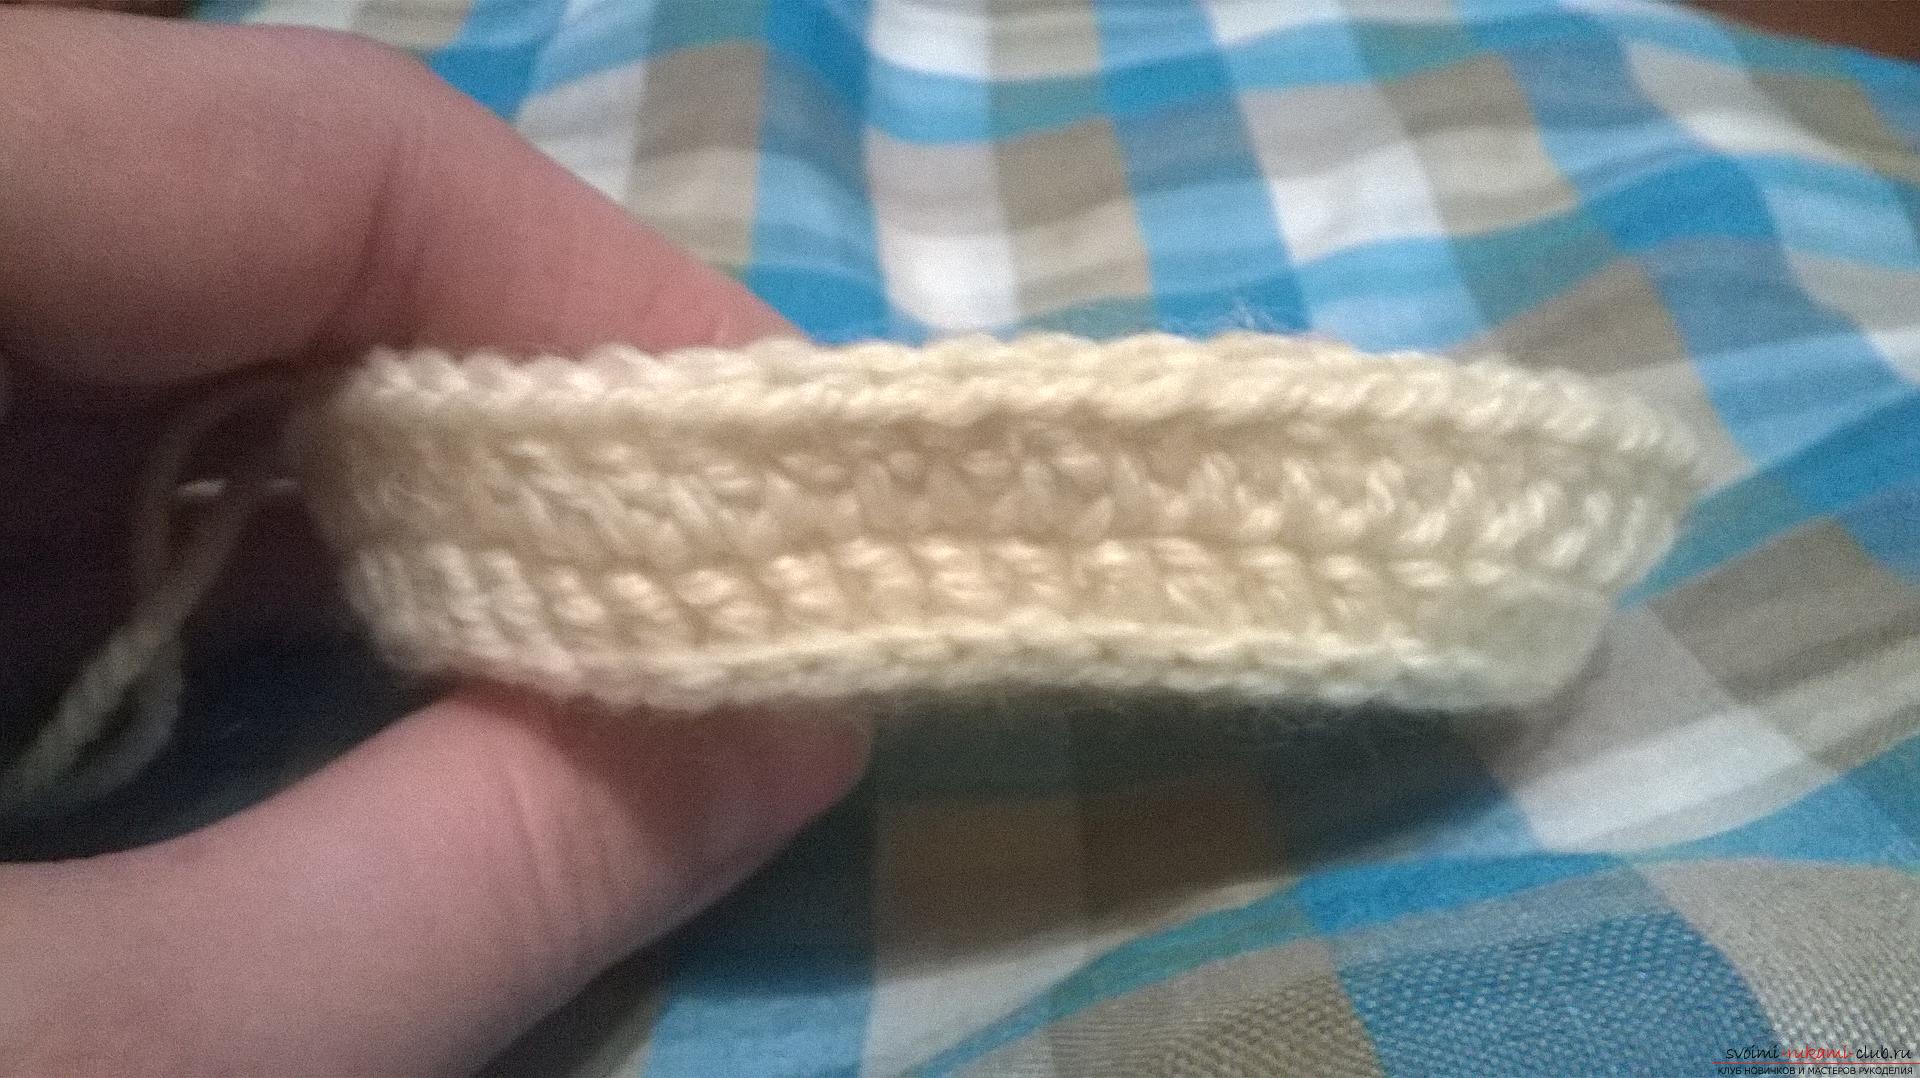 The next row begins with three air loops. Next, we knit one column with a crochet over each column with a crochet of the previous row. In this row, we take our sole and look at the twenty-four bars with one crochet, i.e. these are the loops, after I made twelve additions. I find the first column with the one cloak of the first addition. I find this loop and find the last loop, mark it with a thread or a special markup-clip. Starting from the first column, we sew one column with one overtone, we do not fully finish it, we make one cape, we insert a hook into the second loop of the previous row, we knit a column with a crochet and grab the eyelets from the first column with the crochet. We should get a decrease, out of two sts of a column with one crochet should be one column with one crochet. So, in all of the twenty-four columns with one crochet, there should be twelve columns with one crochet.
 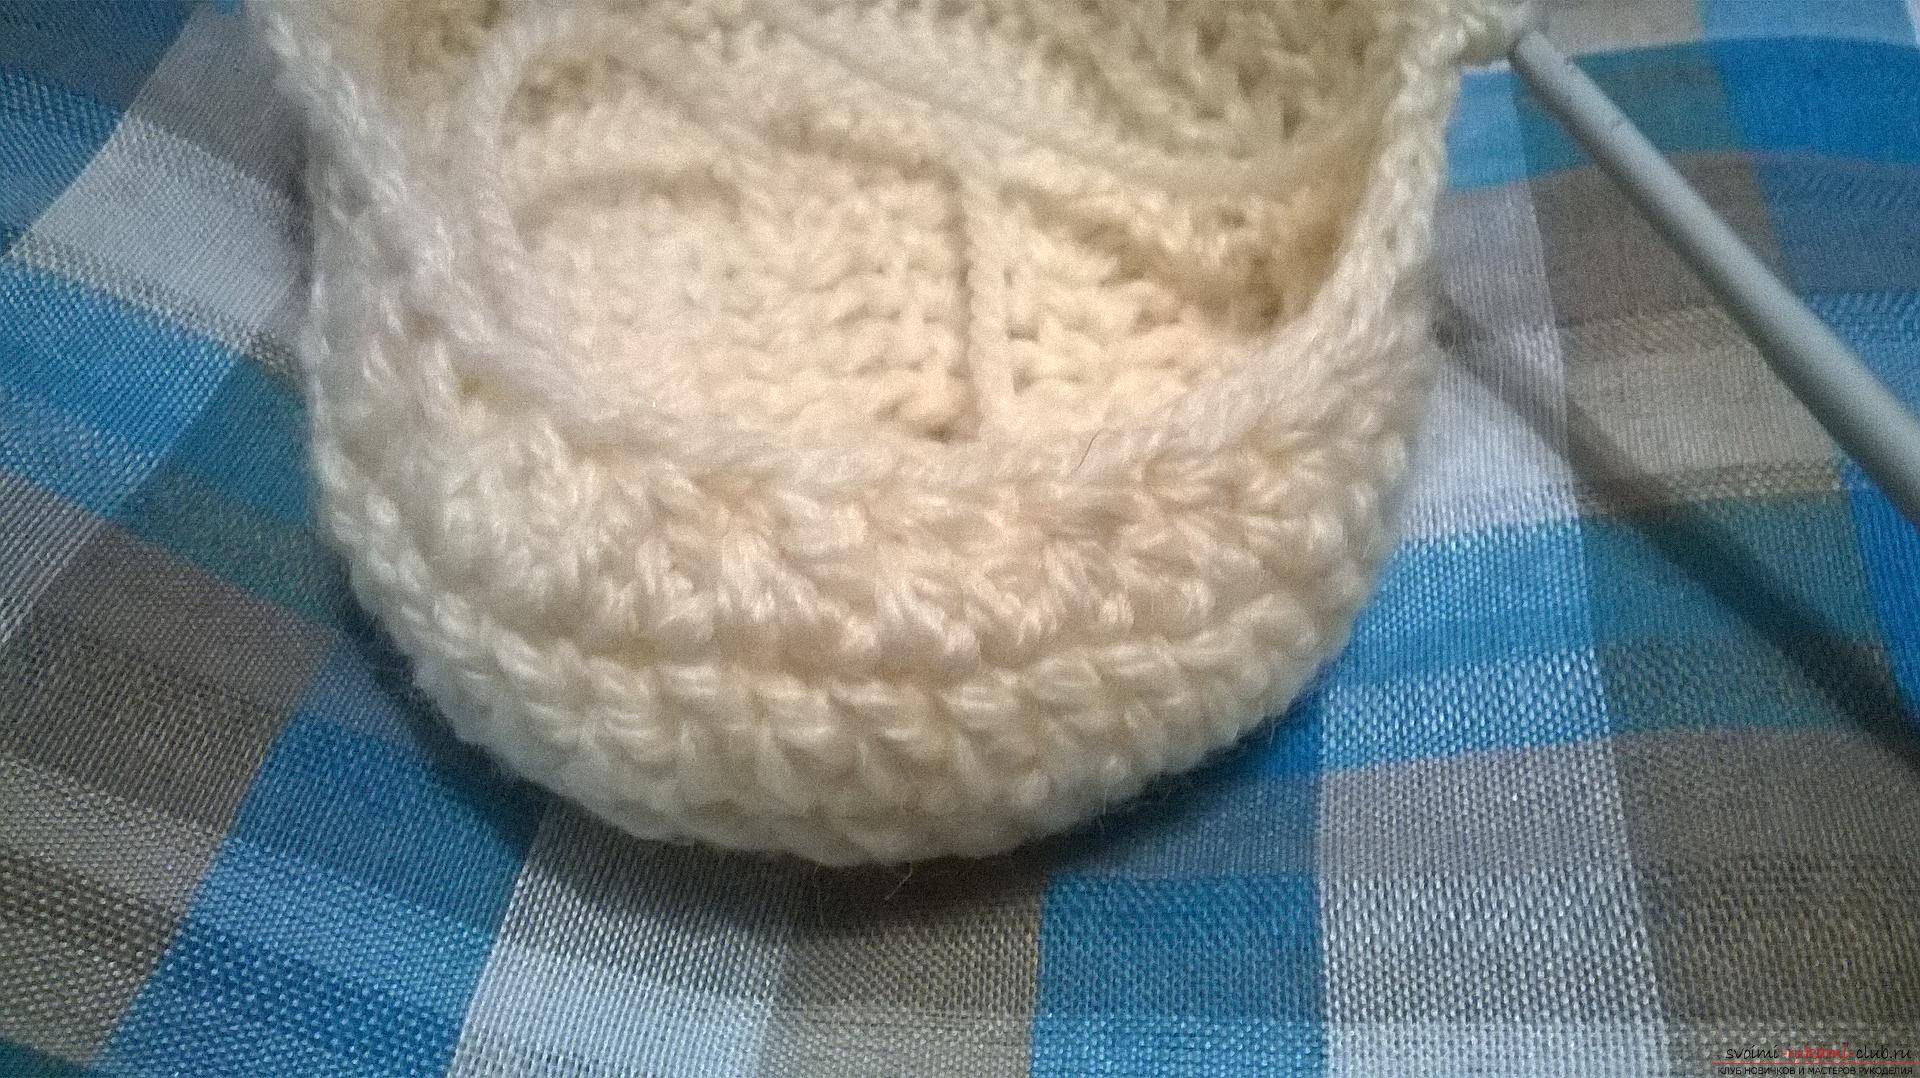 Further we tie to the end of the series without anyof the deductions. Over each column with one cape of the previous row, we sew one column with one cape. Rounding on the heel does not diminish, but all the loops are tied with columns with one crochet. We connect the row with a column with one crochet and a third air loop of the lifting column. The next row begins with three air loops of the lifting column. And we tie it into each bar with one overstock of the previous row in one column. So we knit until we get to the loop where we did the reduction. Twelve loops of the previous row will be reduced in the same way as I described above. It is necessary to make from two columns with one crochet, one column with one crochet. After tying all the decaying columns it should turn out, out of twelve columns with one crochet there are six double bars with one crochet (one loop).
 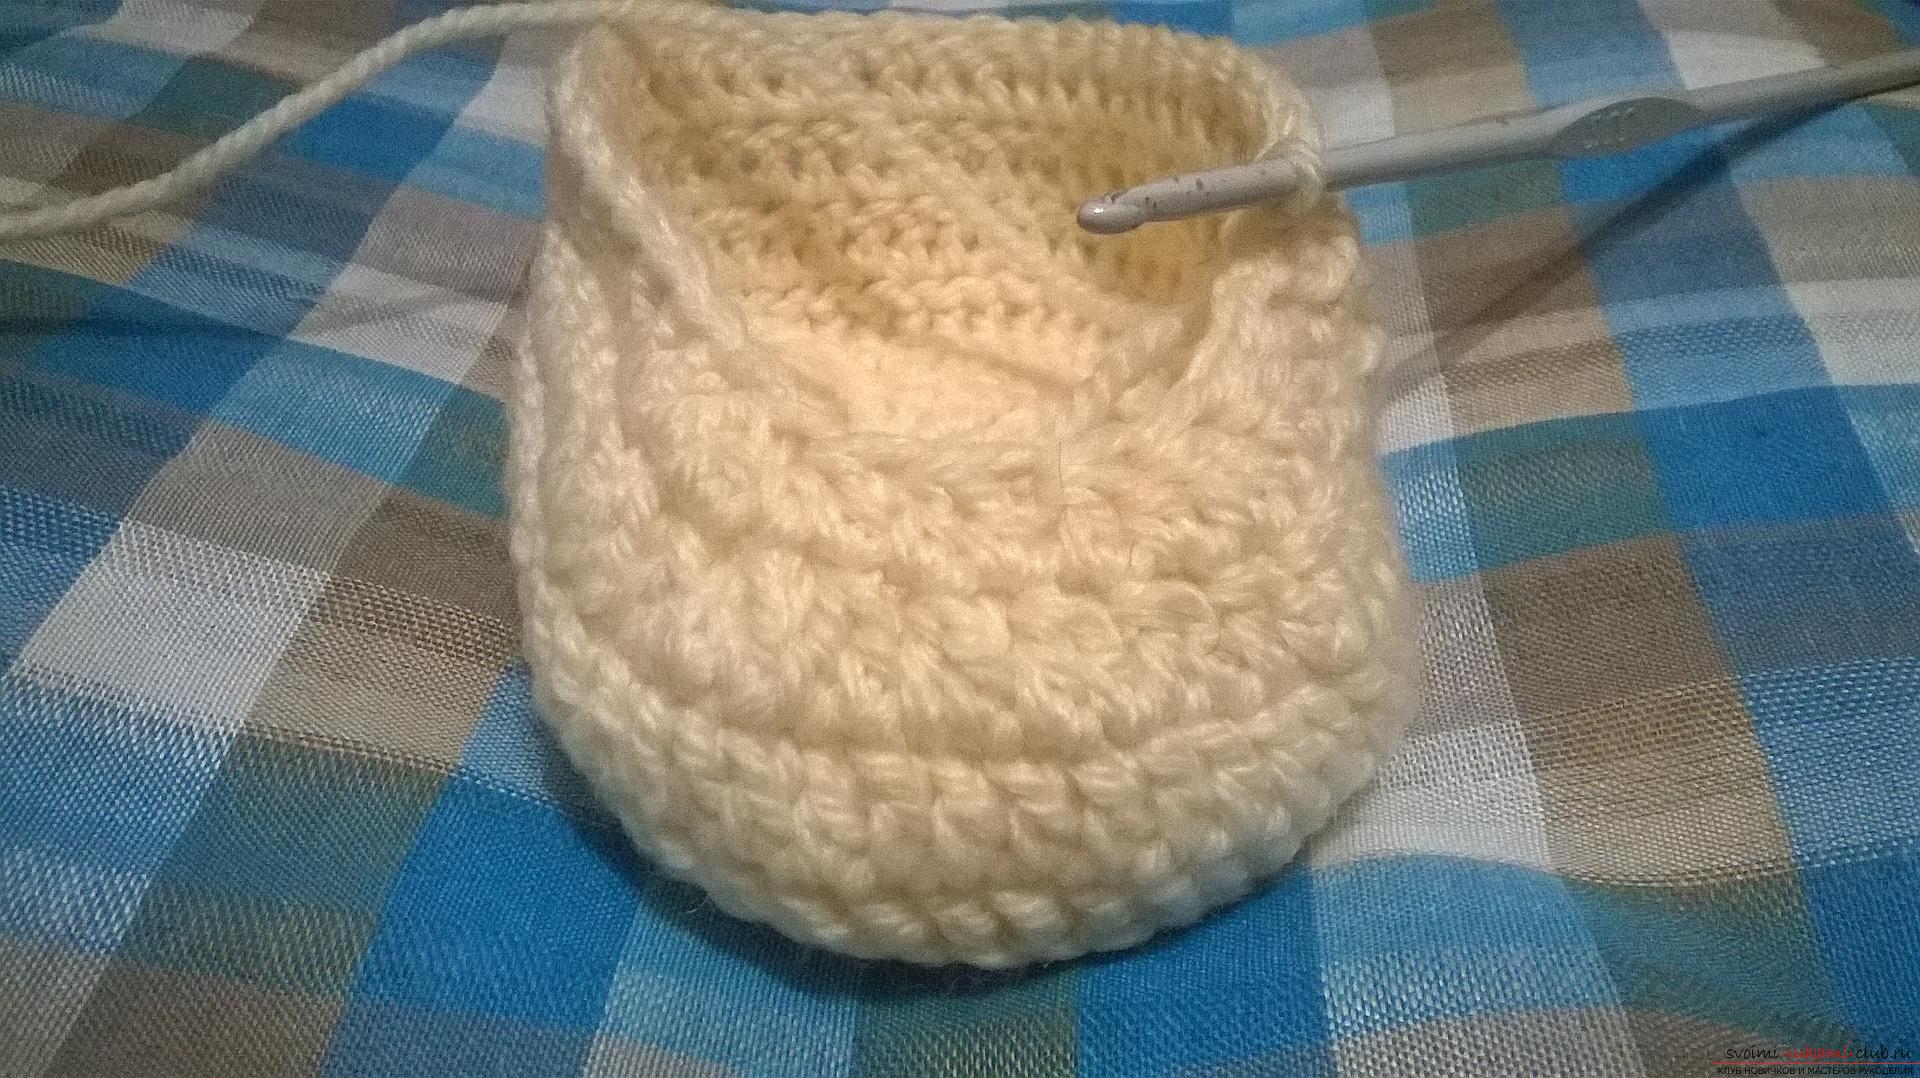 Next, we knit one column with one crochet ineach column with one overhang of the previous row. The end of the row connects one column with one overhang and the third air lifting loop. Now we knit the third row with decrements. We start a new series, as always, with three air lifting loops. We send one column with one crochet to one post with one crochet. So let's untie until we get to our reduction. This time out of six bars should be three. The end of the series we continue to knit: one column with one crochet in one column with one cuff of the previous row. We finish with the last column with one crochet and connect it to the third air loop of the lifting line. We impose one air loop and cut the thread.
 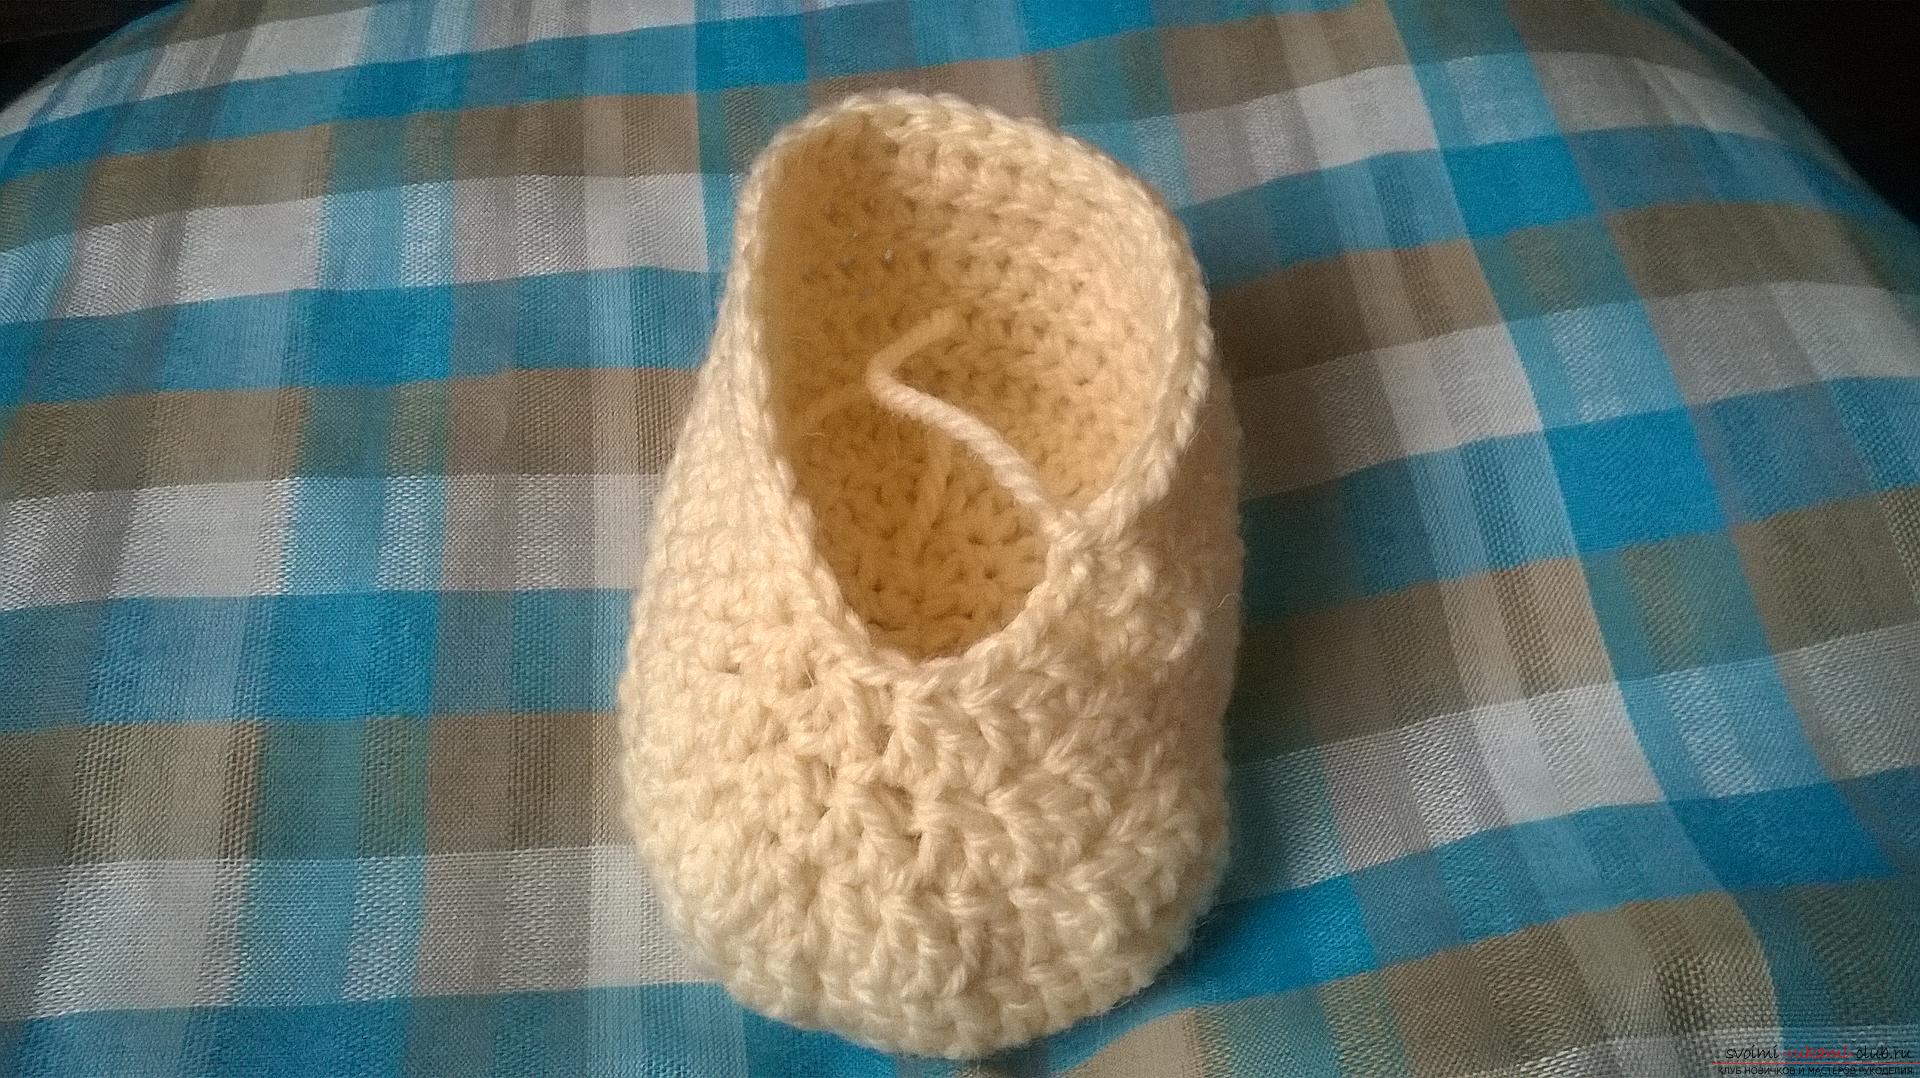 Here is the scheme by which I did the reduction.
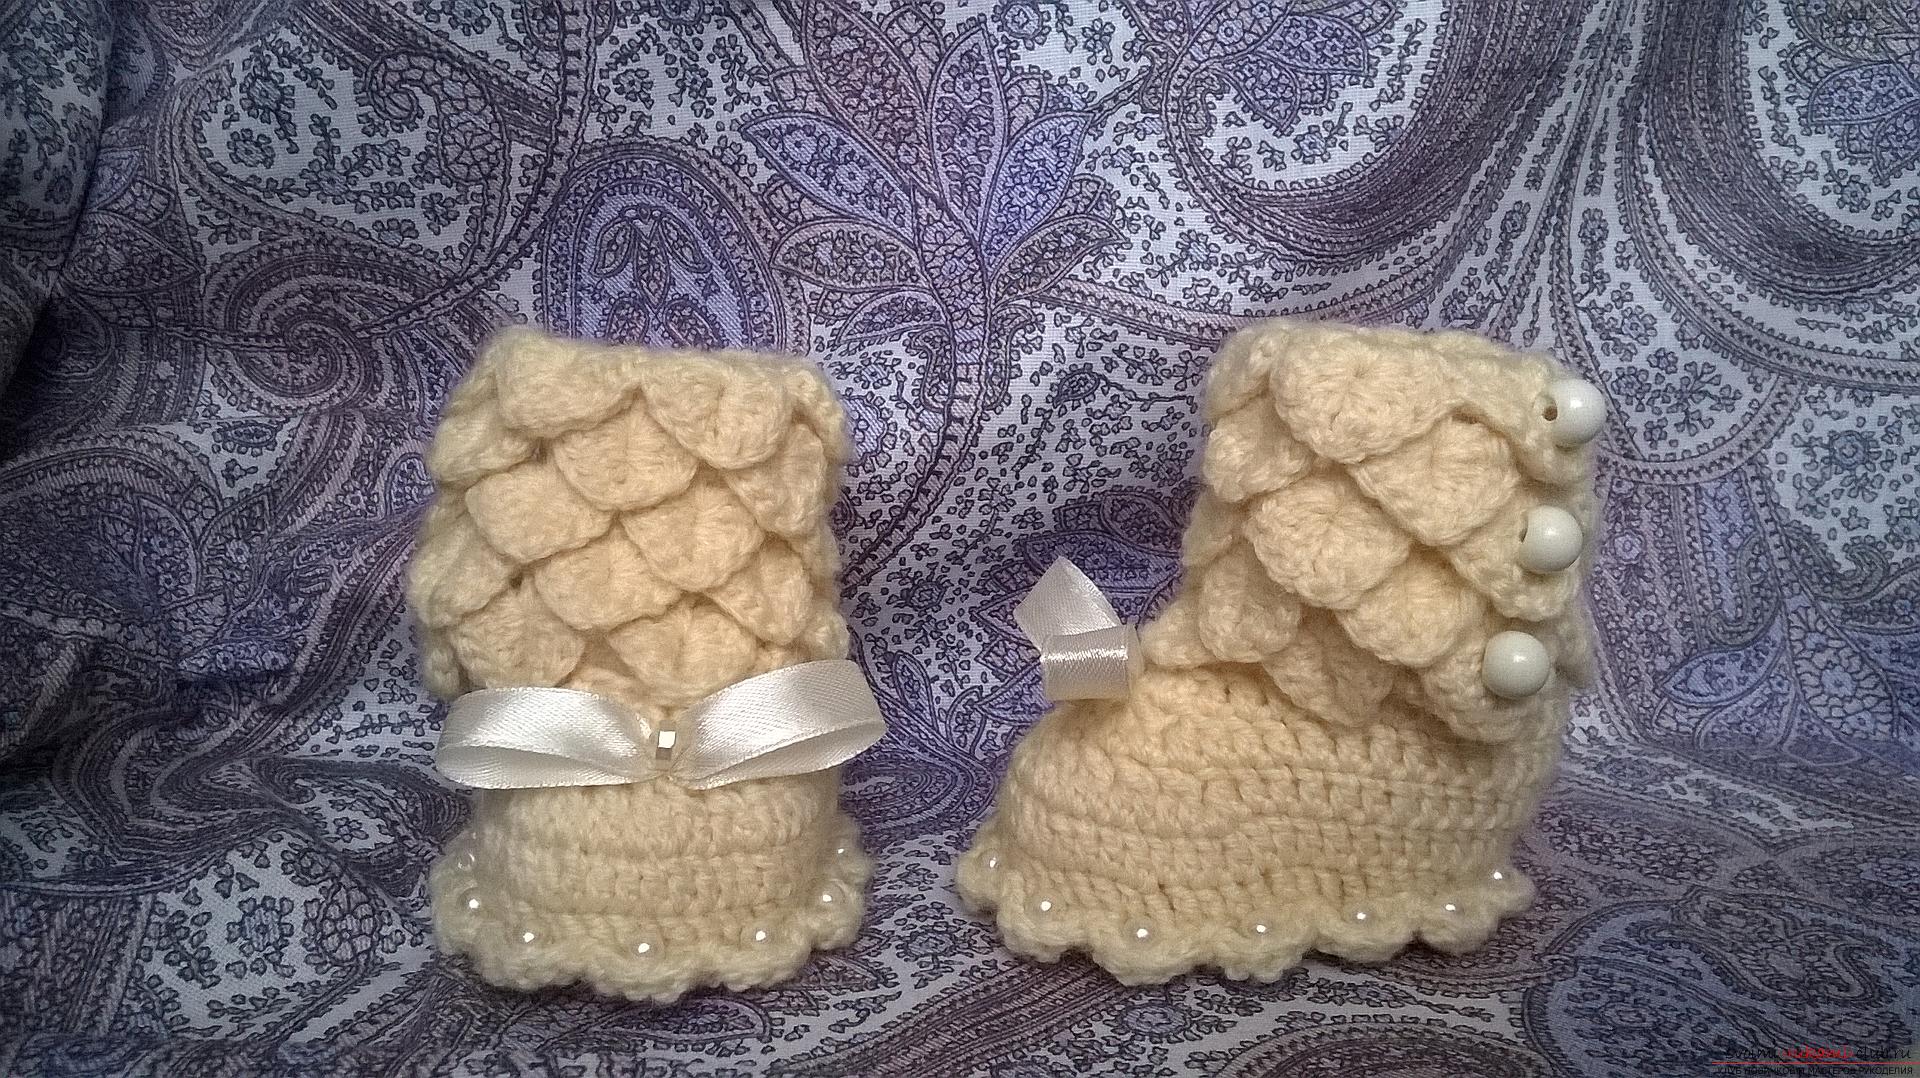
 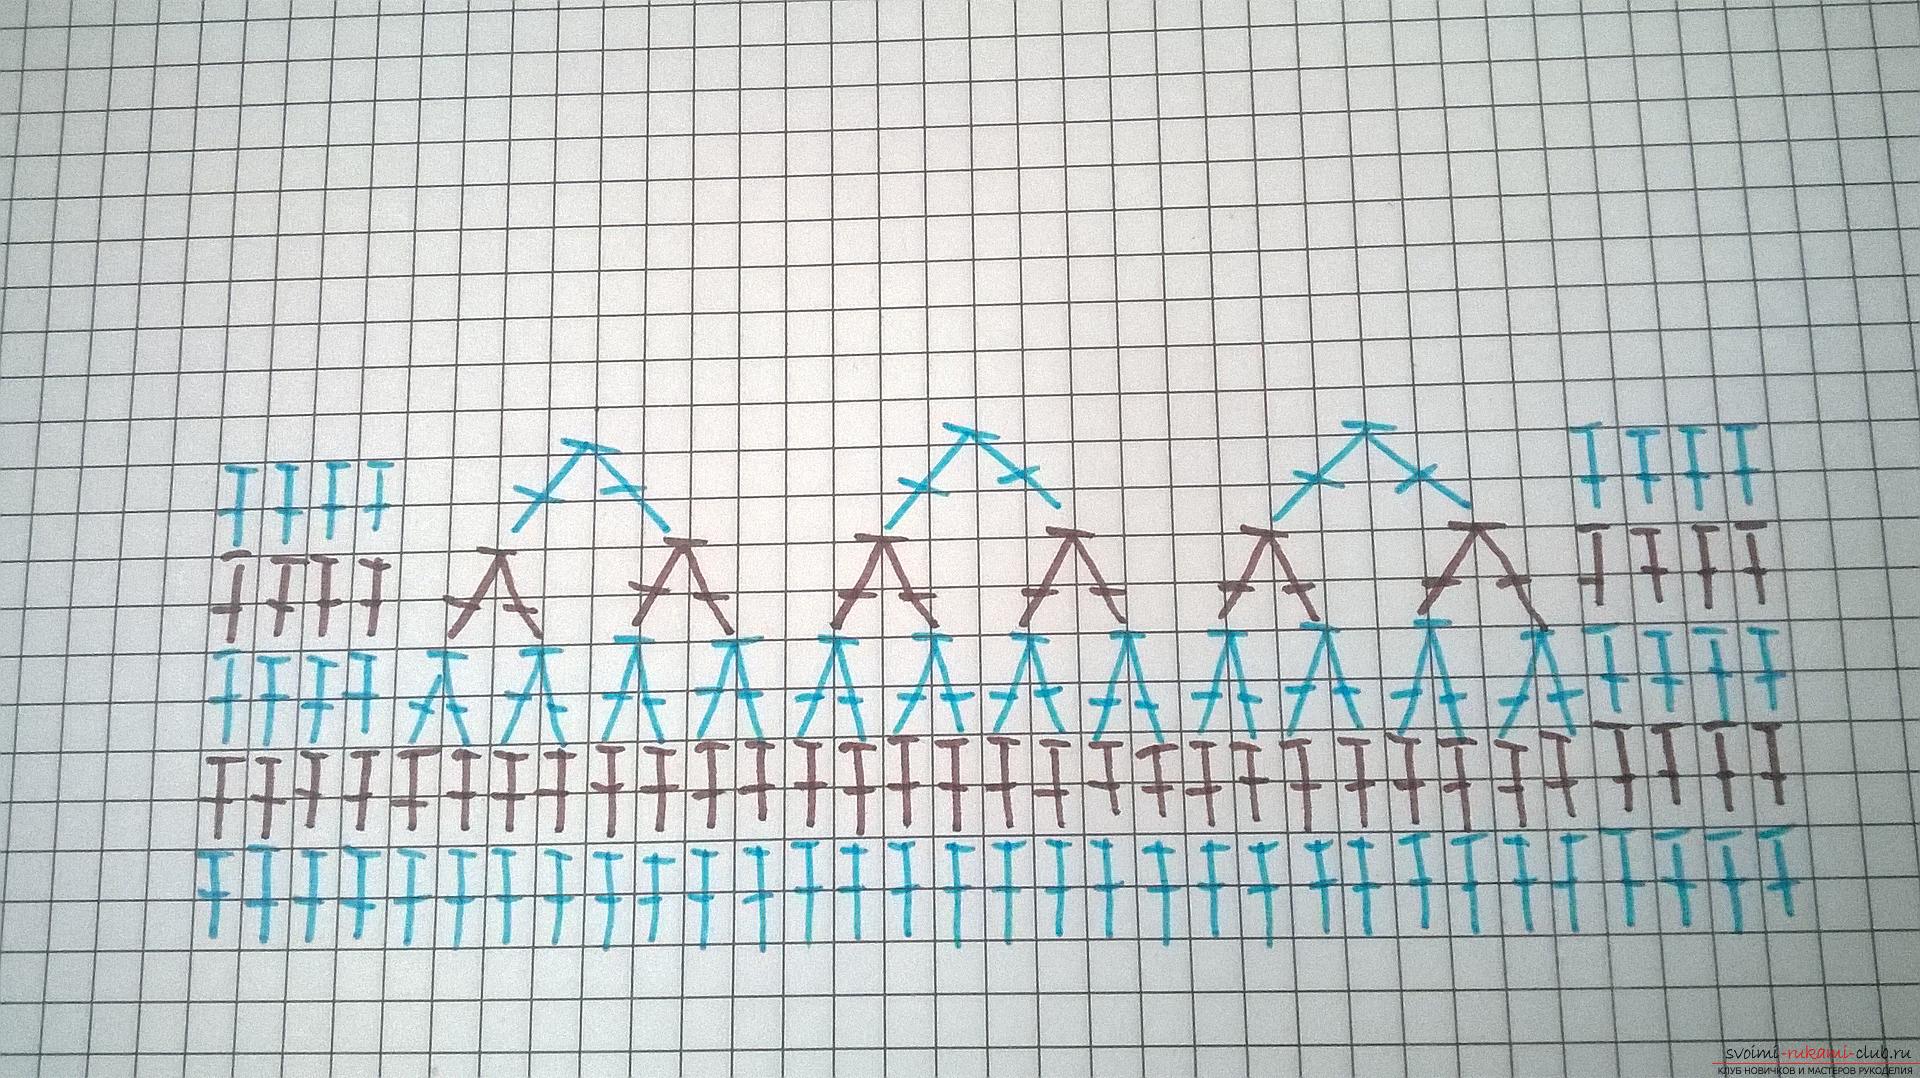 Here we have executed half of our booties. Next, I'll tell you how to perform the top part - a drawing with such beautiful collars. We take a new thread and knit eight air loops. For now, we'll postpone it. We knit the left shoe. We take the booties and look for the central loop, from it we count four loops, and in the fourth loop we sew eight air loops with the connecting post.
 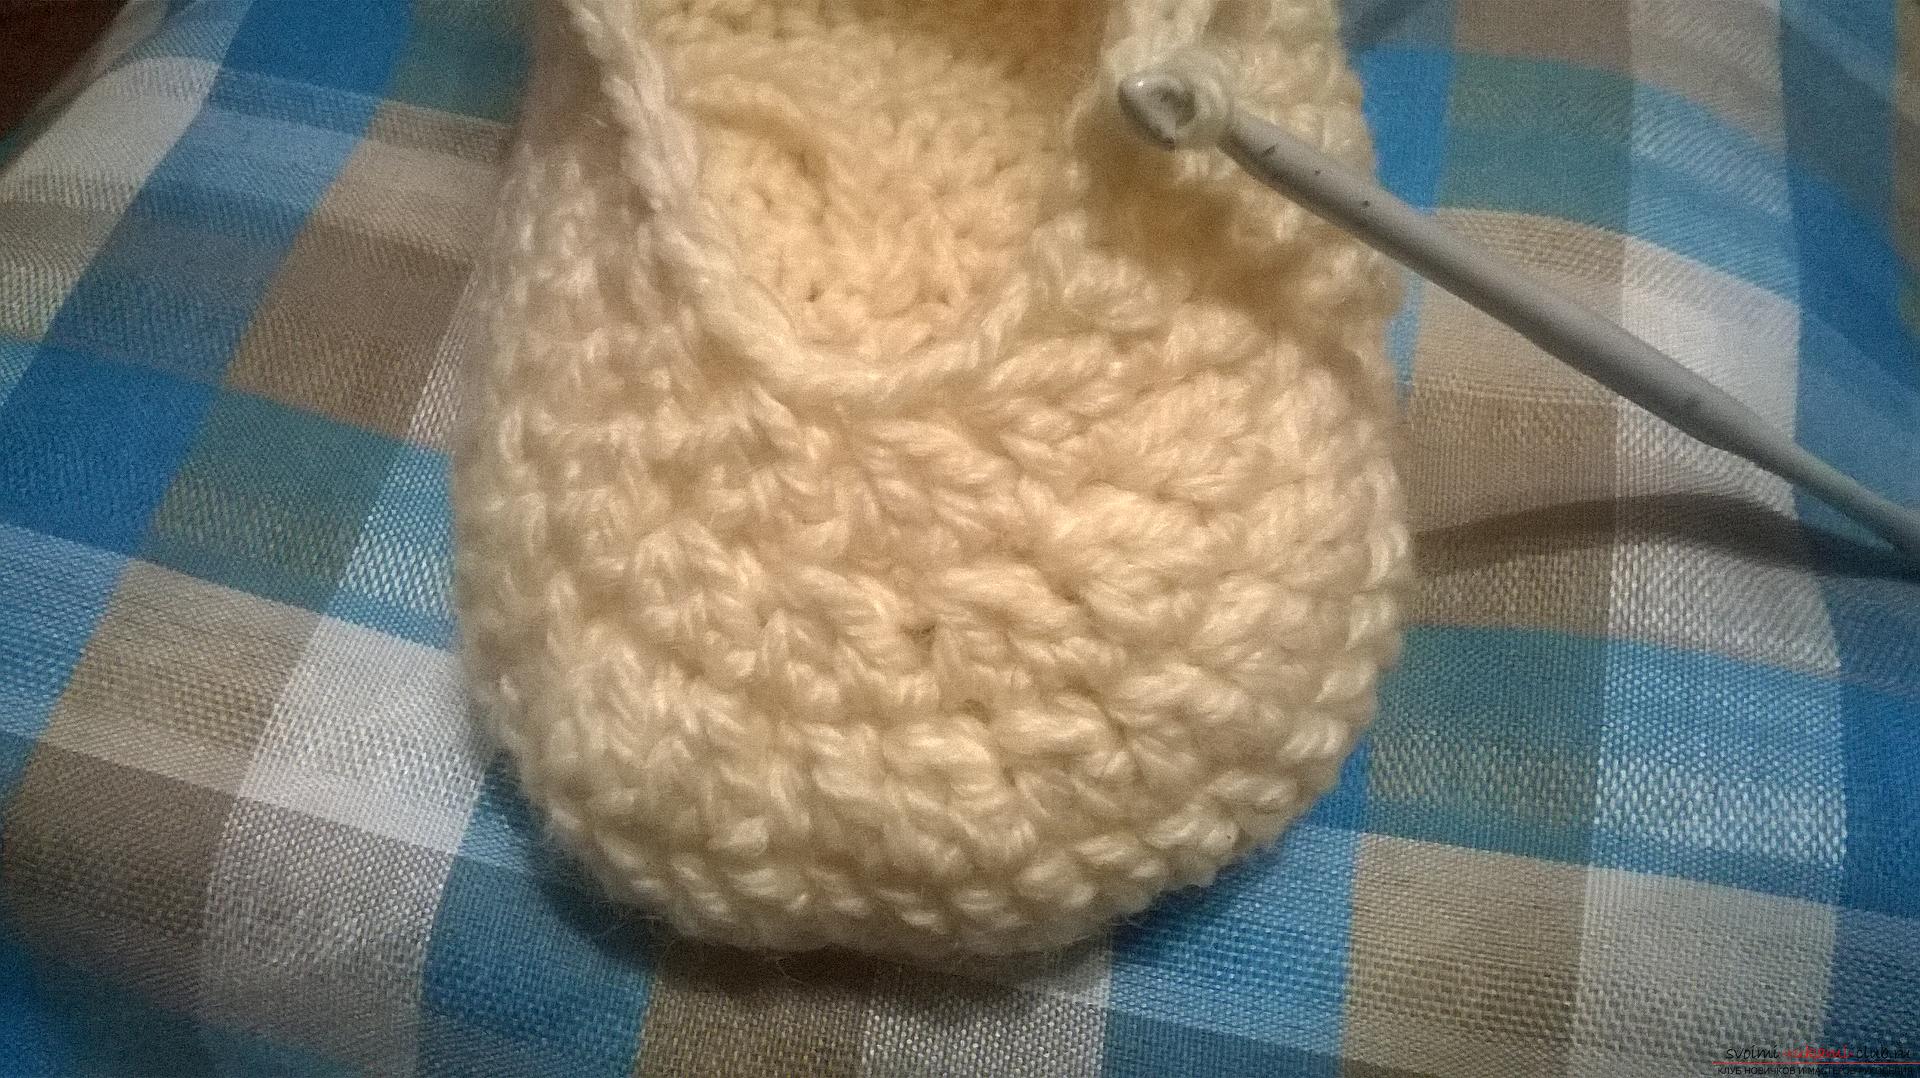 Next, I perform five air loopsI turn knitting, I do the crochet, loop, where we made the connecting post, I miss. From her I count two loops, in the third I enter a hook and I tie a third post with one cuff. Now again we make a crochet, we enter a hook in the fourth column and we sew a second column with one crochet. Further I knit two air loops. I do the crochet, skip two loops and in the third I start the hook and I sew a column with one crochet. Next, we knit so round in a circle to our attached chain. It is necessary to knit two columns with one crochet, alternating with one column with one crochet, and between them carry two air loops. Under two air loops, there must be two missing loops.
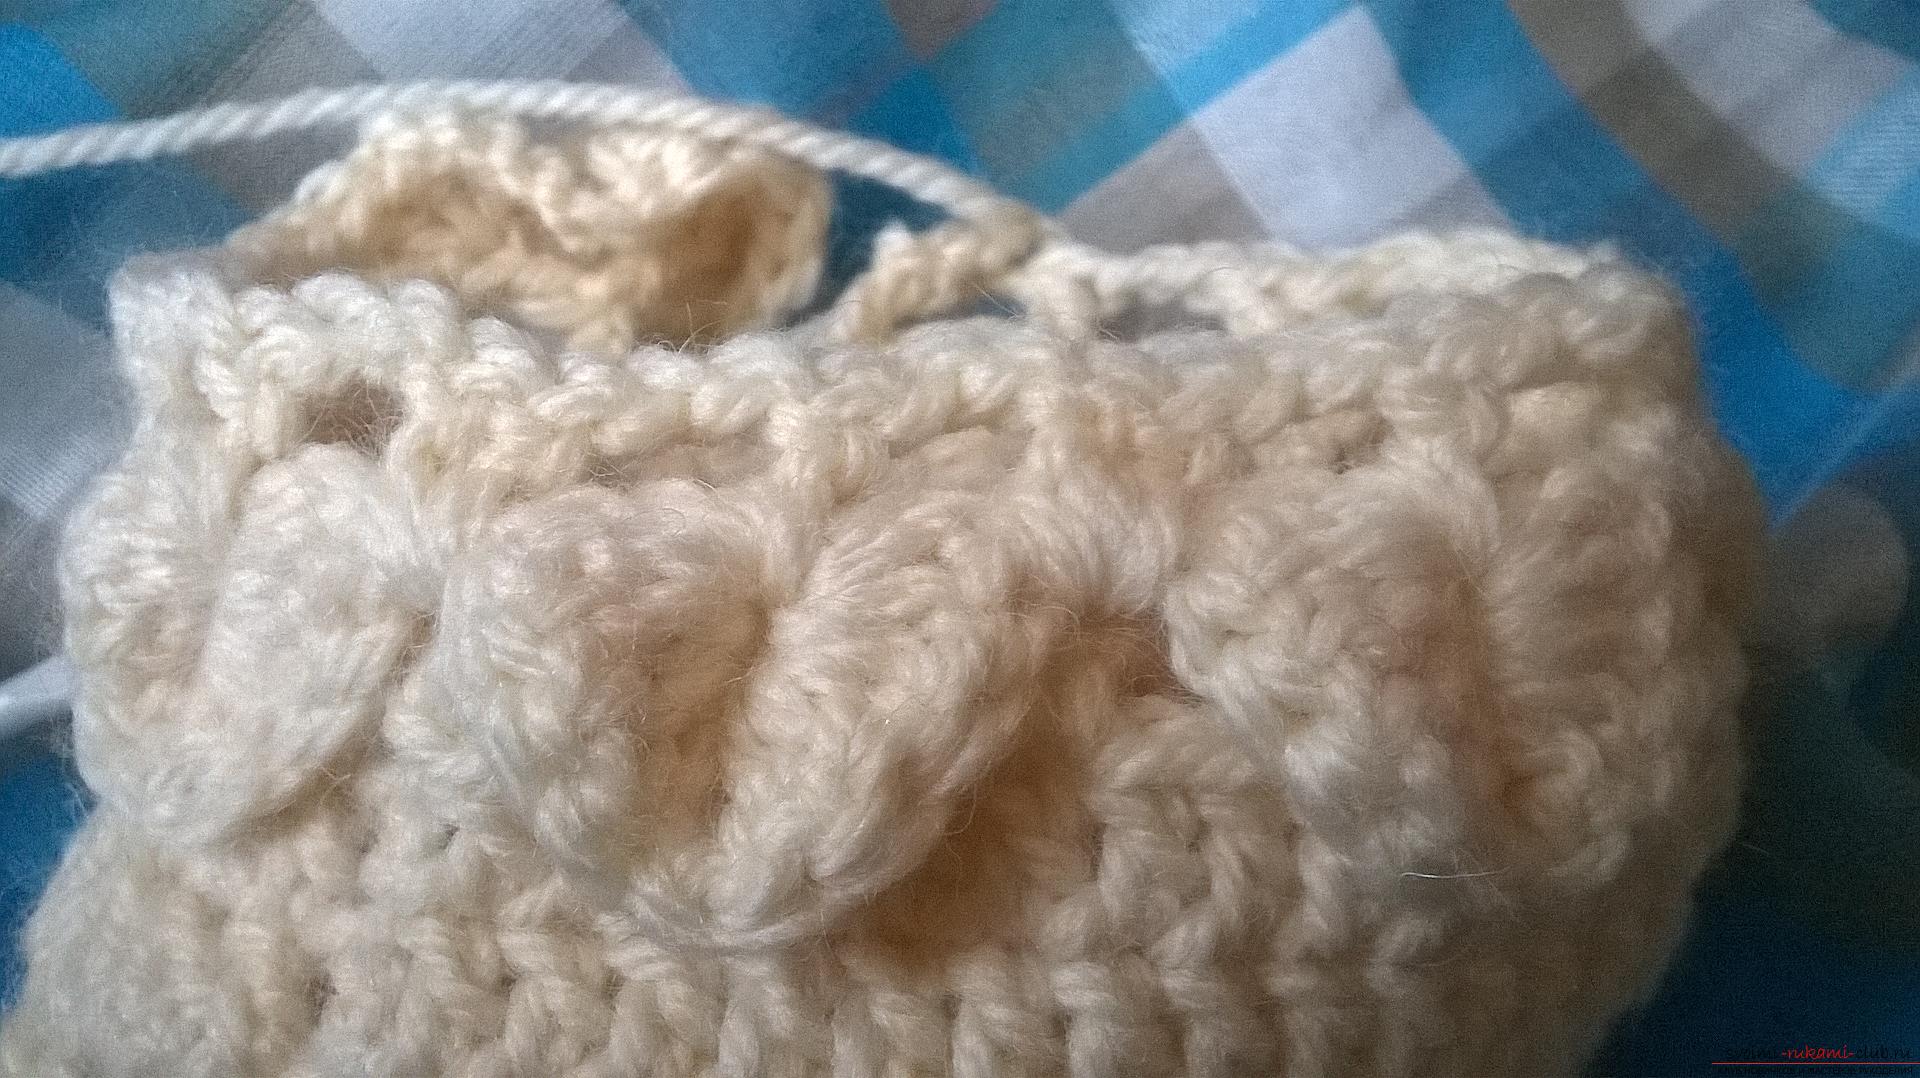
 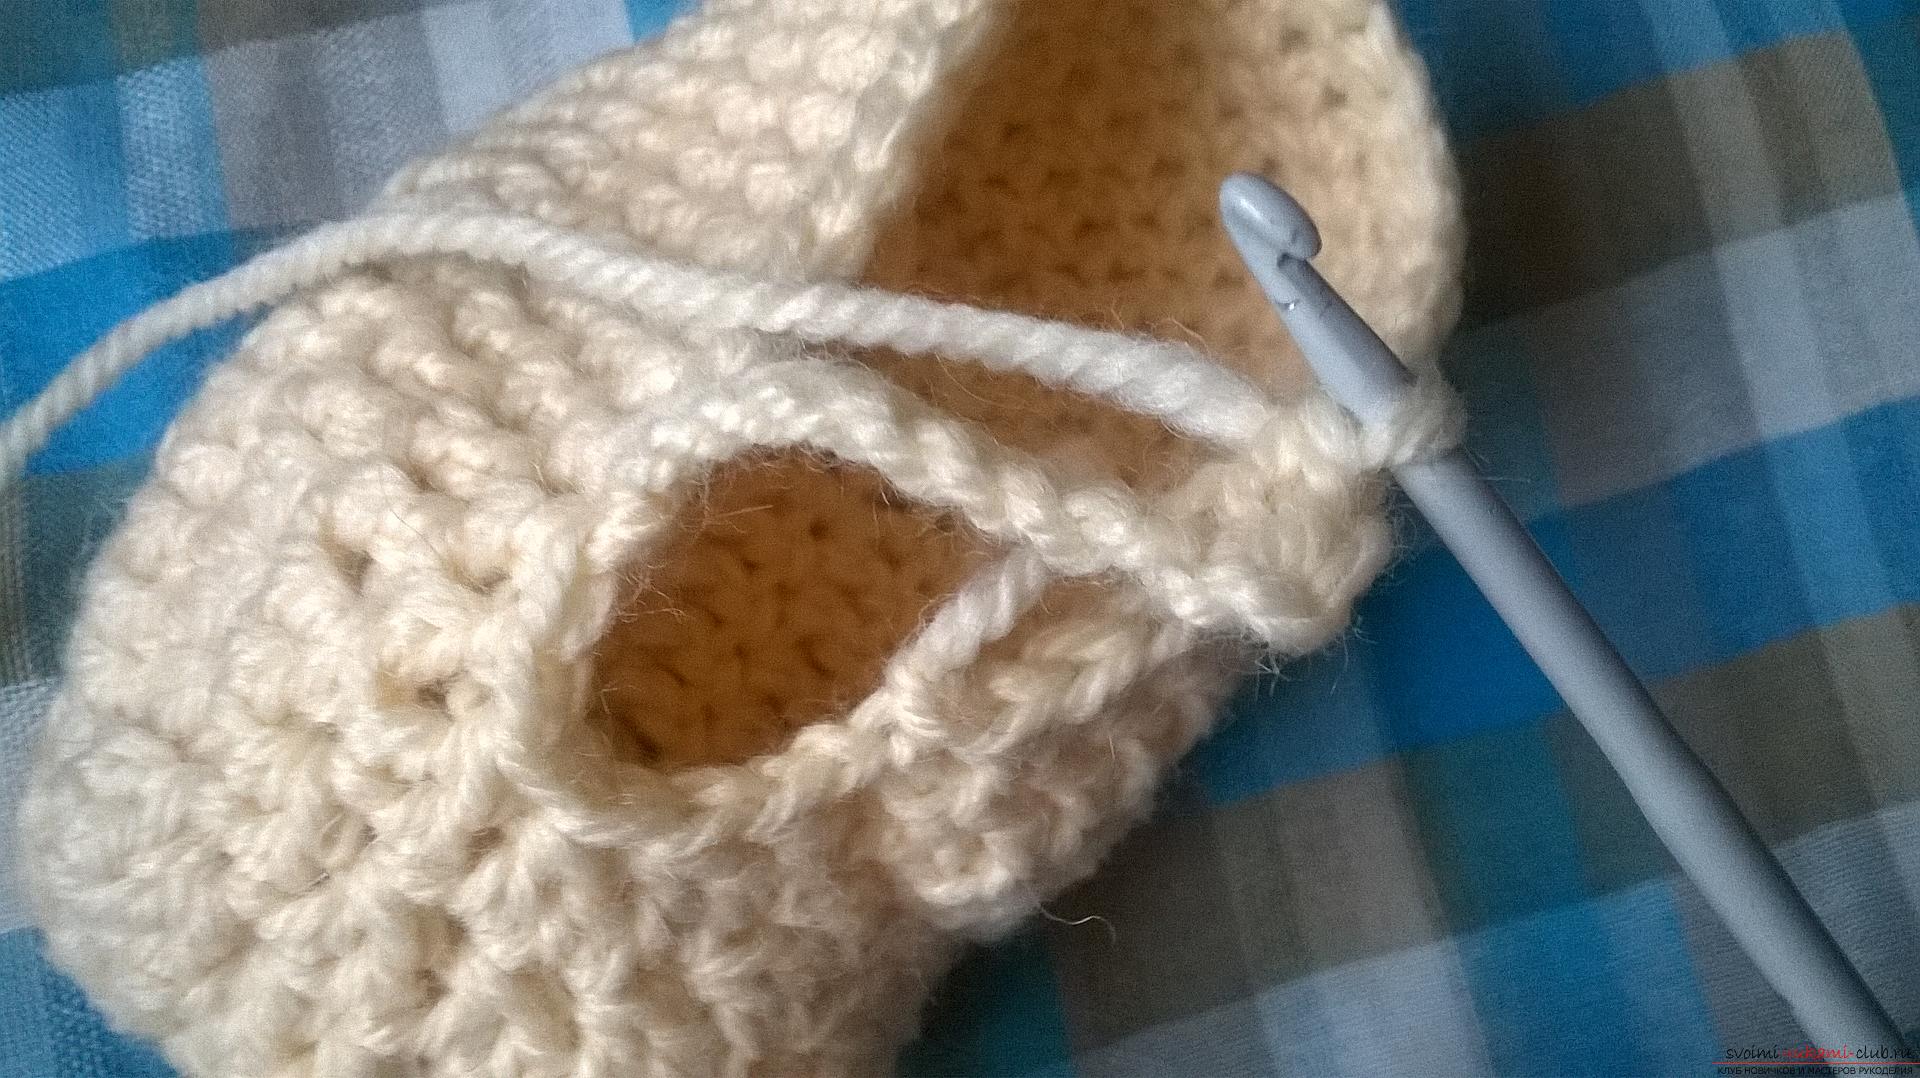 So it turns out to the end of our booties. And we do the same on the eight air hinges that we connected at the very beginning. We need to finish off with two bars with one crochet. This will be our loop and the first wave. If you look, then this chain will serve as a clasp for our booties. Now on the basis of this series I will knit the first series of waves. To do this, I make a crochet, I enter the hook under the first column with one crochet, and I tie five bars with one crochet into it. The first column with the crochet of the previous row is the basis for these five columns with one crochet. Now I make one air loop, turn over and under the second column with one overhang of the previous row, I sew another five bars with one crochet. That is, one wave represents five columns with a crochet, made over the first column with a crochet, one air loop, and five more columns with a crochet, made over the second column with a crochet.
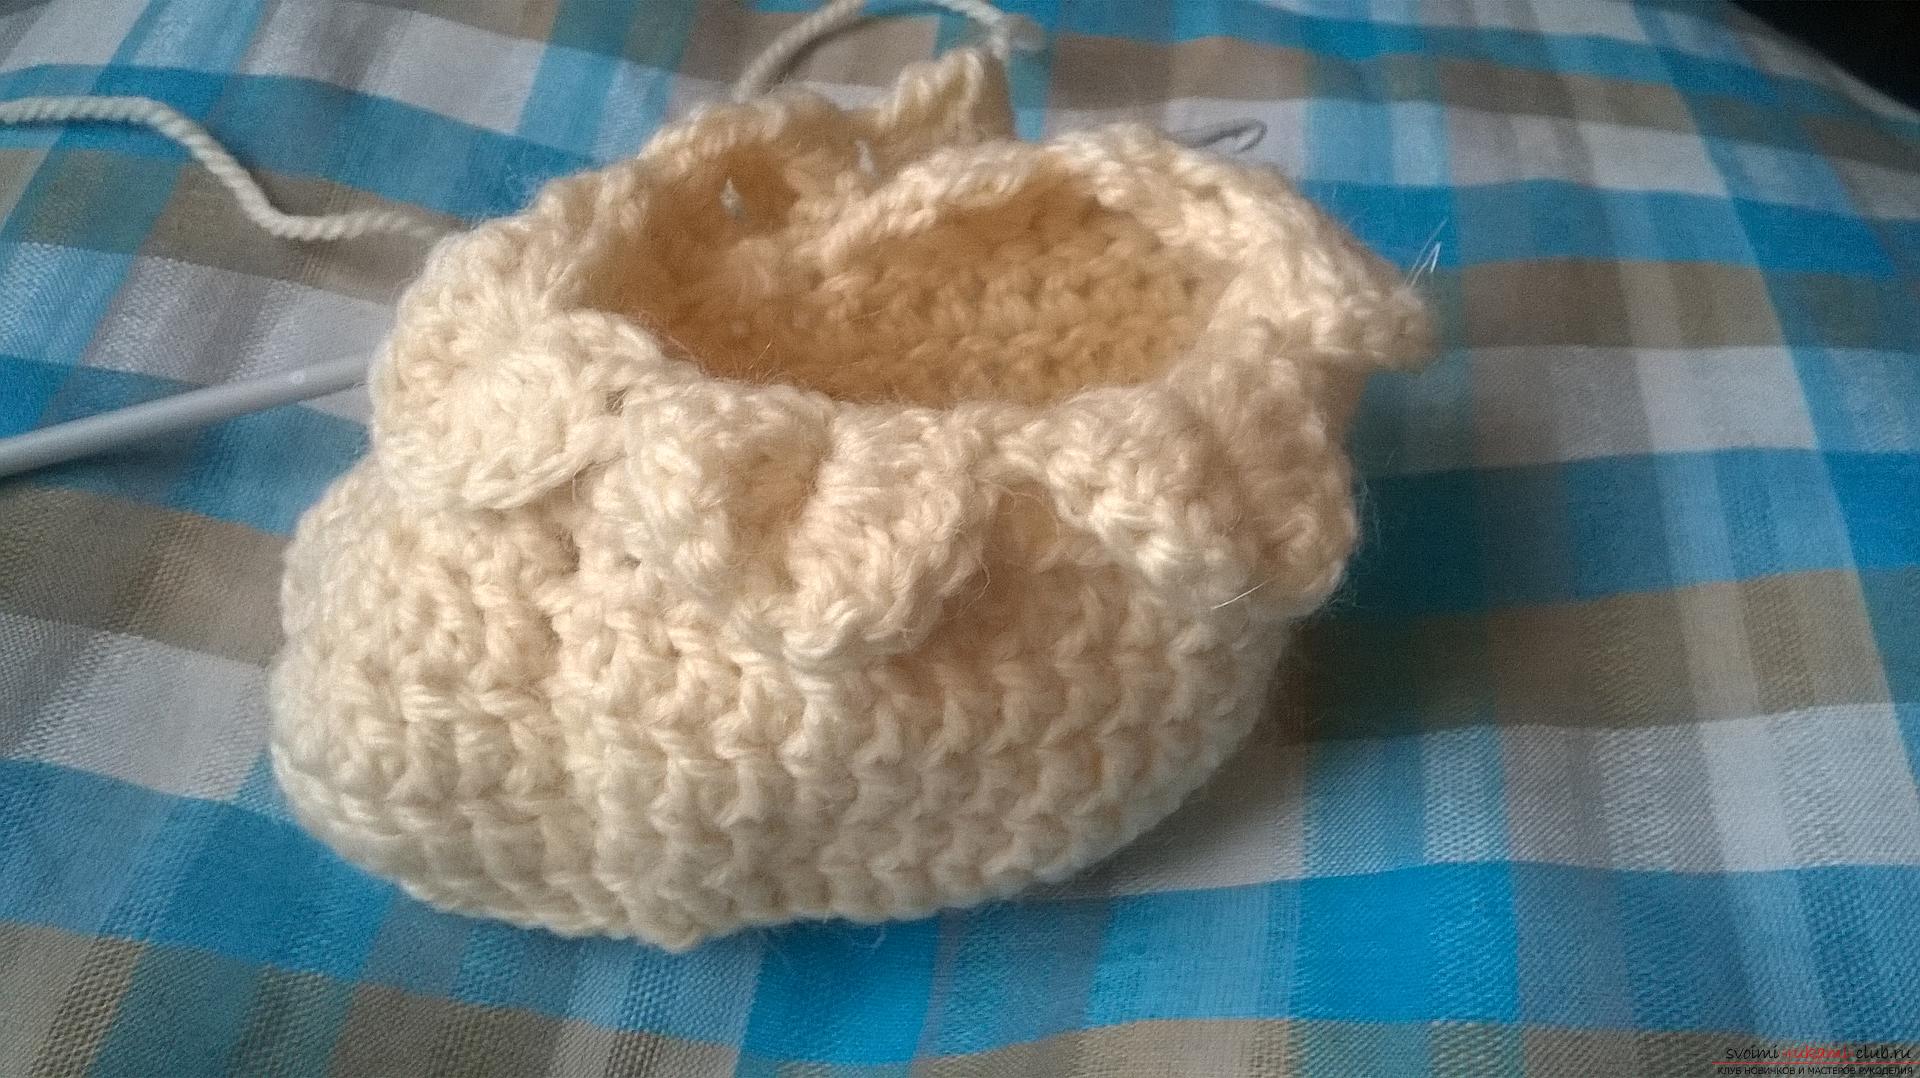

 Scheme of our waves.
 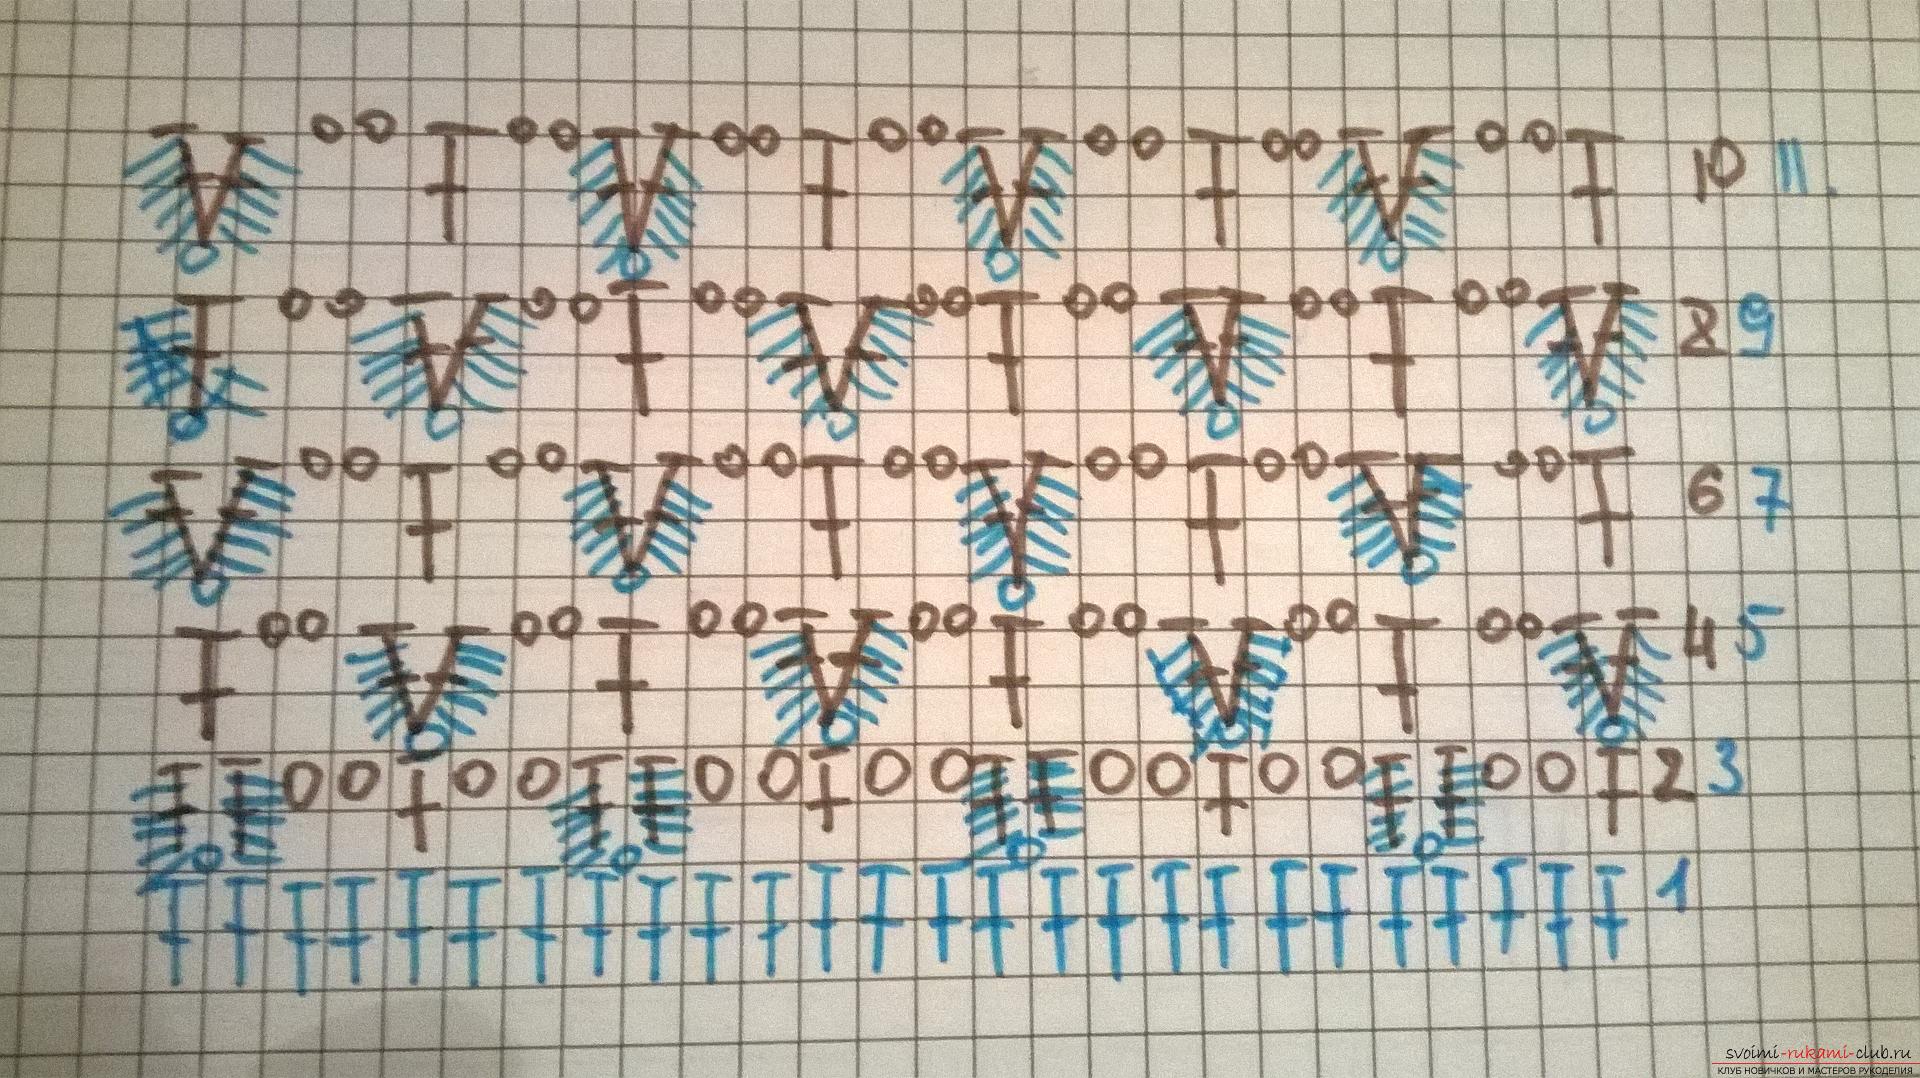 Approximate scheme of several waves.
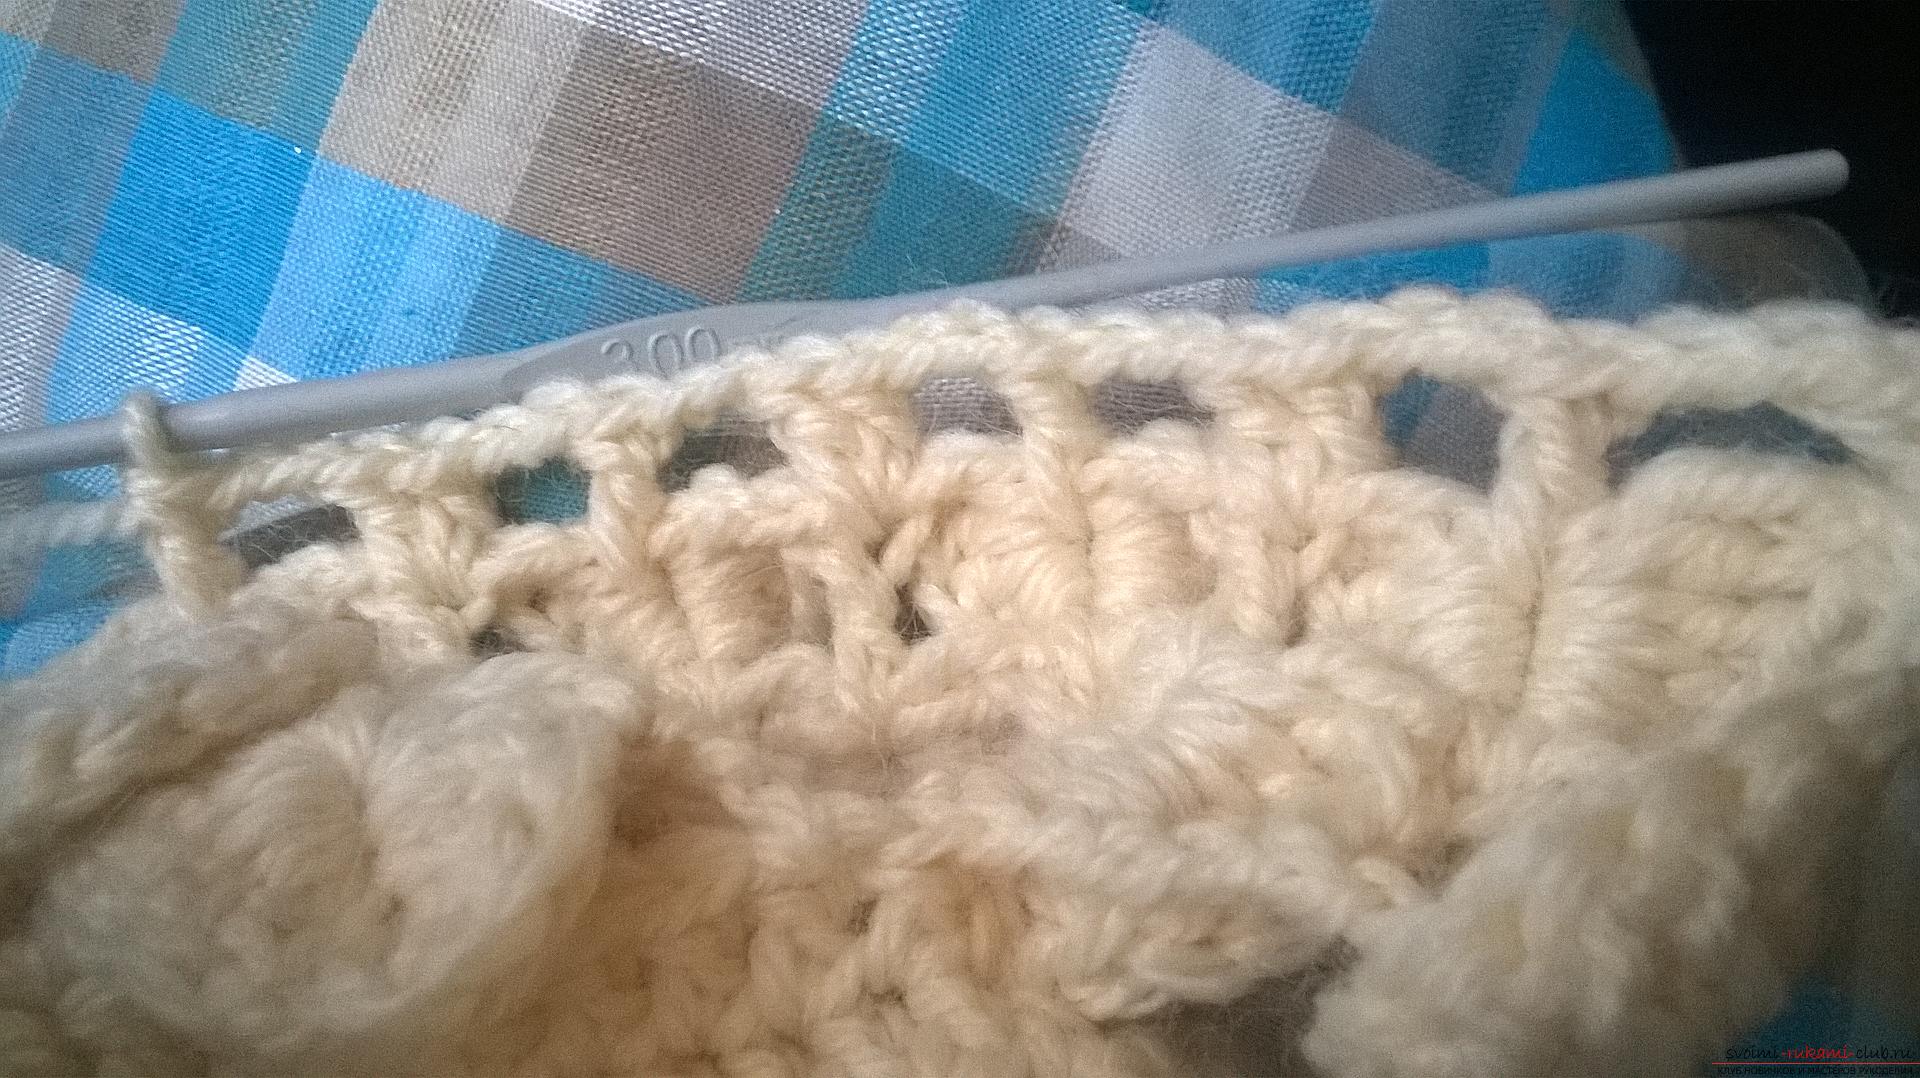
 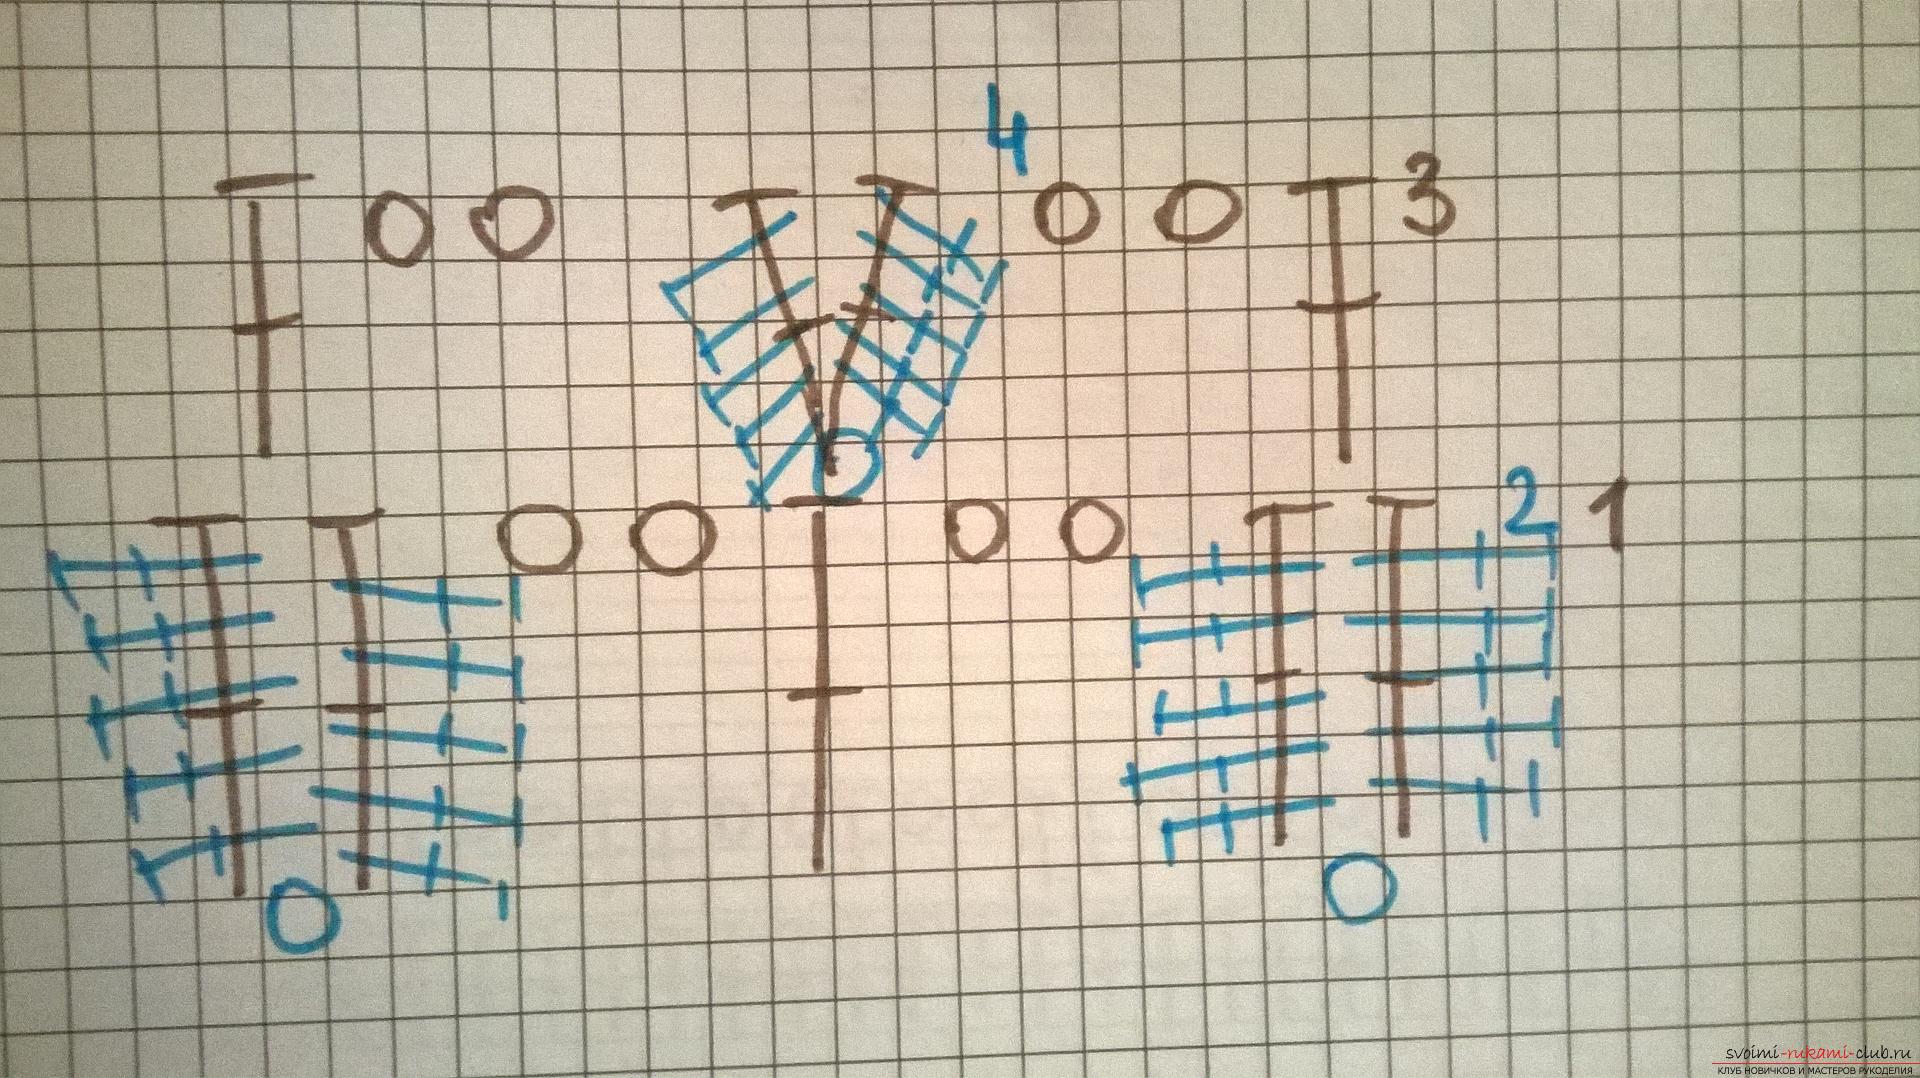 Figure 3. We need to relate five rows of such waves. For this we need to link eleven rows. Figure 3 shows how to knit all five rows of waves. After all the waves are finished, you need to tie the edge beautifully. After the last wave, we make one air loop, we tie it into one column with one crochet and make a connecting post. We make an air loop: I insert a hook into the middle of the wave and make a connecting column. Again I make an air loop and I tie a connecting post into one column with a crochet. Next, we tie the connecting bars around the middle of the scales, along its sides and in one column with the crochet between them we make an air loop. And so on to the end. Now we need to make a circle around the foot. We make a connecting post back one column with a crochet, insert a hook into the next column with a crochet, and from it we sew five columns with a crochet, we retreat one column with a cuff and in the next column with a crochet we sew a connecting post. So through one column with a crochet we make five bars with a crochet and a connecting post. We continue to the end of the series.
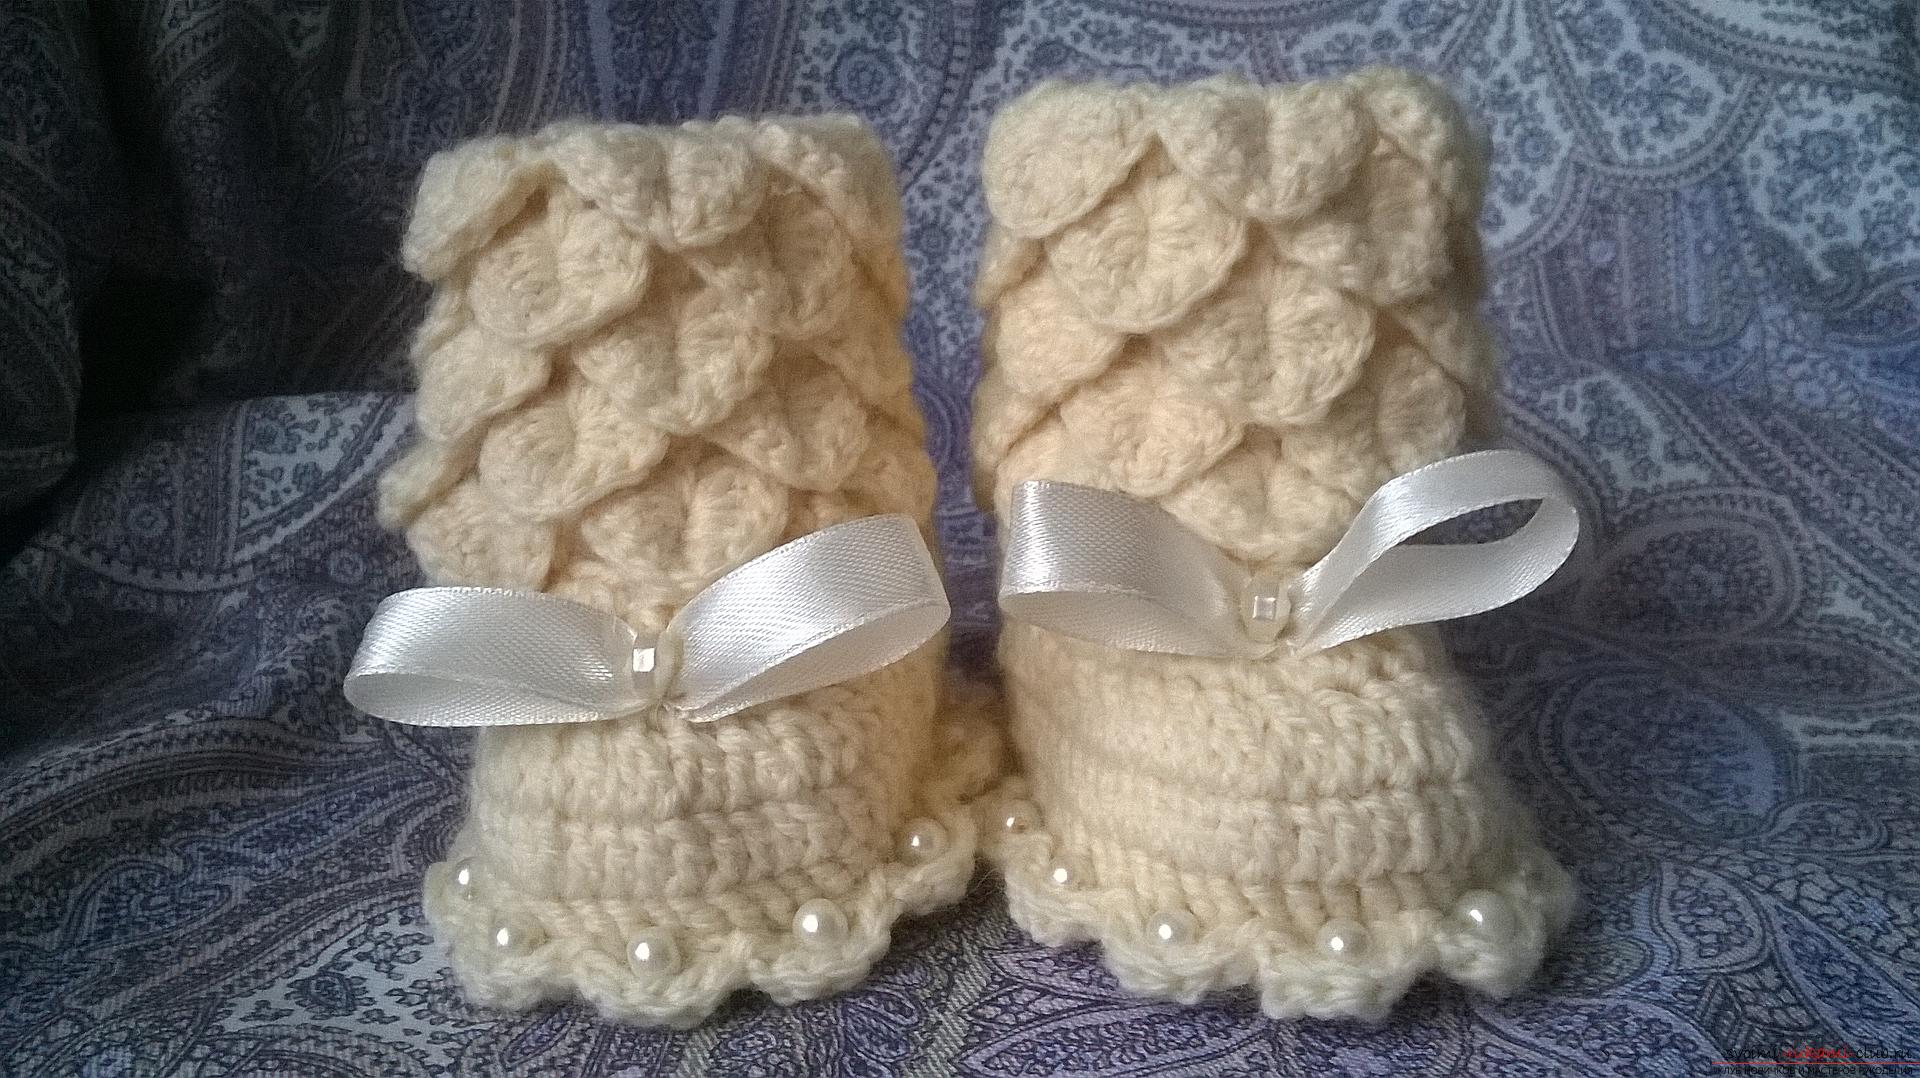
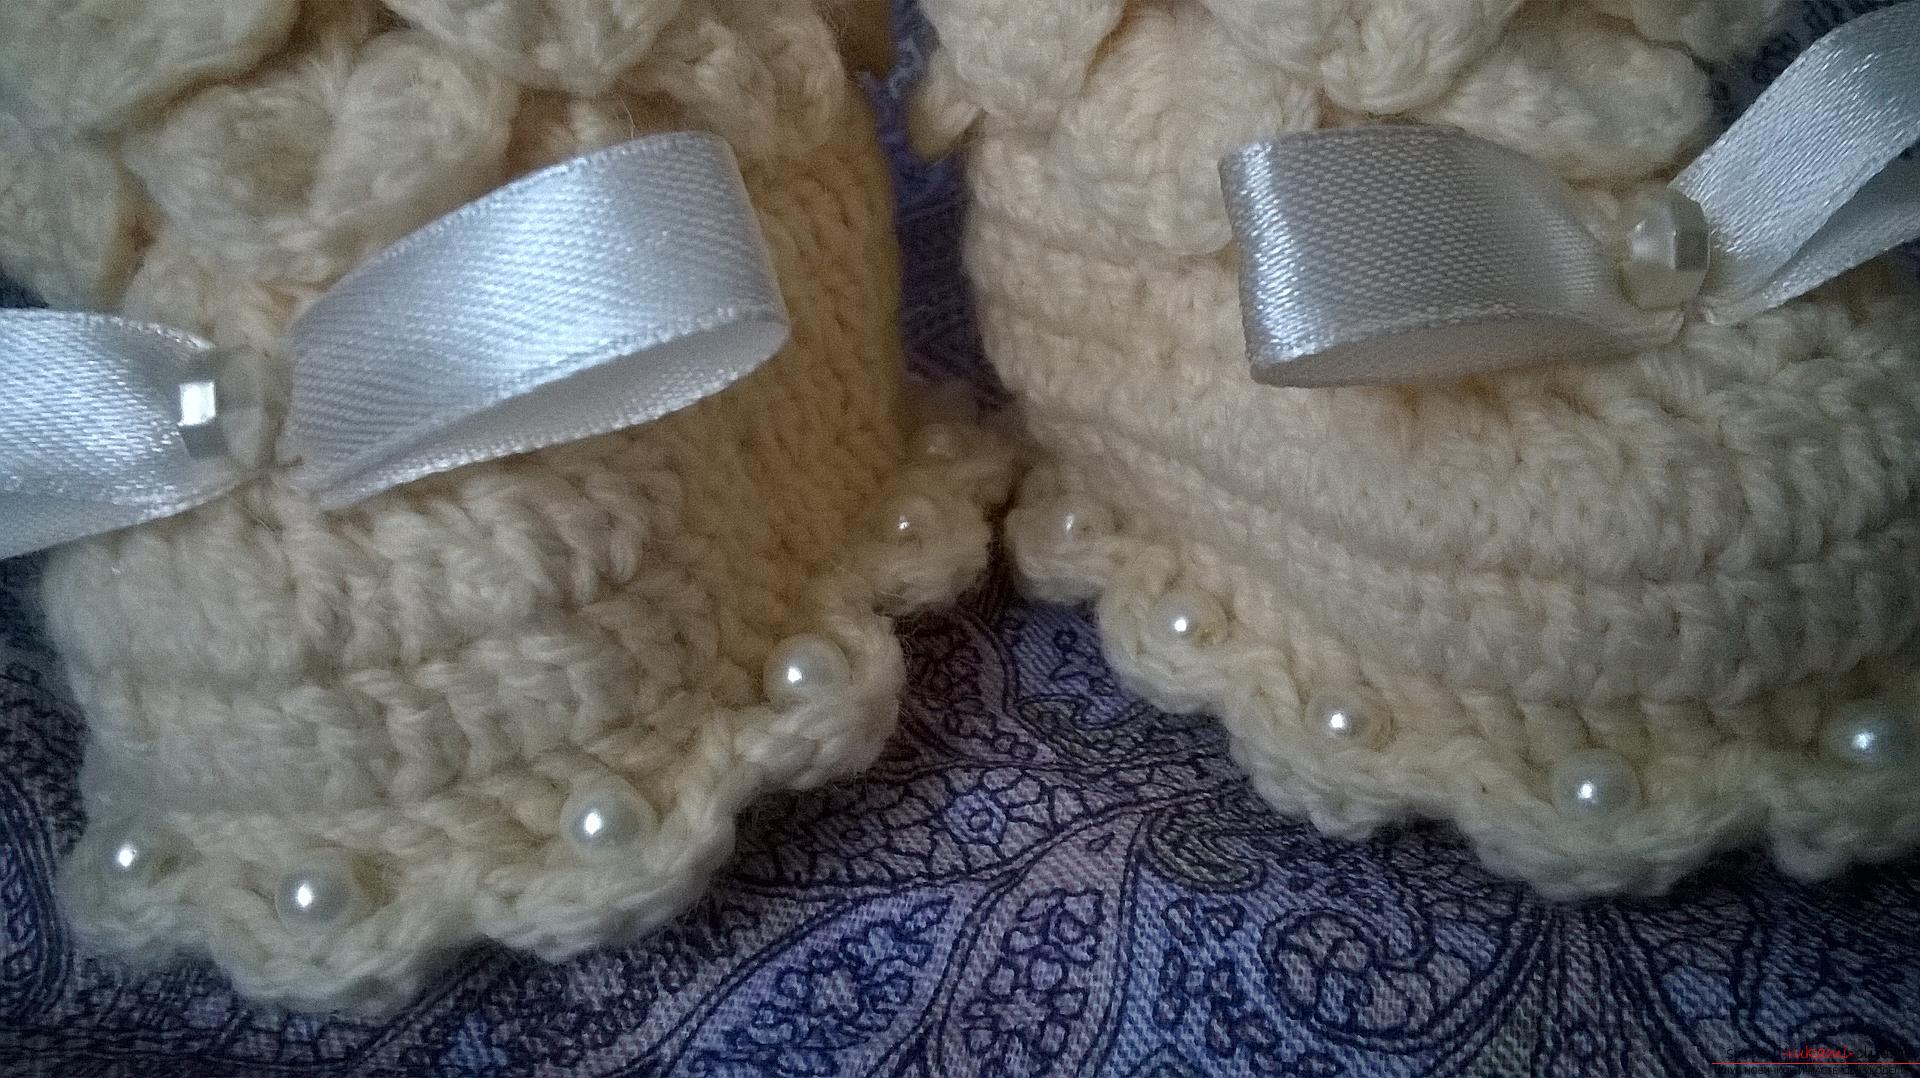
 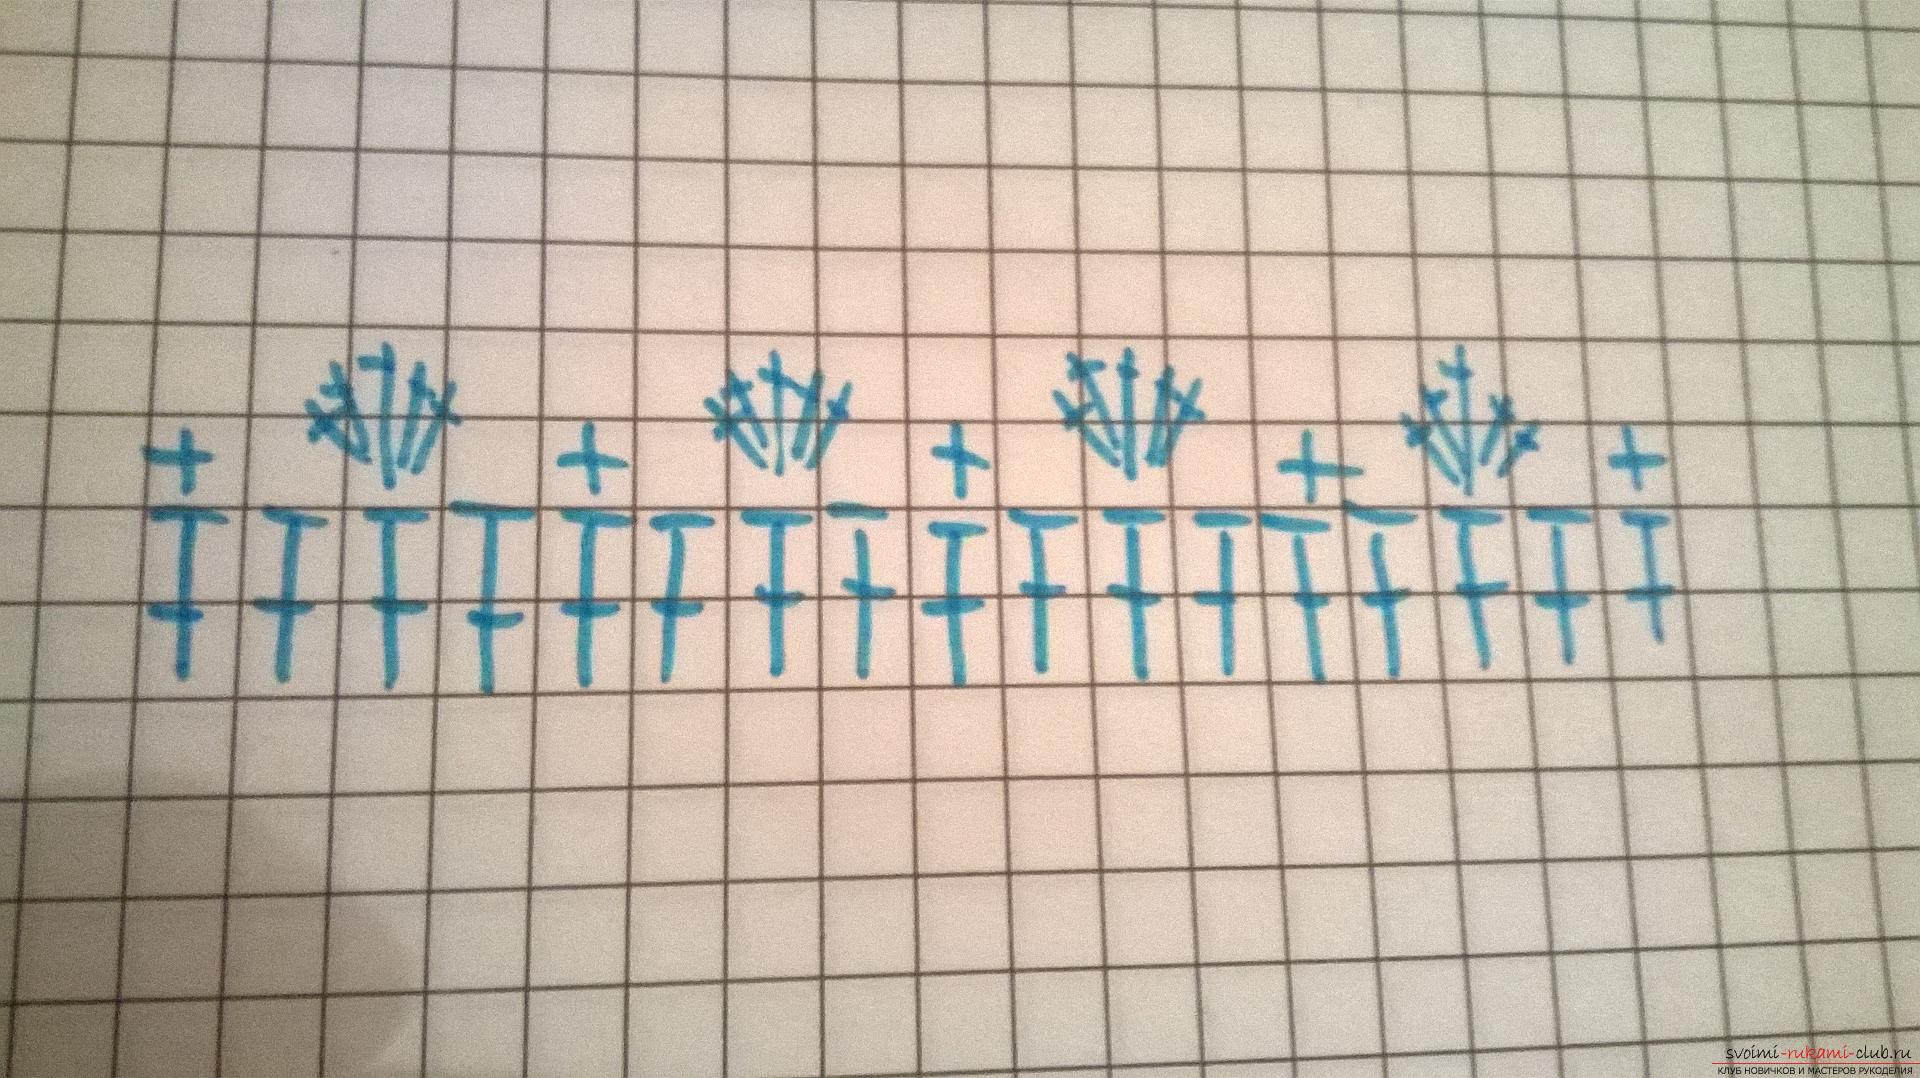 In this way we made the sole of the sole. On each wave I sewn a bead.
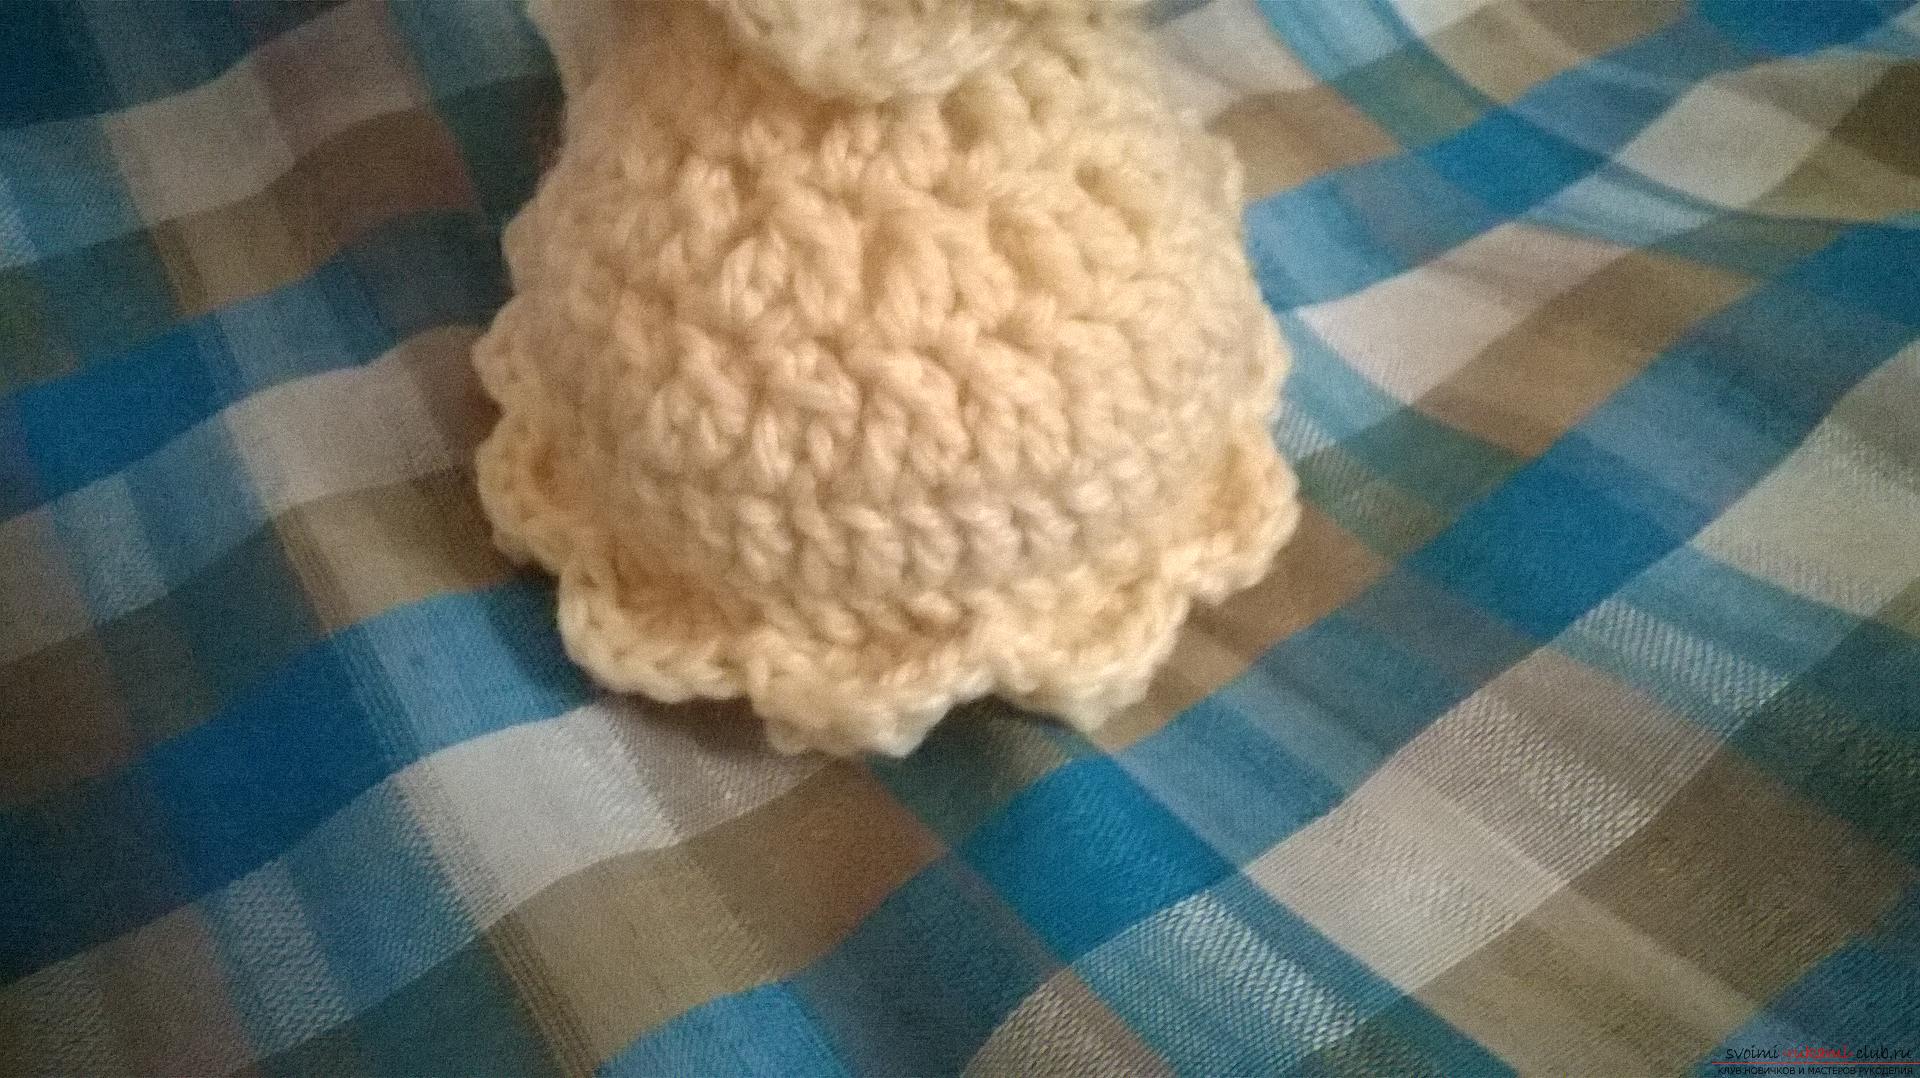
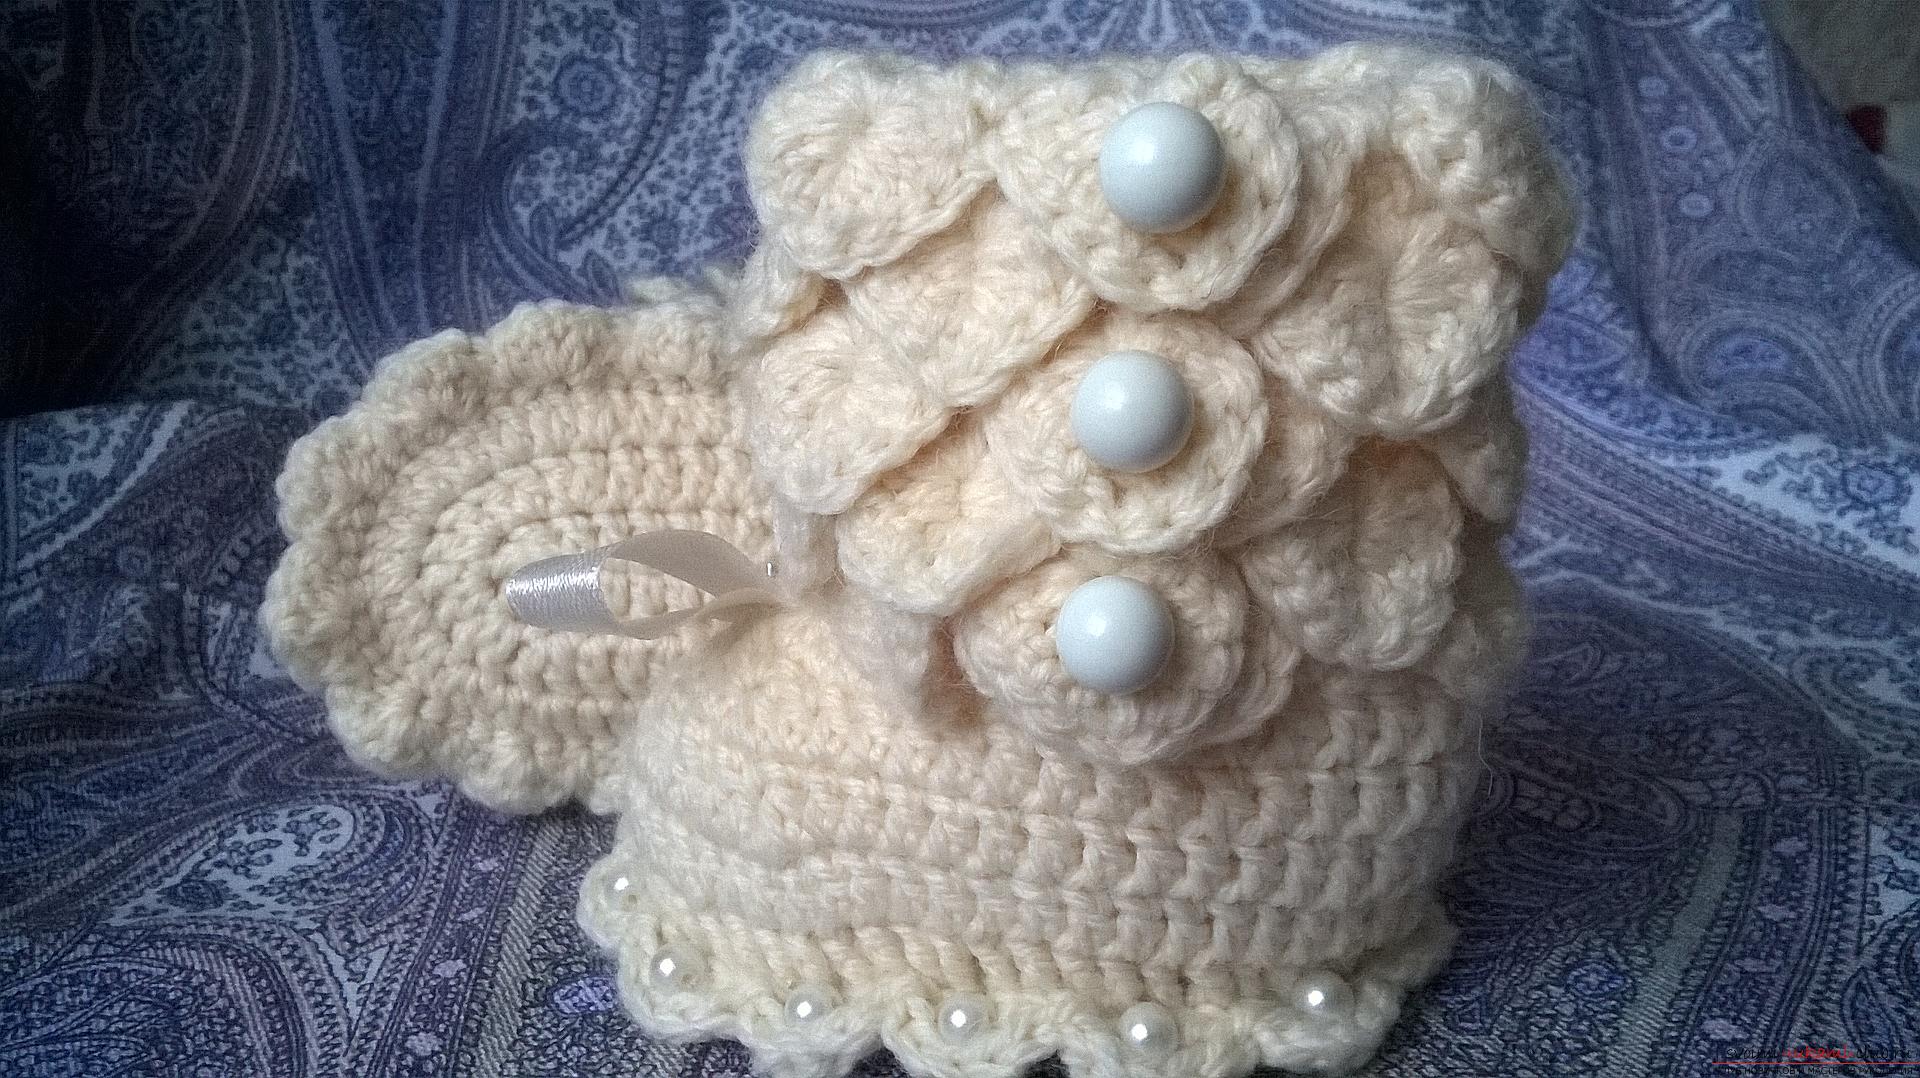
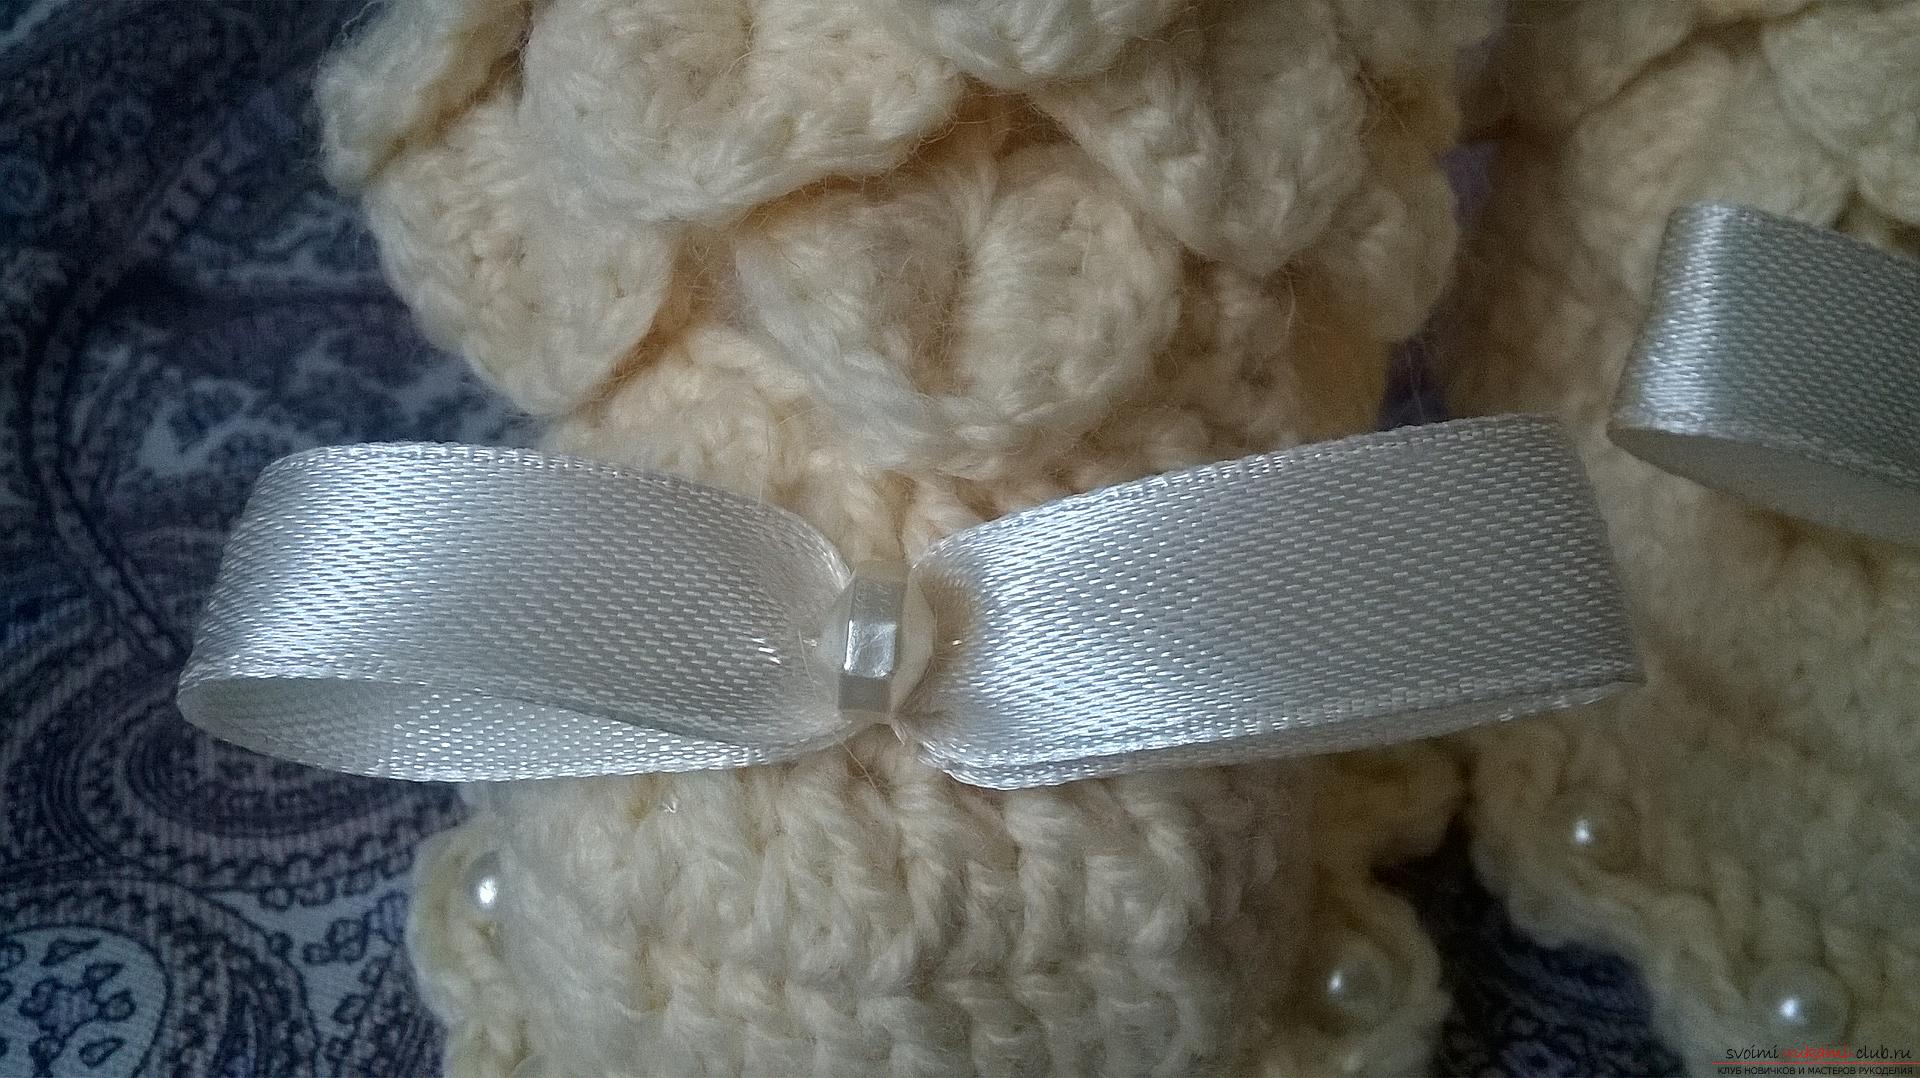
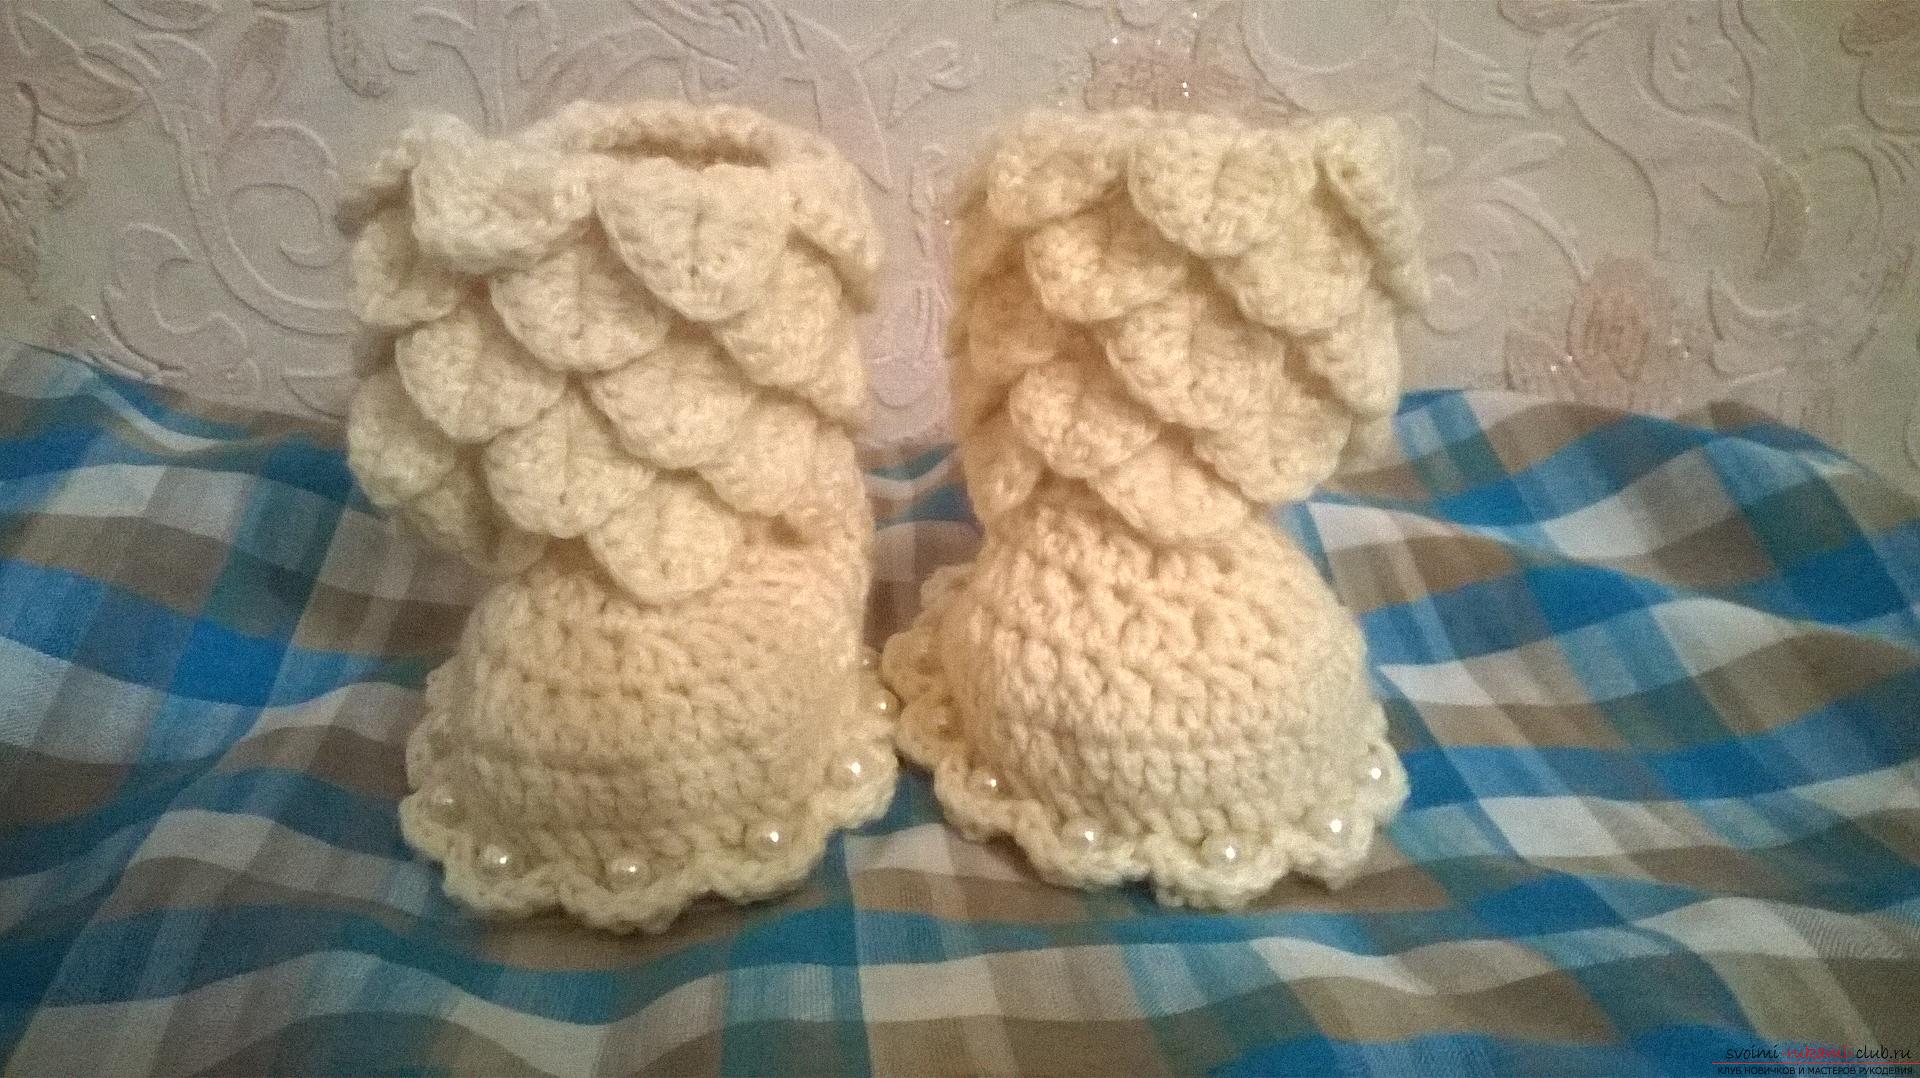 Sew a bow and buttons. Our booties are ready!
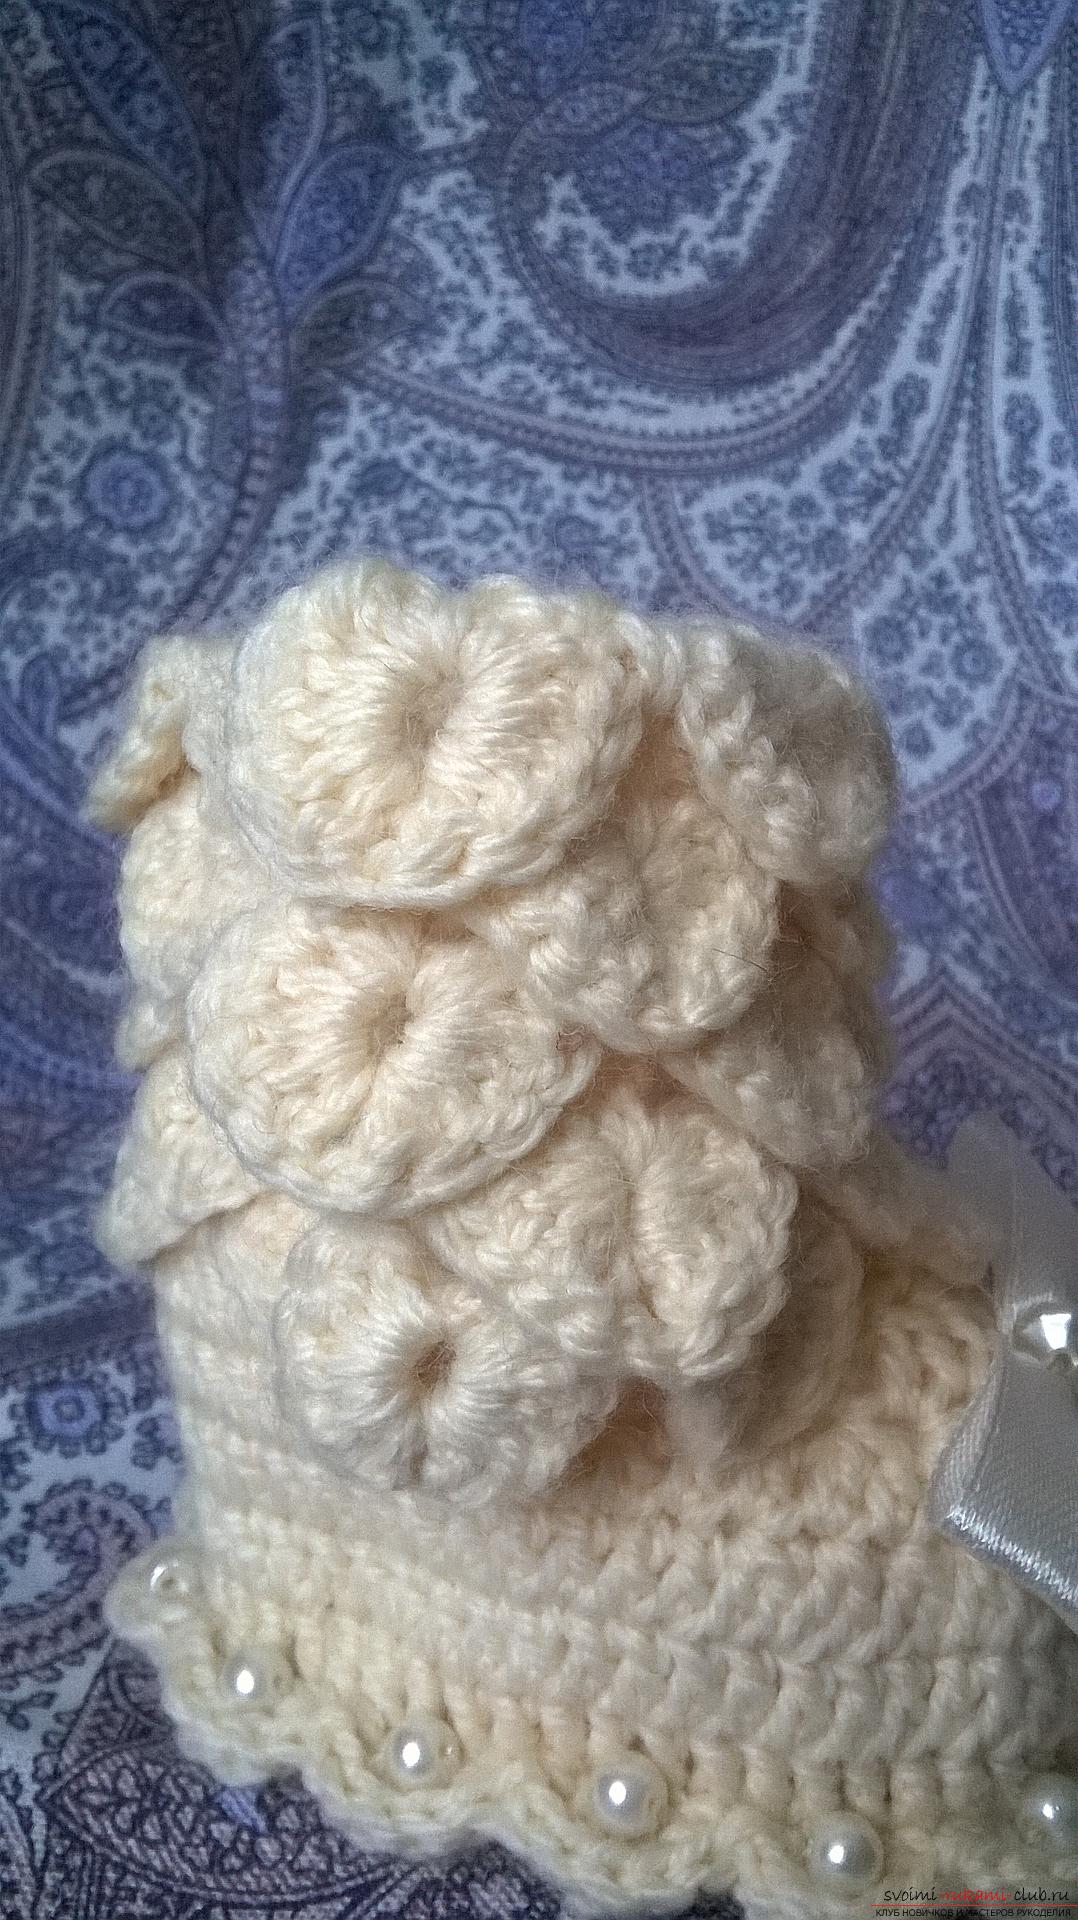


 Thank you all for your attention!
Comments
Related posts:
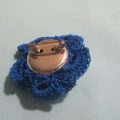 This detailed master class with a diagram and a description will teach you how to create a crocheted crocheted brooch
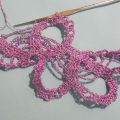
 This master class with a pattern and description of crochet will teach you how to knit lace with hearts.
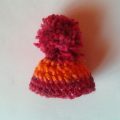 This detailed master class with a description and scheme will teach you how to crochet a hat-owl.
 This master class with step-by-step photo and description will teach how to knit booties for newborns with knitting needles
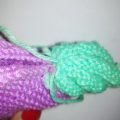
 This master class with a descriptive scheme will teach how to crochet a ribbon lace.