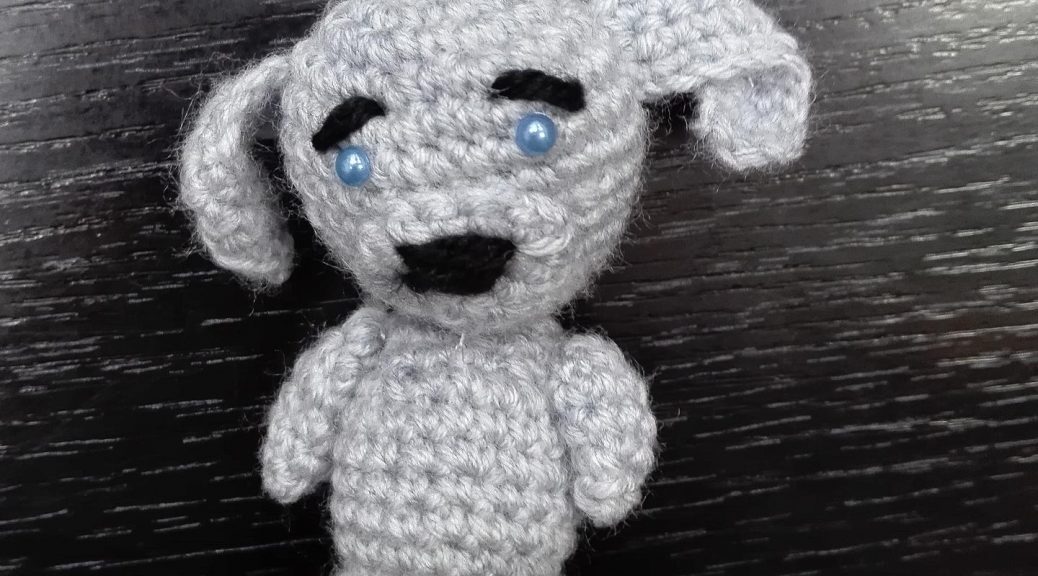
This detailed workshop will tell you how to tie a dog crochet and how to knit an amigurumi.
Dog will always be associated with usfaithfulness and love. After all, they are our true friends! So let's tie the dog. This sweet creature will please us, and guard the house. The dog can be knitted smooth and fluffy. It all depends on what thread you take. 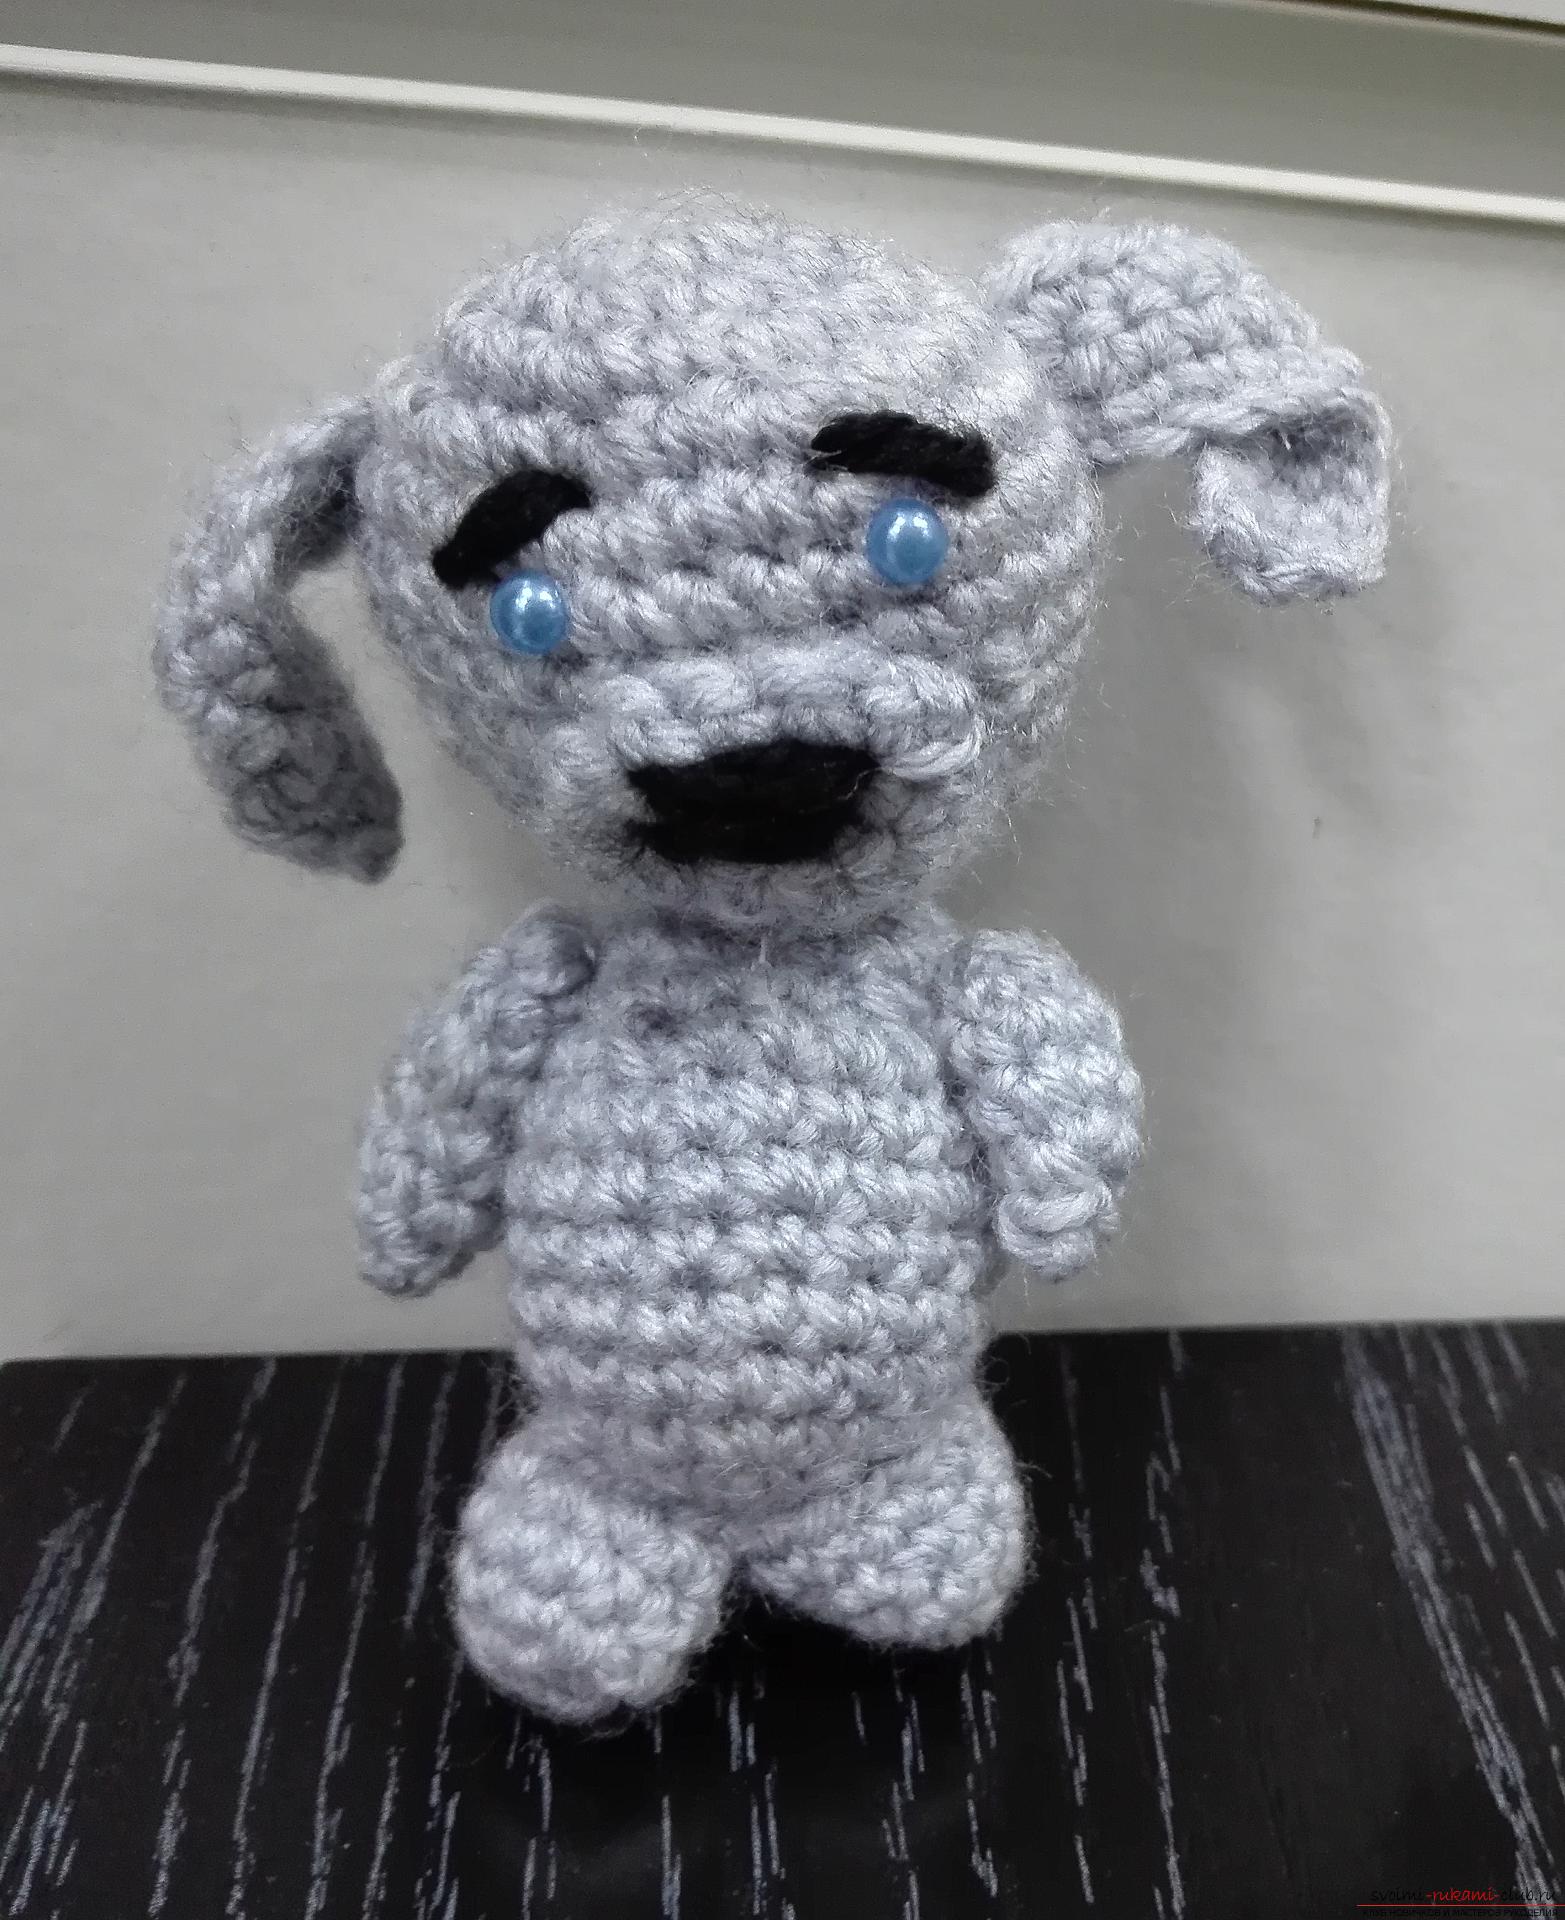 To do the work we need:
- Threads of gray and black colors;
- Eyes or beads;
- Hook;
- Synthepon;
- Needle.
First, we'll tie the head to the dog. We take a thread of gray color and a hook. We make a loop, and there are six tables in it. without n-yes (short columns without crochet). Now in each loop of the row, which was earlier, you need to knit two columns without a crochet. 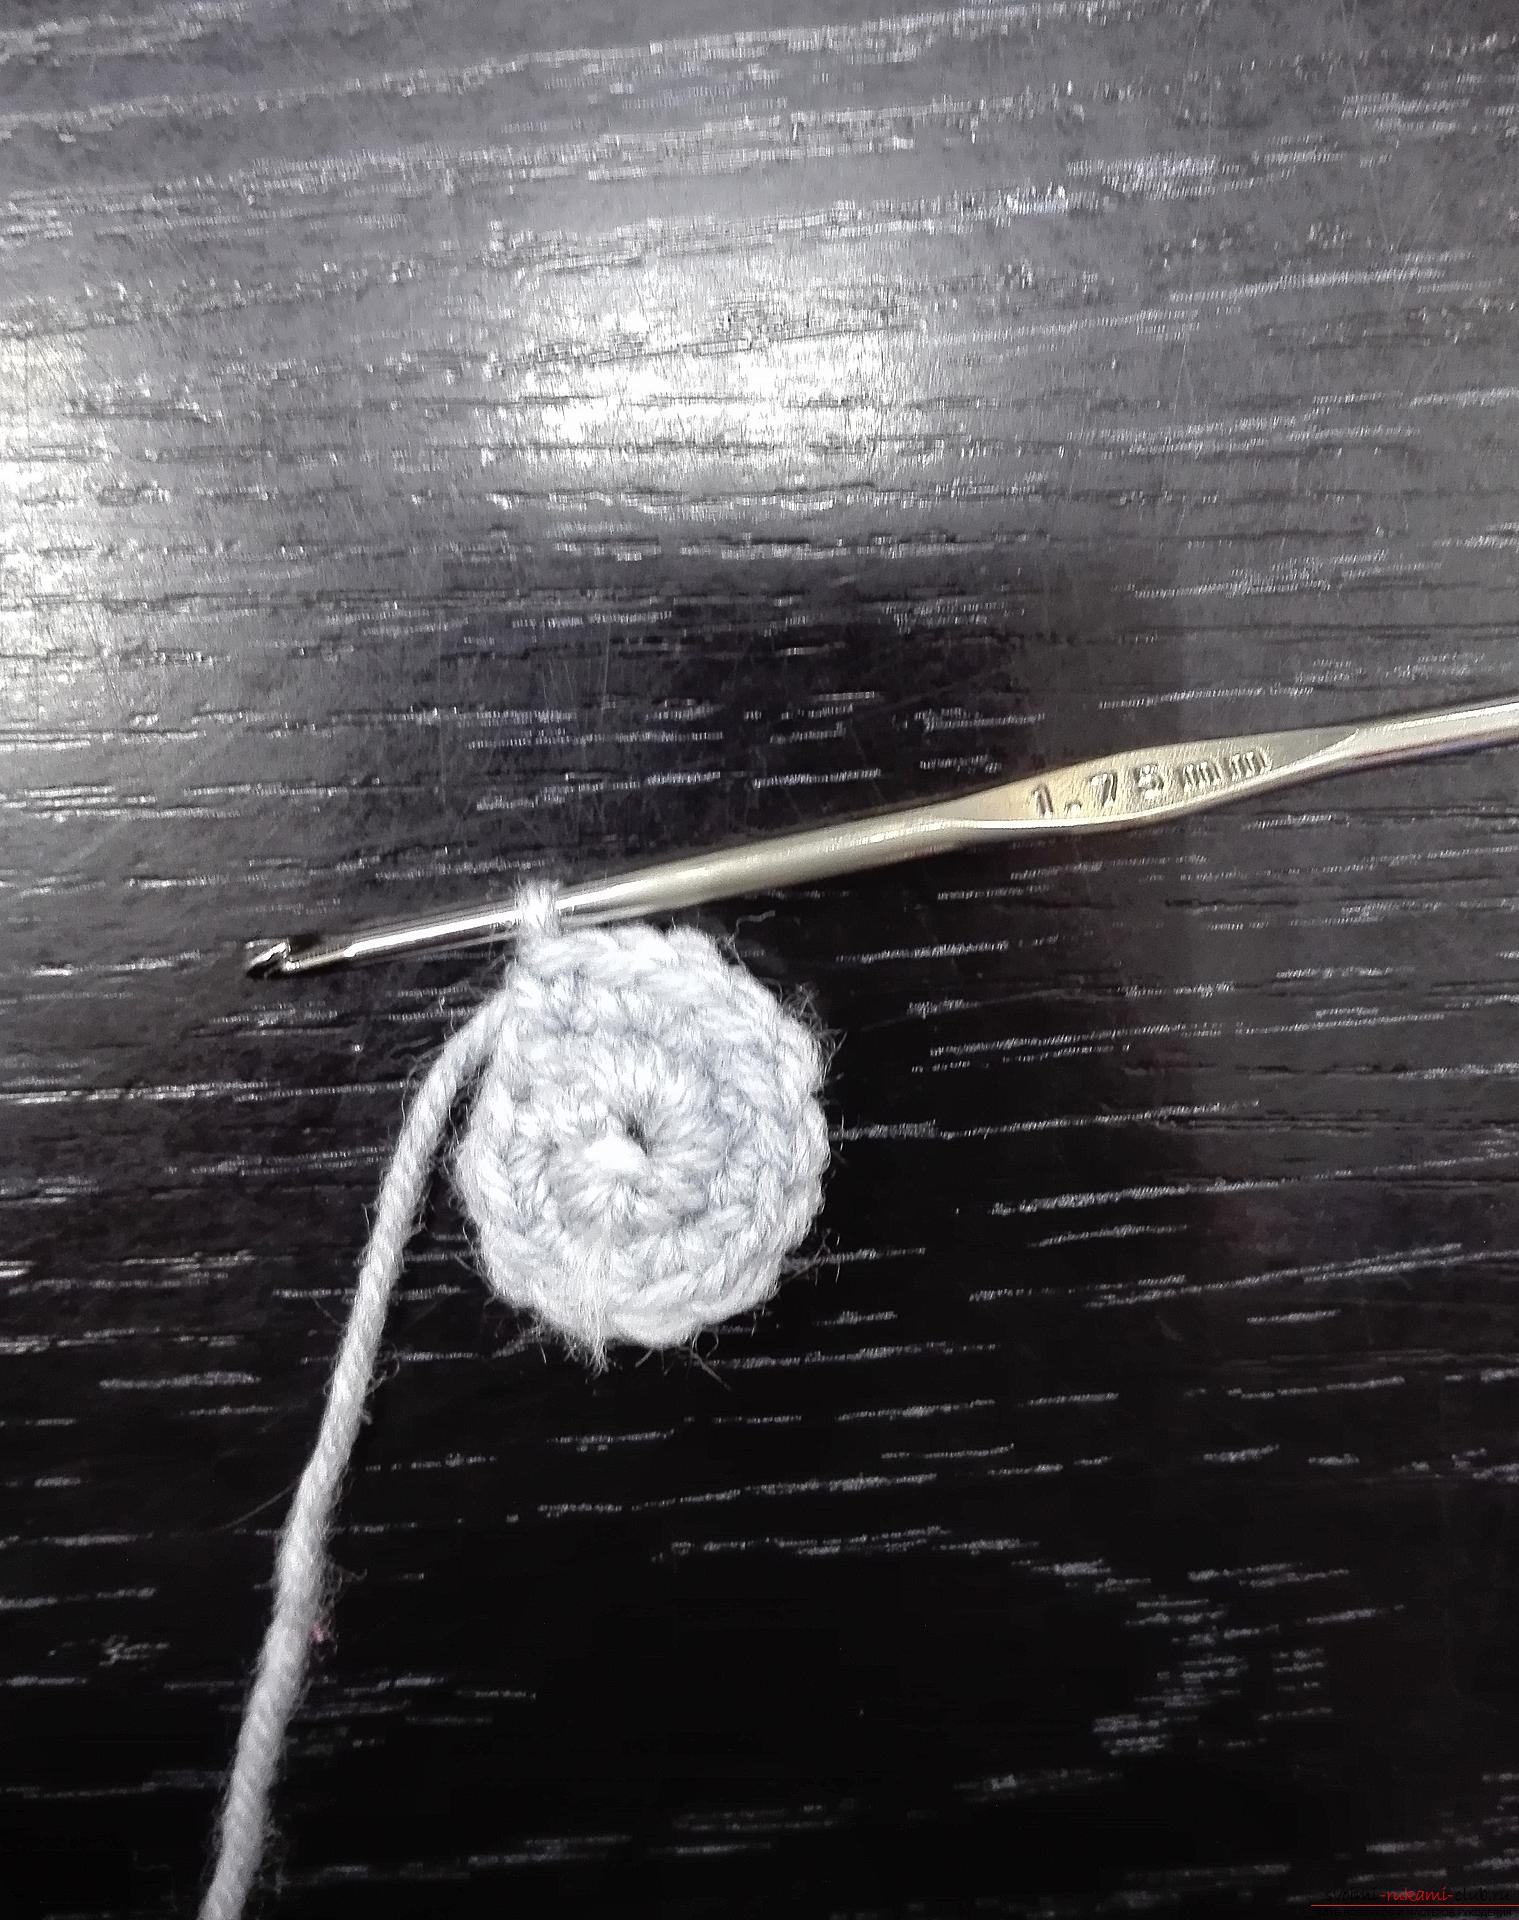 Next, we knit one table in one loop. without n-yes, and the next two tables. without n-yes, then one, two pillars (short column). And the next row we knit on the contrary, first in the first loop two tables. without n-yes, then one. So alternate until the end of the series.
 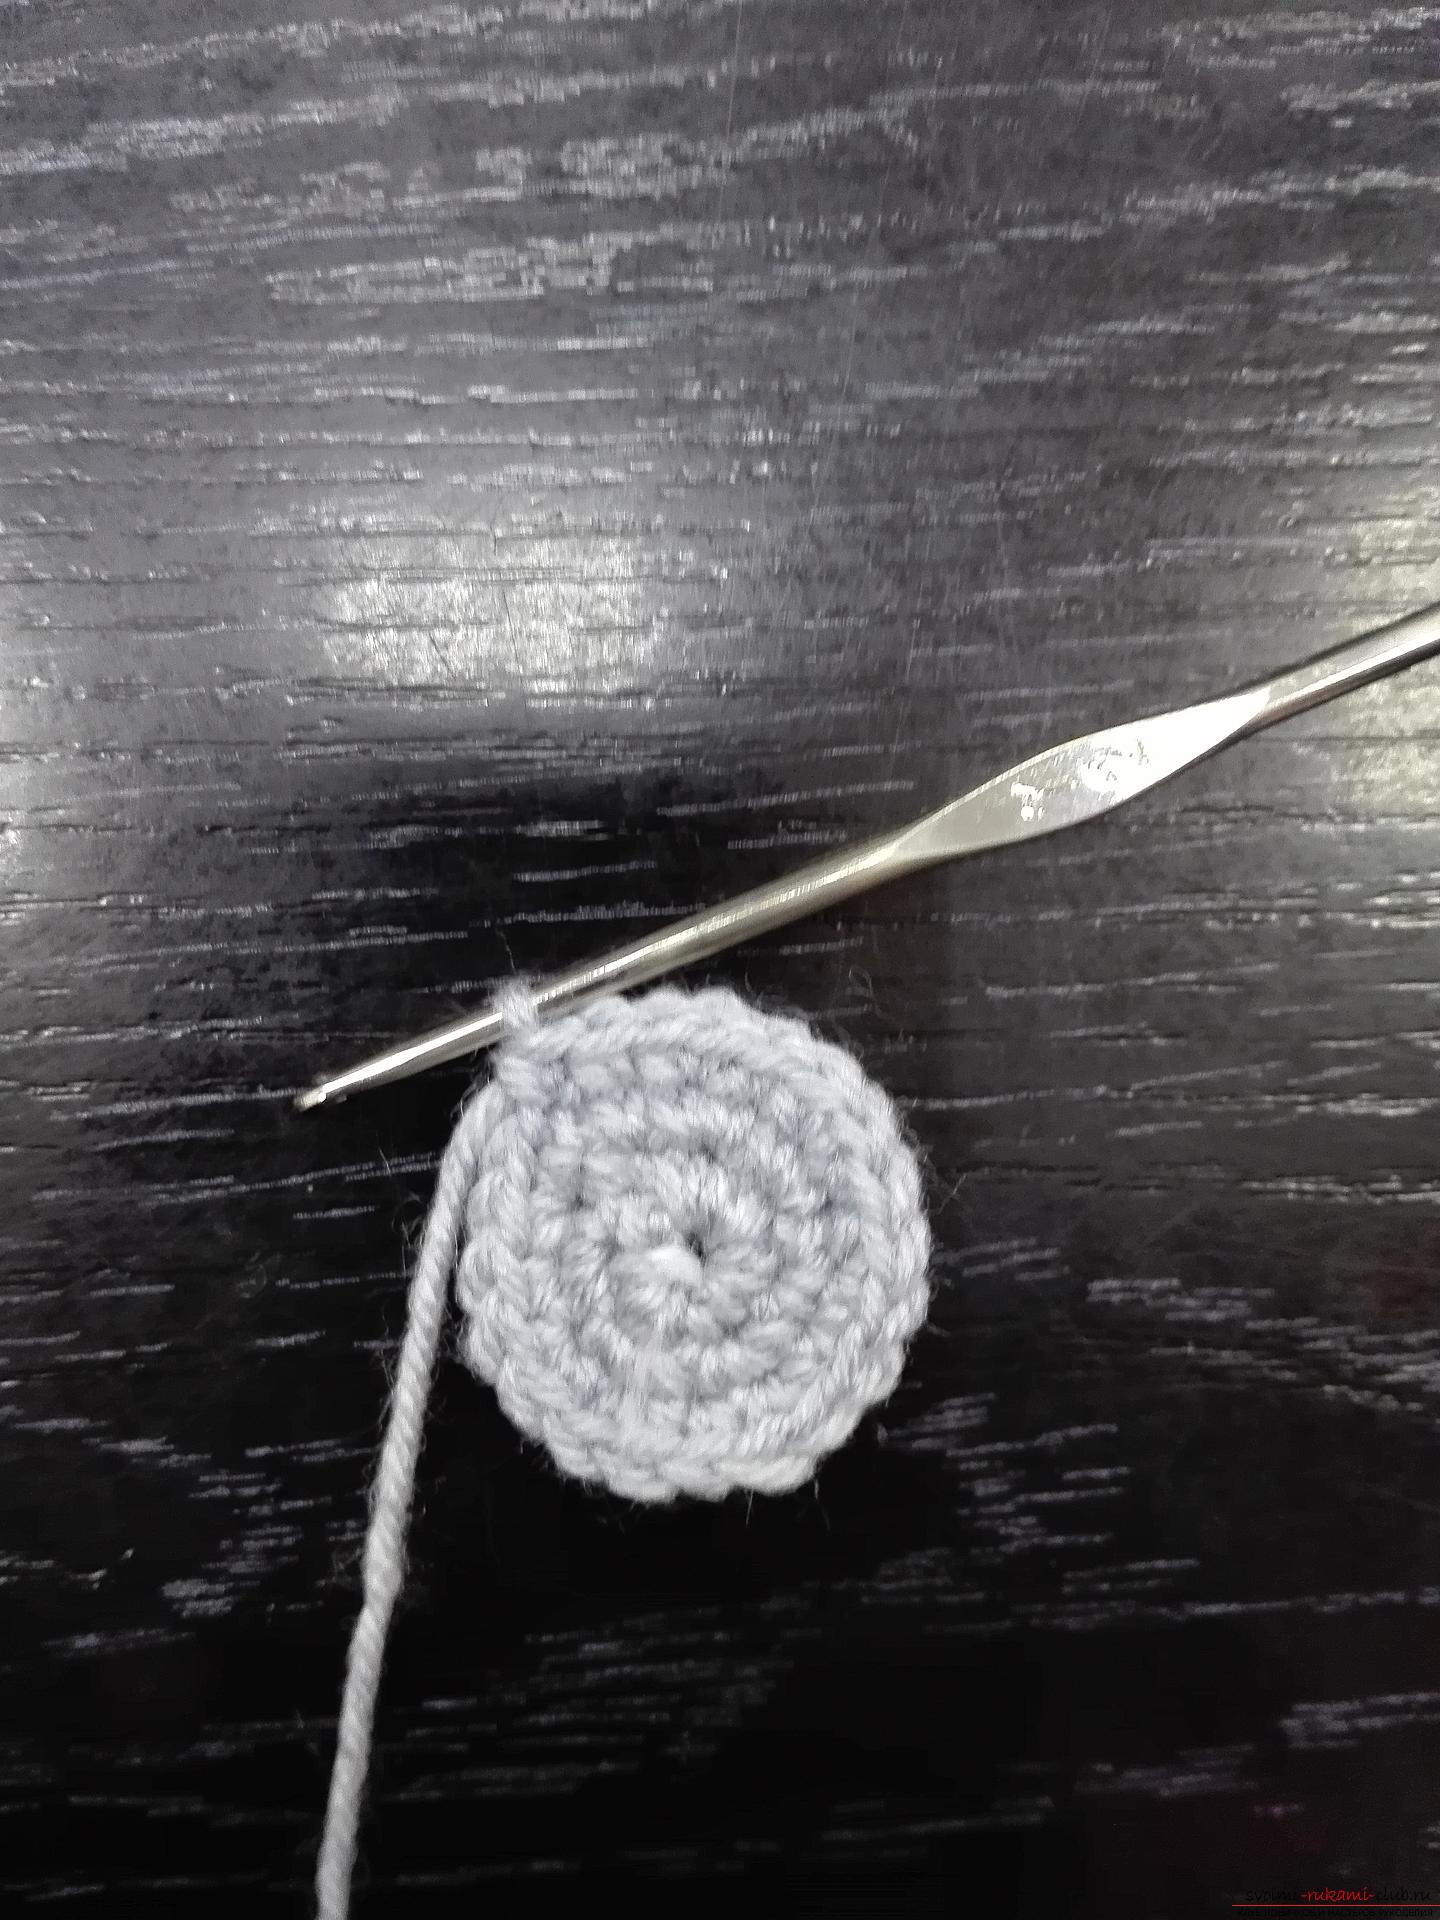 The next three rows, which we will knit, will be the same, in each of them we will knit one table. without n-yes in each loop.
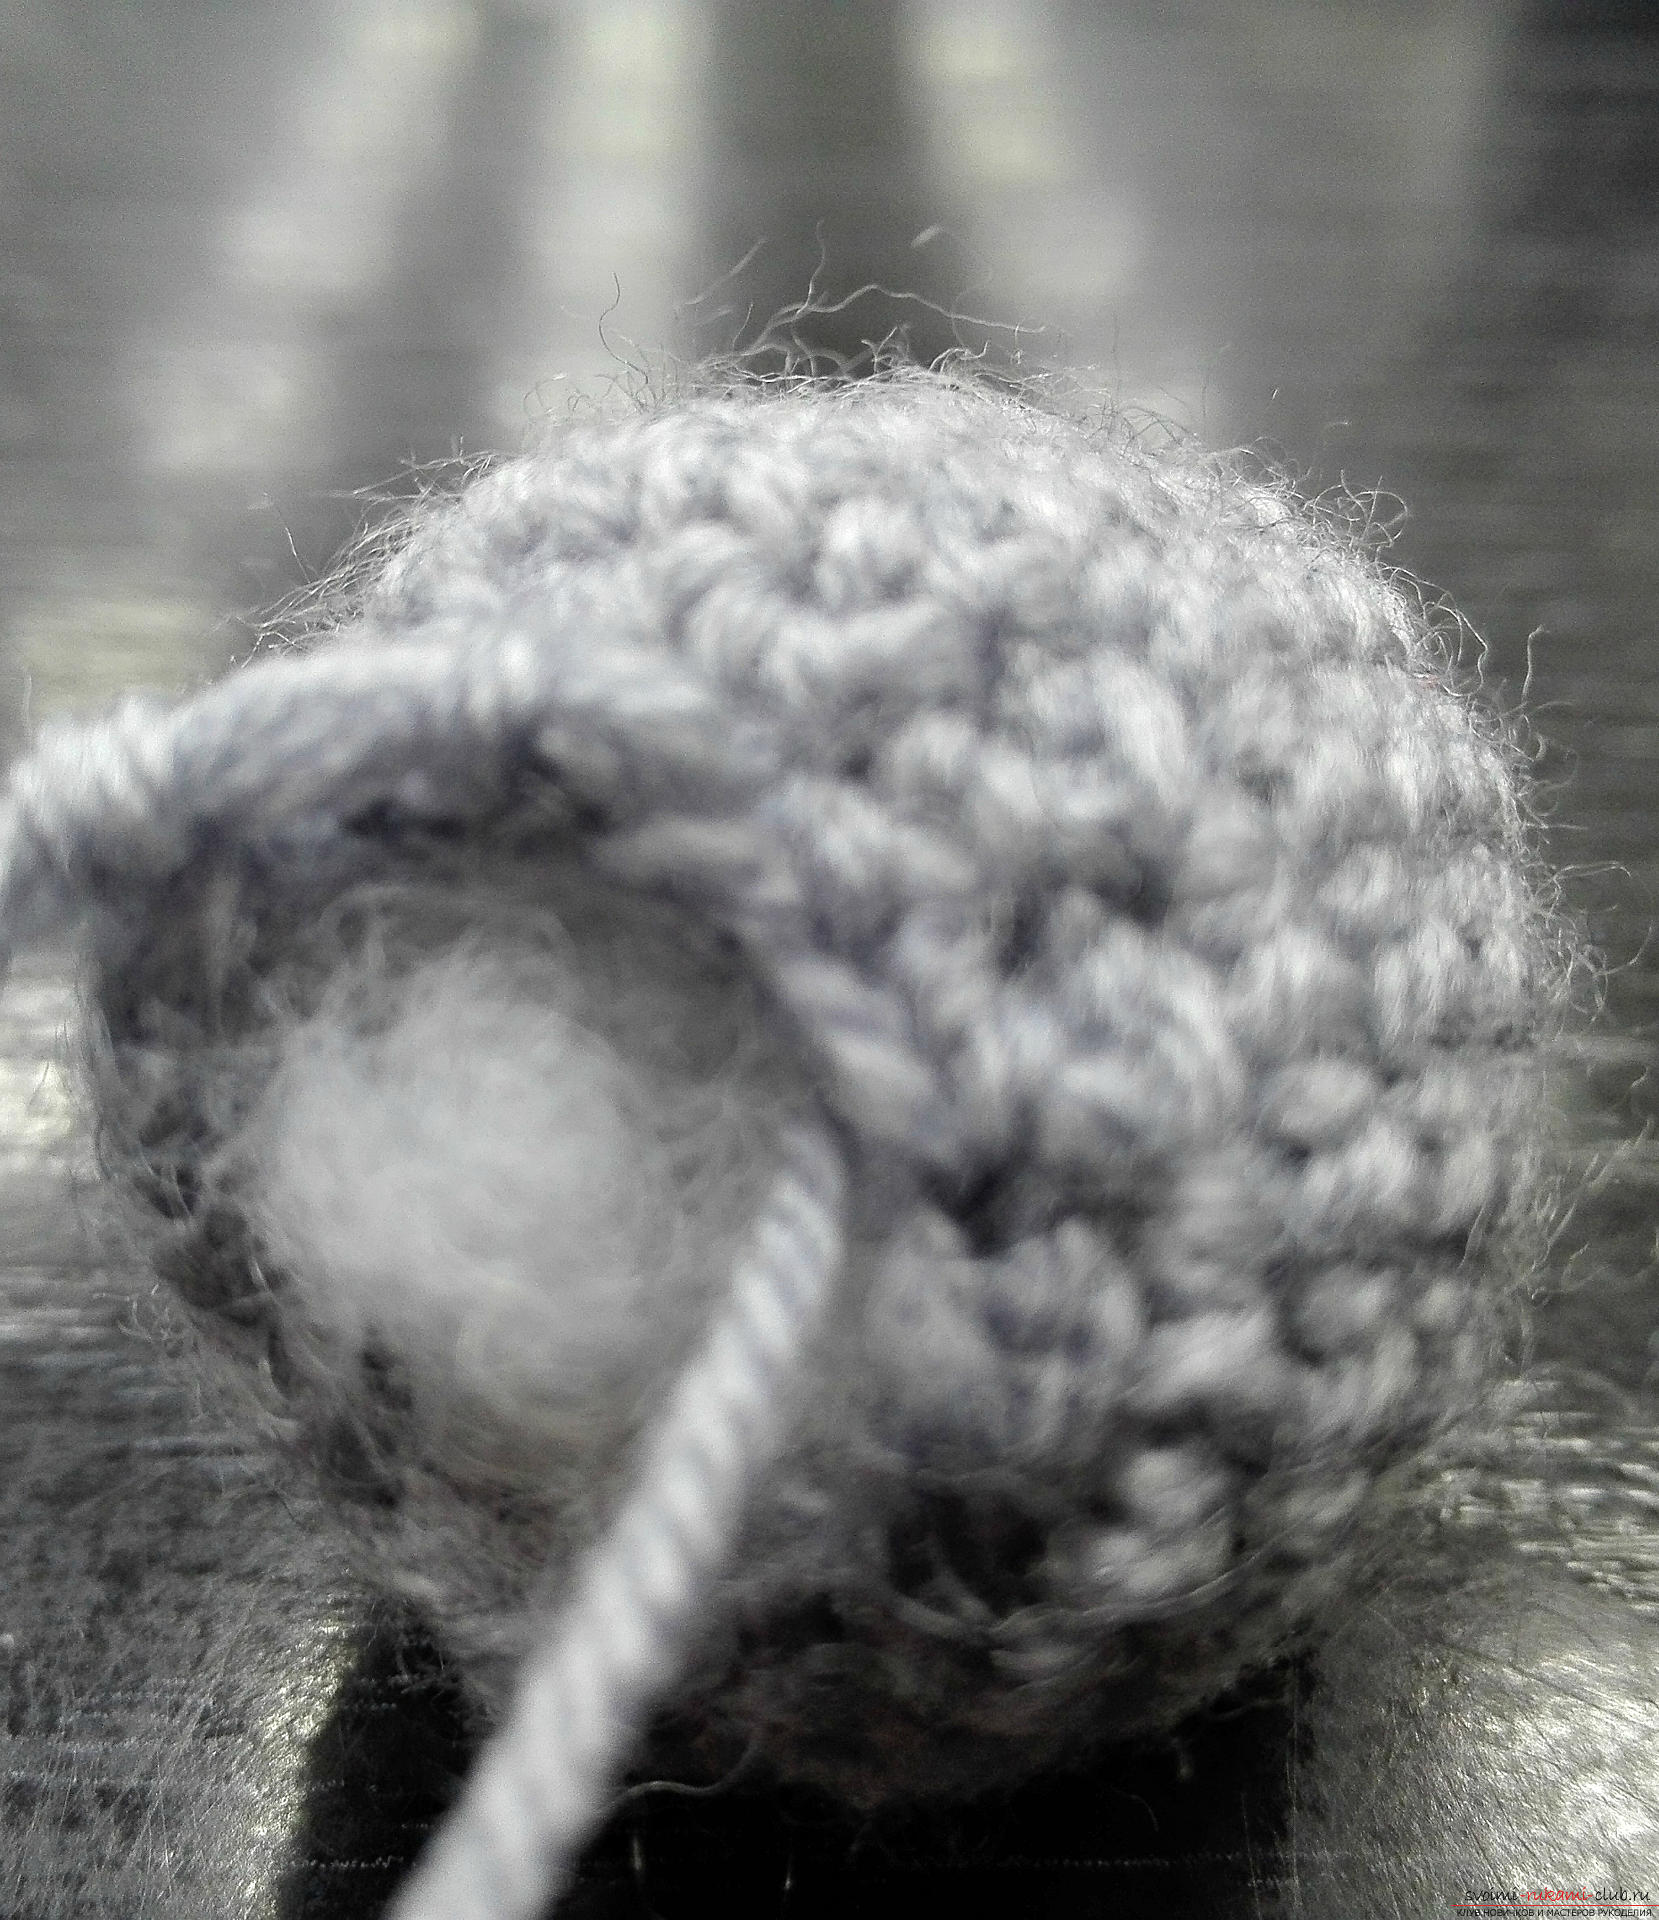
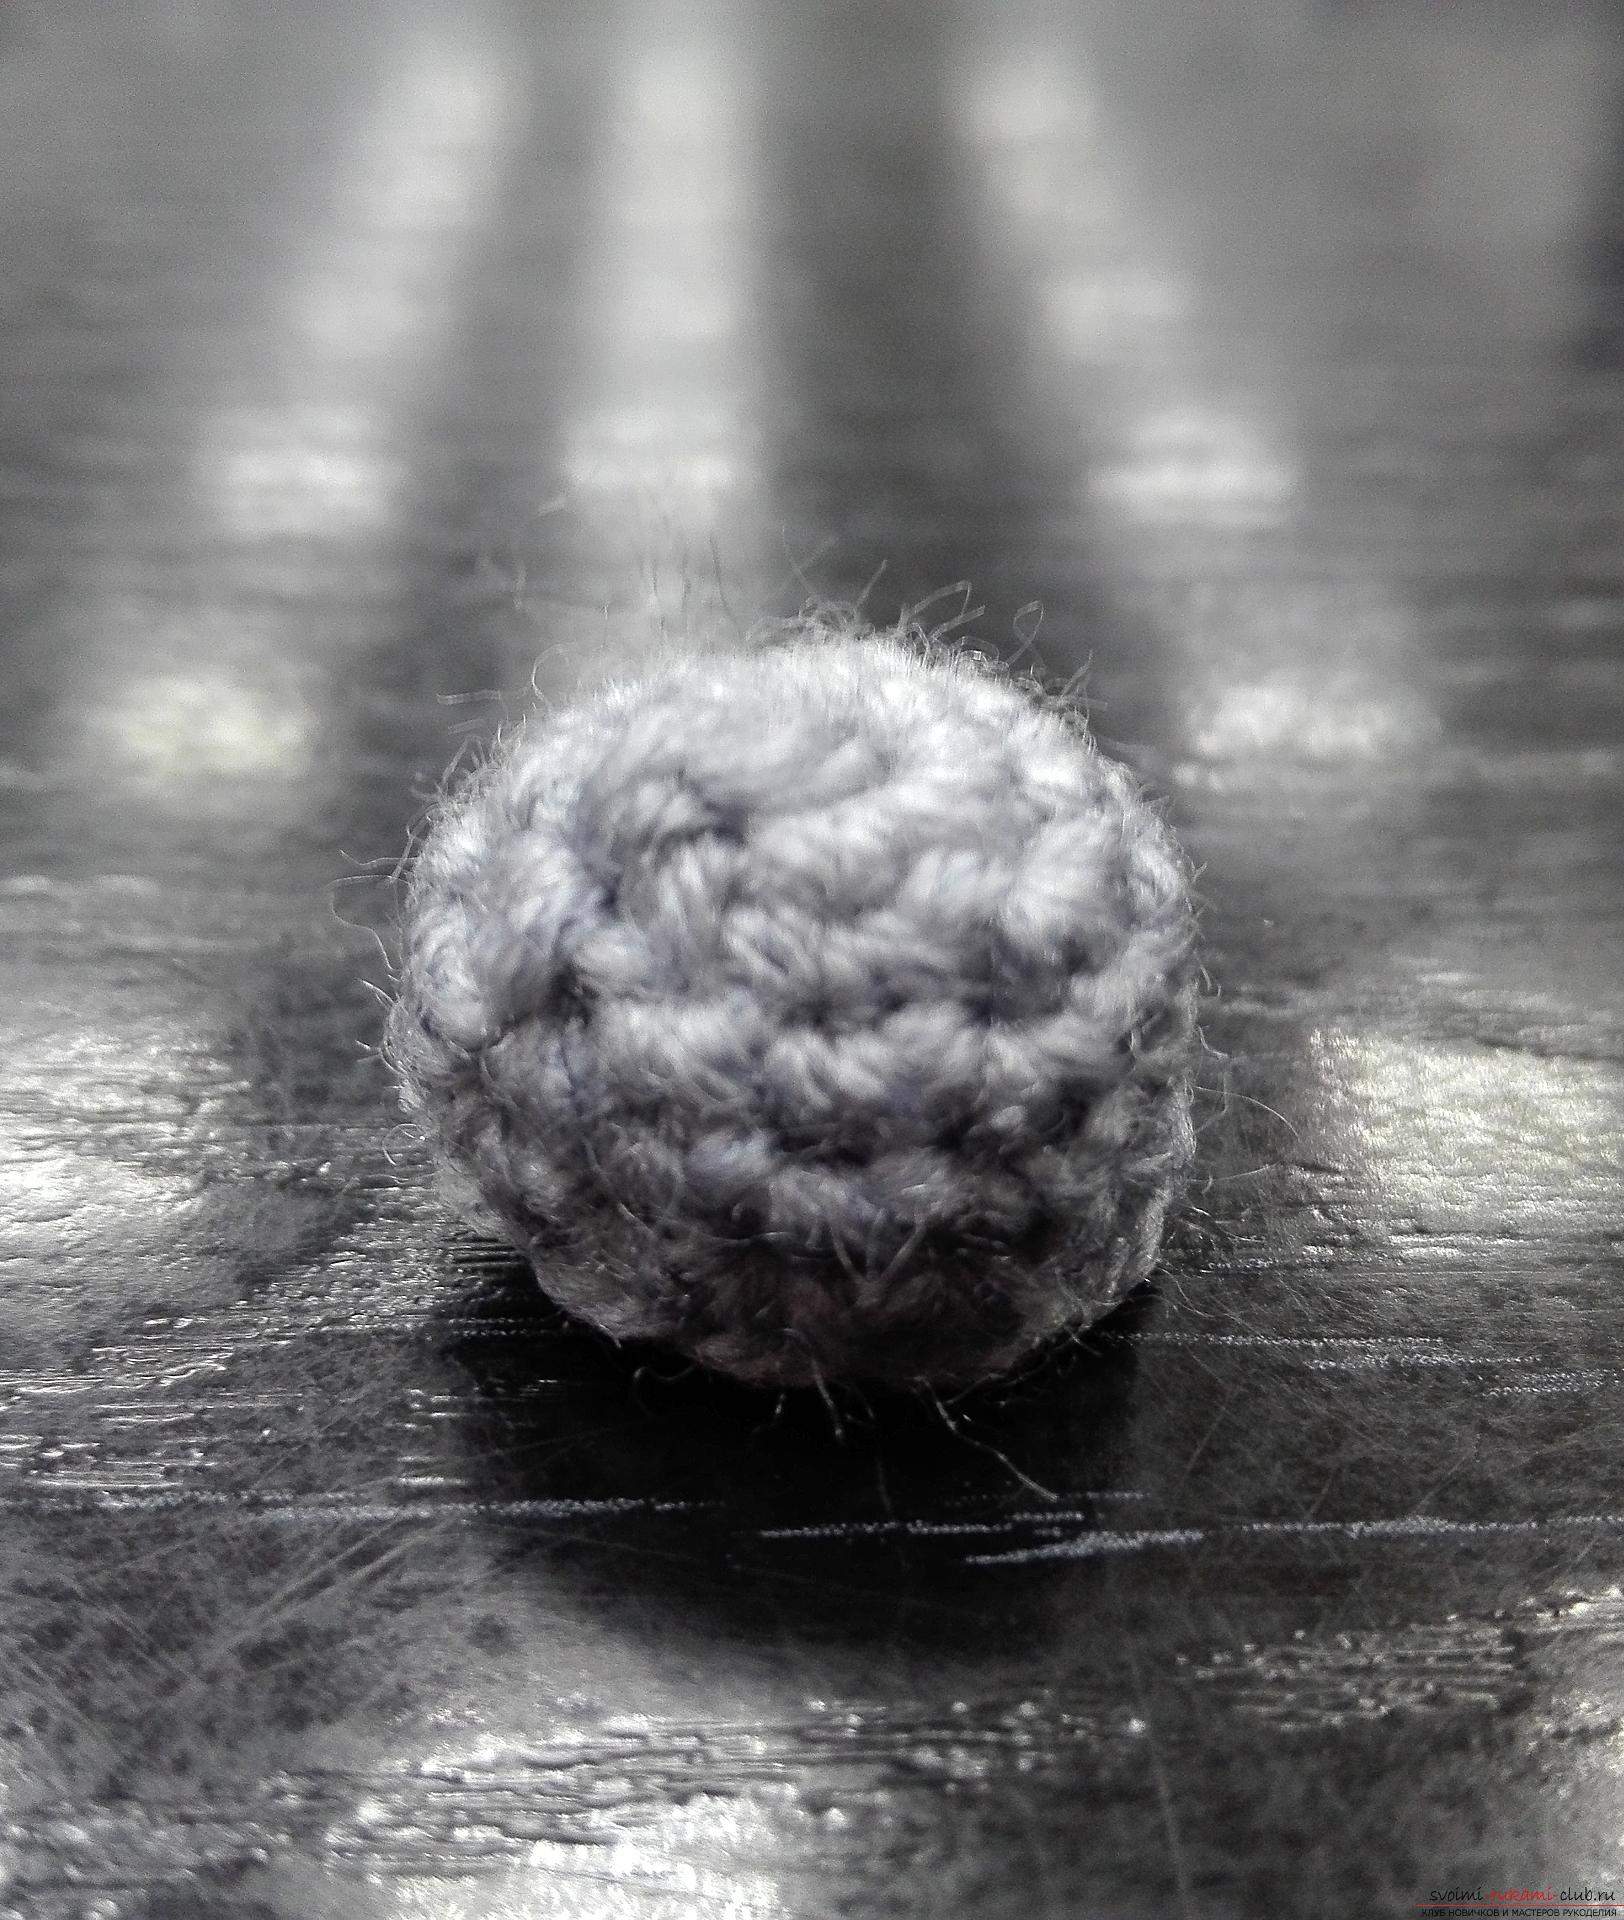
 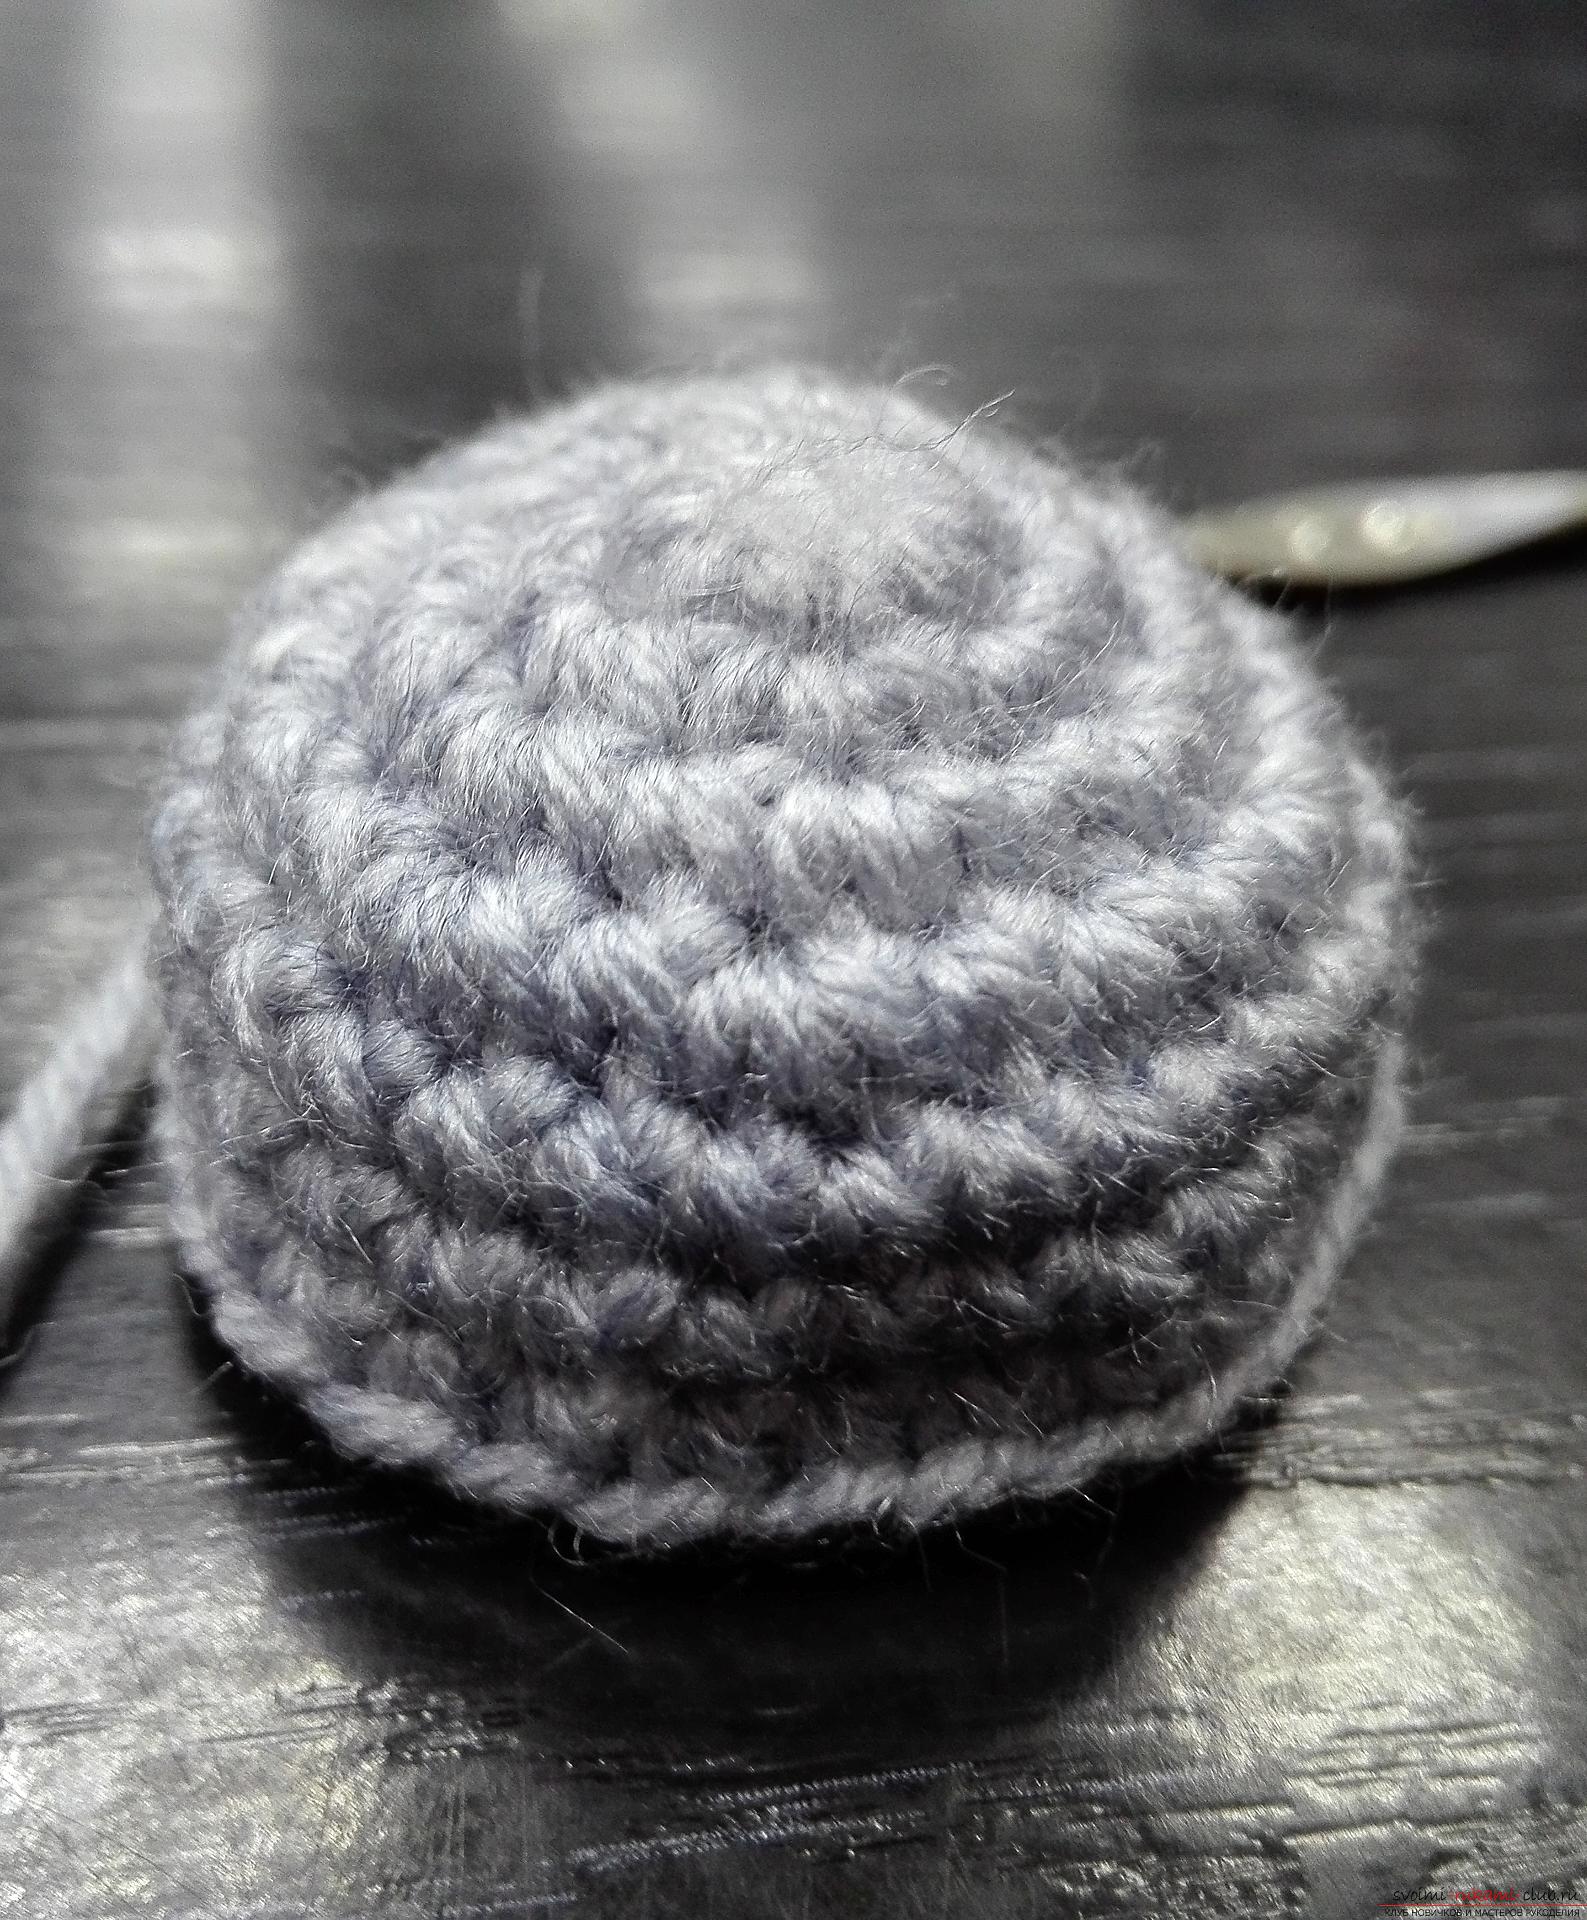 Then we must start to reduce. In the first two rows we will make three adjustments.
 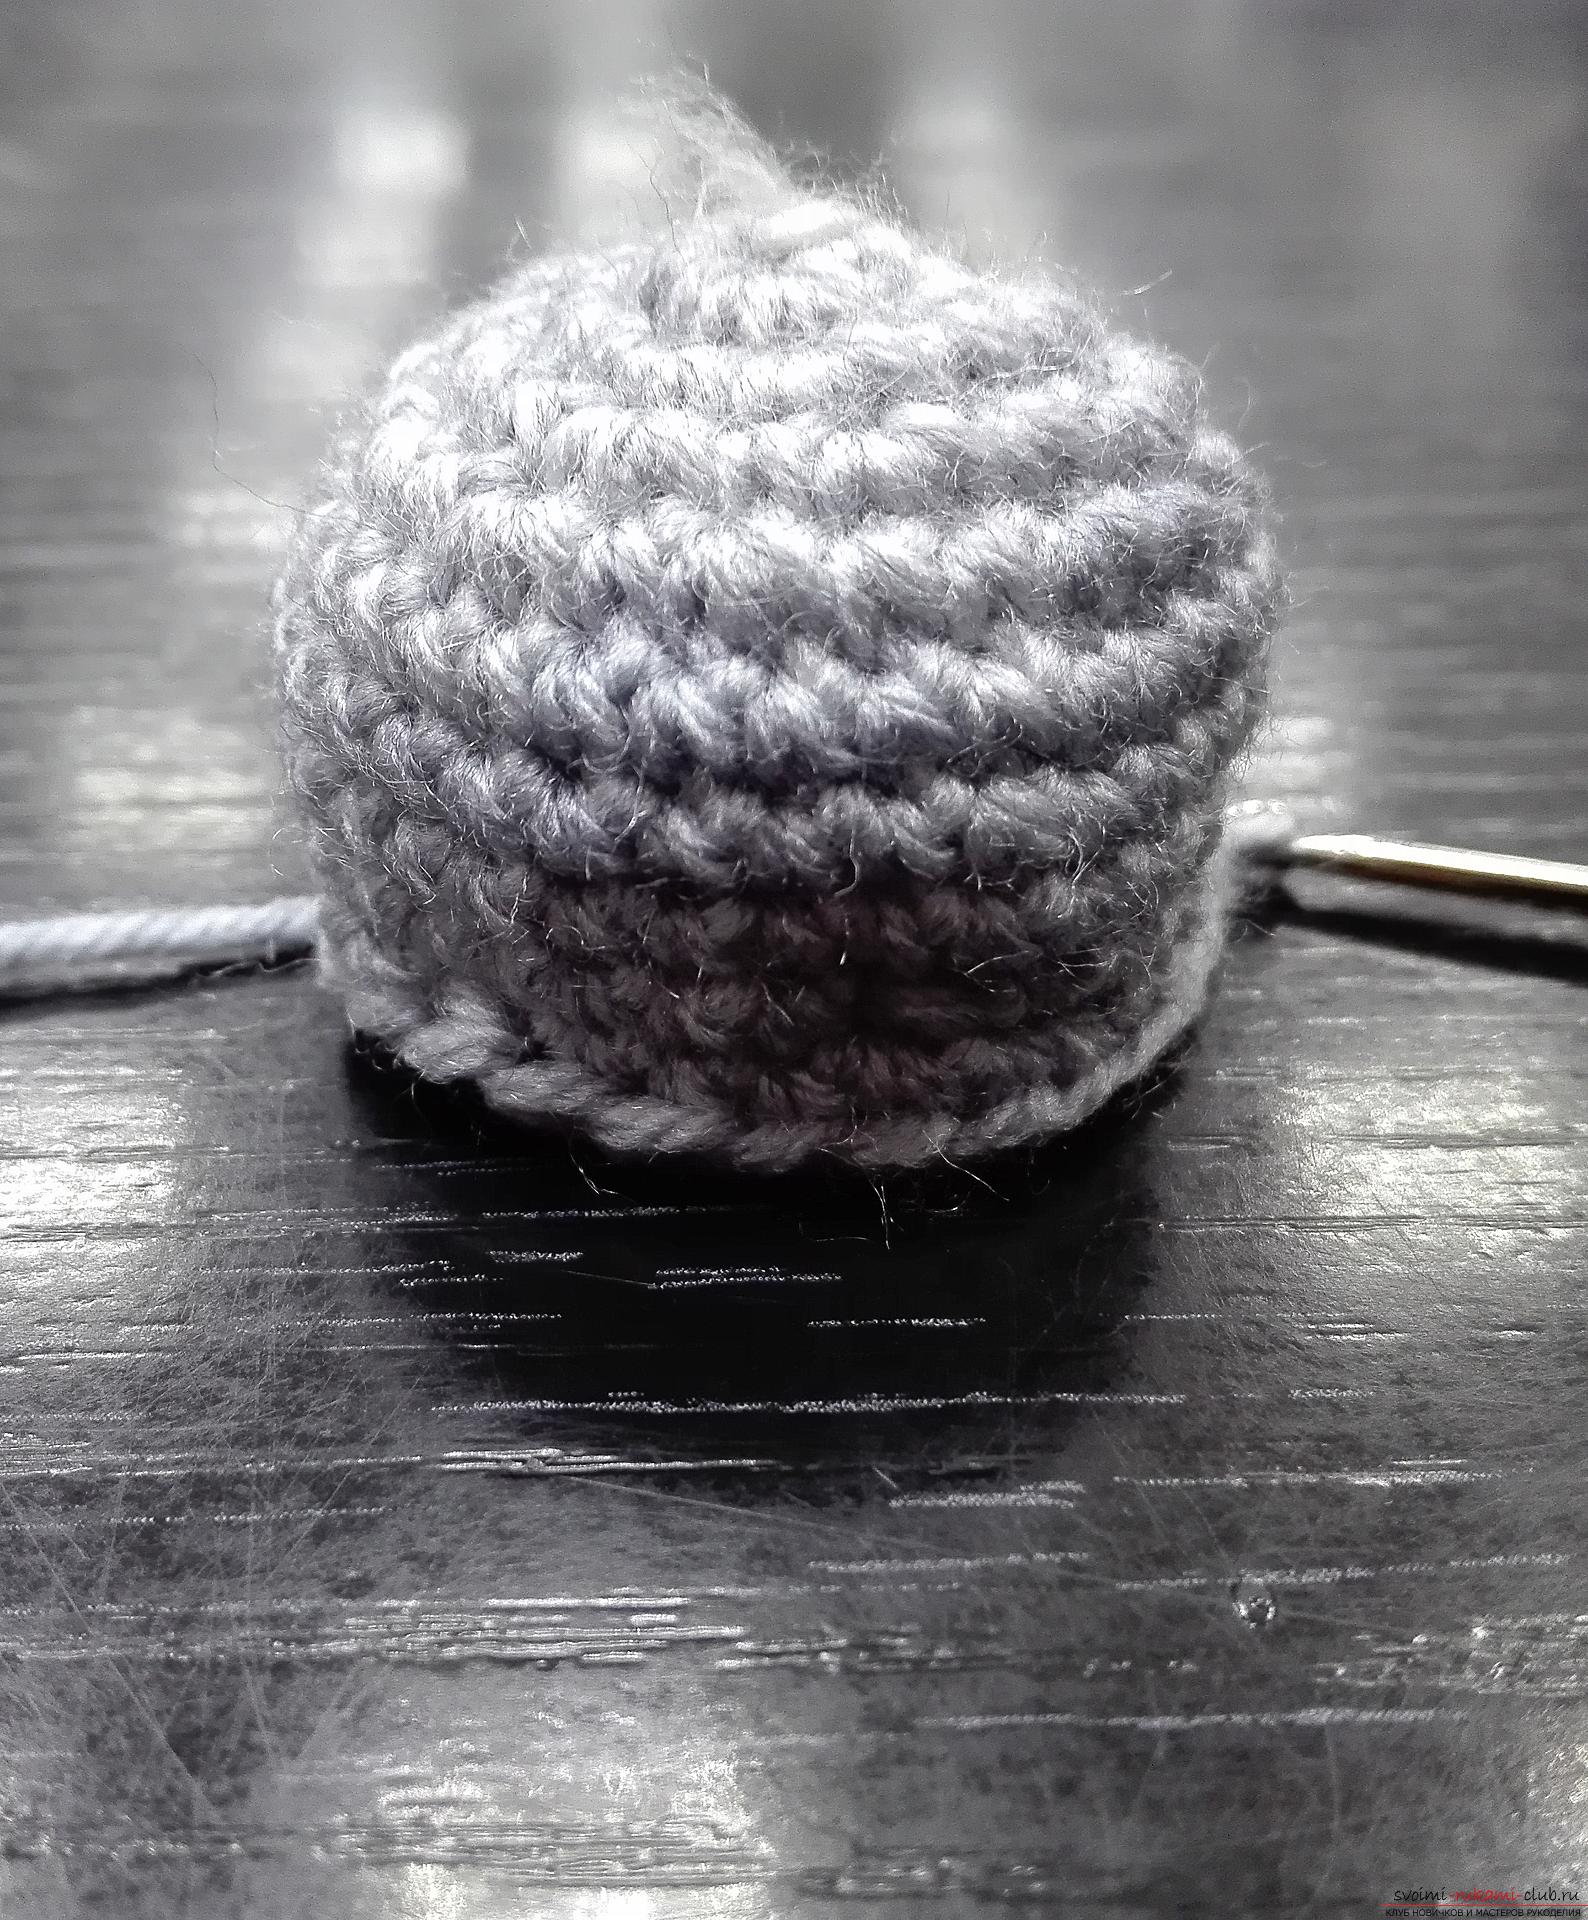 When we have a small hole left, we fill the sintepon.
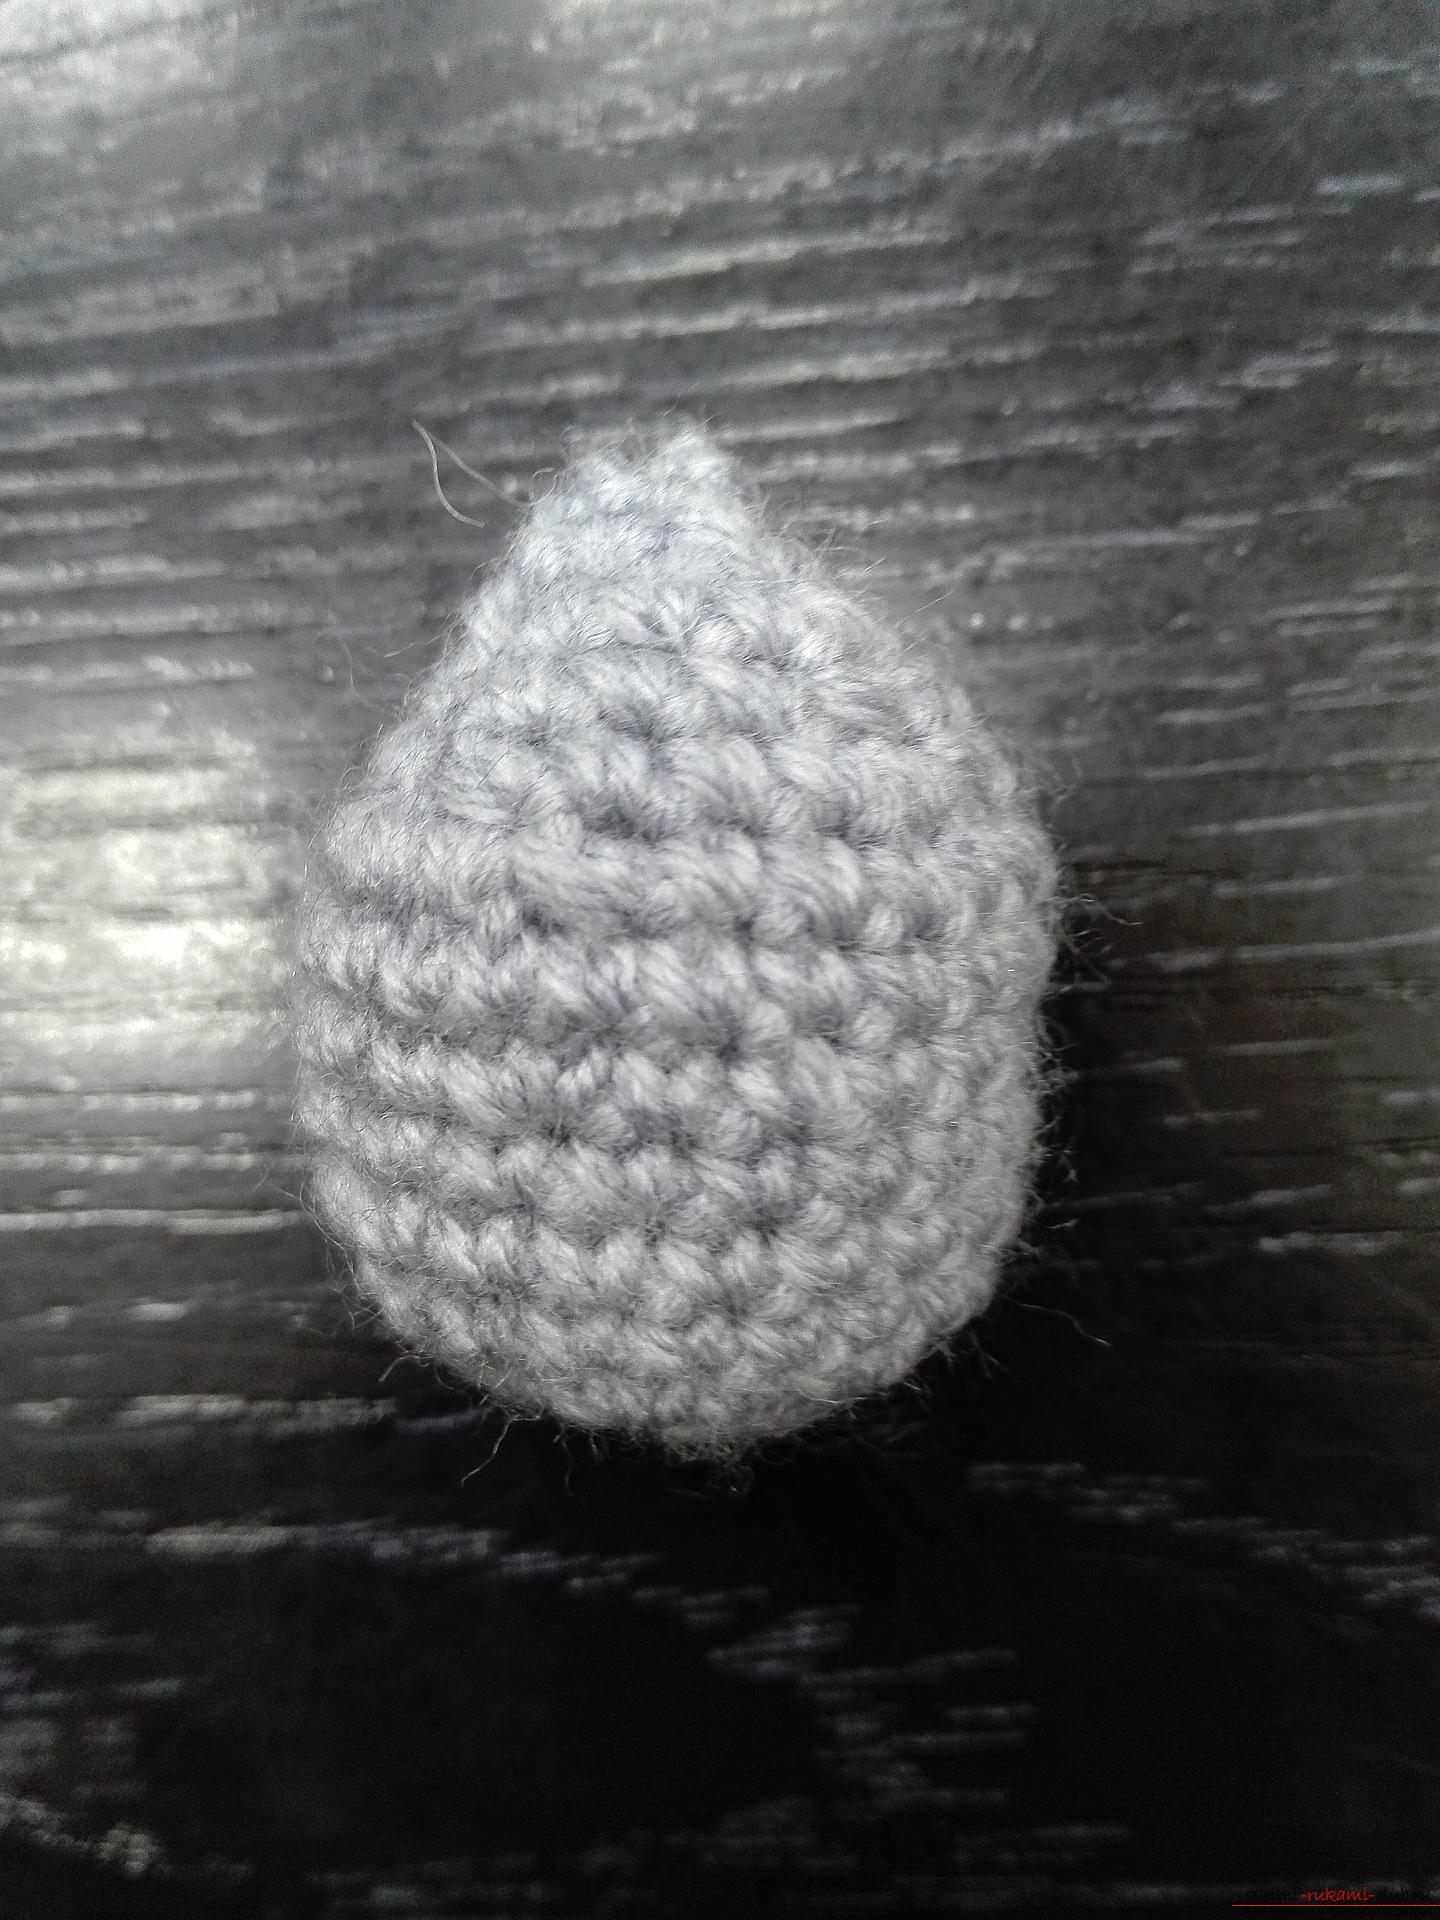
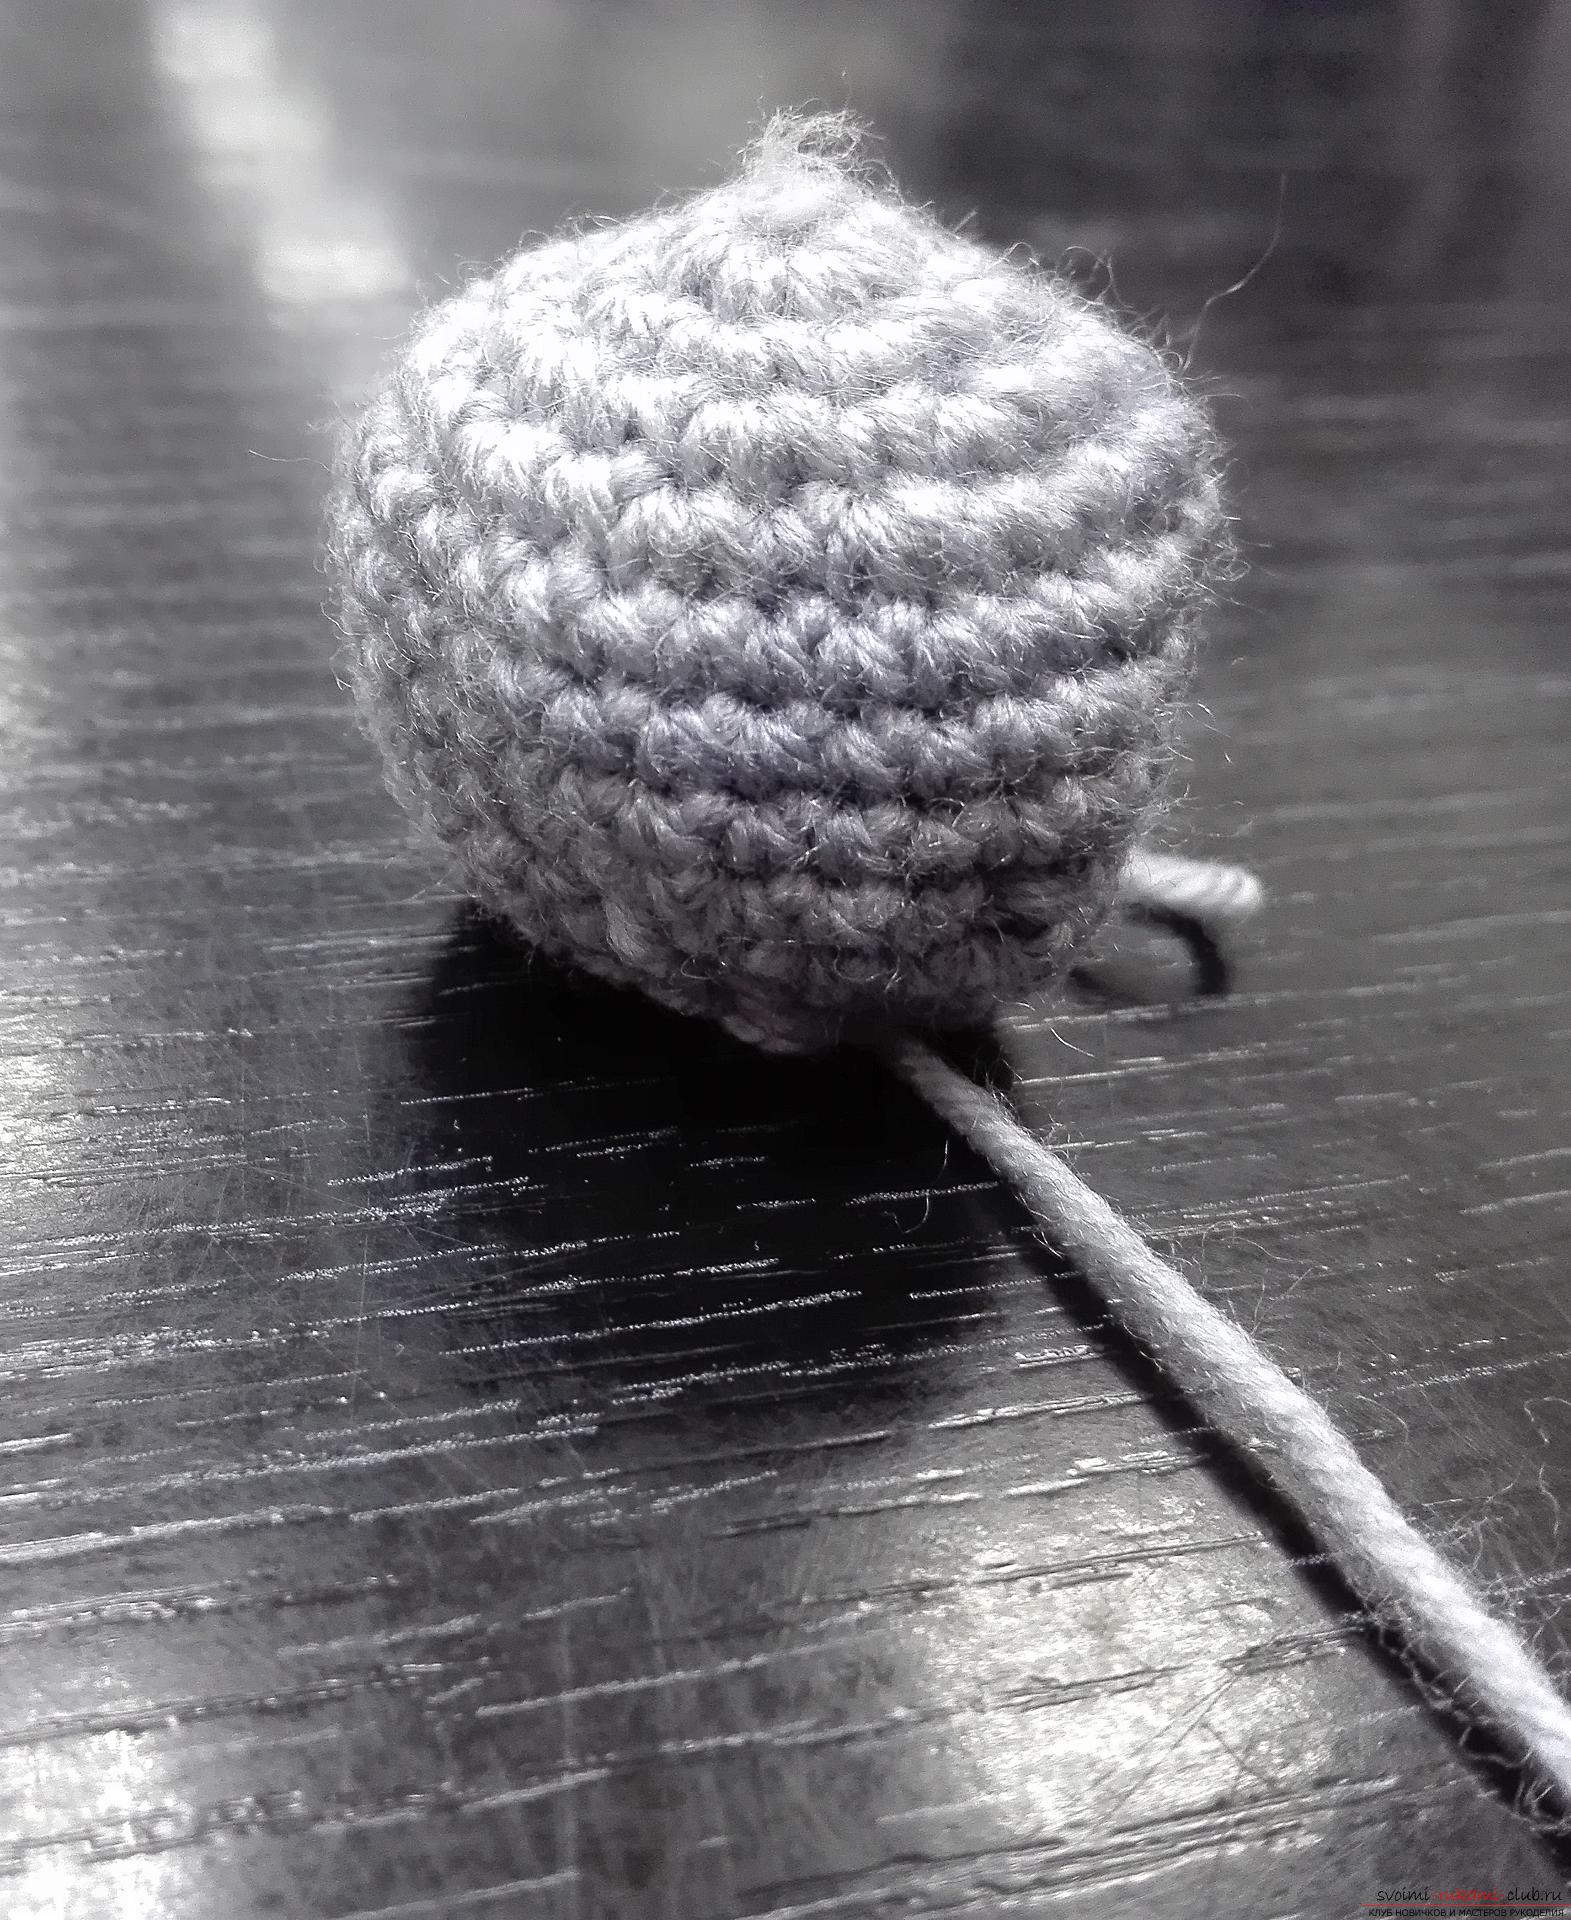
 Thus, the dog's head is ready. Let's start knitting the torso. Also a thread of gray color. In the loop there are six tables. without n-yes. Then there are two tables. without n-yes in each loop. In the next row we knit one table in one loop. without n-yes, in the second two tables. without n-yes, so in turn, one, two.
 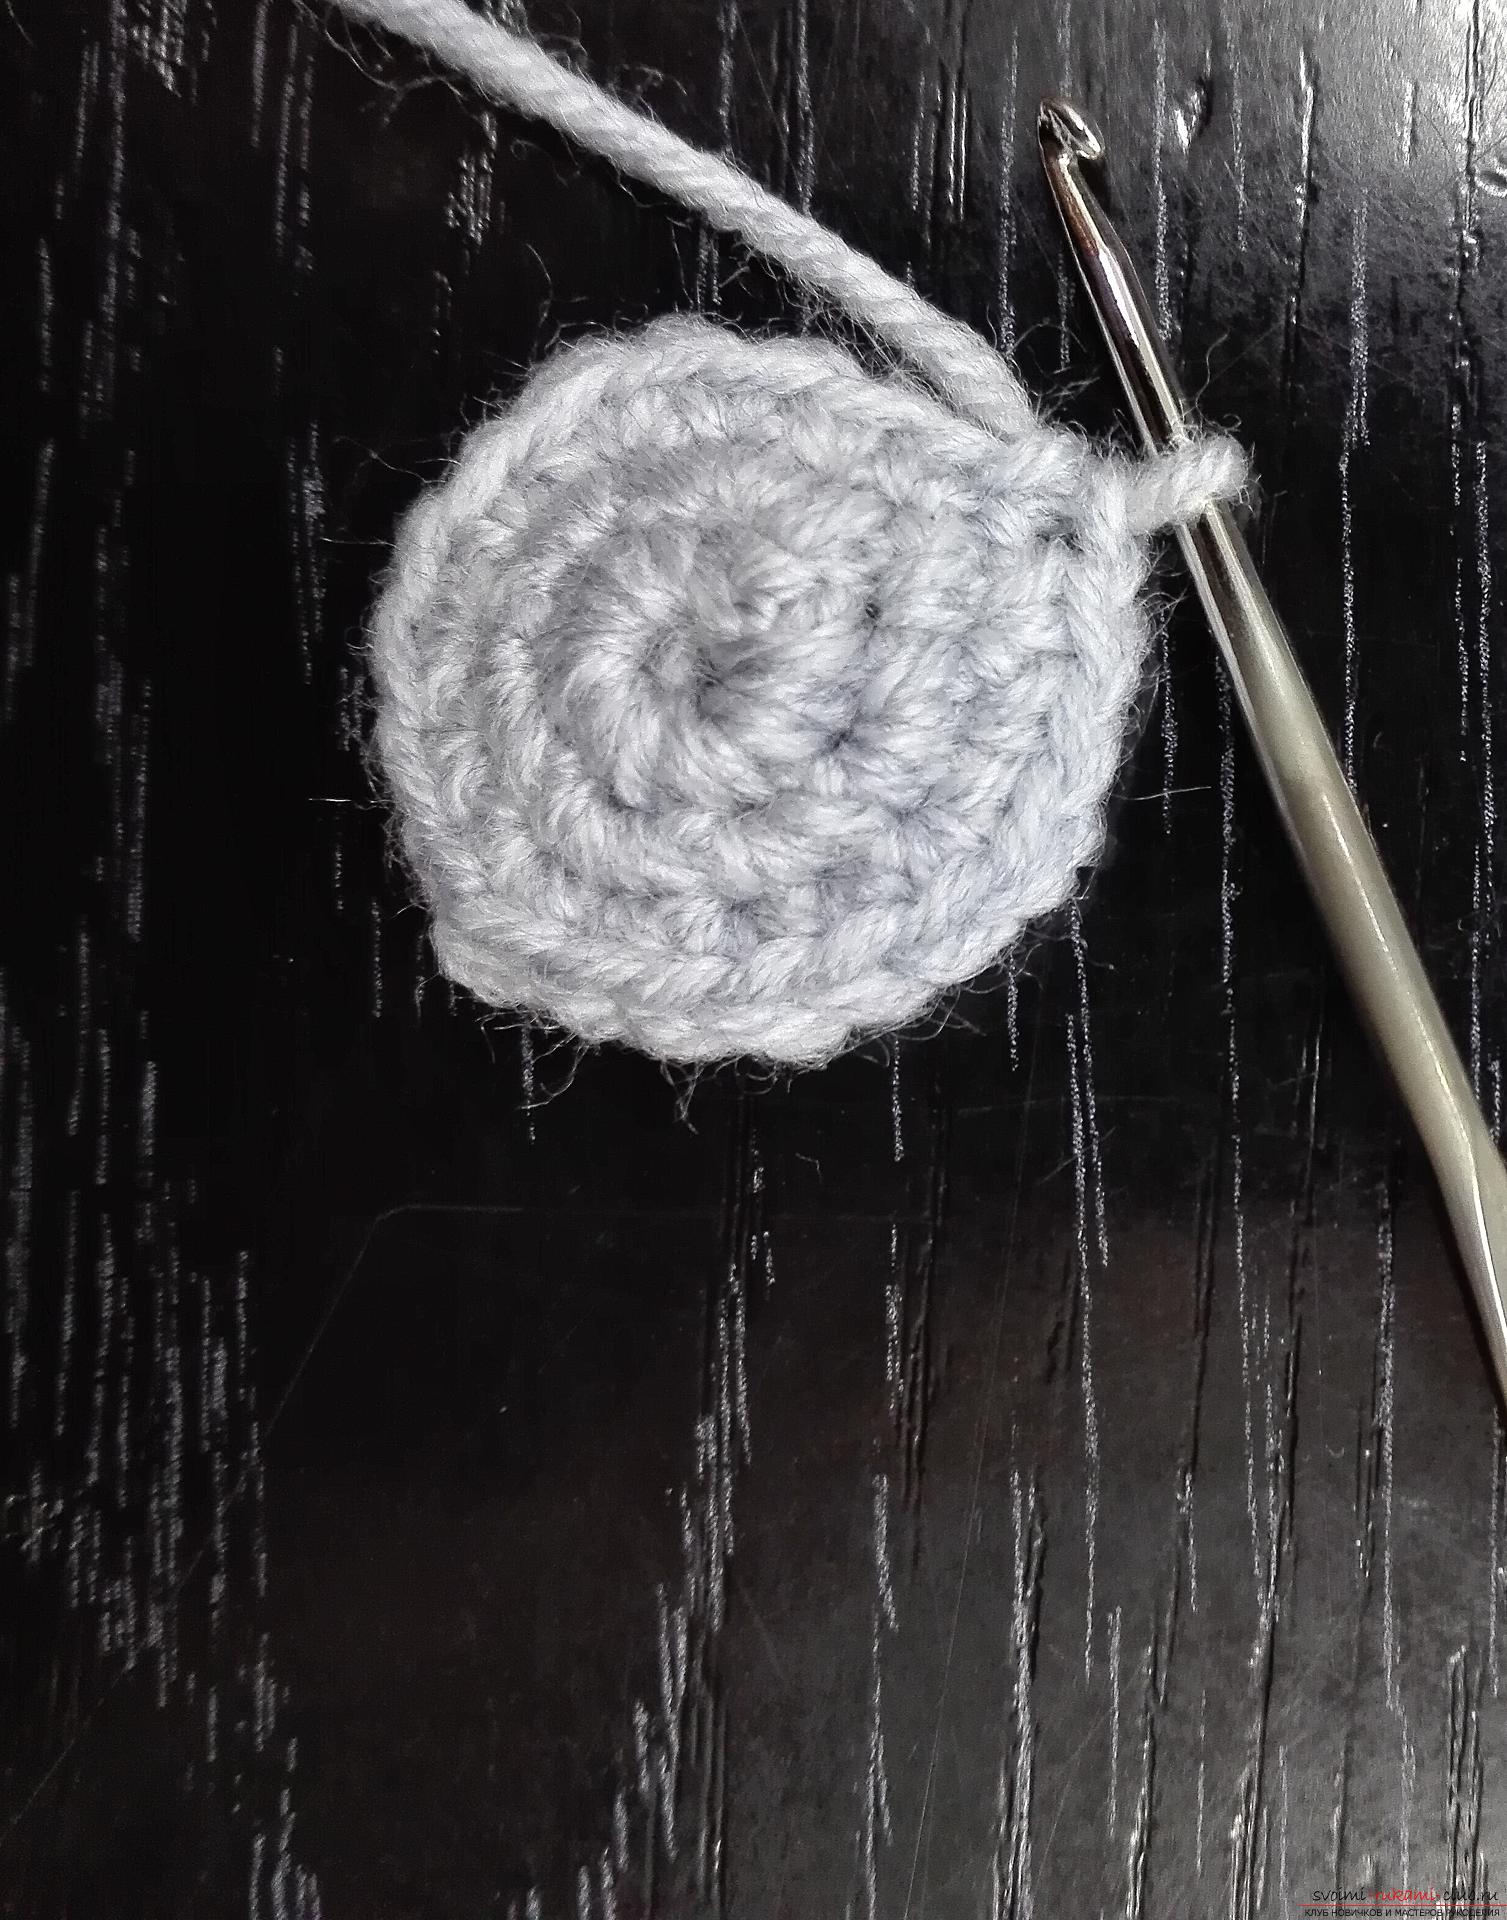 In the next three rows there is one table. without n-yes in the loop. Then you need to start decreasing. We make three adjustments in the ryadochke. When the hole becomes minimal, we fill the sintepon. And close it.
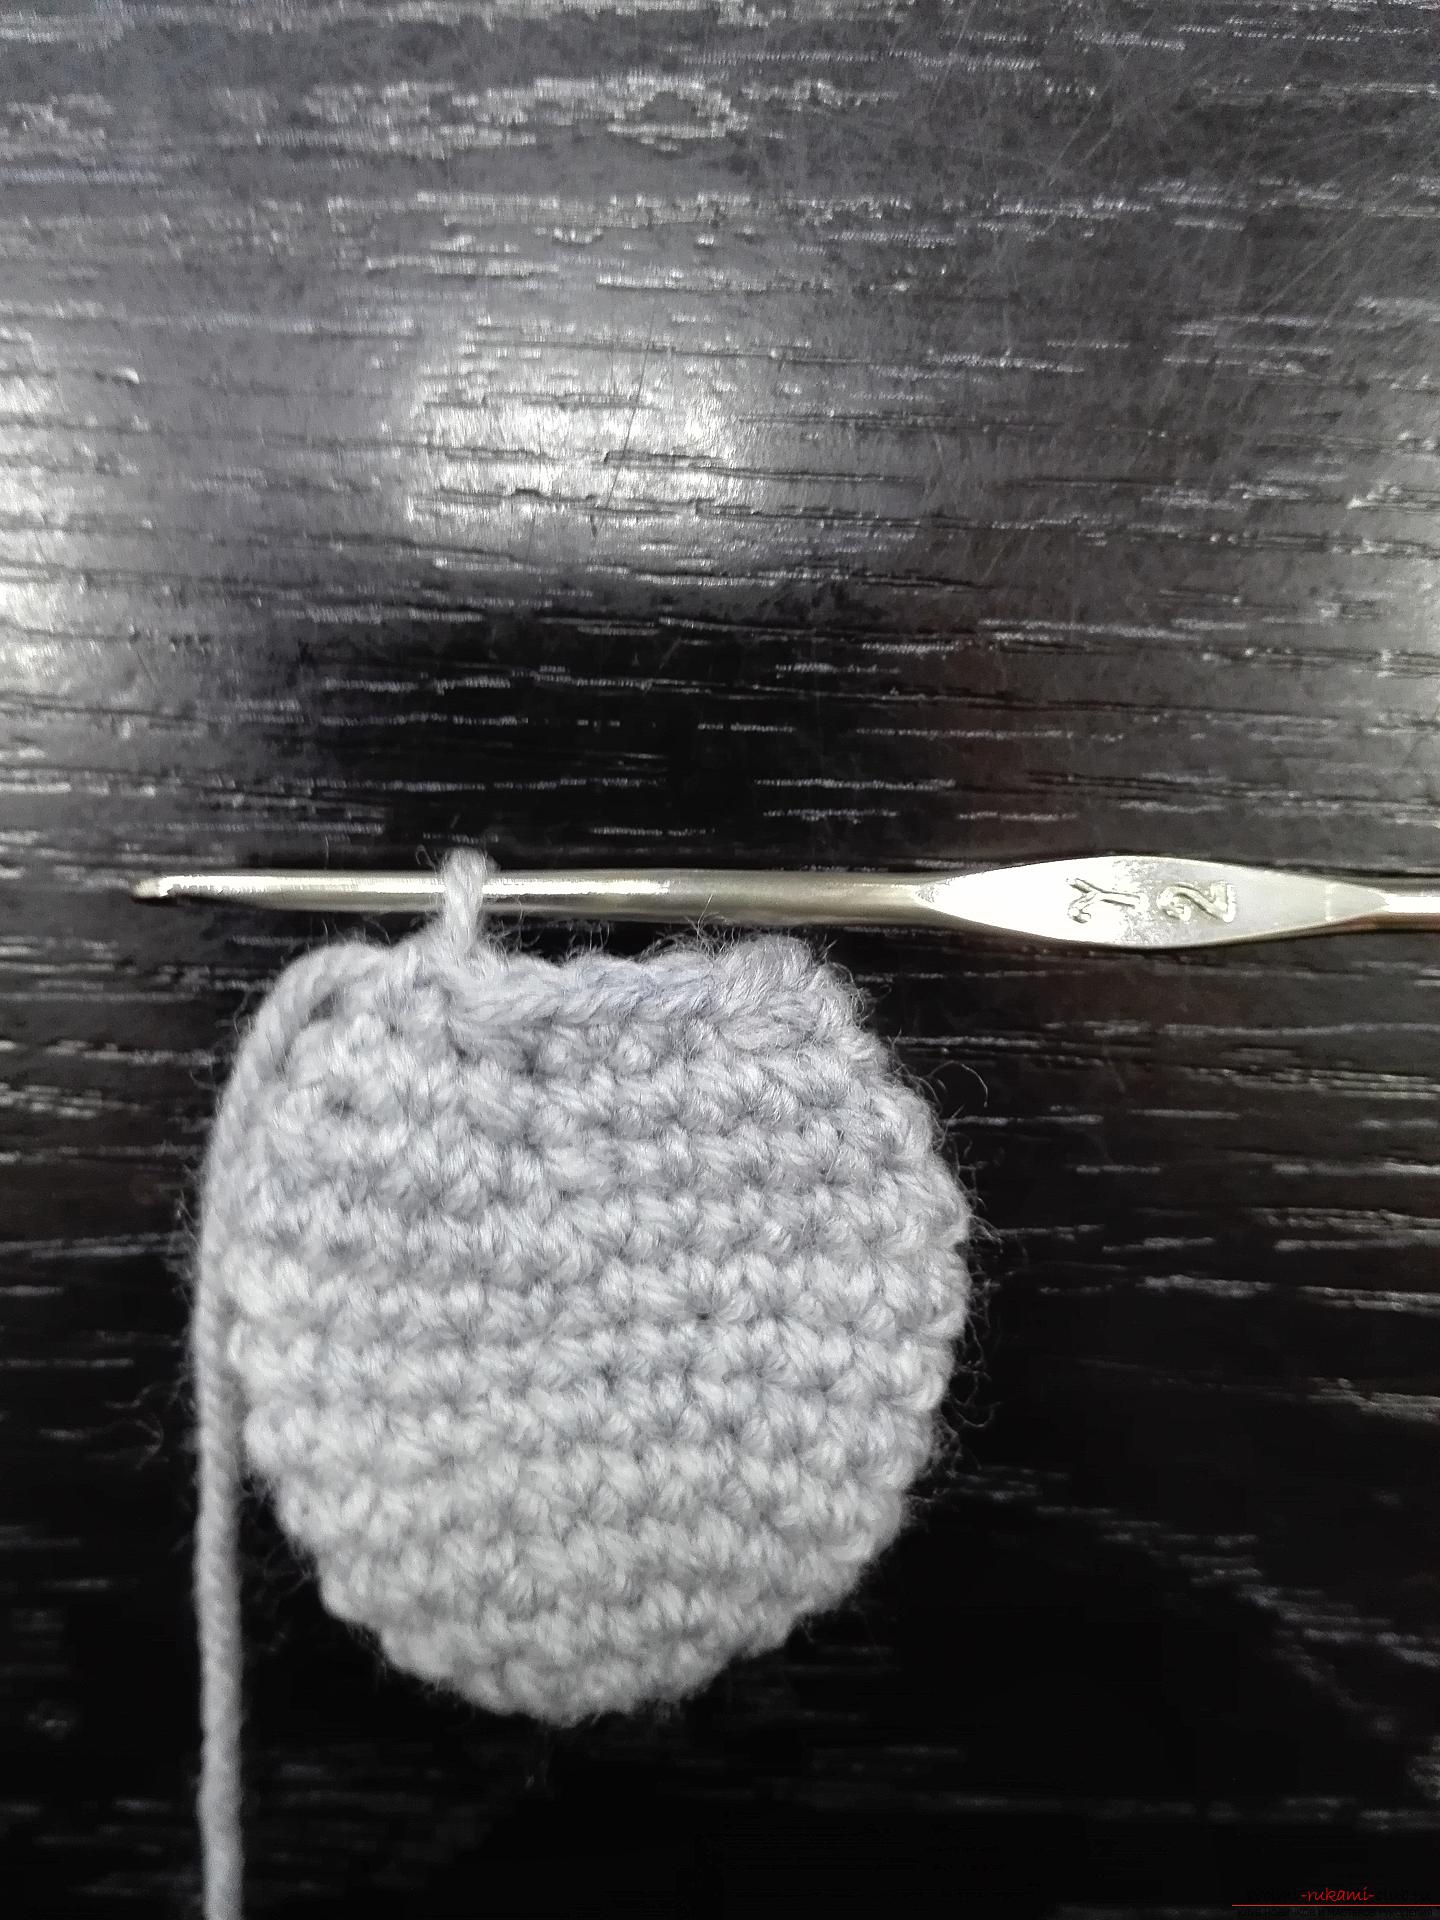
 Here already and the trunk is connected. Let's start knitting the front paws. In the loop we make six tables. without n-yes. Next, we tie four rows of one table. without n-yes in each column of the row, which was knitted earlier. In the same way, we connect the second tab. Just slightly fill the sintepon to keep the paws in shape.
  Let's move on to knitting the hind legs. In the loop there are six tables. without n-yes. There are two tables. in the loop that was previously. Then one bar in the first loop, two tables. in another and so on in turn.
 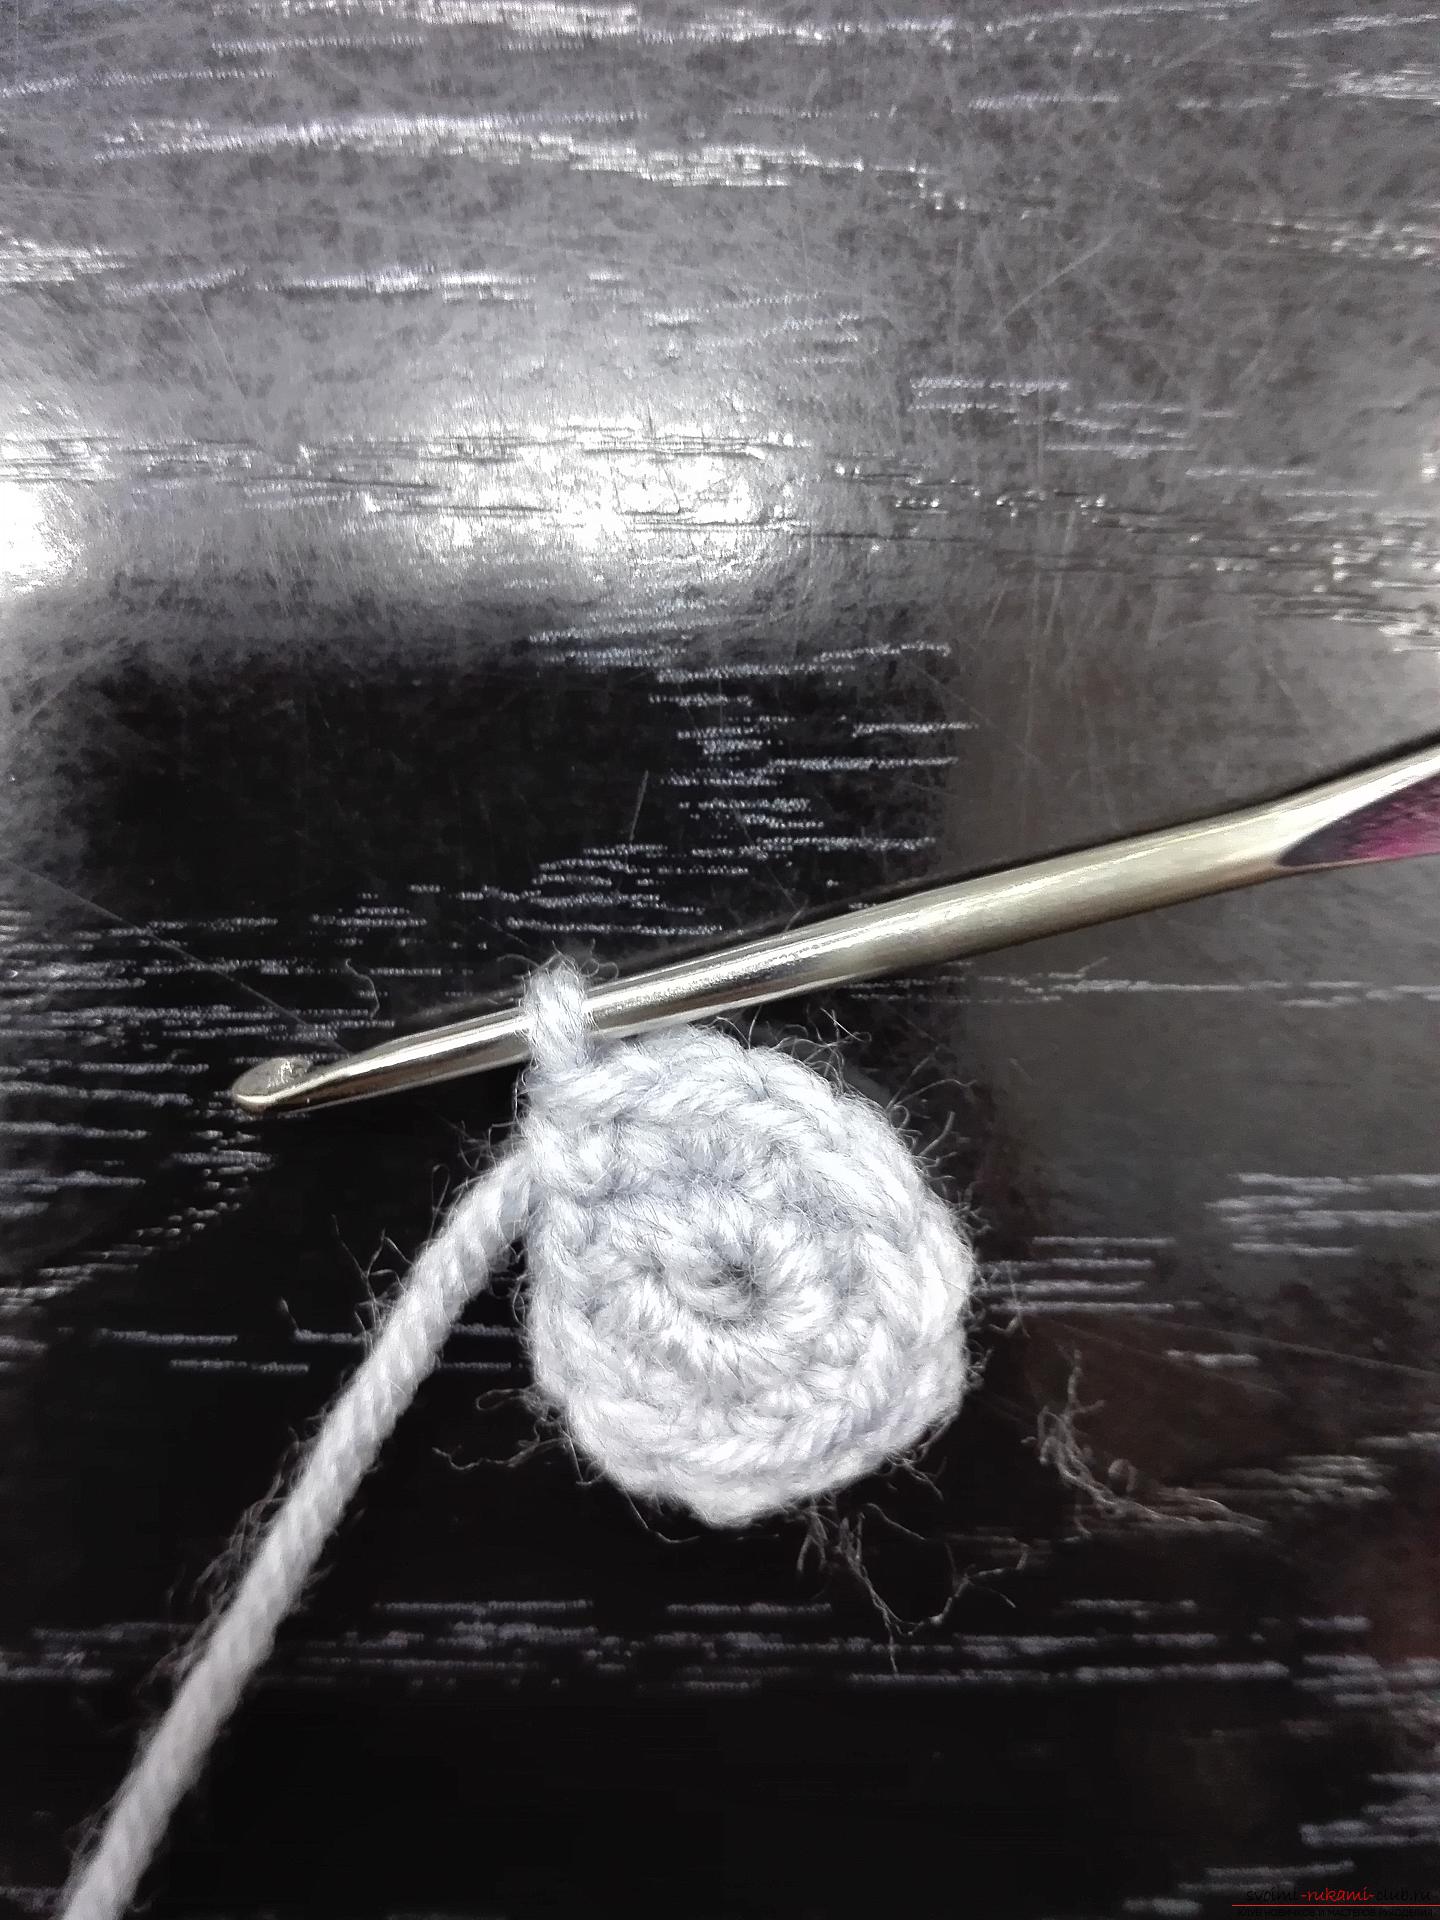 Next, three rows in a row we knit one table. without n-yes in each loop.
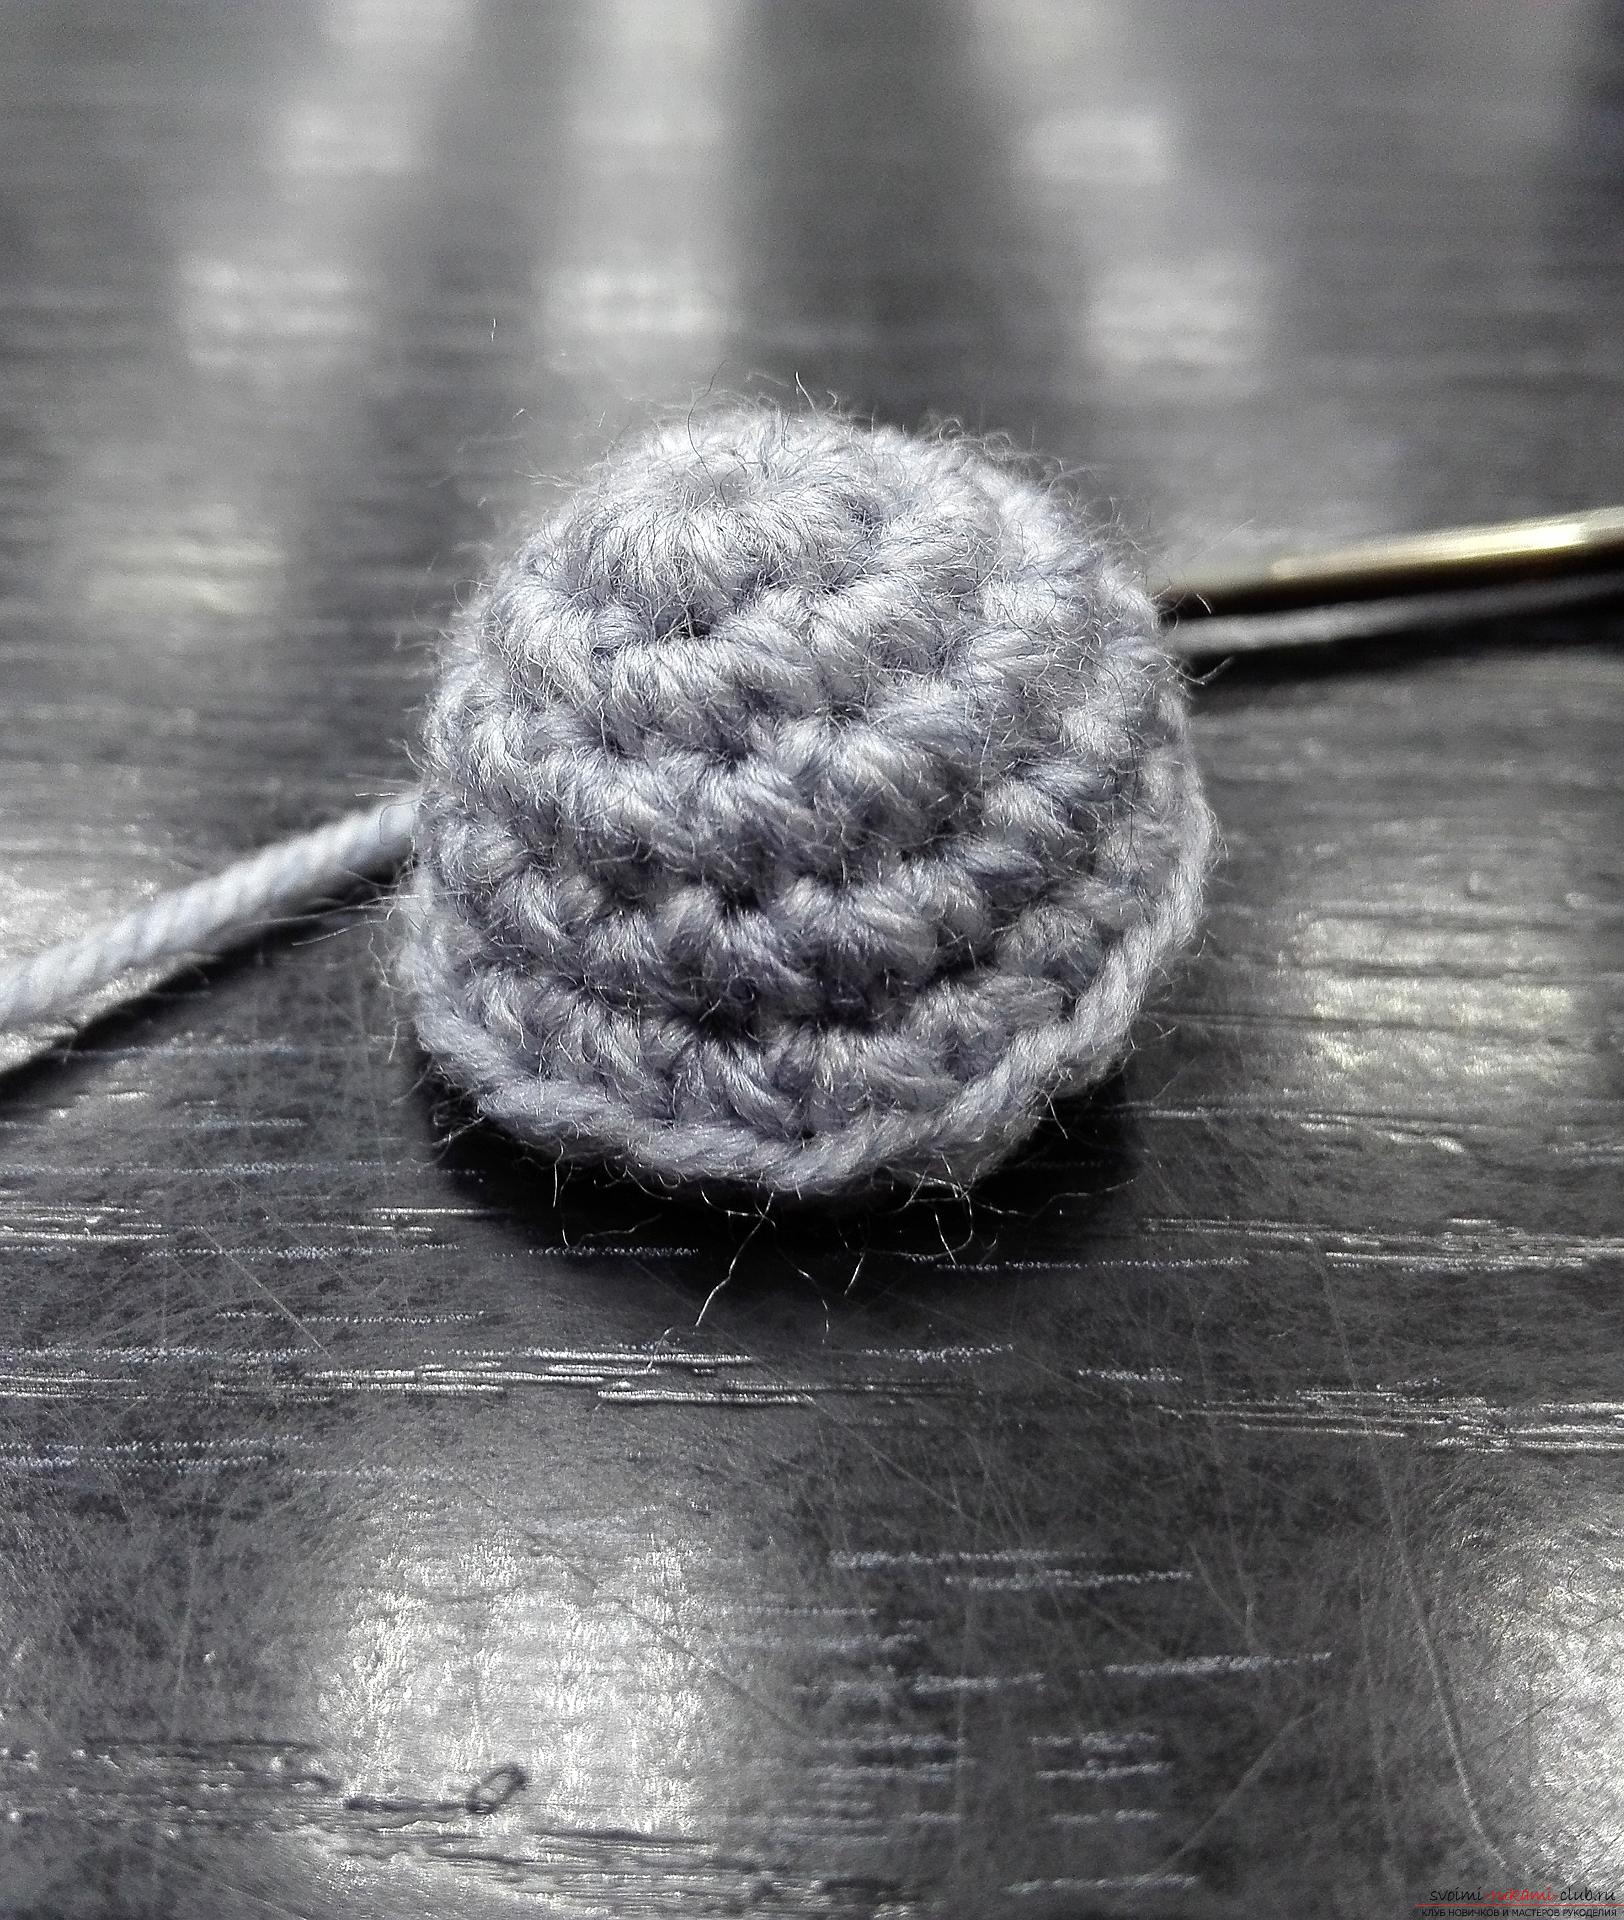
 By the same principle, we will tie one more paw.
 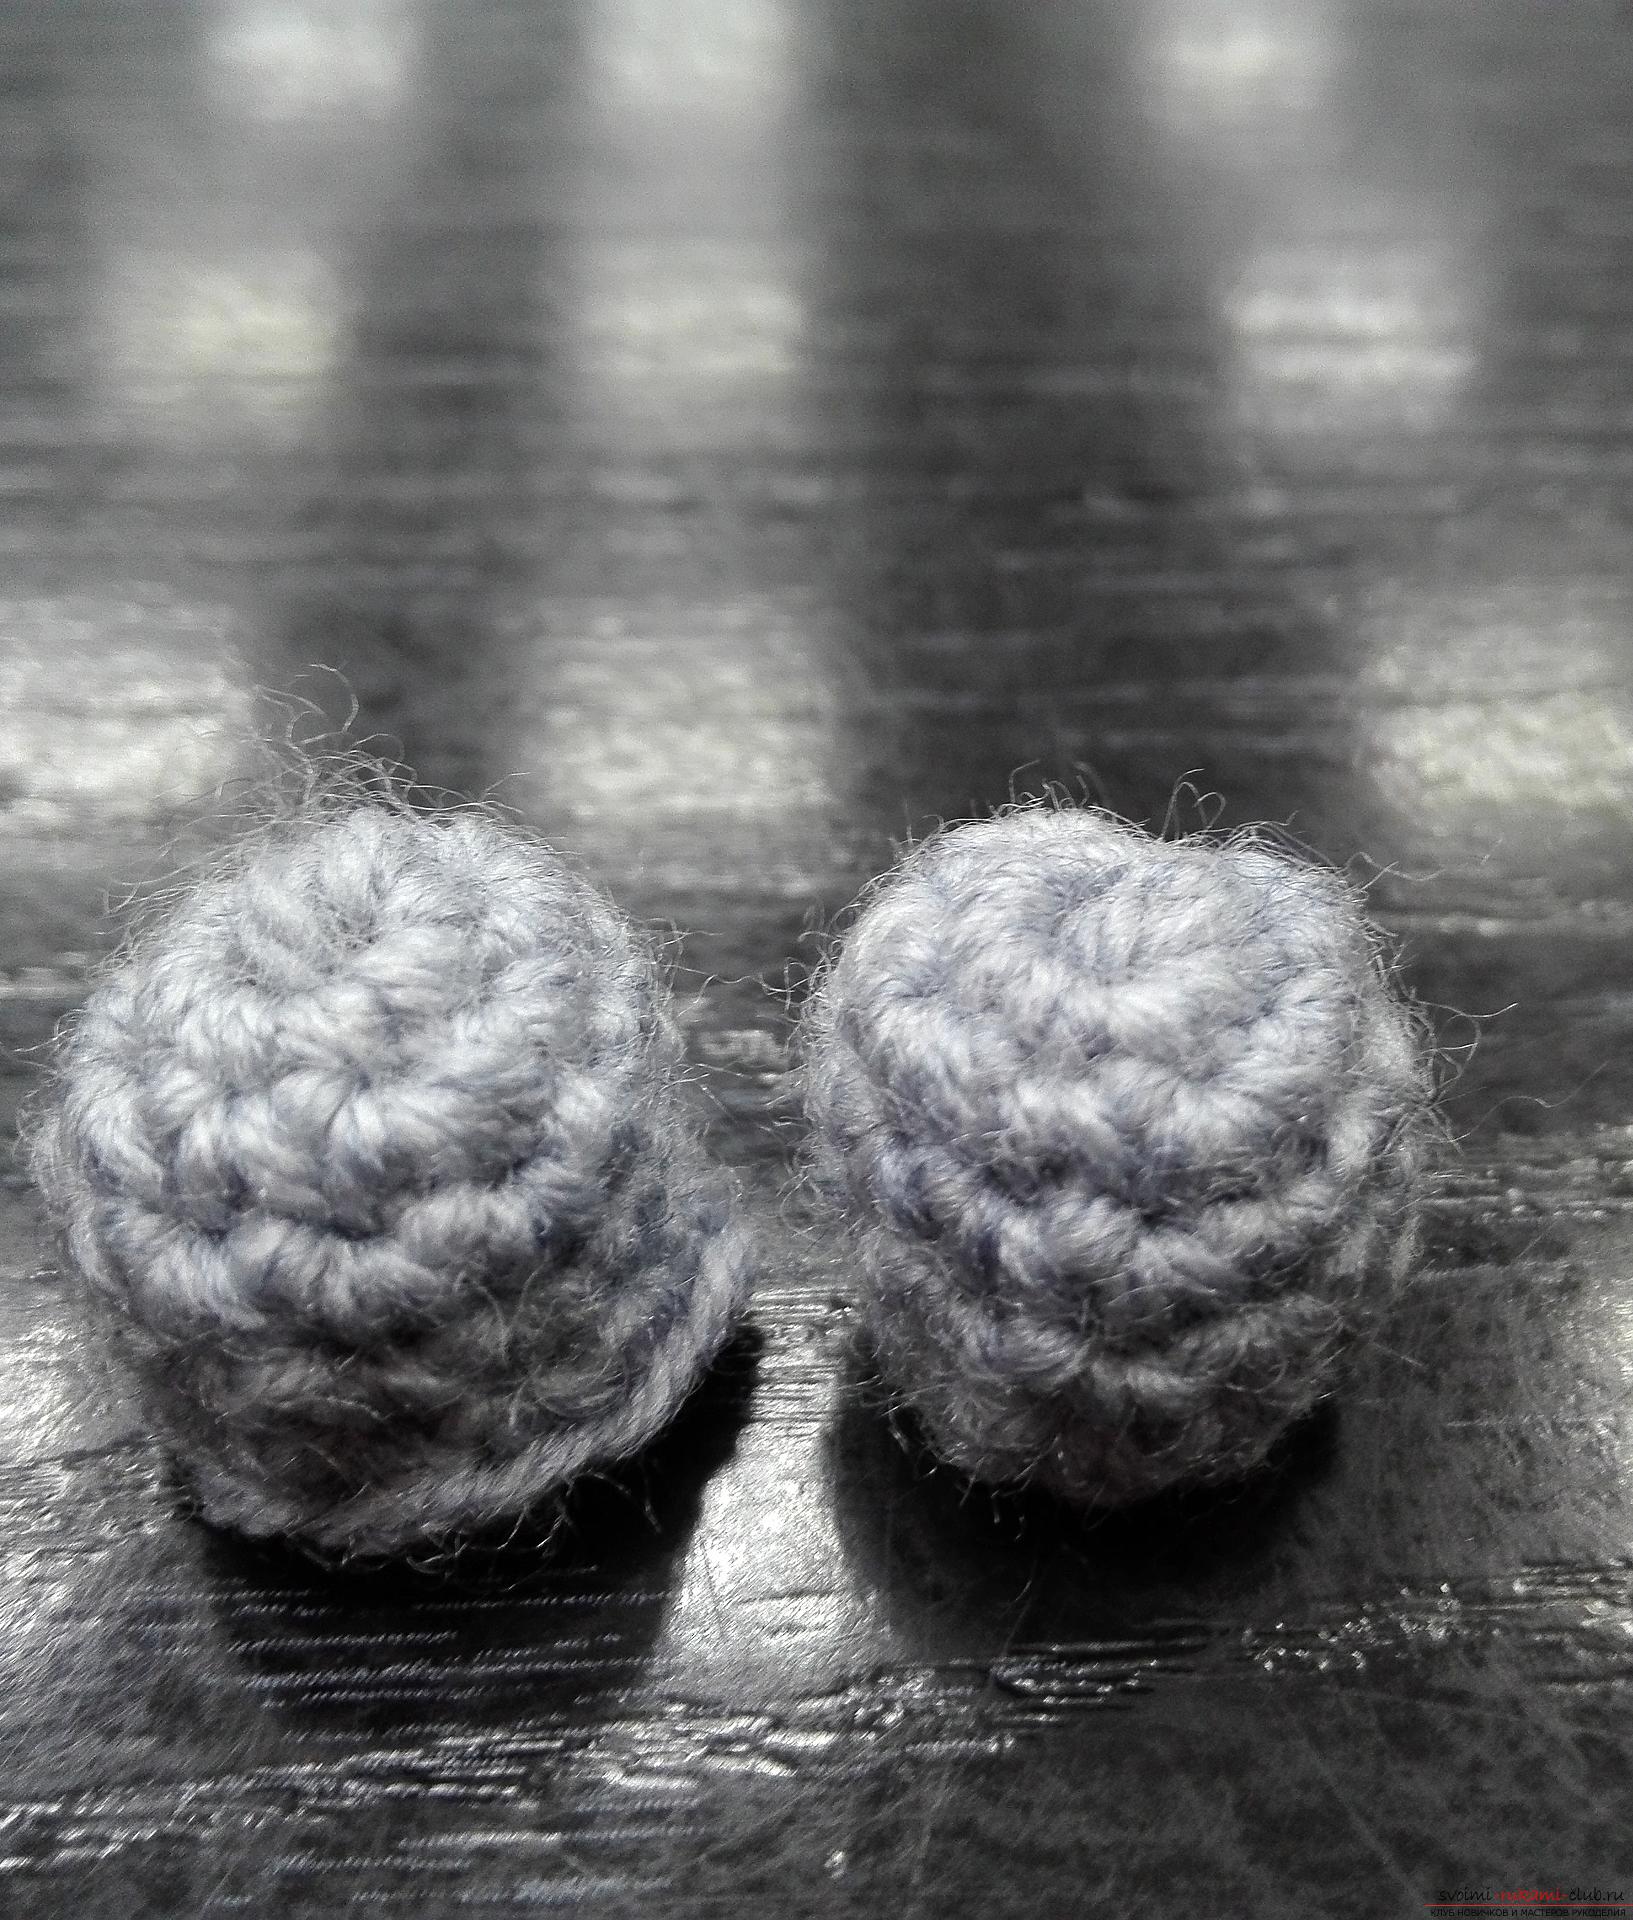 Now we will connect our ears to the four-legged friend. We collect ten air loops. And three rows in a row we knit one table. without n-yes into the loop. So you need to make two ears.
 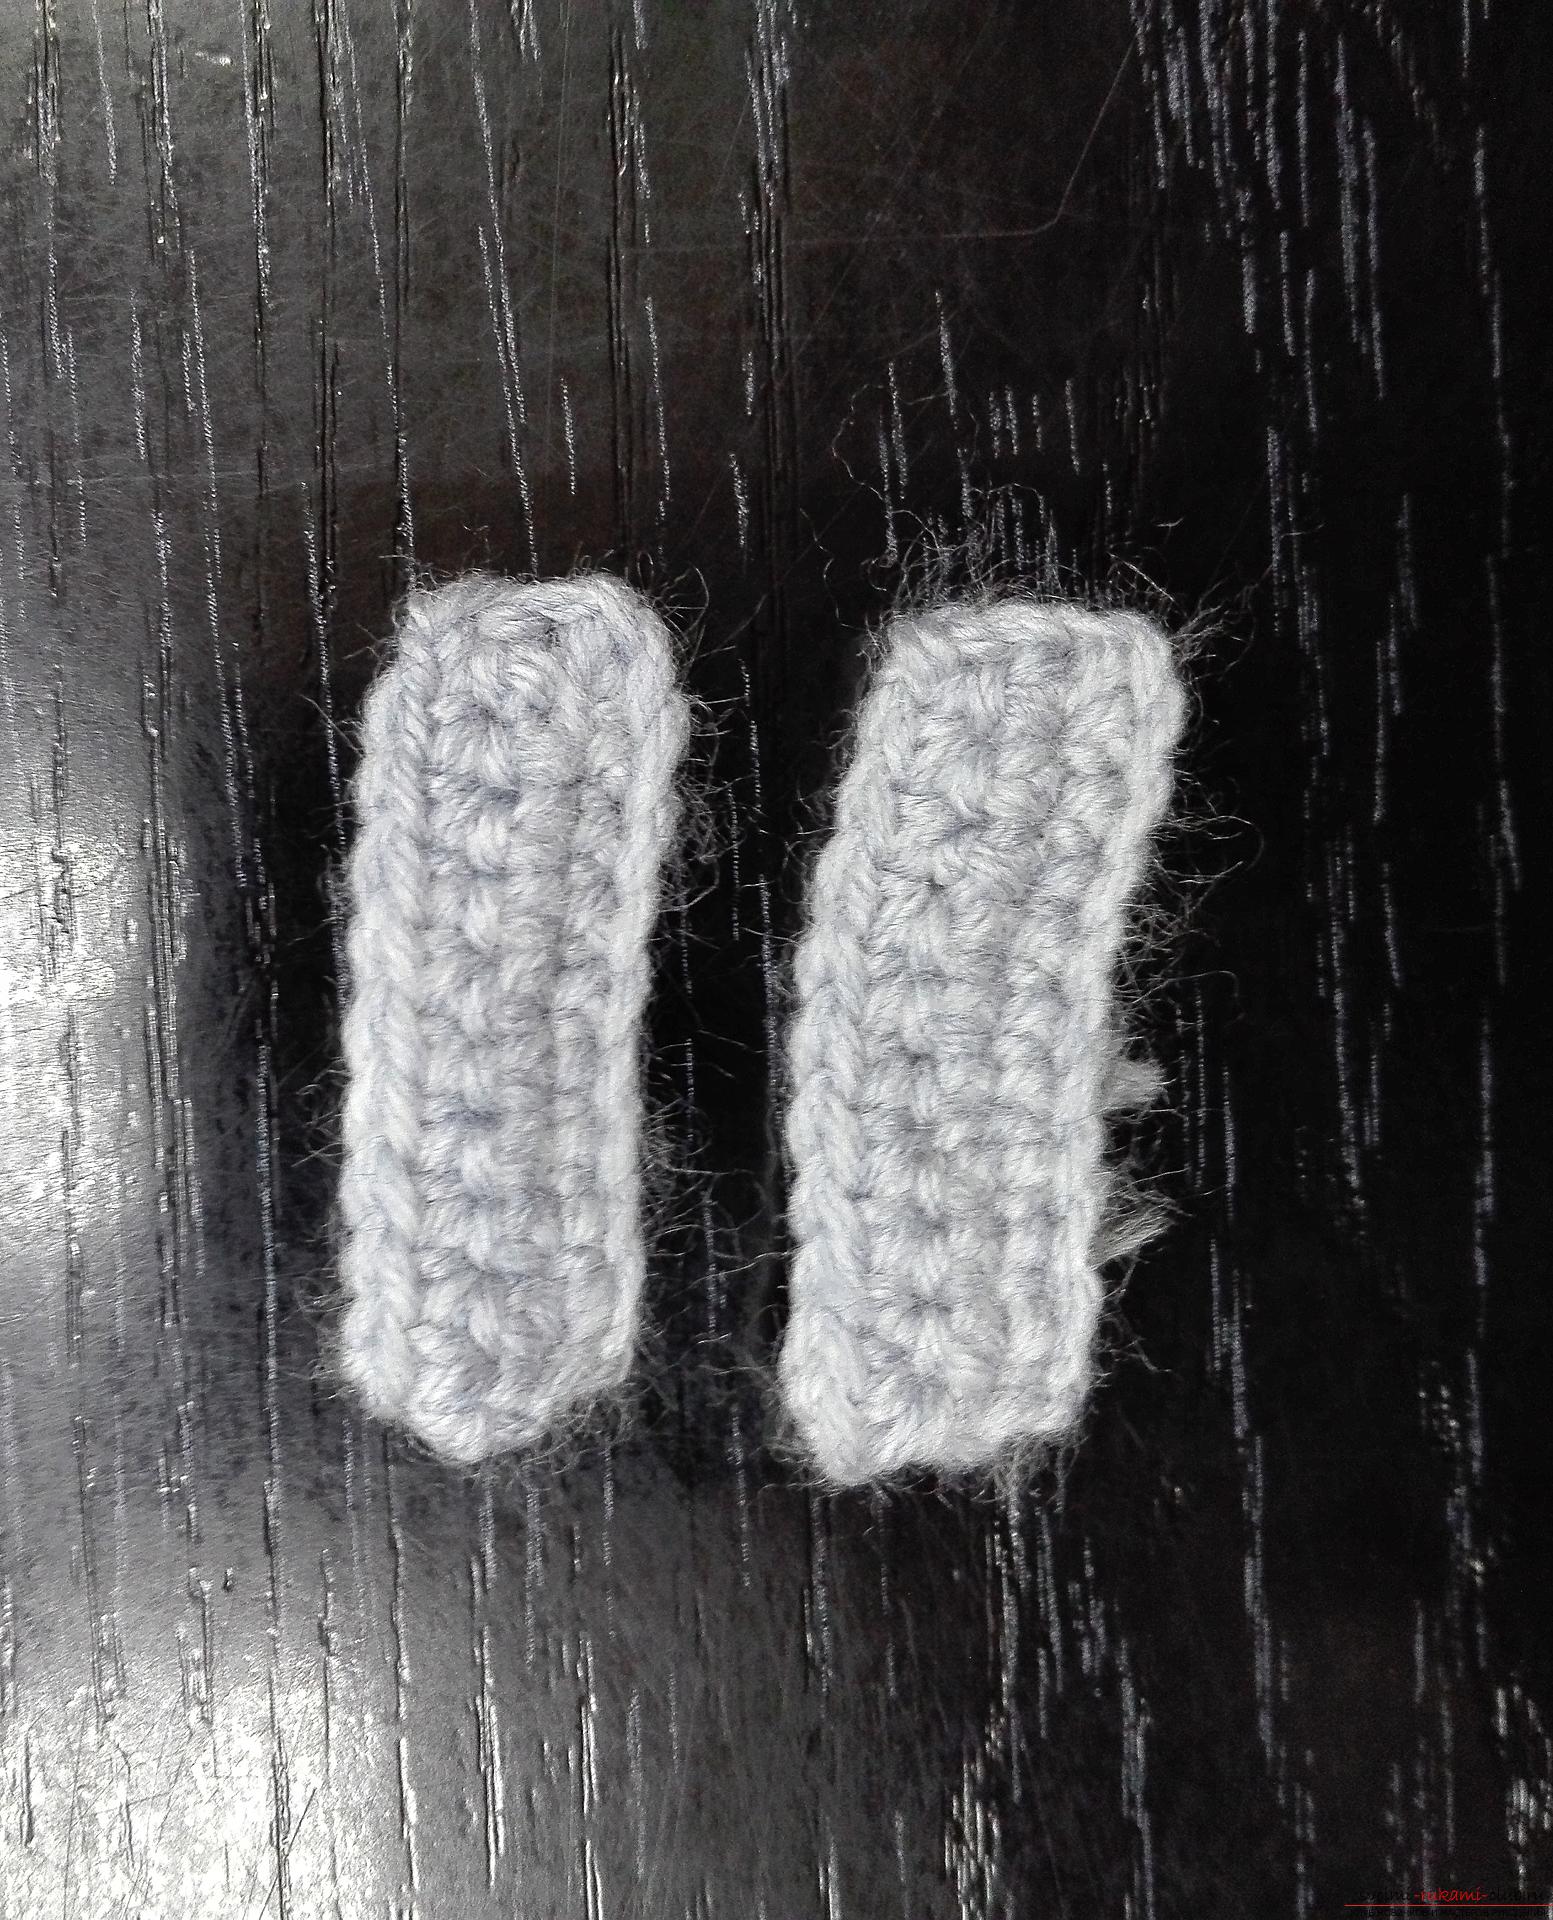 And for mordashki we need to link one morea detail is a spout. We make an eyelet and we tie a six table into it. without n-yes. Then there are two tables. in each loop. Then one bar in the loop, then two, one, two.
 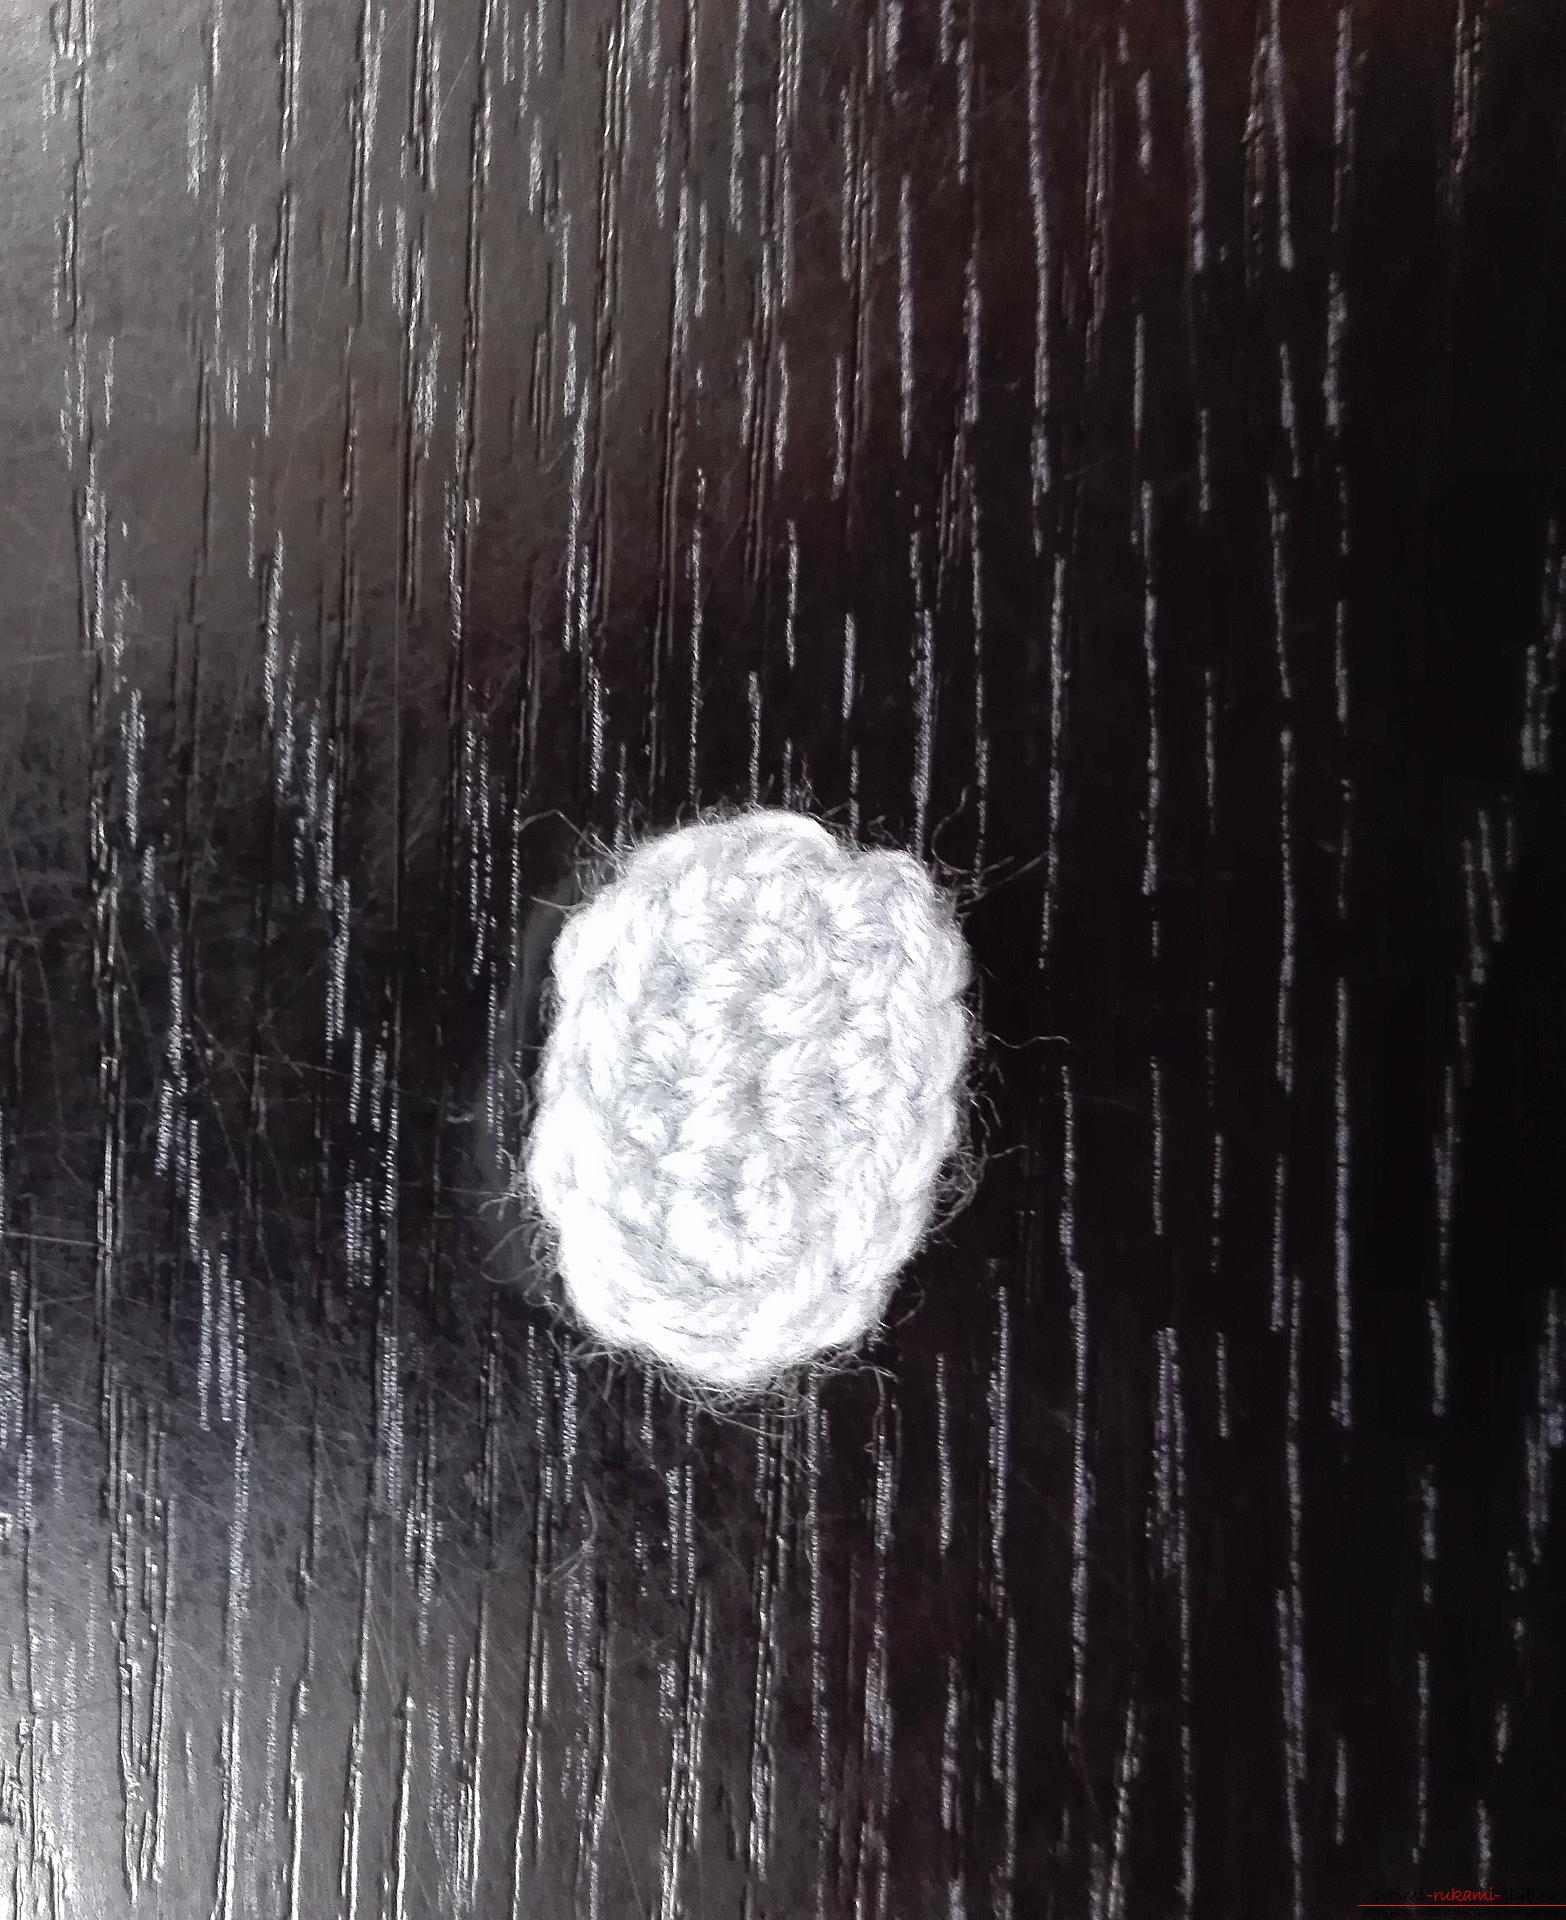 Now that we have all the details of the dog, we start to sew them.
 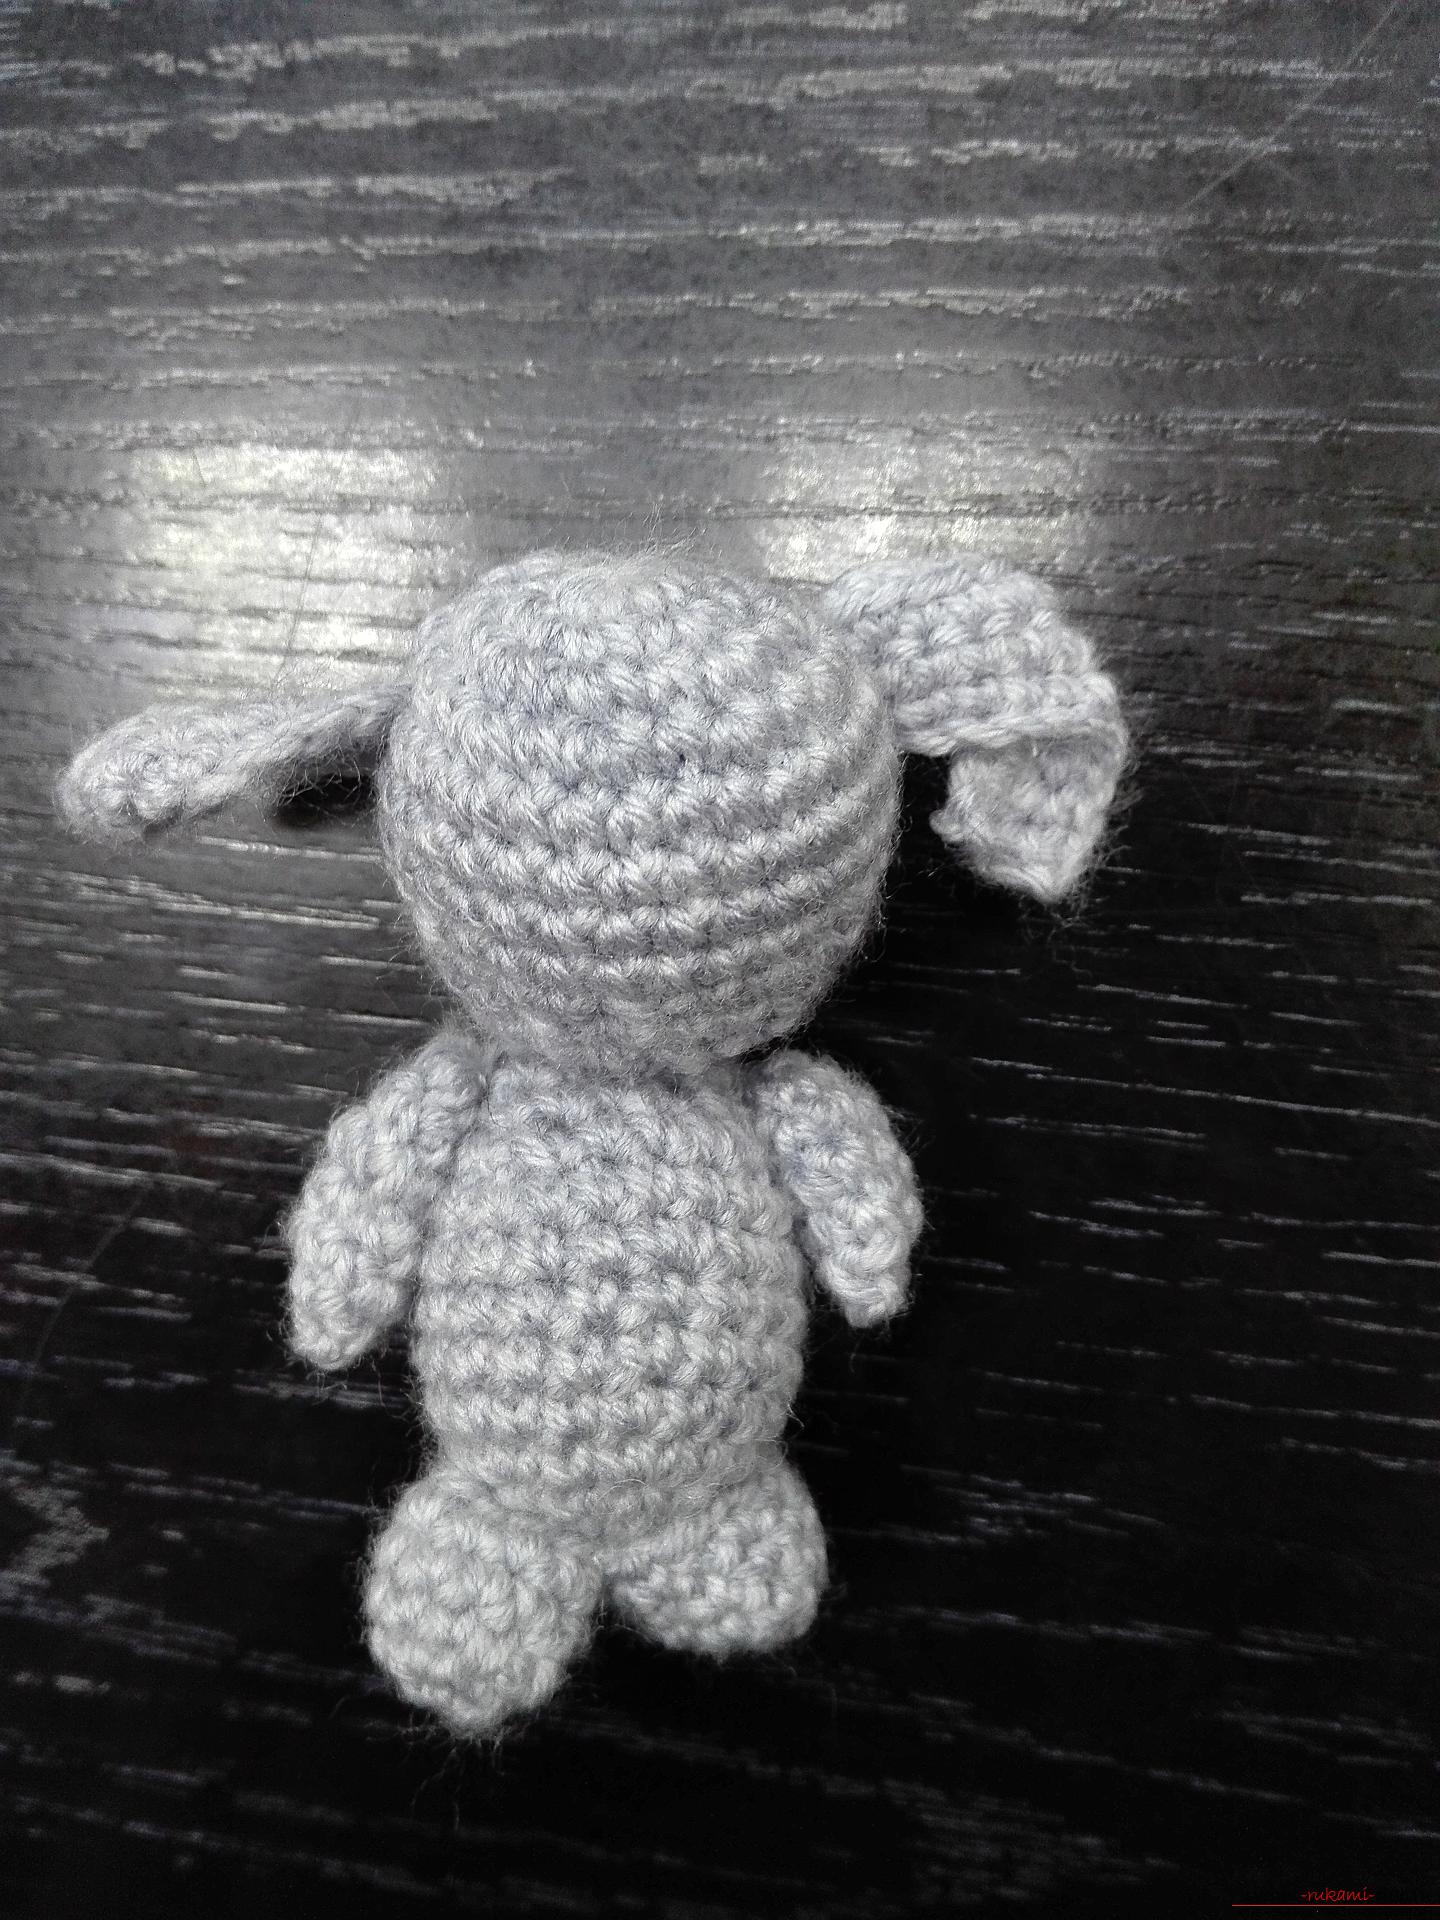 Ears for your doggie can bend, likewant, you can make a lop-eared dog, you can vice versa. For further work, we need a needle and a thread of black color. And we begin to embroider a spout for our pet.
 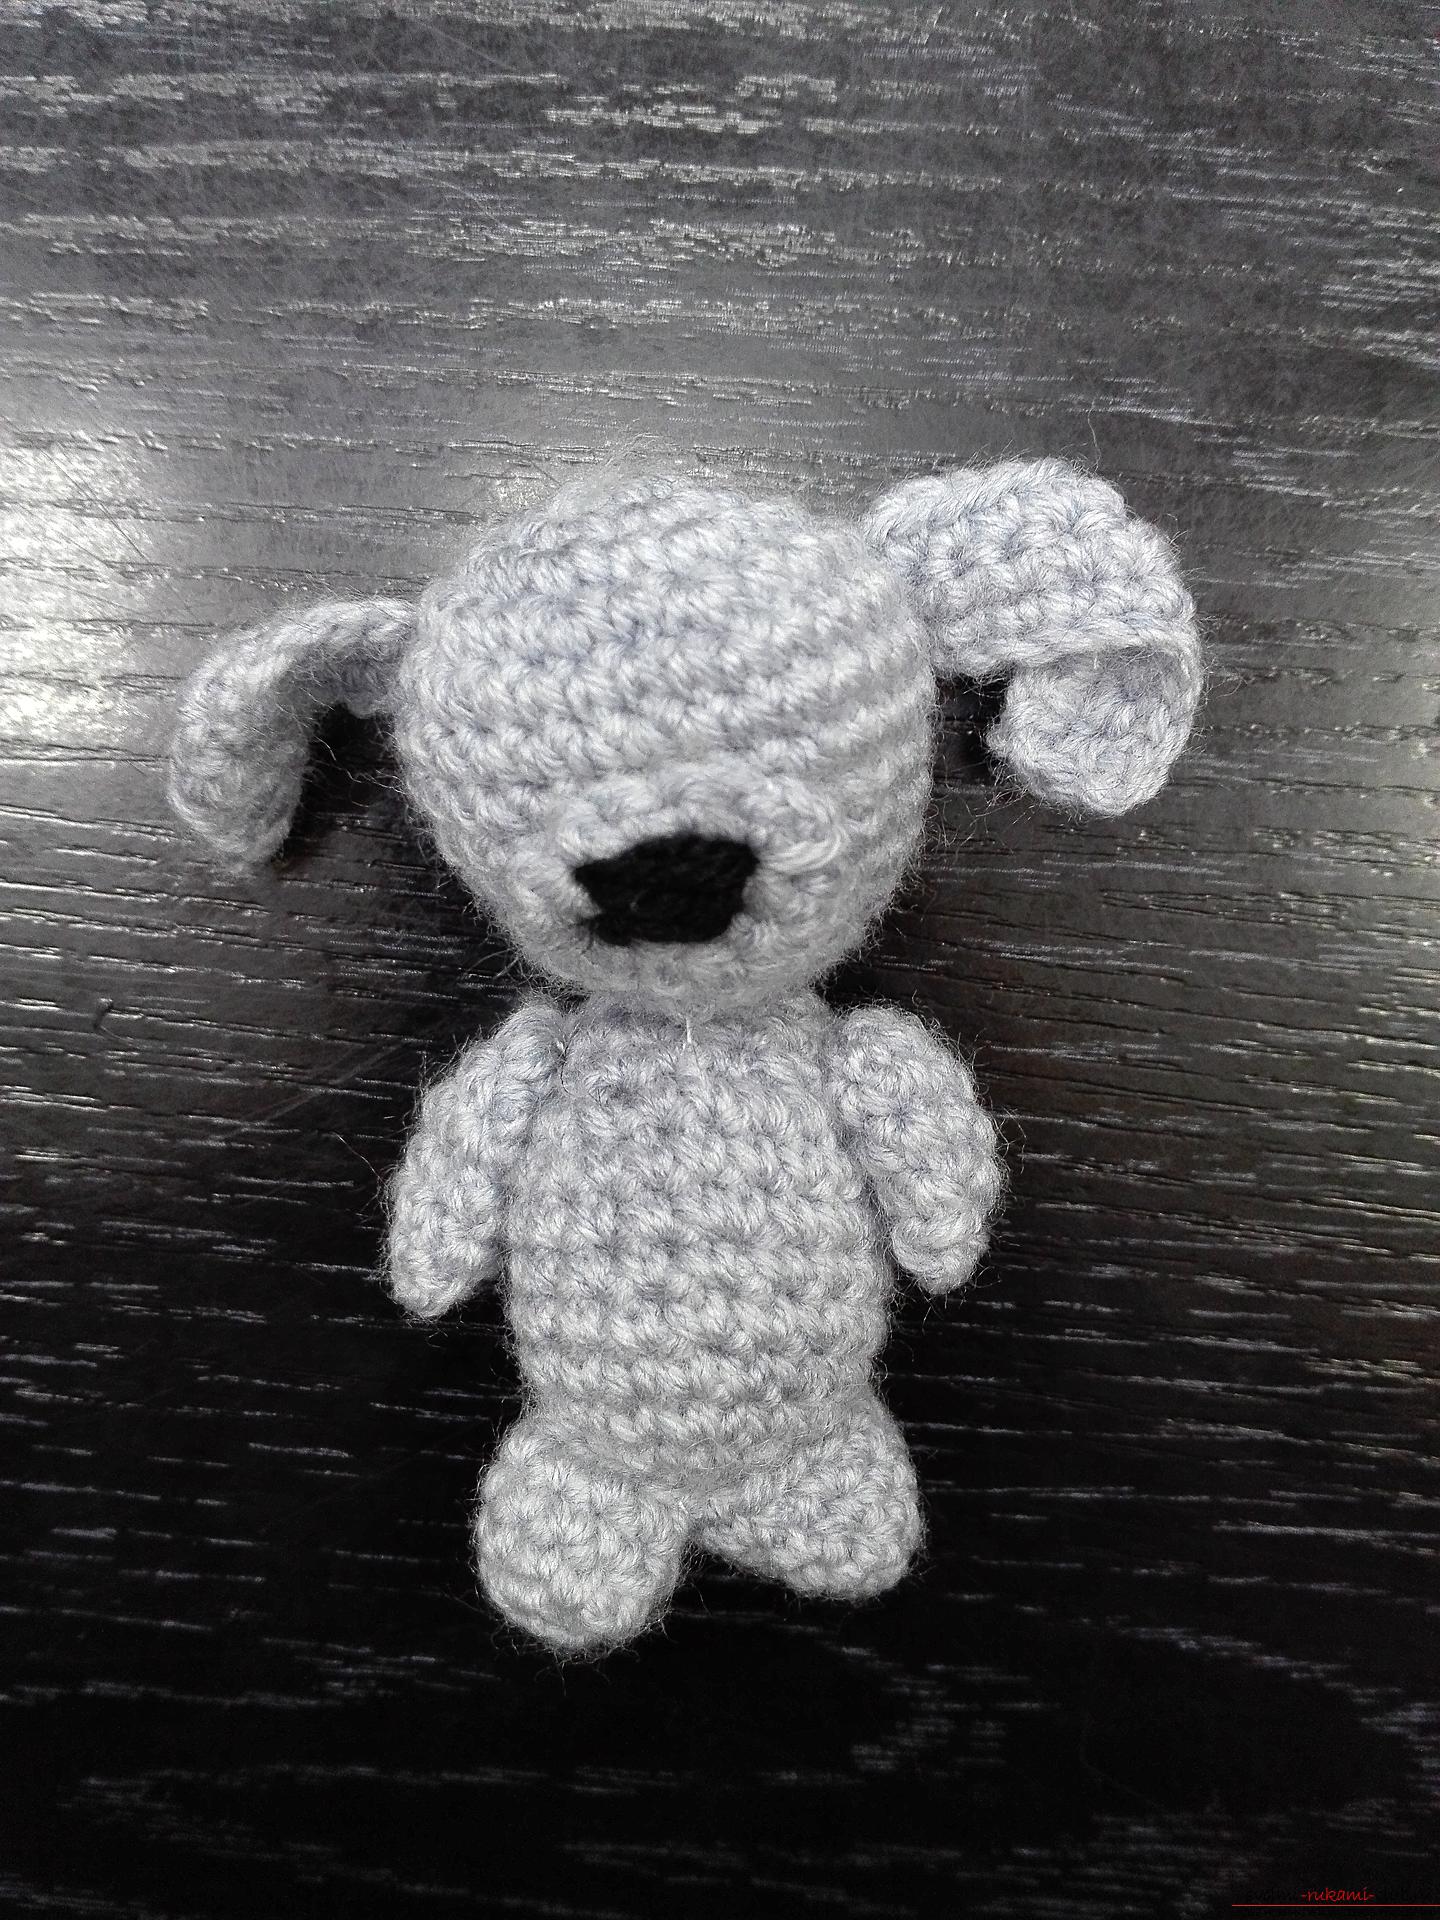 Sew a bead or glue your eyes, looking what you use. And we sew the crooks with threads of black color. That's the sweetest thing we've got.
 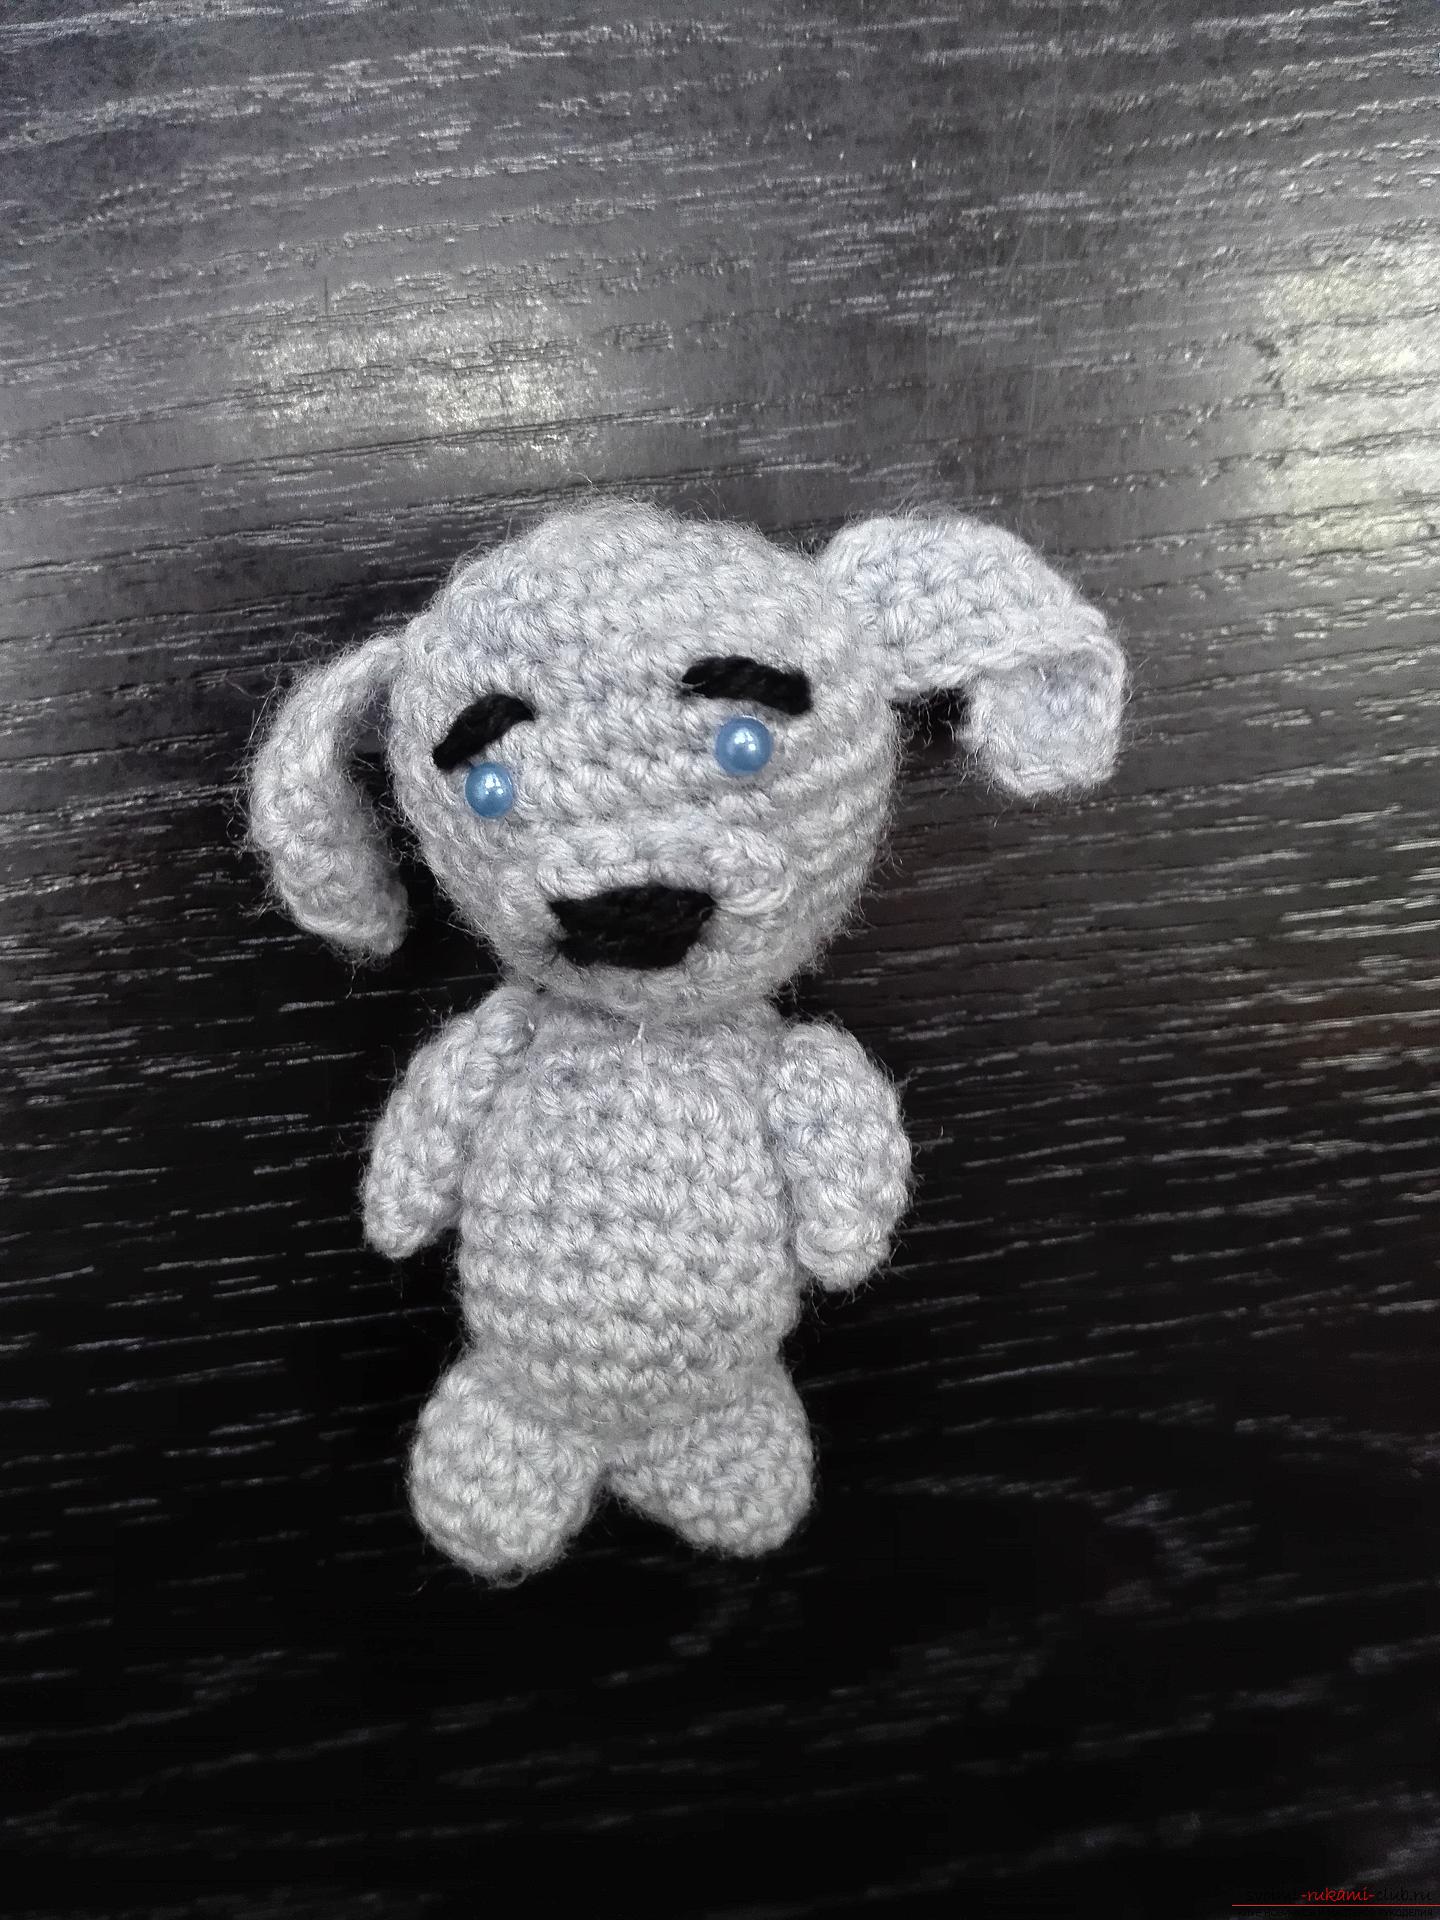 You can present such a souvenir to one of thelovers of dogs or just your friend, to give him a sign of attention and just to please. After all, this is not a simple gift. A gift, associated with your own hands.
Comments
Related posts:
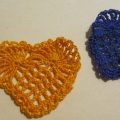 This detailed master class will teach you how to crochet beautiful valentines.
 This detailed master class contains a crochet lesson and will teach you how to bind berries by yourself.
 This master class of soft toys will teach crochet teddy bear Amigurumi
 A detailed master-class with a photo will tell how to tie a set for a girl with a crochet
 This detailed master class with a description and scheme will teach you how to crochet a hat-owl.