This detailed master class contains an origami-dragon scheme from paper, which you can make with your own hands.
 In fact, this origami-dragon scheme ofpaper is quite a difficult figure, especially for beginners, but detailed instructions are attached to each photo, so everyone can make their own dragon by their own hands. Let's get started! First, take a square sheet of paper and fold it in half, connecting the opposite corners of the square.
 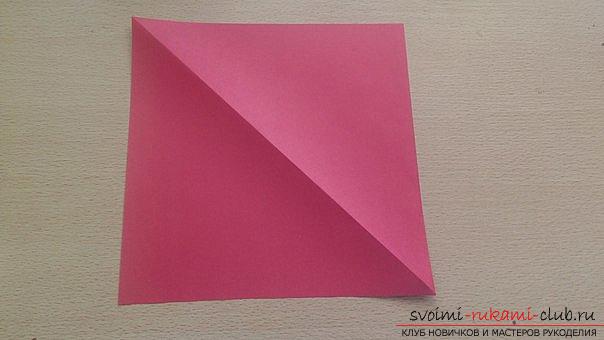 As a result, you must have a triangle in front of you.
  Again fold the sheet in half, connecting the opposite vertices of the triangle.
 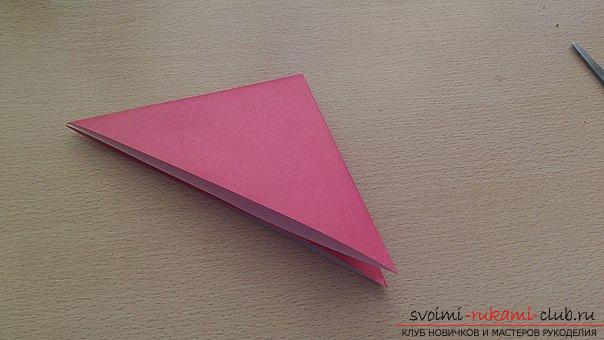 Similarly fold the triangle again.
 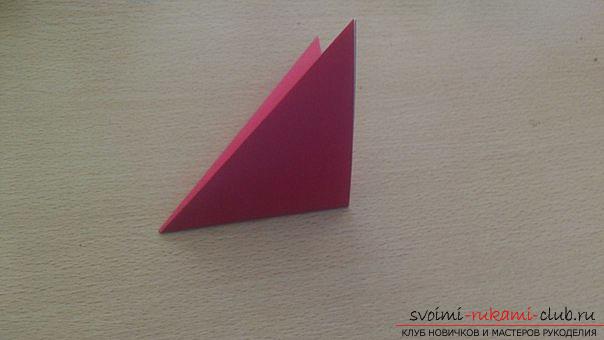 Expand the entire sheet, returning to figure 2. But now this triangle is padded with folds.
 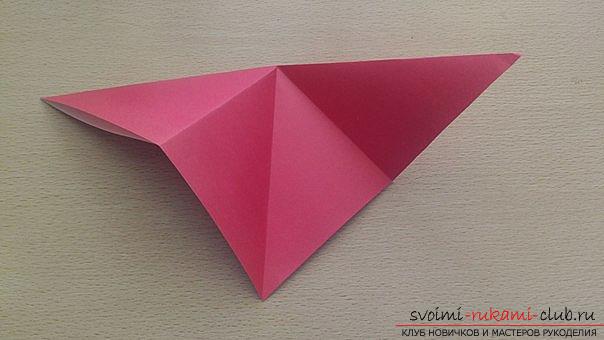 Next, open one triangle.
 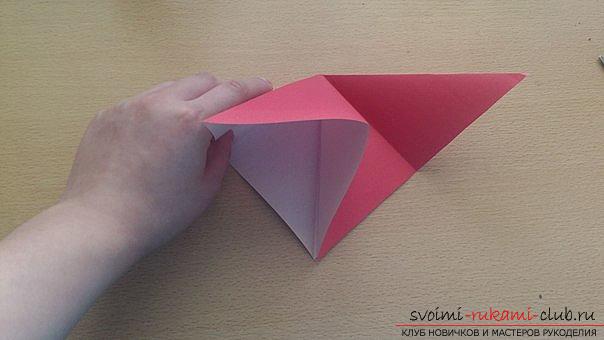 And press it to the center.
 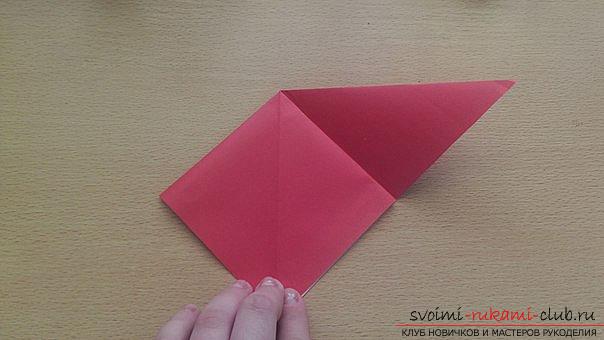 Do the same with the other side. You should get an equilateral rhombus.
 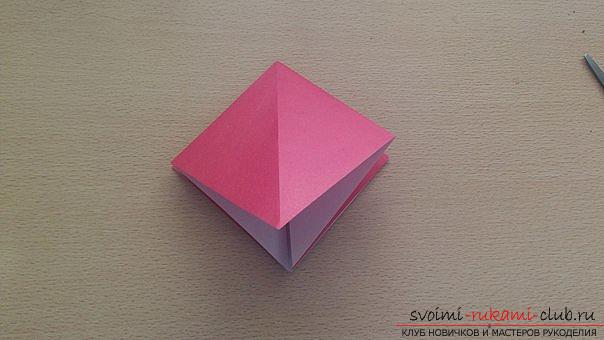 Bend the opposite ends and bring them to the center, as shown in the photo.
 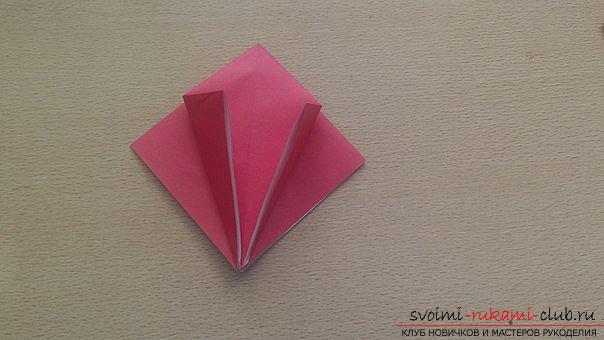 Turn the sheet over and in the same way do the other side.
 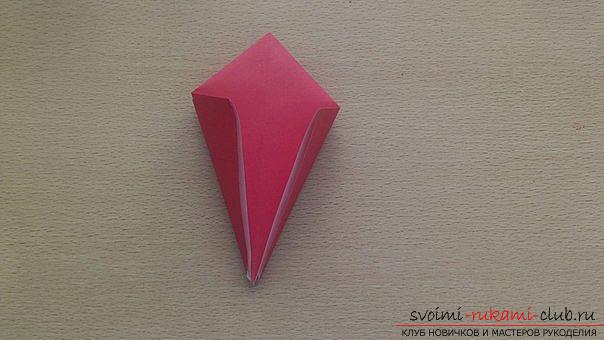 Visually the sheet should look like a "kite". Bend the end of the "kite" so that the top touches the fold line.
 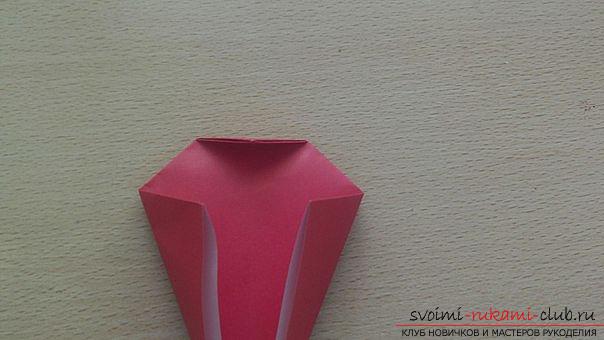 Next, fold the snake along the fold line.
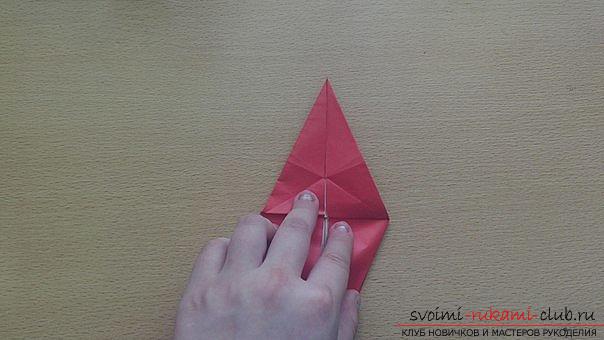
 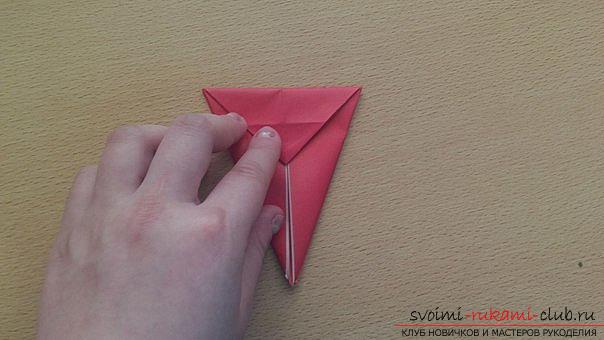 Fully stretch the sheet. Folds must converge with folds in the photo.
 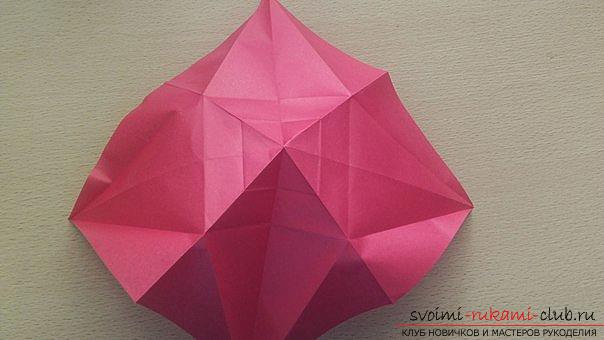 Fold the paper along the planned lines.
 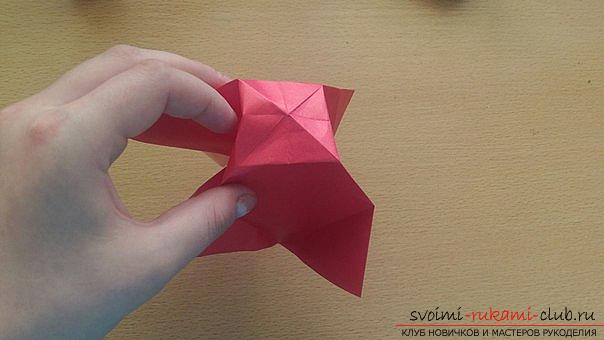 And bend inward.
 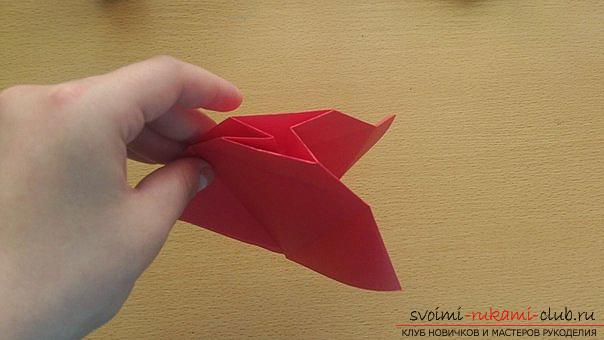 You should get the shape as in the photo.
 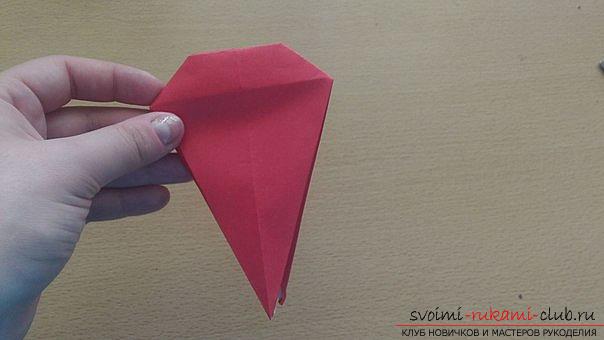 Bend the protruding ends of the top.
 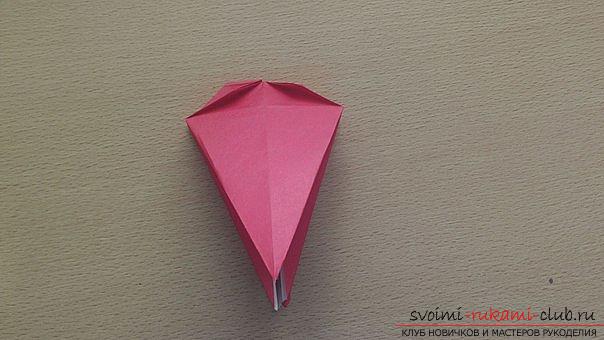 Open the paper.
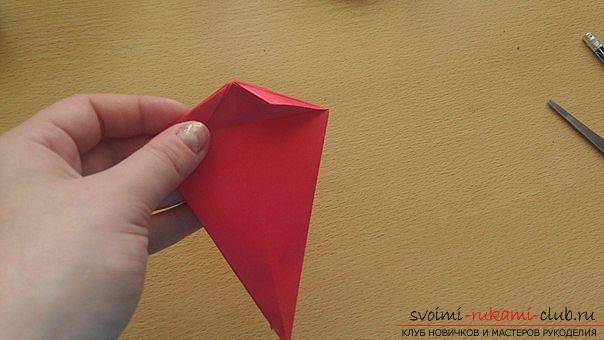
 And straighten the future head and tail of the dragon.
 For the remainder, note the folds.
 On the planned lines.
 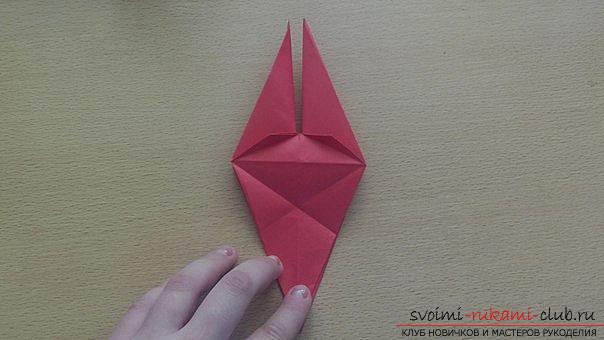 Fold the paper in the photo
 And bend it aside.
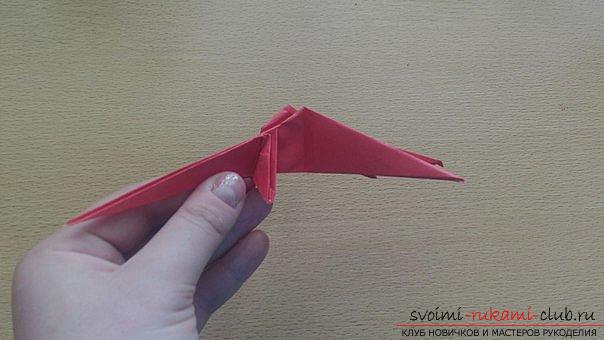
 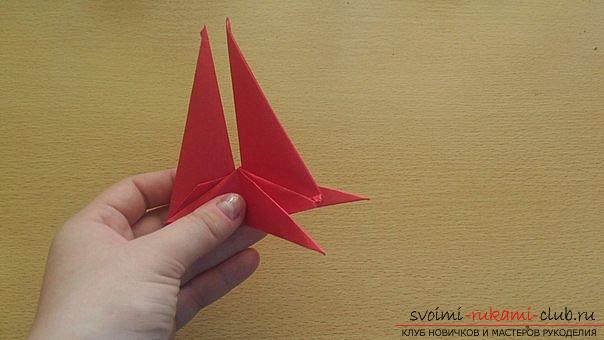 Go back to the workpieces with 20 pictures and bend one of them, opening and ducking inward.
 So do the same with the second.
 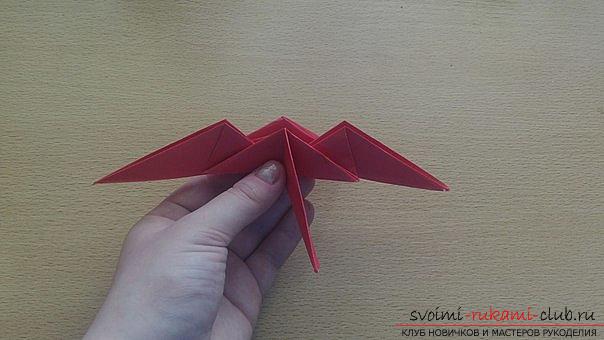 Having opened them.
 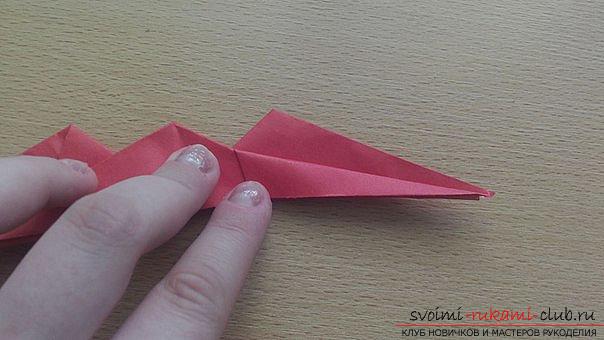 Cover the edges with the central part.
  And straighten one of the sides.
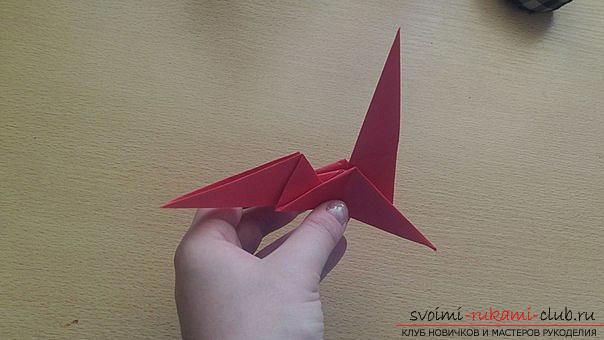
 Point her up, it will be your head.
 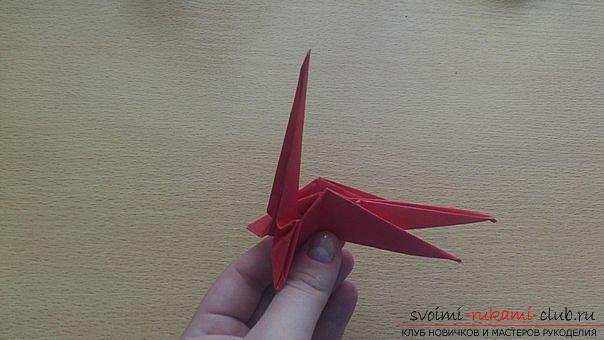 Fold the tip.
  And put her inside.
  Now turn to the wings. Bend them symmetrically on each side.
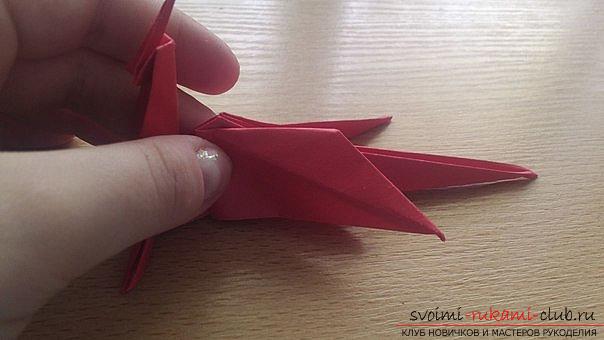
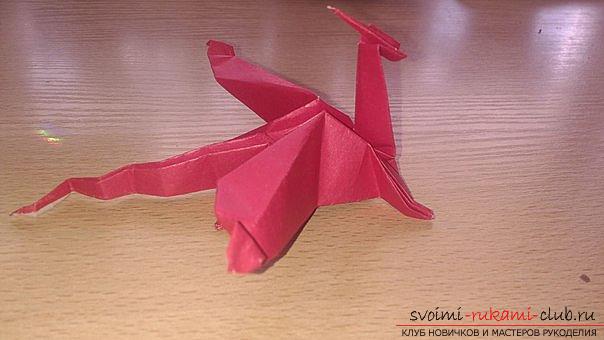
 And finally, the tail. Fold it in a zigzag.
  You can add charm to the wings, bending their tips.
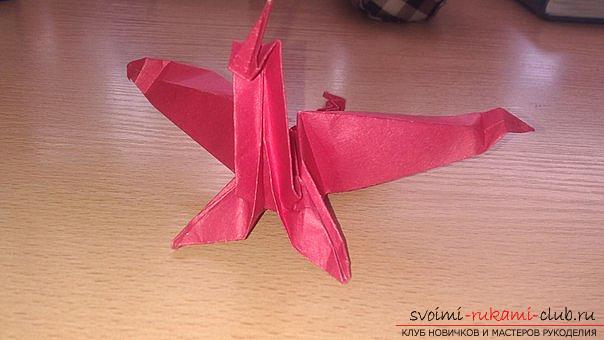
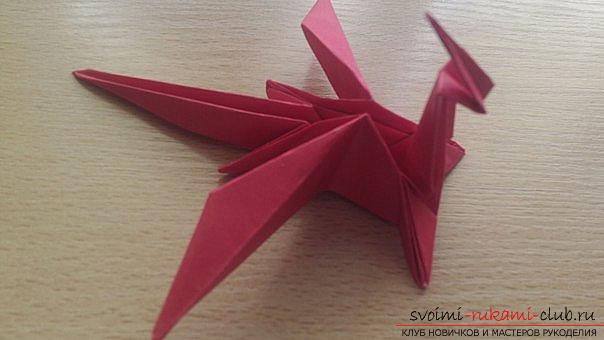
  That's all, your own dragon of paper is ready!
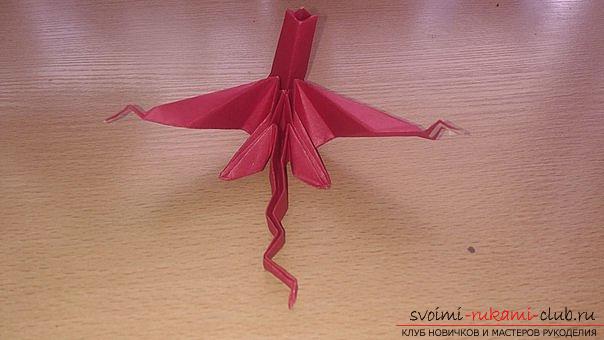
Comments
Related posts:
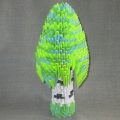 This detailed master-class modular origami with step-by-step photos contains a scheme for assembling birch from paper.
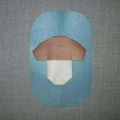 This detailed workshop of origami for children of 8 years will teach how to make an origami-mushroom from paper.
 This detailed master class with a photo and description will teach you how to make origami for beginners - an origami-crown made of paper.
 This master class with photos will teach you how to make a house of paper with your own hands.
 This master class will tell you how to make a modular origami from paper - a ladybug.