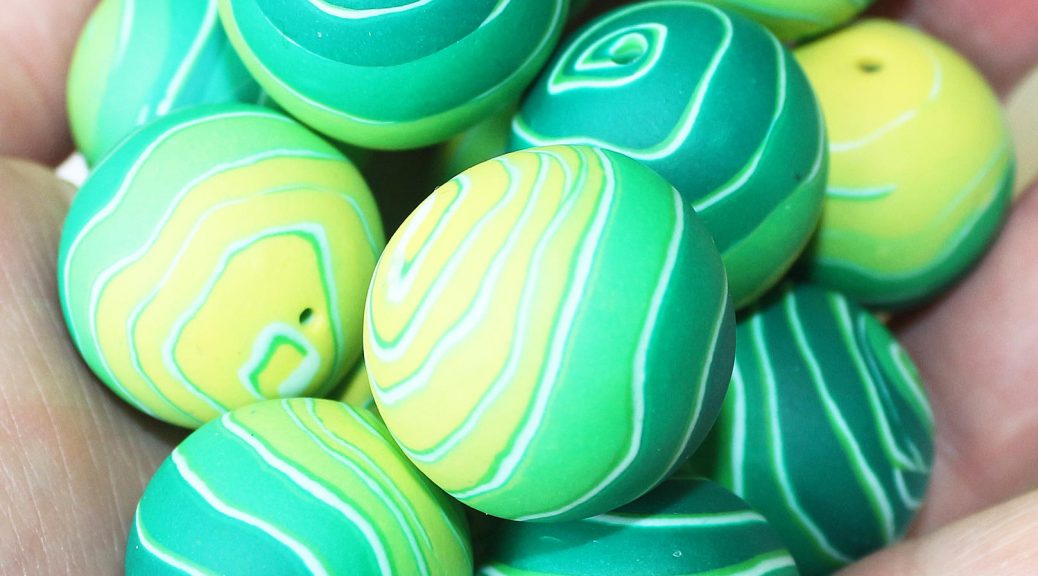
This detailed master class contains techniques for working with polymer clay and will teach how to create beads from polymer clay.
 To create beads of polymer clay with the help ofauthoring techniques for working with polymer clay will require: - Polymer clay of four matching colors (for example: yellow, green, emerald and white) - Roller or paste machine - Blade or stationery knife - Toothpicks - Foil - Weed plastic (remains of multicolored unnecessary plastics) Any form (cutter) - Gloves on request
  We knead the yellow and emerald plastic, we form a semblance of triangles, add them as shown in the picture.
 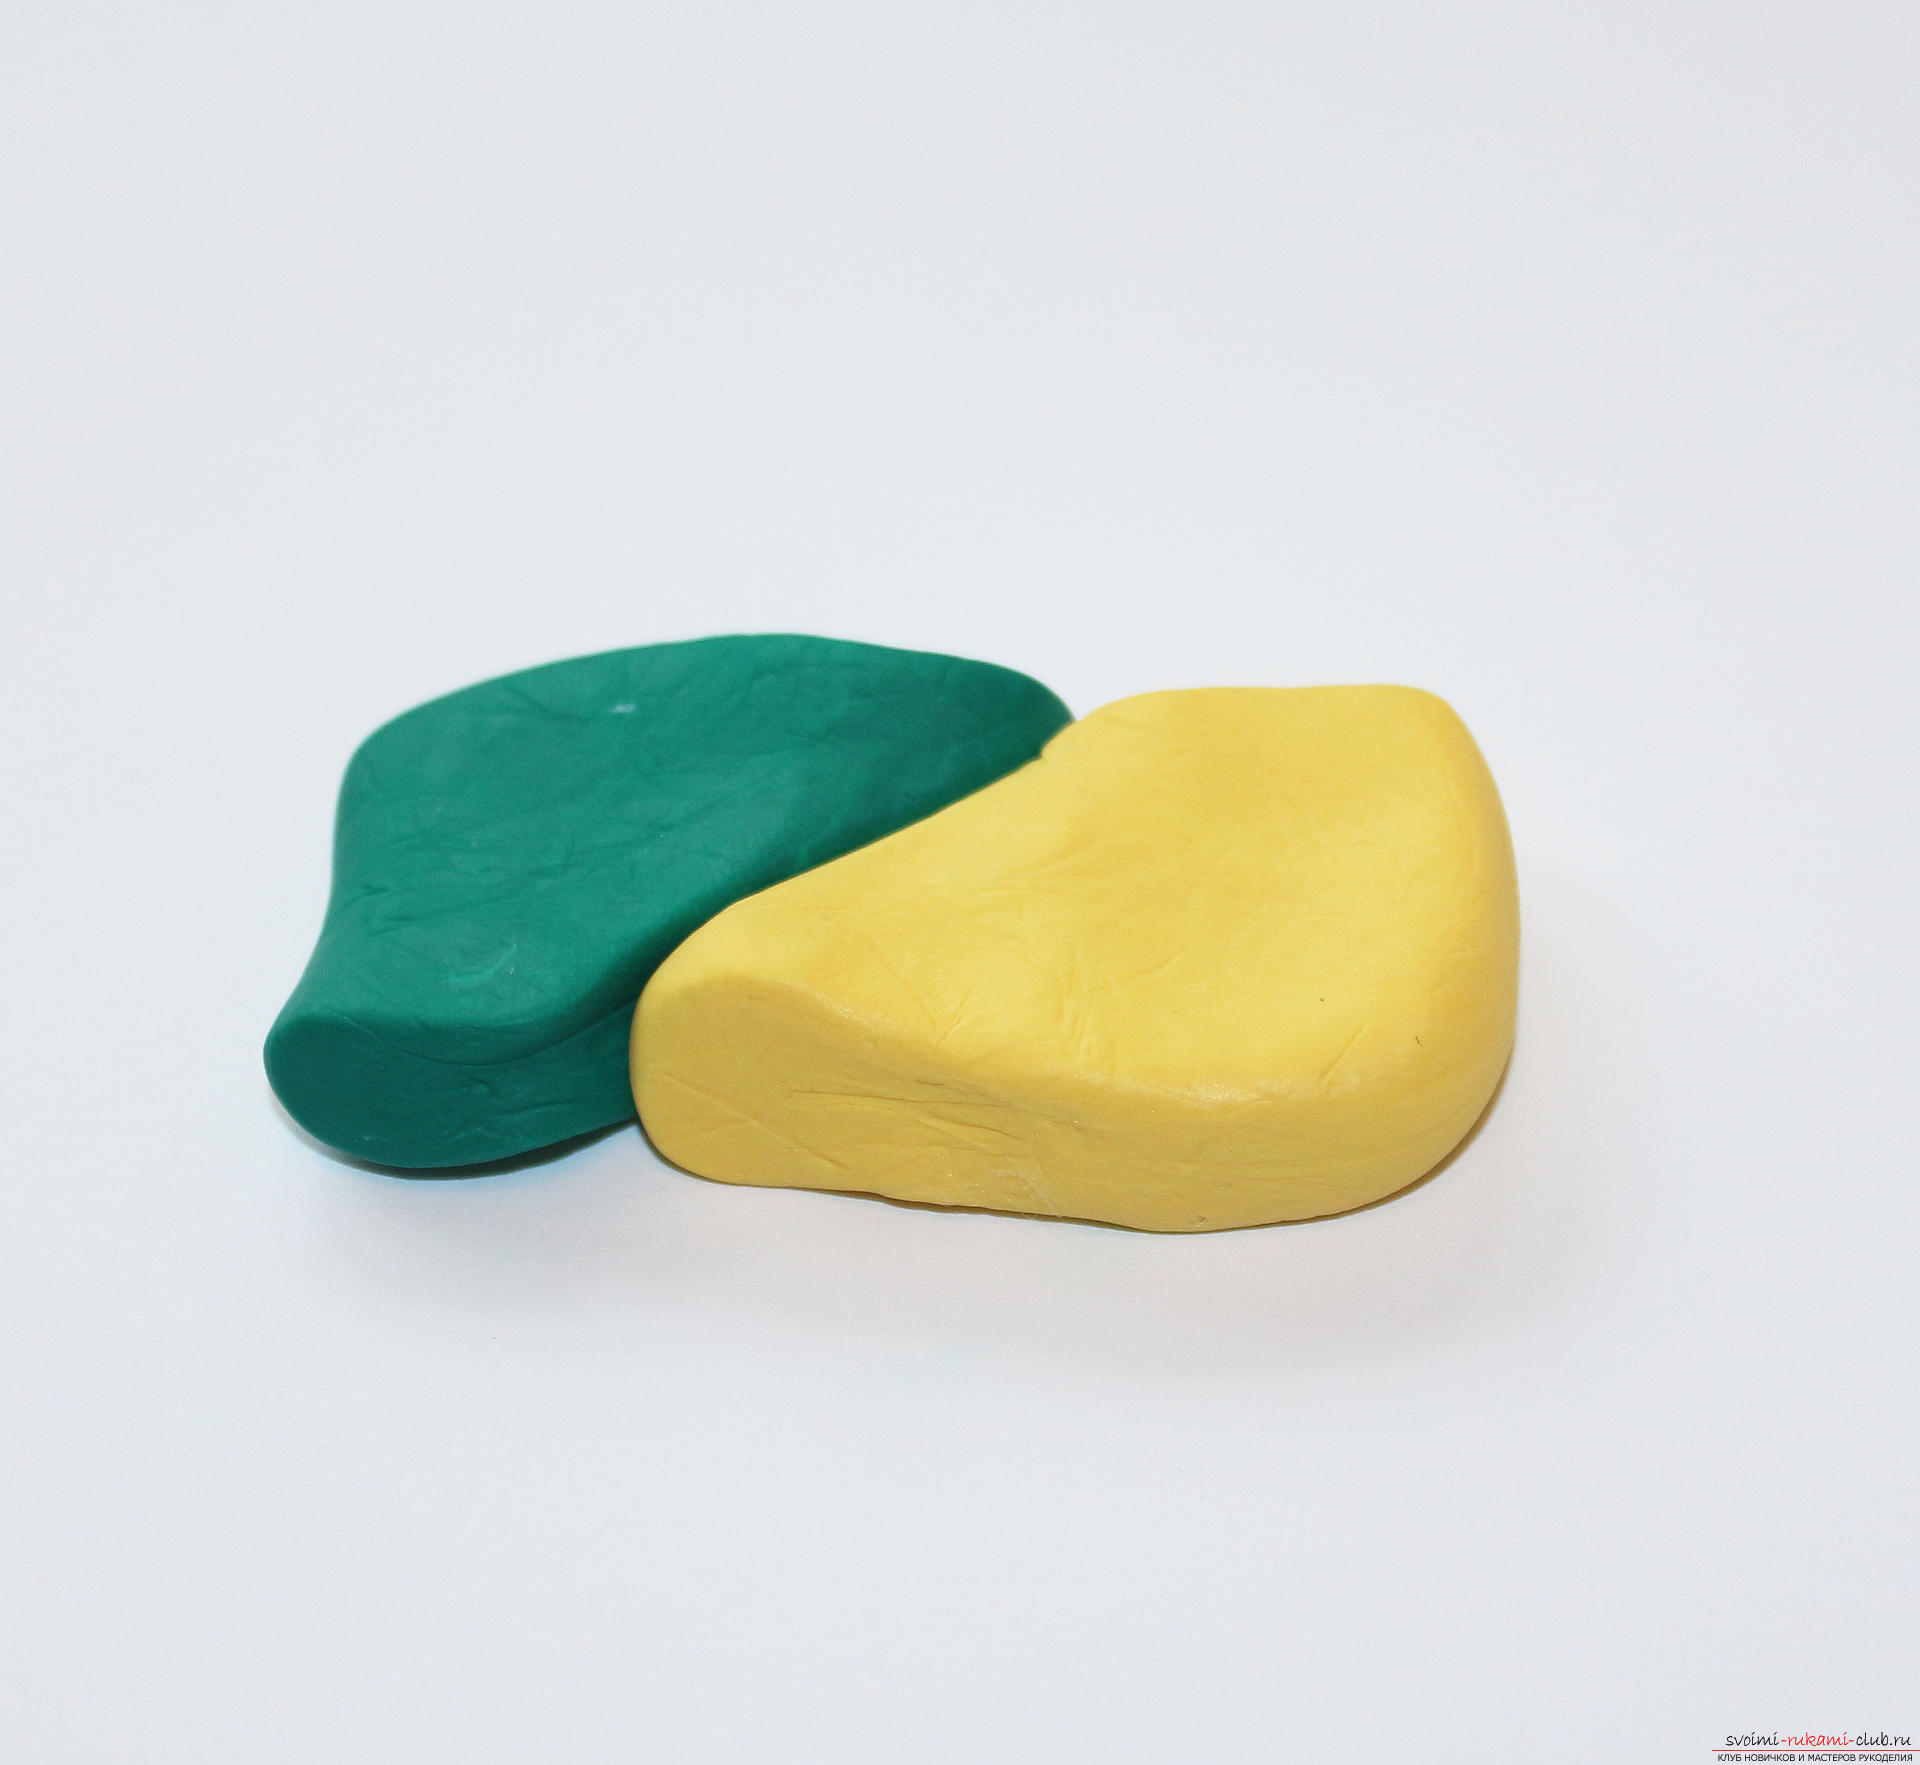 The blade is cut across the resulting formation in such a wayso that at the edges there are pieces of pure color, and in the center were pieces with different proportions of yellow and emerald. This is the preparatory stage for creating a gradient (smooth) color transition.
 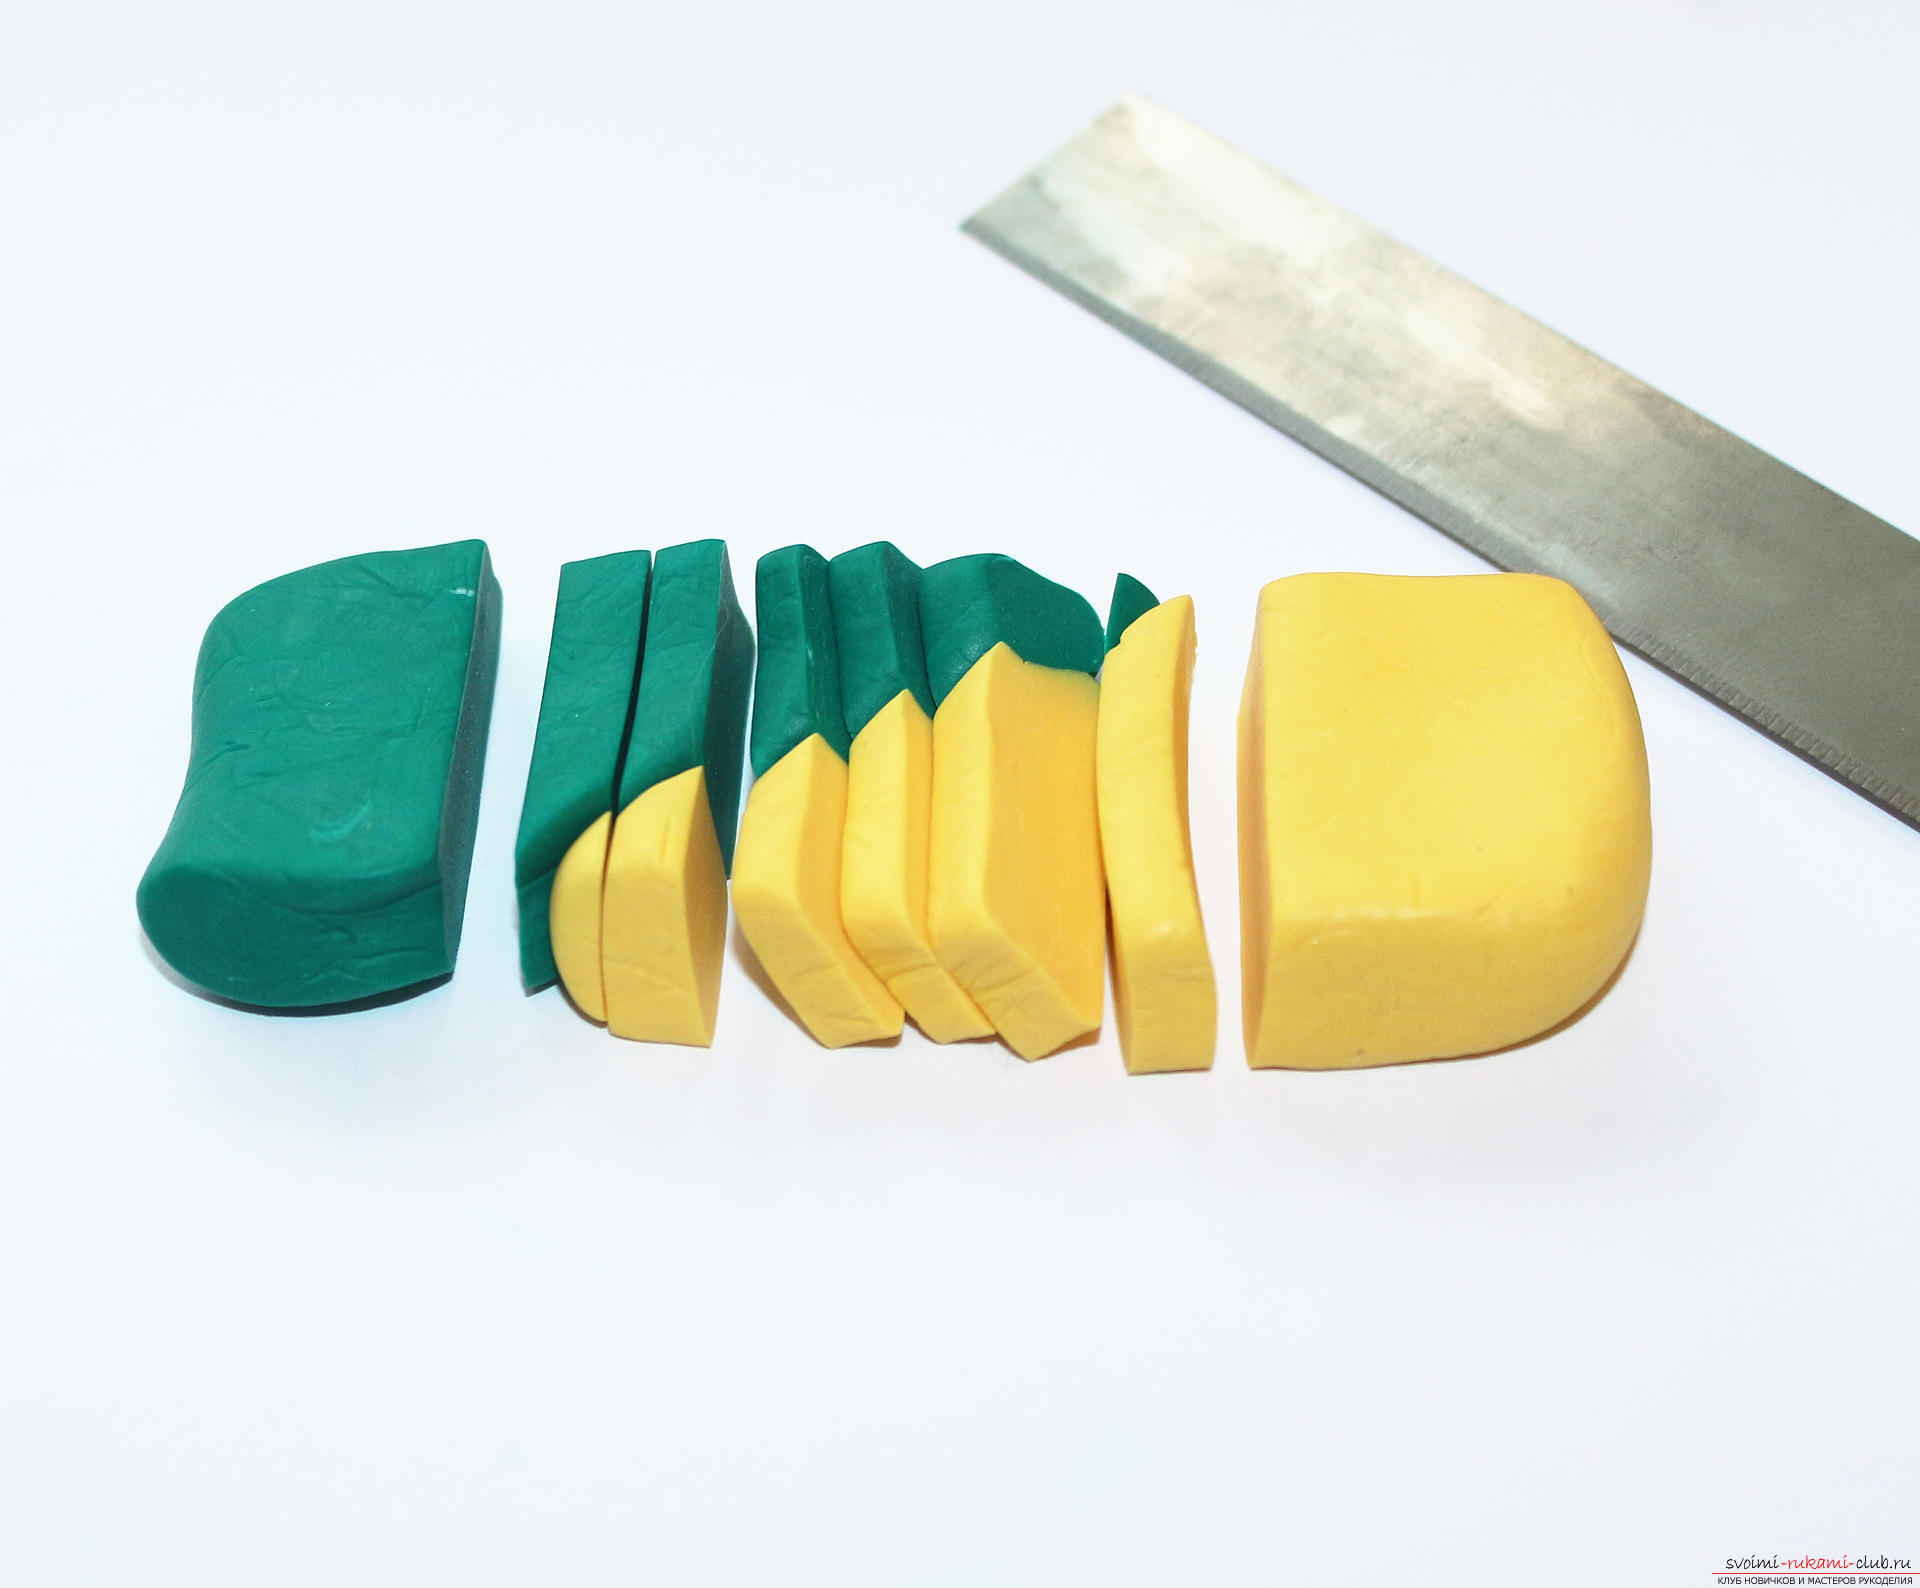 Carefully mix all the bicolor pieces and spread them back in the same sequence as they were lying. It turned out a kind of palette with the transition from emerald to green.
 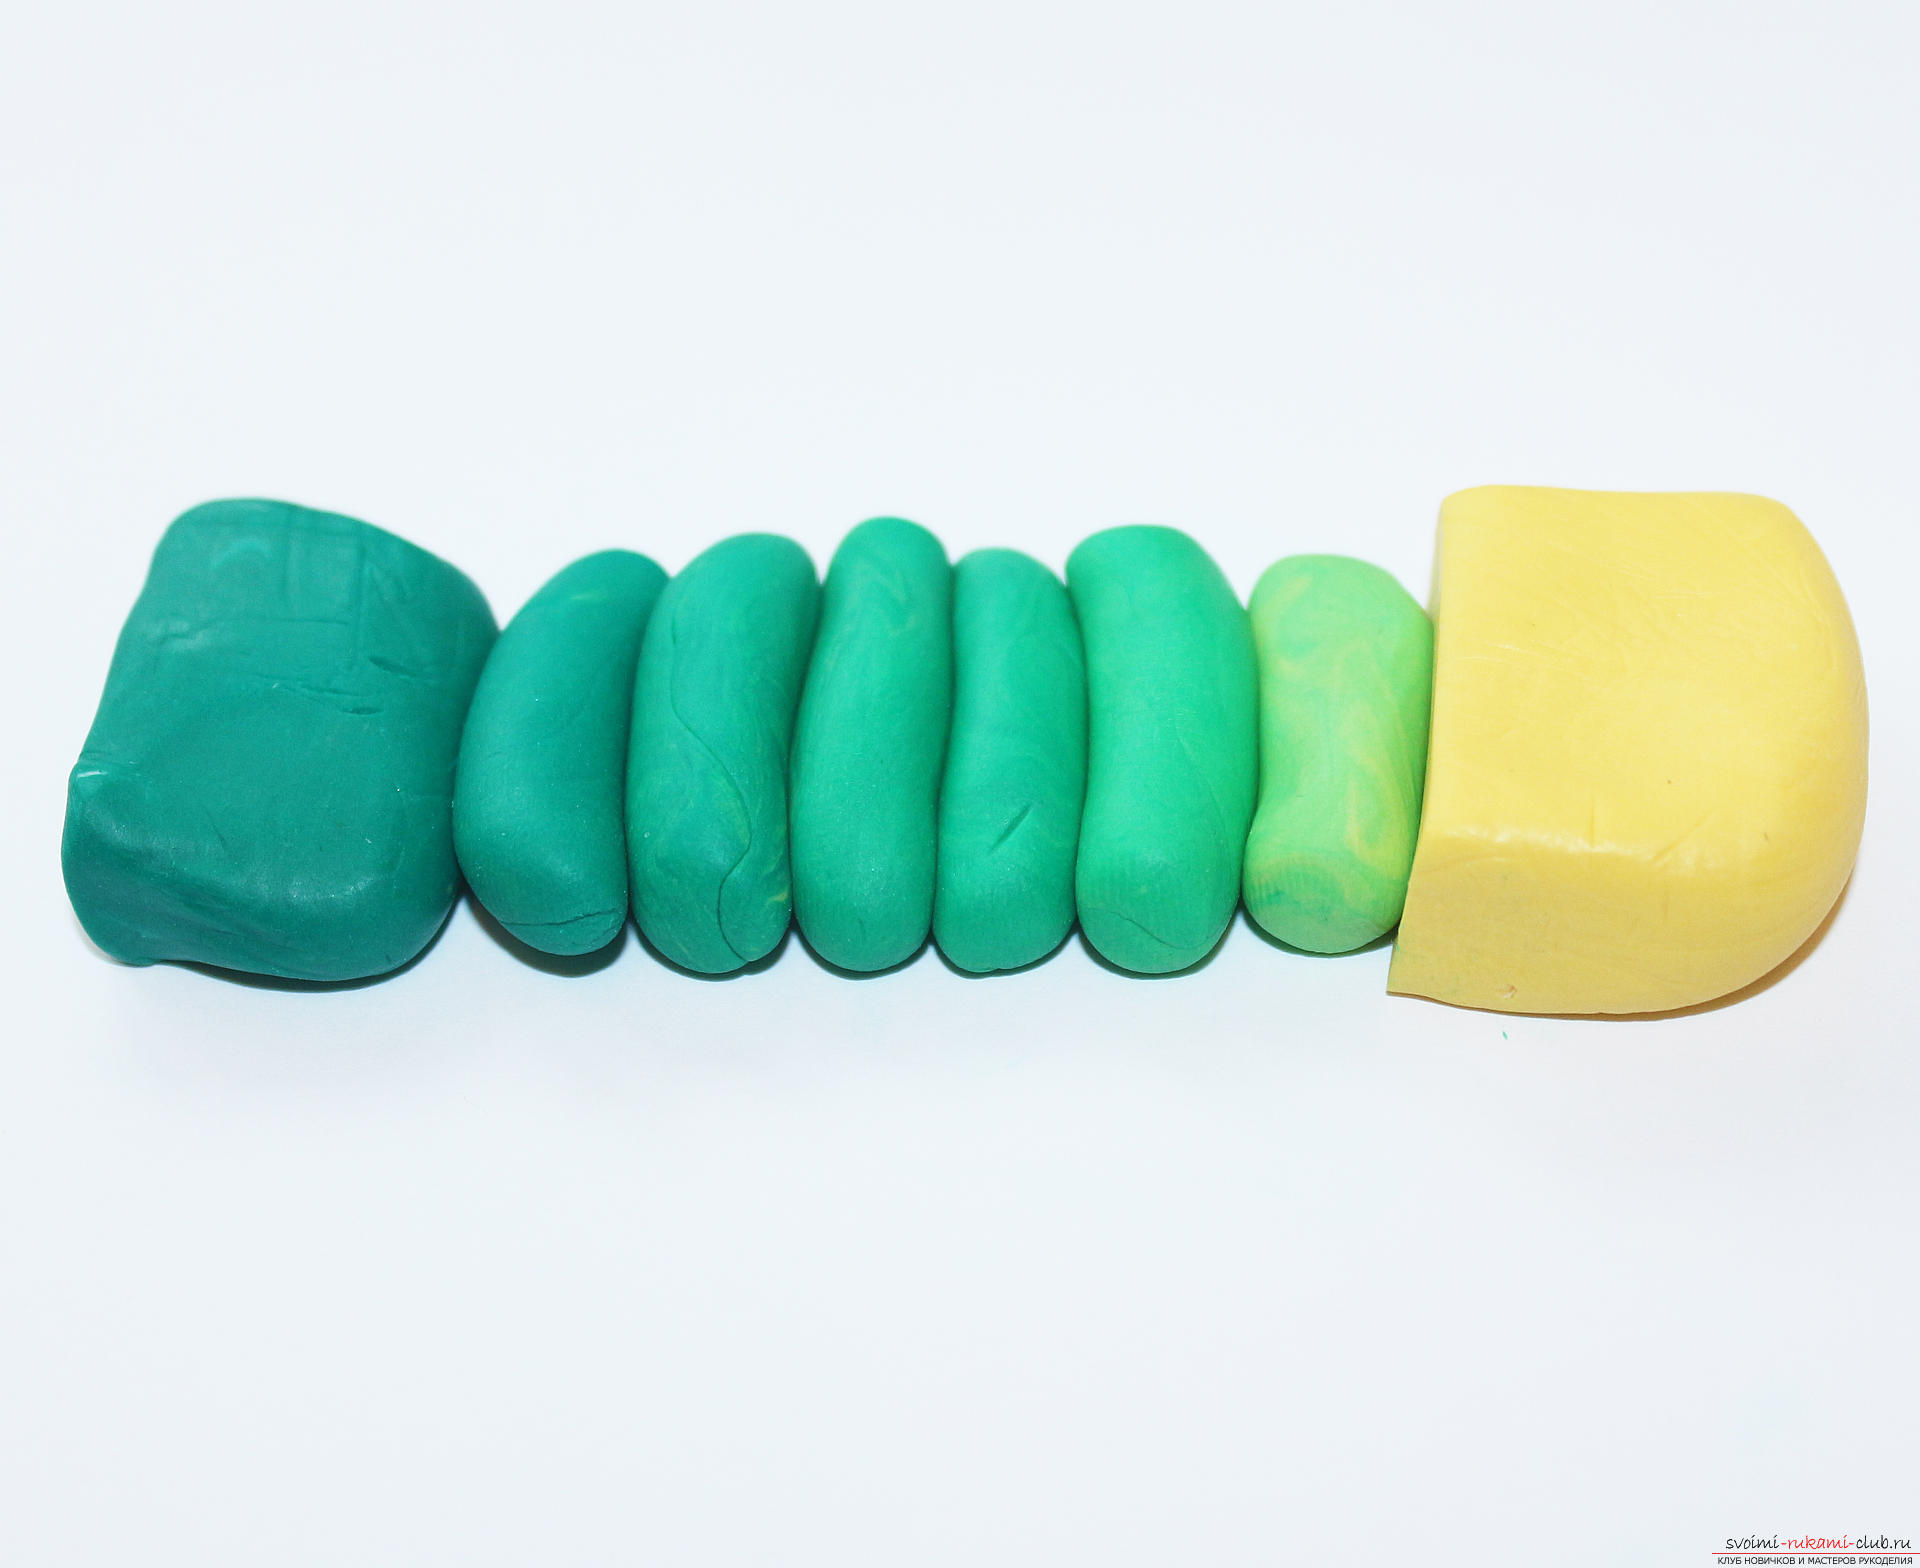 Tightly press the pieces together and start rolling out the rolling pin.
 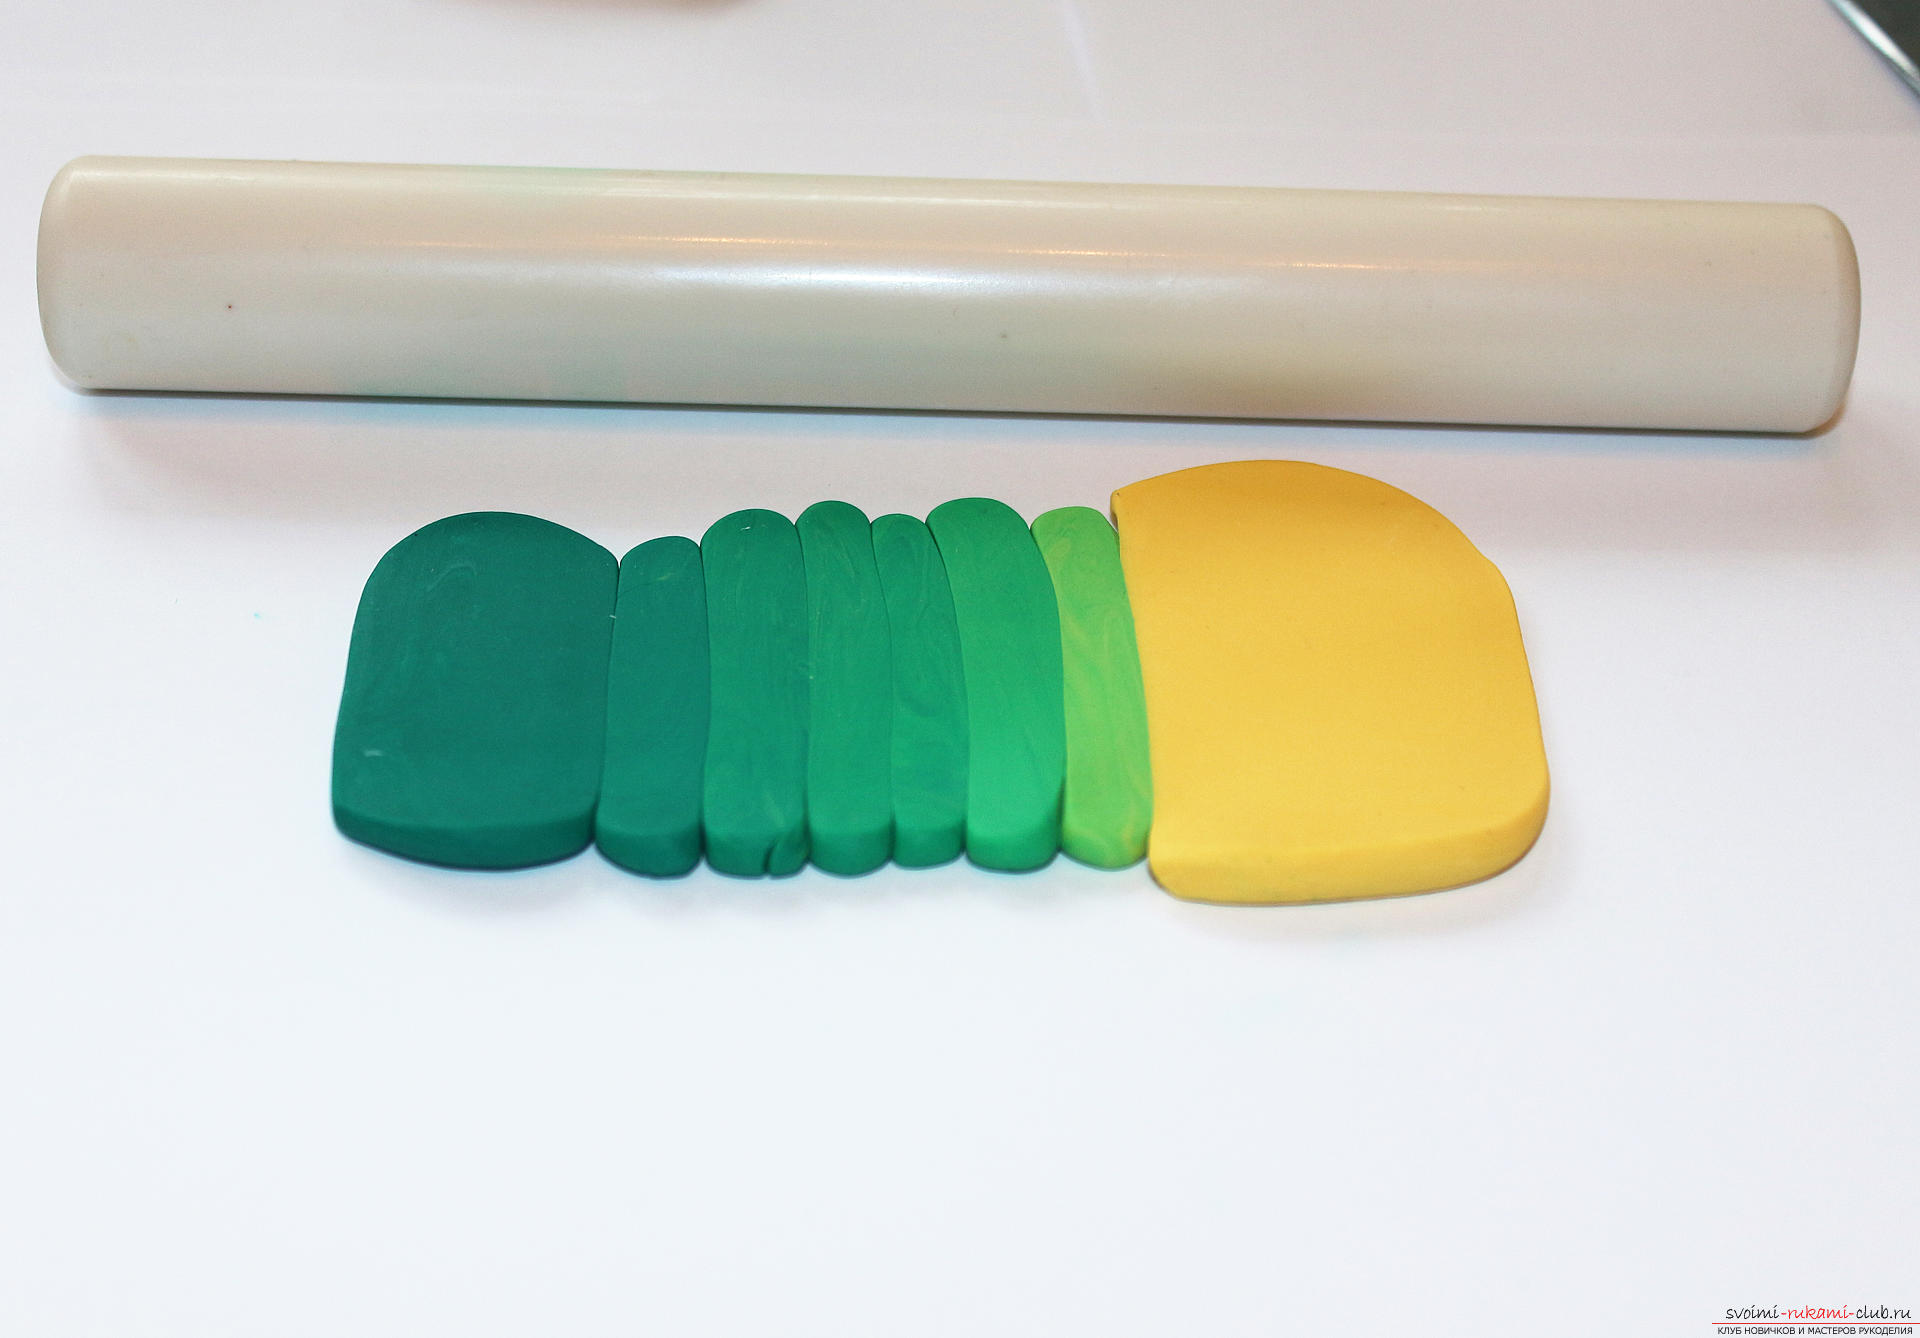 As the rolling starts, a multicolored formation is formed with a sudden transition of colors.
 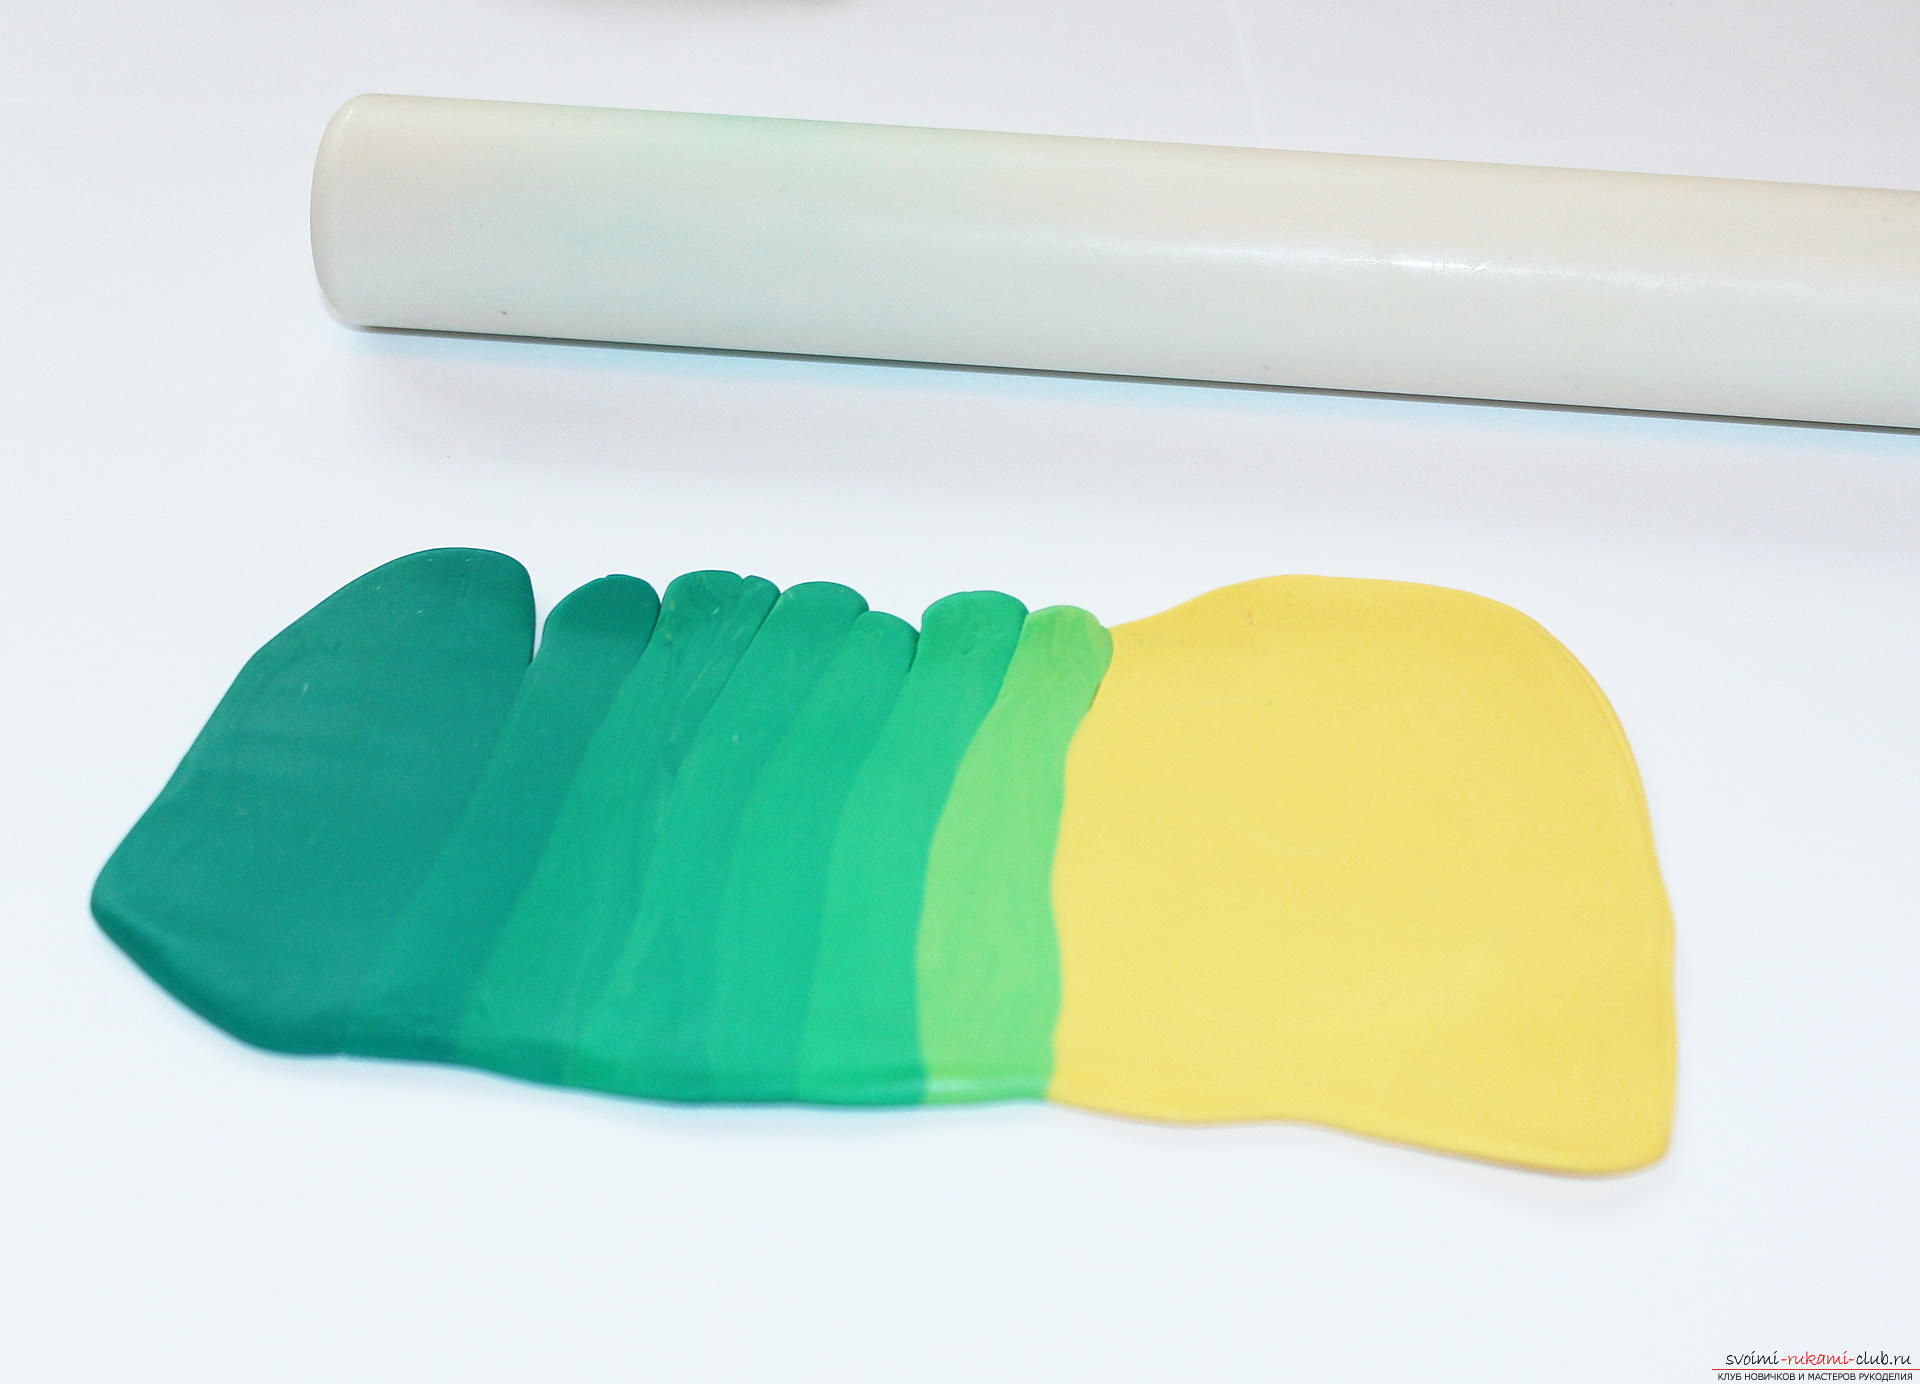 Fold the layer along in half, observing the direction of the strips, and continue rolling, repeat folding along and rolling until the color transition becomes smooth.
 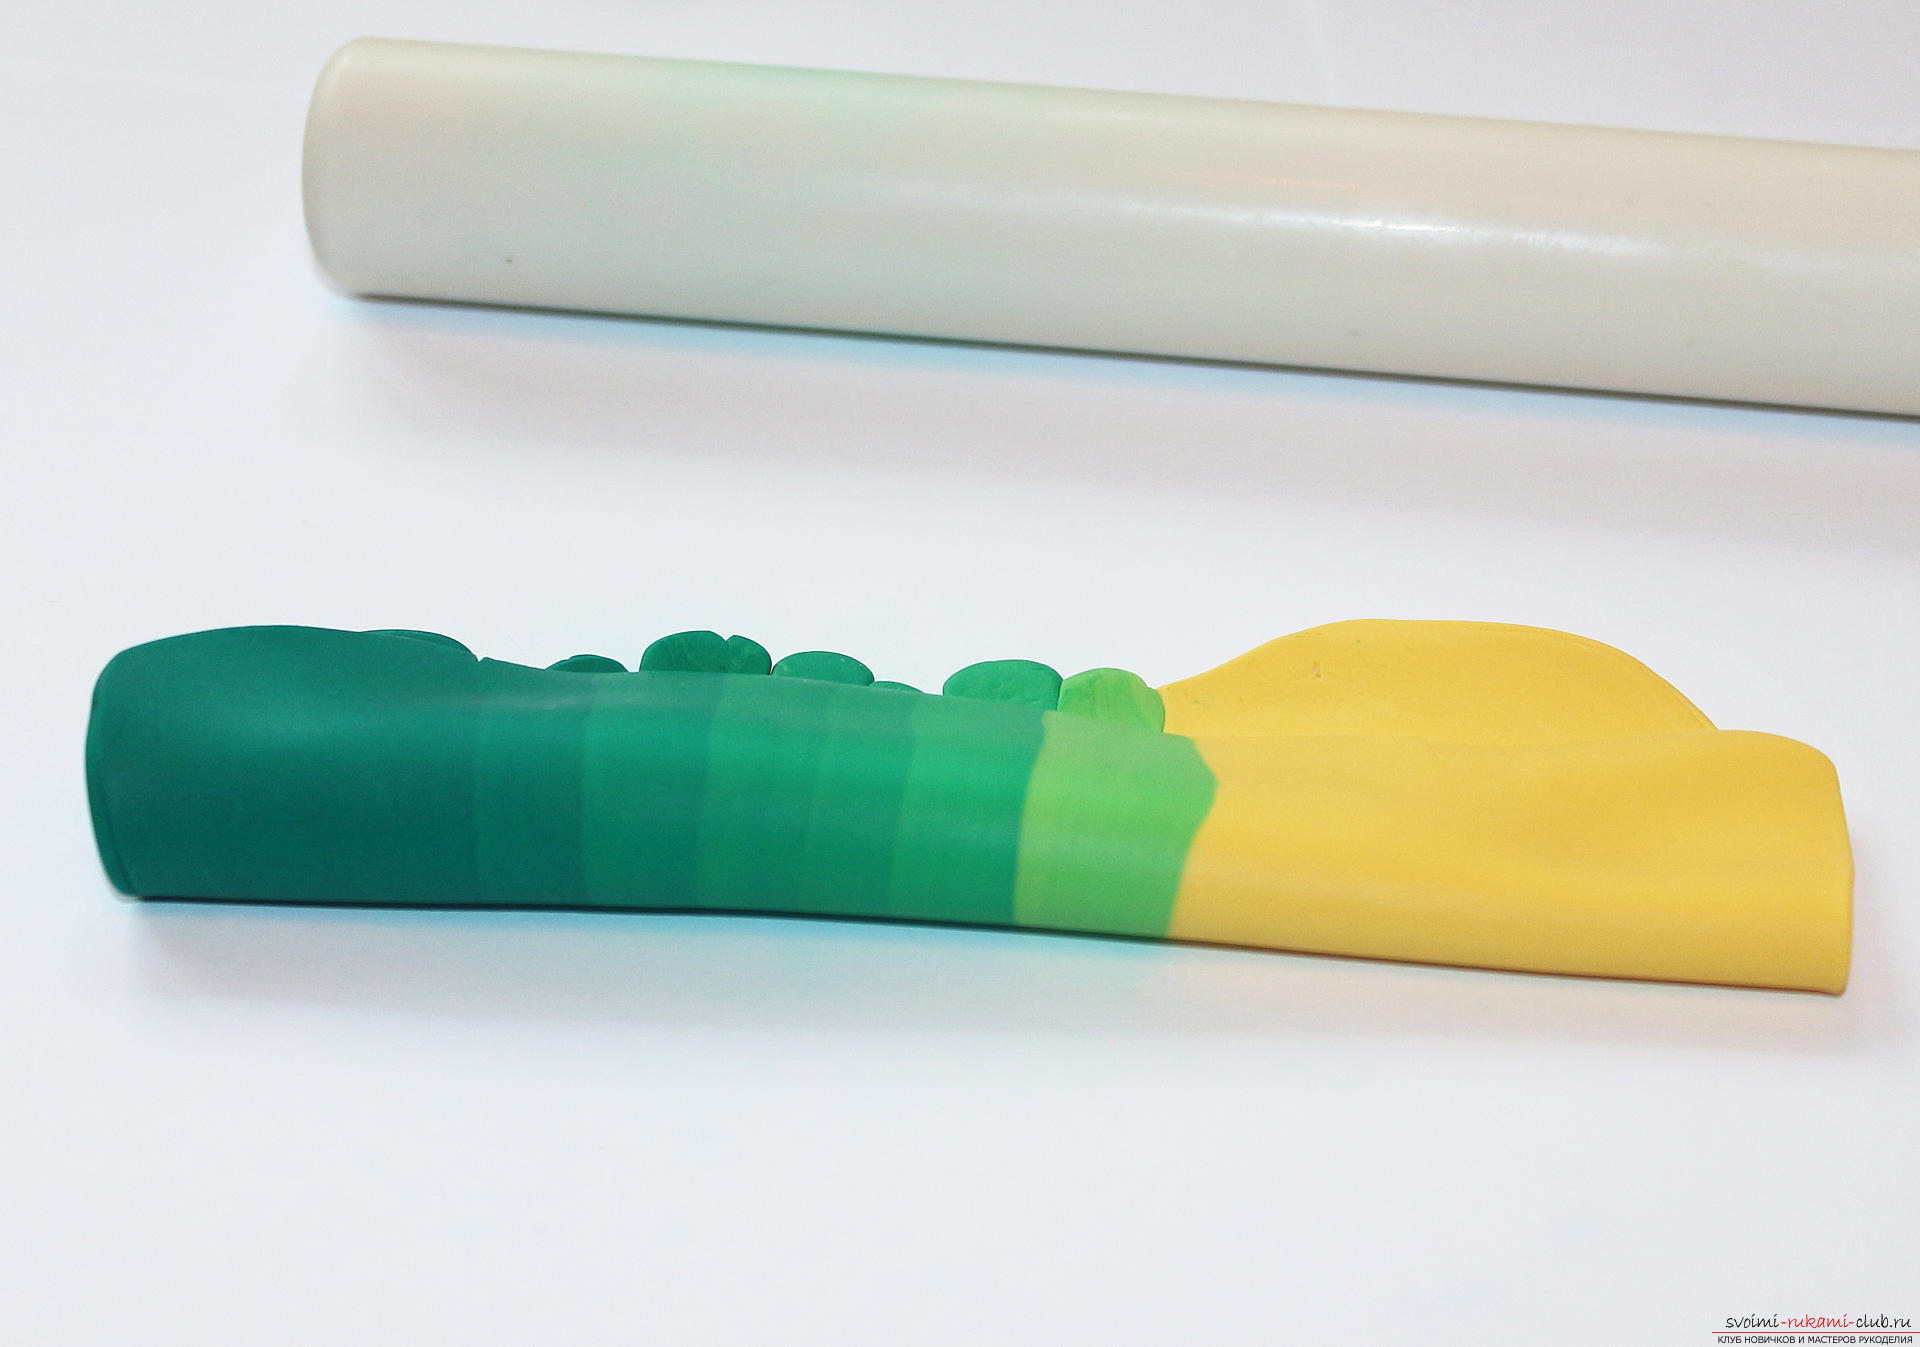 After 8-10 folds, the layer acquires a gradient color transition.
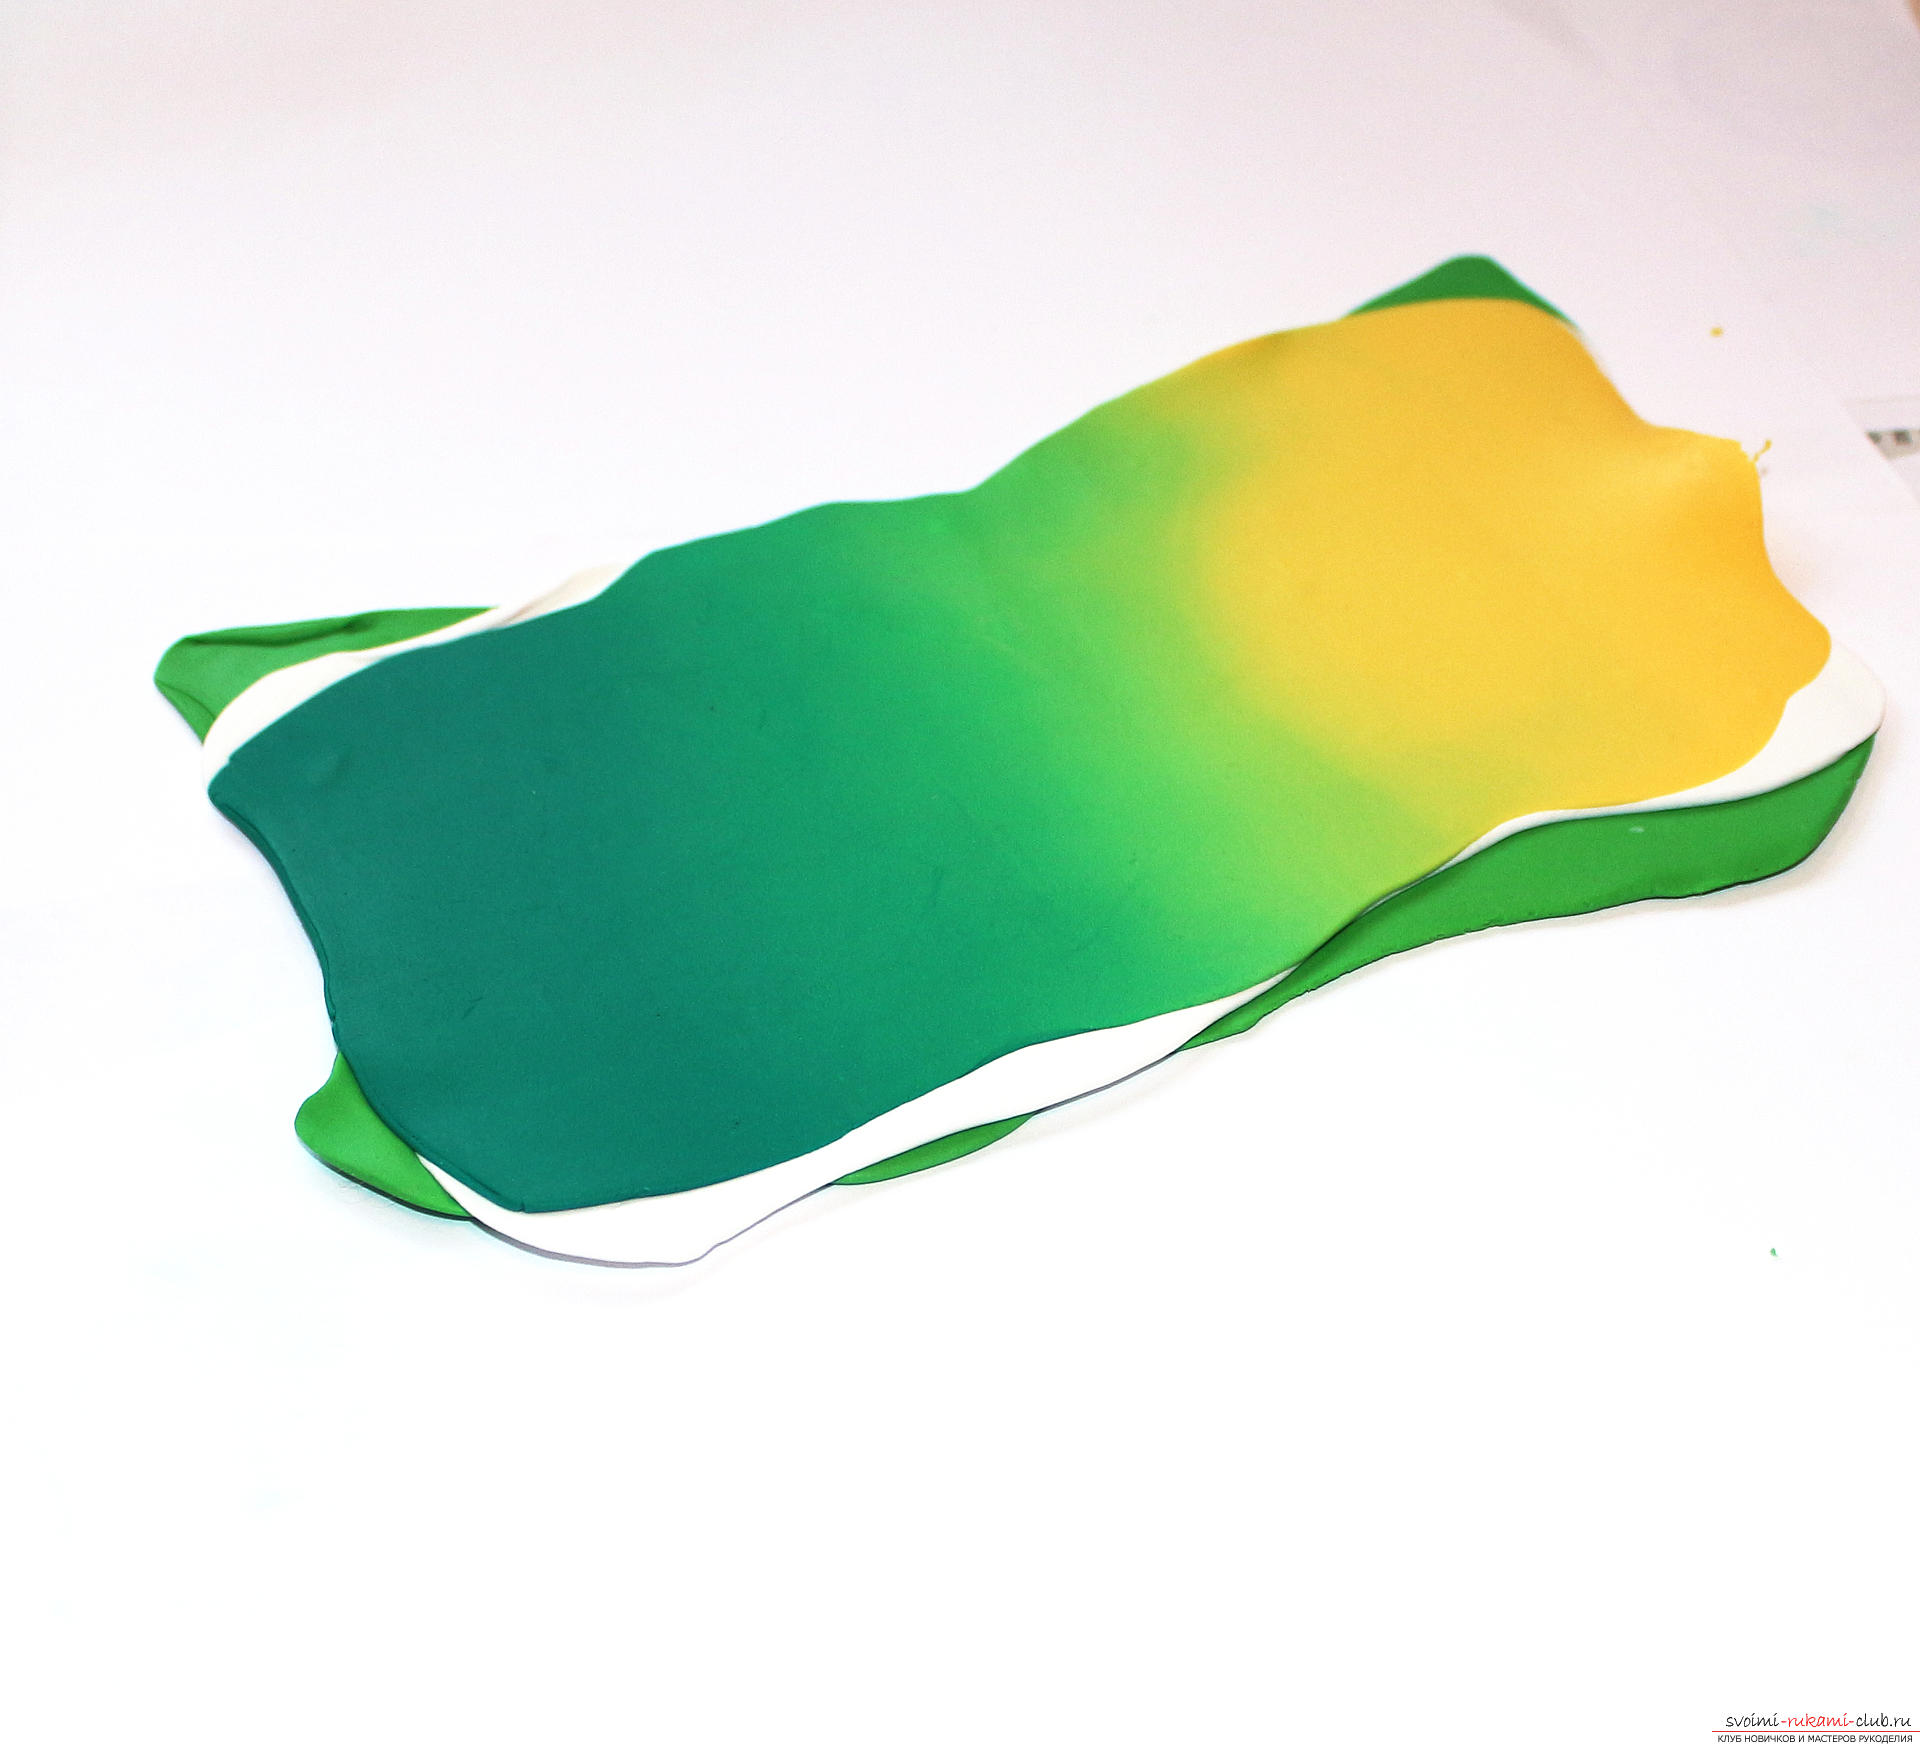
 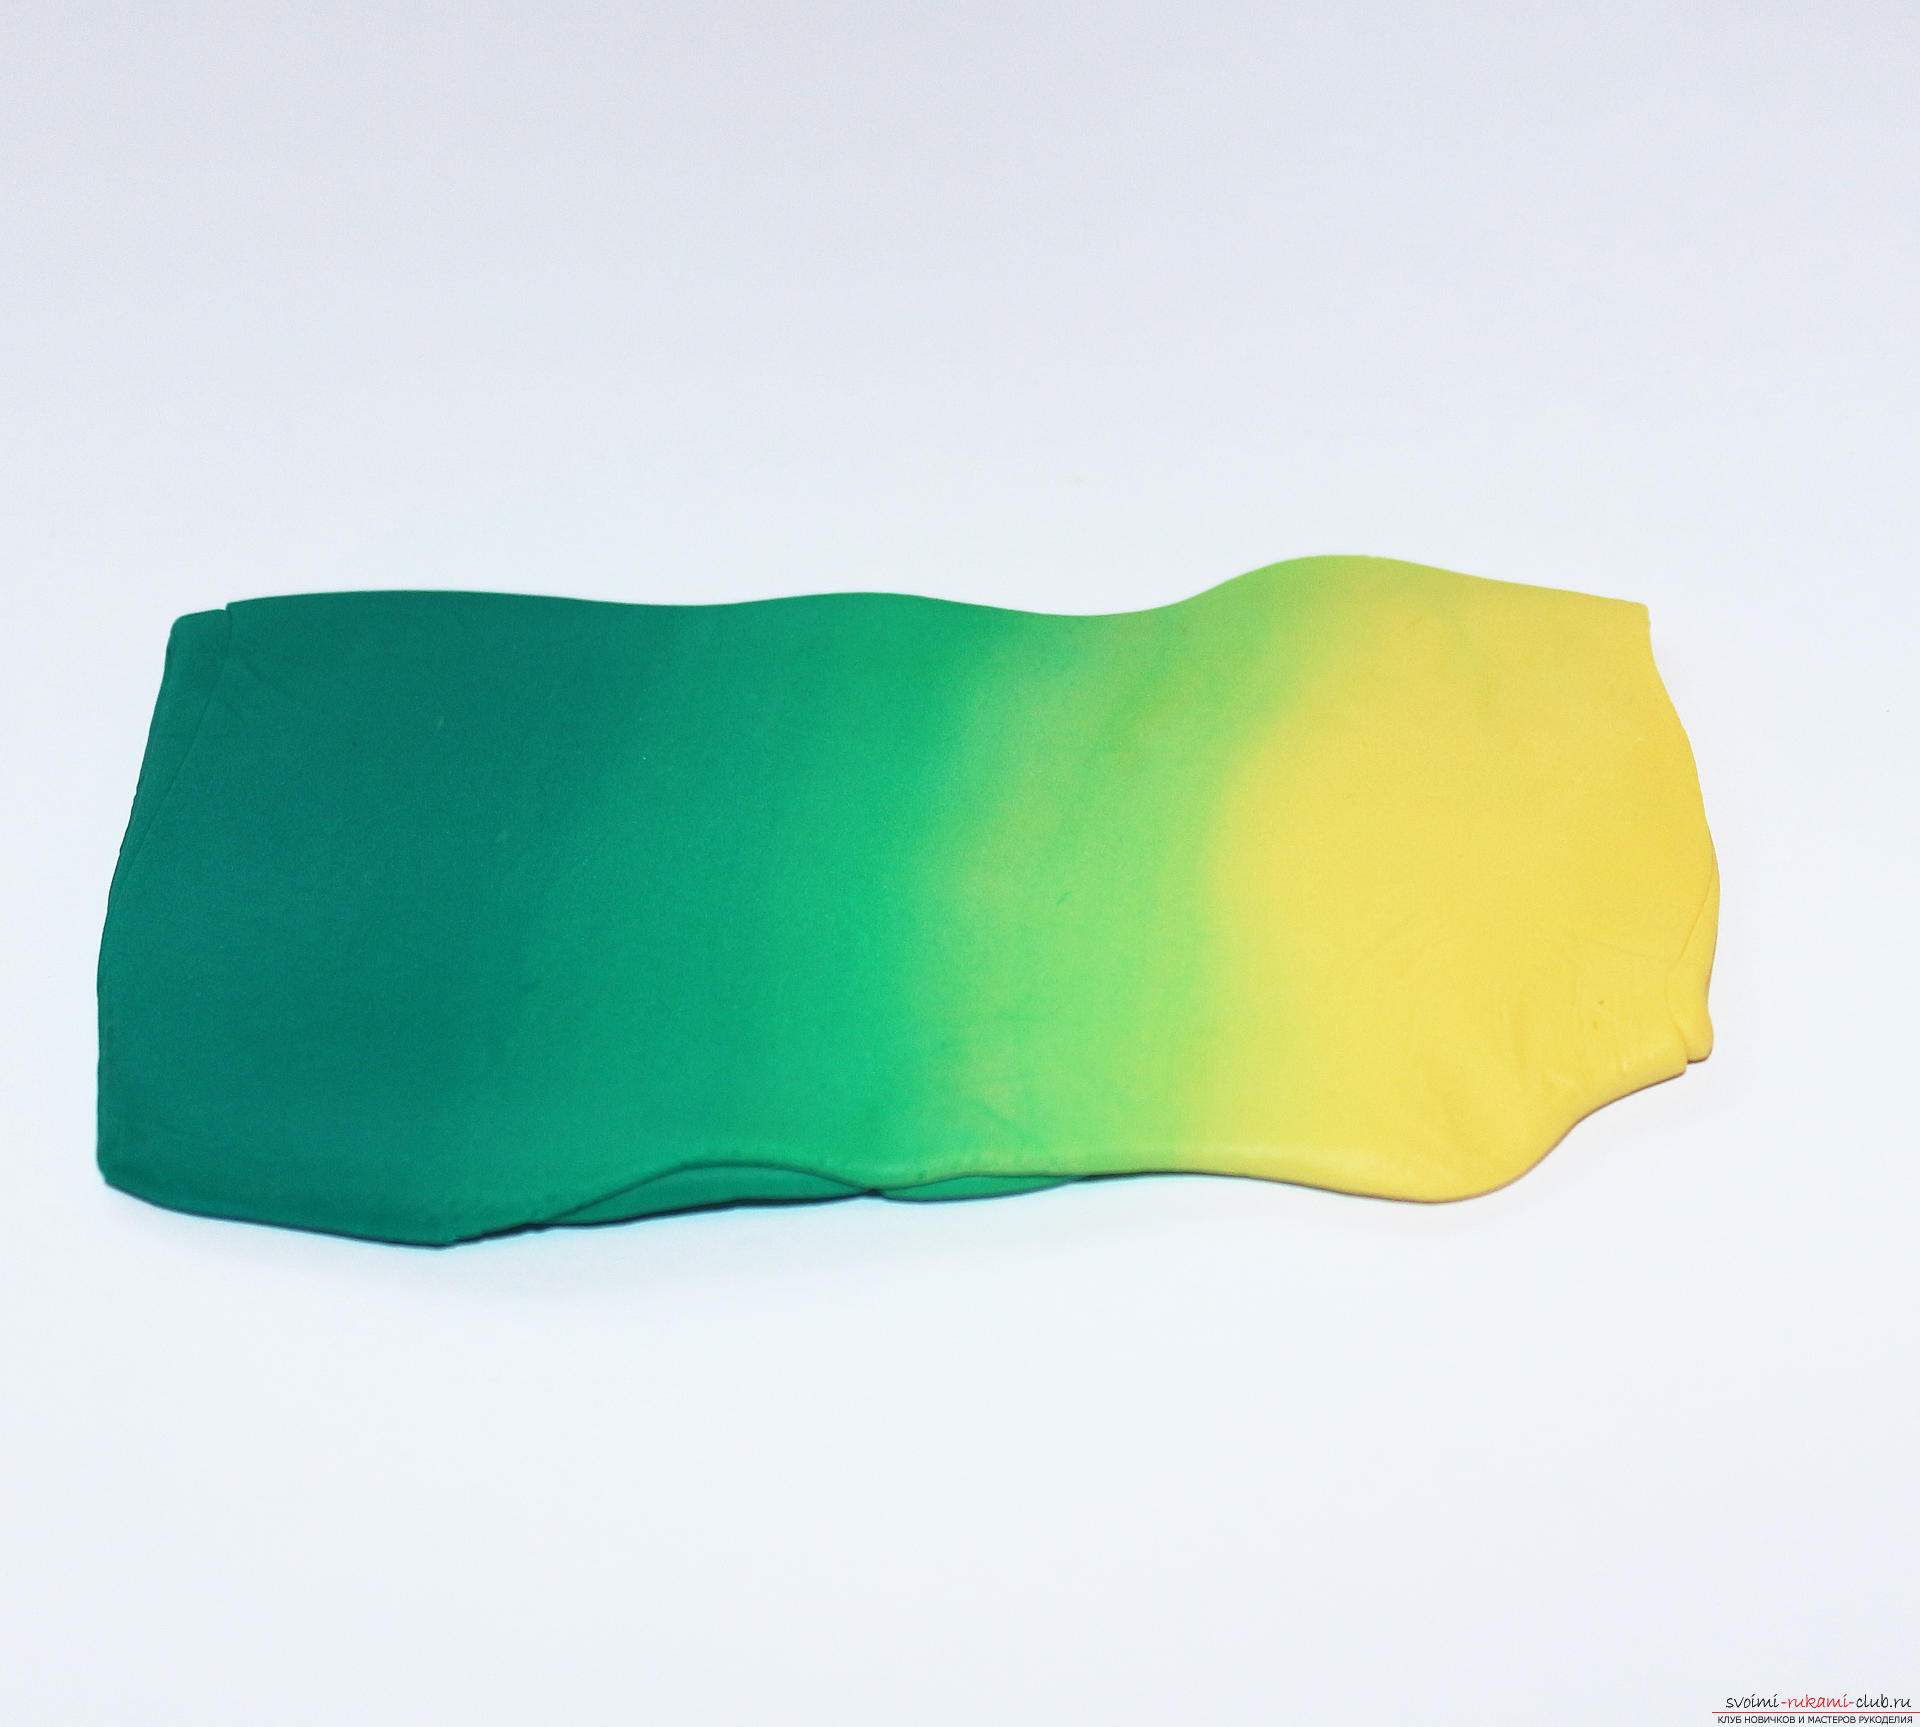 We knead the white plastic and roll it into a thin layer that coincides in size with the gradient one.
 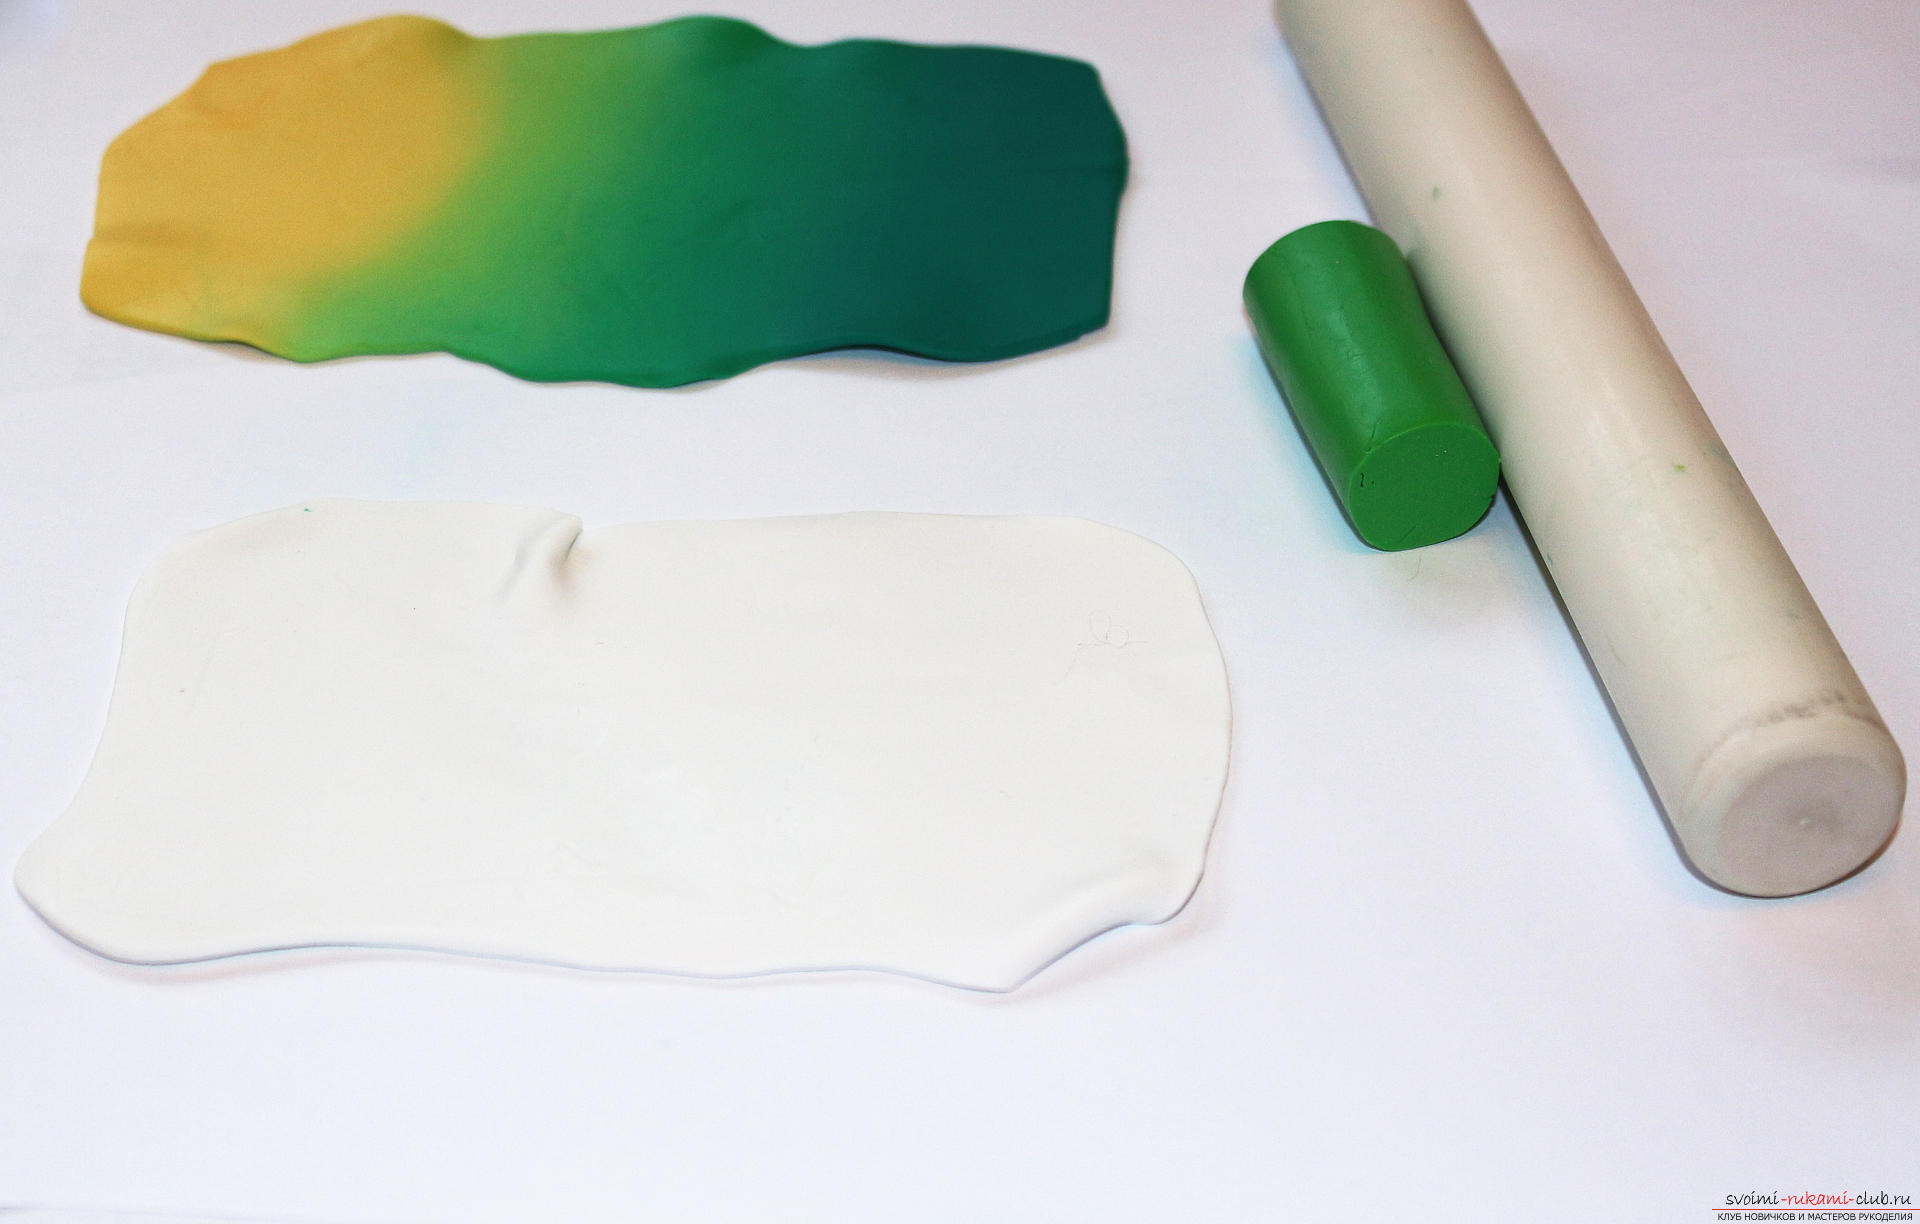 We put a colored layer of polymer clay on a white layer, again roll out, so that the layers are stuck together. If necessary, remove air bubbles between the layers, otherwise they will spoil the pattern.
 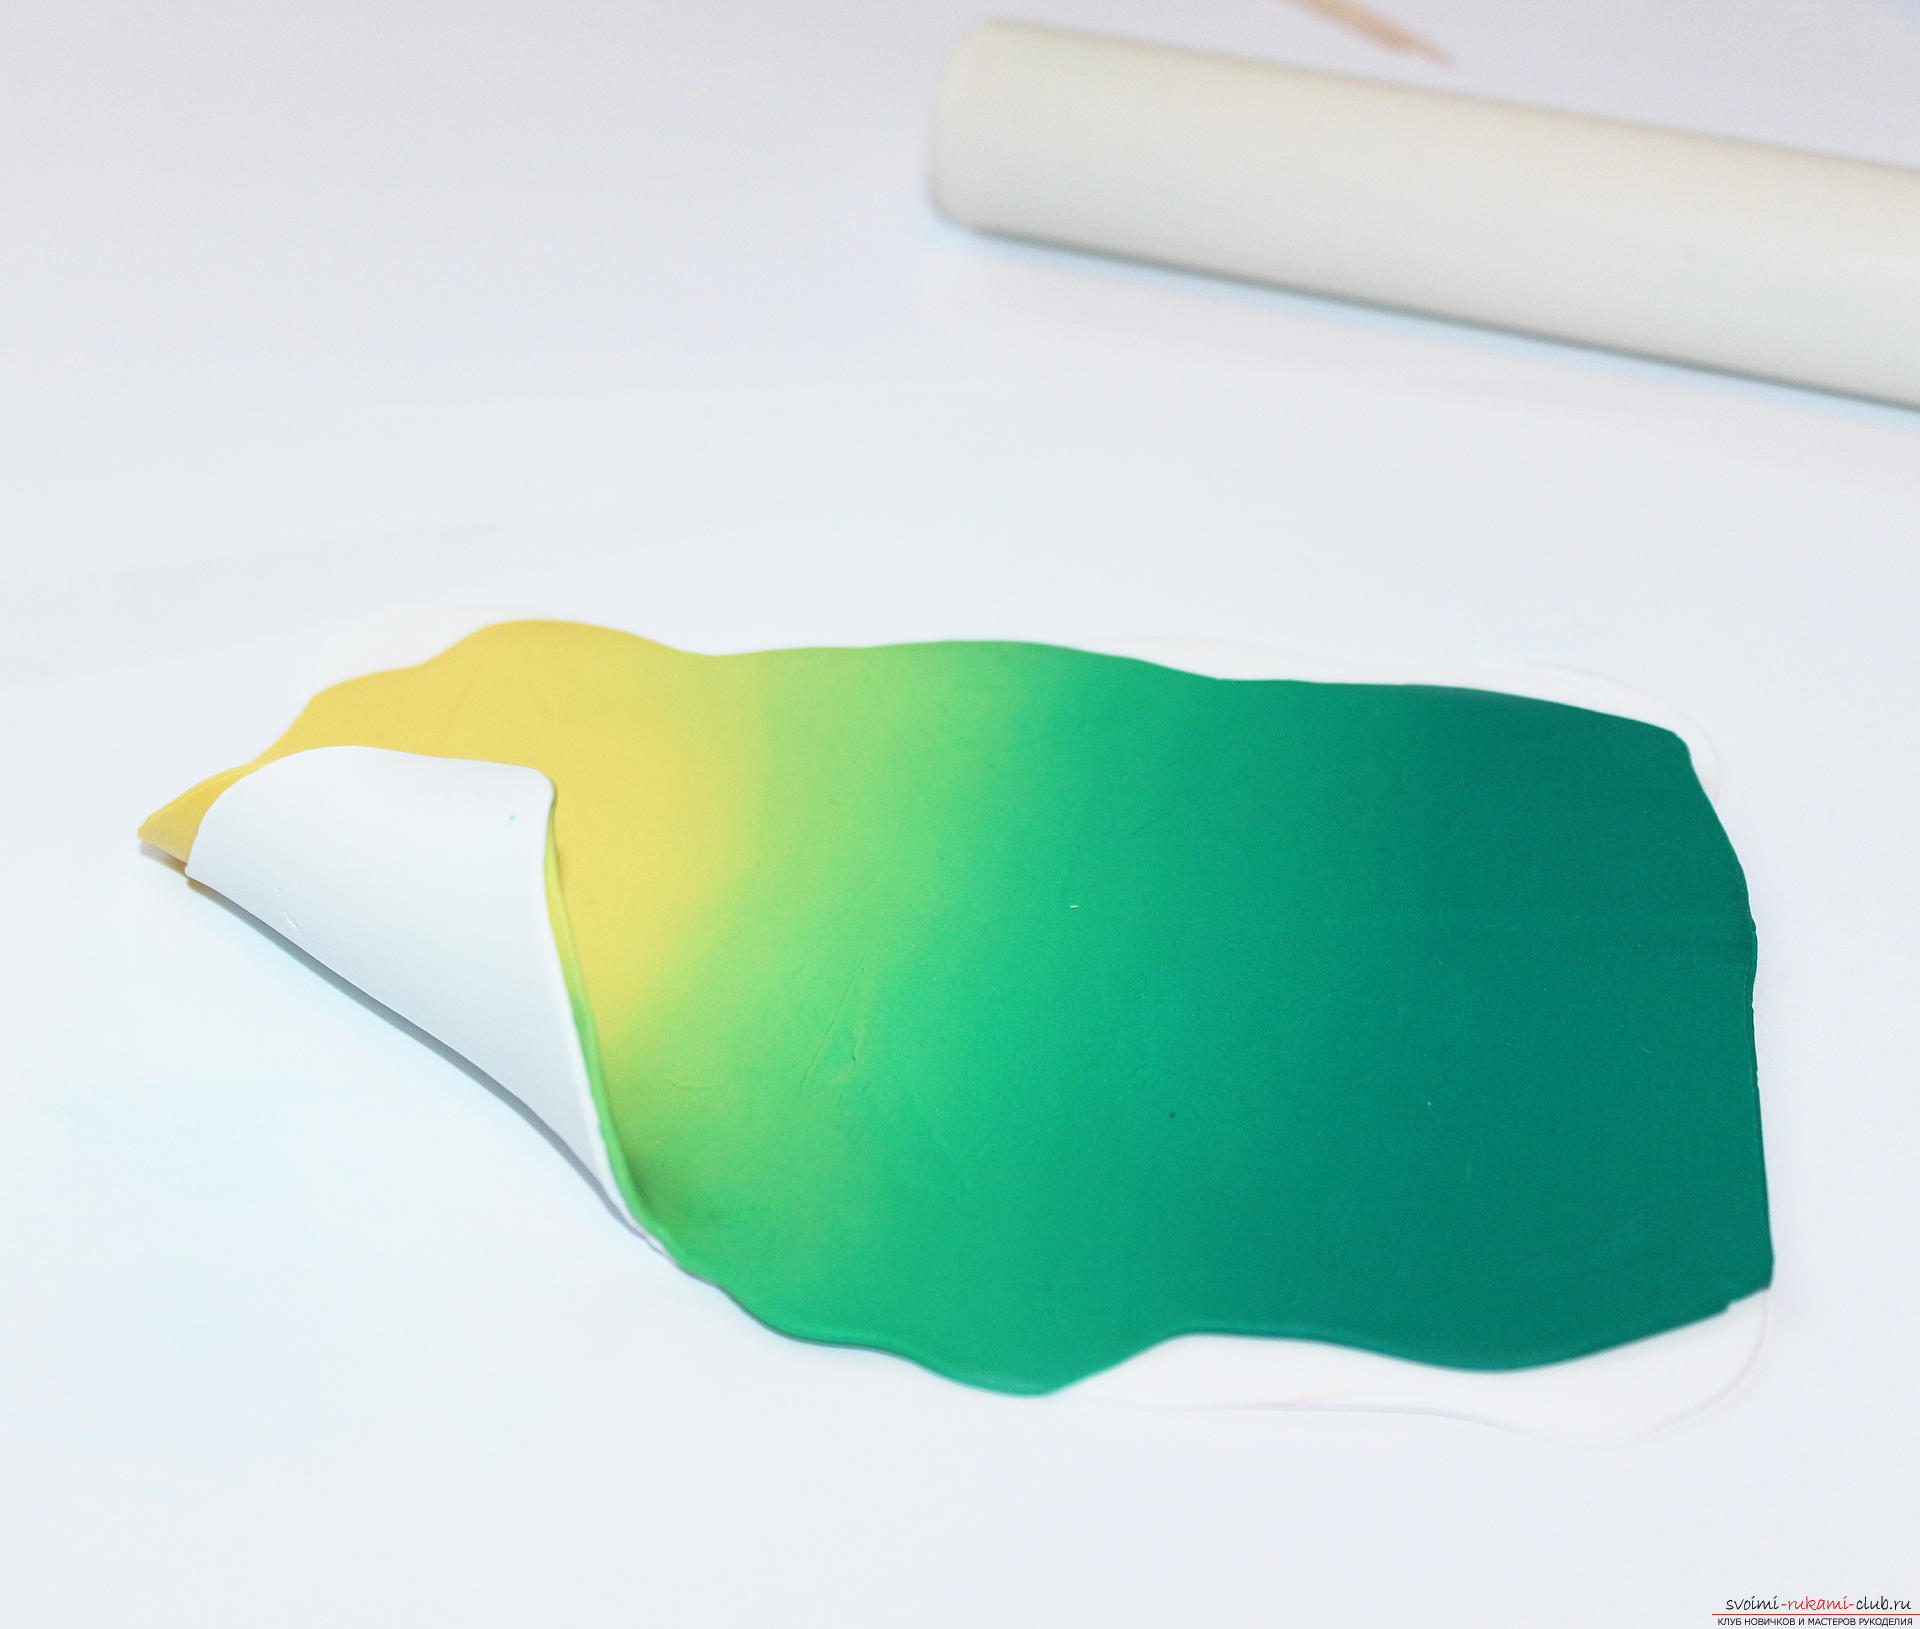 We knead and roll out a green piece of polymer clay. The size should match the others.
 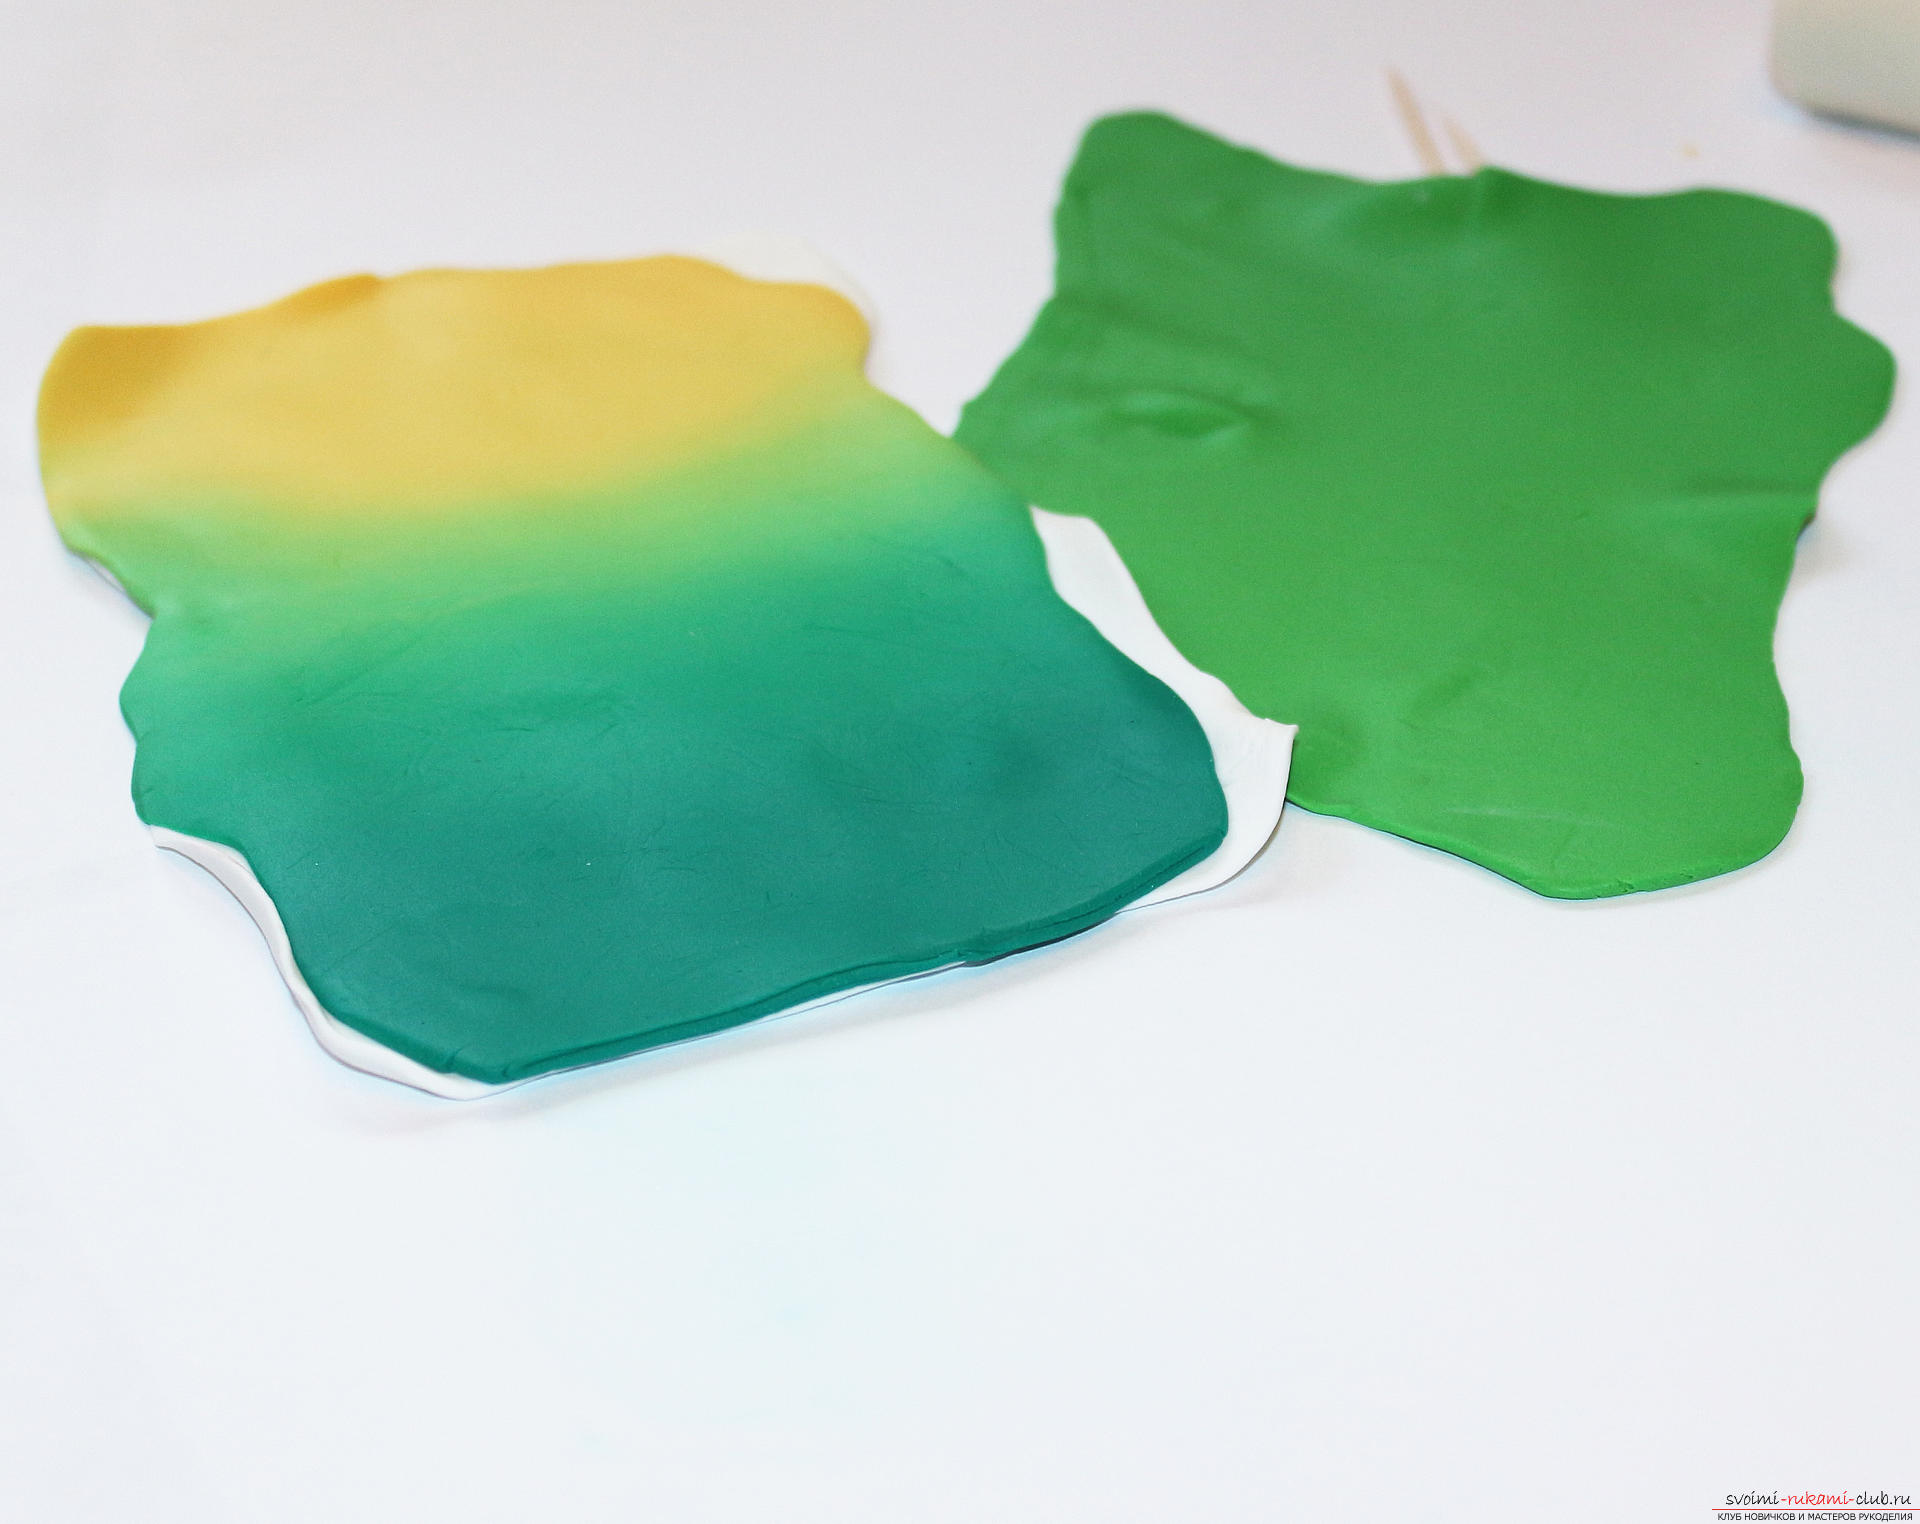 We put green plastic under the white side of the colored layer. Thus, we obtain a three-layer "pie": from below is a green layer, in the middle is a white "filling", and on top is a gradient plastic.
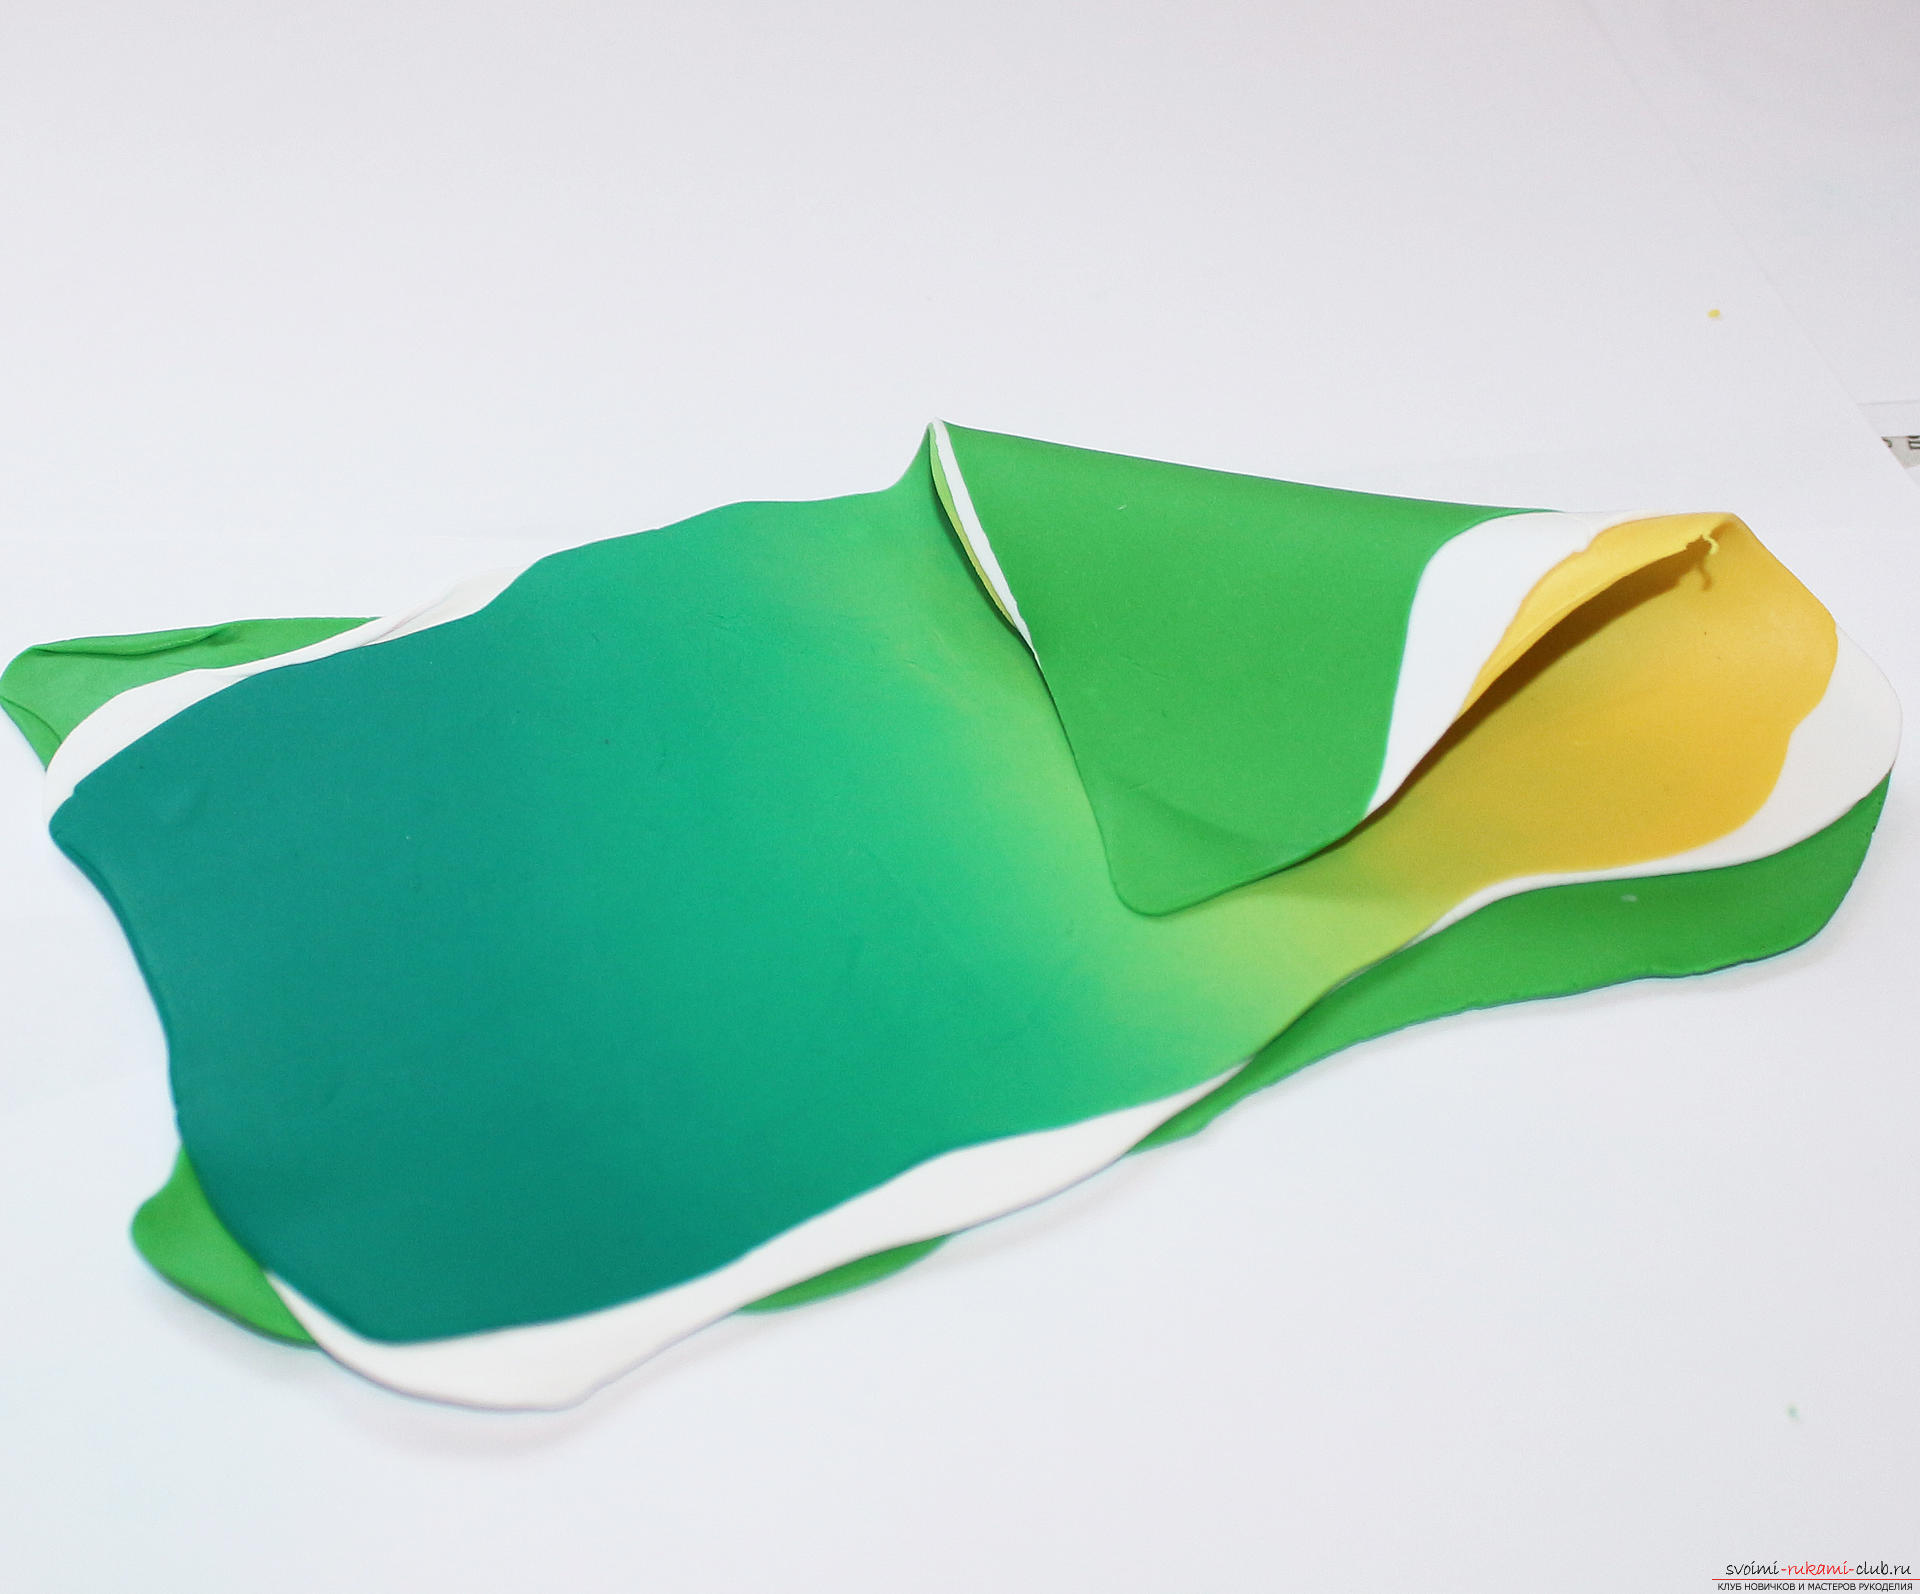
 Roll the layers along, as thin as possible. Remove excess air between the layers. To do this, pierce bubbles with air (if there is) with a toothpick and roll out again with a rolling pin. The longer the formation, the better.
 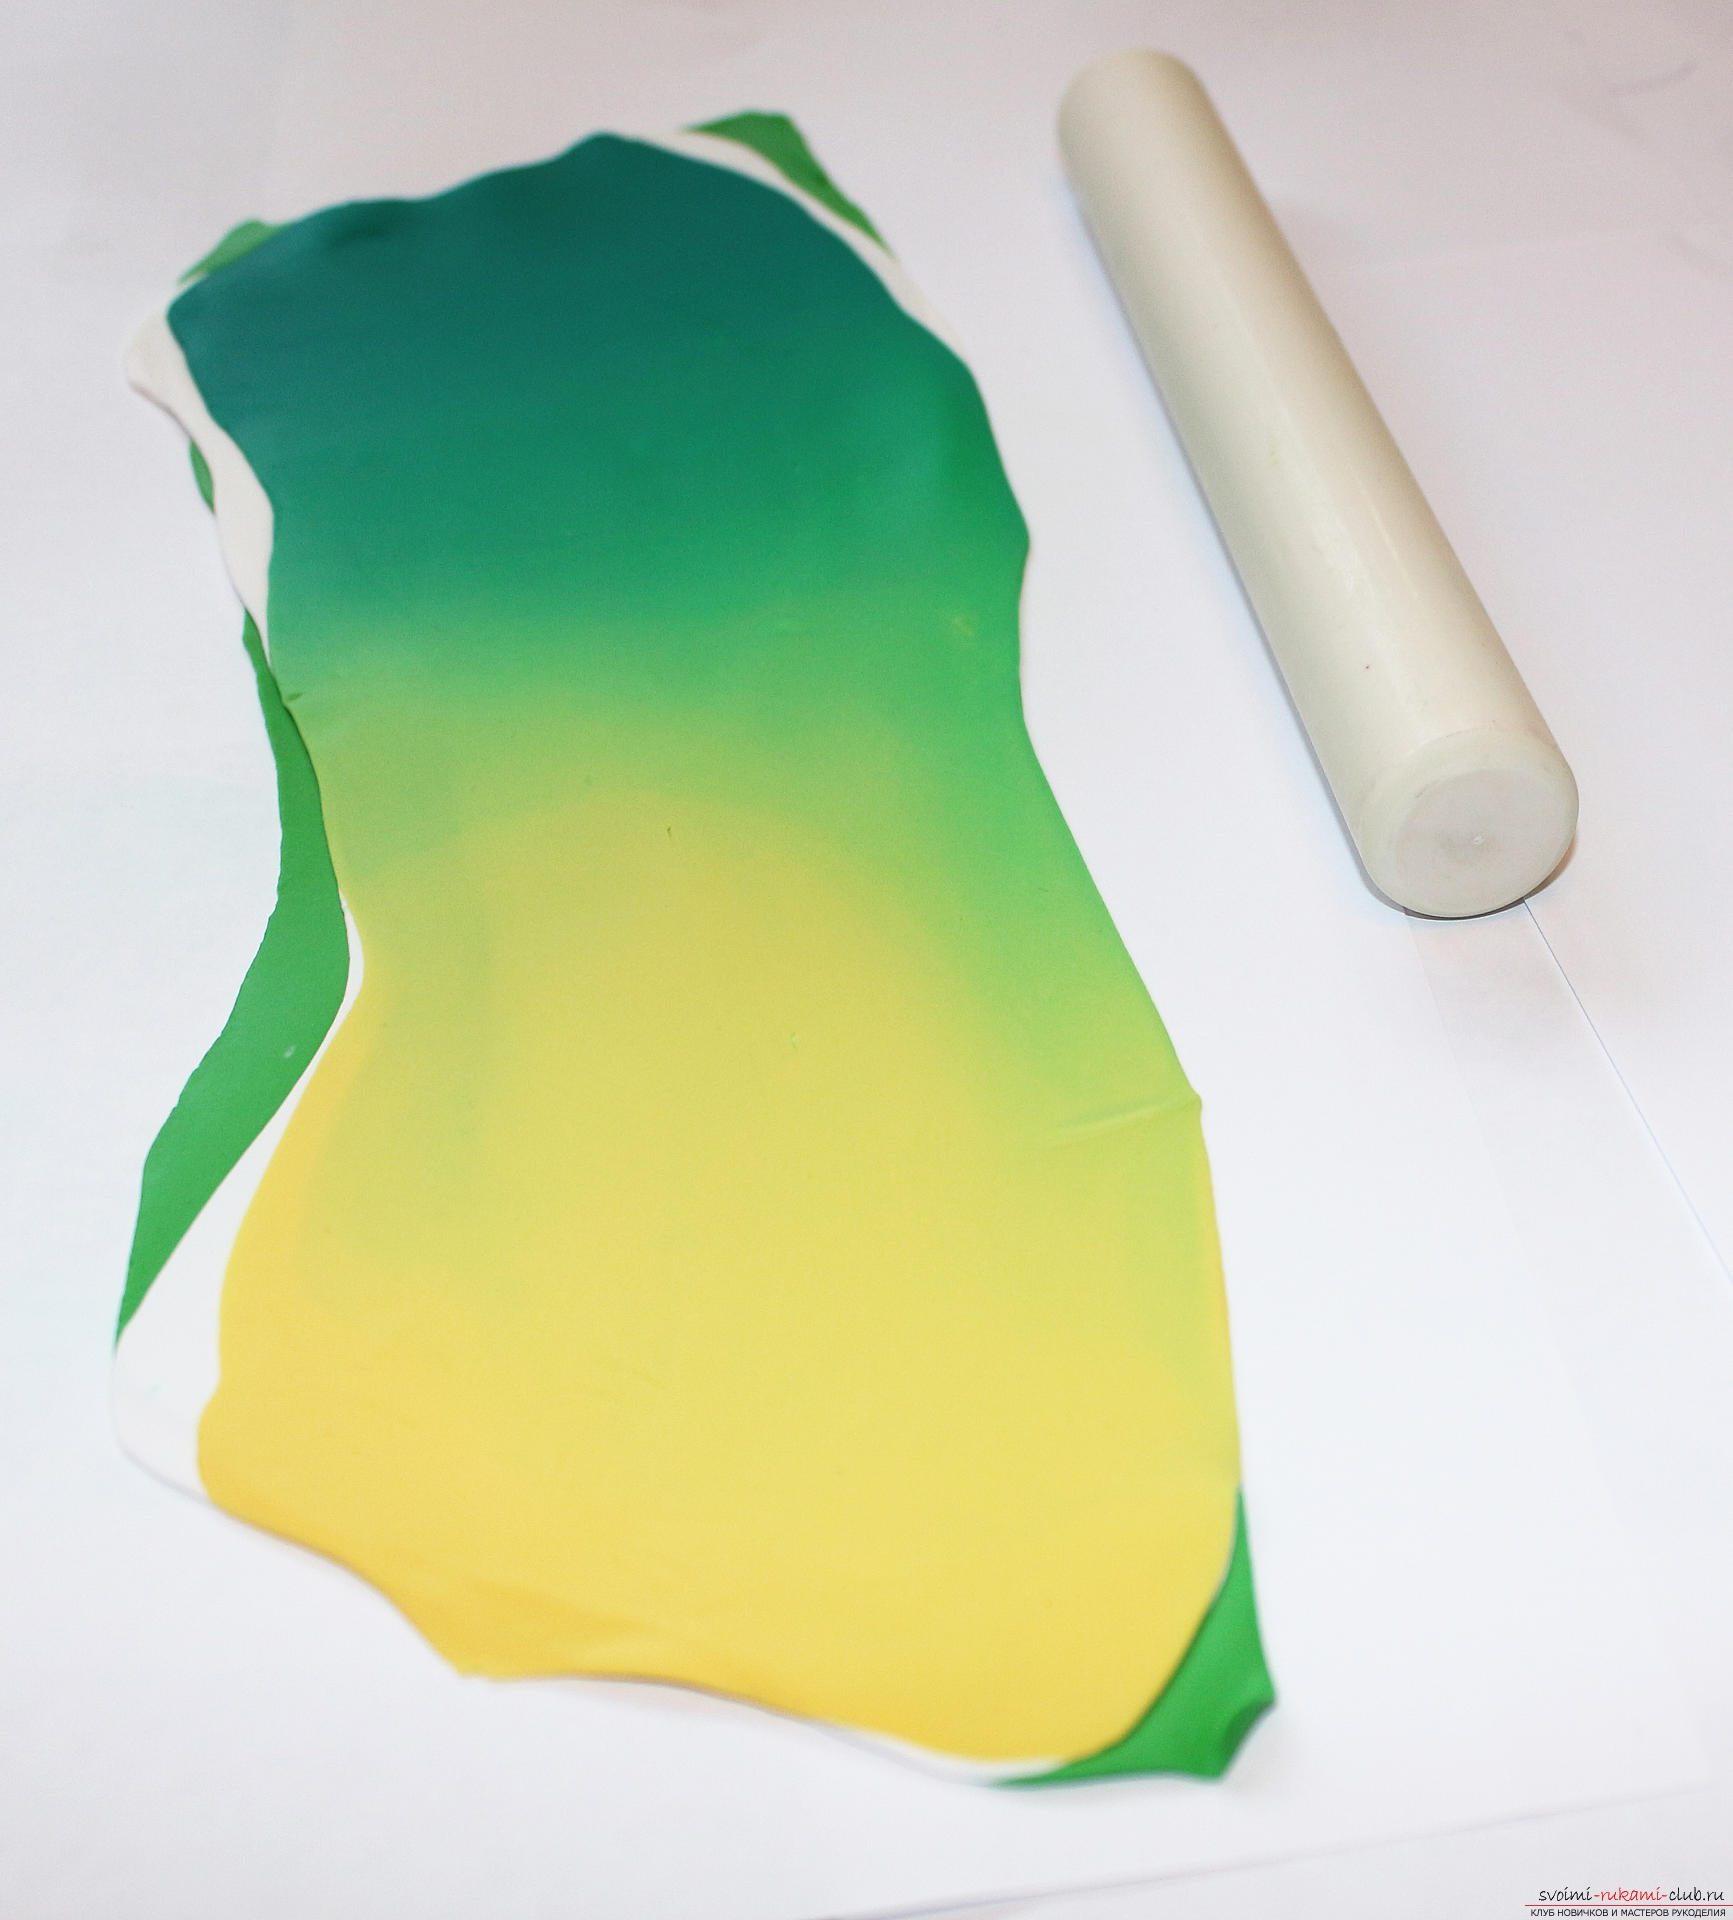 Cut the stratum along into thin strips.
  Roll out a layer of weed plastics.
 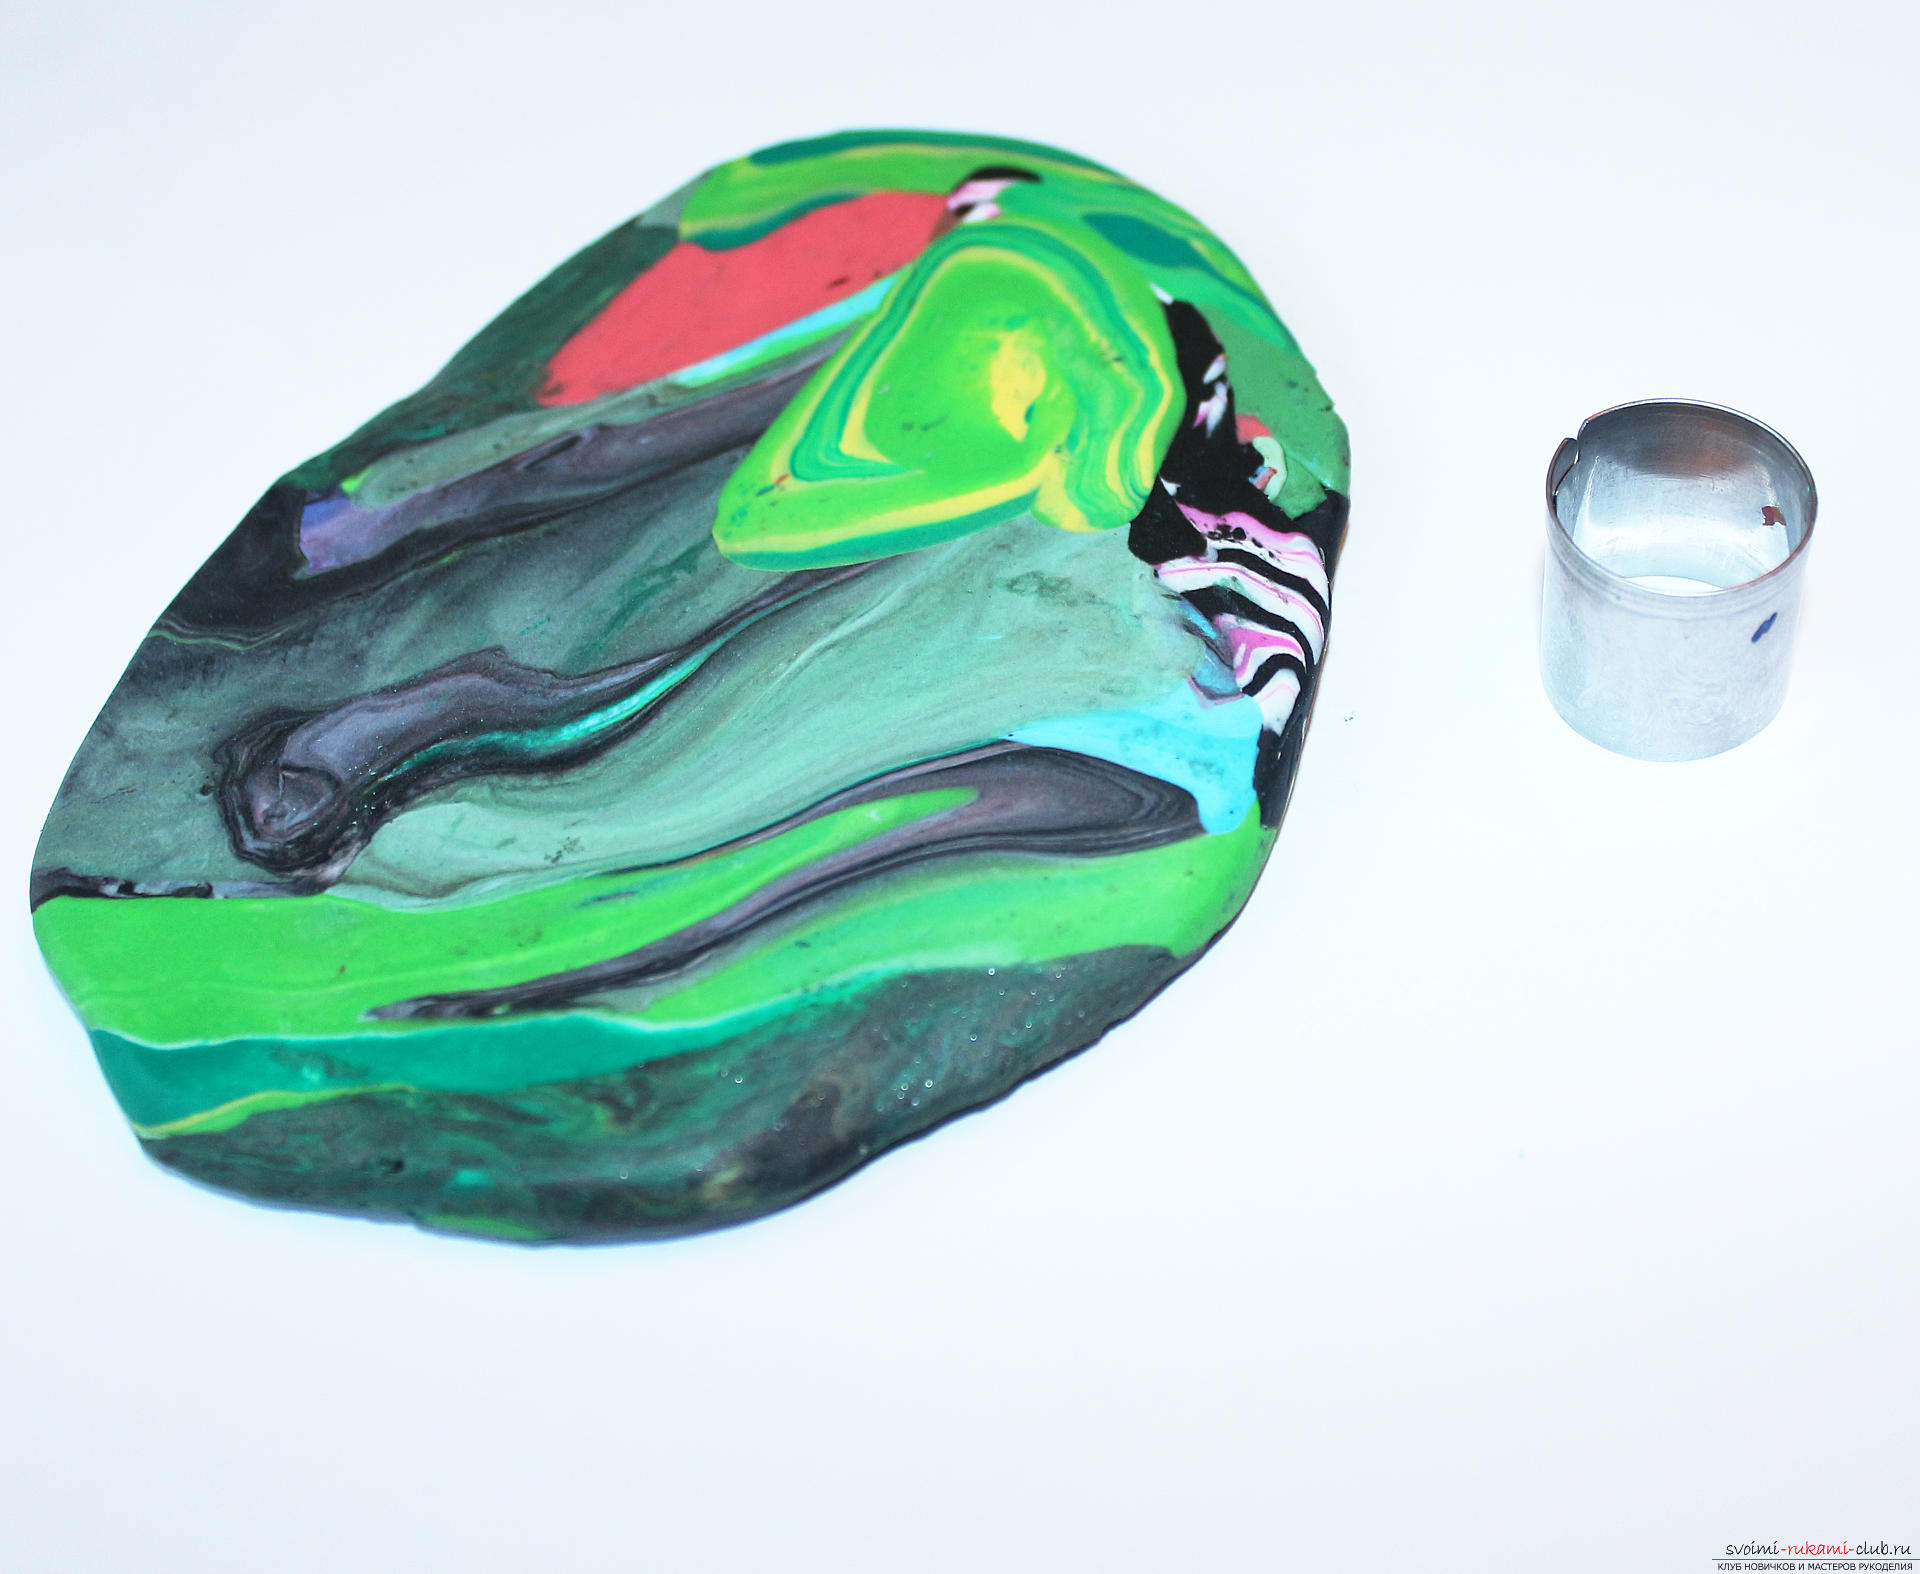 To make the beads the same size, you need to use a cutter. Cut out a lot of the same cutter pieces.
  We roll balls from these pieces. All of them are of the same size. This is the basis for beads and the most effective way to recycle mixed unnecessary plastics.
 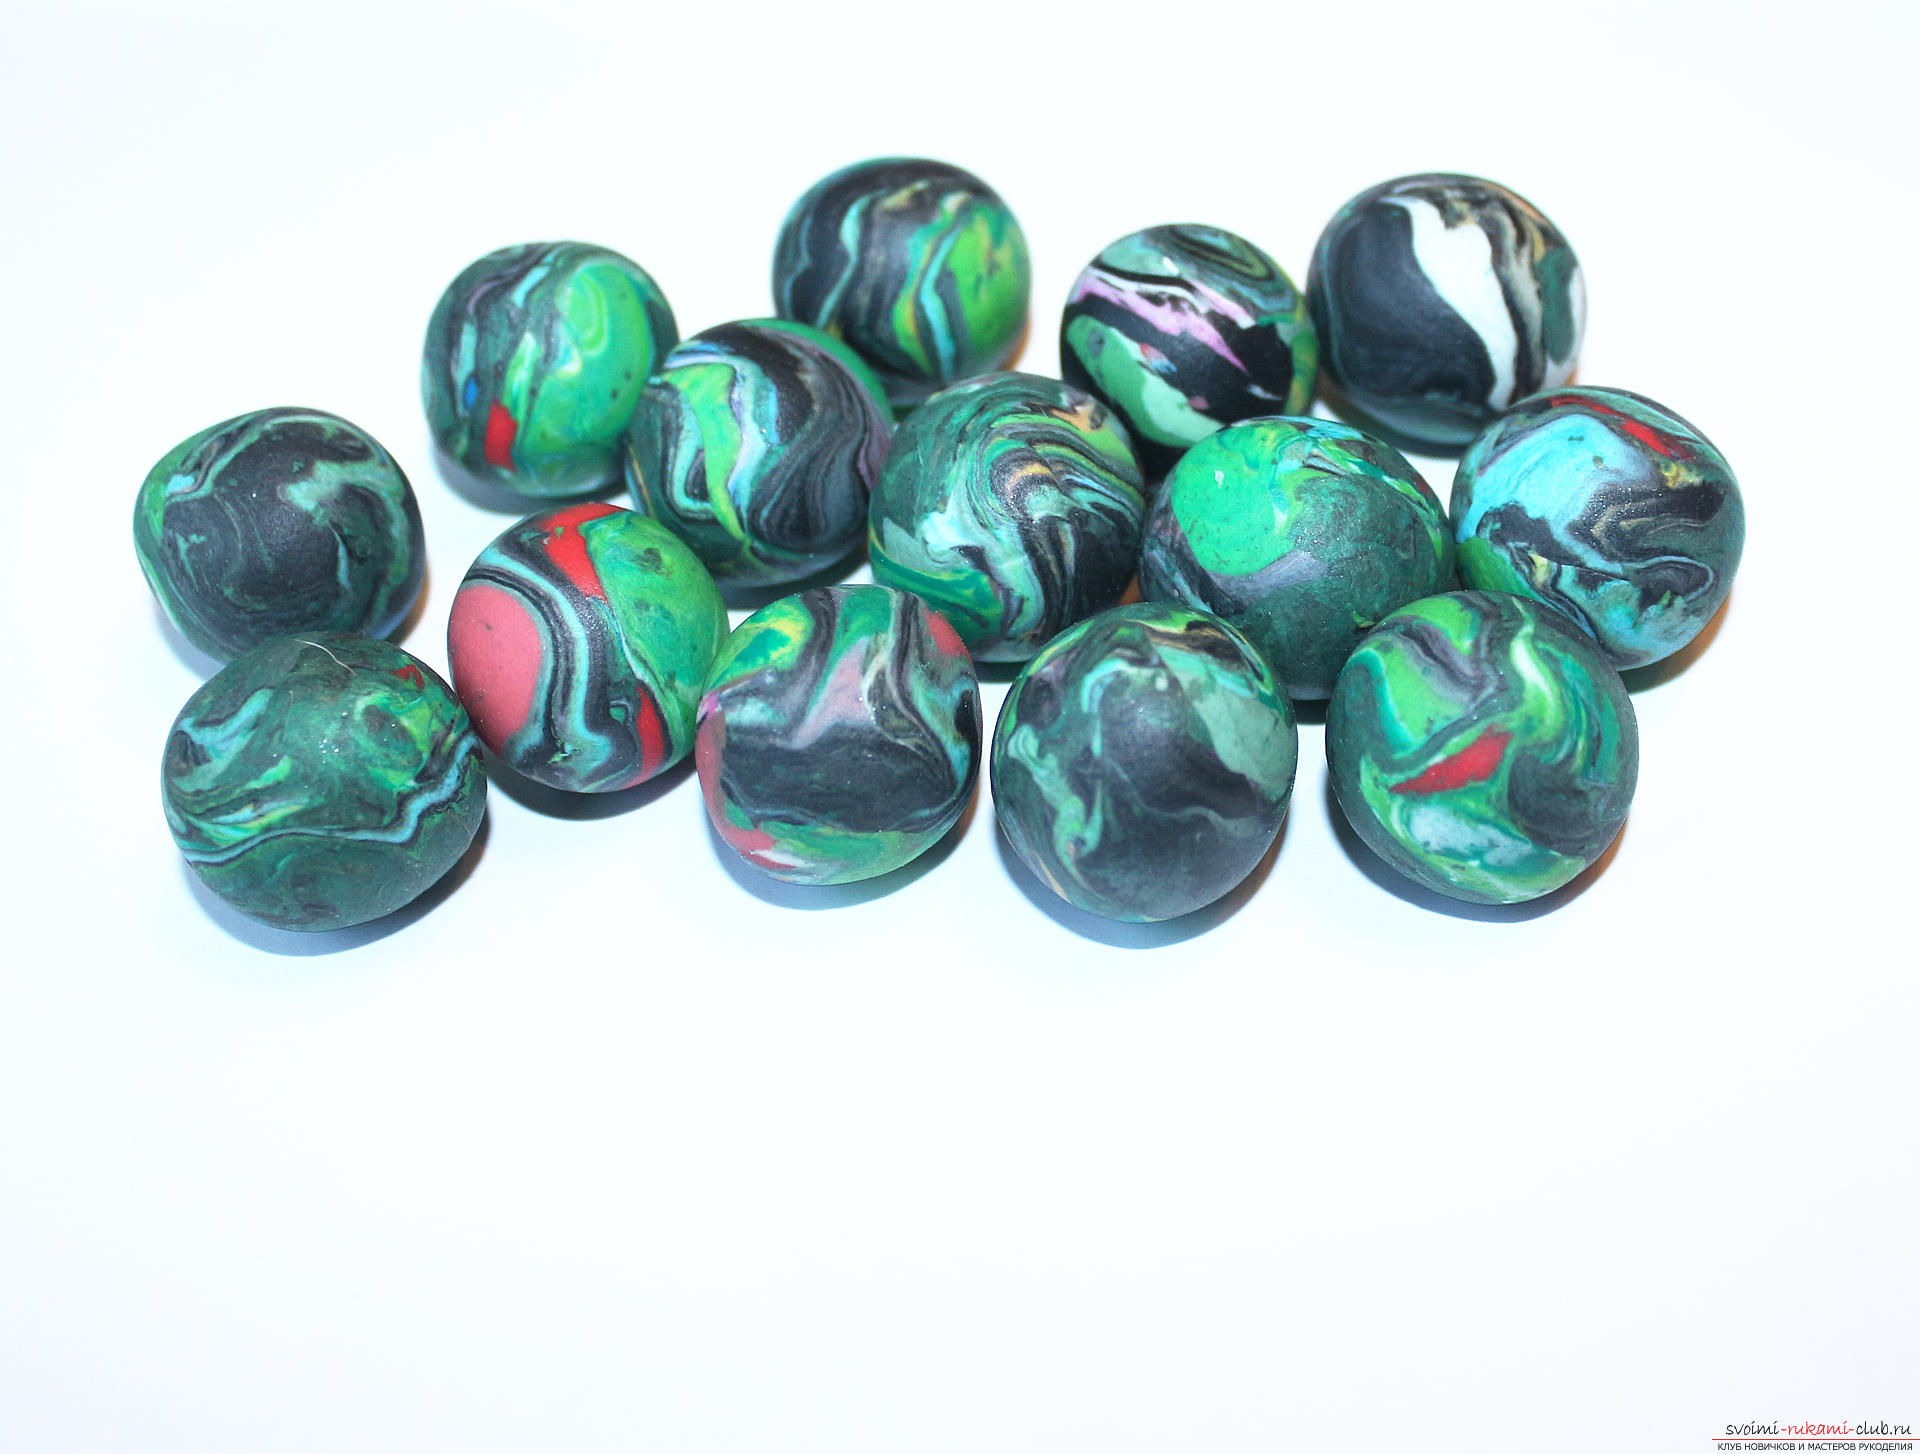 We pick up a thin strip and begin to wind each bead along a "spiral". Each layer of the spiral must cover the previous one. The cut of the strip should be visible, it is he who forms the future drawing.
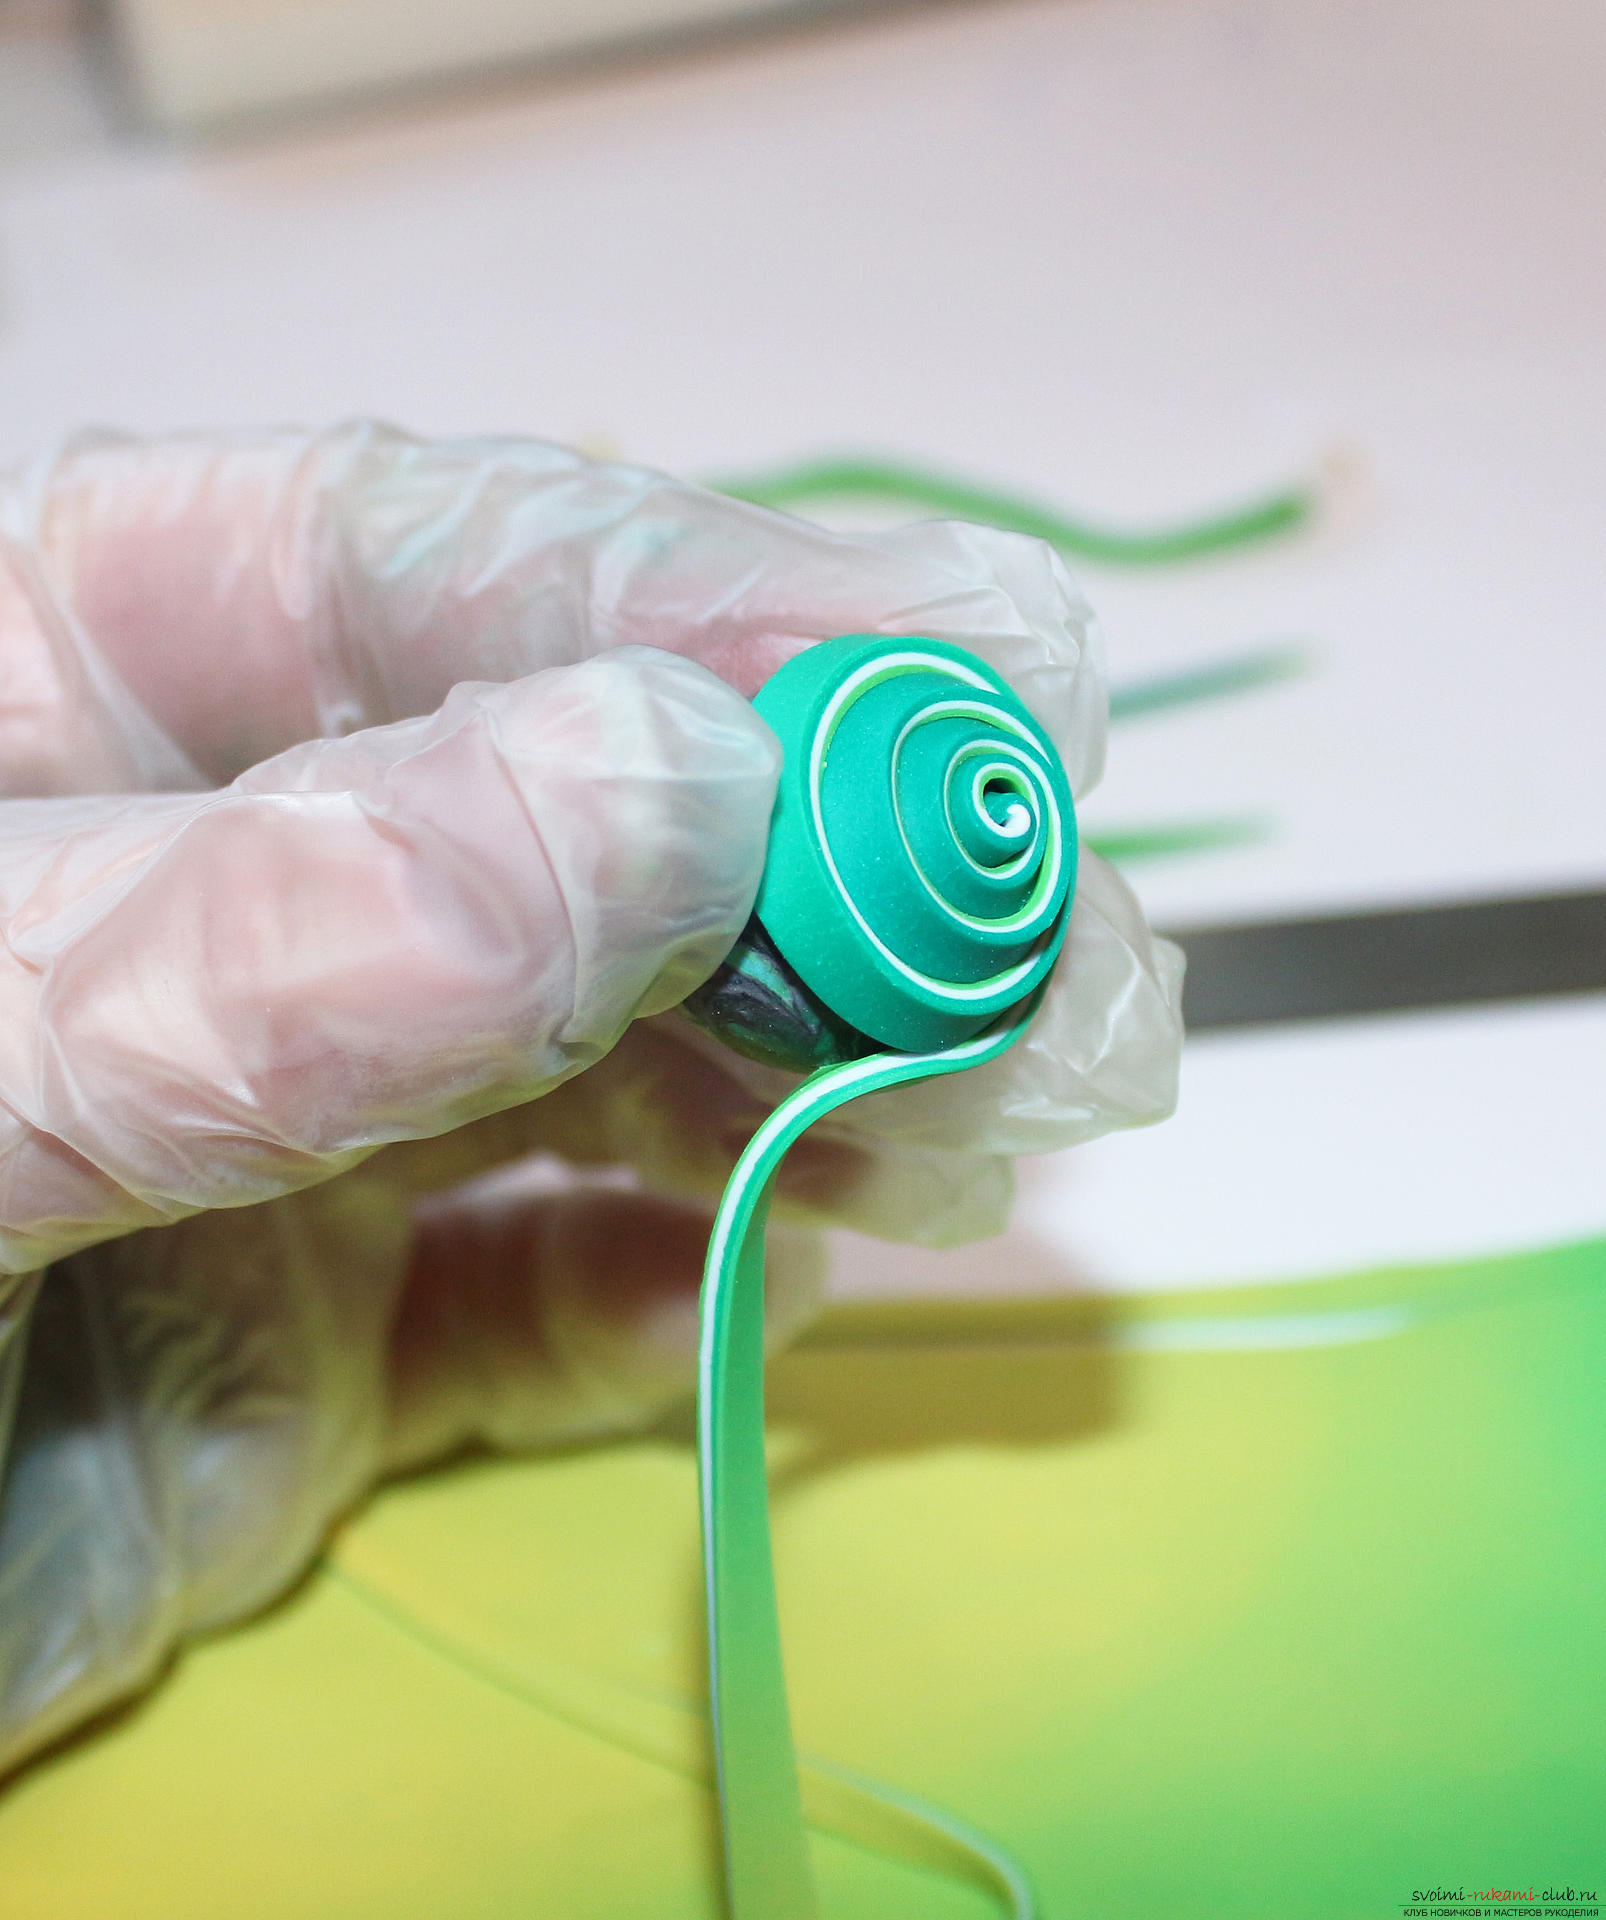
 When the strip ends, place the next strip on its edge, observing the color scale.
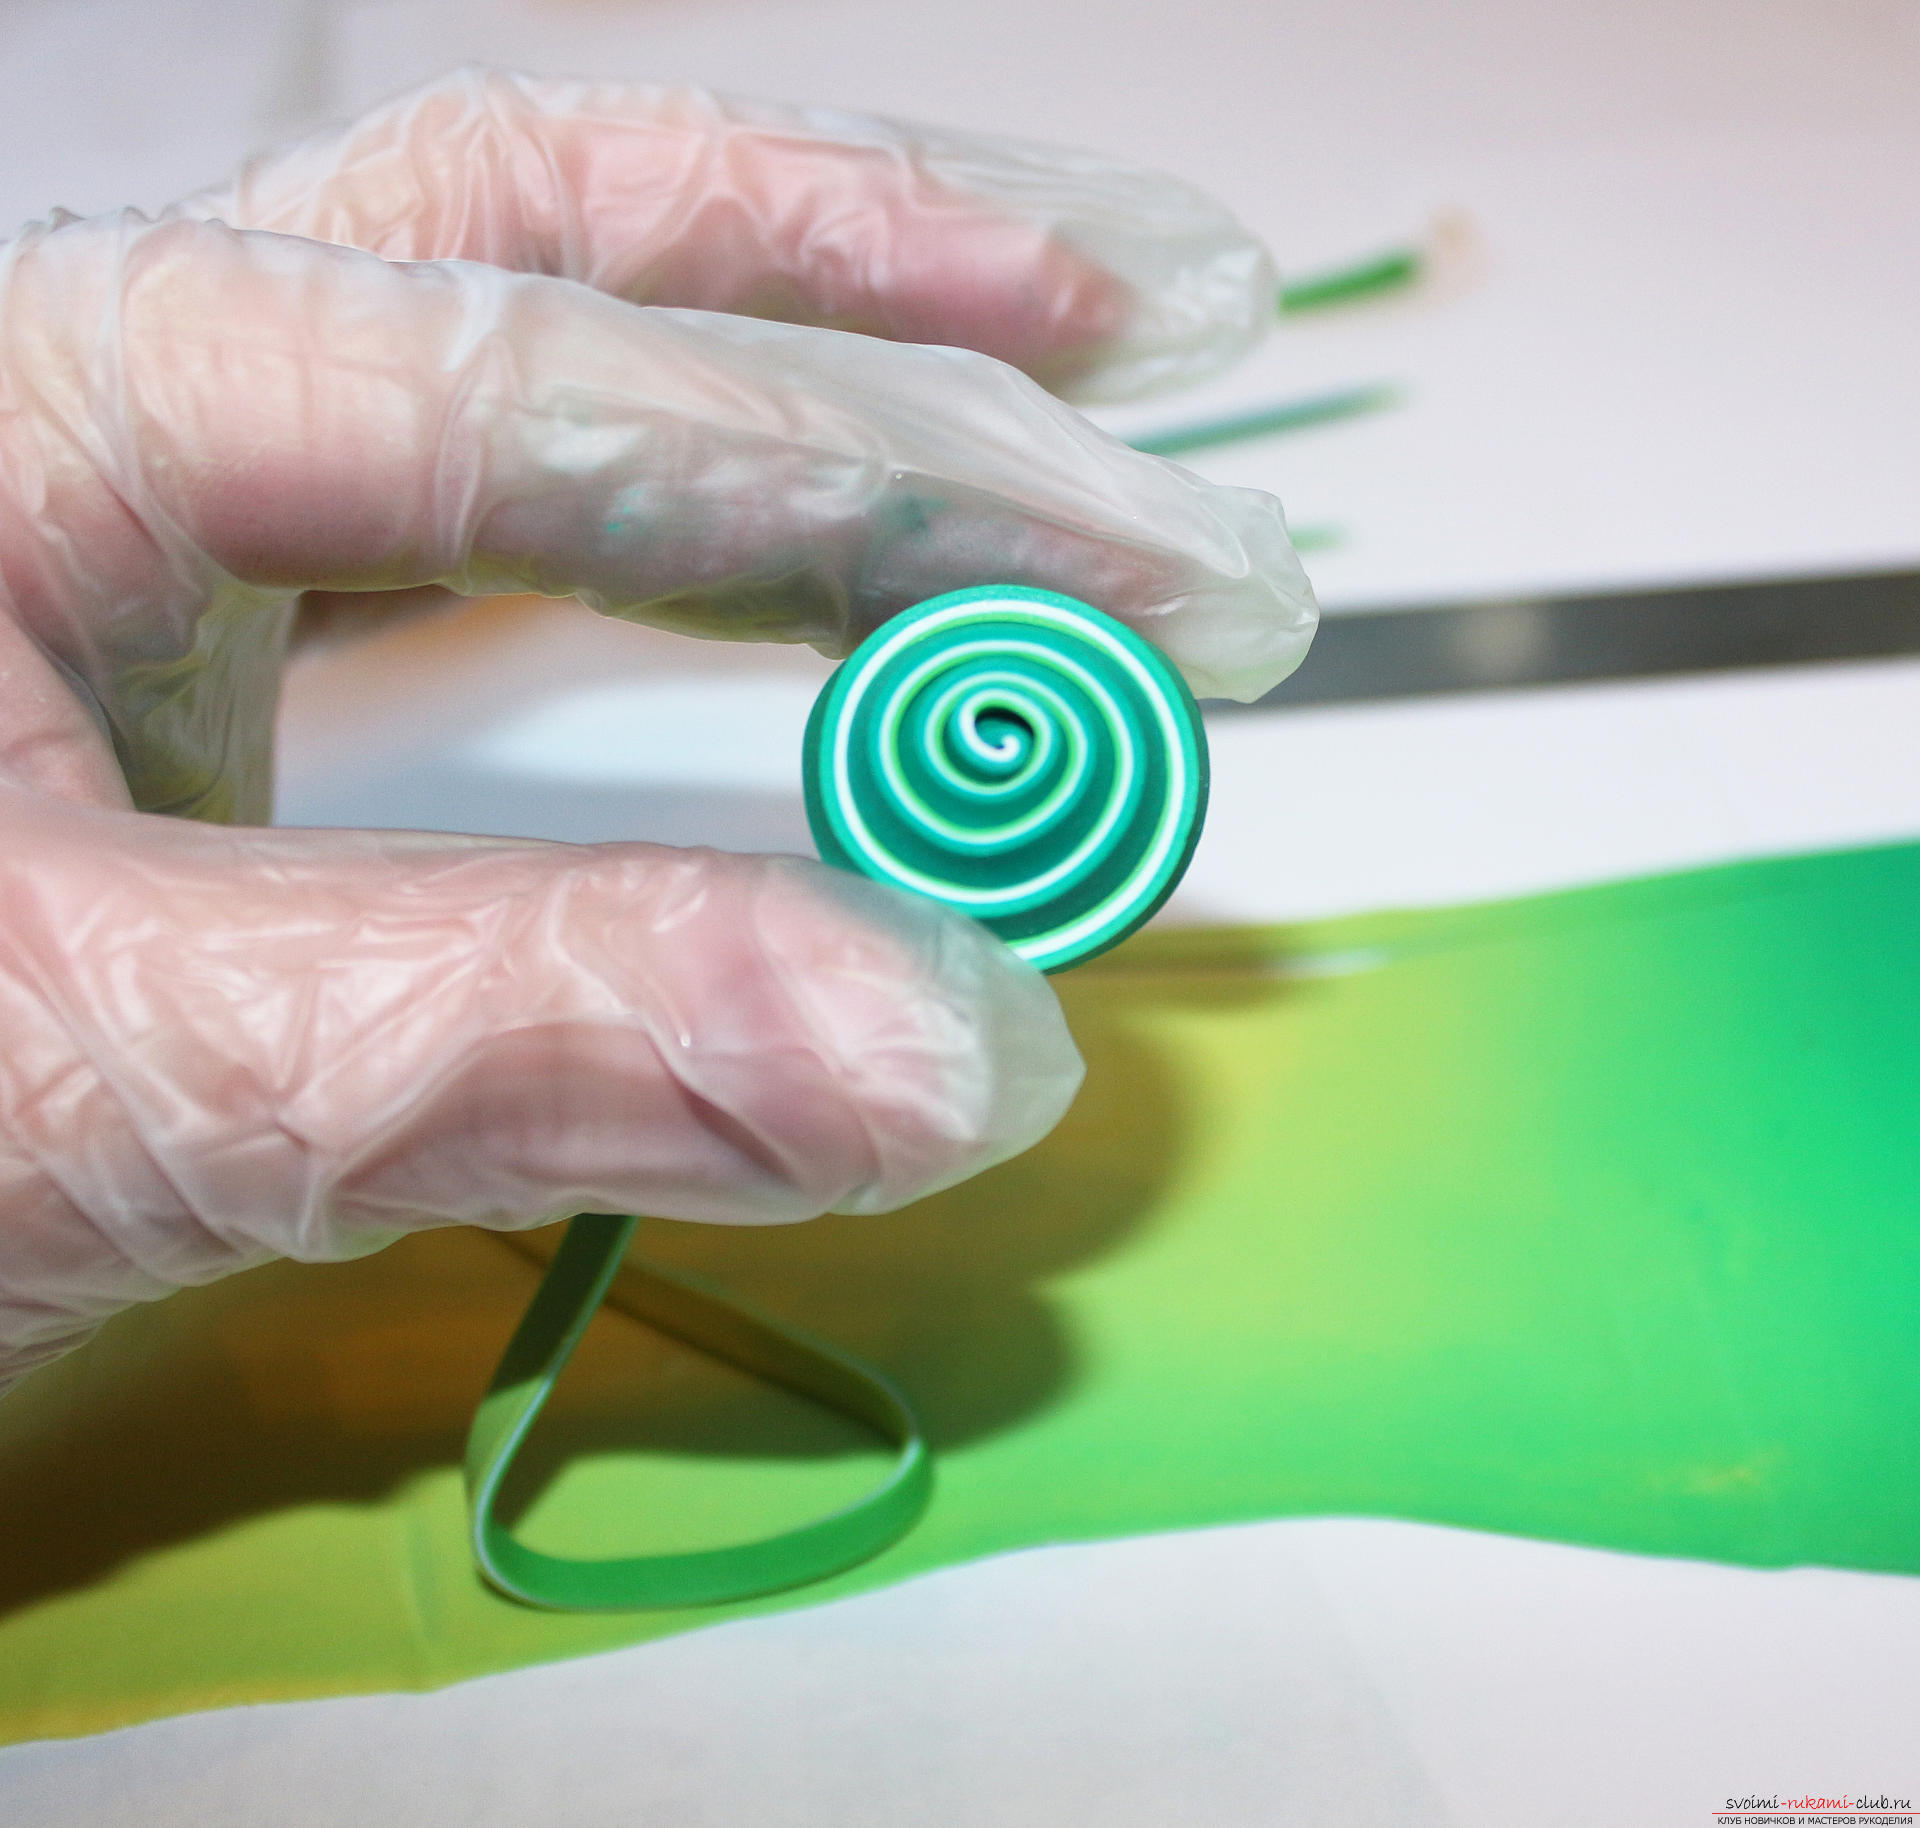
 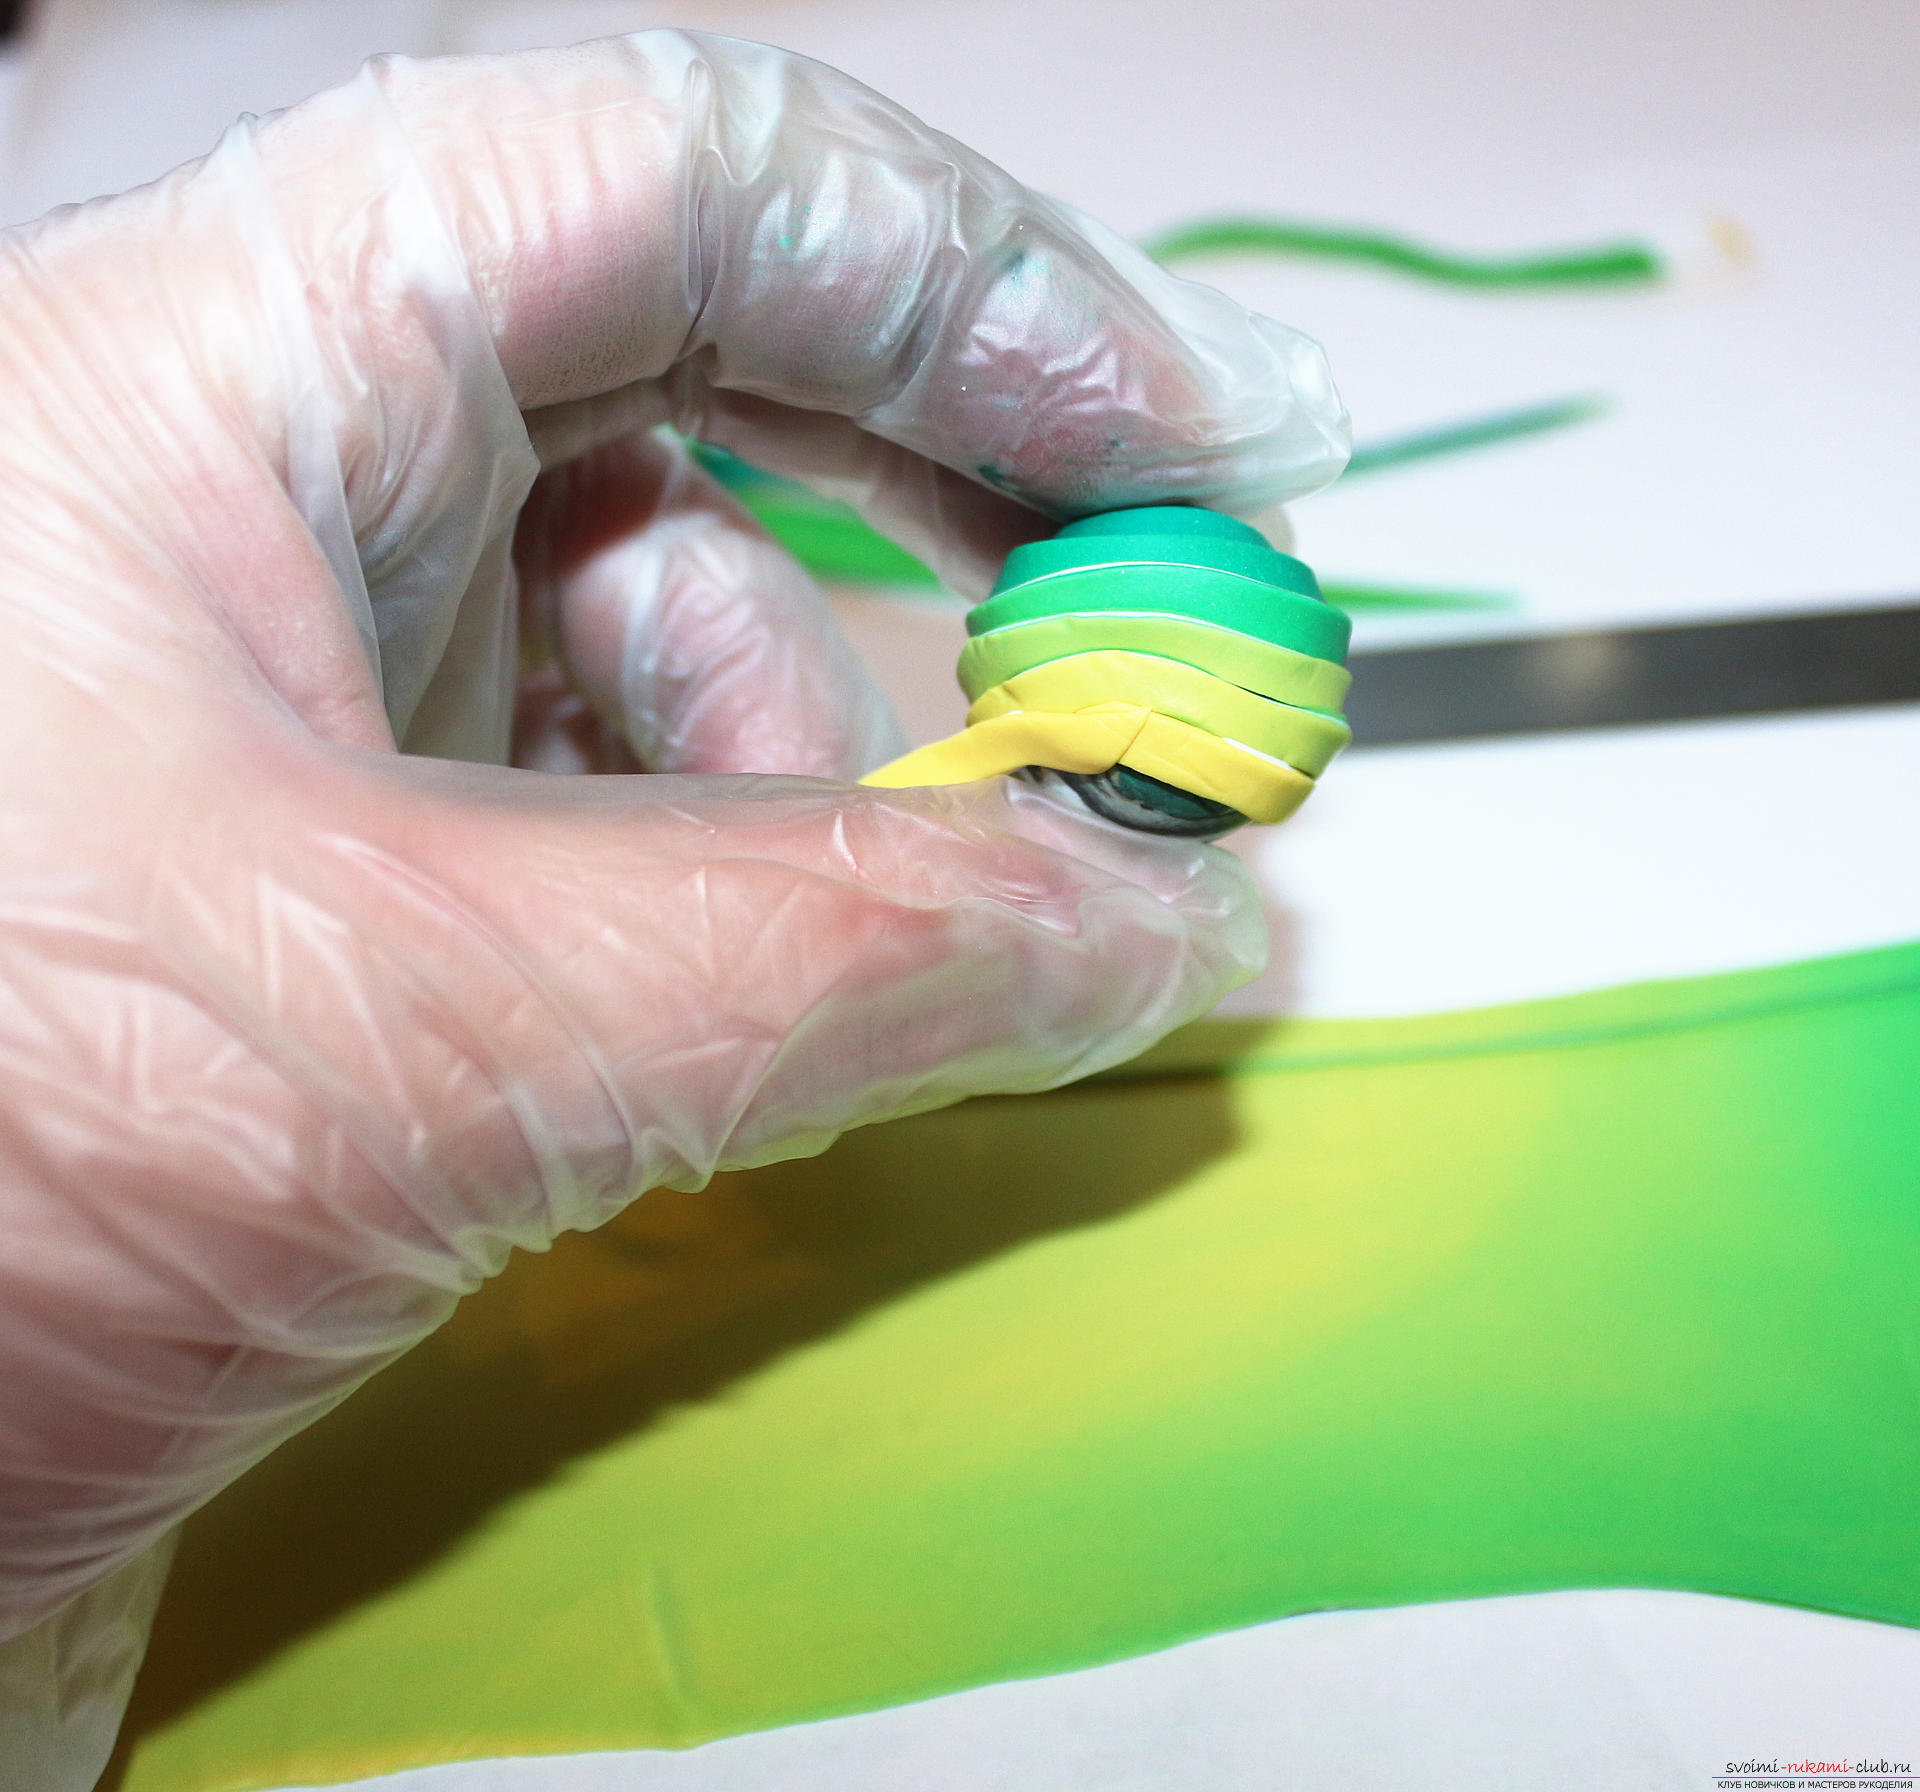 When the whole bead is wrapped, cut off the rest of the strip with a blade.
 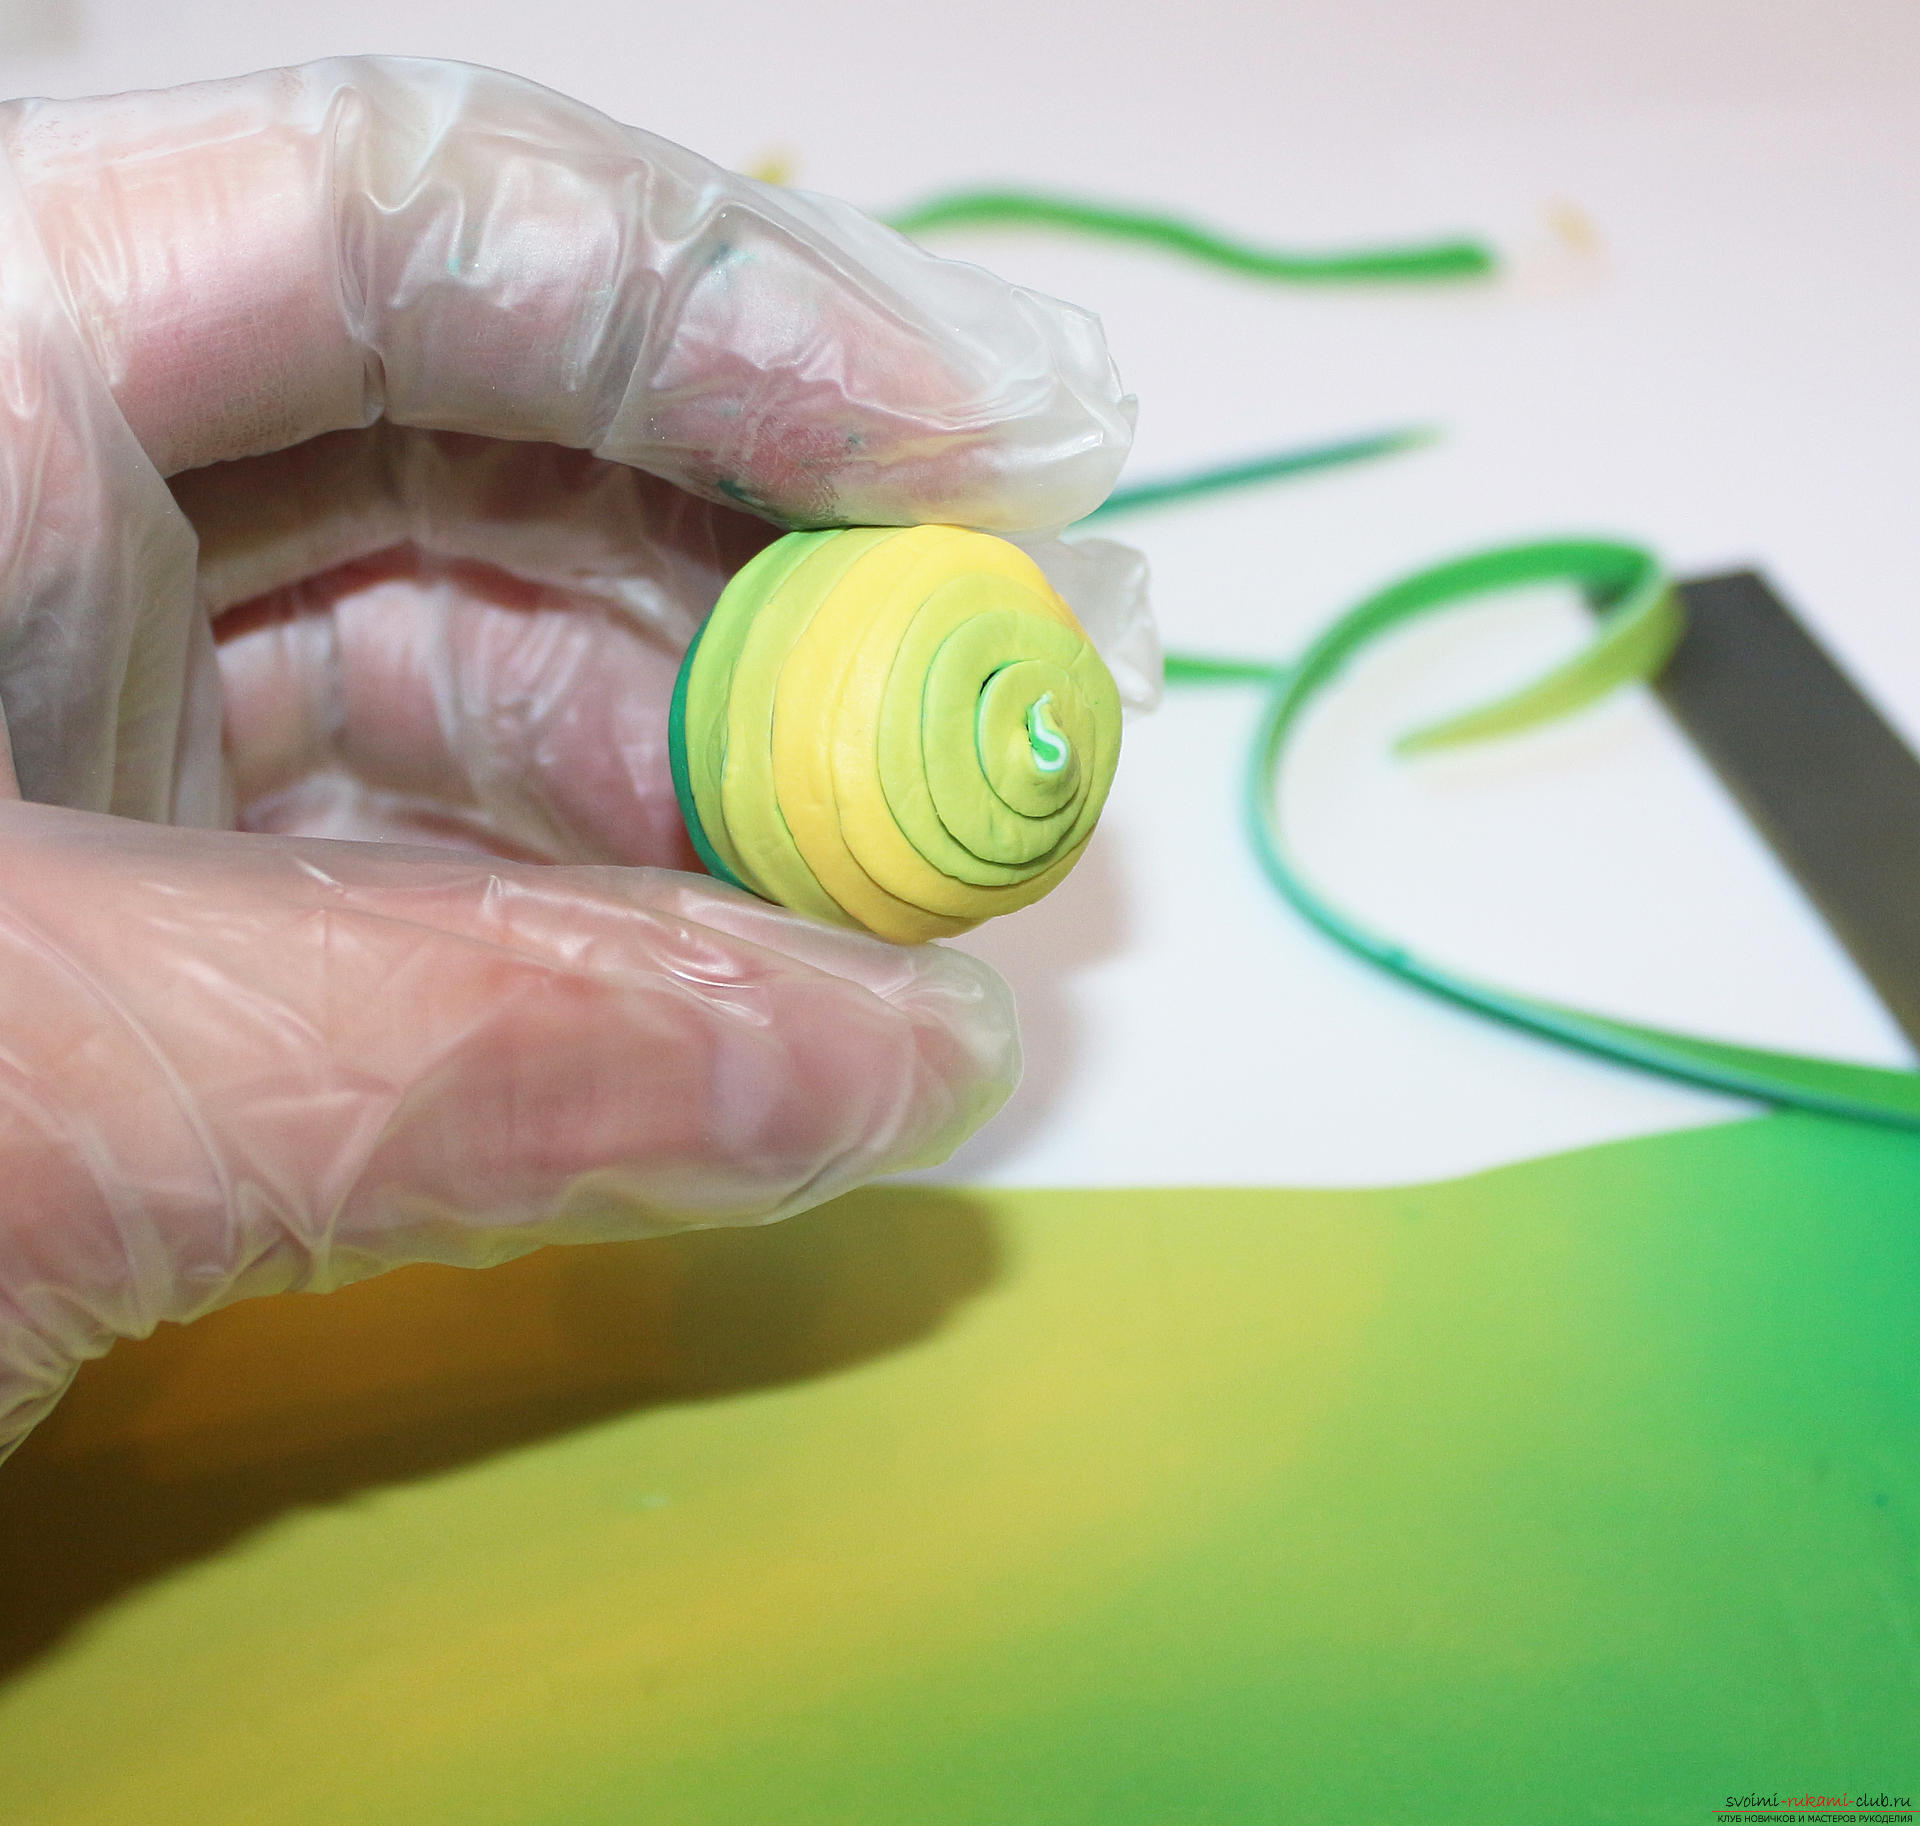 We roll the ball in the palms until the seams are flattened and a smooth bead turns out.
 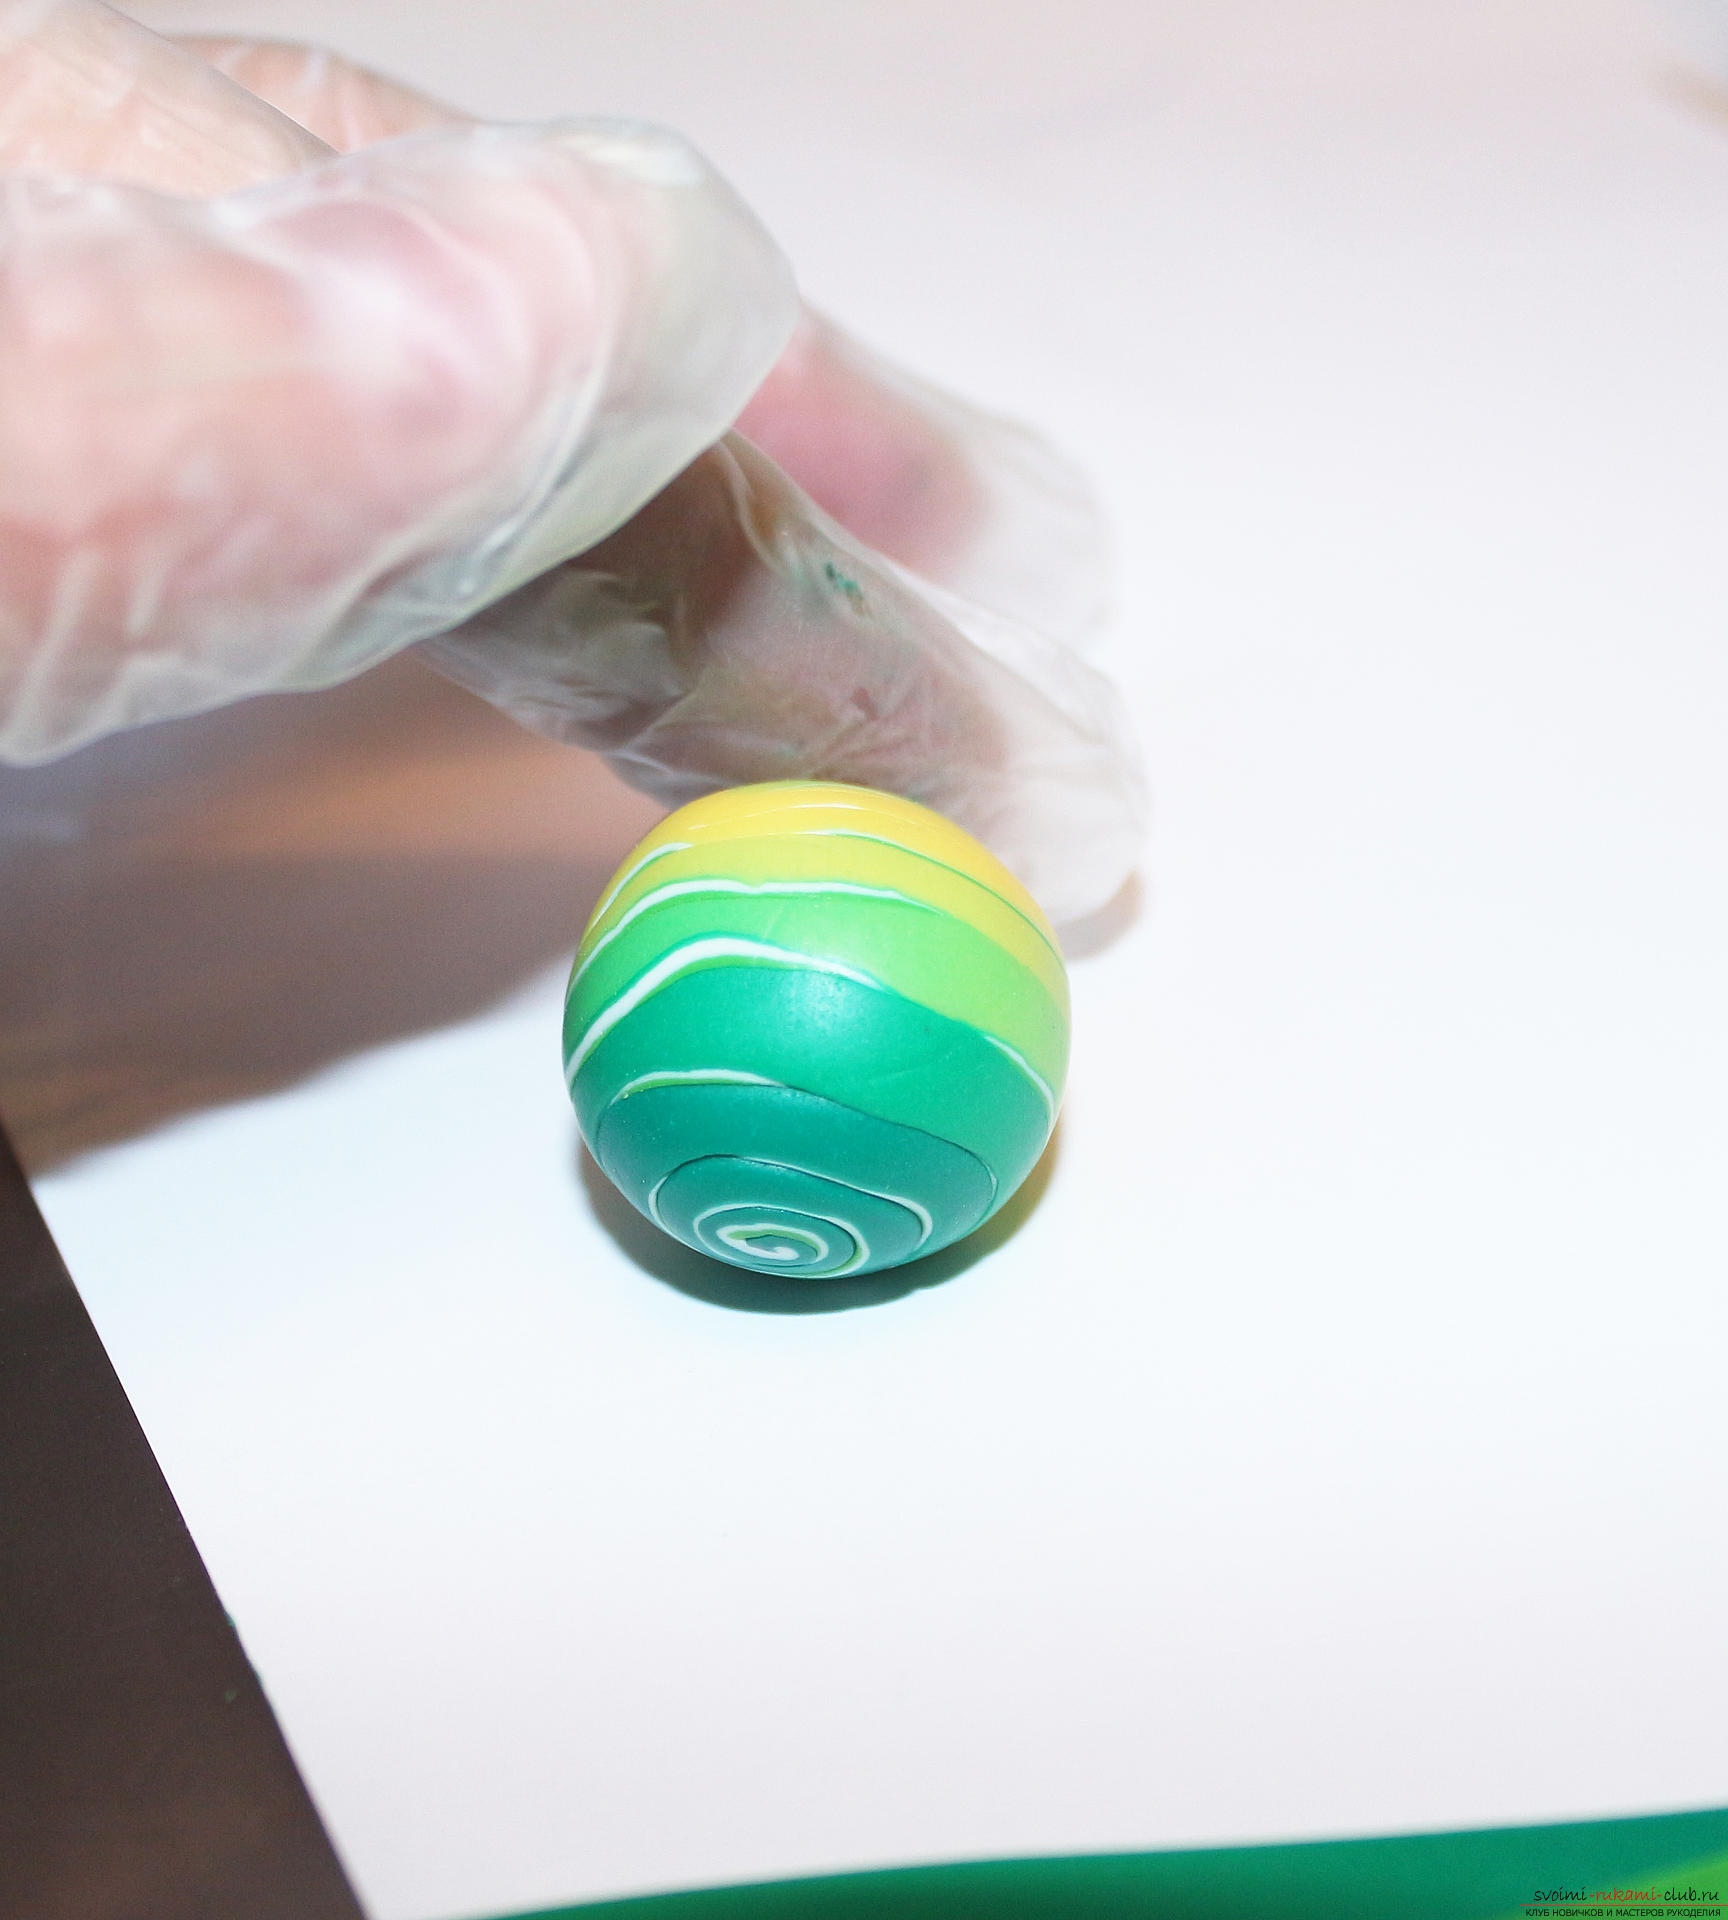 Repeat the process as many times as there are enough strips and bases.
 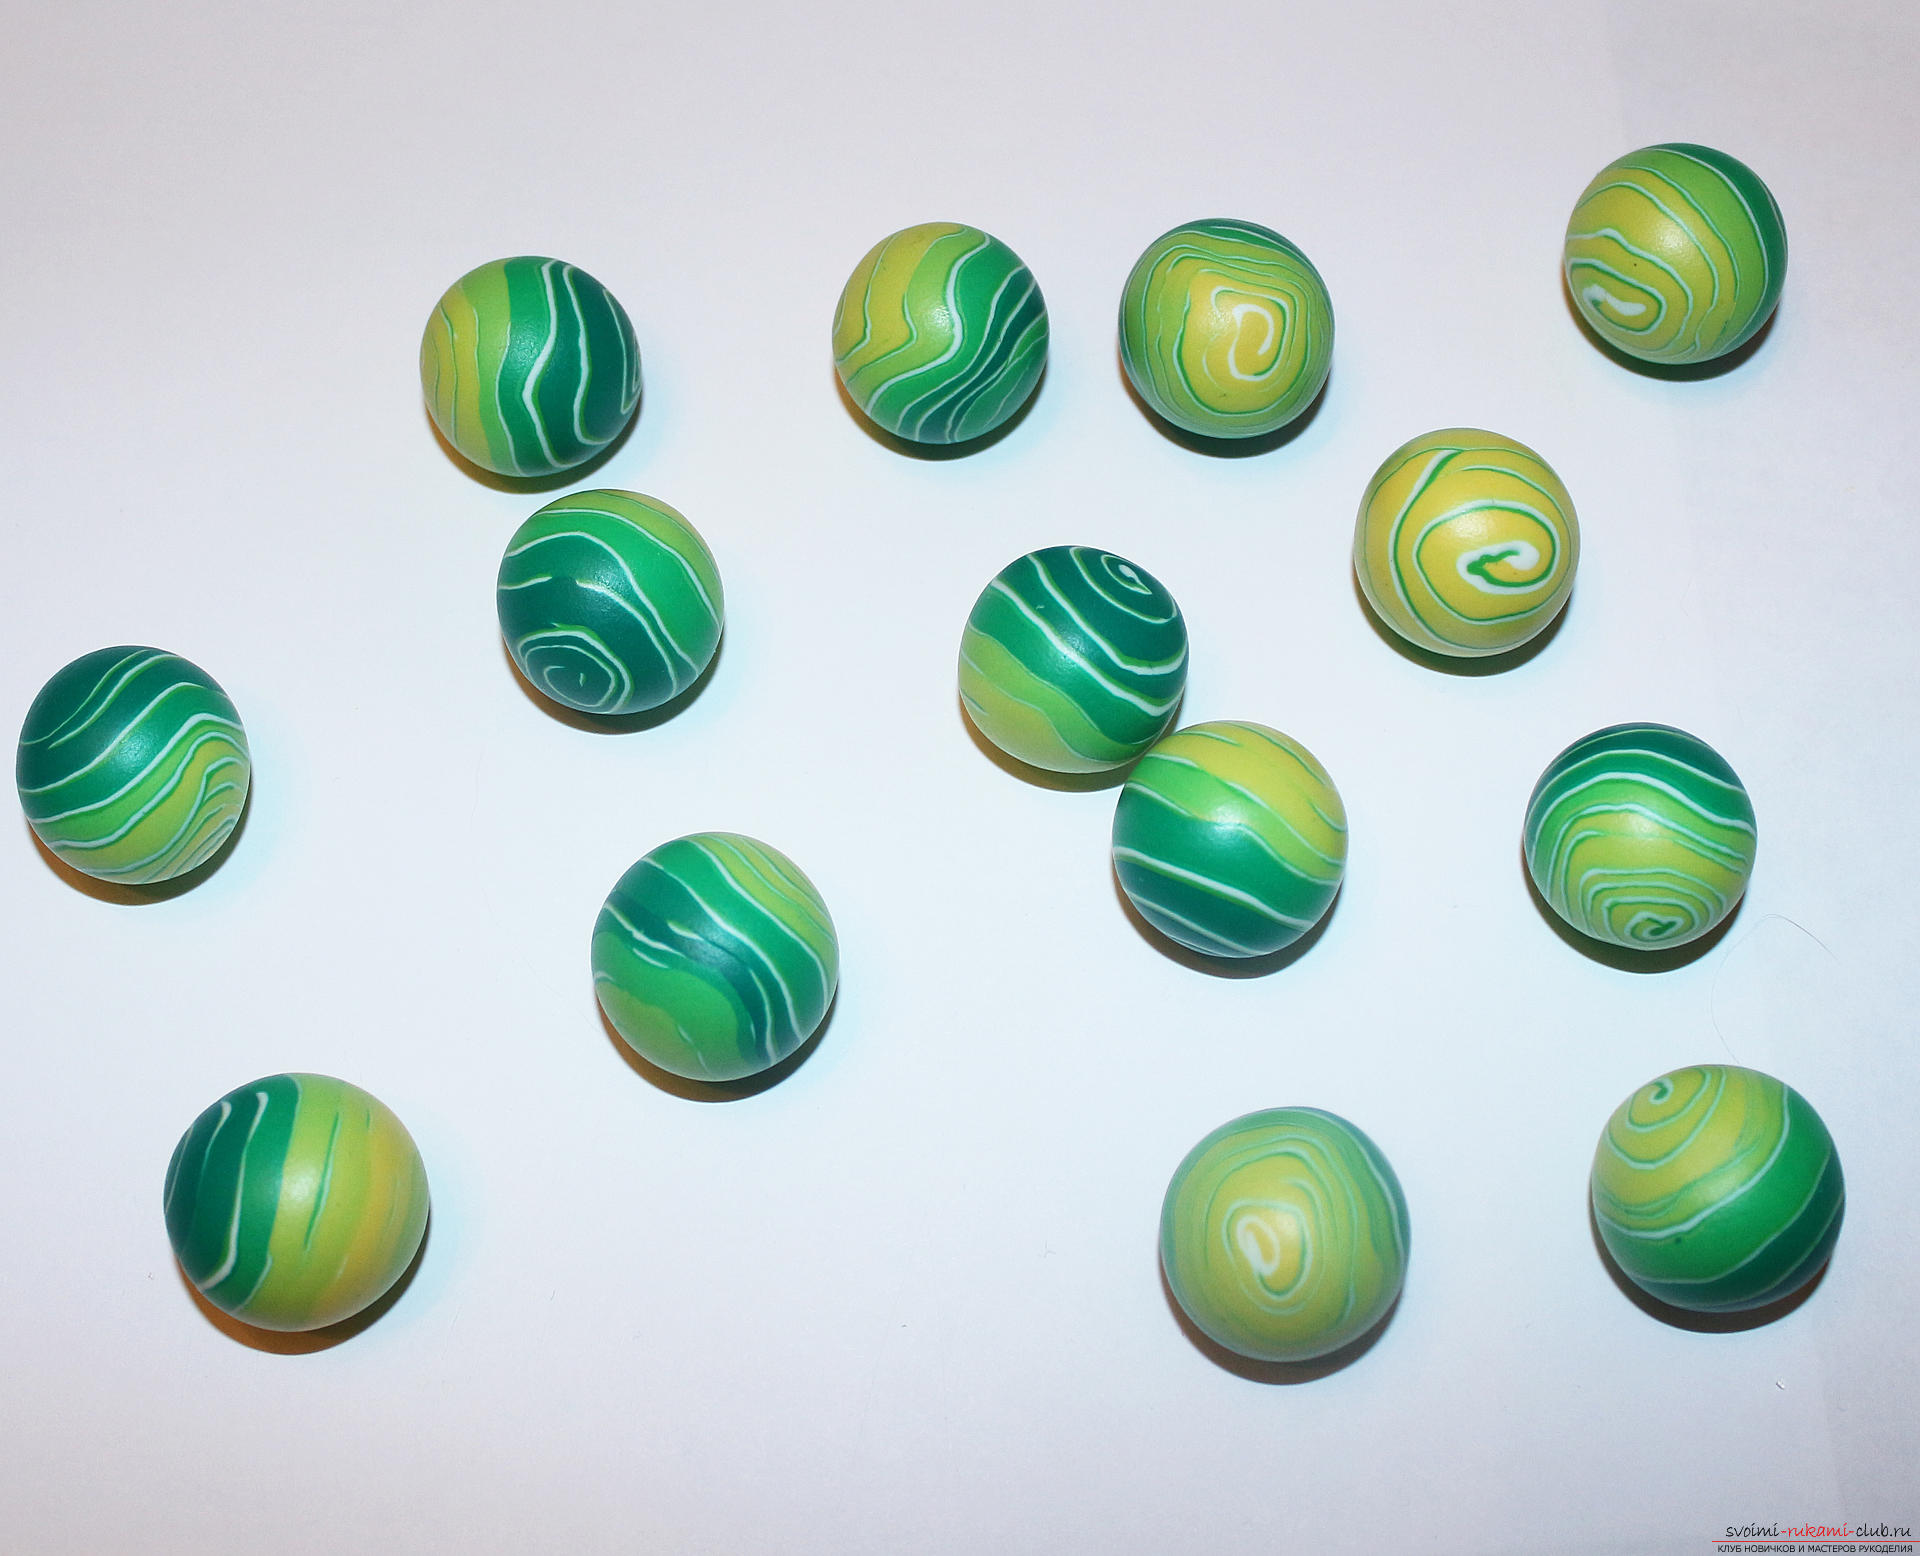 Now we make holes in the beads. Holding the bead with your fingers, gently "drill" a hole in it with a toothpick. To avoid fingerprints, the bead can be pre-cooled in the refrigerator or gloves can be used.
  After the toothpick passes through the bead through, do not remove it, but directly on the toothpick insert into a tight lump of foil. In this form, the bead must be baked.
 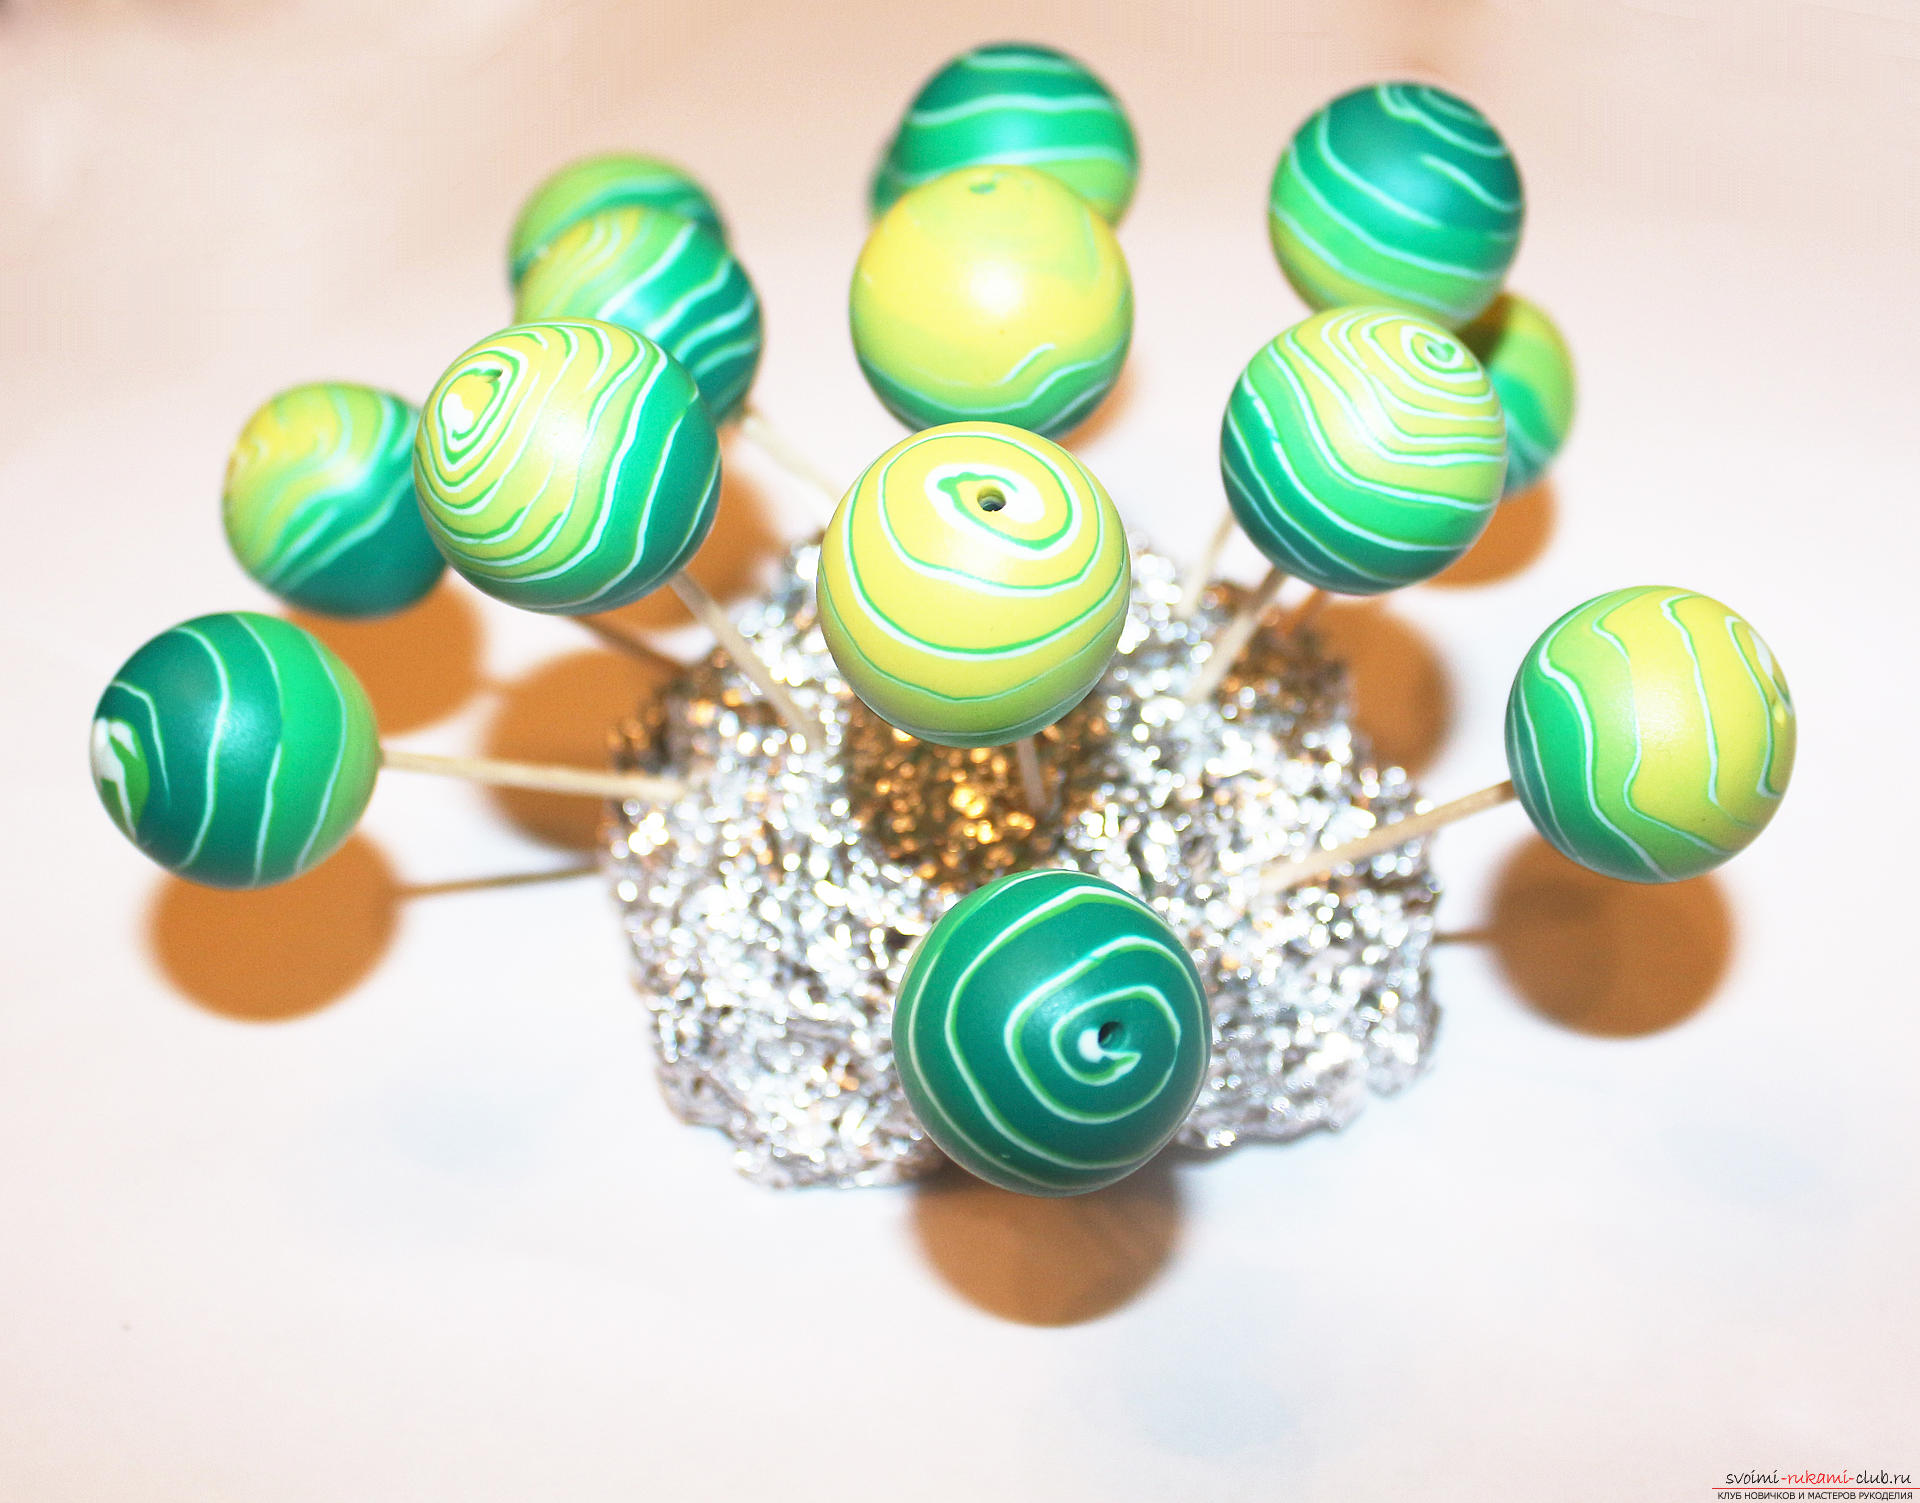 Baked beads in the temperature regime,which is indicated on the plastic packaging. I have a plastic artifact (it is sculpted well, but it gets dirty very much). It is baked for 30 minutes at a temperature of 130 degrees Celsius. After baking we take out, cool and use beads for polymer decoration in accordance with the idea.
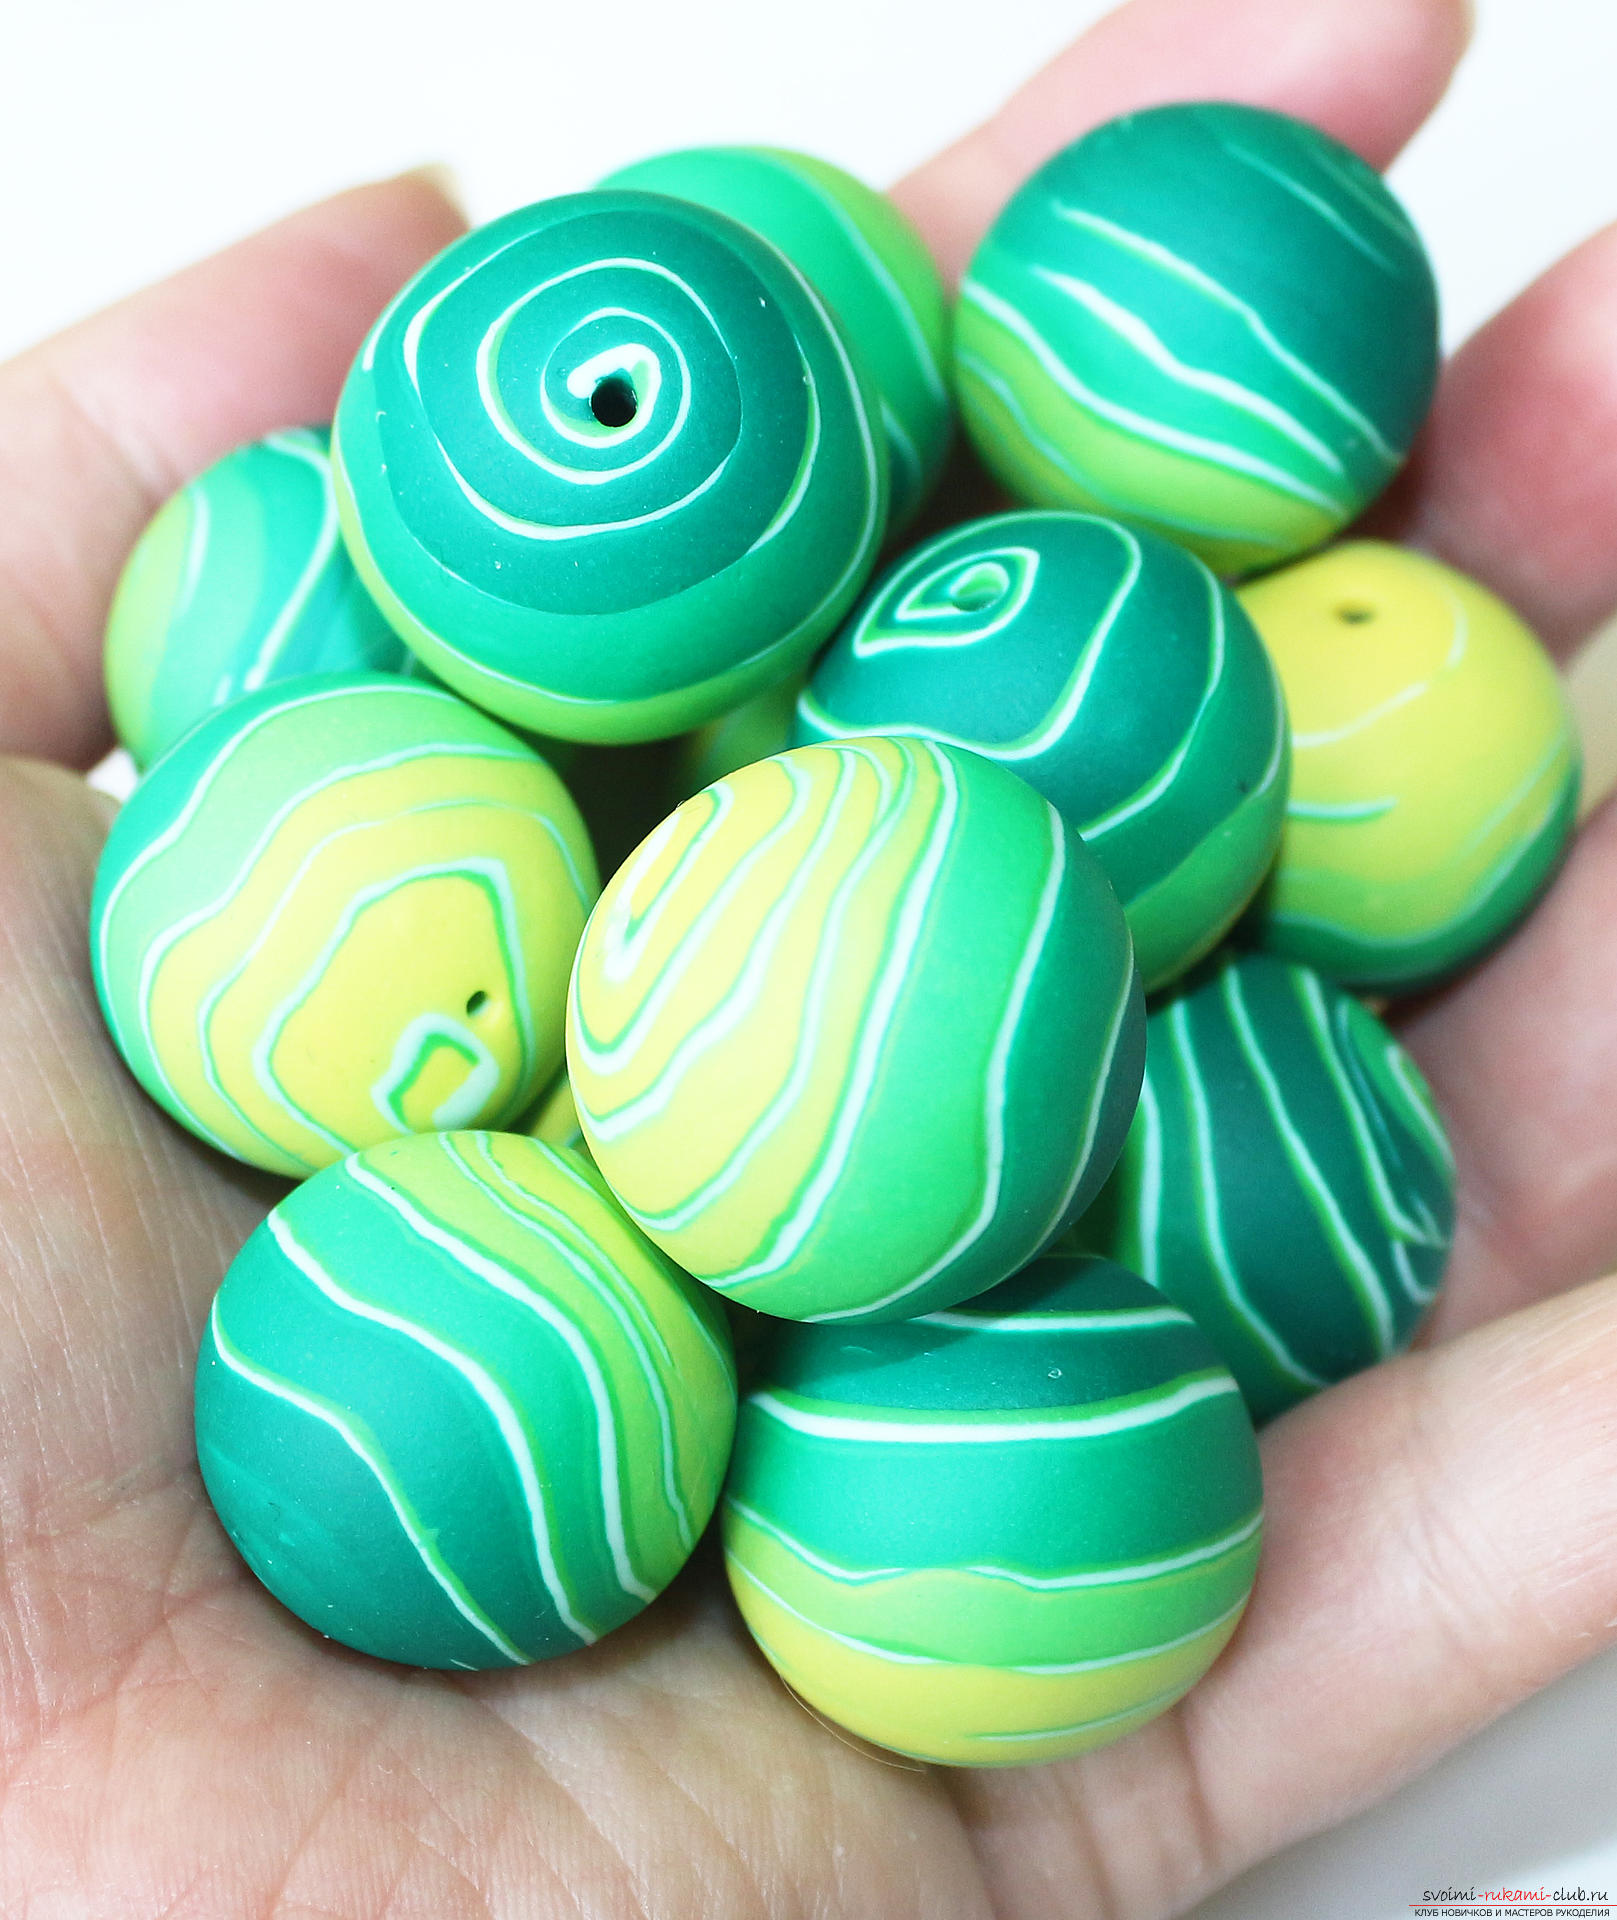
Comments
Related posts:
 This detailed master class contains the technique of working with polymer clay and will teach you how to make Keynes and beads from polymer clay.
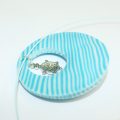 This detailed master class with photo and description will teach how to create with your own hands a set of jewelry made of polymer clay - a pendant and earrings with a turtle.
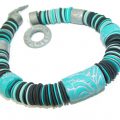
 This detailed master class with photos will teach you how to make your own necklace of polymer clay.
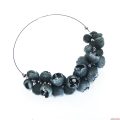
 This detailed master class will teach how to make an ornament of polymer clay - beads in the ethno-style with their own hands.
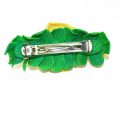 This detailed master class with photo and description will teach you how to make your own flowers from polymer clay for hair clips.