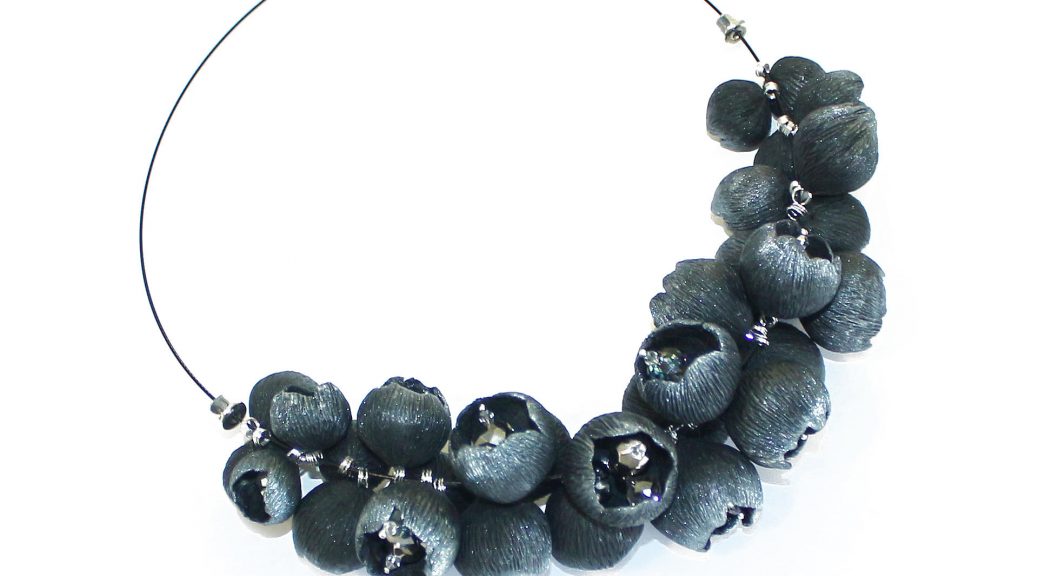
This detailed master class with photos will teach you how to make your own necklace of polymer clay.
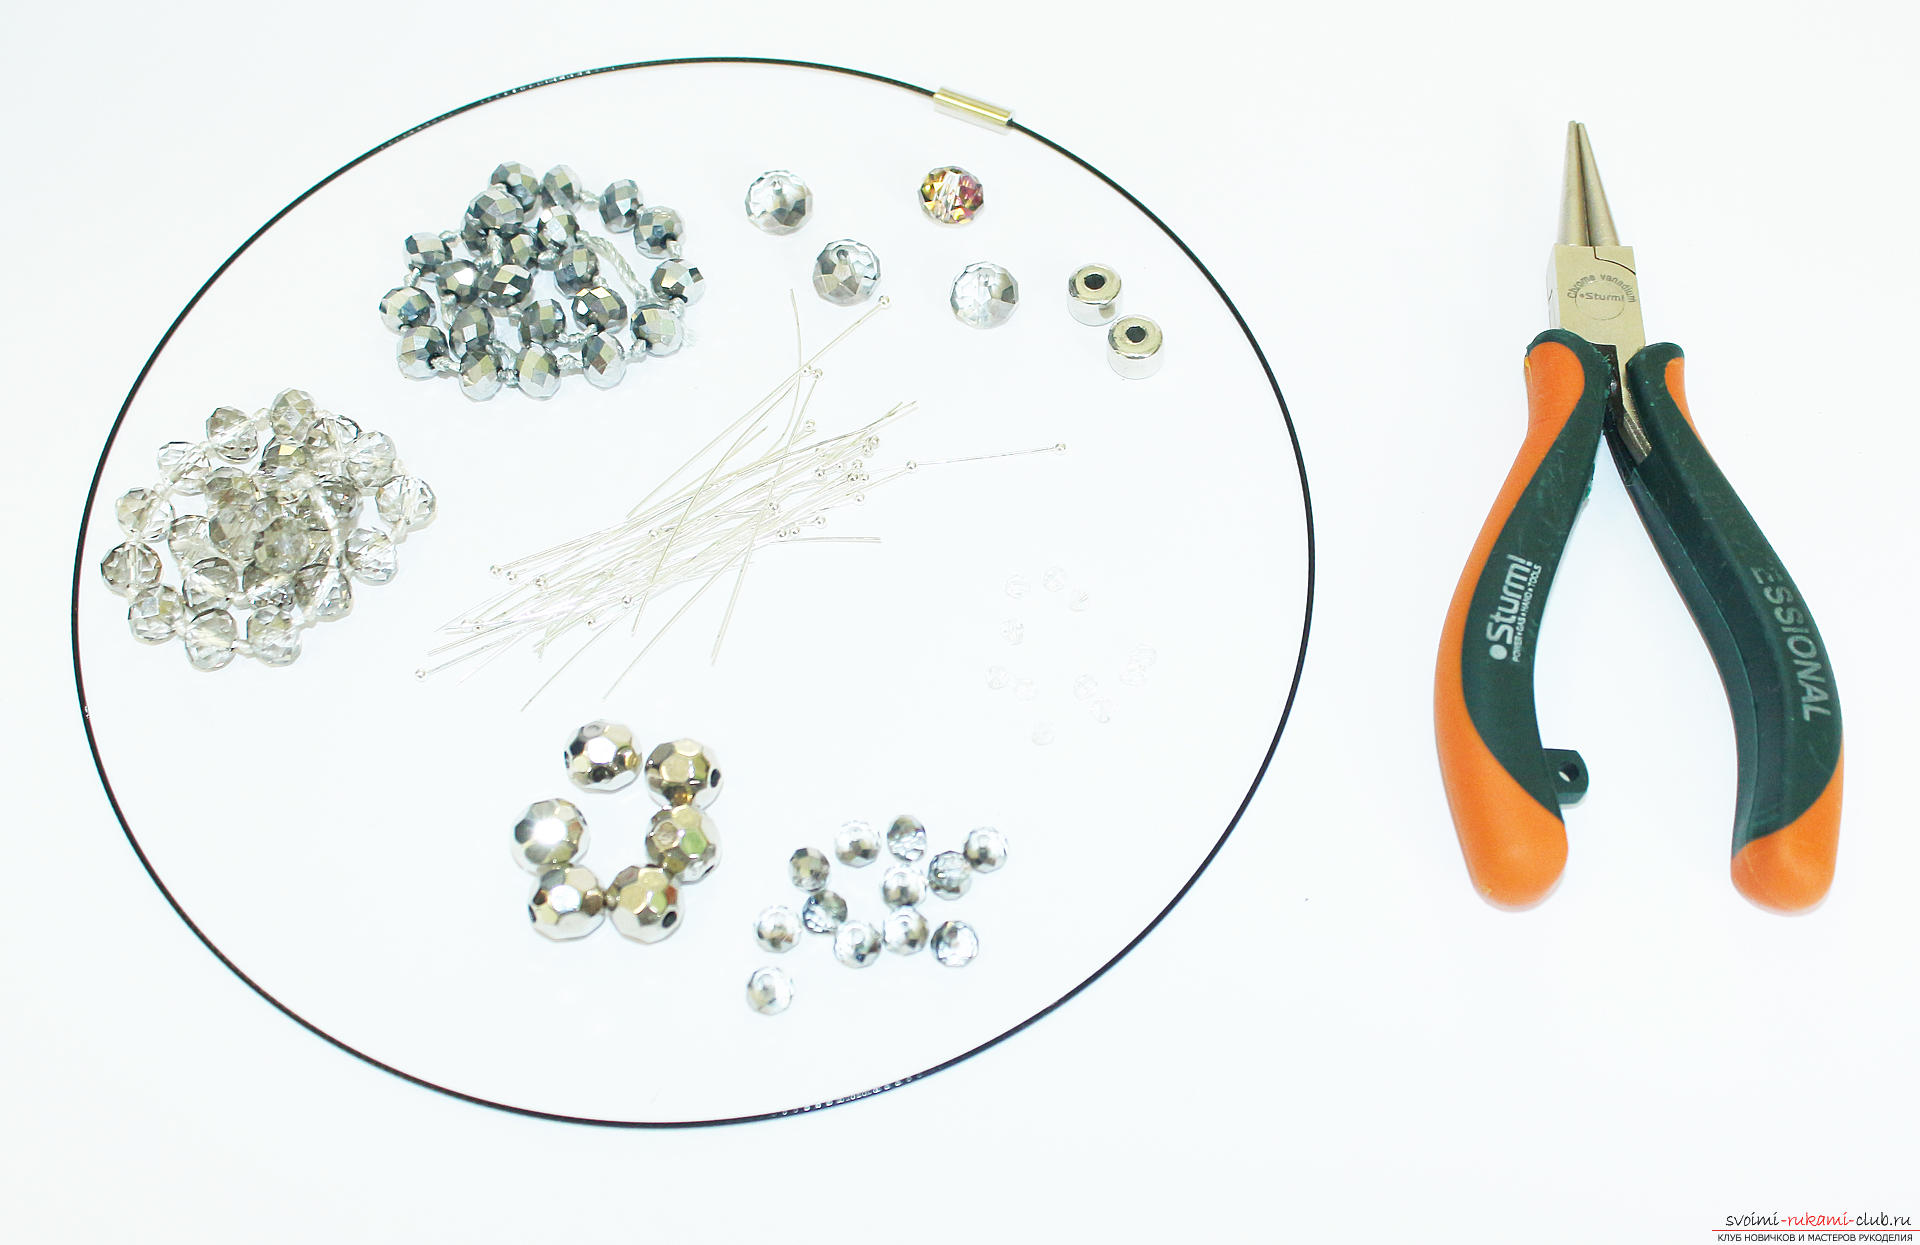
 To create a necklace of polymer clayhands need: - Black plastic - Round and floral cutters - Toothpicks - Silver powder - Brush - Corrugated paper with fine and coarse texture - Napkins or toilet paper - Basis for necklaces - Cable with lock - Round nose pliers - Pins with a ball - Glass and metal beads different sizes - Skalka
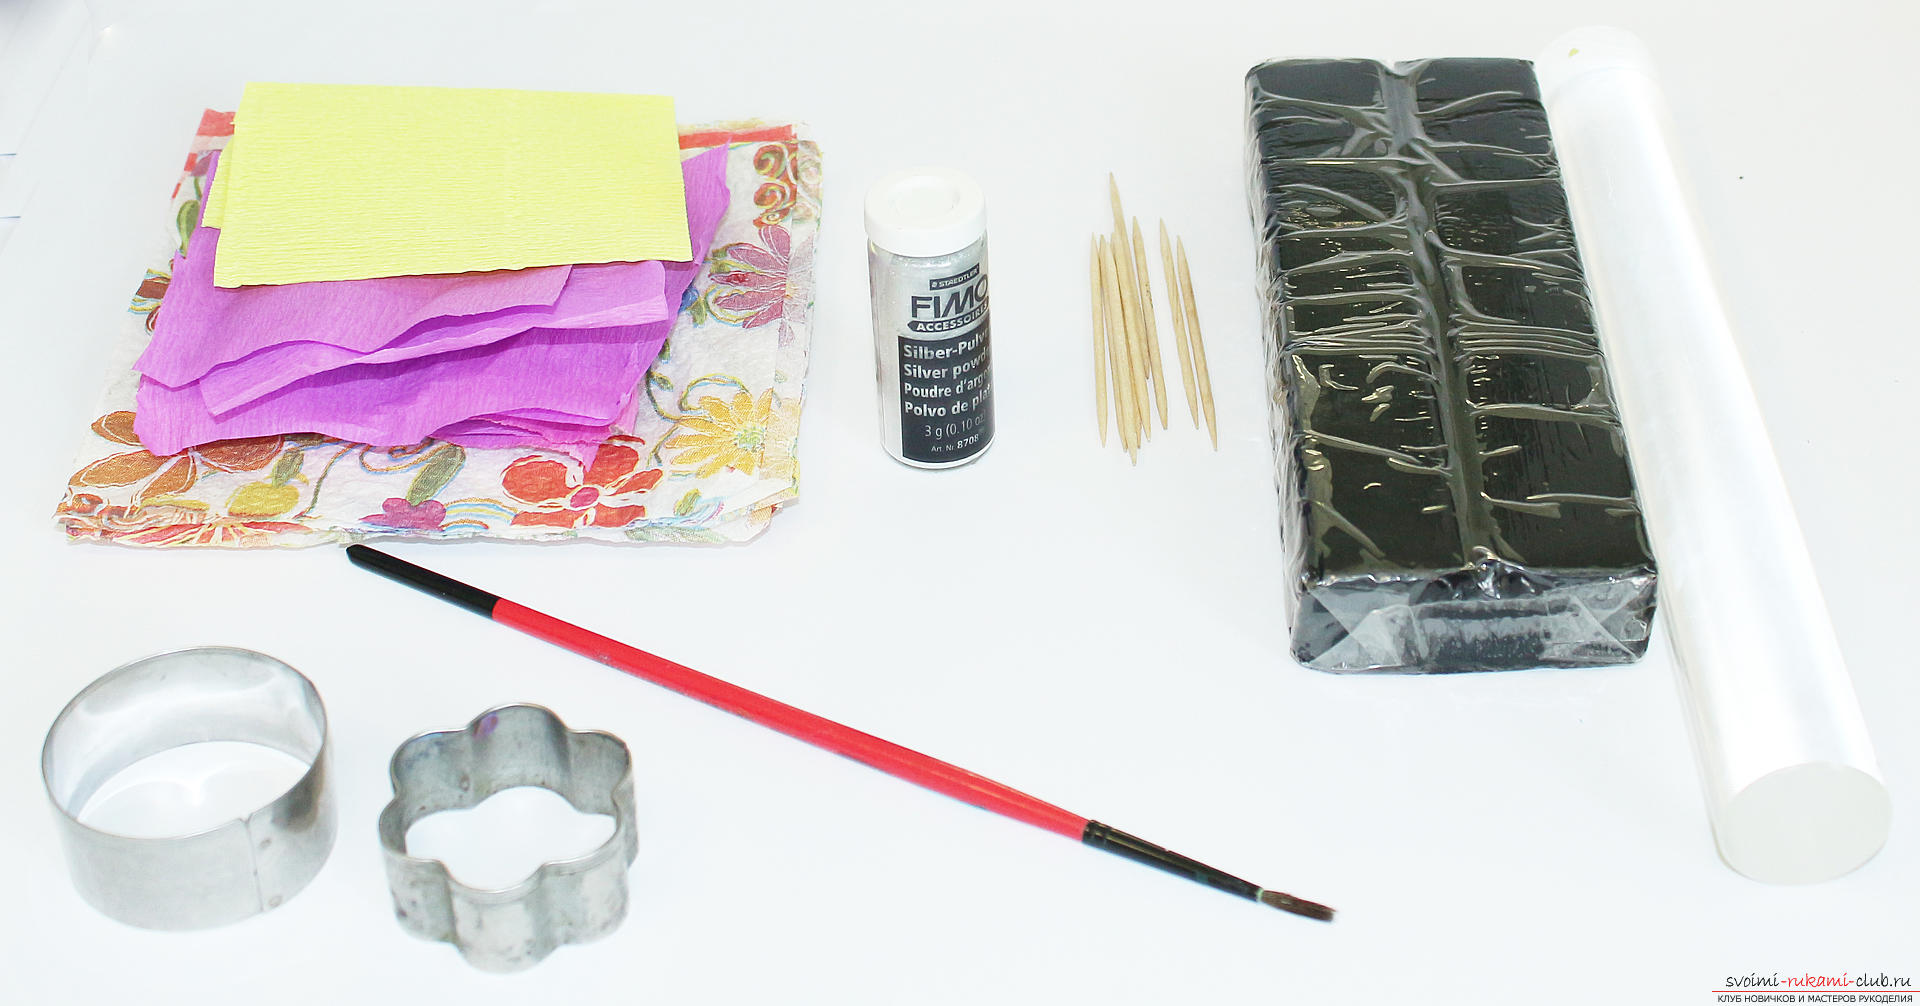
 We start the master class on creating necklaces frompolymer clay. We divide the paper into small pieces and roll them into dense balls. The diameter of the balls is from 0.5 to 1.5 cm. On average, about 40-45 beads are used for work, therefore, it is necessary to prepare a corresponding number of blanks. We cut the corrugated paper with a shallow texture into squares of 5 * 5 cm and 7 * 7 cm.
 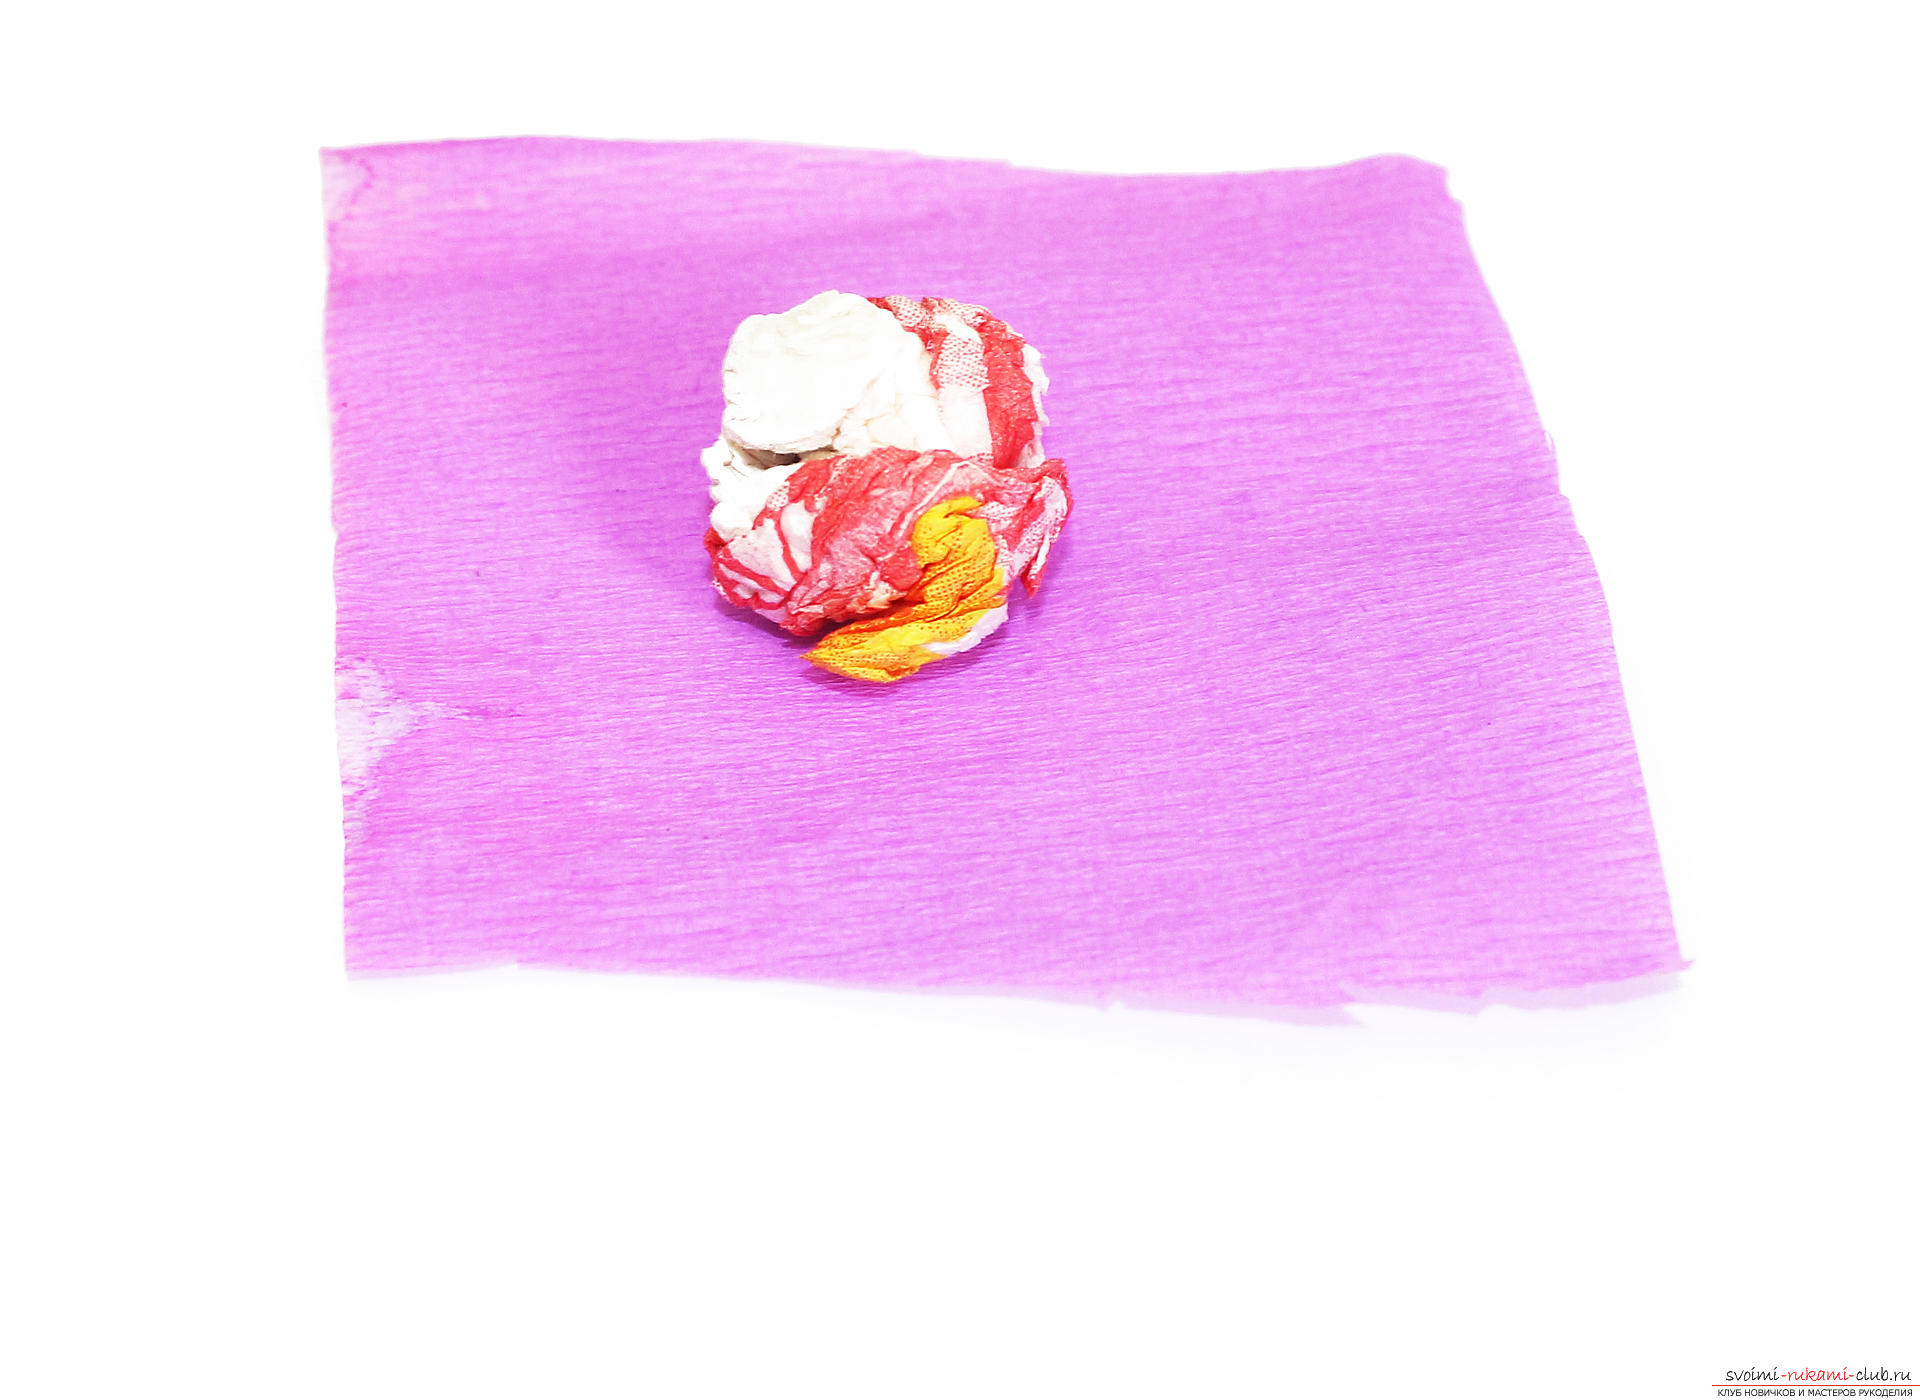 In each such box we wrap the ball.
 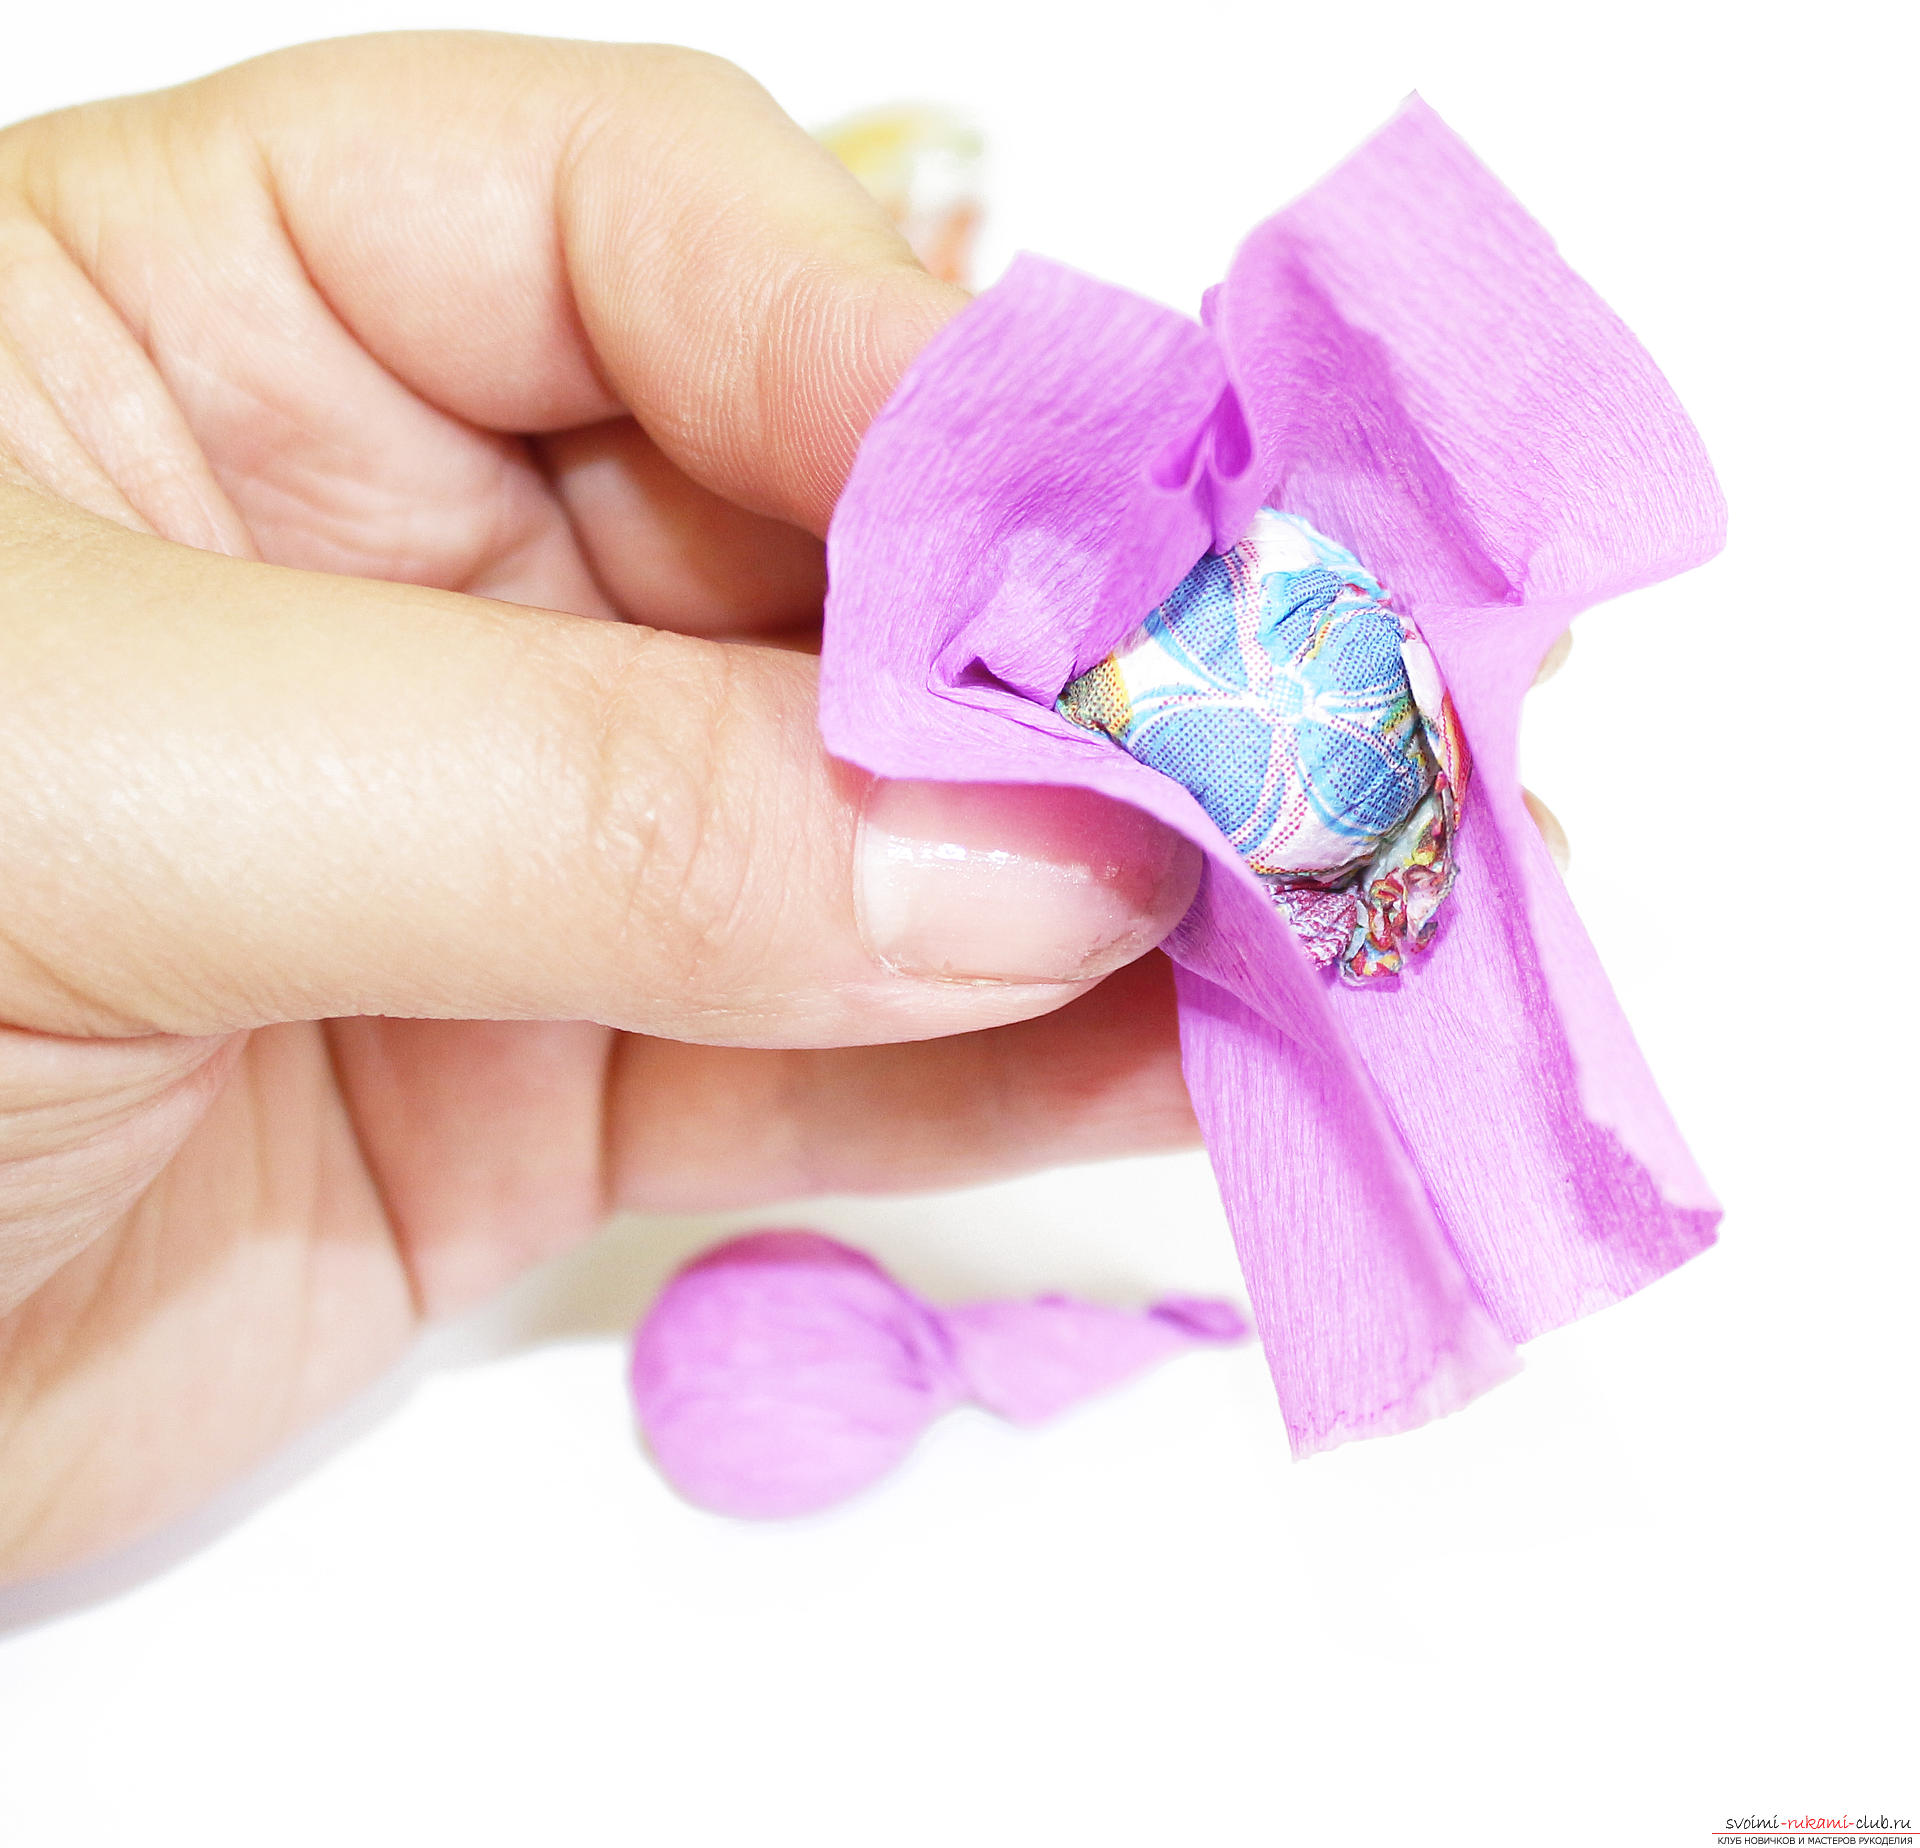 Tightly twist the edges of the squares, you get a blank for the bead.
 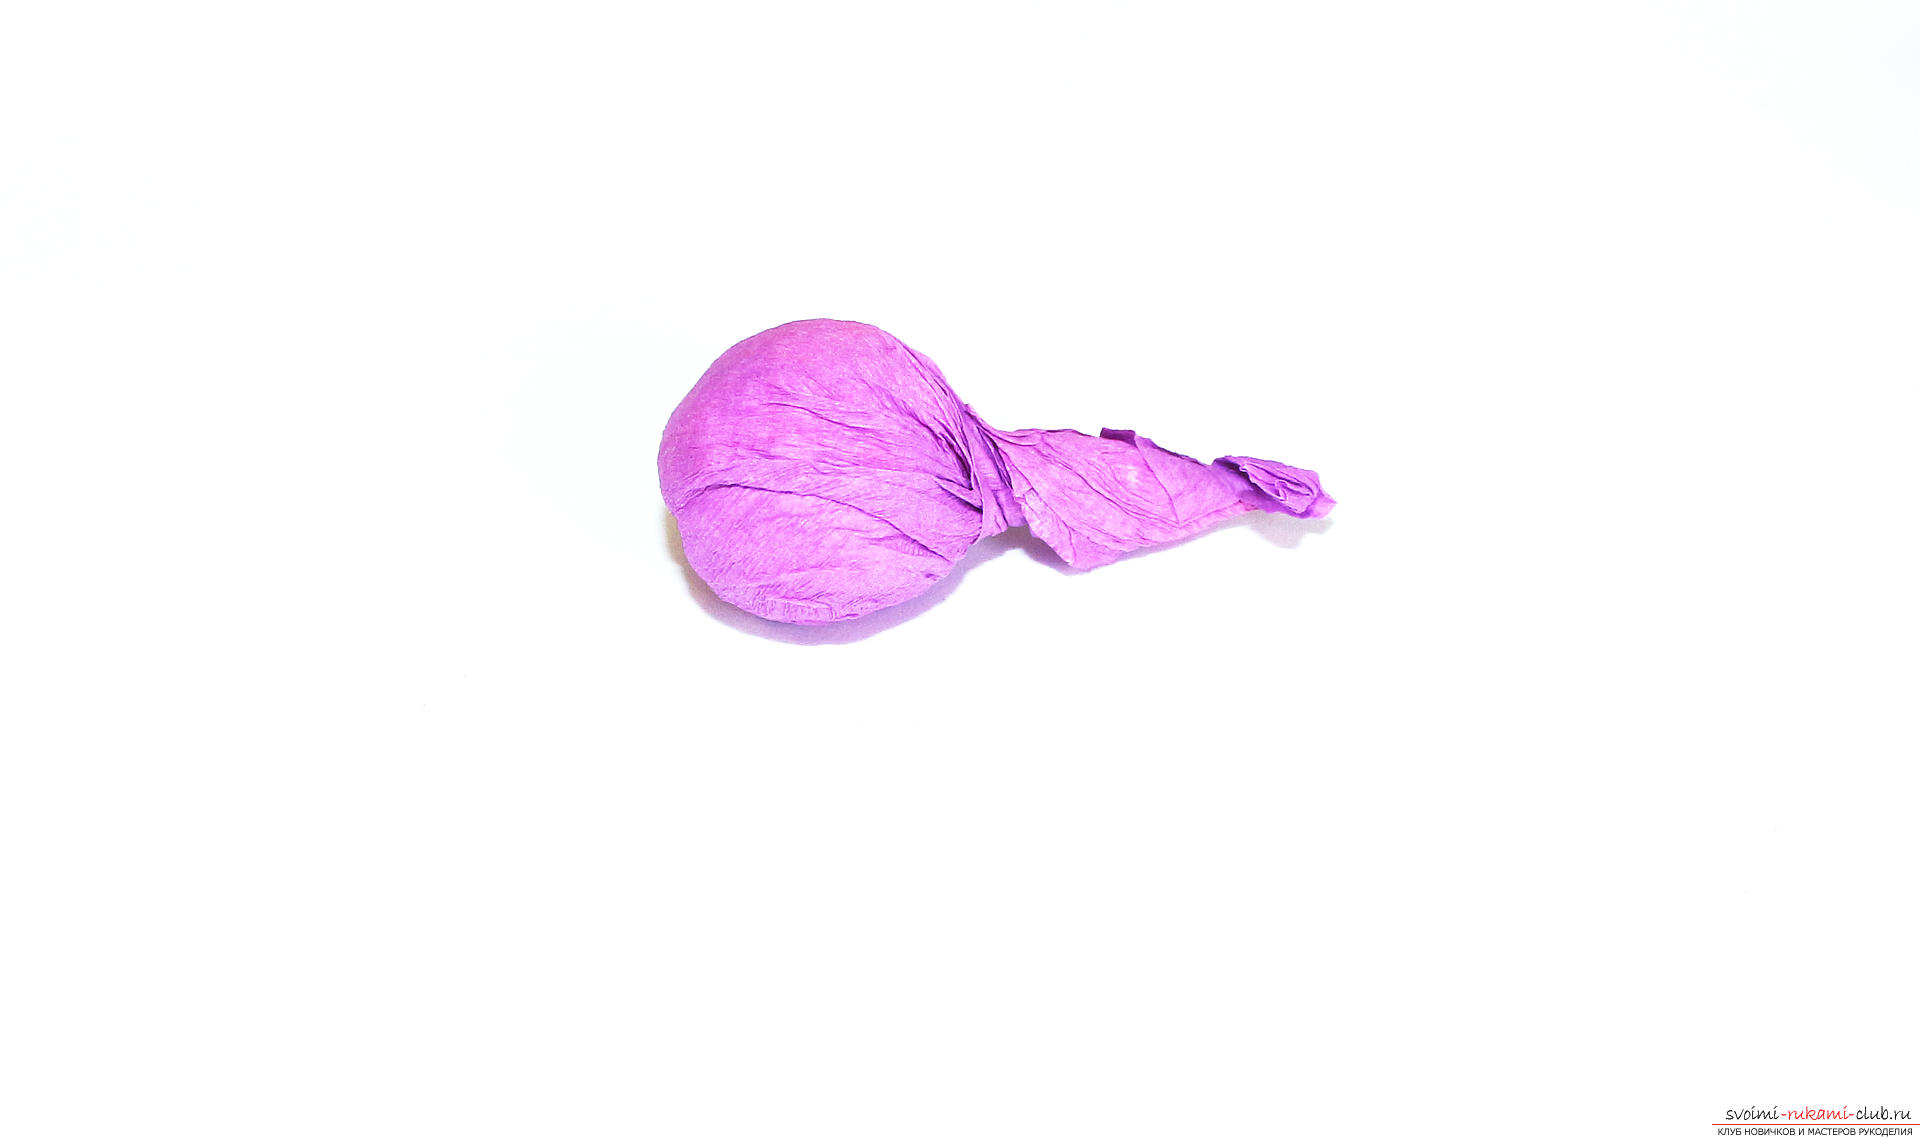 And these preparations, I repeat, you need to do by the number of future beads! That is a LOT.
 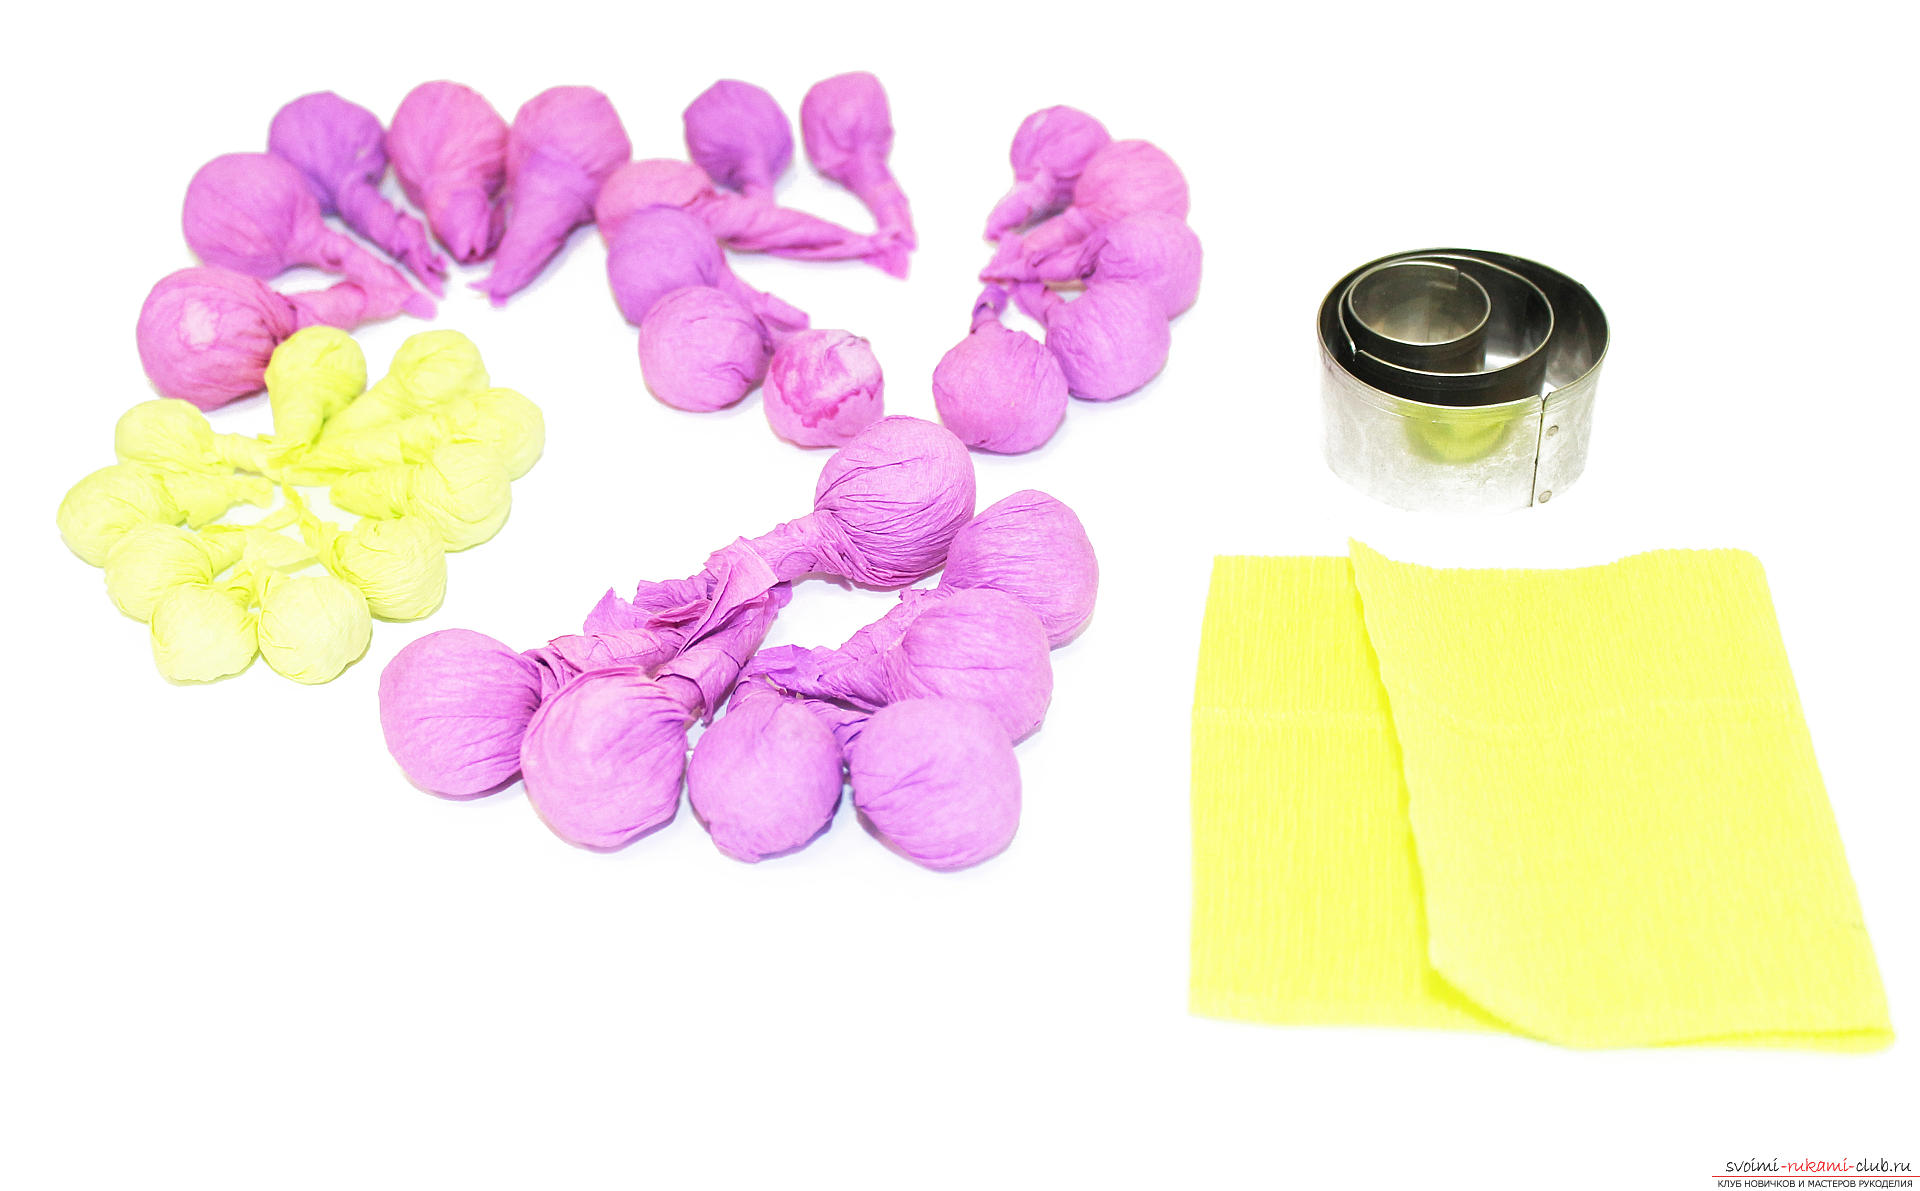 Roll out the plastic in a layer 2 mm thick, cut out the flower shape with a flower shape.
 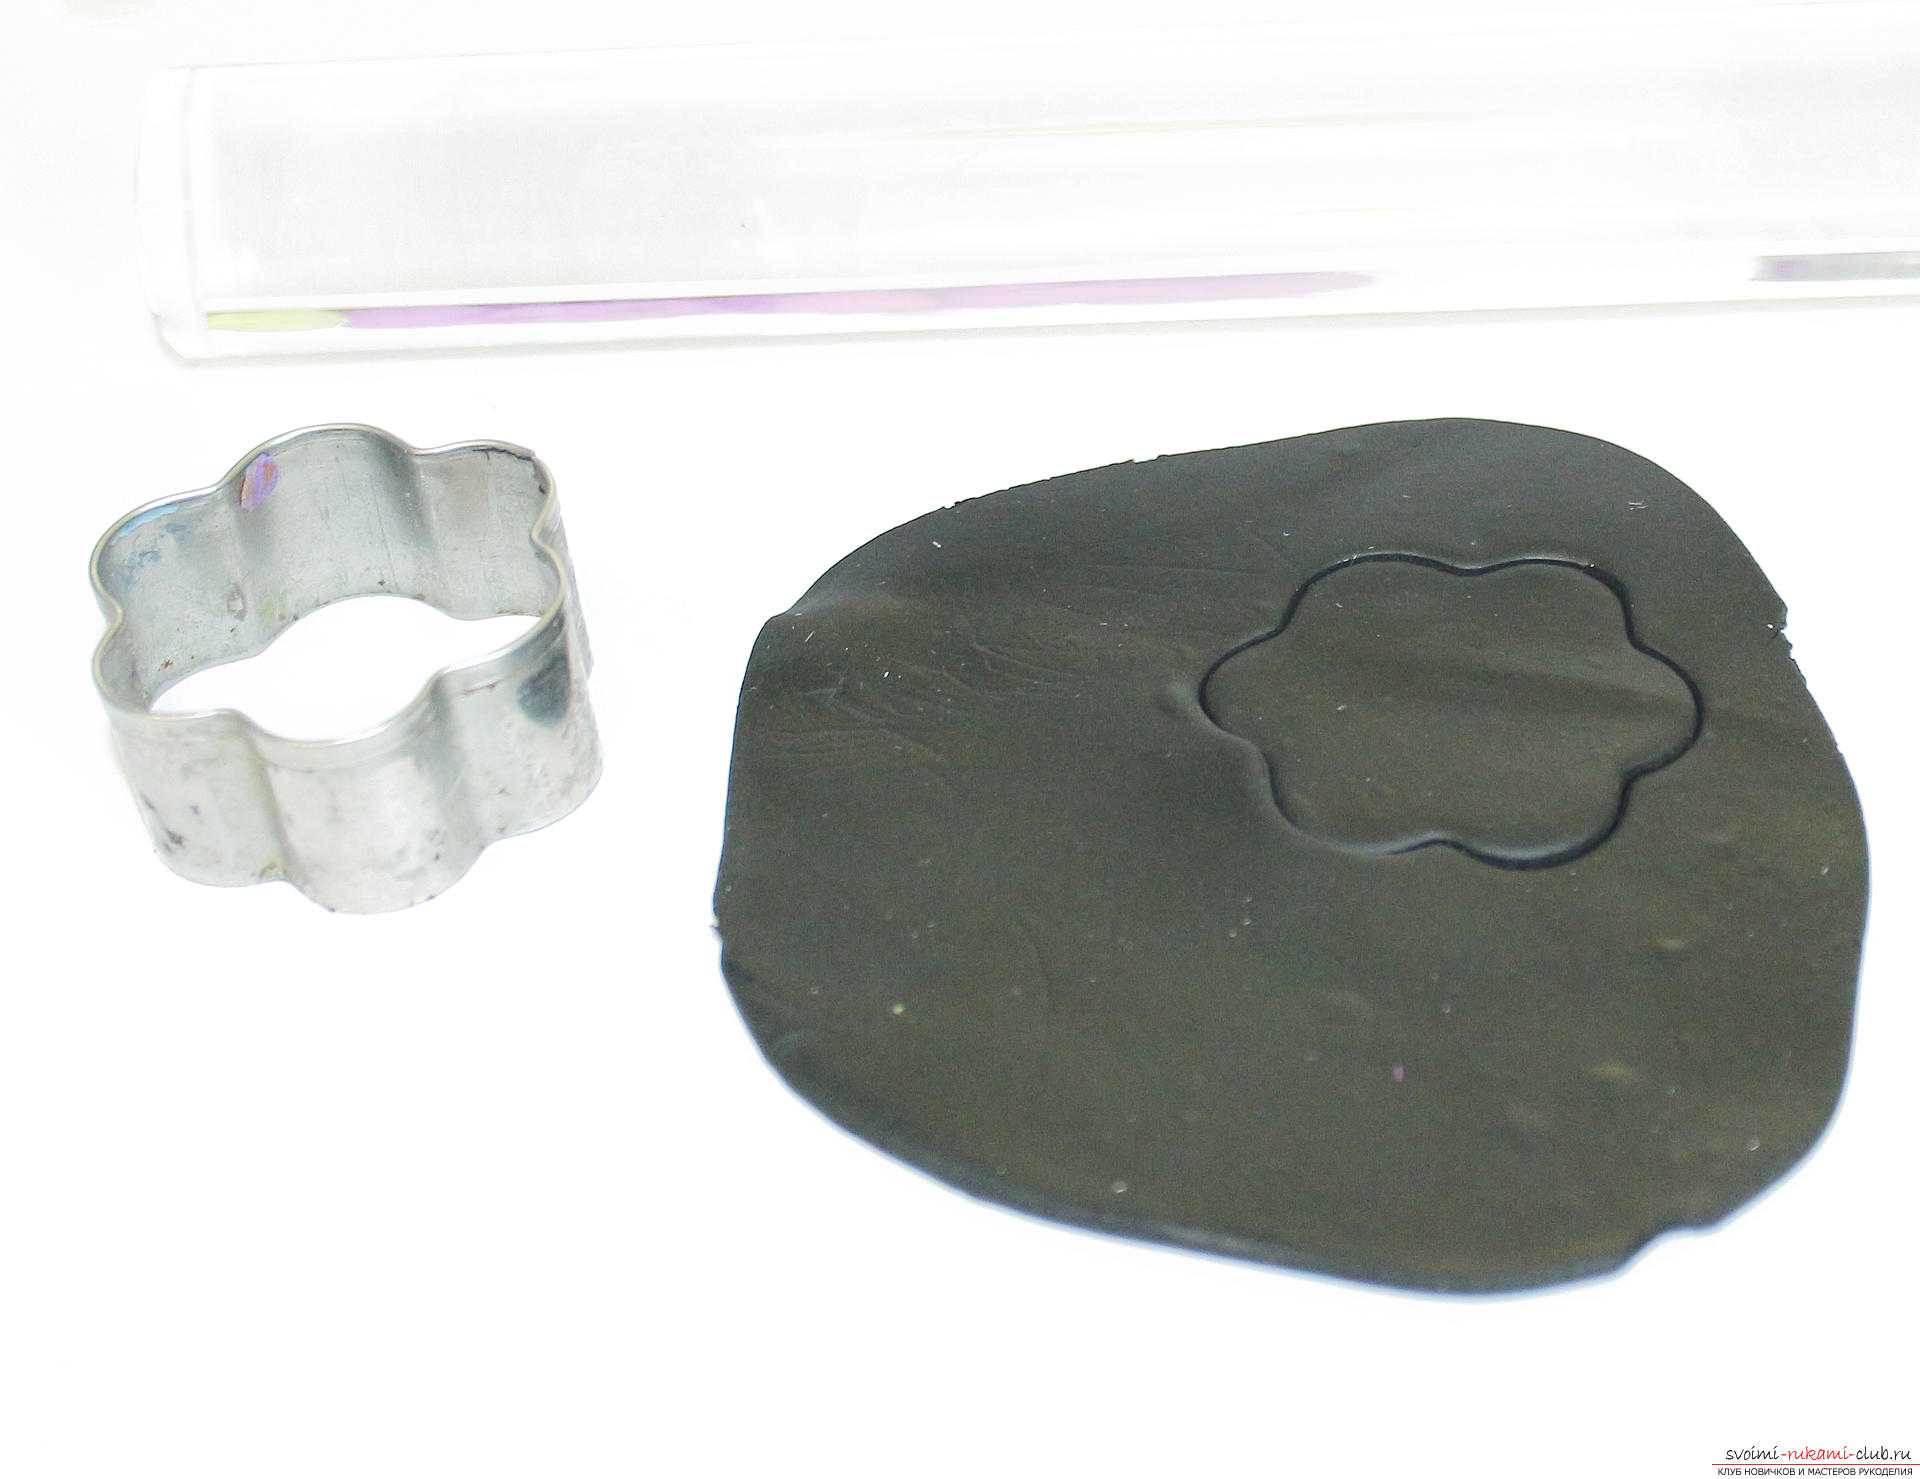 We put a blank from the paper into the center of the flower and begin to wrap this piece with plastic.
 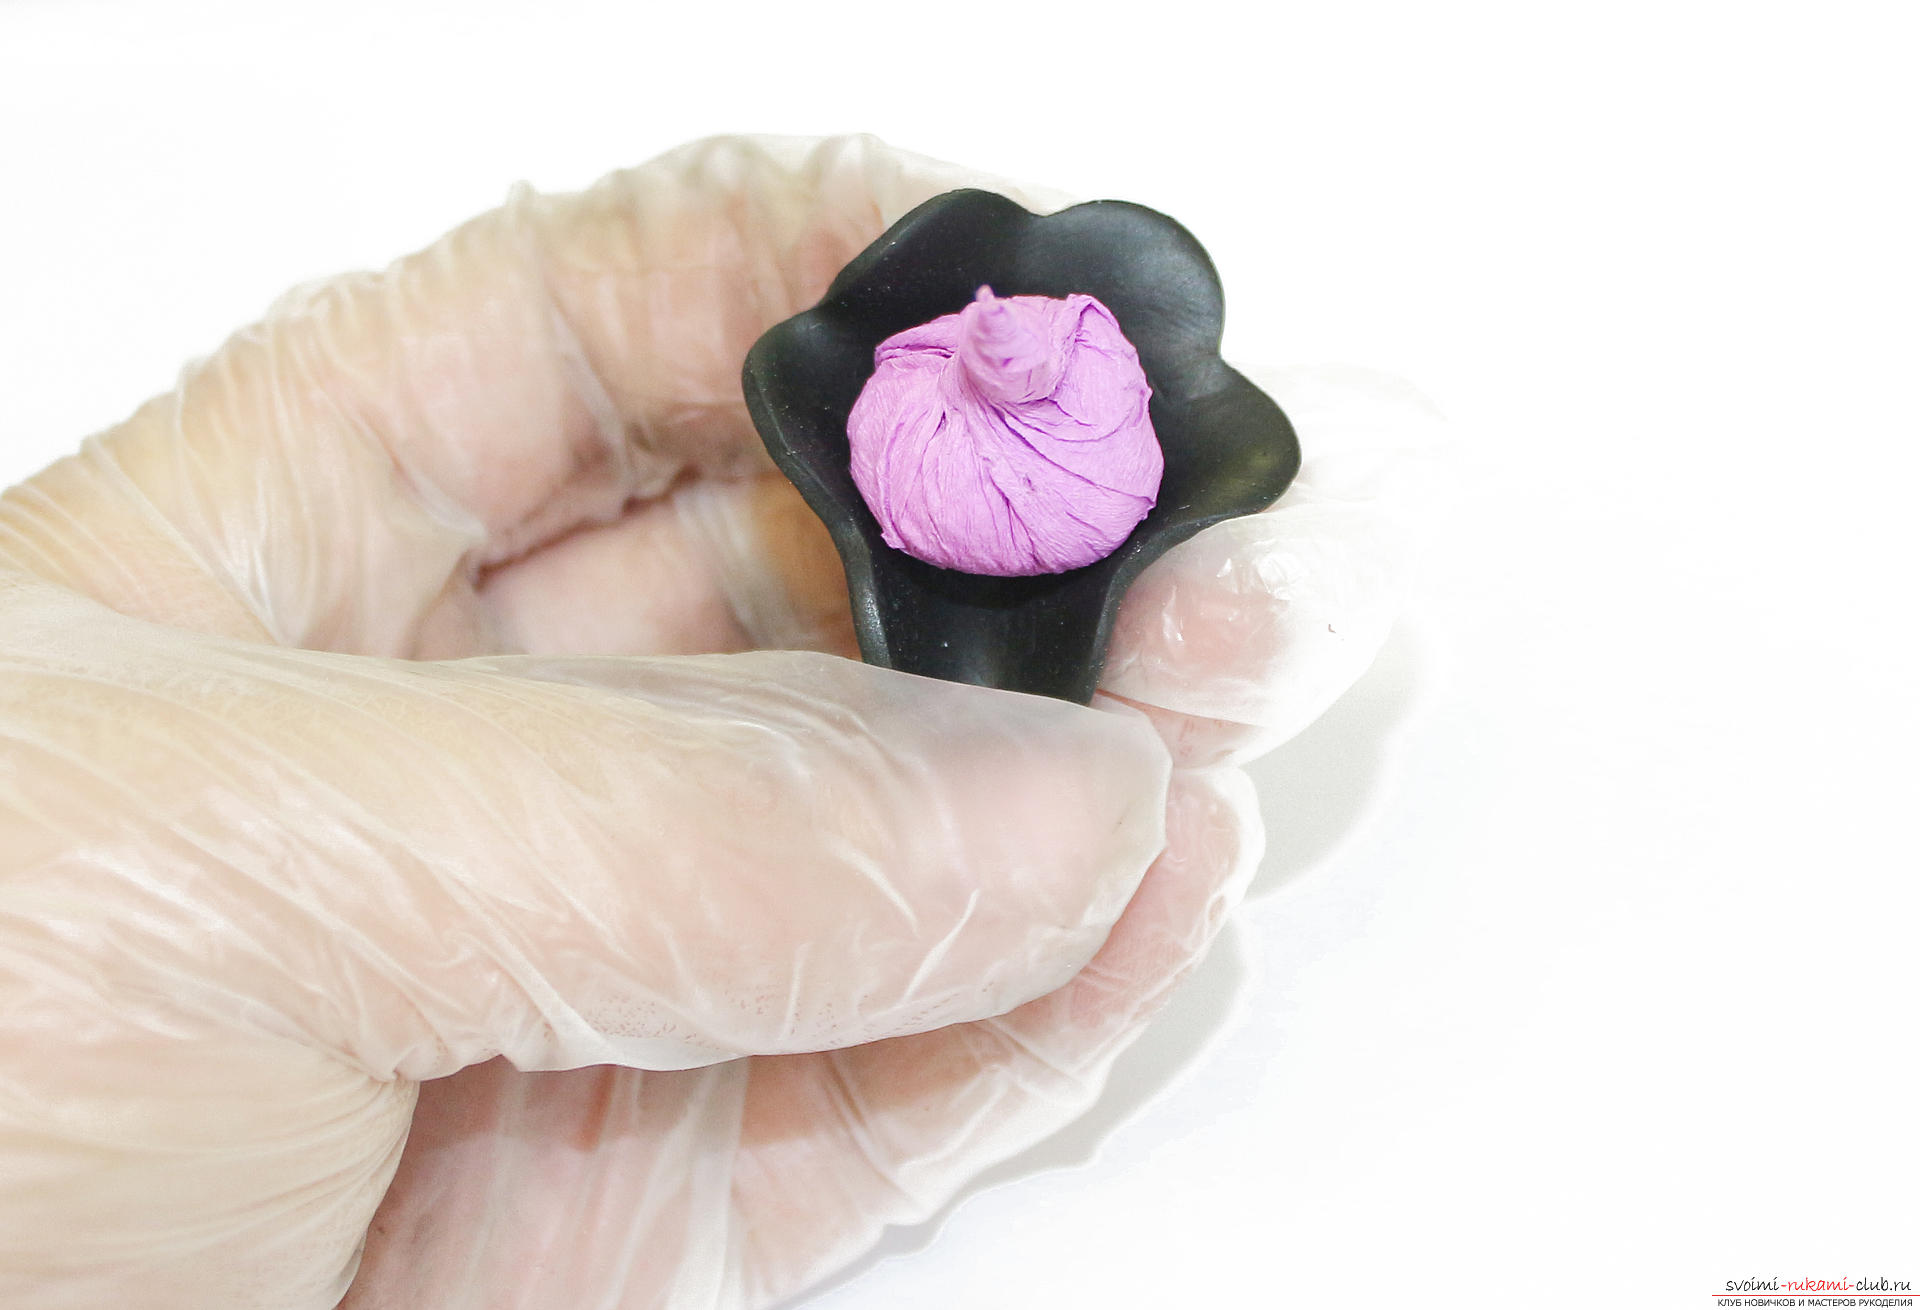 In the finished version, the billet looks like a smooth bud.
 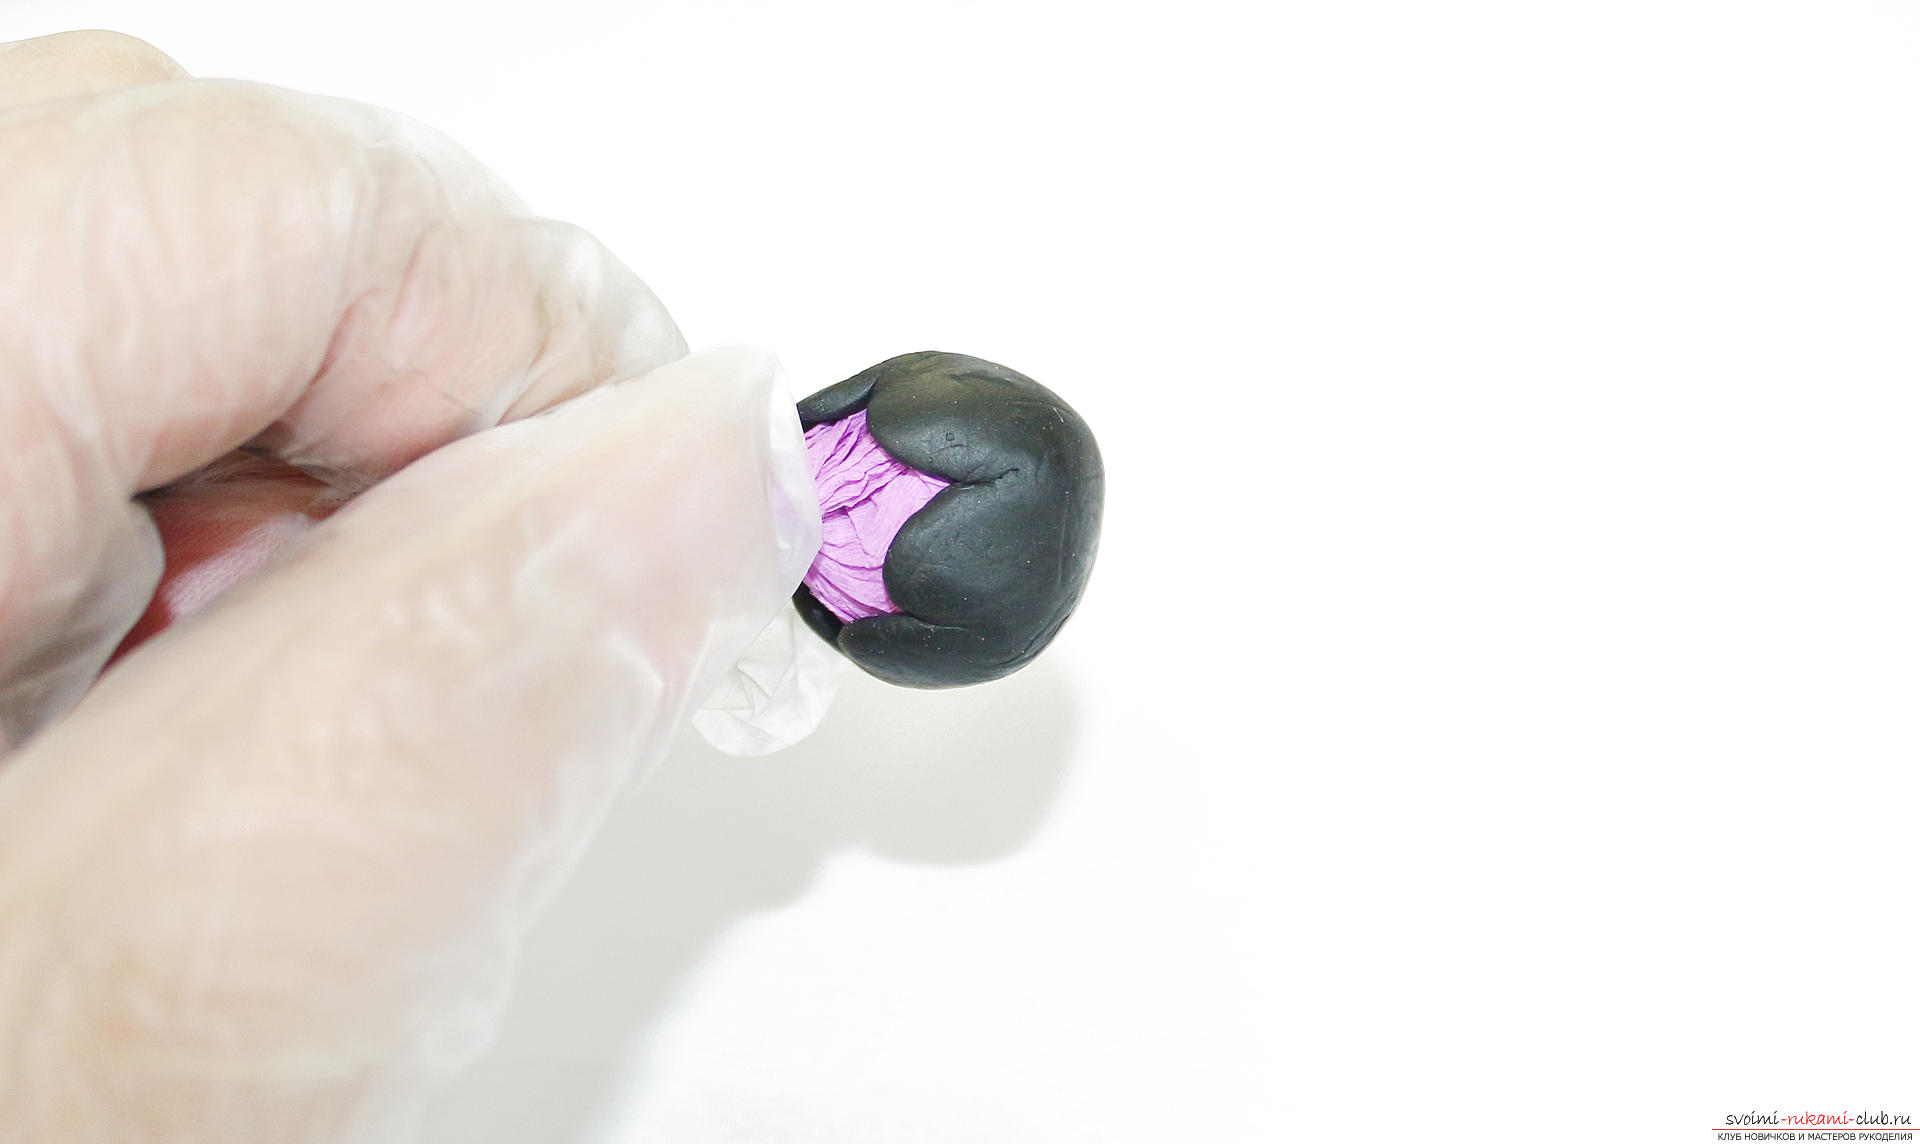 From the plastic we cut out a round circular shape with a smaller round cutter and it is attached to smaller buds. Thus, from flower forms we make large buds, from round ones - smaller ones.
 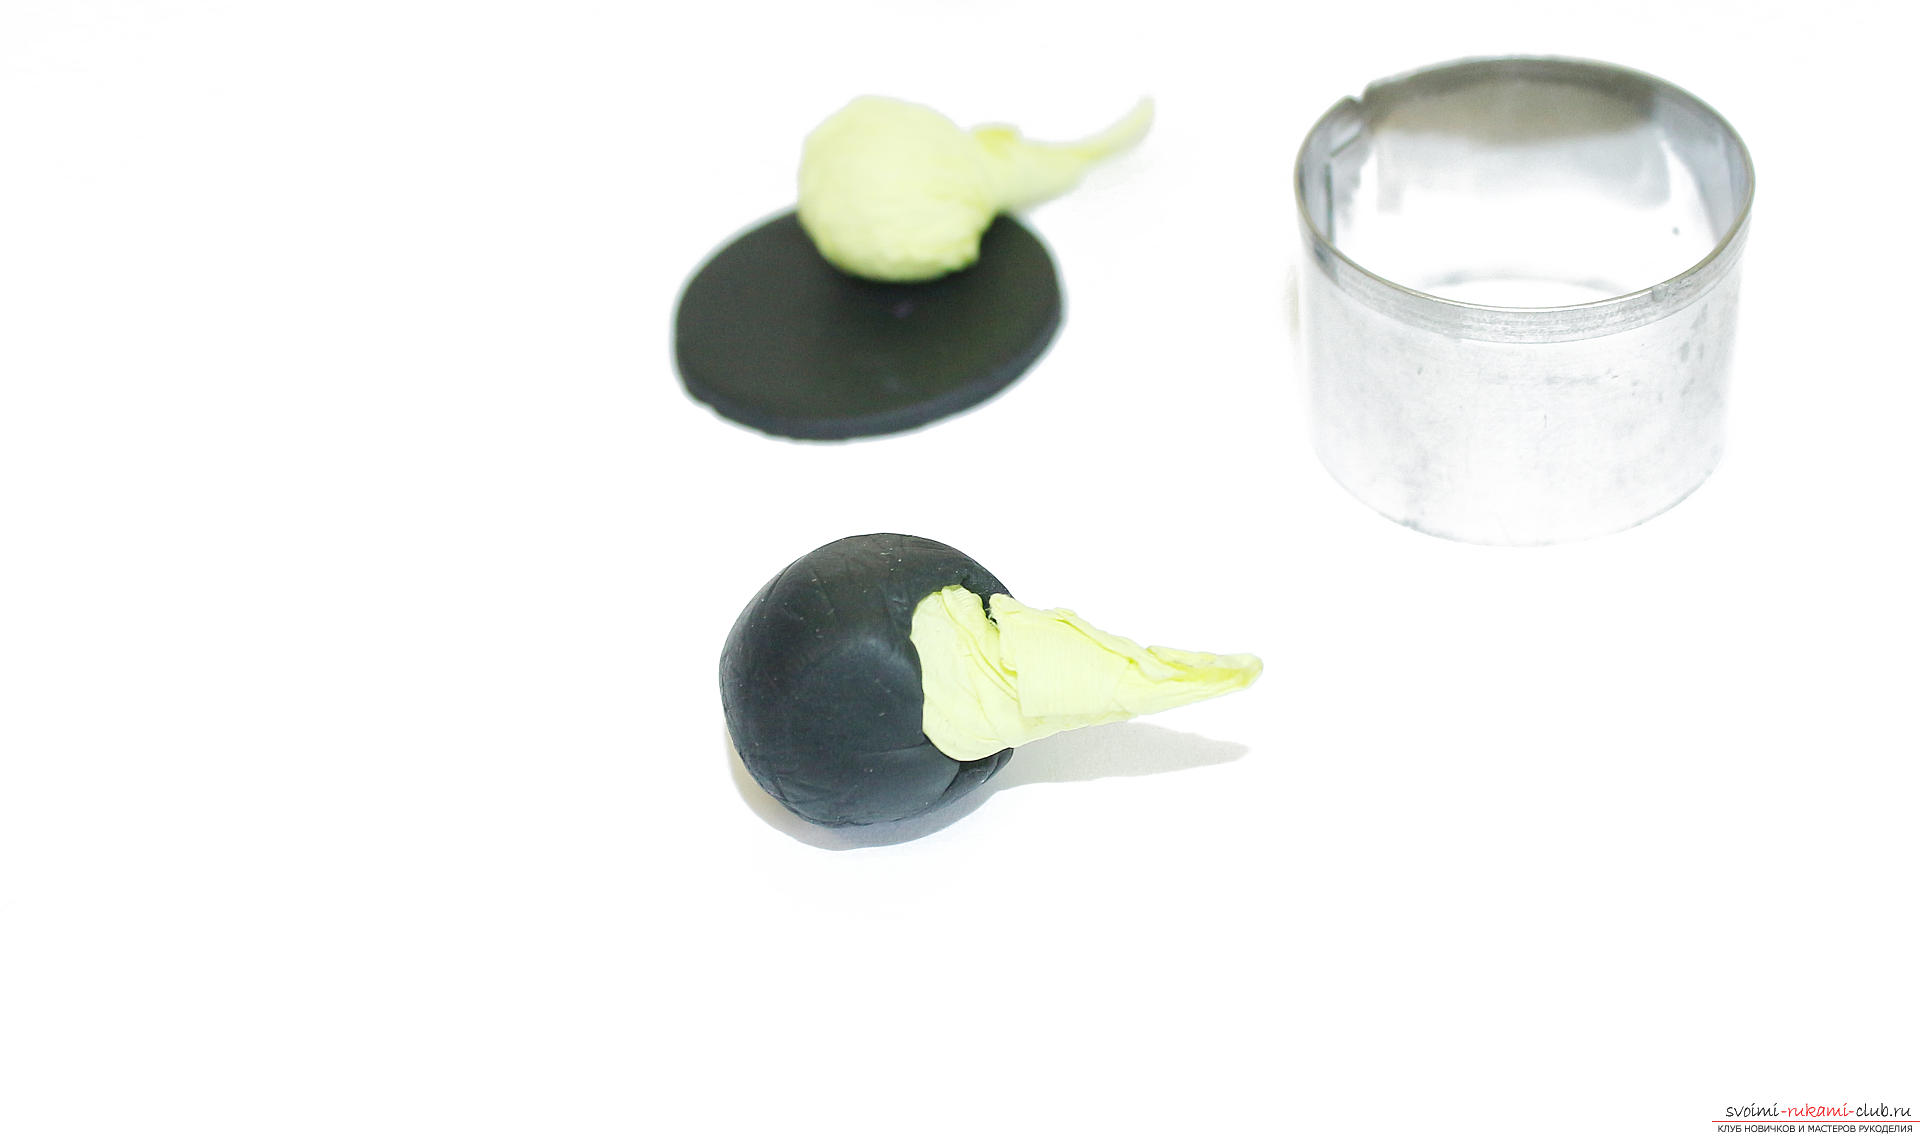 Turn the bud upside down with the "foot" down andwrapped with corrugated paper with a large texture. The round part of the bud should be viewed so that it can be beautifully textured. Press the texture paper into the bud with your fingers.
  Carefully remove the paper and get textured bulk buds. In each of them in the center we make a hole with a toothpick.
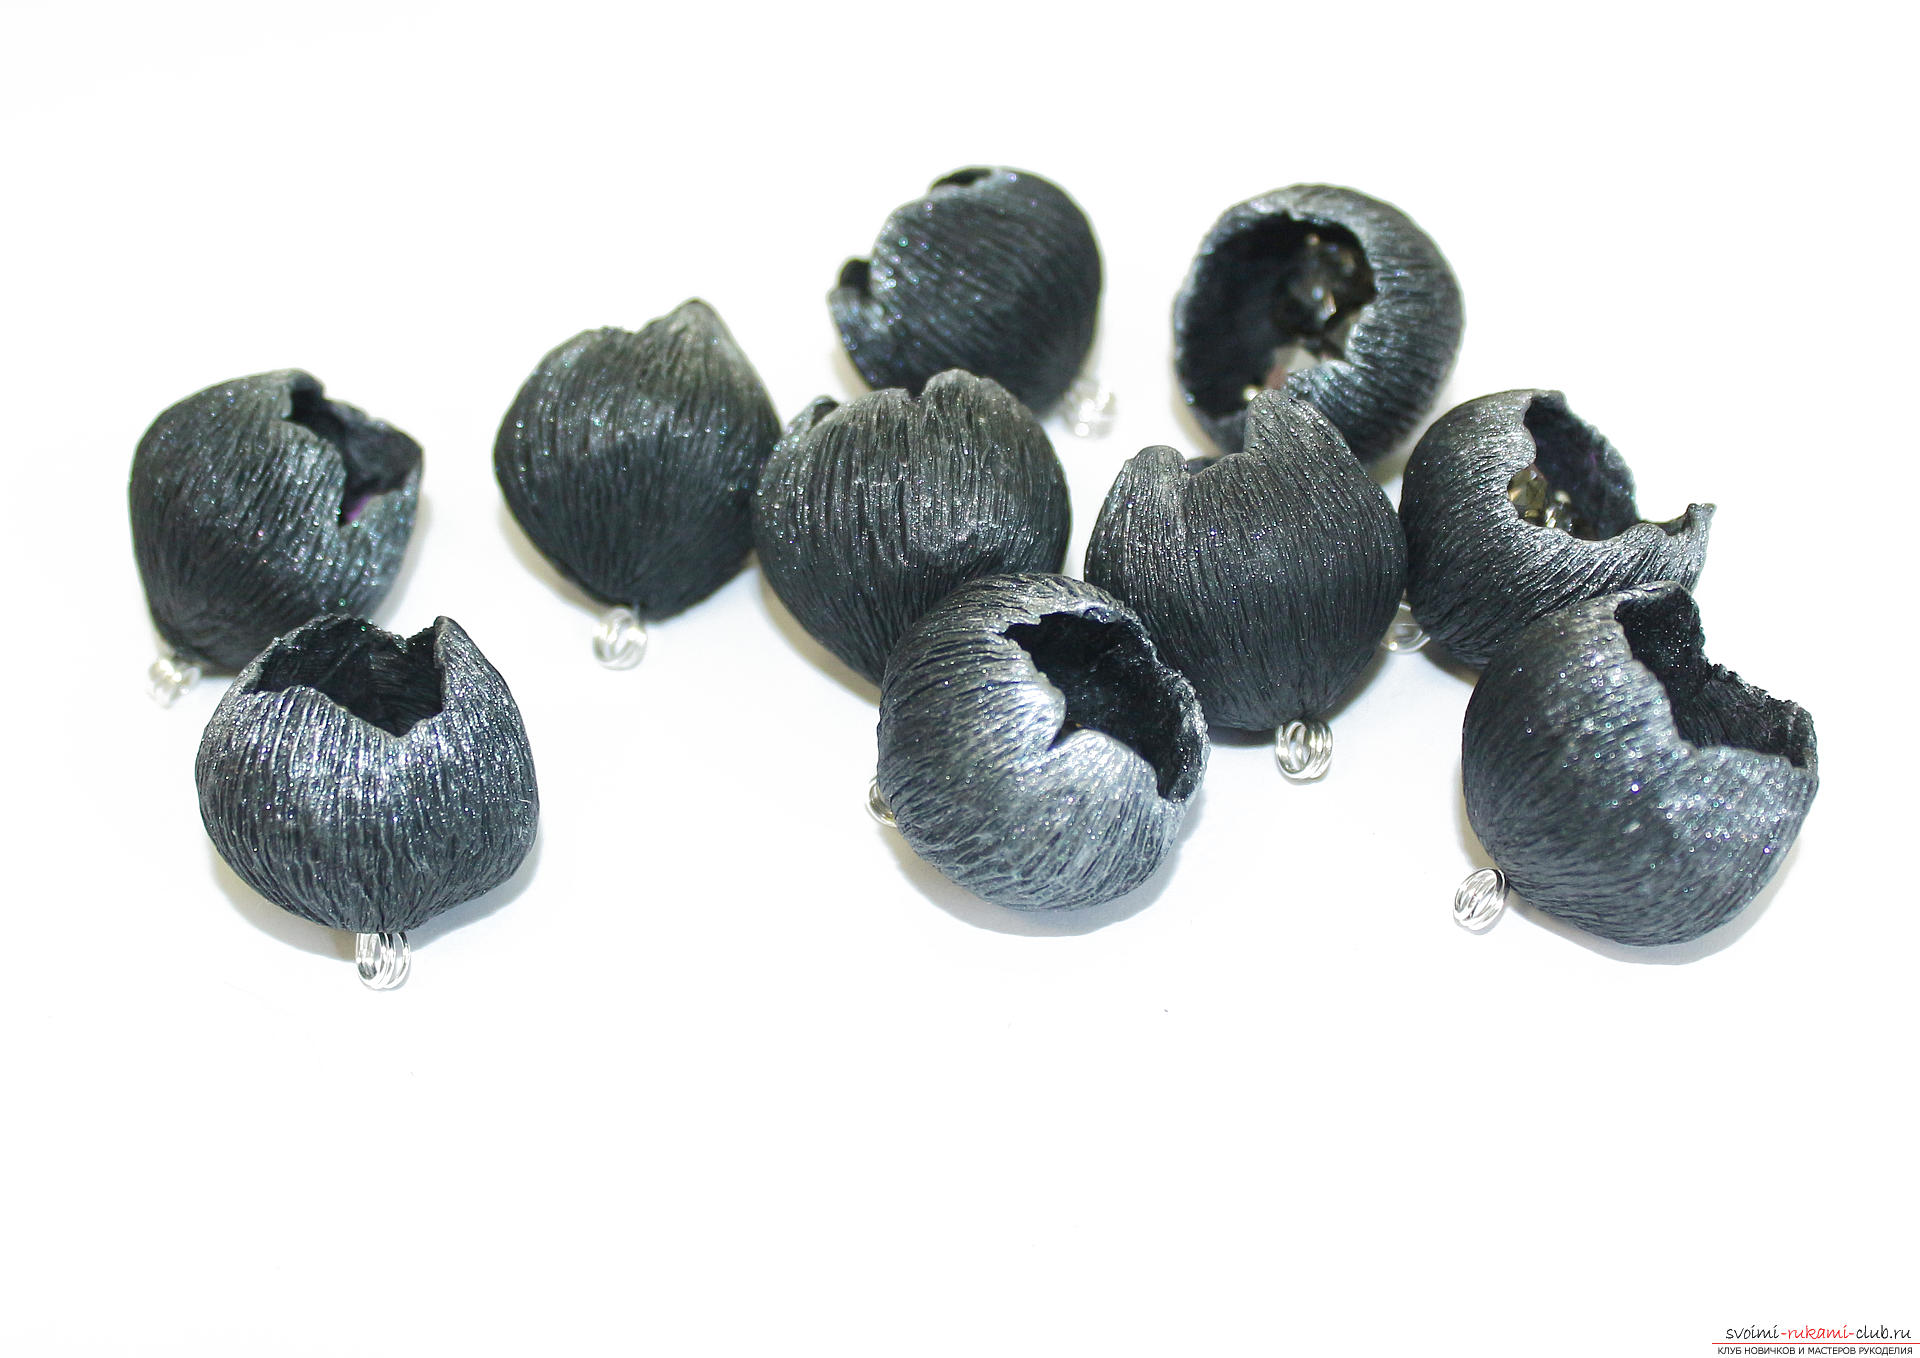
 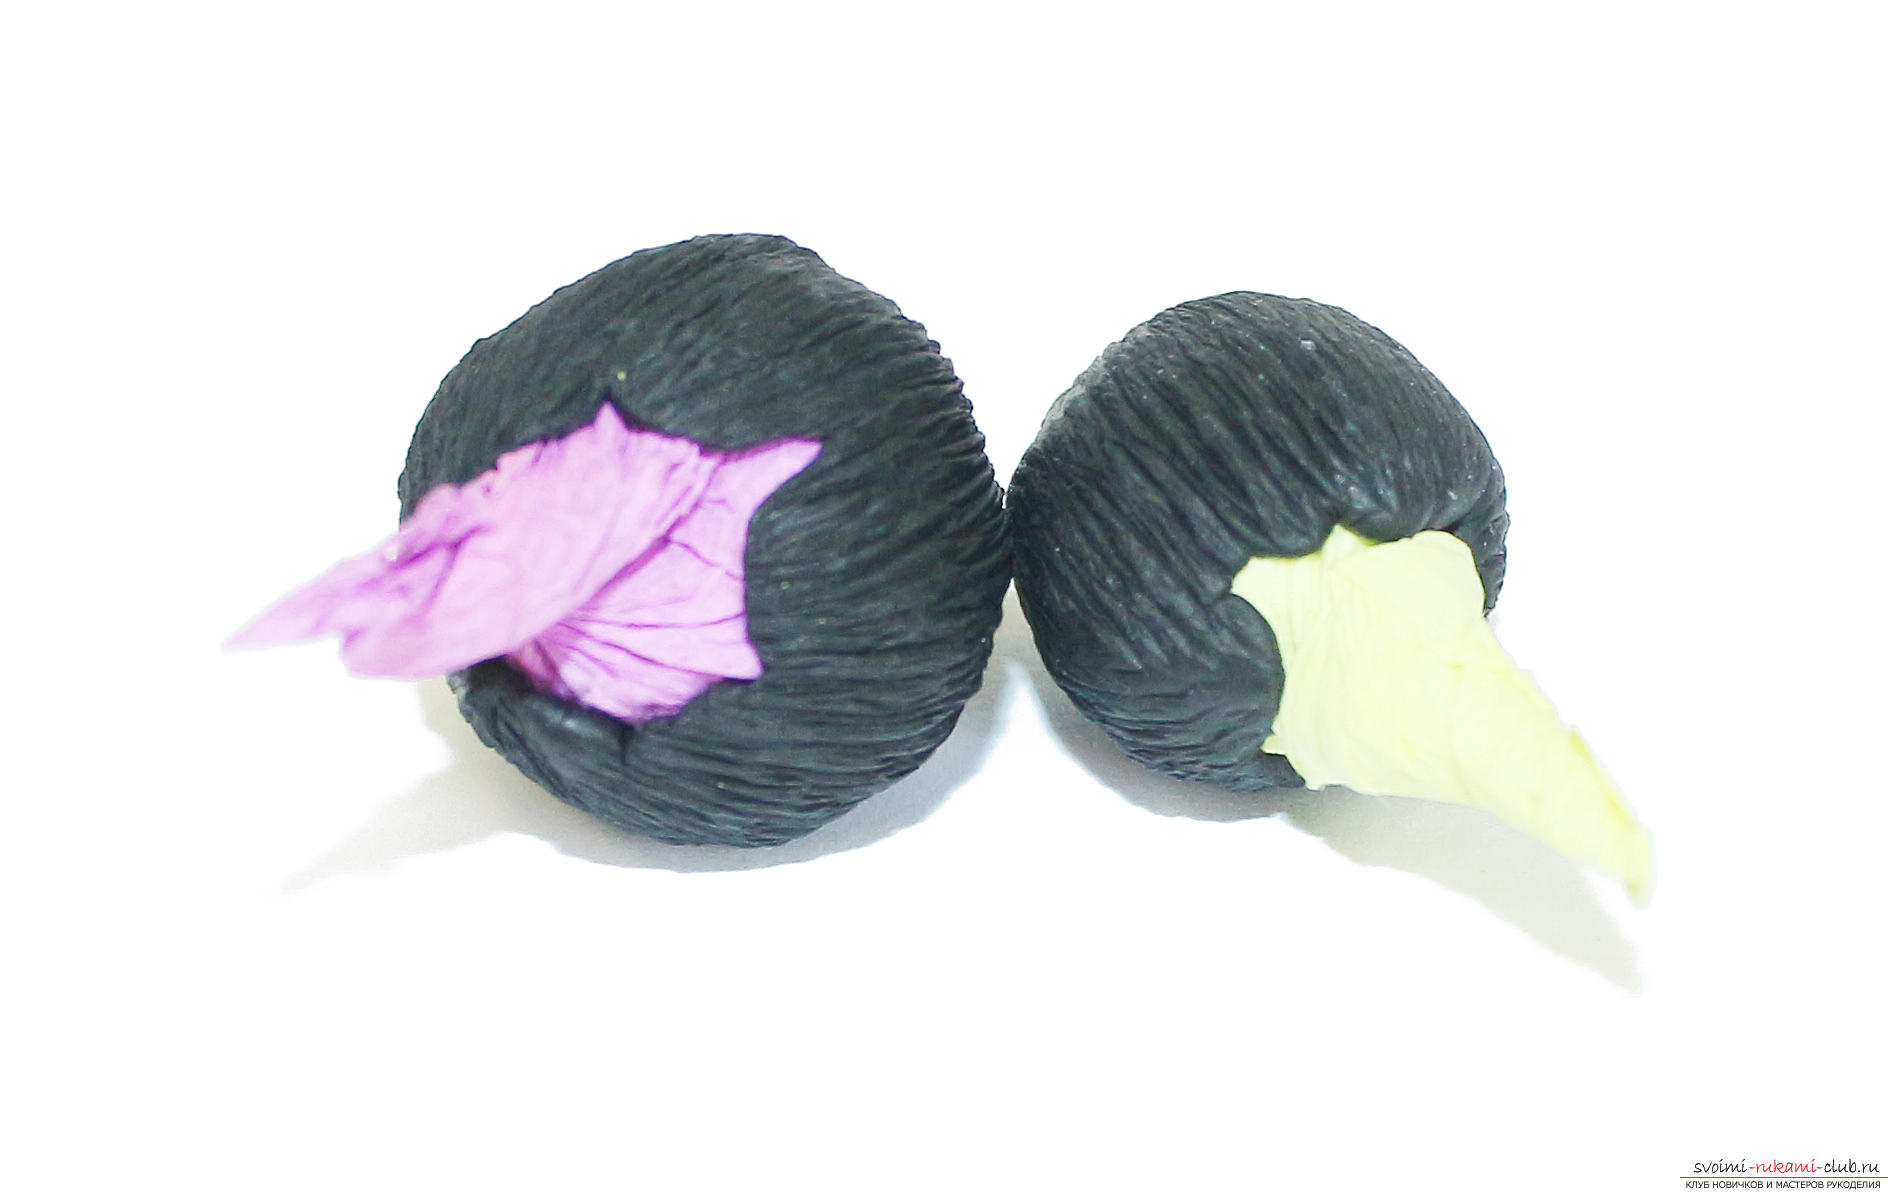 We make such buds on each workpiece.
 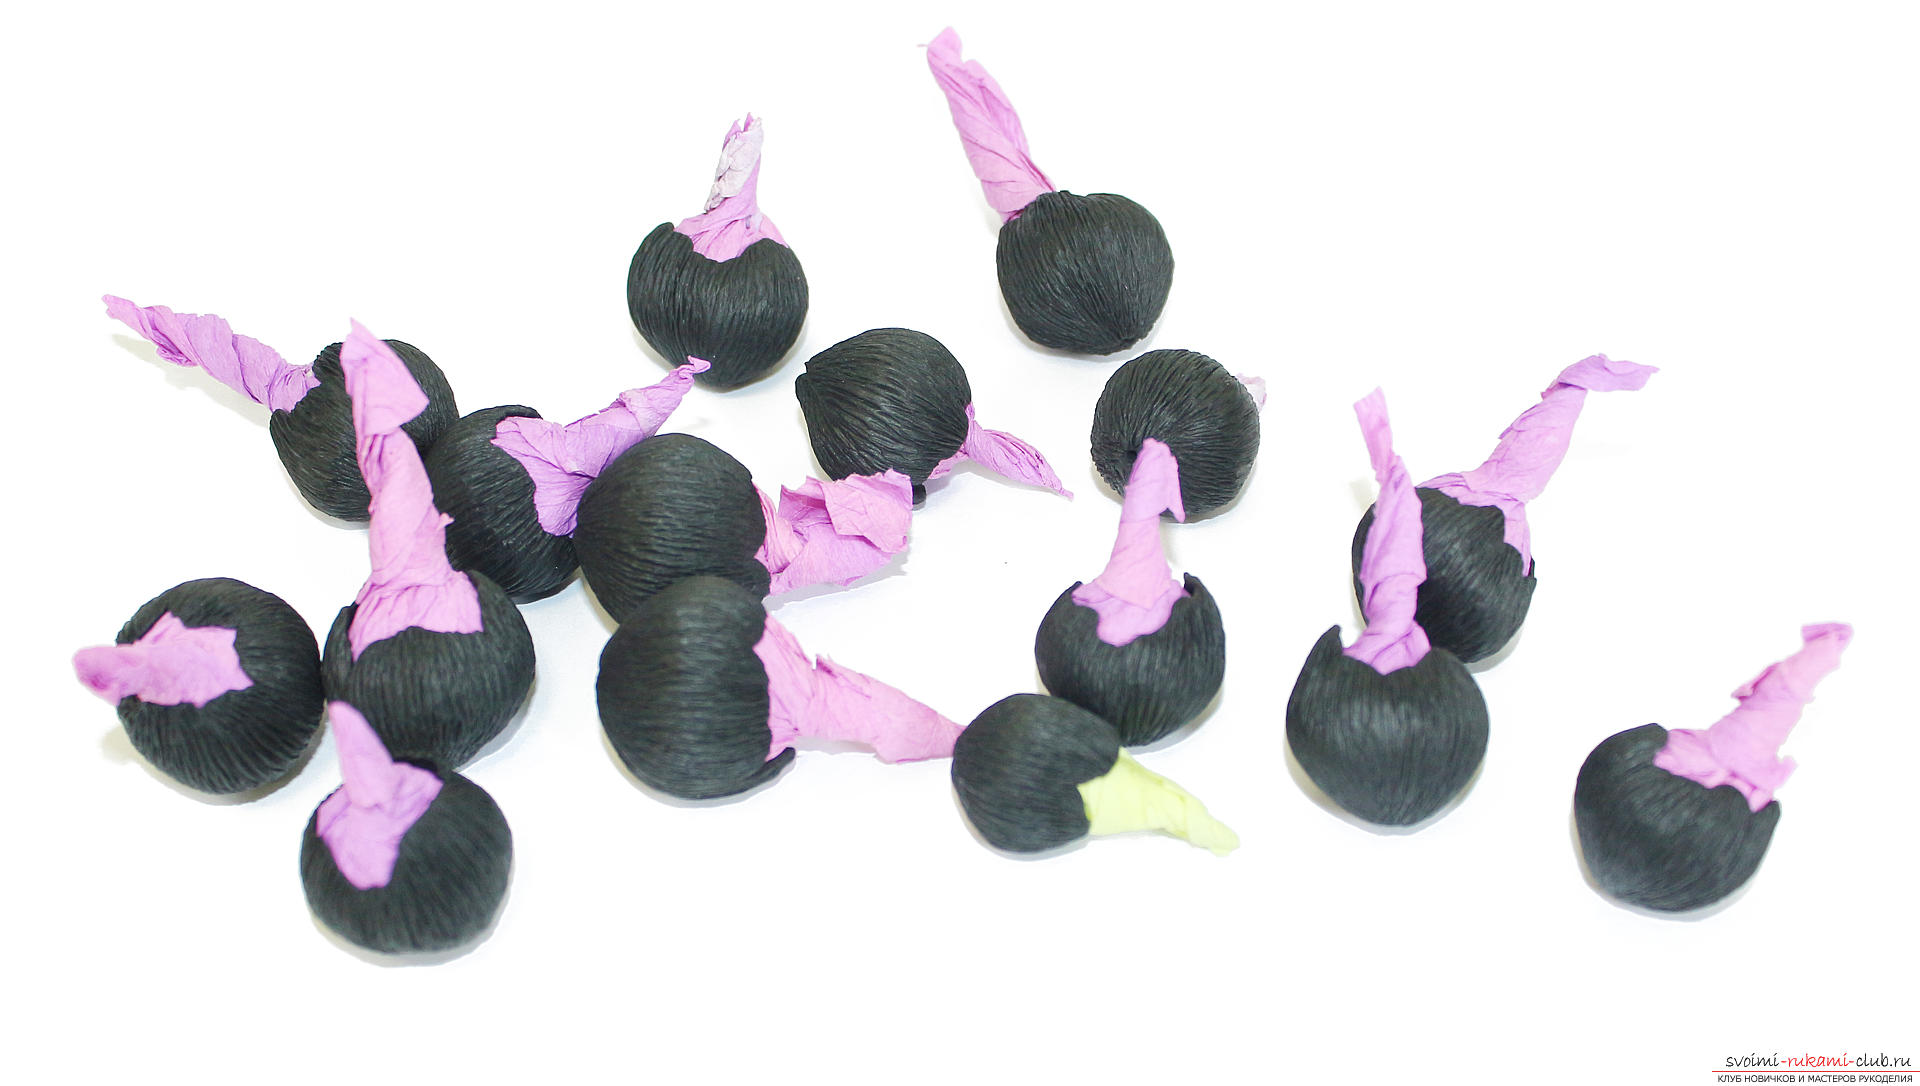 Now put the brush in the silver powder and cover the edges of each bead with this powder. You need to do this stage before baking.
 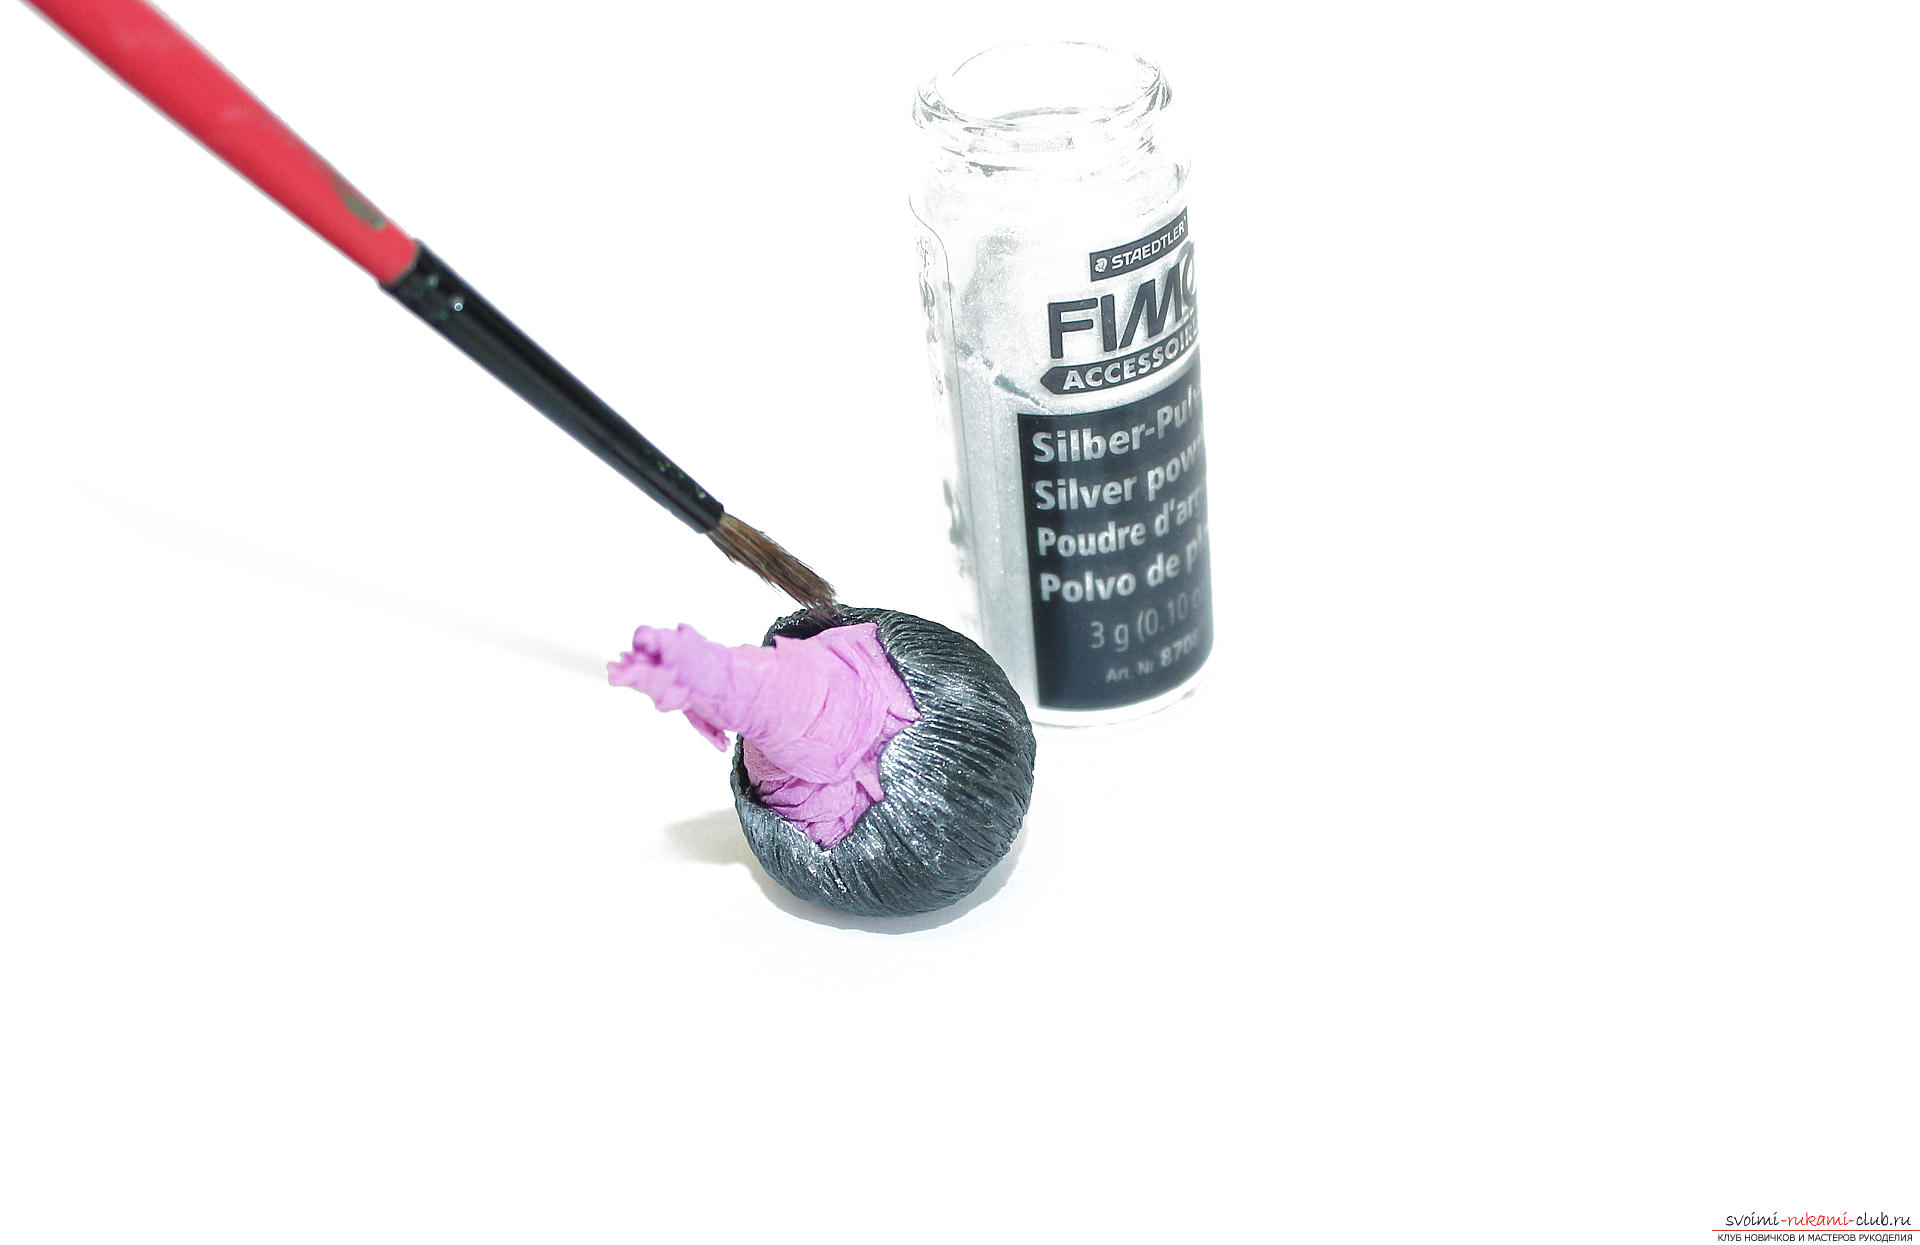 We cover all the blanks and send them to the baking.
 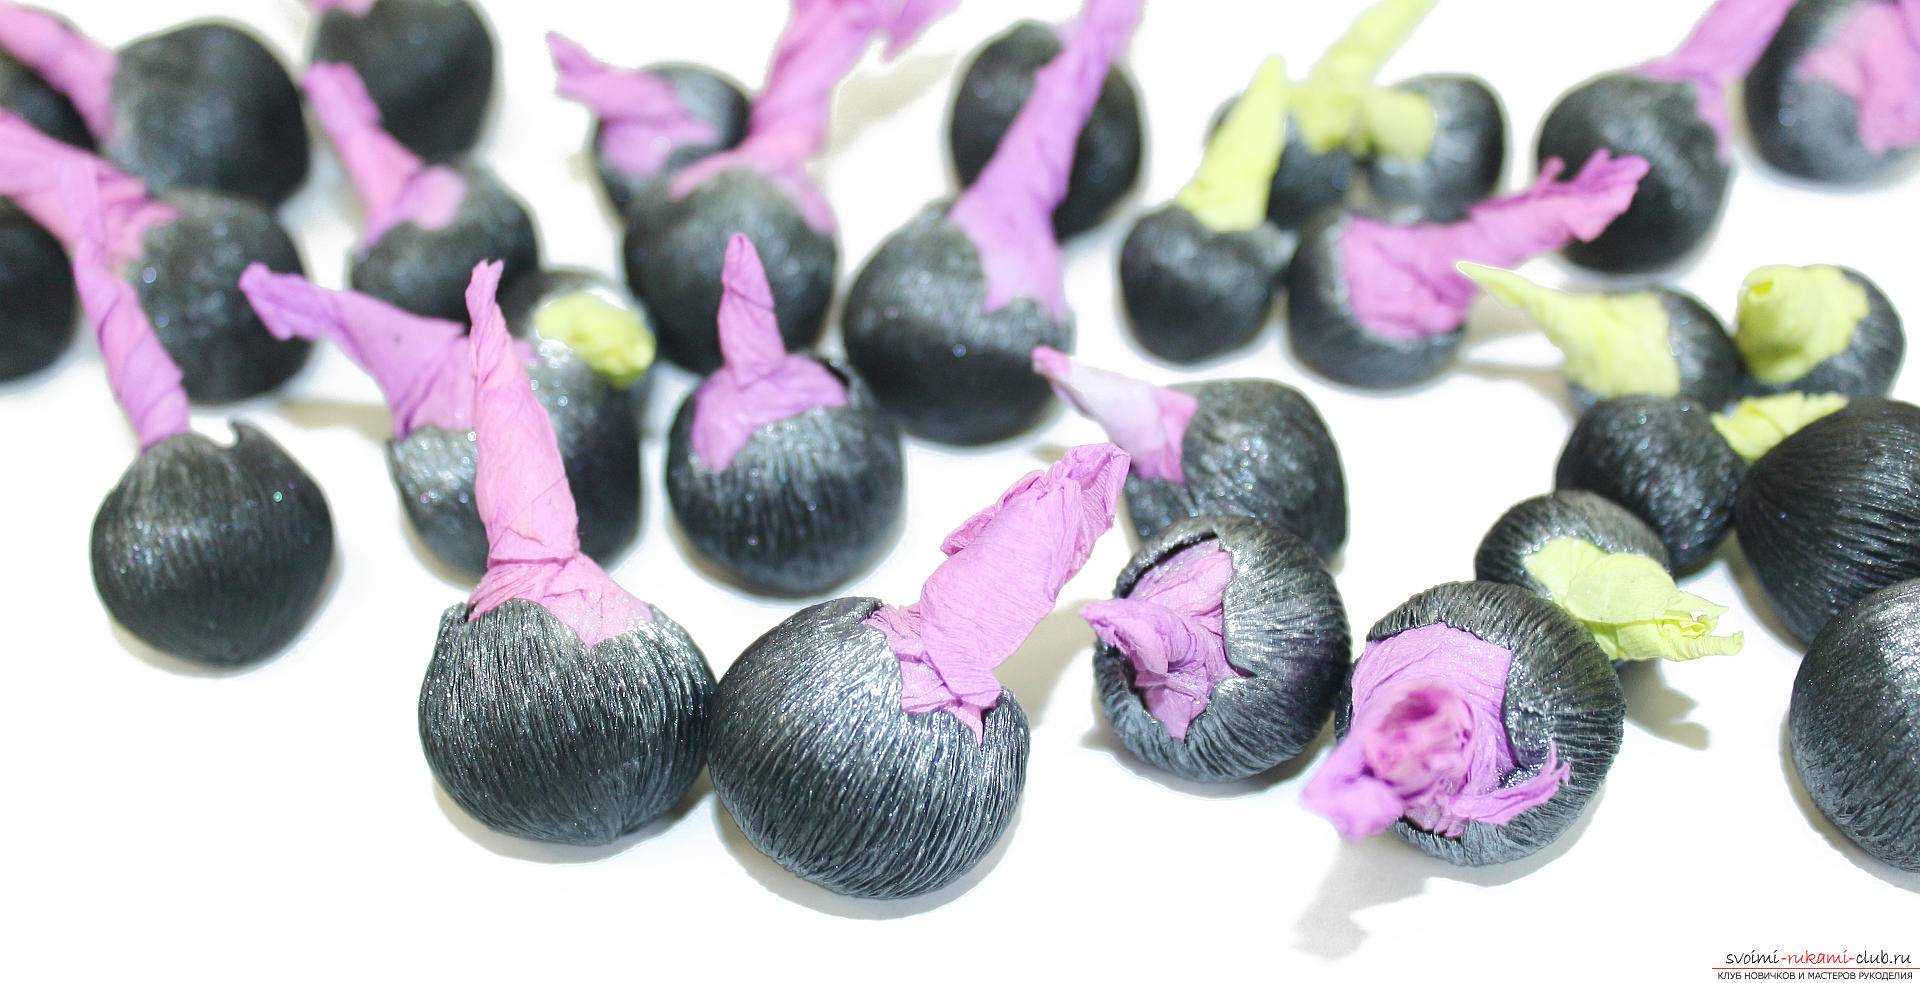 After baking, remove the paper. You can use tweezers or tweezers for manicure, but enough and nimble fingers. If the paper does not get or stick - you can soak the beads in the water, then everything will easily go away.
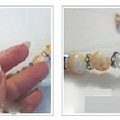
 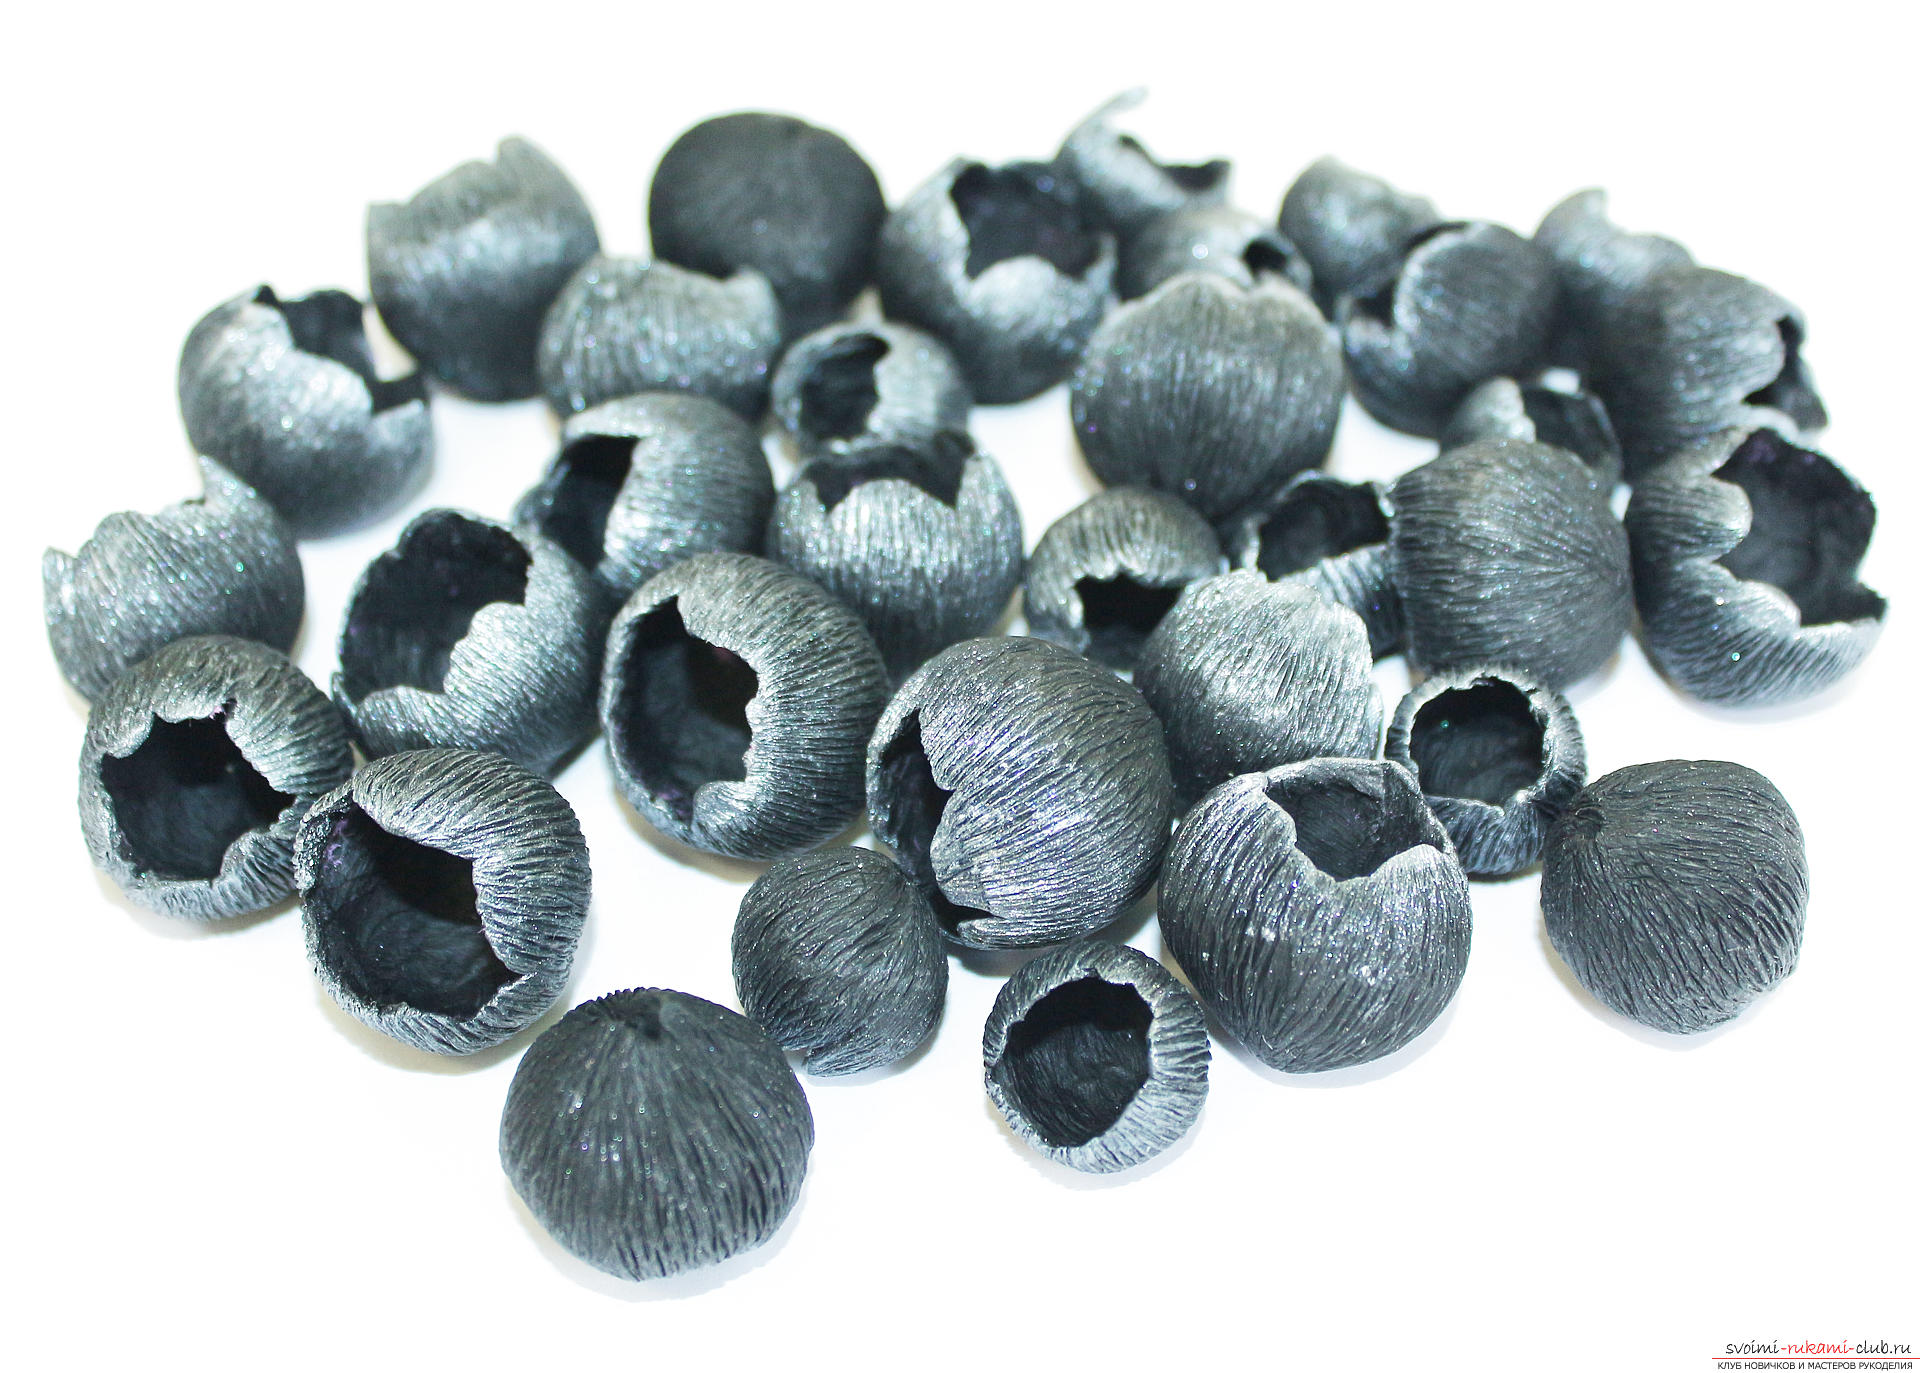 For assembling necklaces we made buds of differentsize, respectively, and the beads in the buds will be of different sizes. We select the smallest buds and the smallest beads. In each bead we insert a pin with a ball.
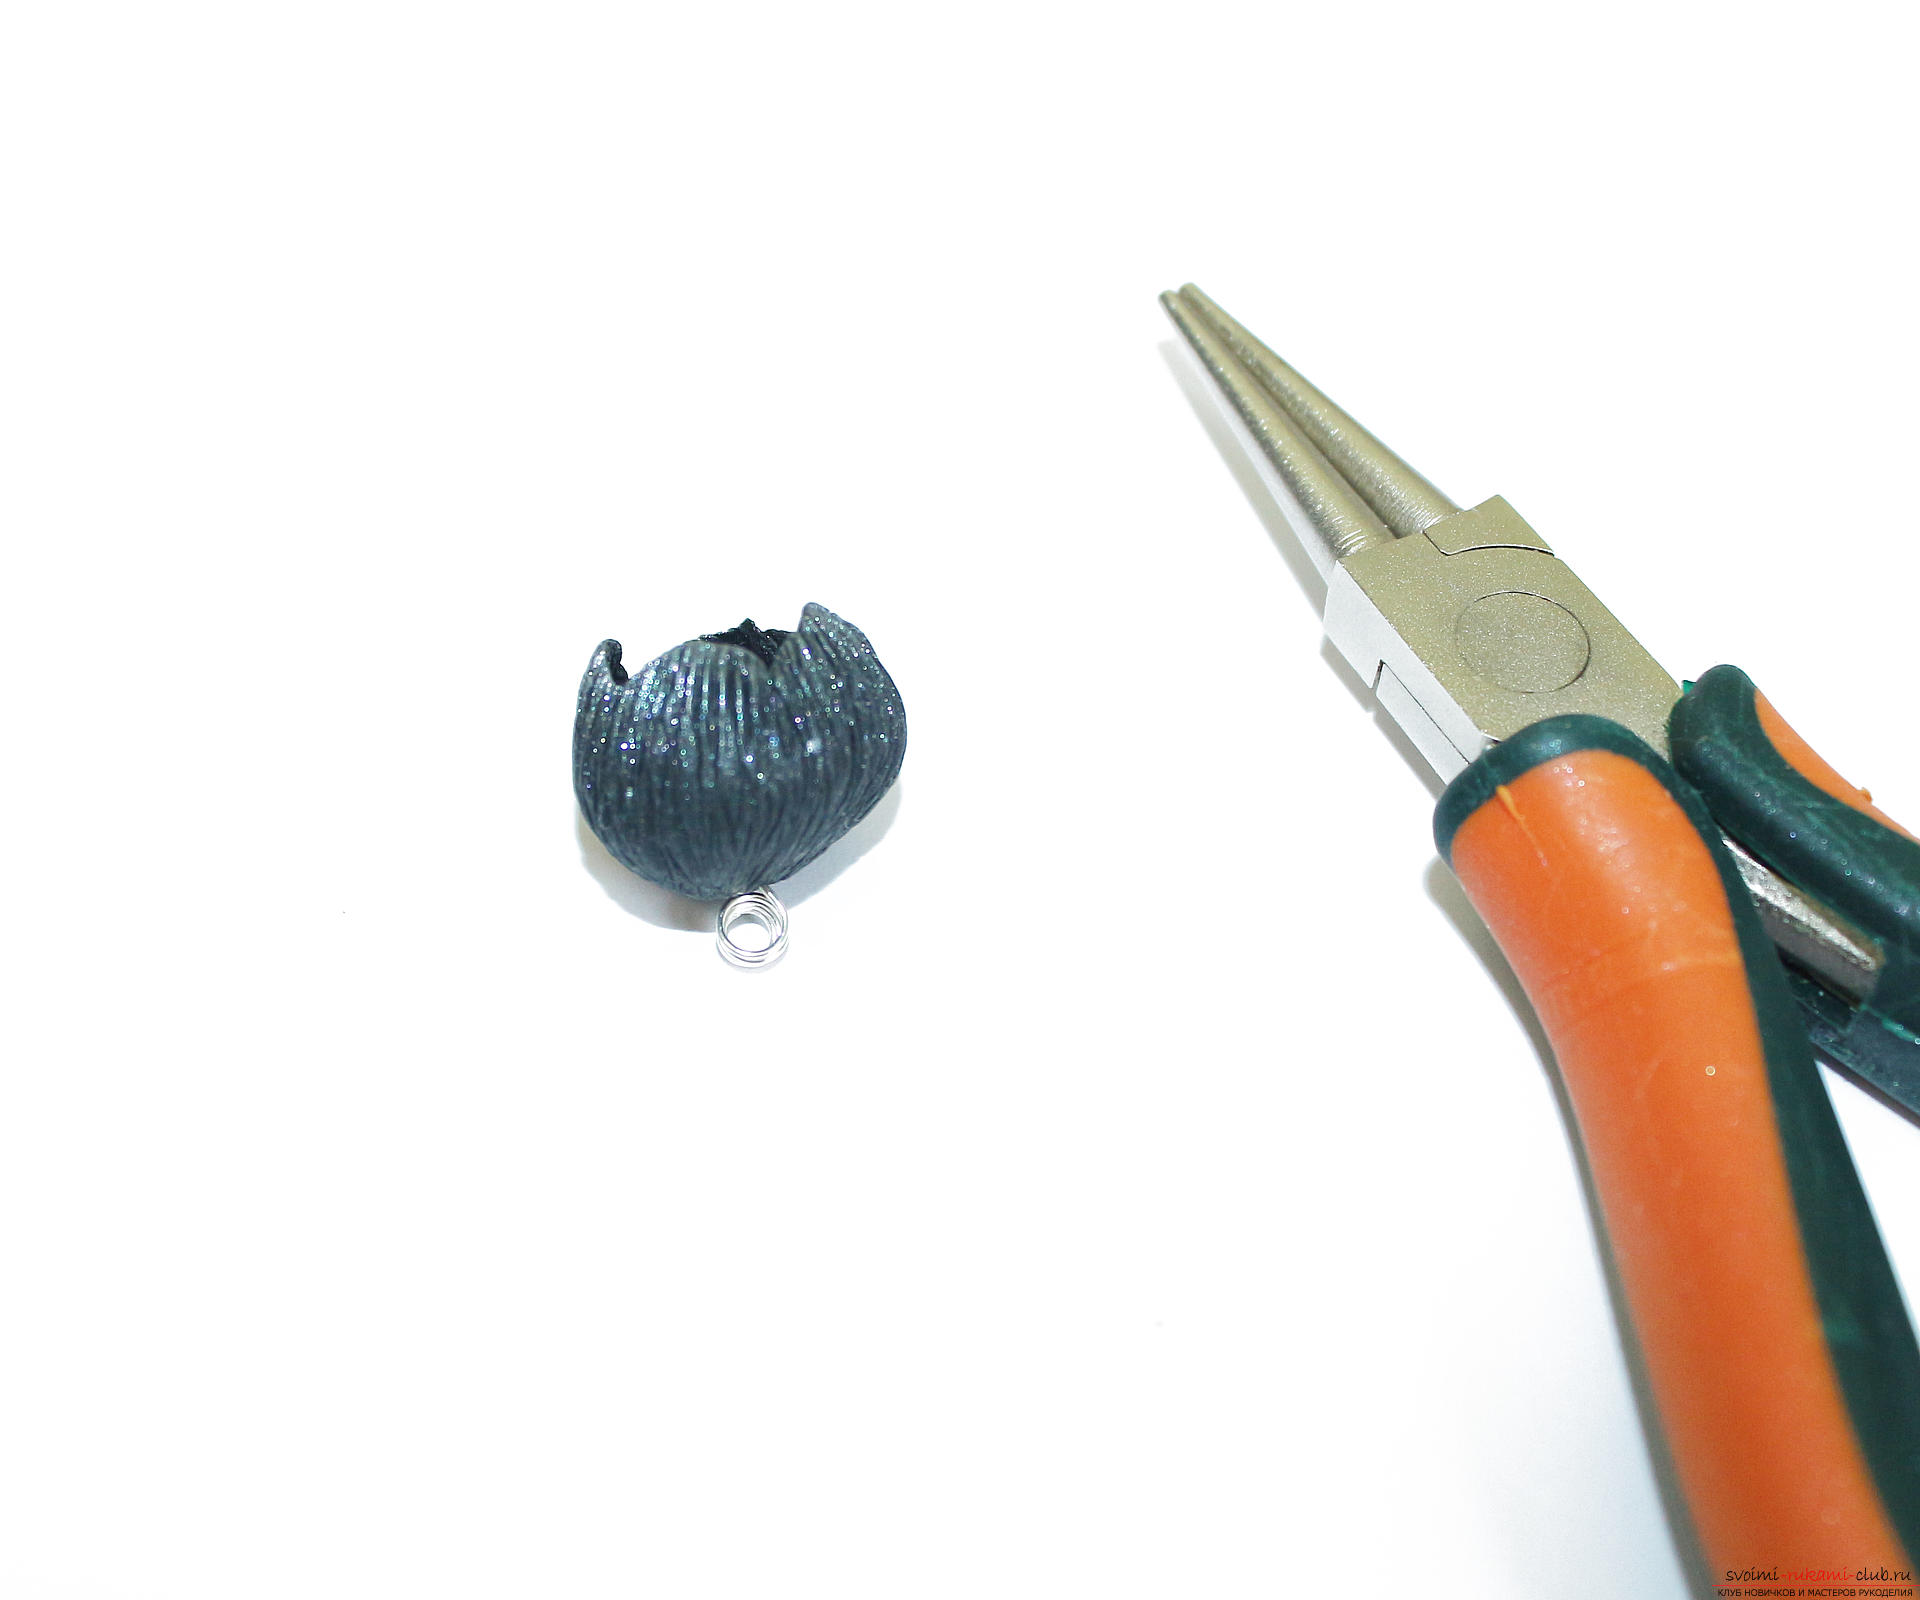
 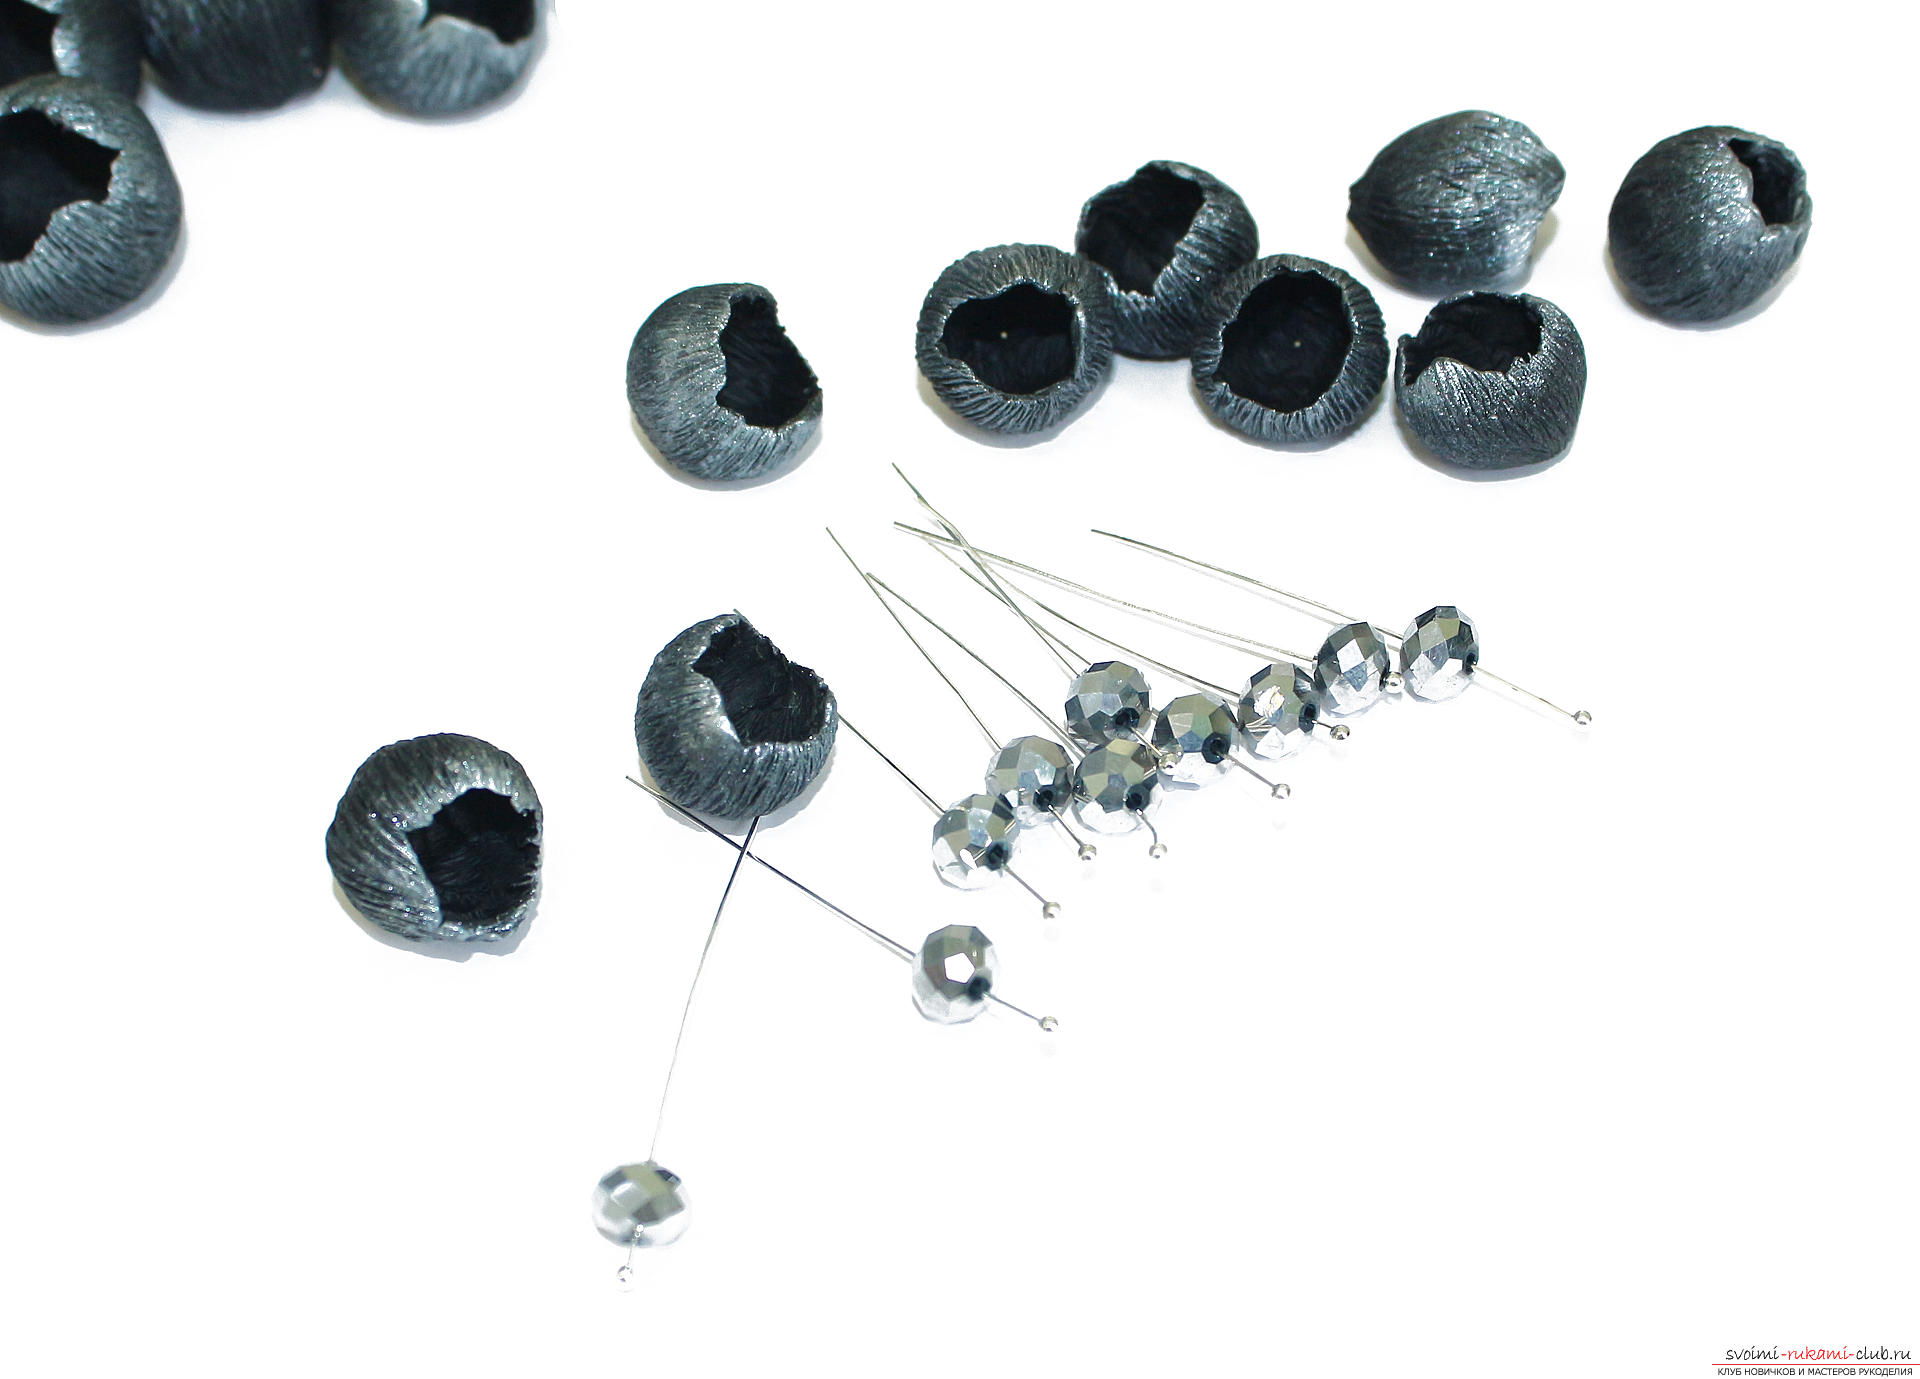 And together with the bead we put the pin into the bud.
 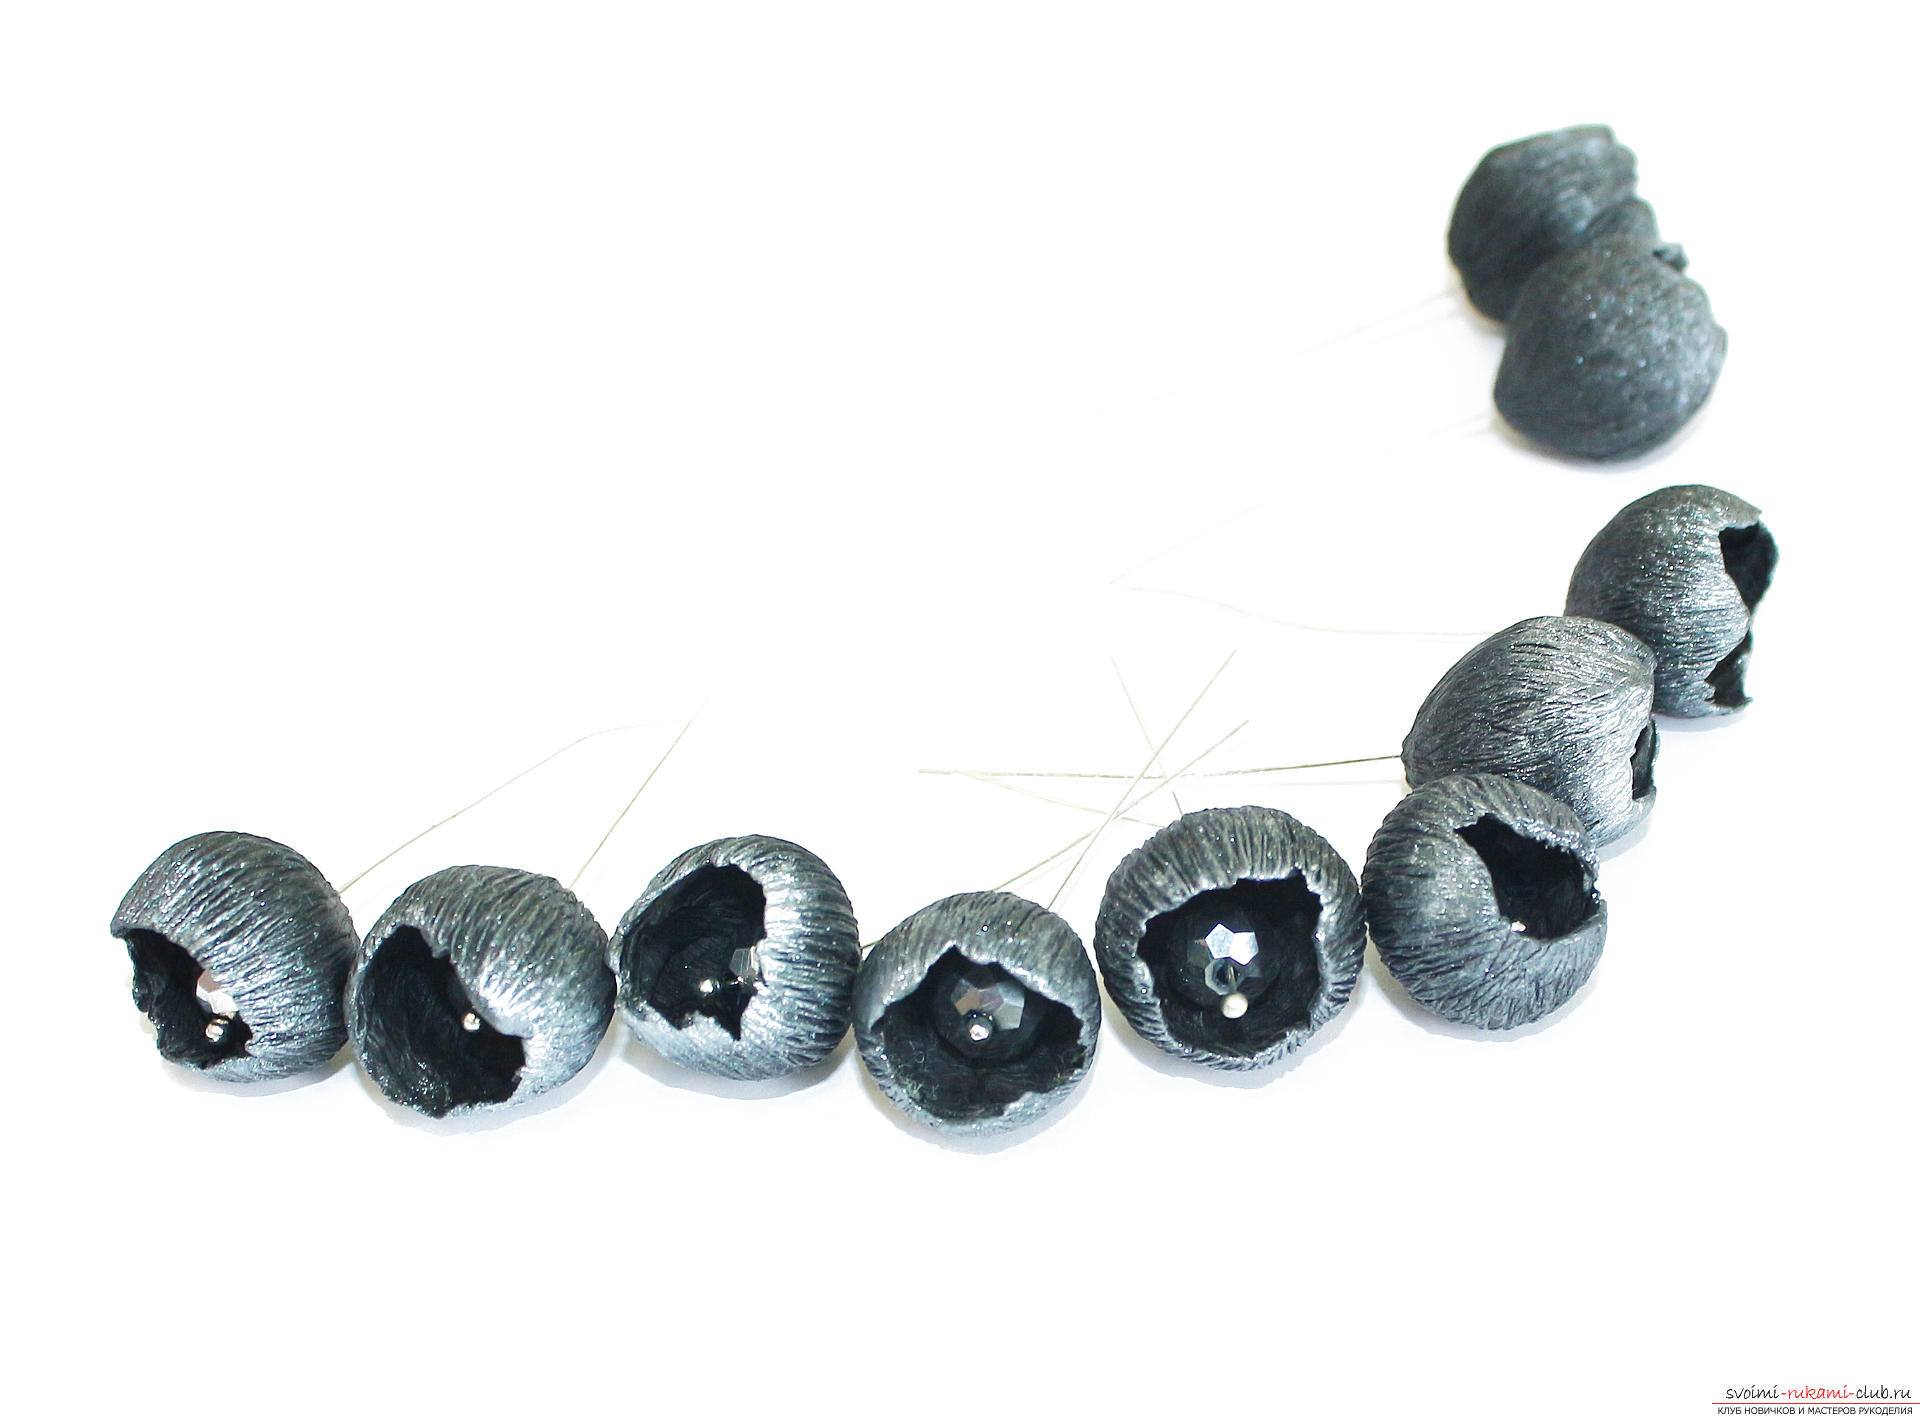 Kruglogubtsami twist the extra part of the pin in a tight spring. The size of the spring for each bud should MUST be WIDER than the base of the rope, otherwise it will be impossible to assemble the necklace !!!
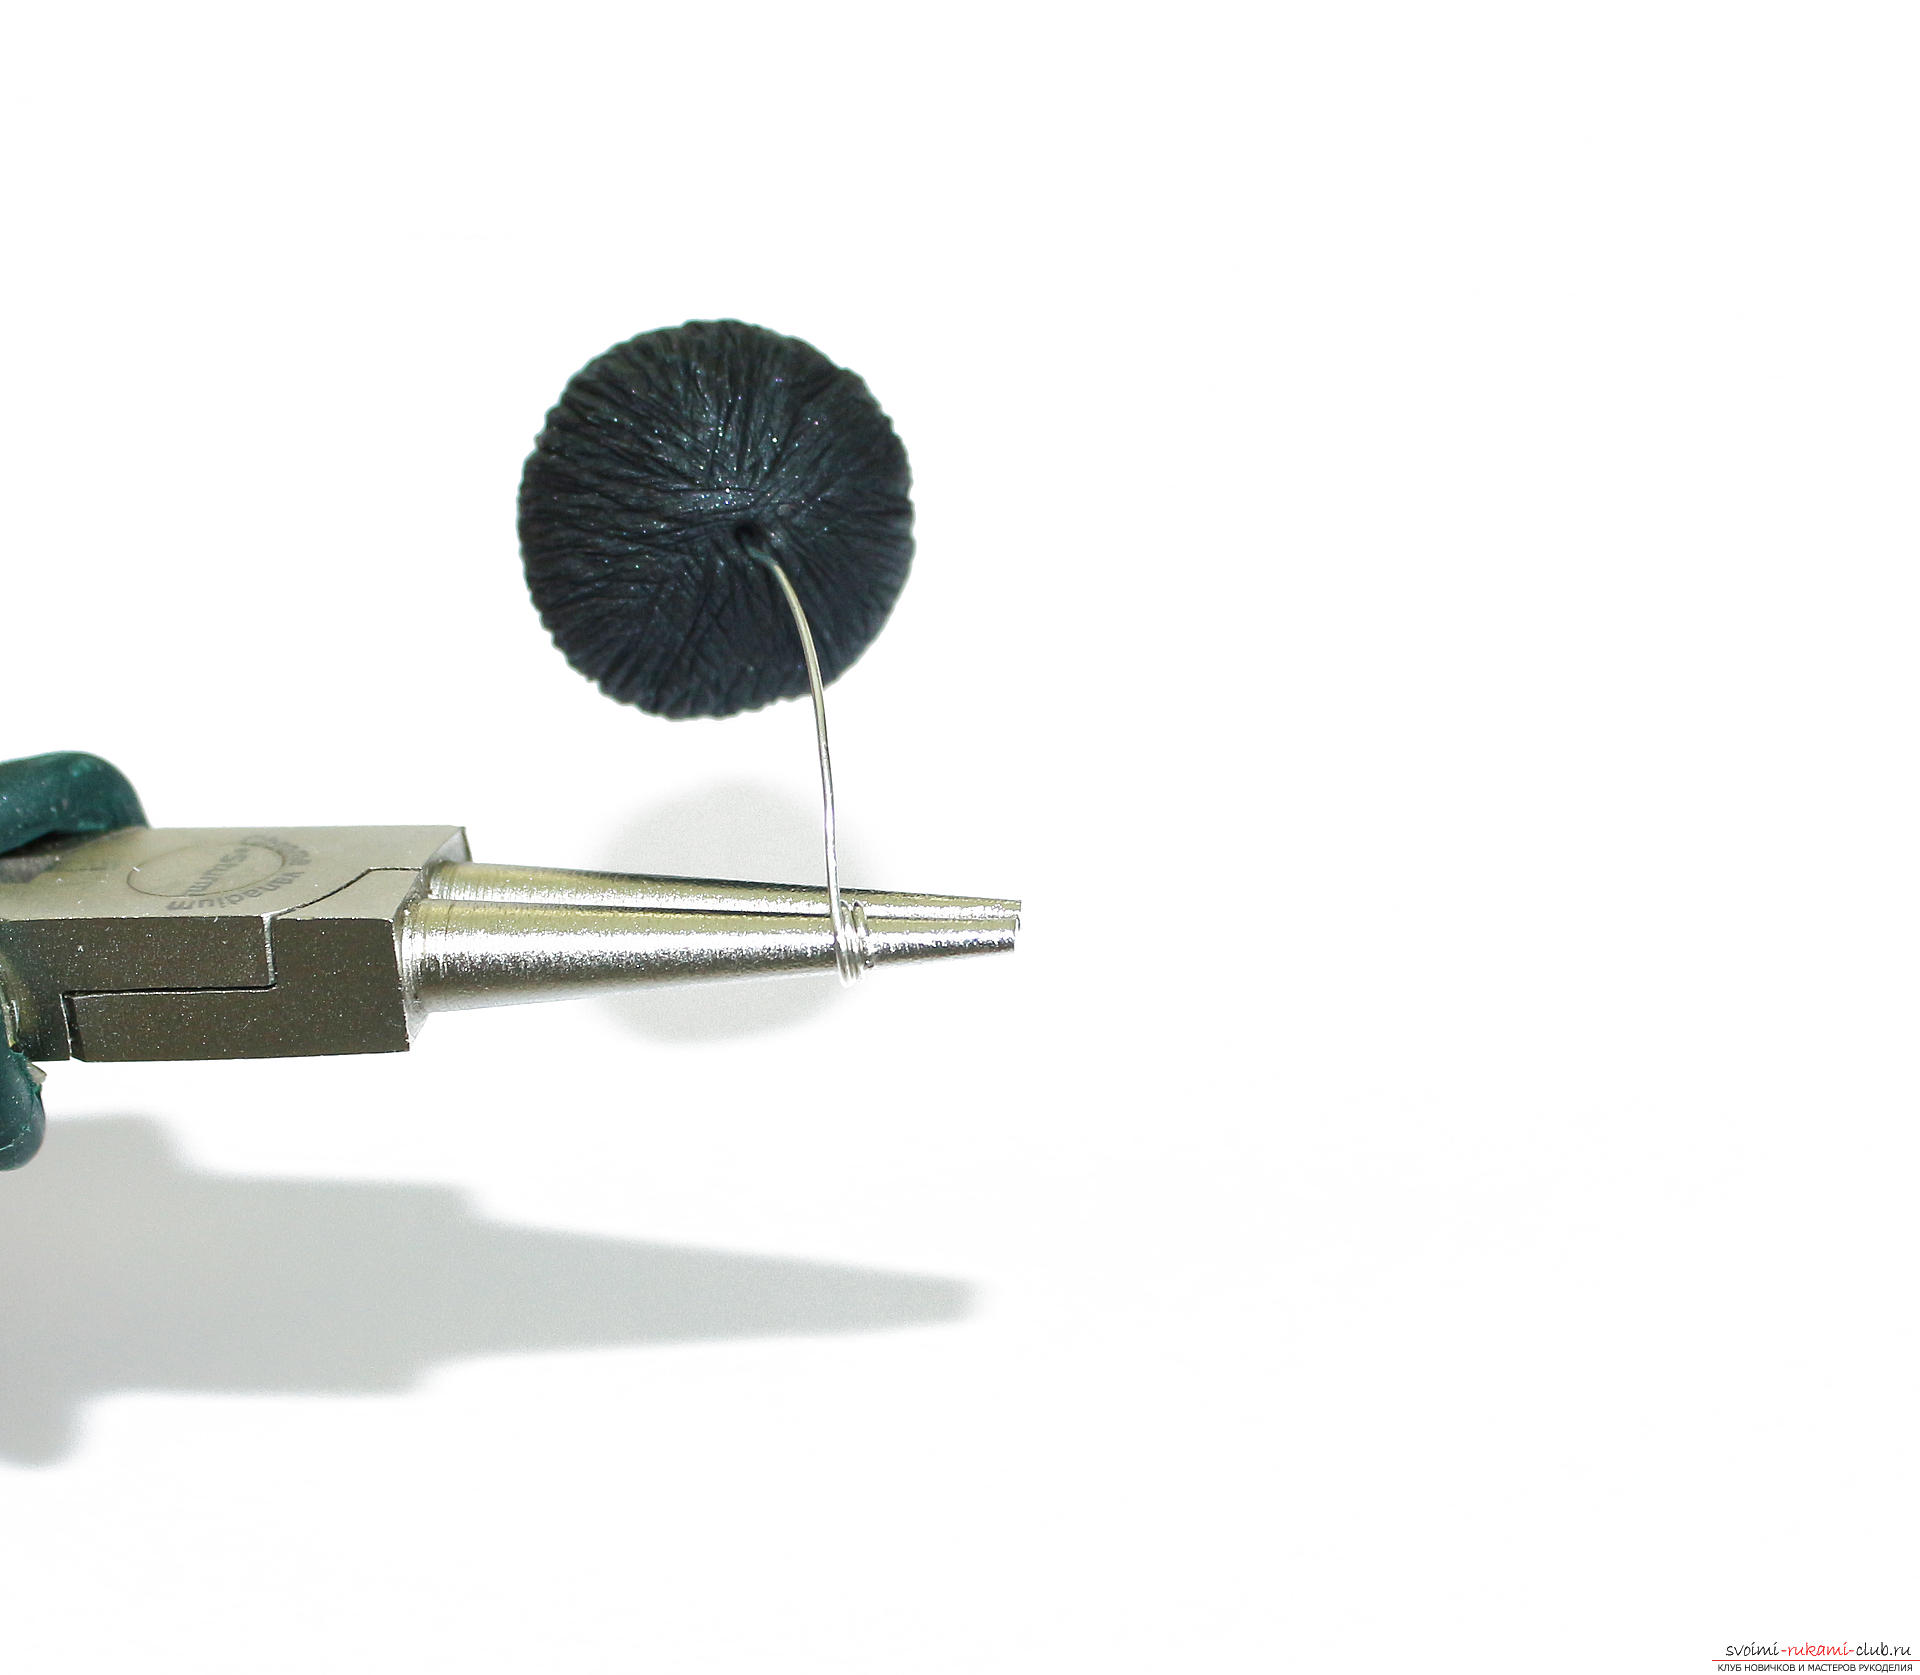
 Repeat for all small buds.
 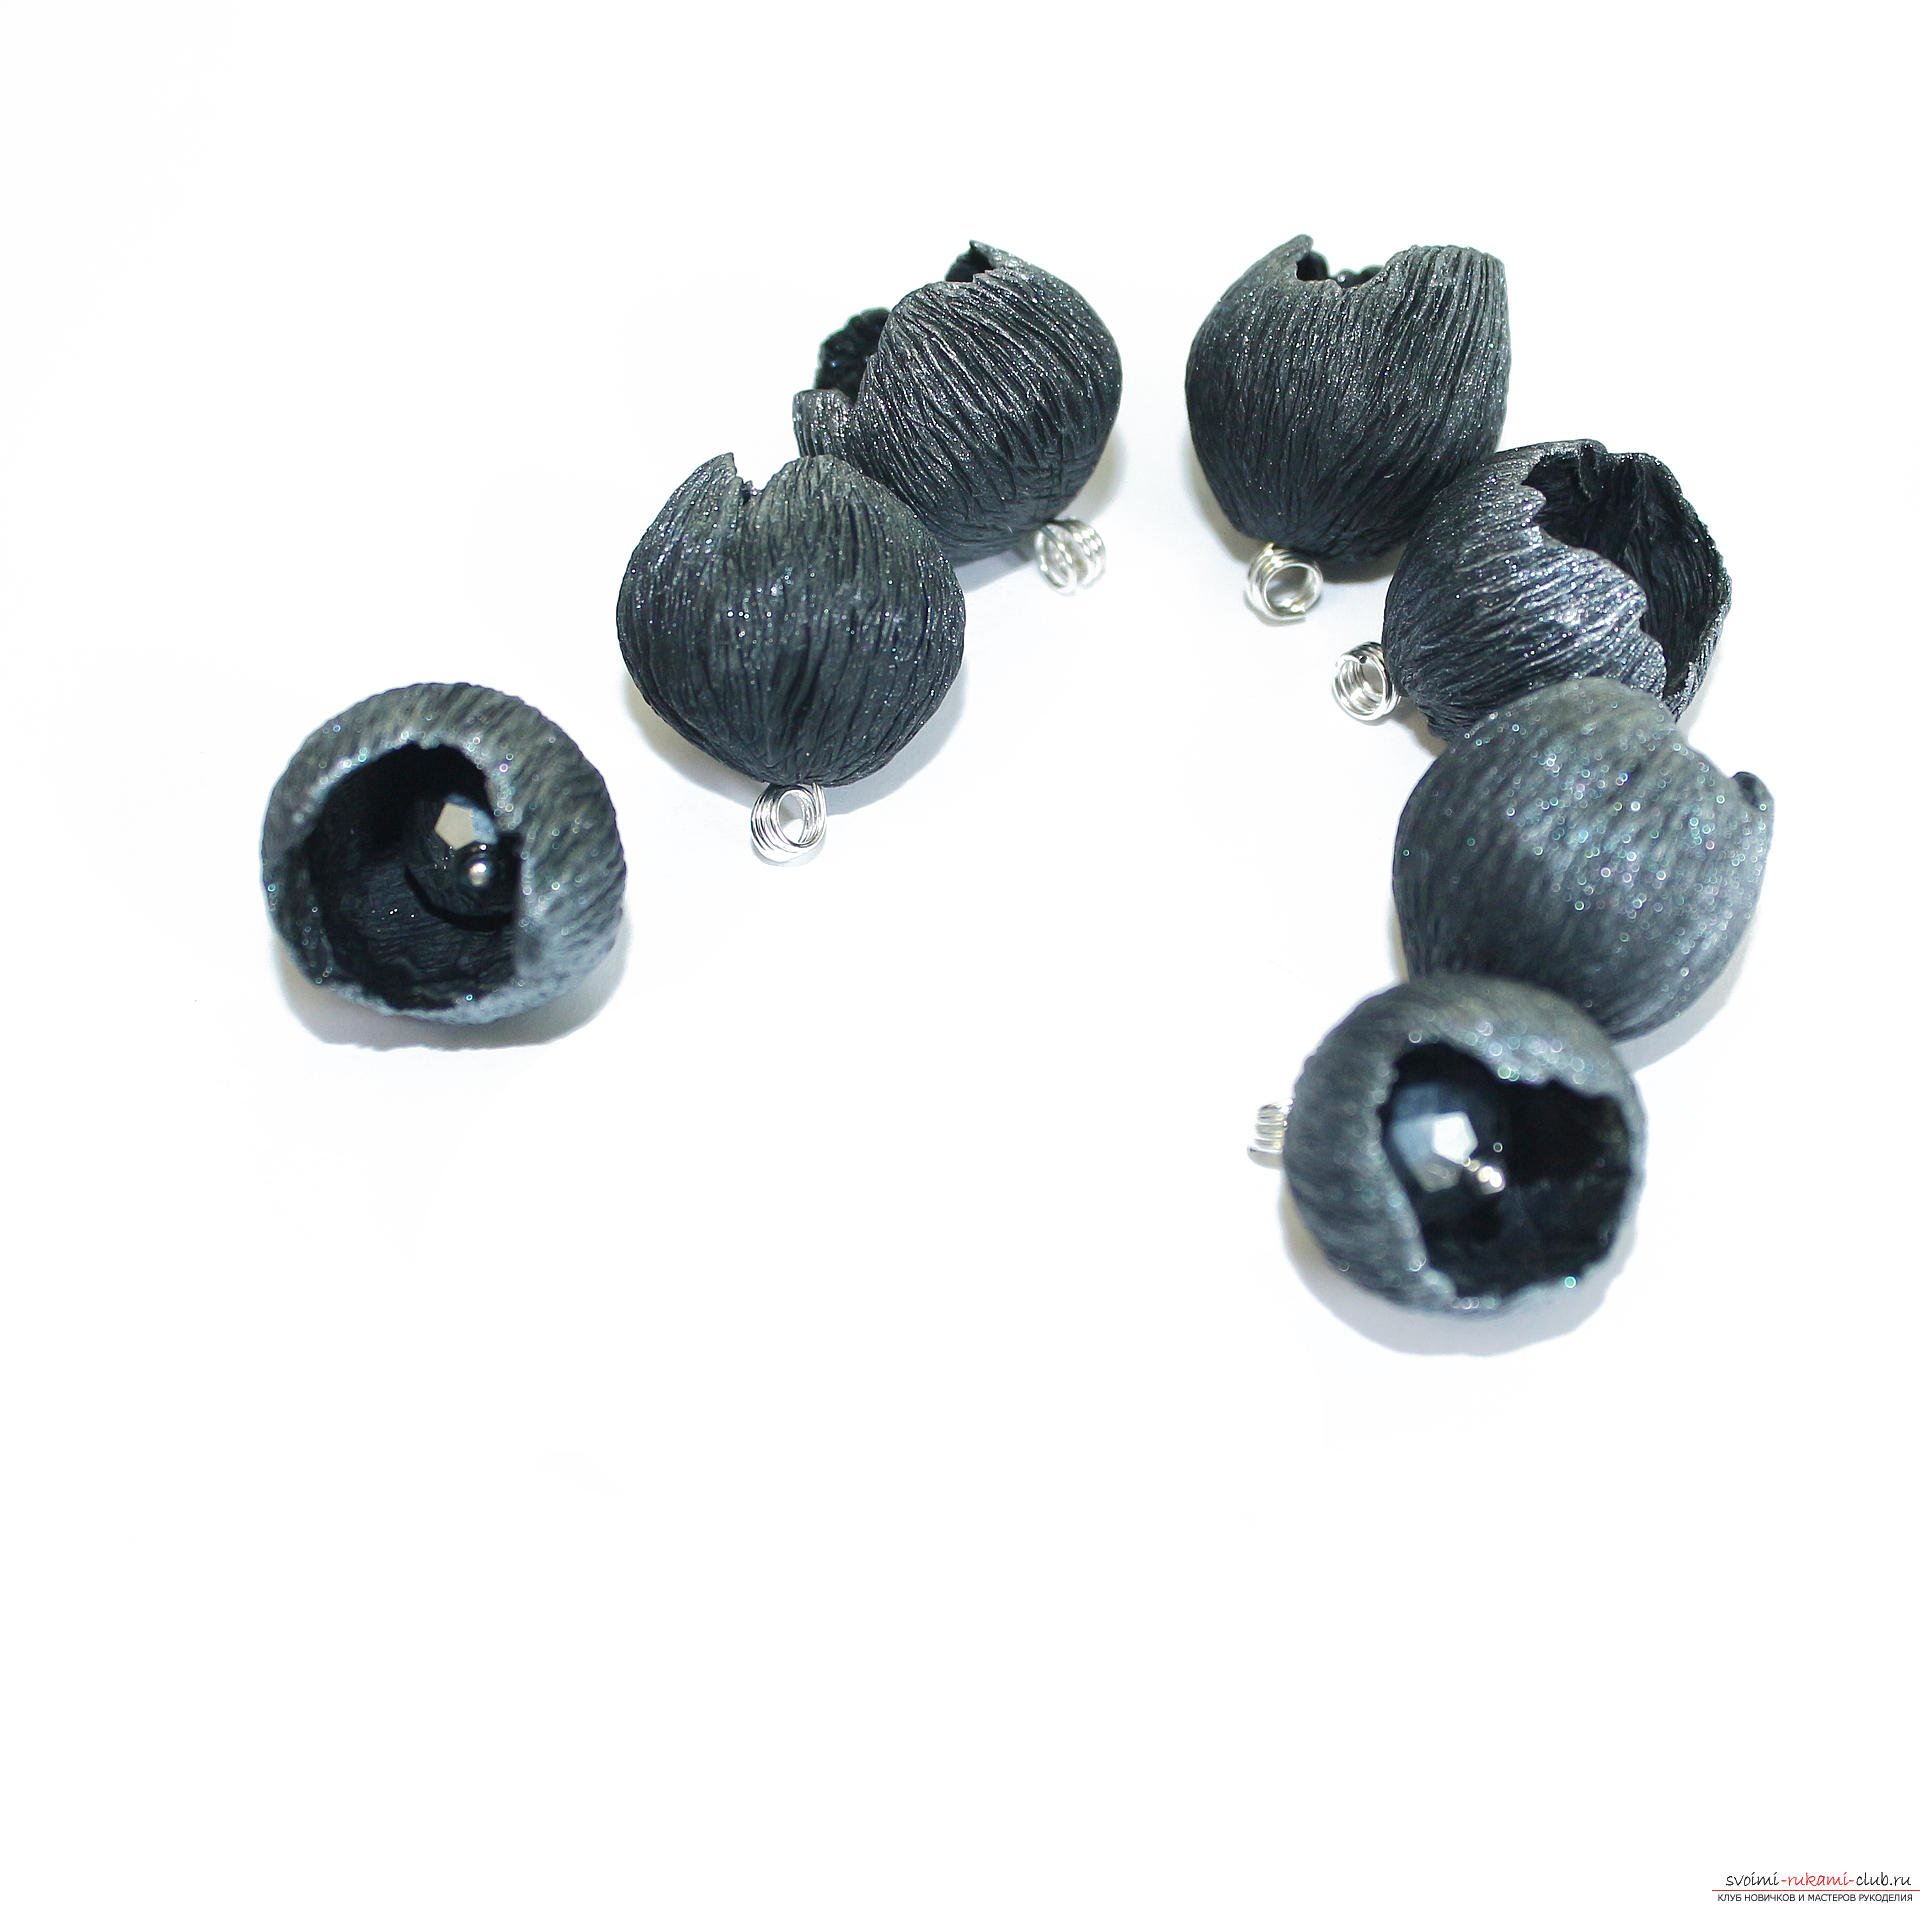 Now we work with buds of medium size. They are deeper, and one bead will not fill them, so we prepare three beads for each bud - one large, two small.
 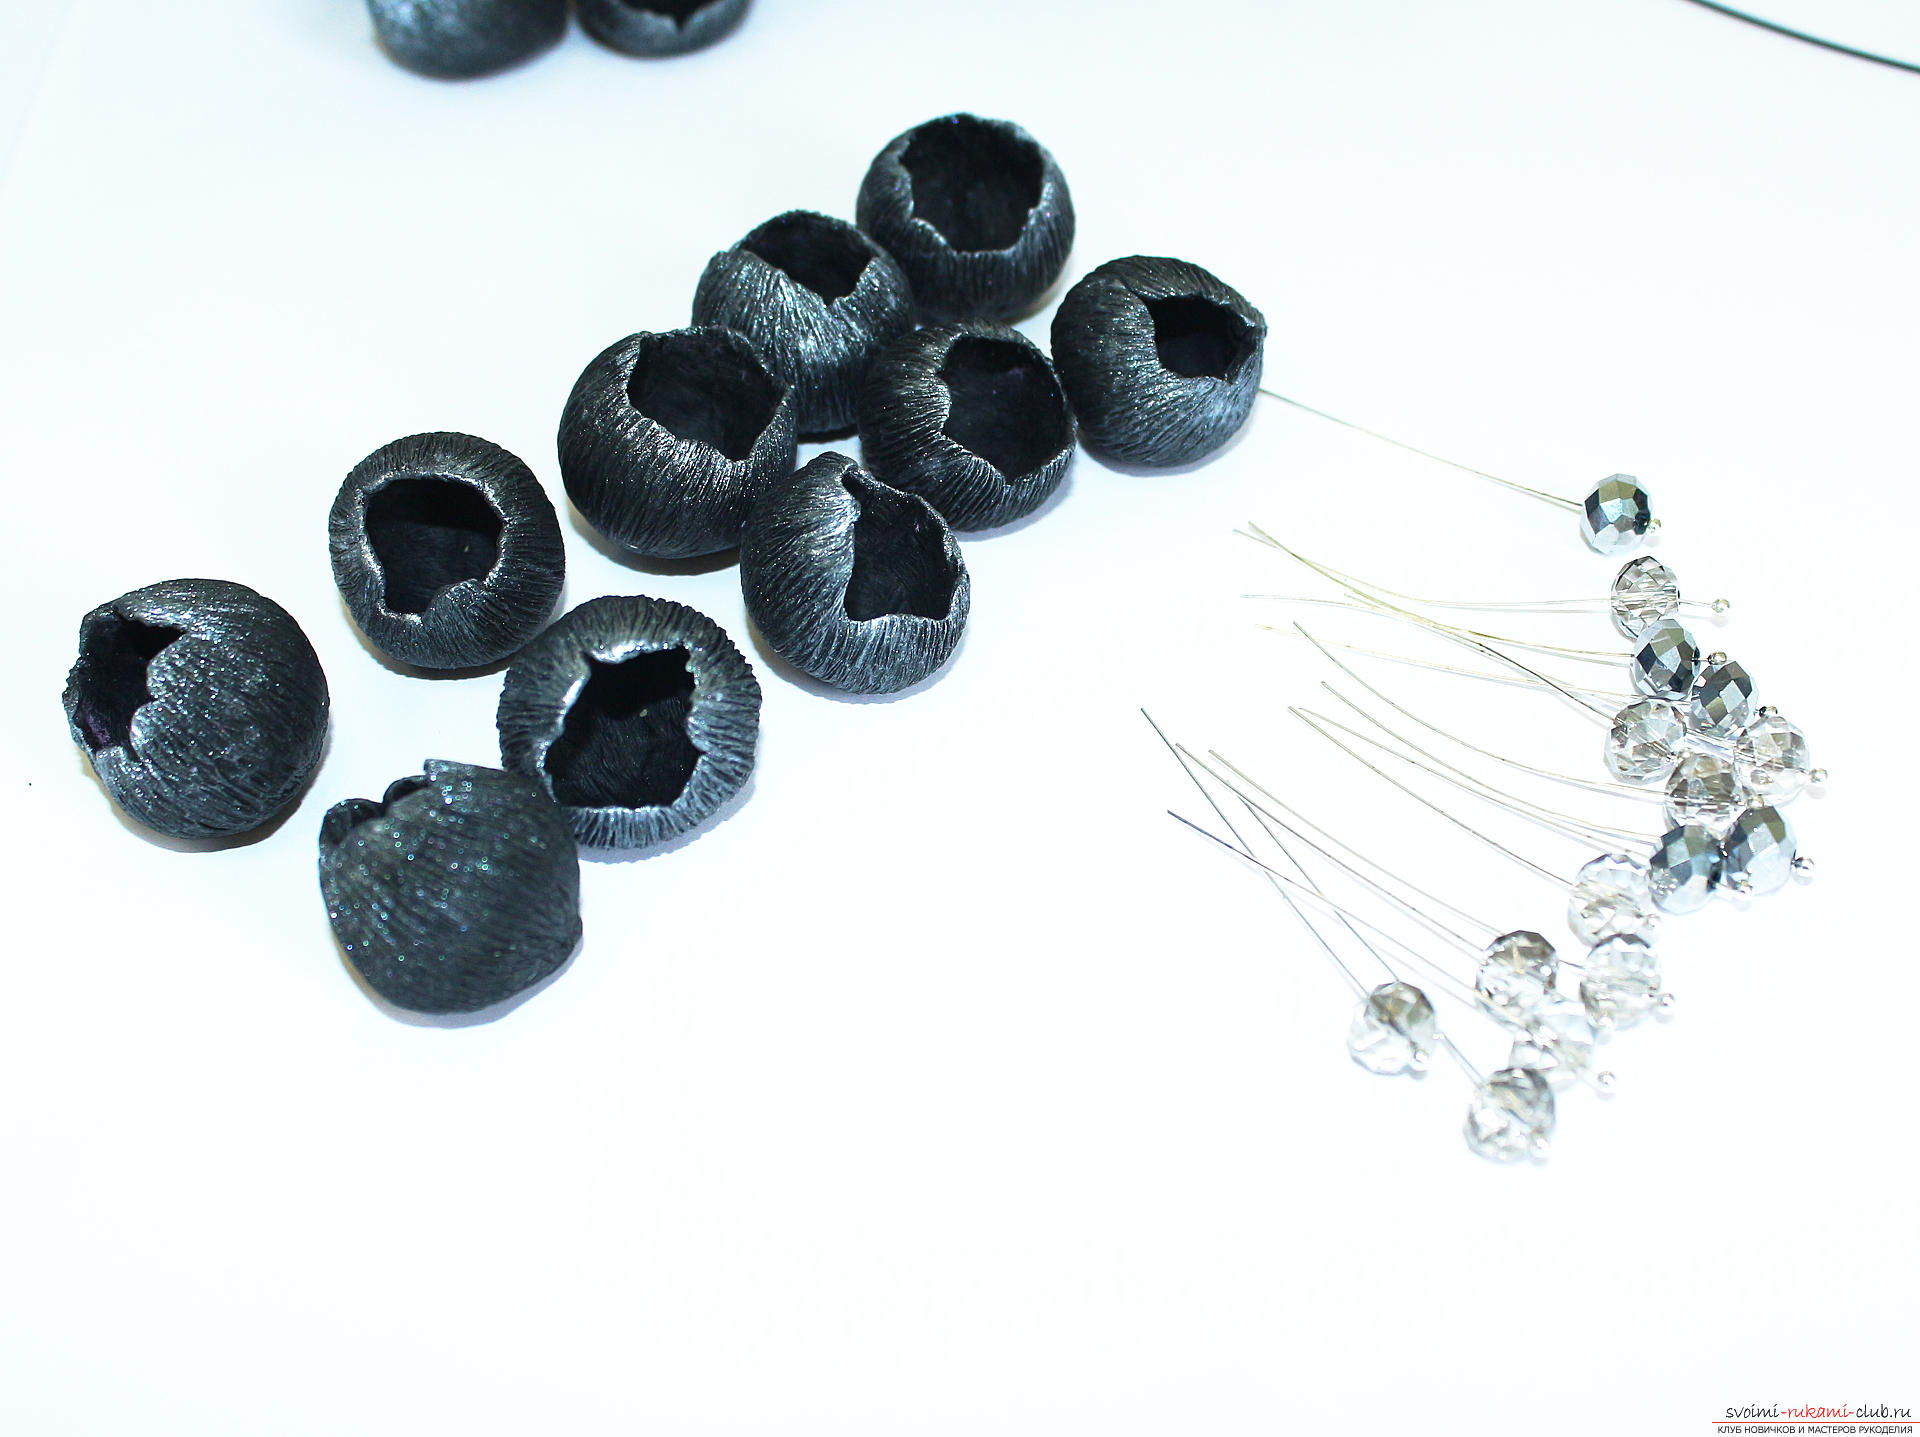 At small beads we twist the edge of a pin into a spring.
 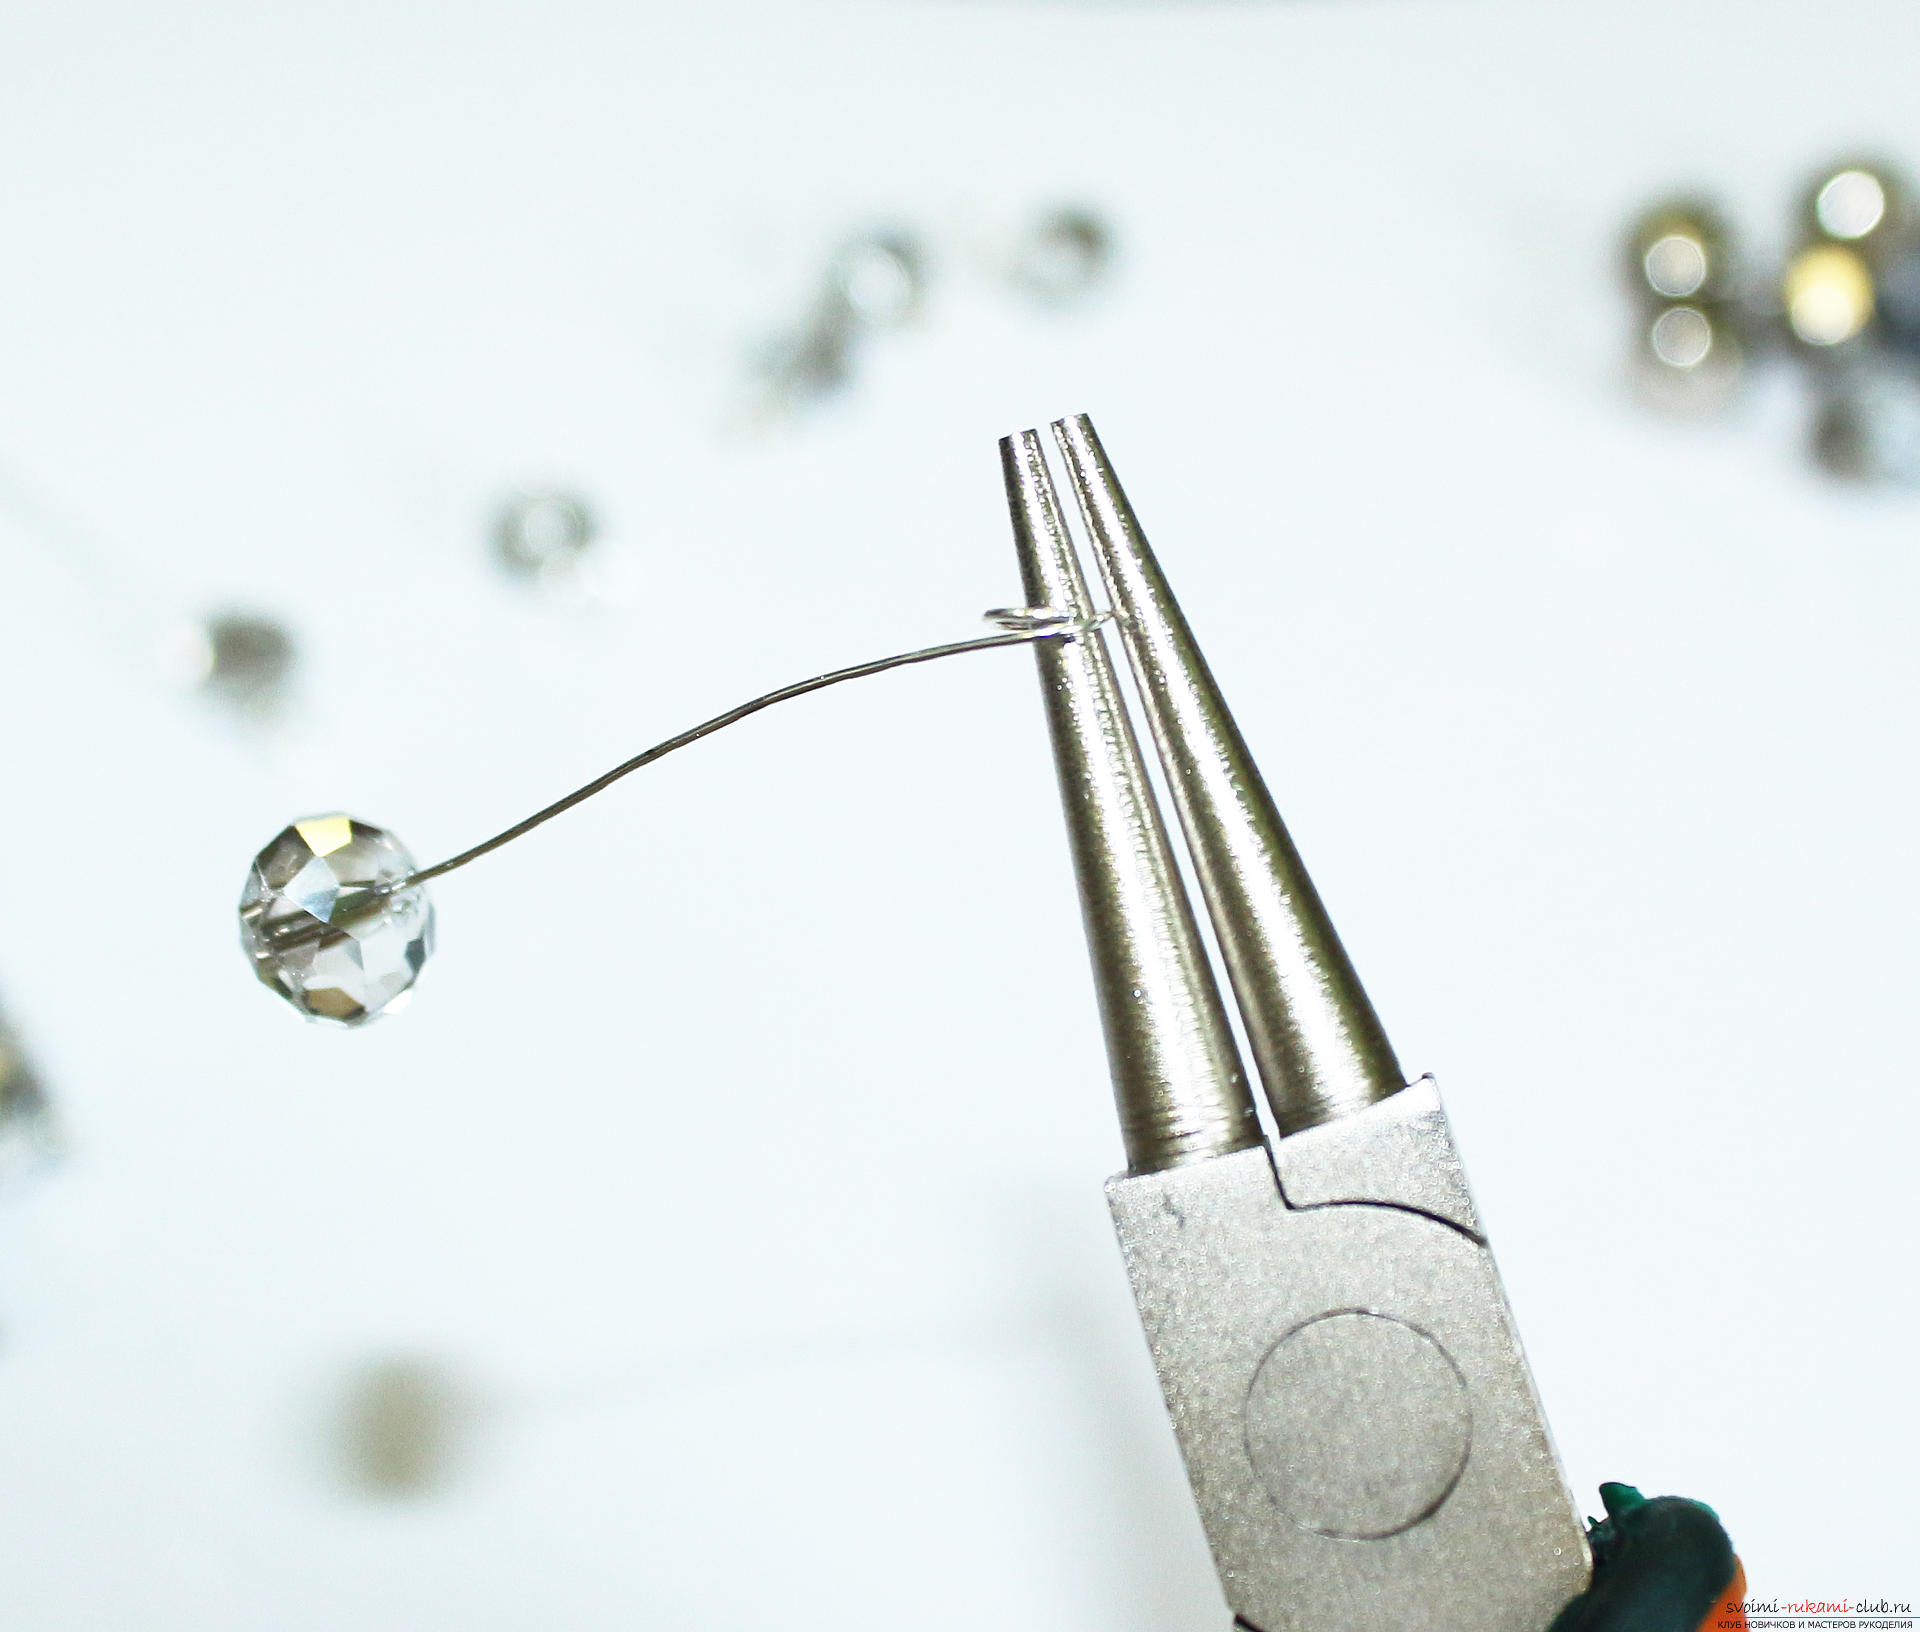 In the big we insert a pin.
 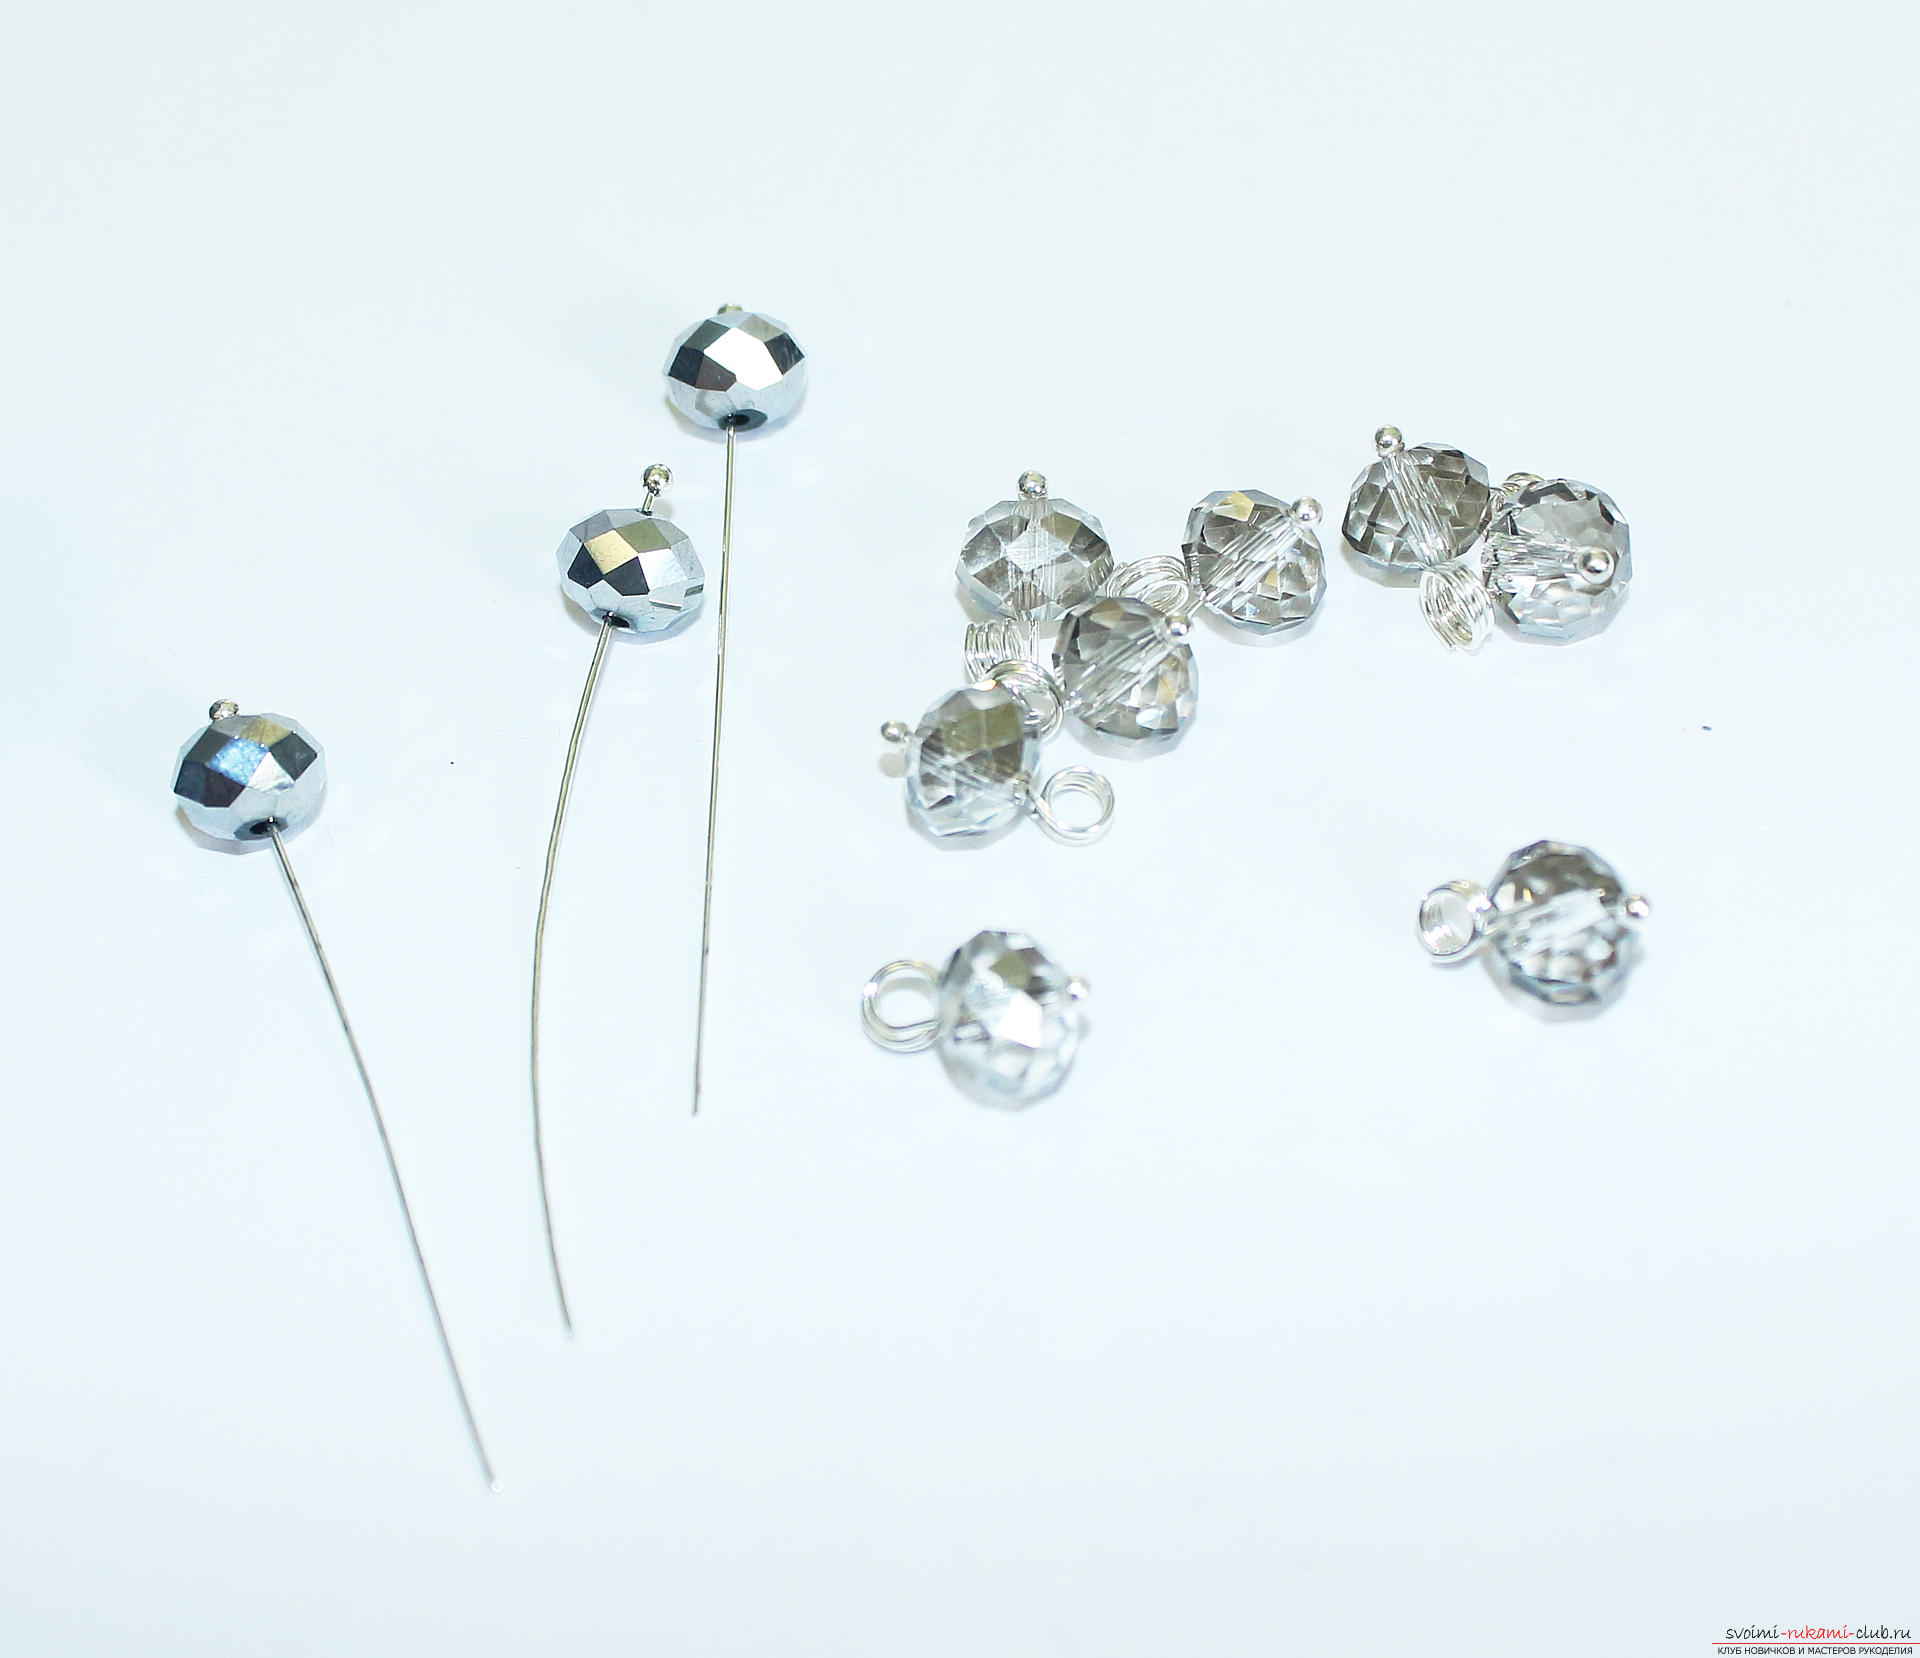 We pass a pin with a large bead through two springs with small beads.
 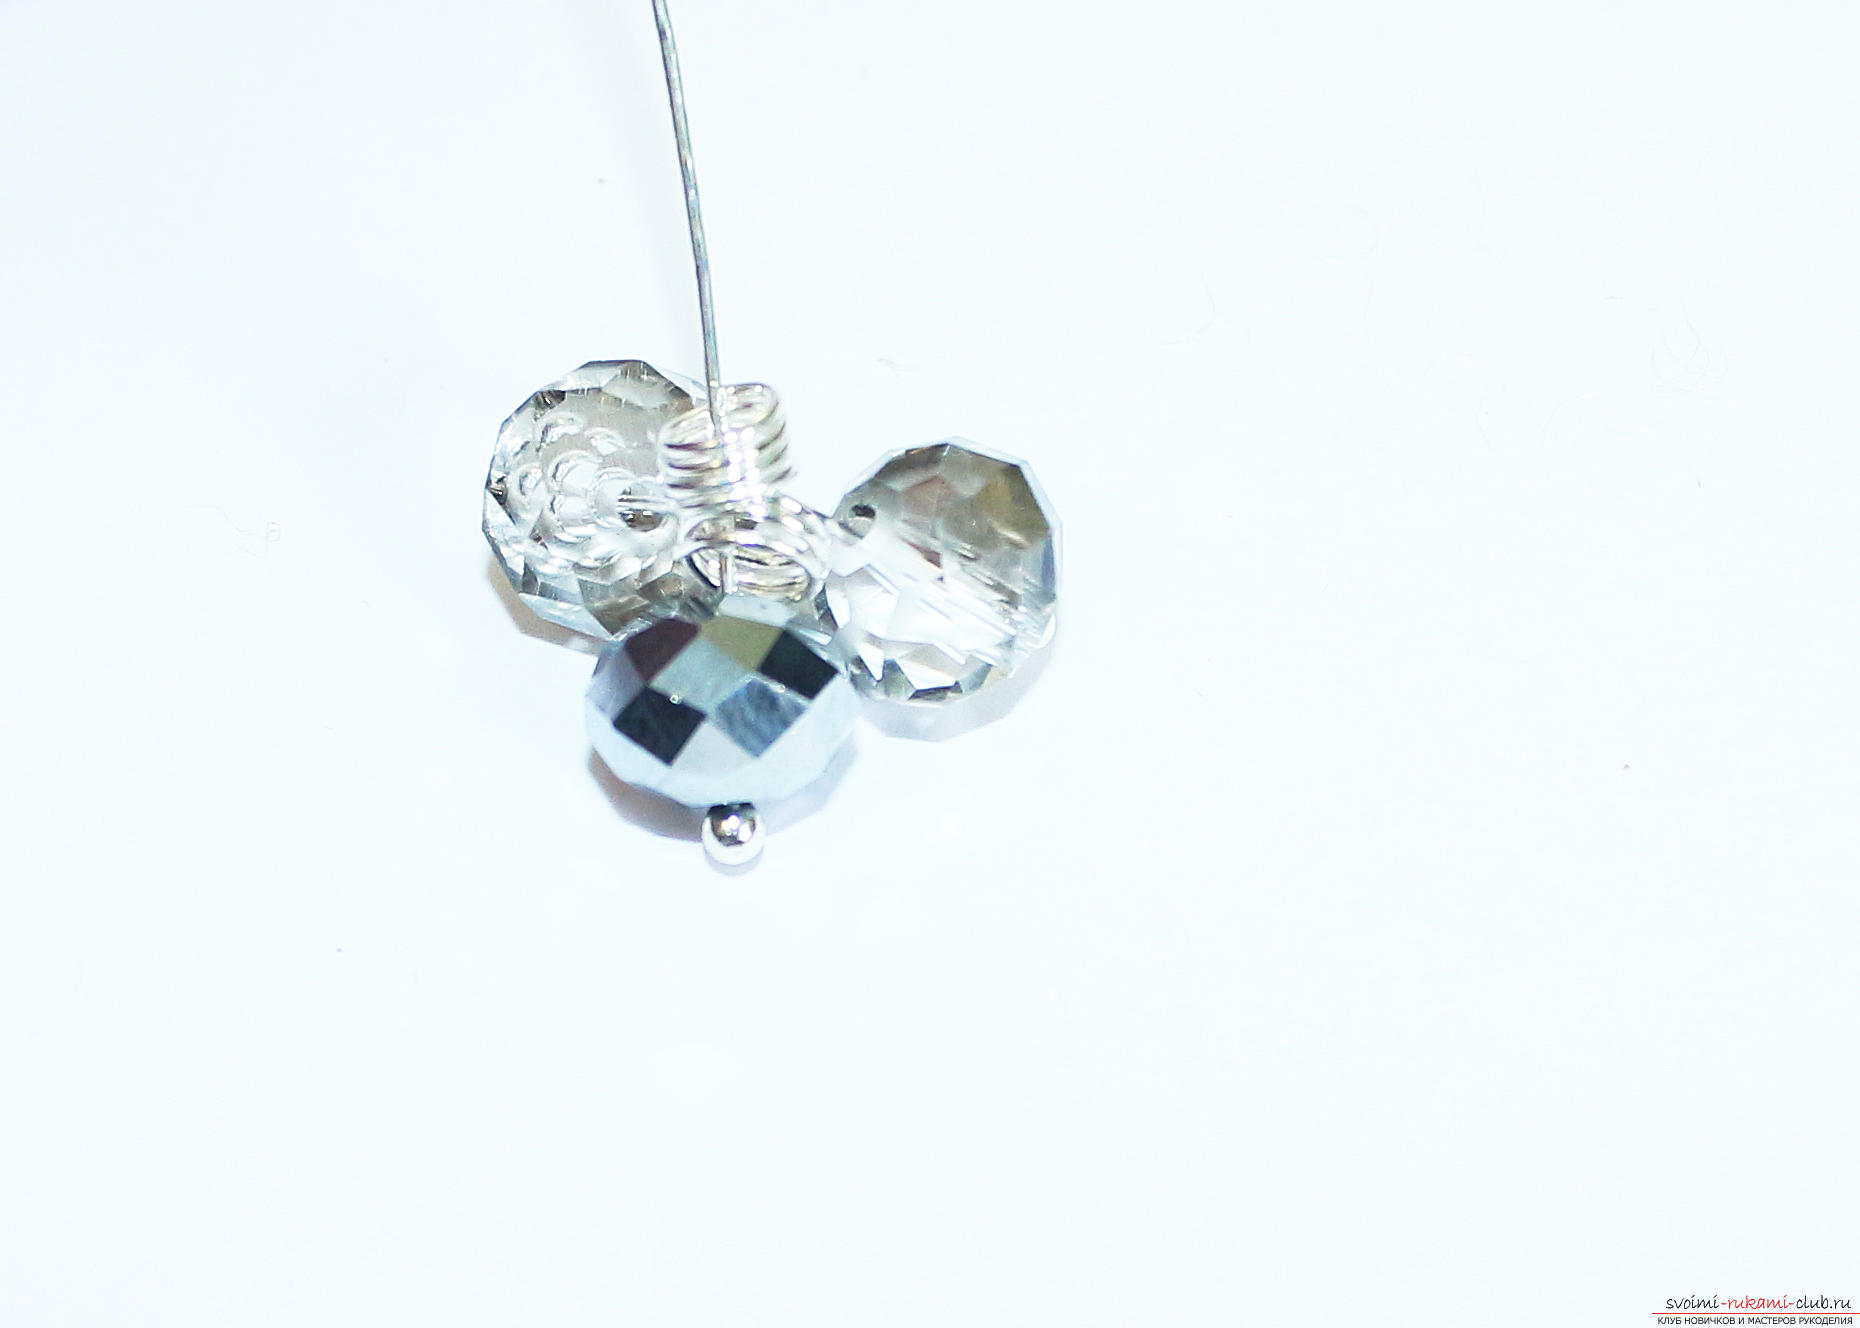 And this is the construction we put into buds of medium size.
 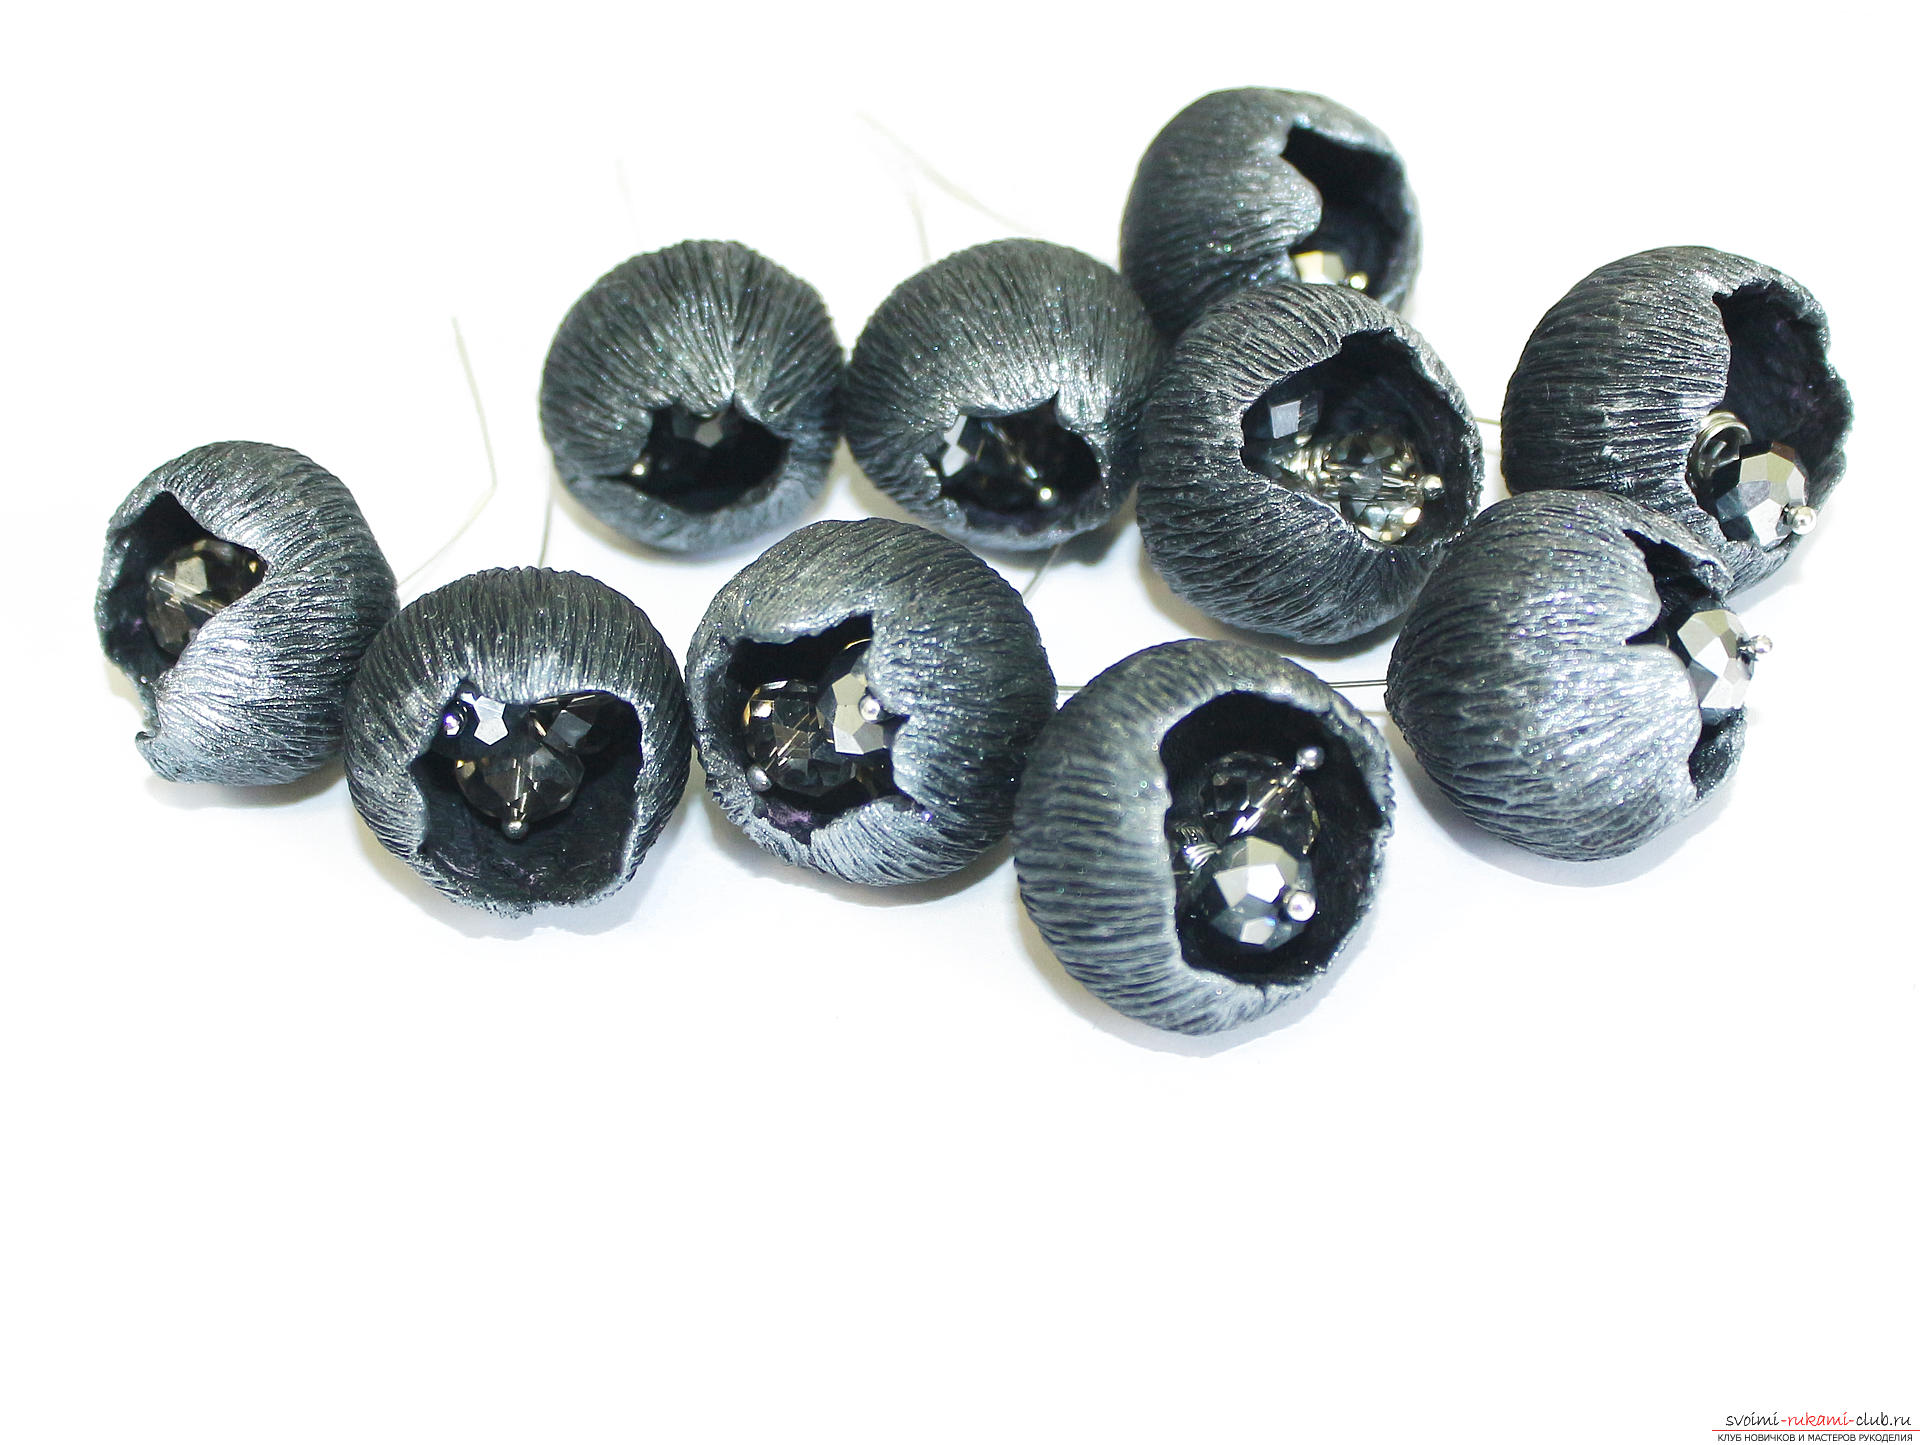 Just twist the edge of the pin in the spring of each bud.
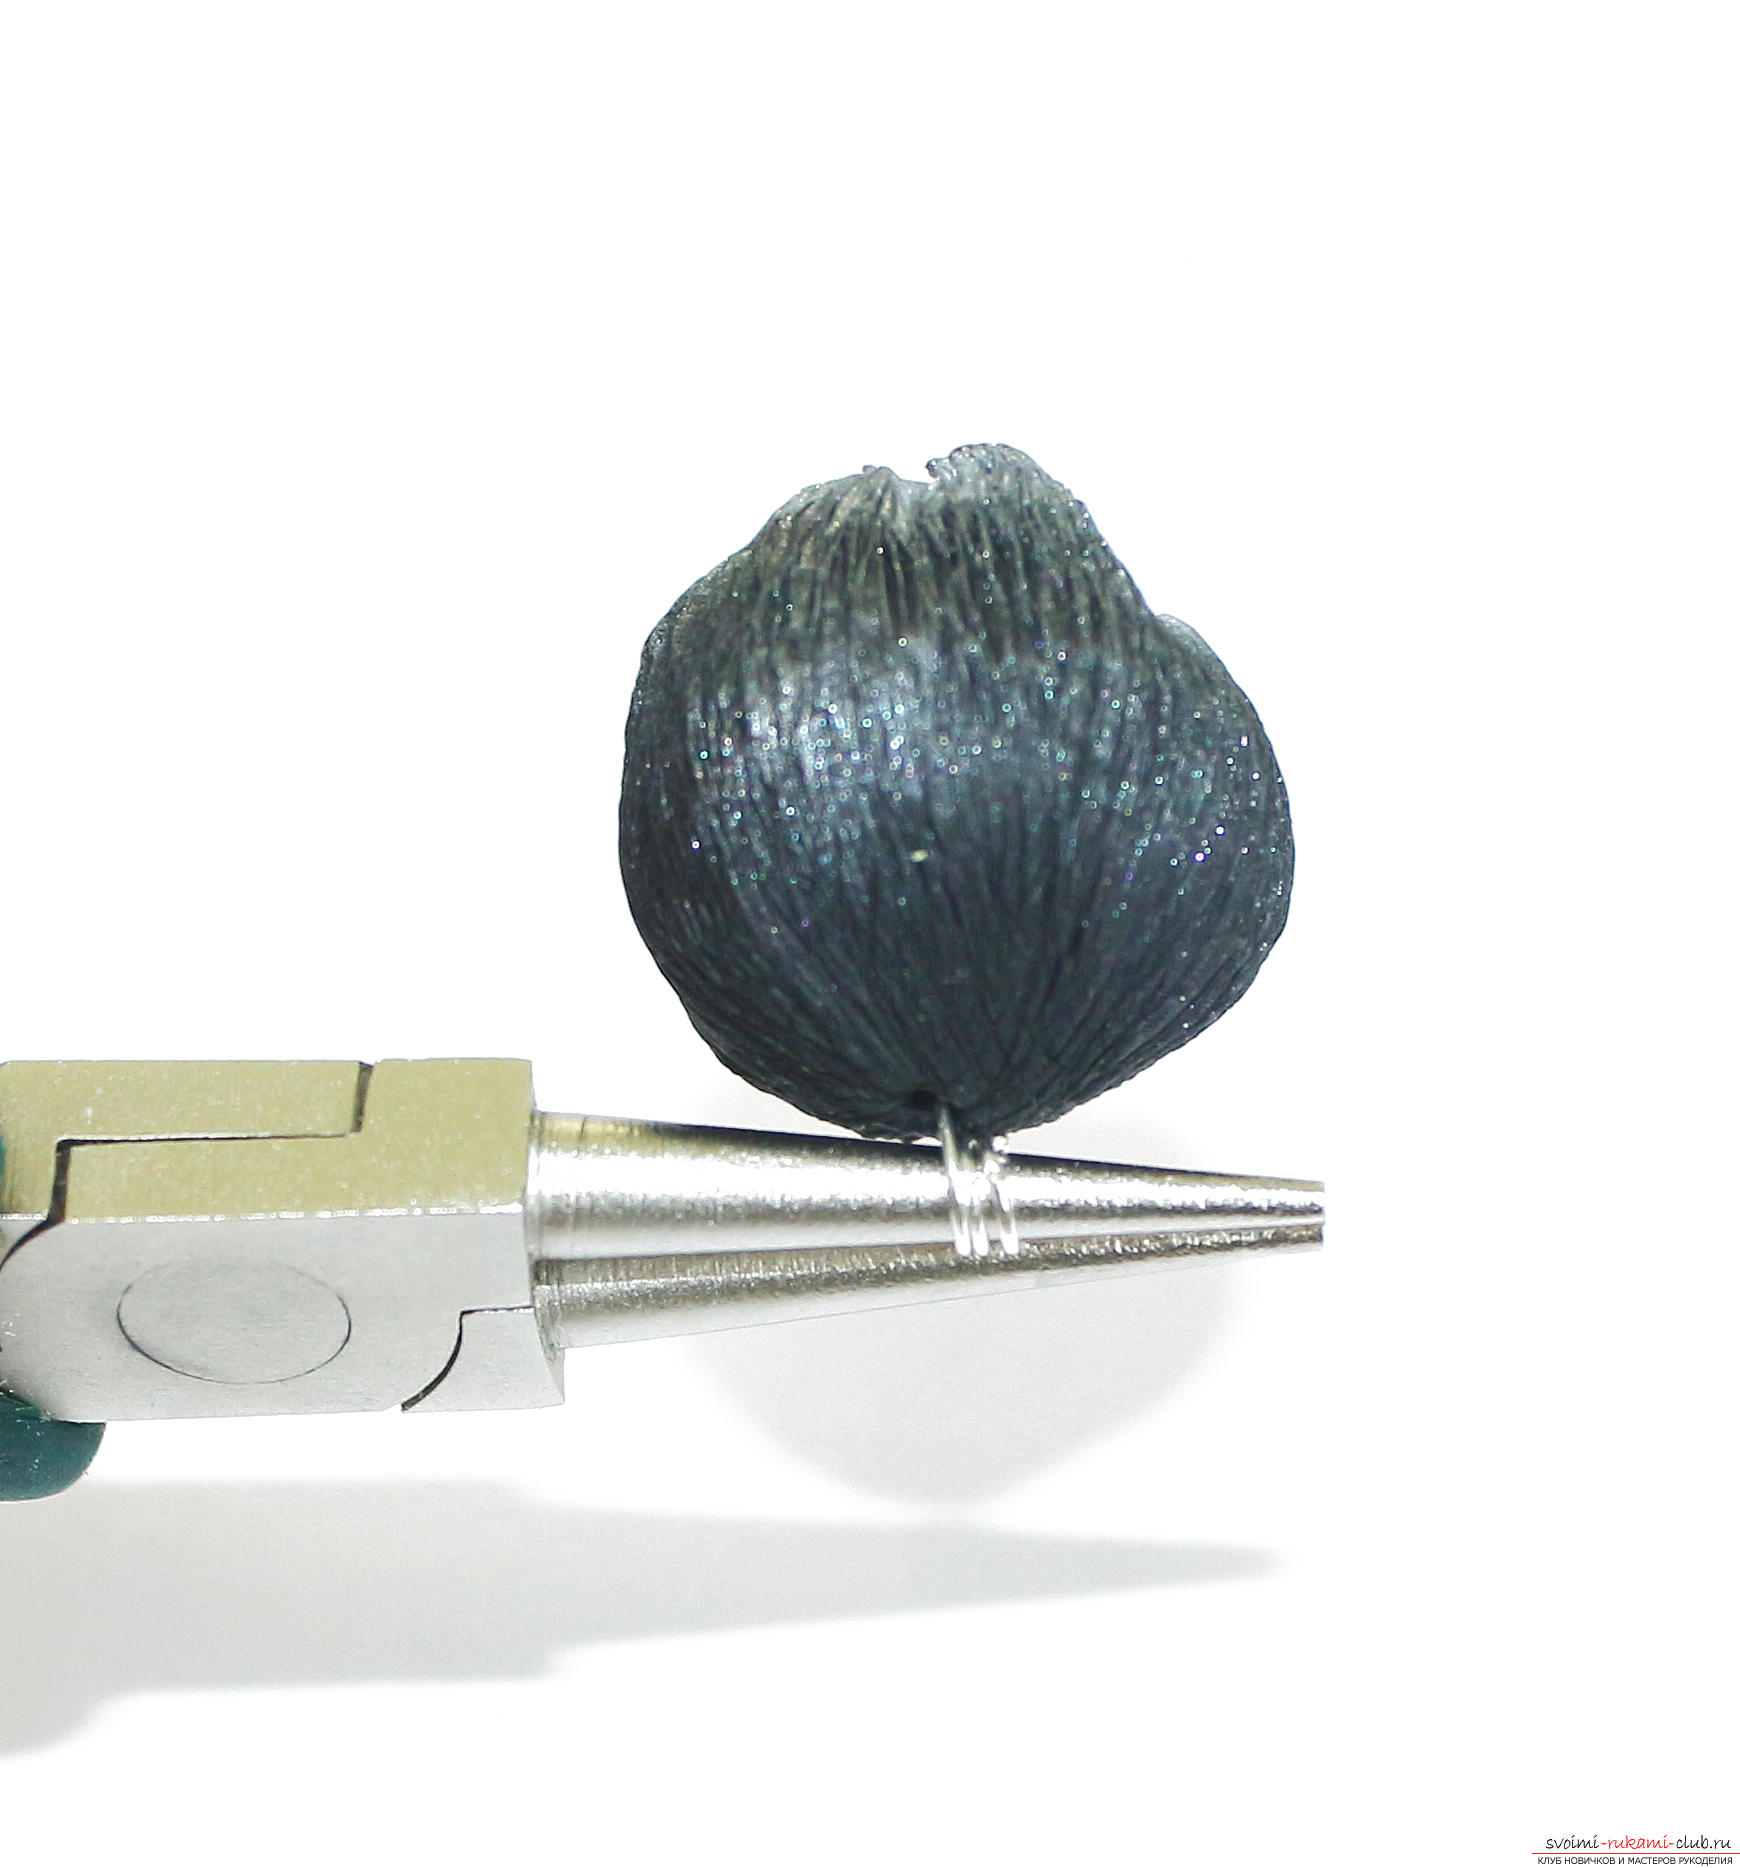
 For the largest buds we are preparing even larger beads.
 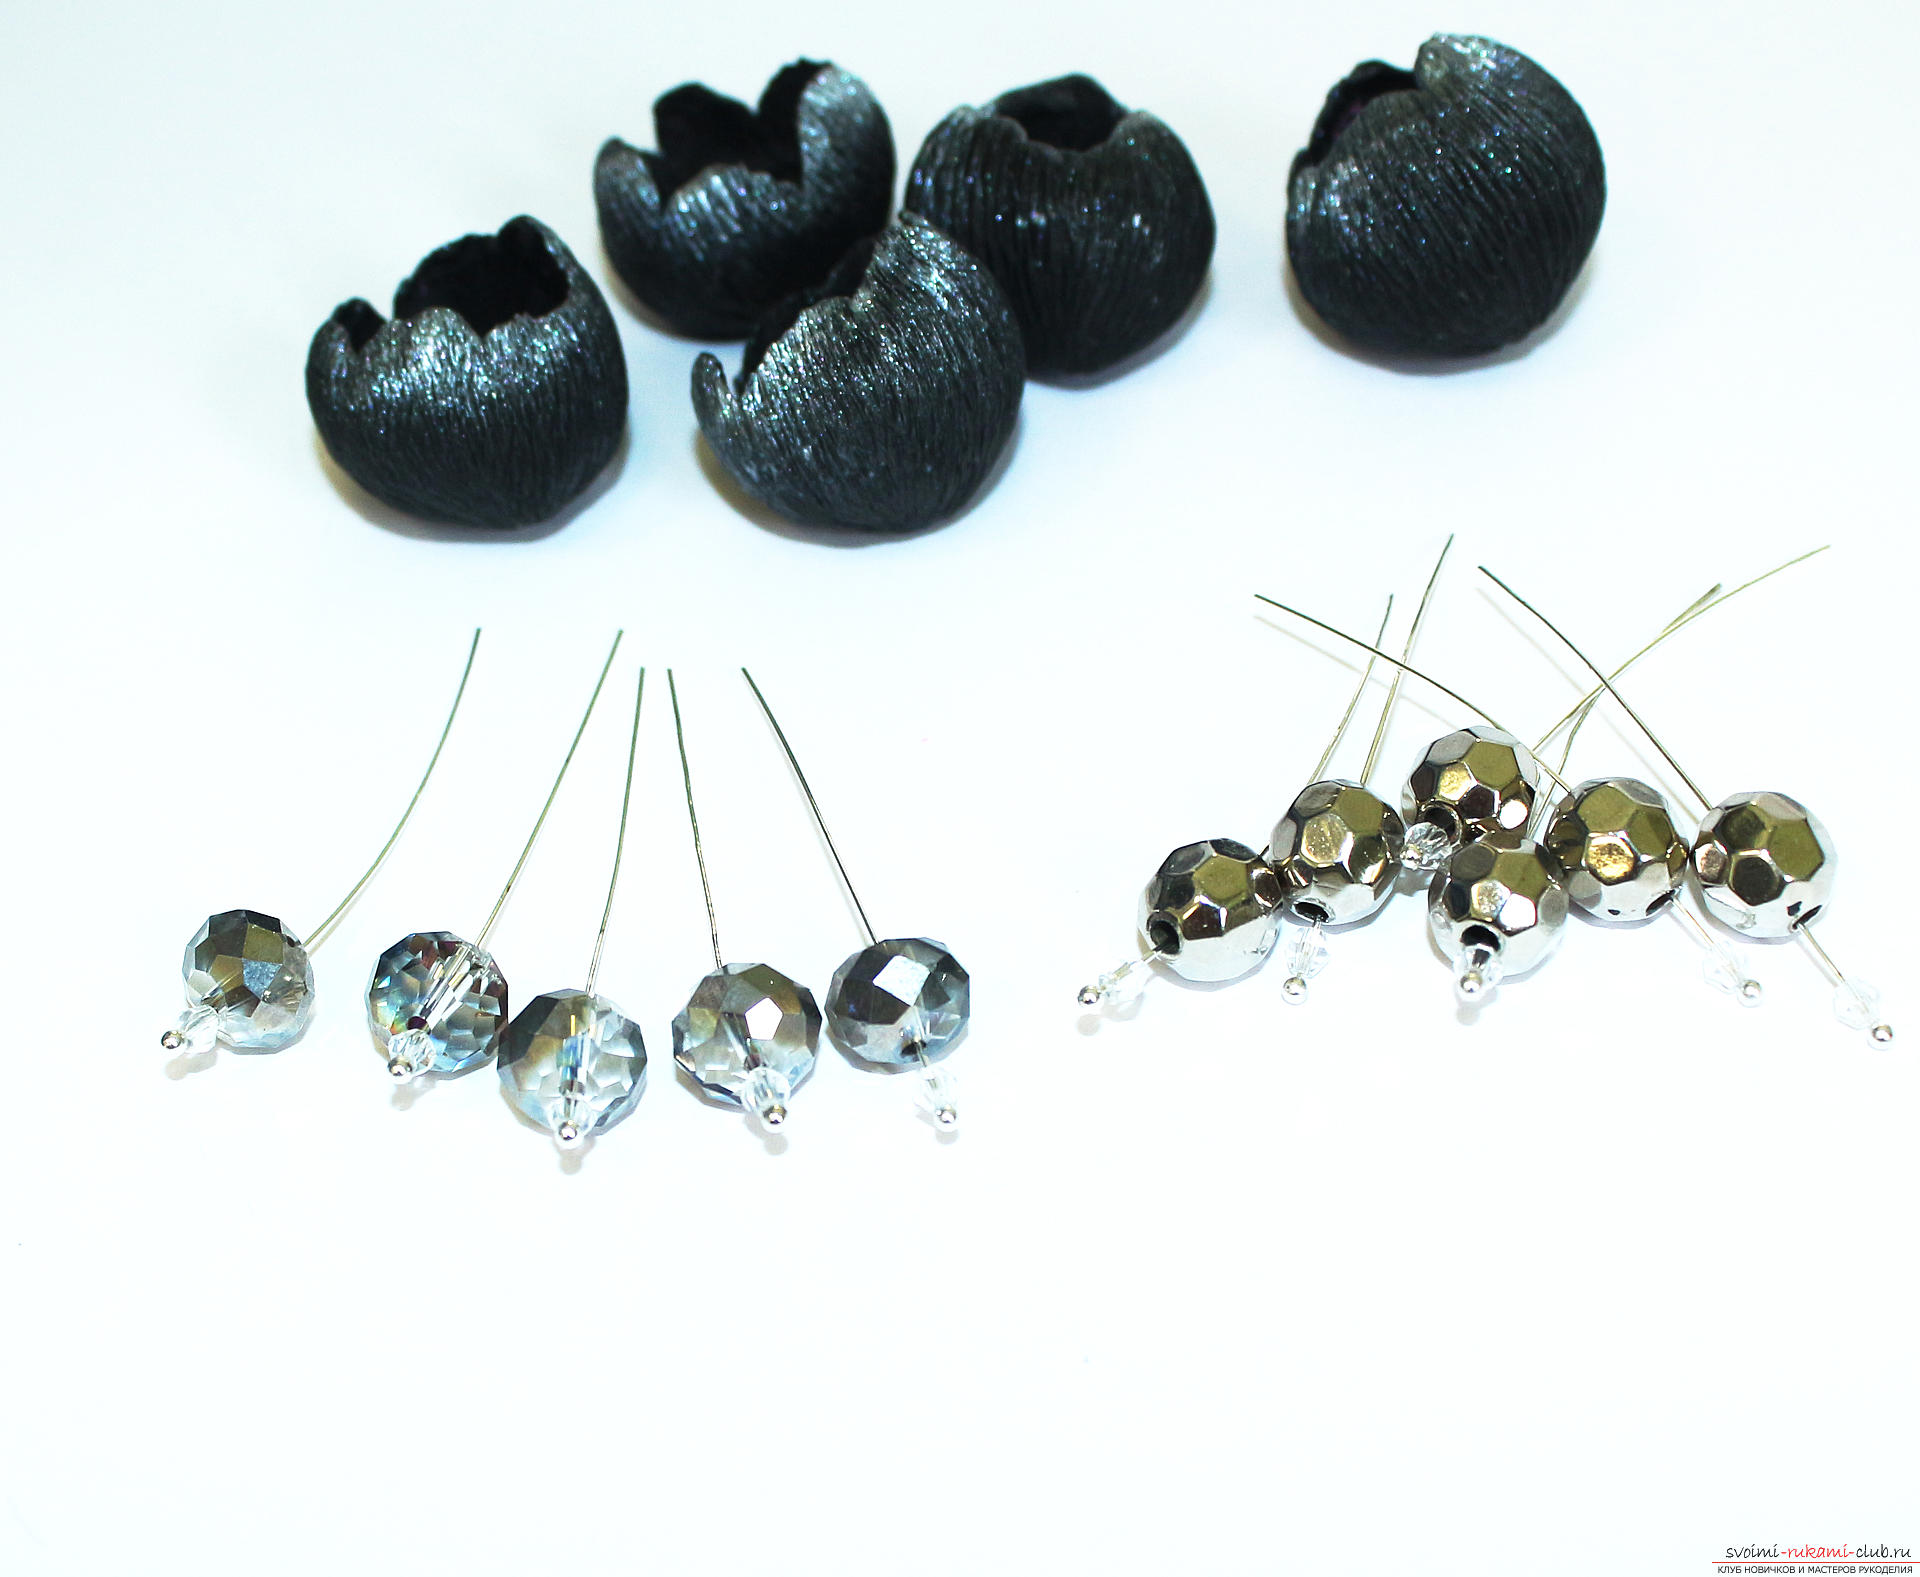 Similarly to medium buds, the inner construction is assembled by one pin, and it is cut into a bead.
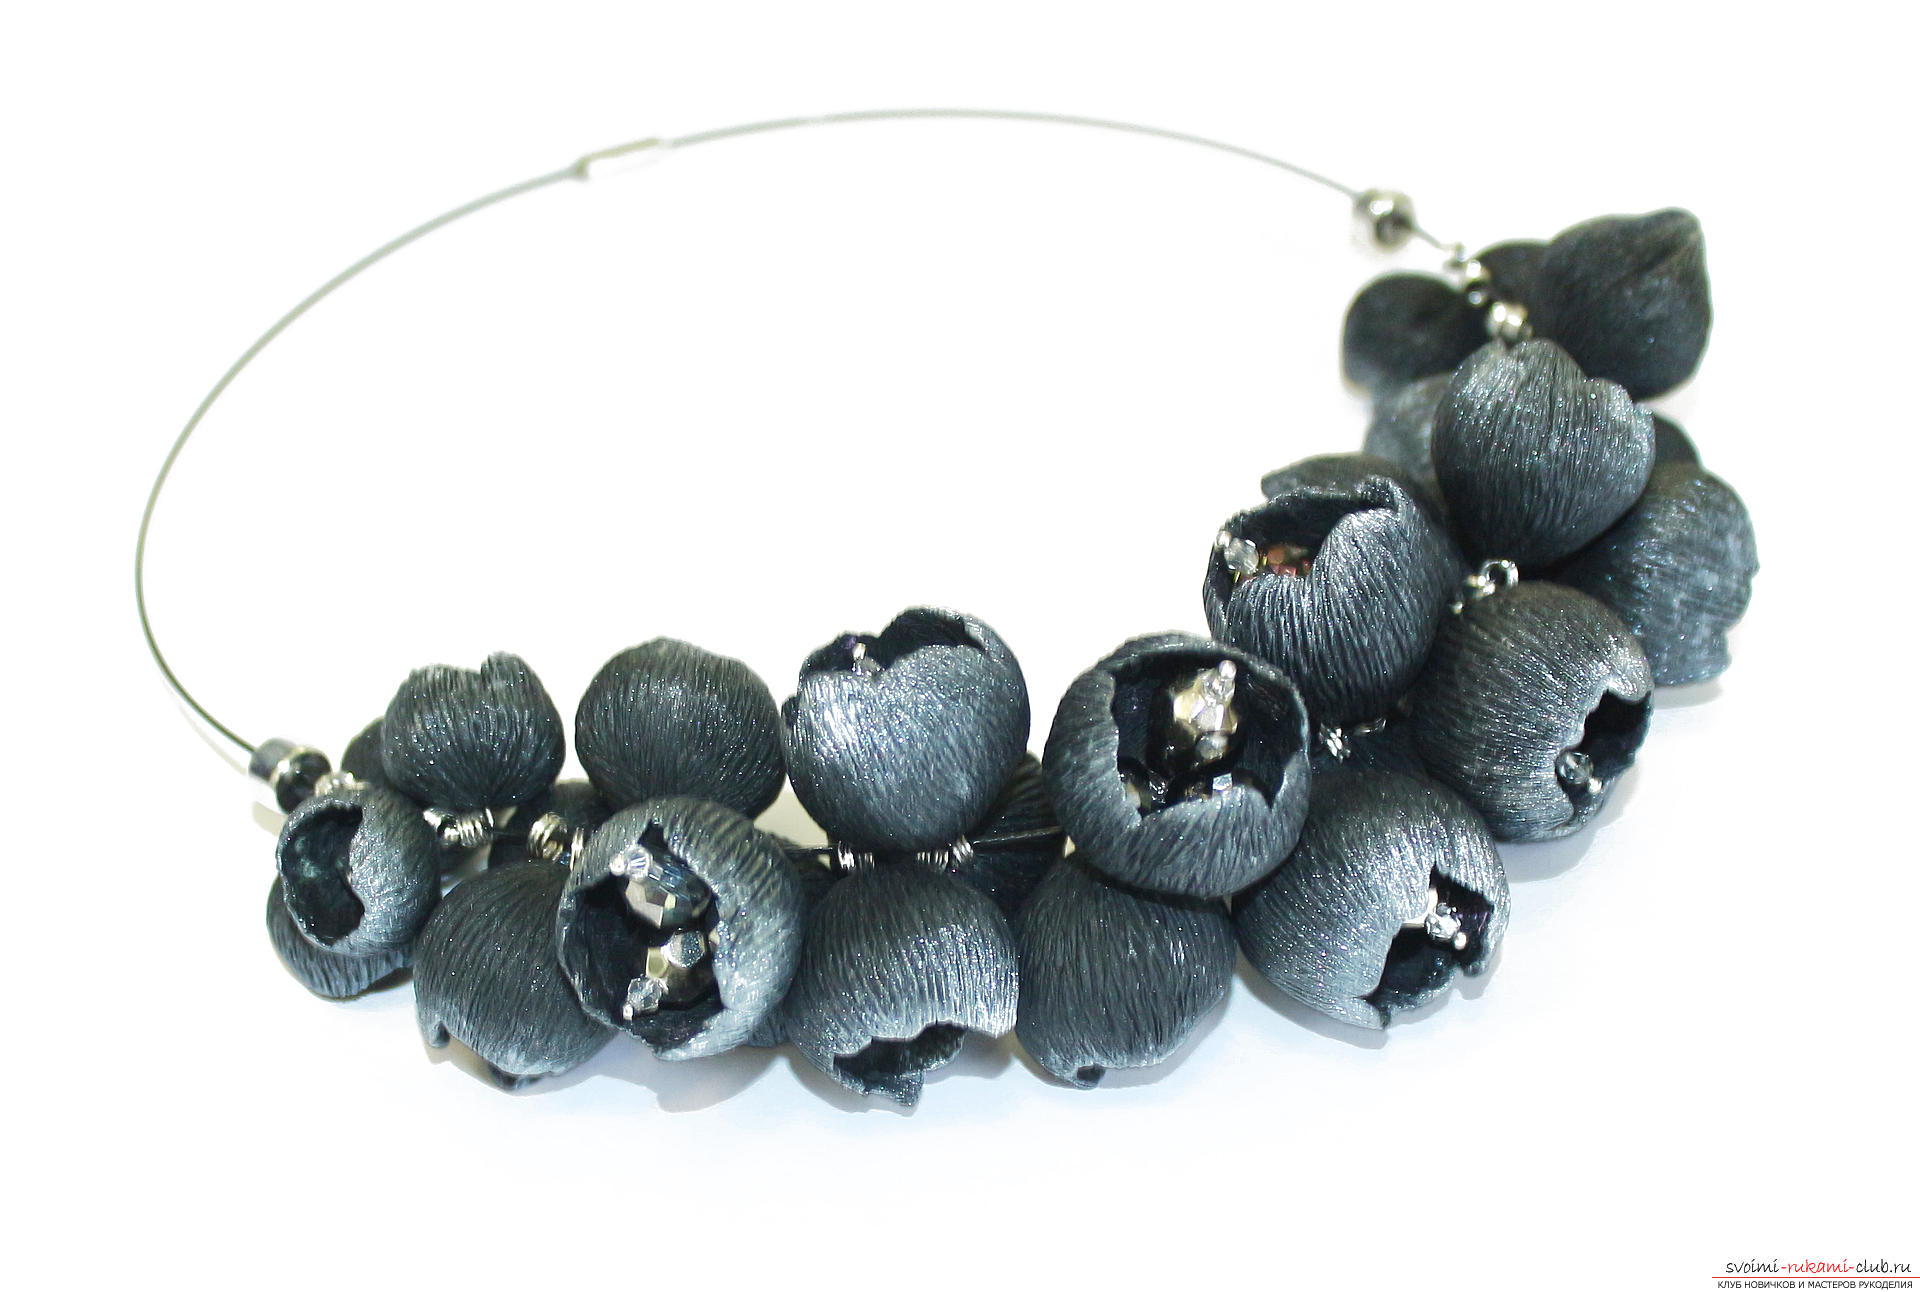
 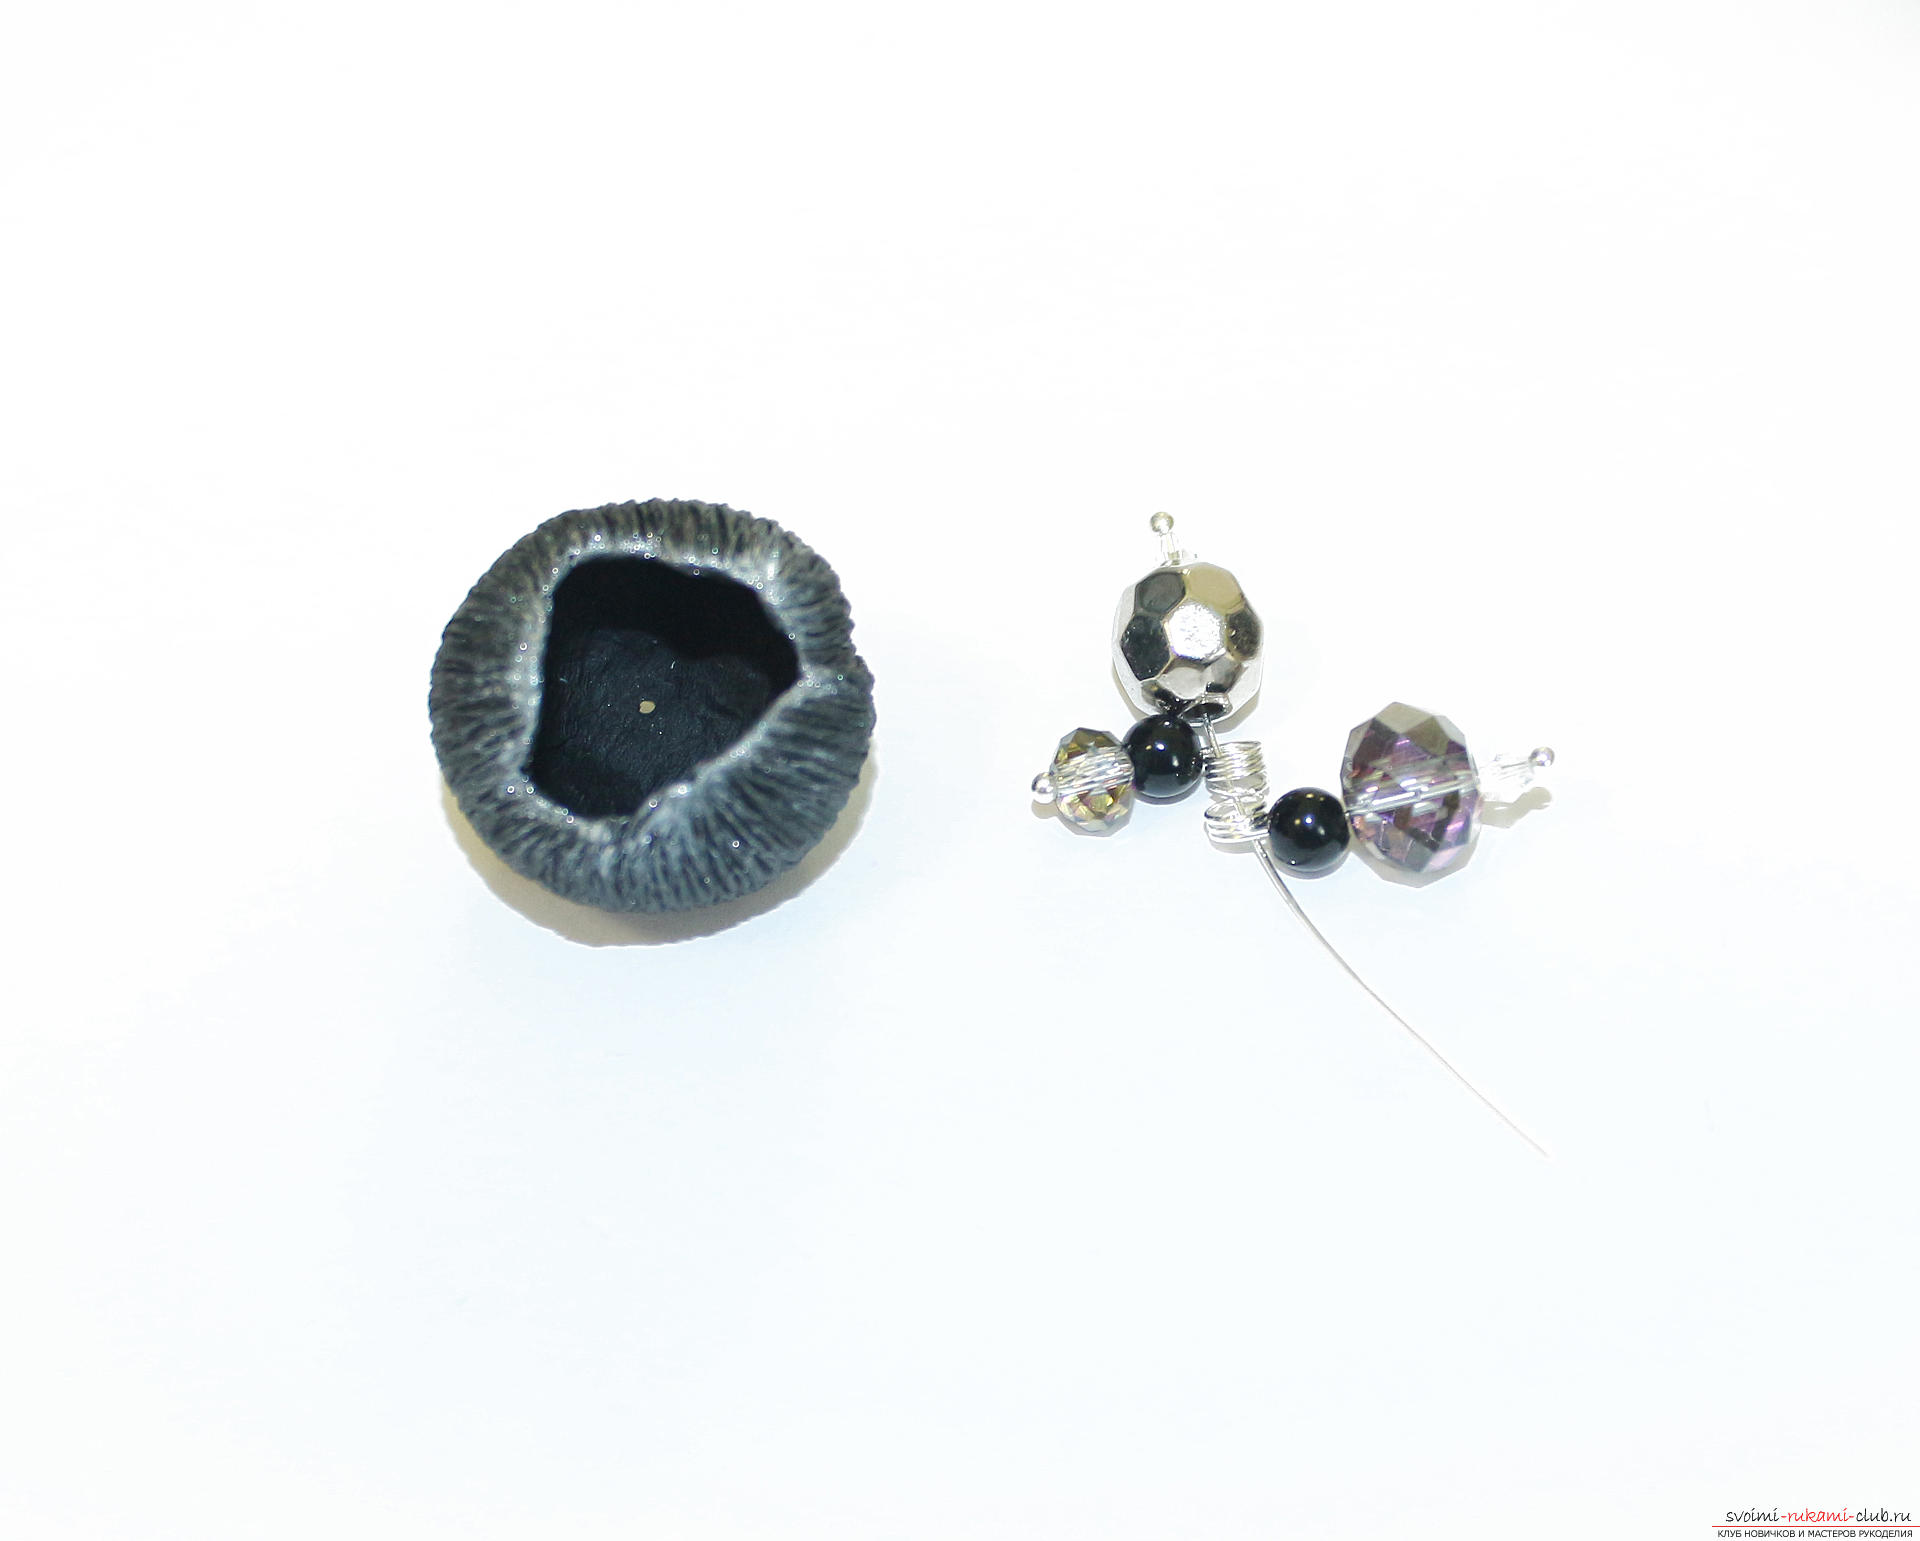 When all buds are ready and have a spring-loop, we spread them around the base of the necklace in a symmetrical form, on the edges are smaller, to the center - larger buds.
 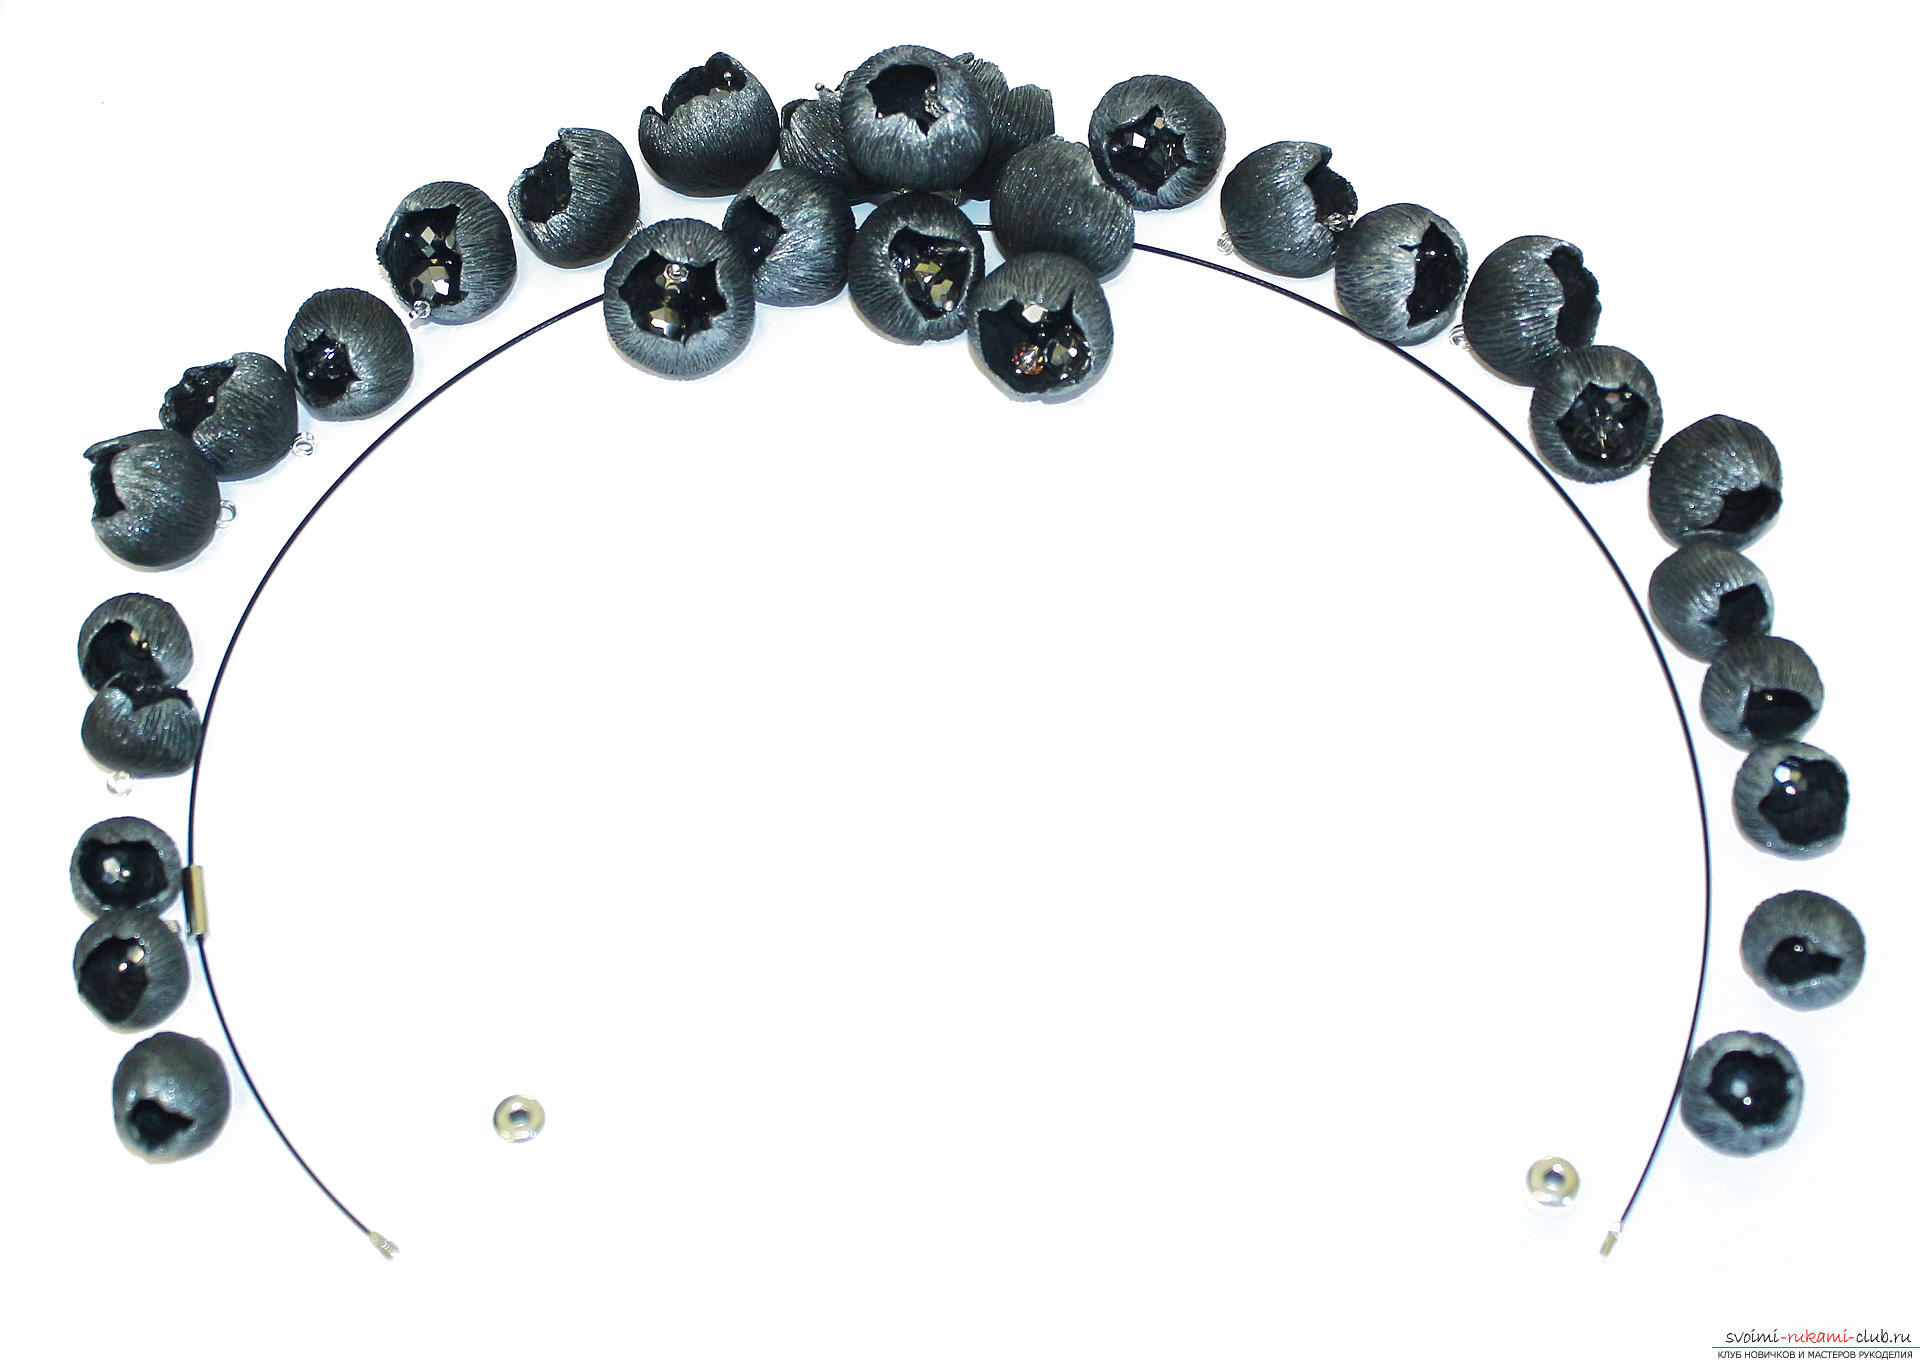 String beads in the right order on the base.
 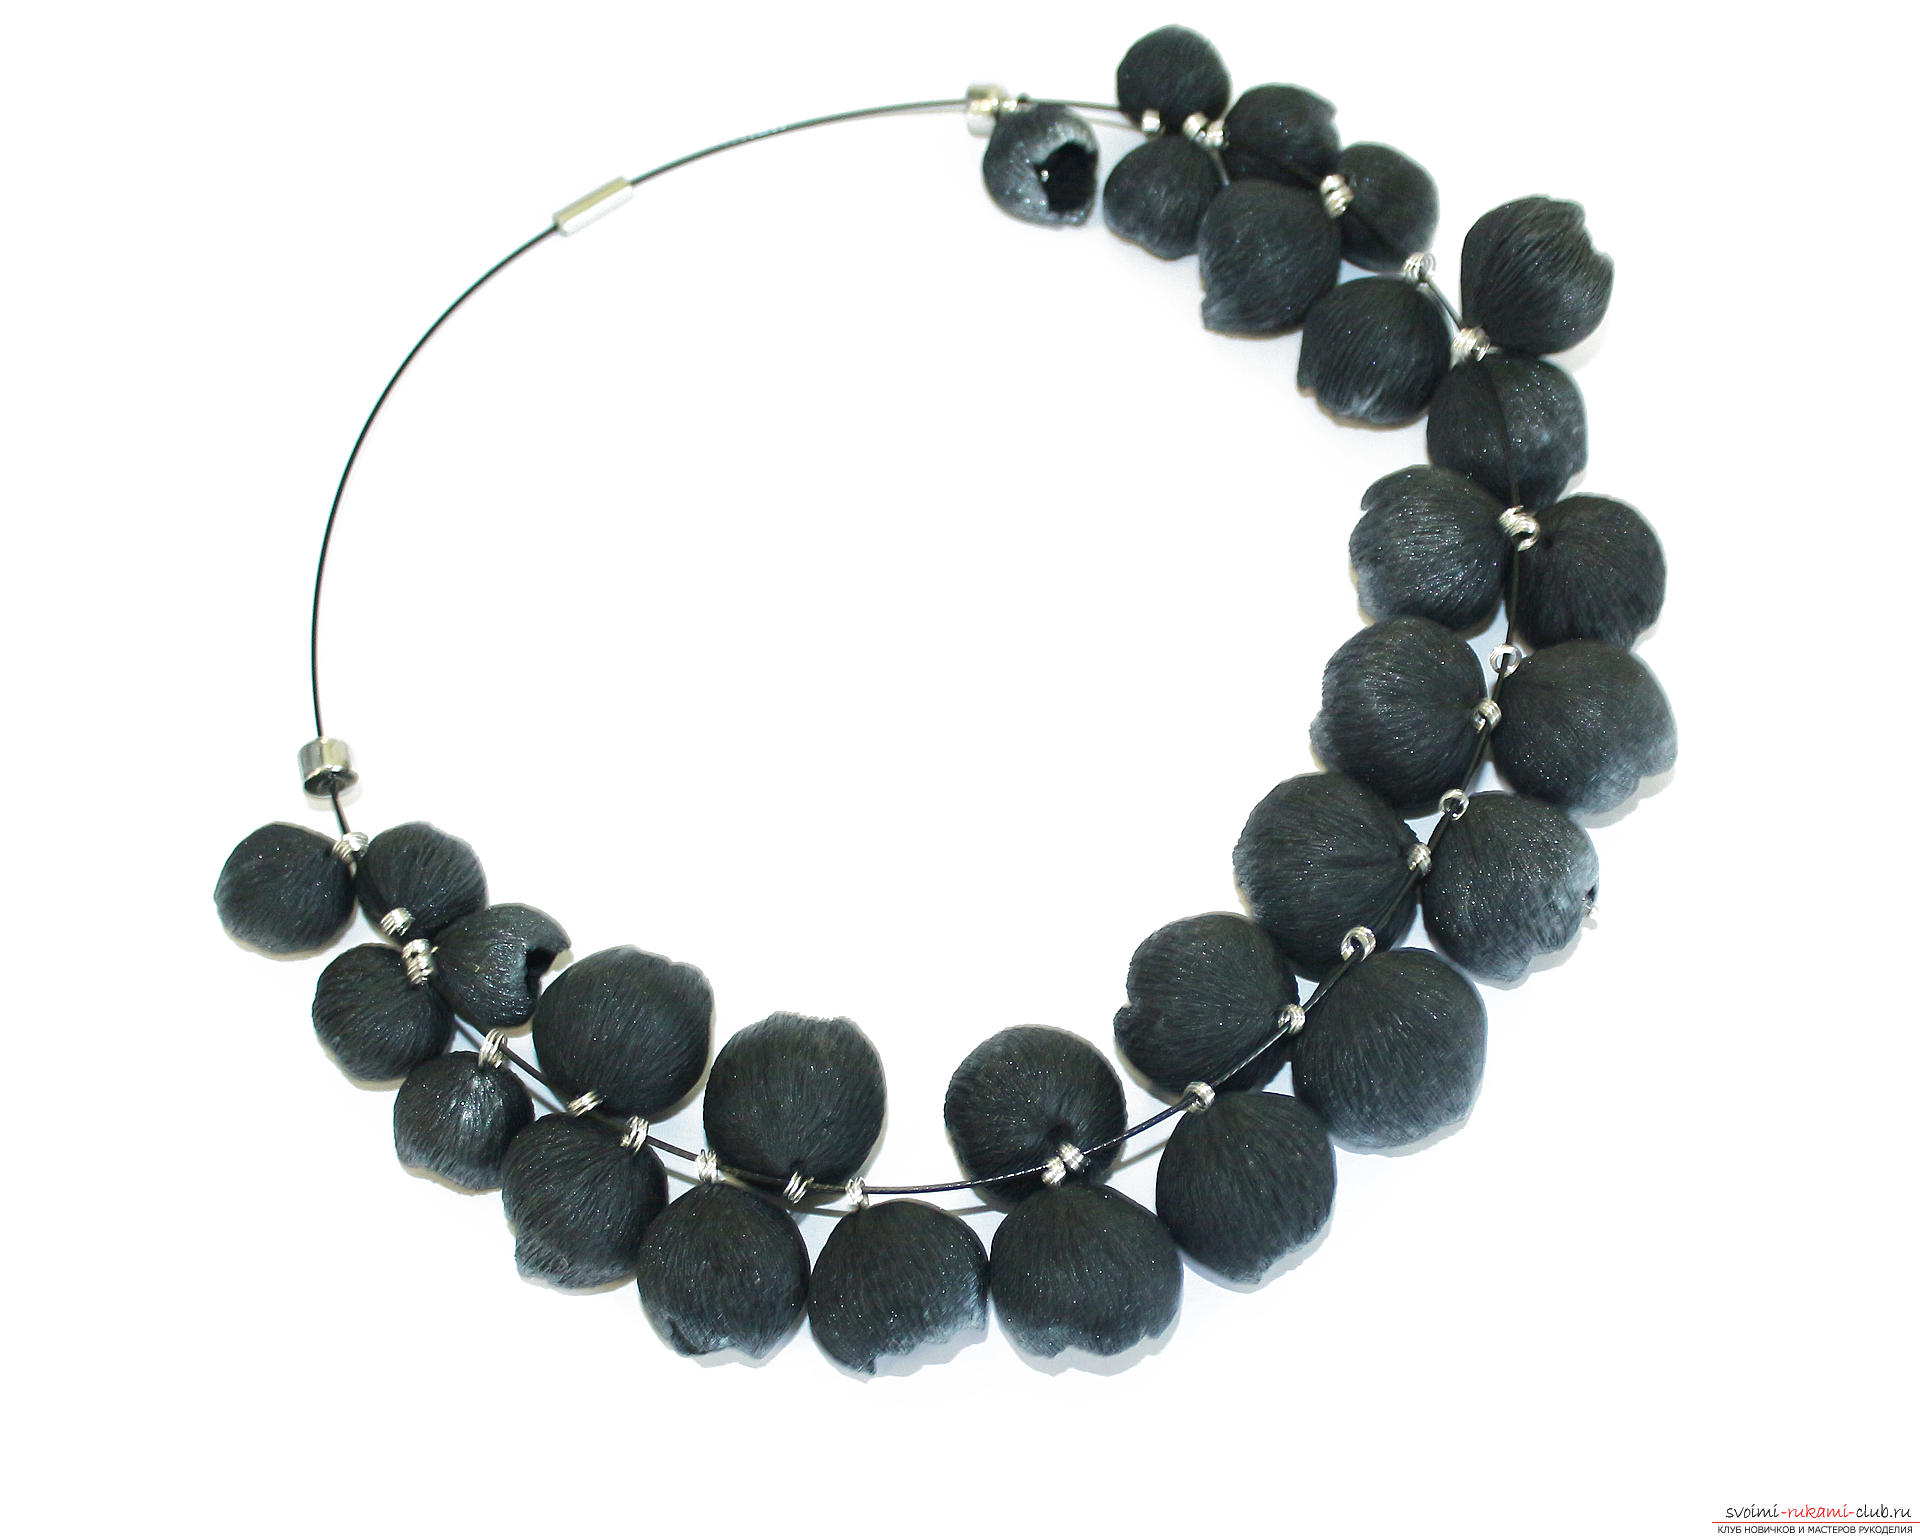 The necklace is ready.
Comments
Related posts:
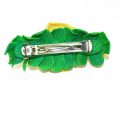 This detailed master class with photo and description will teach you how to make your own flowers from polymer clay for hair clips.
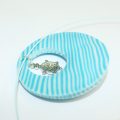 This detailed master class with photo and description will teach how to create with your own hands a set of jewelry made of polymer clay - a pendant and earrings with a turtle.
 This detailed master class contains the technique of working with polymer clay and will teach you how to make Keynes and beads from polymer clay.
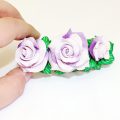 This master class with a photo and description will teach you how to make flowers - roses - from polymer clay in texturing technology.
 How to make your own hands a necklace of polymer clay with floral elements, step-by-step photos and a description of the work, an image of a finished necklace