
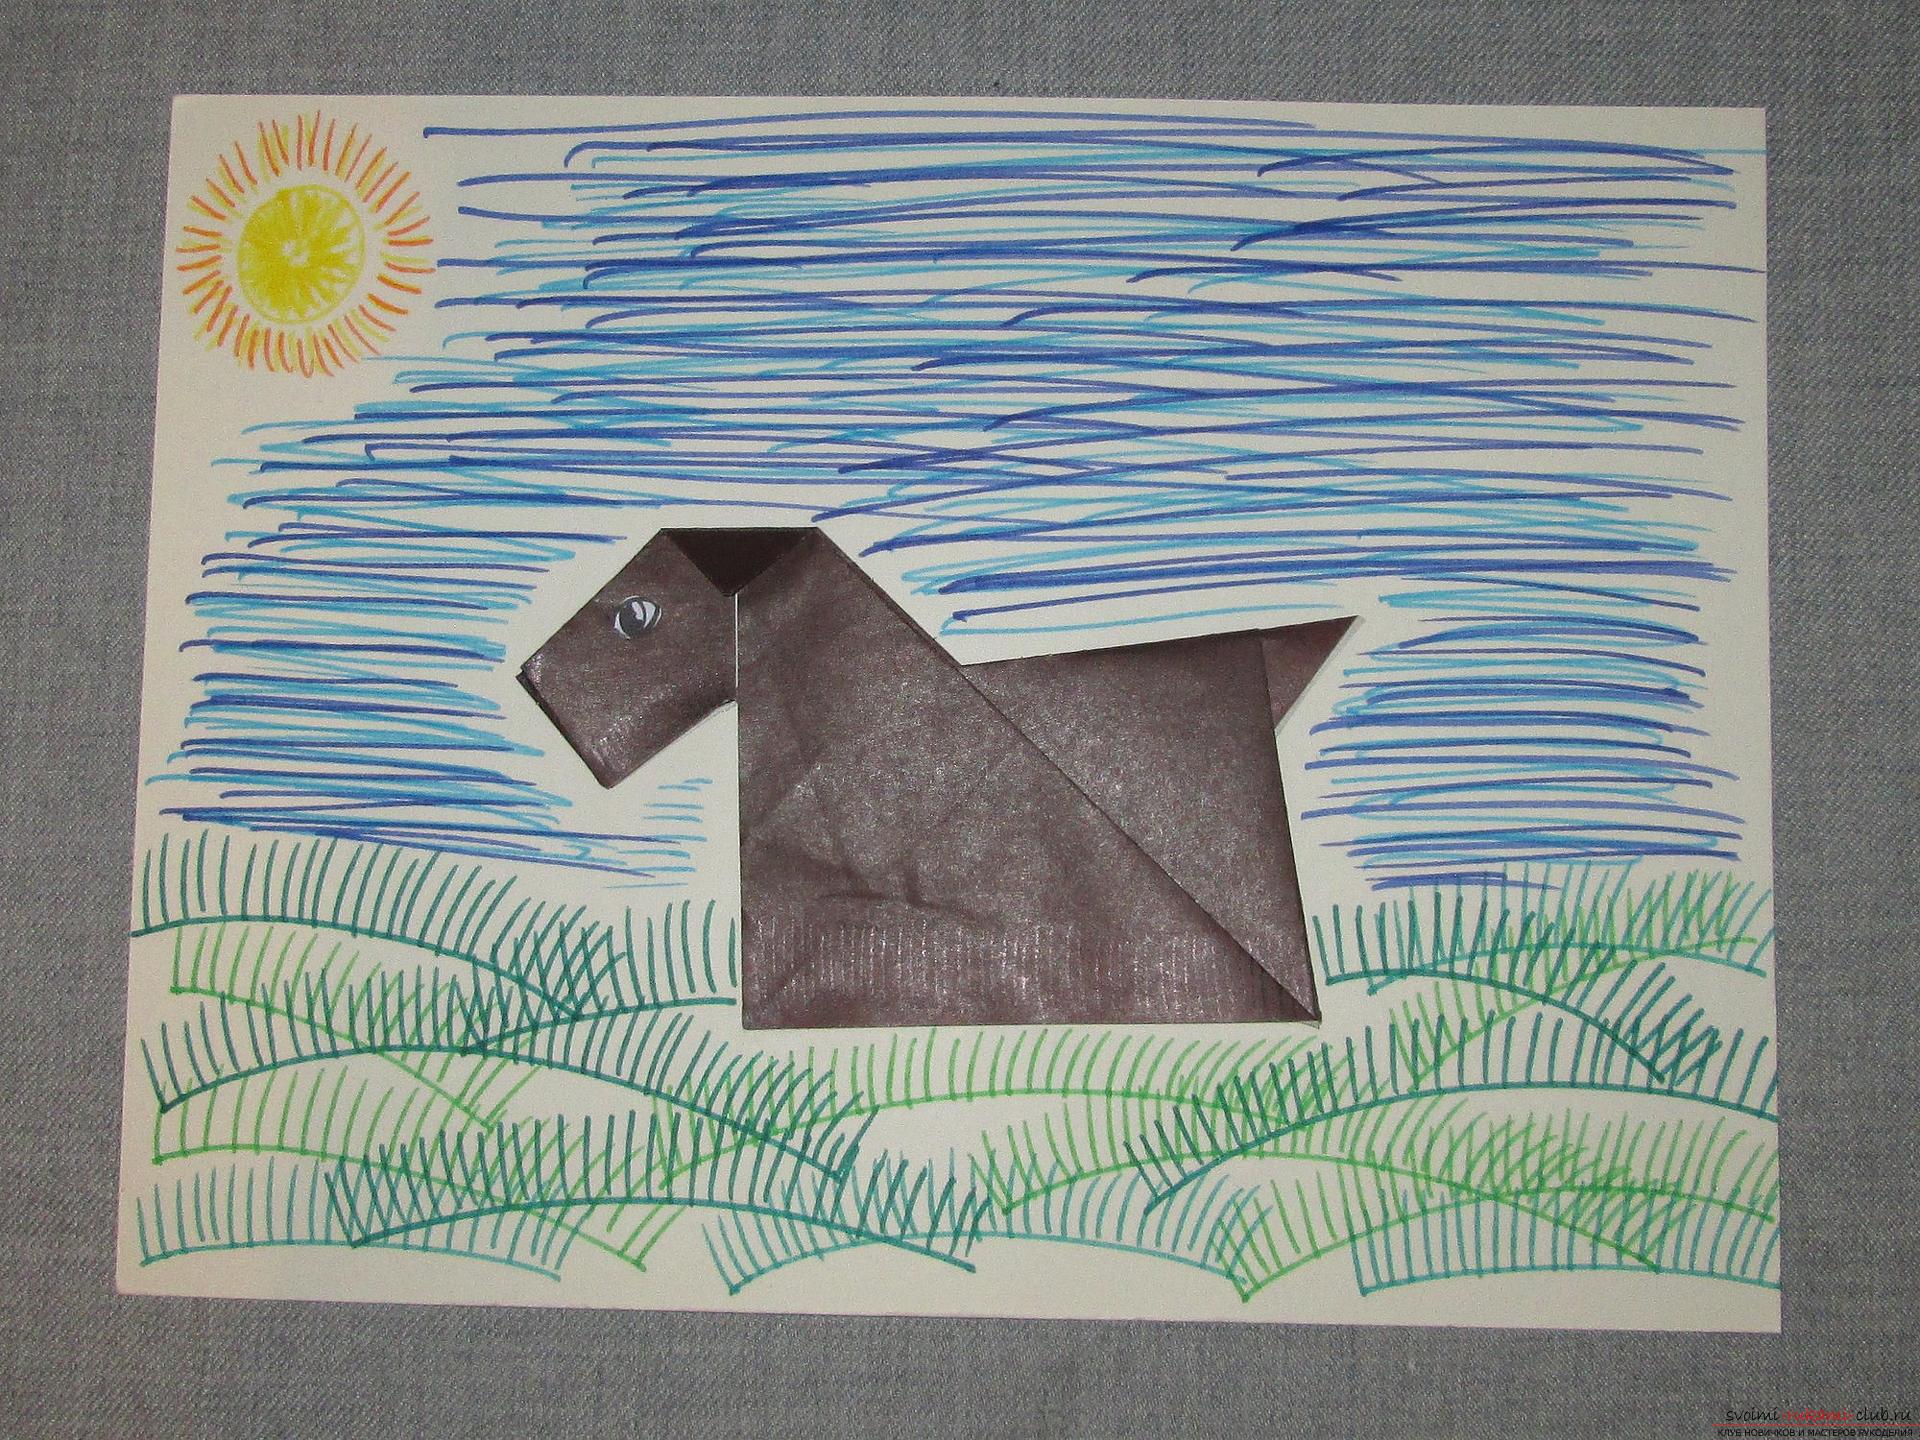
This detailed master class with a photo and description will teach you how to make origami for beginners - an origami dog made of paper.
 Required materials for origami dogs frompapers for beginners: - a sheet of colored paper, - an album sheet, - a glue-pencil. Tools: - markers, - colored pencils, - scissors. Description. To collect a dog, you will need a square sheet. One-sided or two-sided paper - it does not matter.
 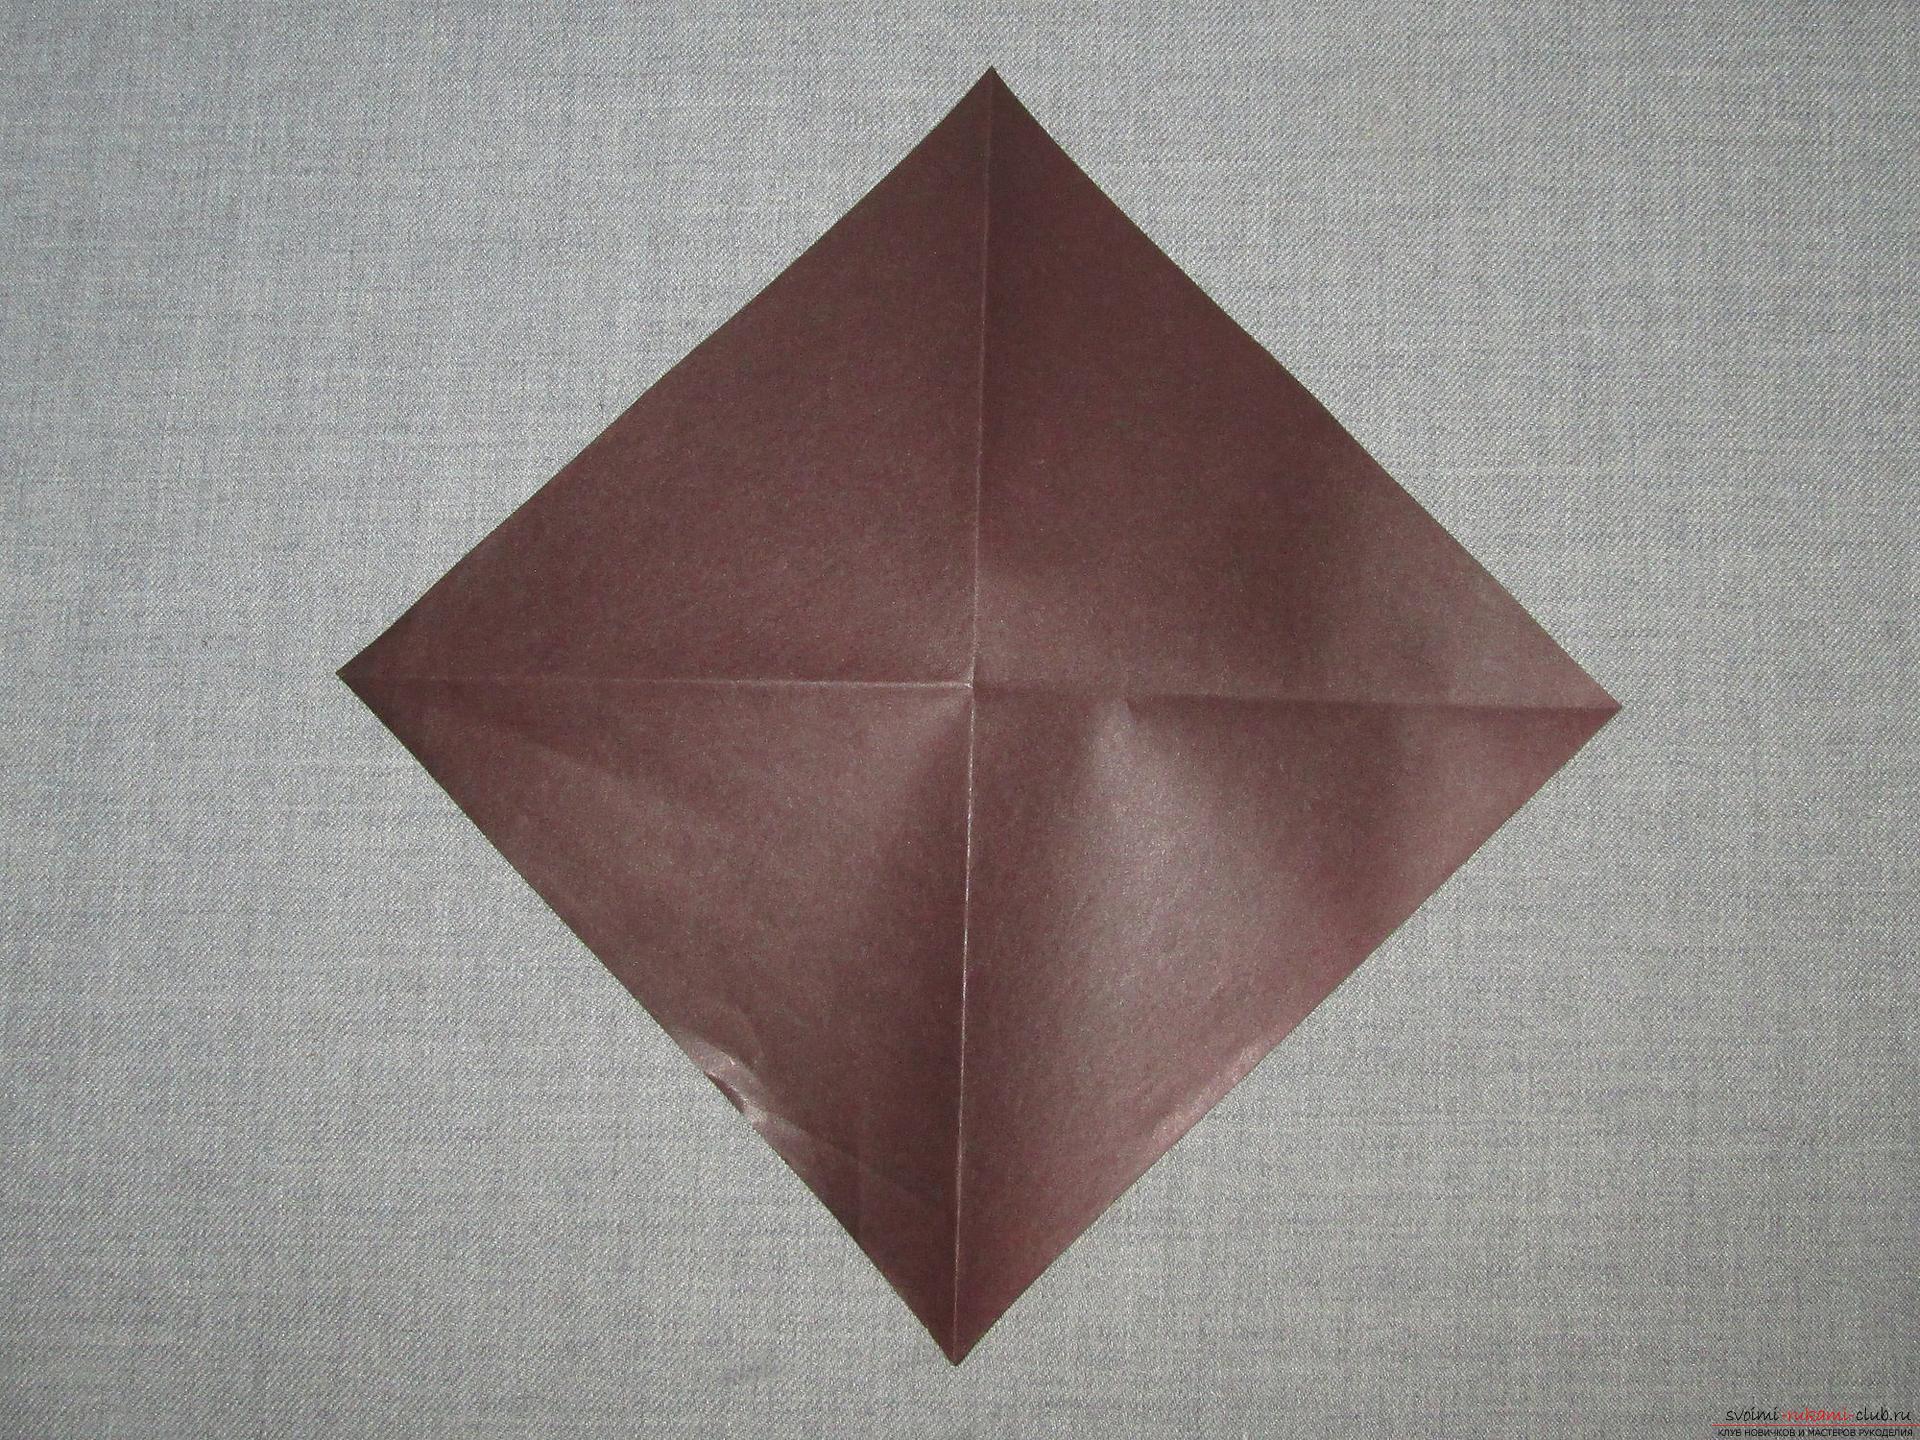 But if you have one-sided paper, then put the square in color down. And bend it on the diagonals, connecting the opposite corners.
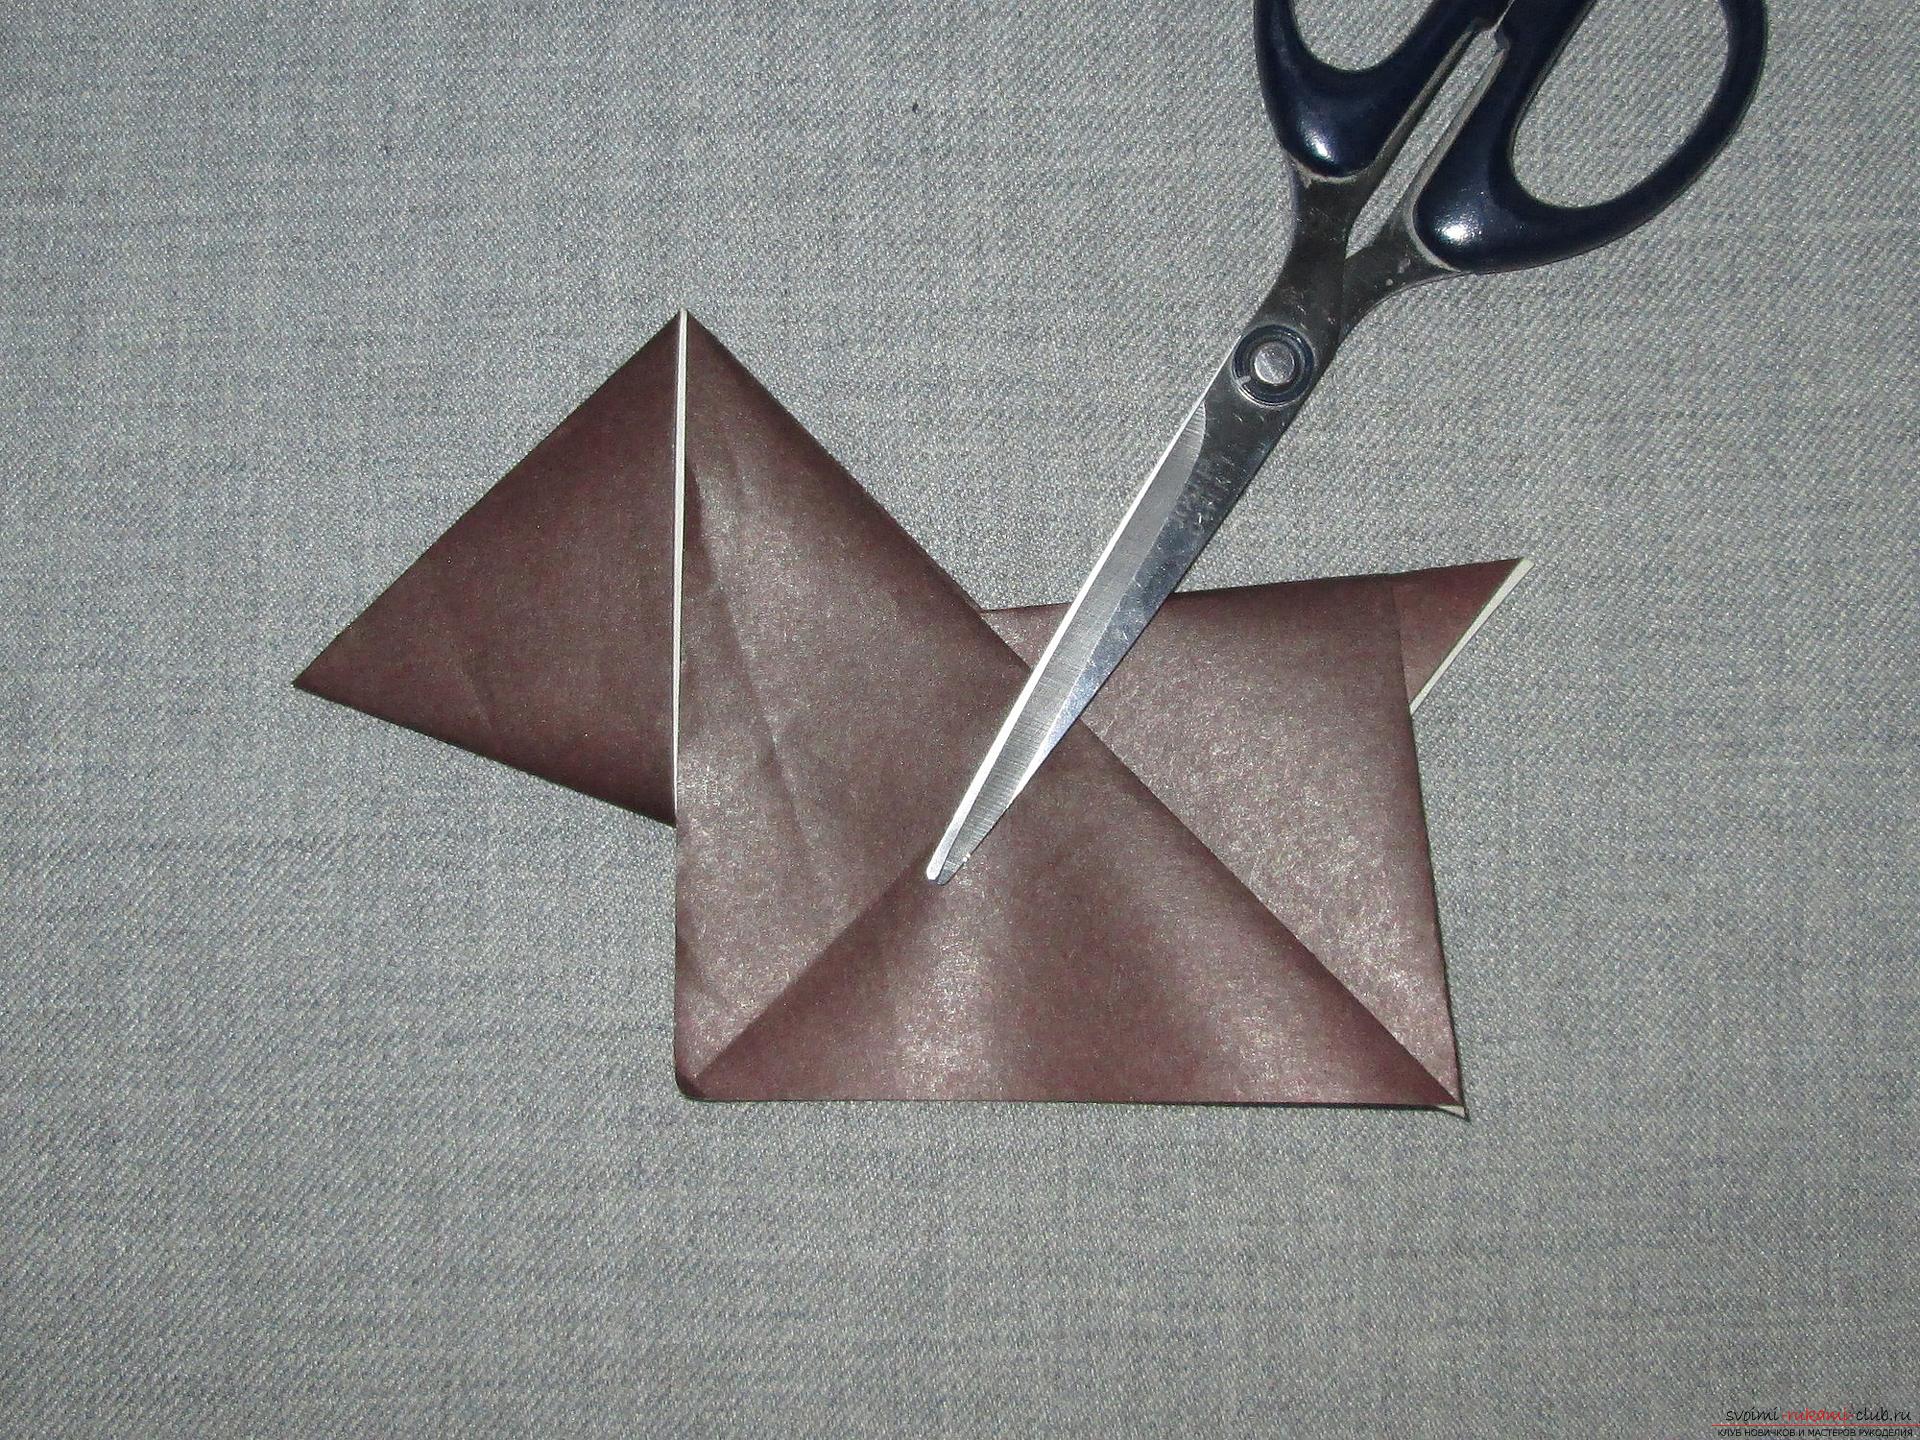
  We have a square with a diamond. Left and right corners bend to the middle - the intersection of the diagonals.
 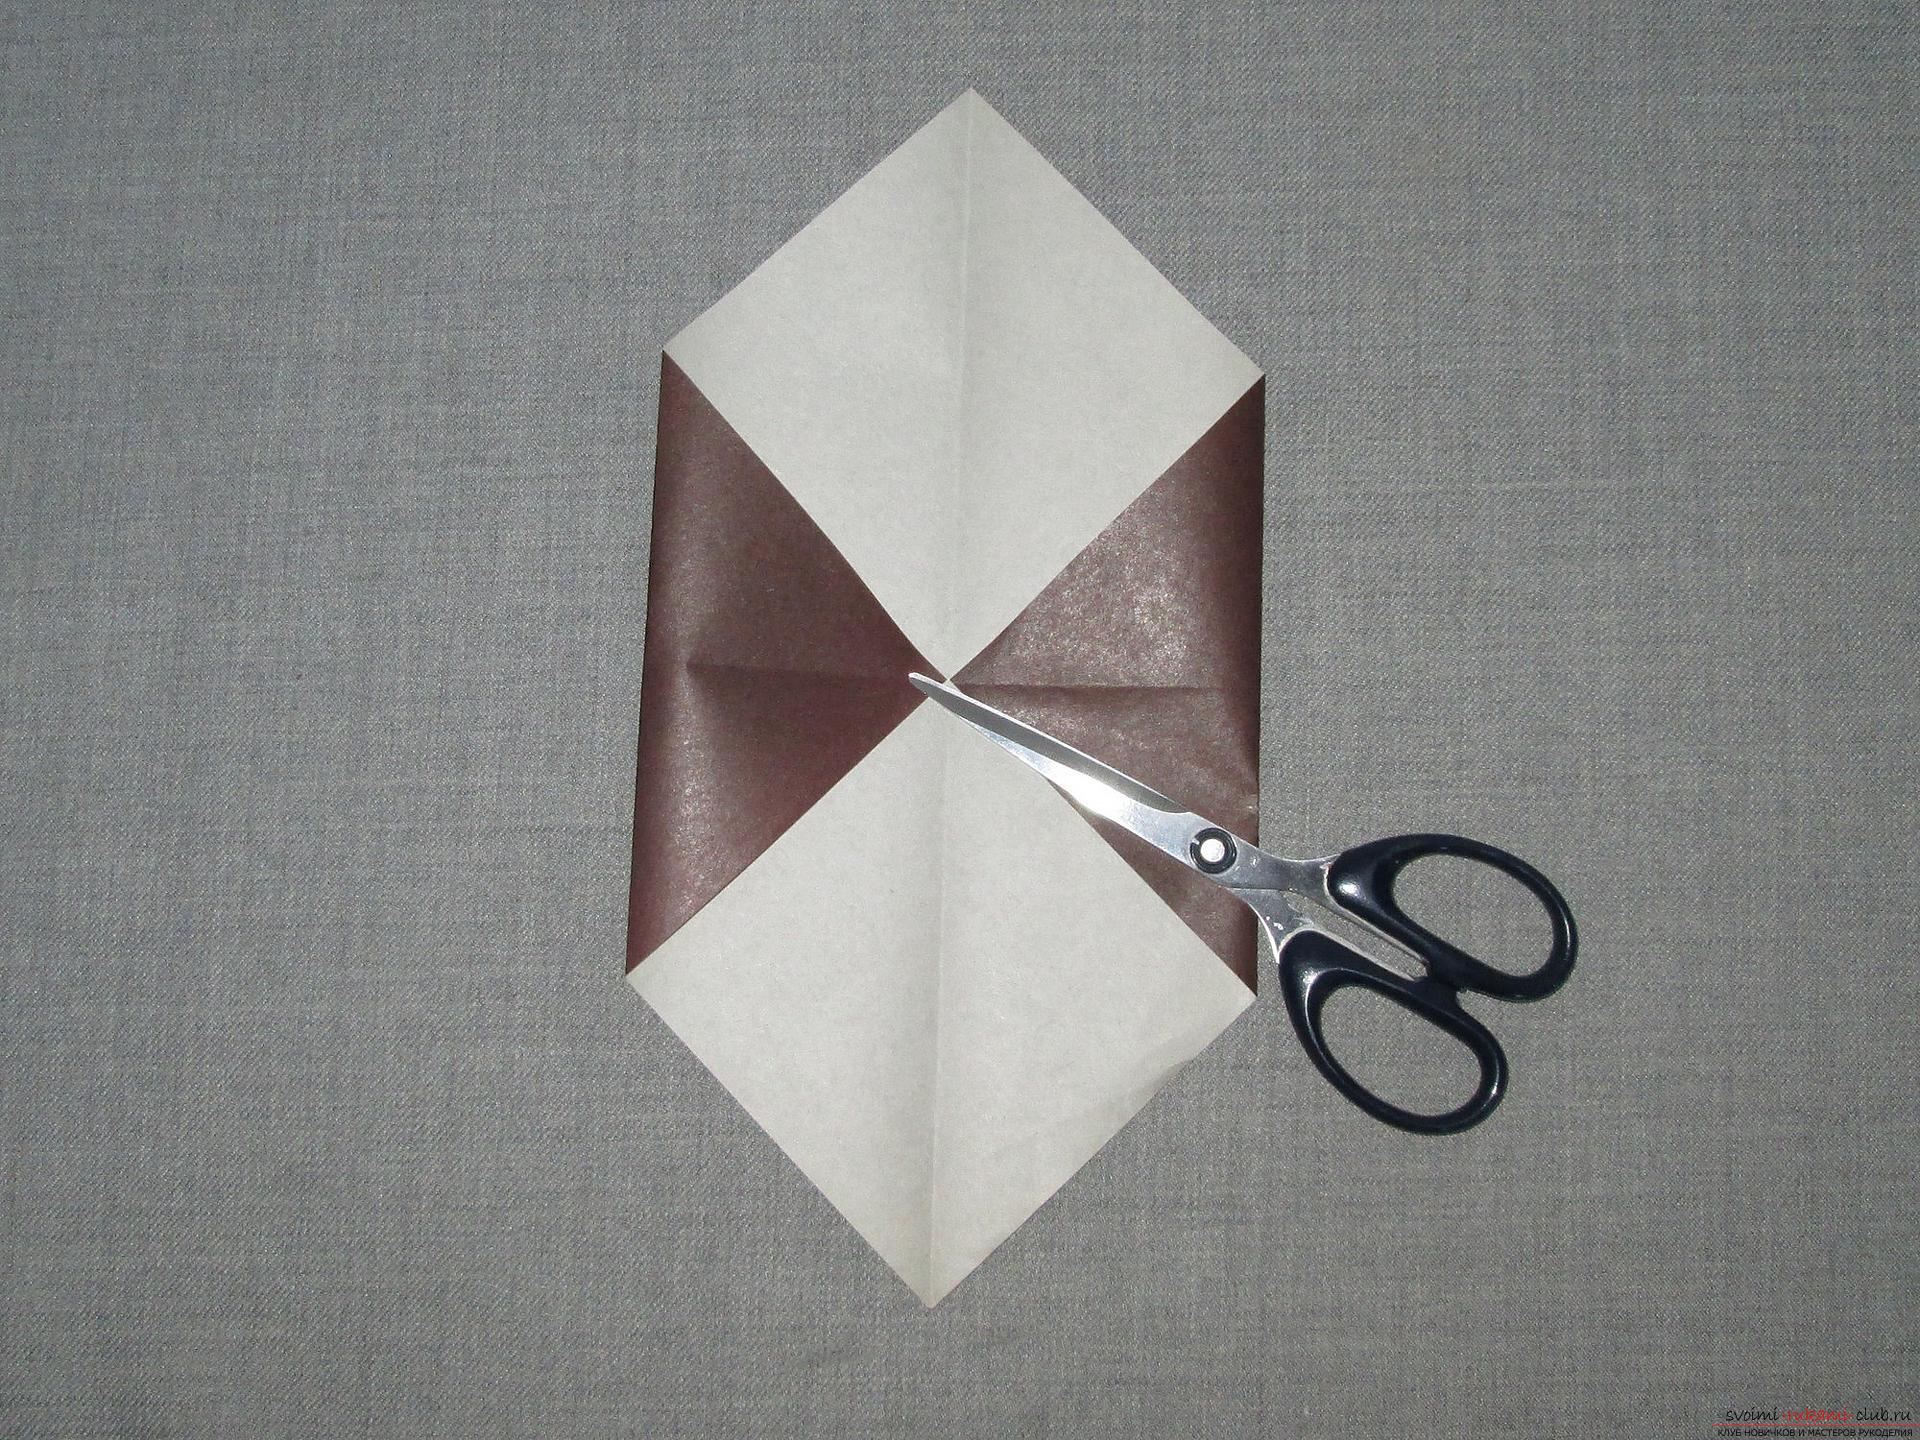 The left corner is bent so that it half peeps out the edge.
 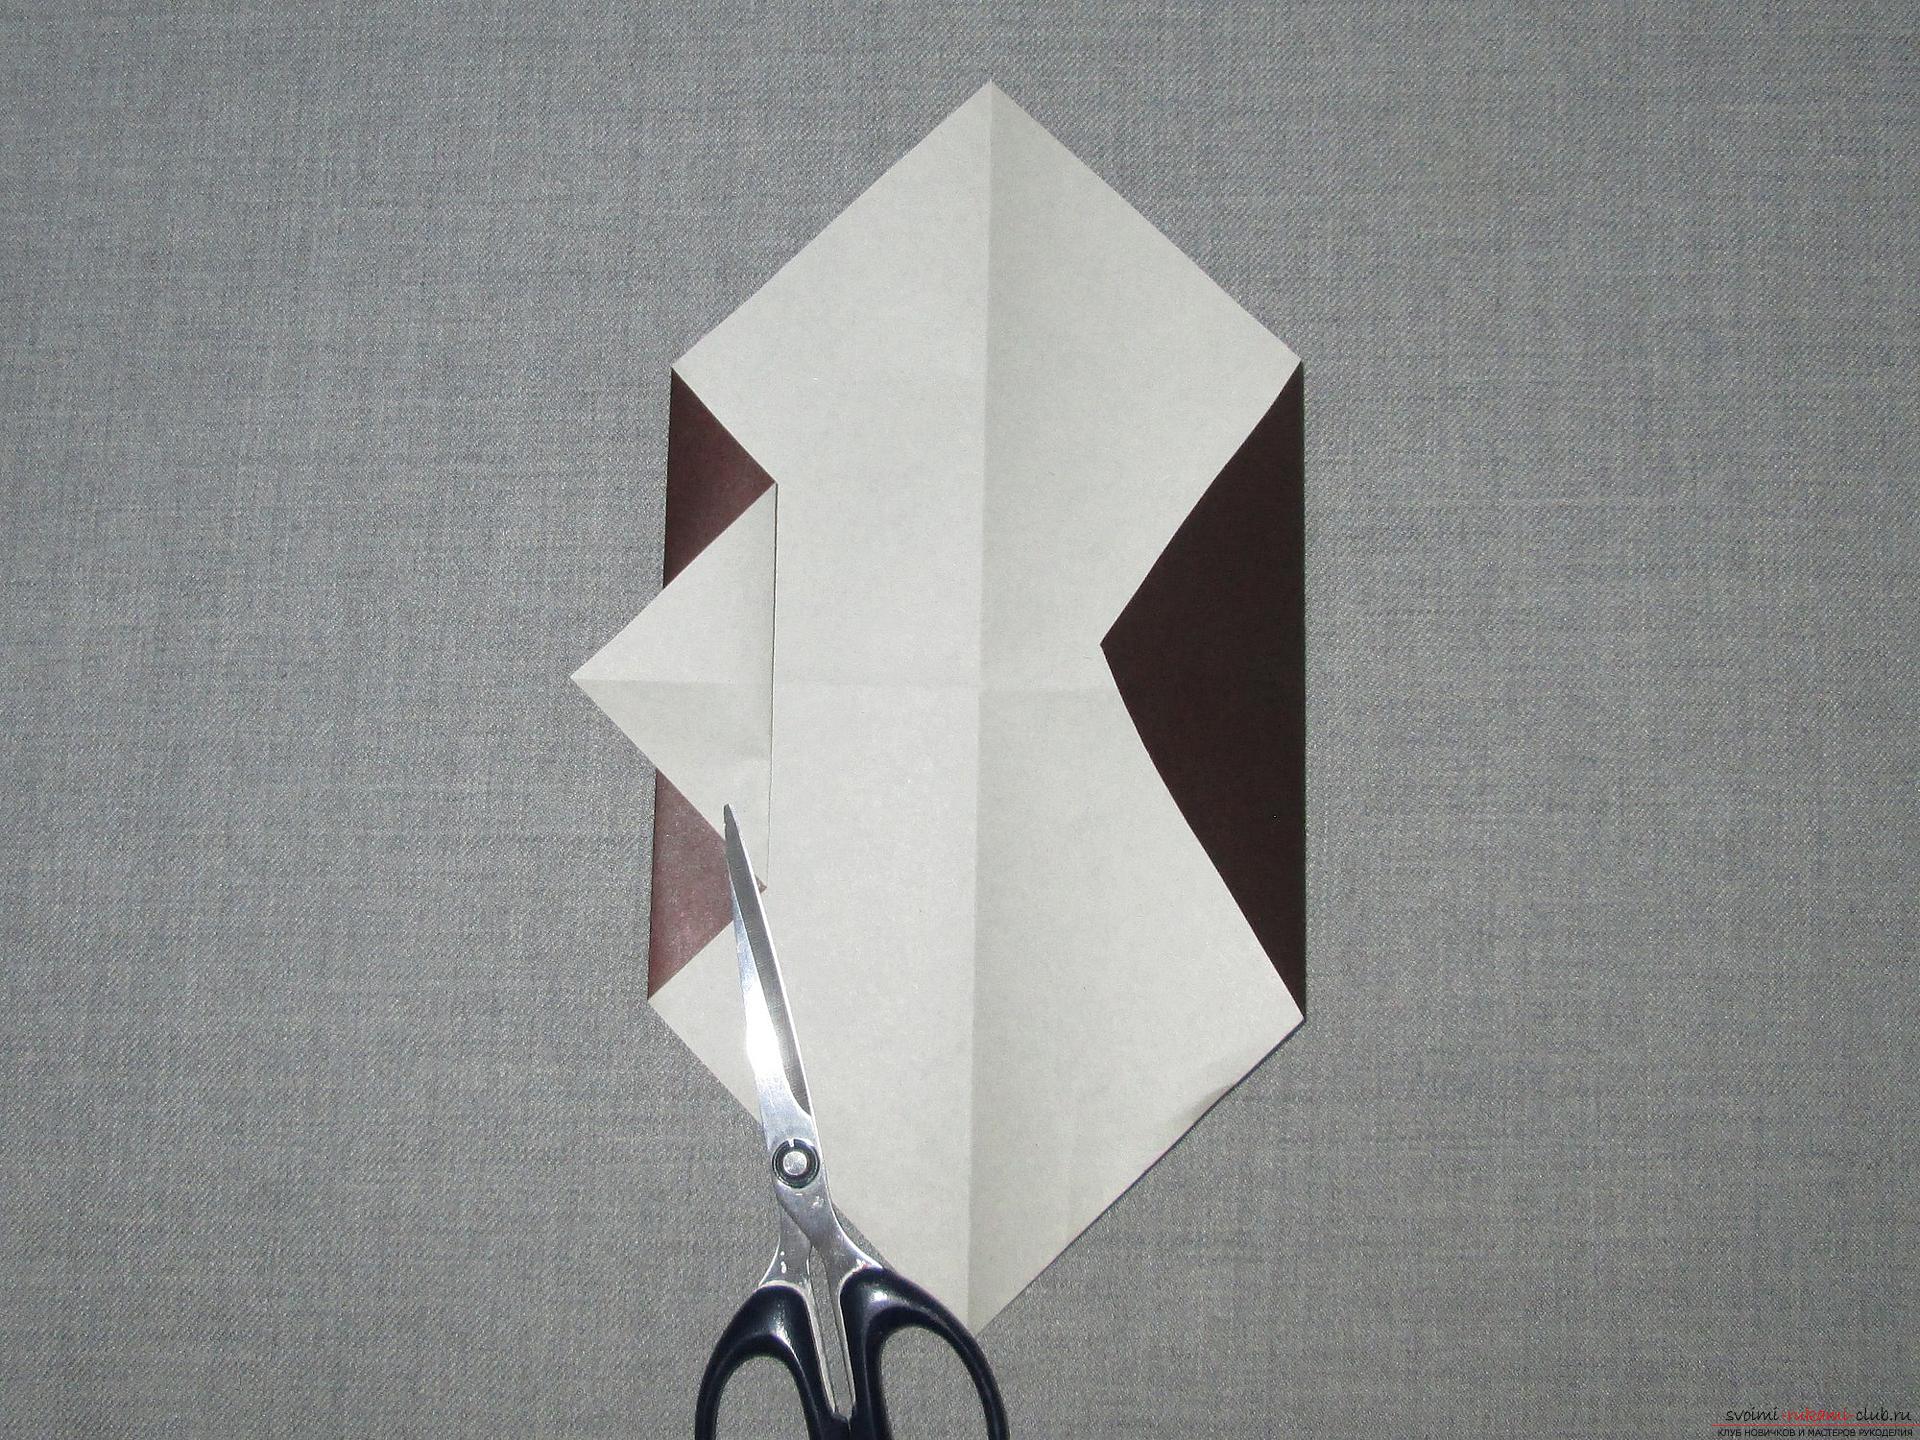 And bend the right corner about one fourth inside.
 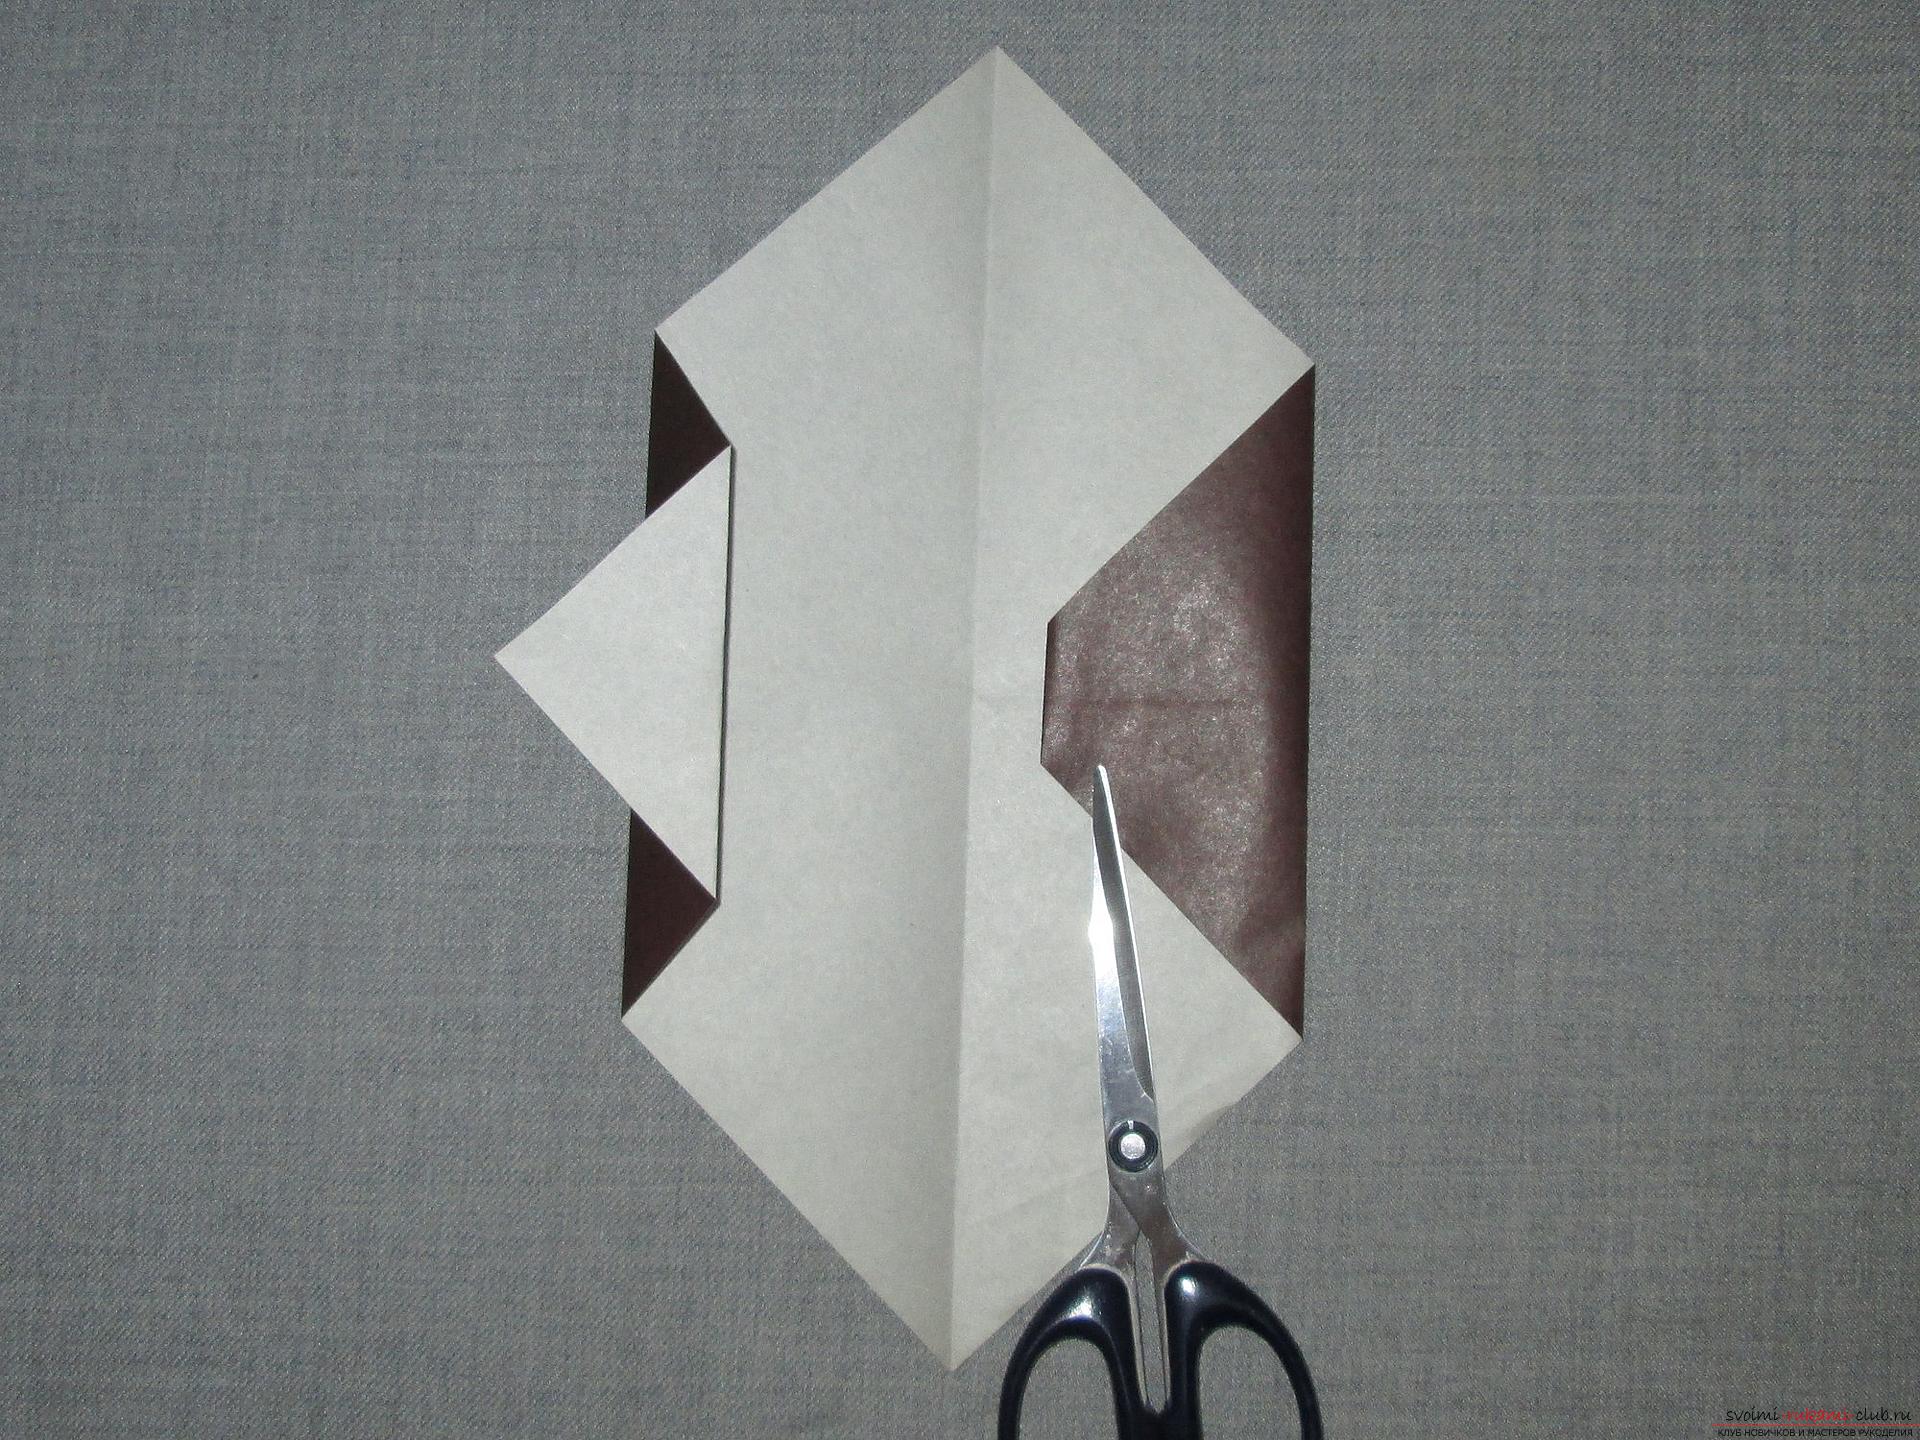 The upper corner diagonally bends down.
 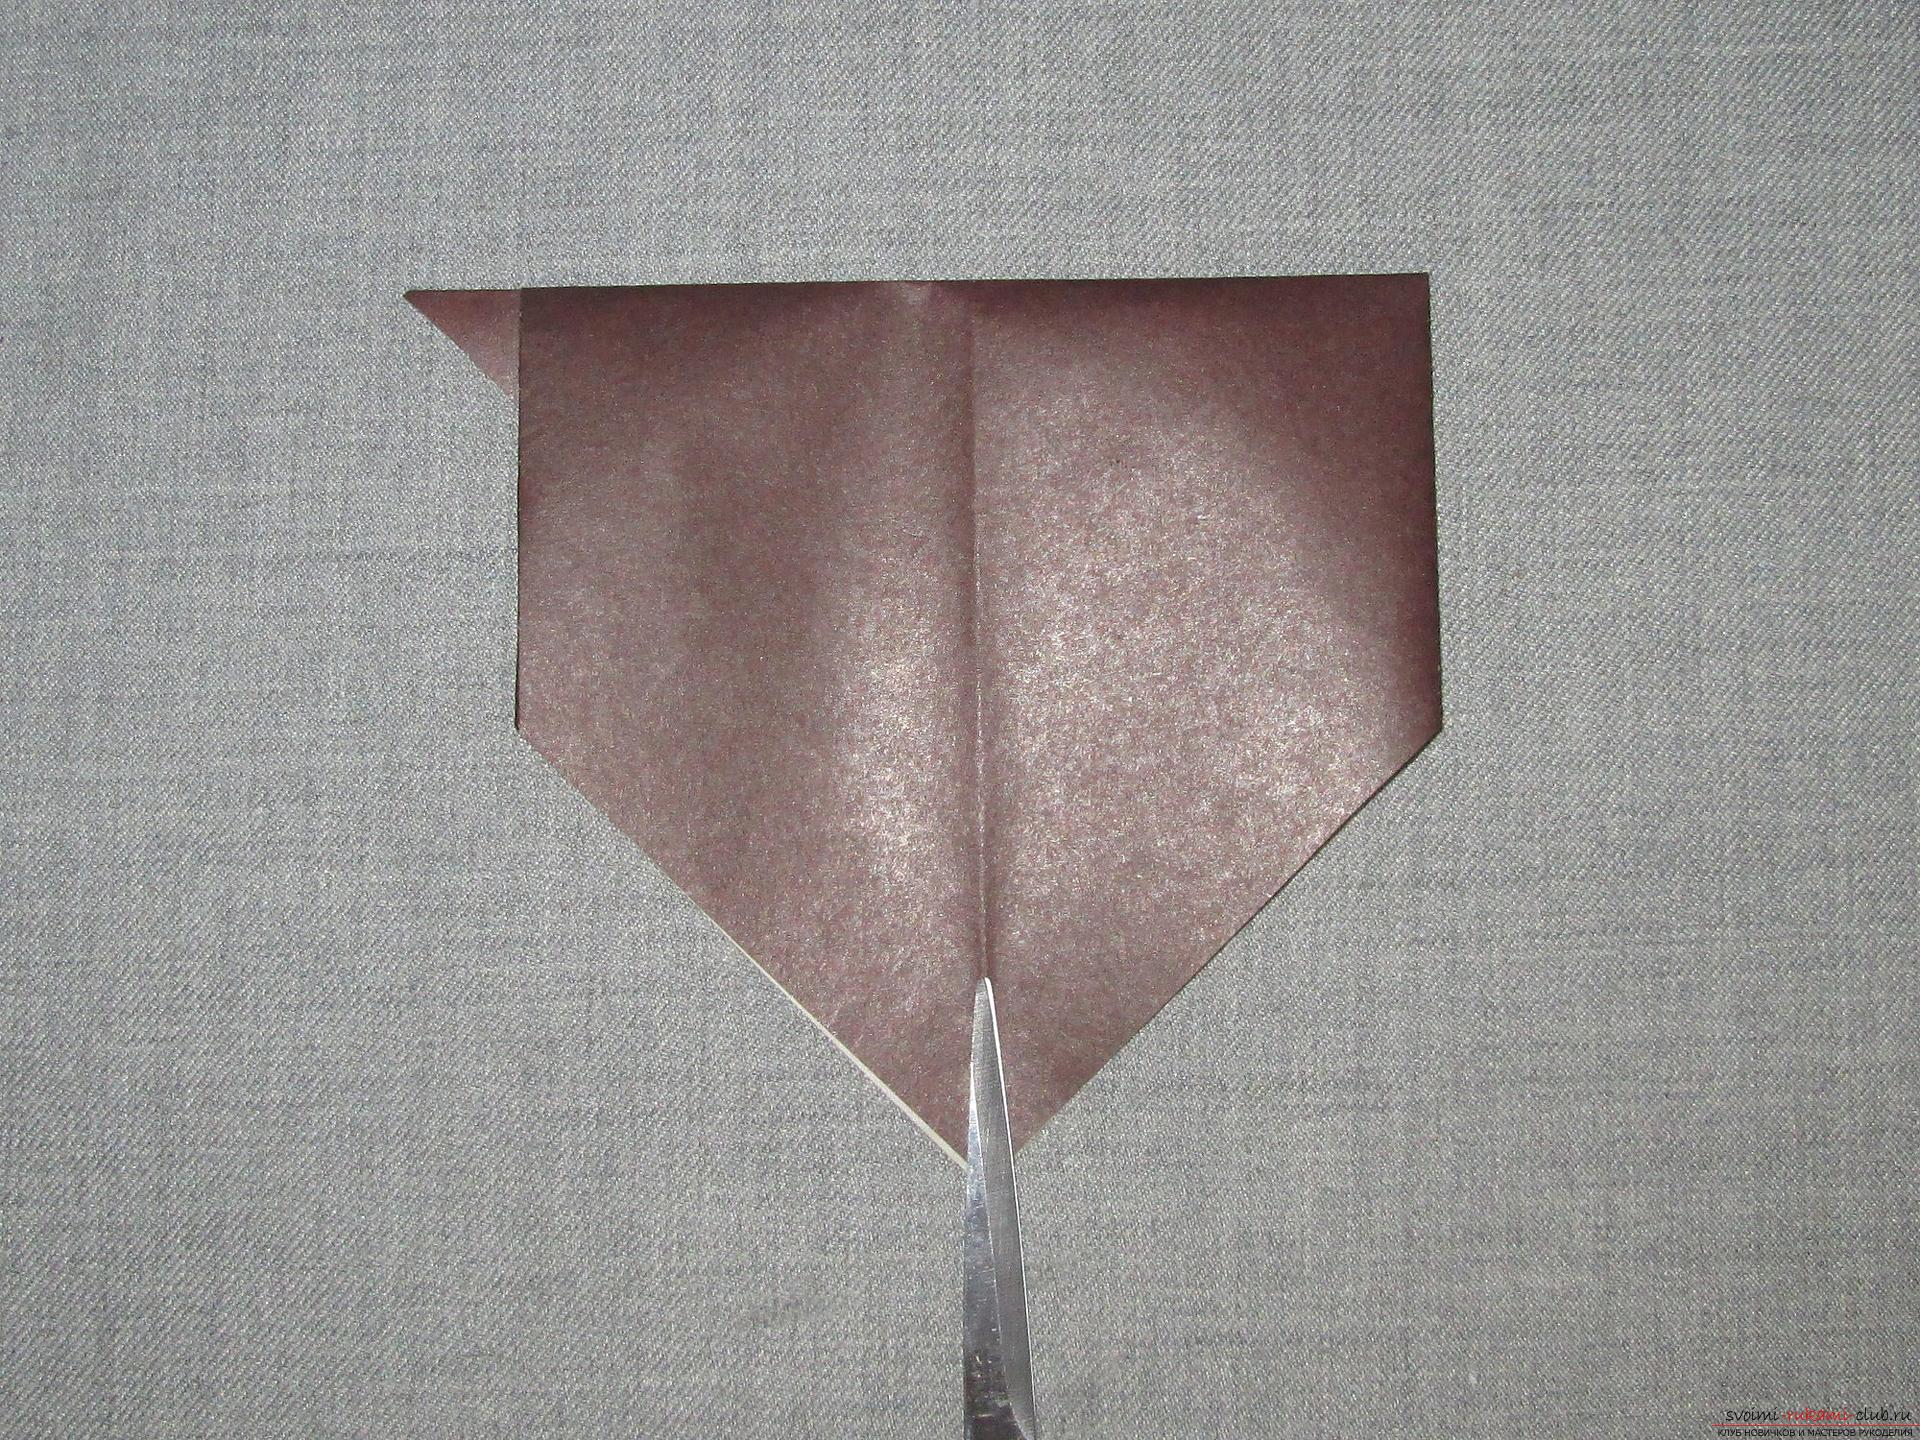 Now the same corner bends back up, but with a shift to the left.
  The upper left corner is bent downward. In the previous photo, the suggested fold line is marked in blue.
 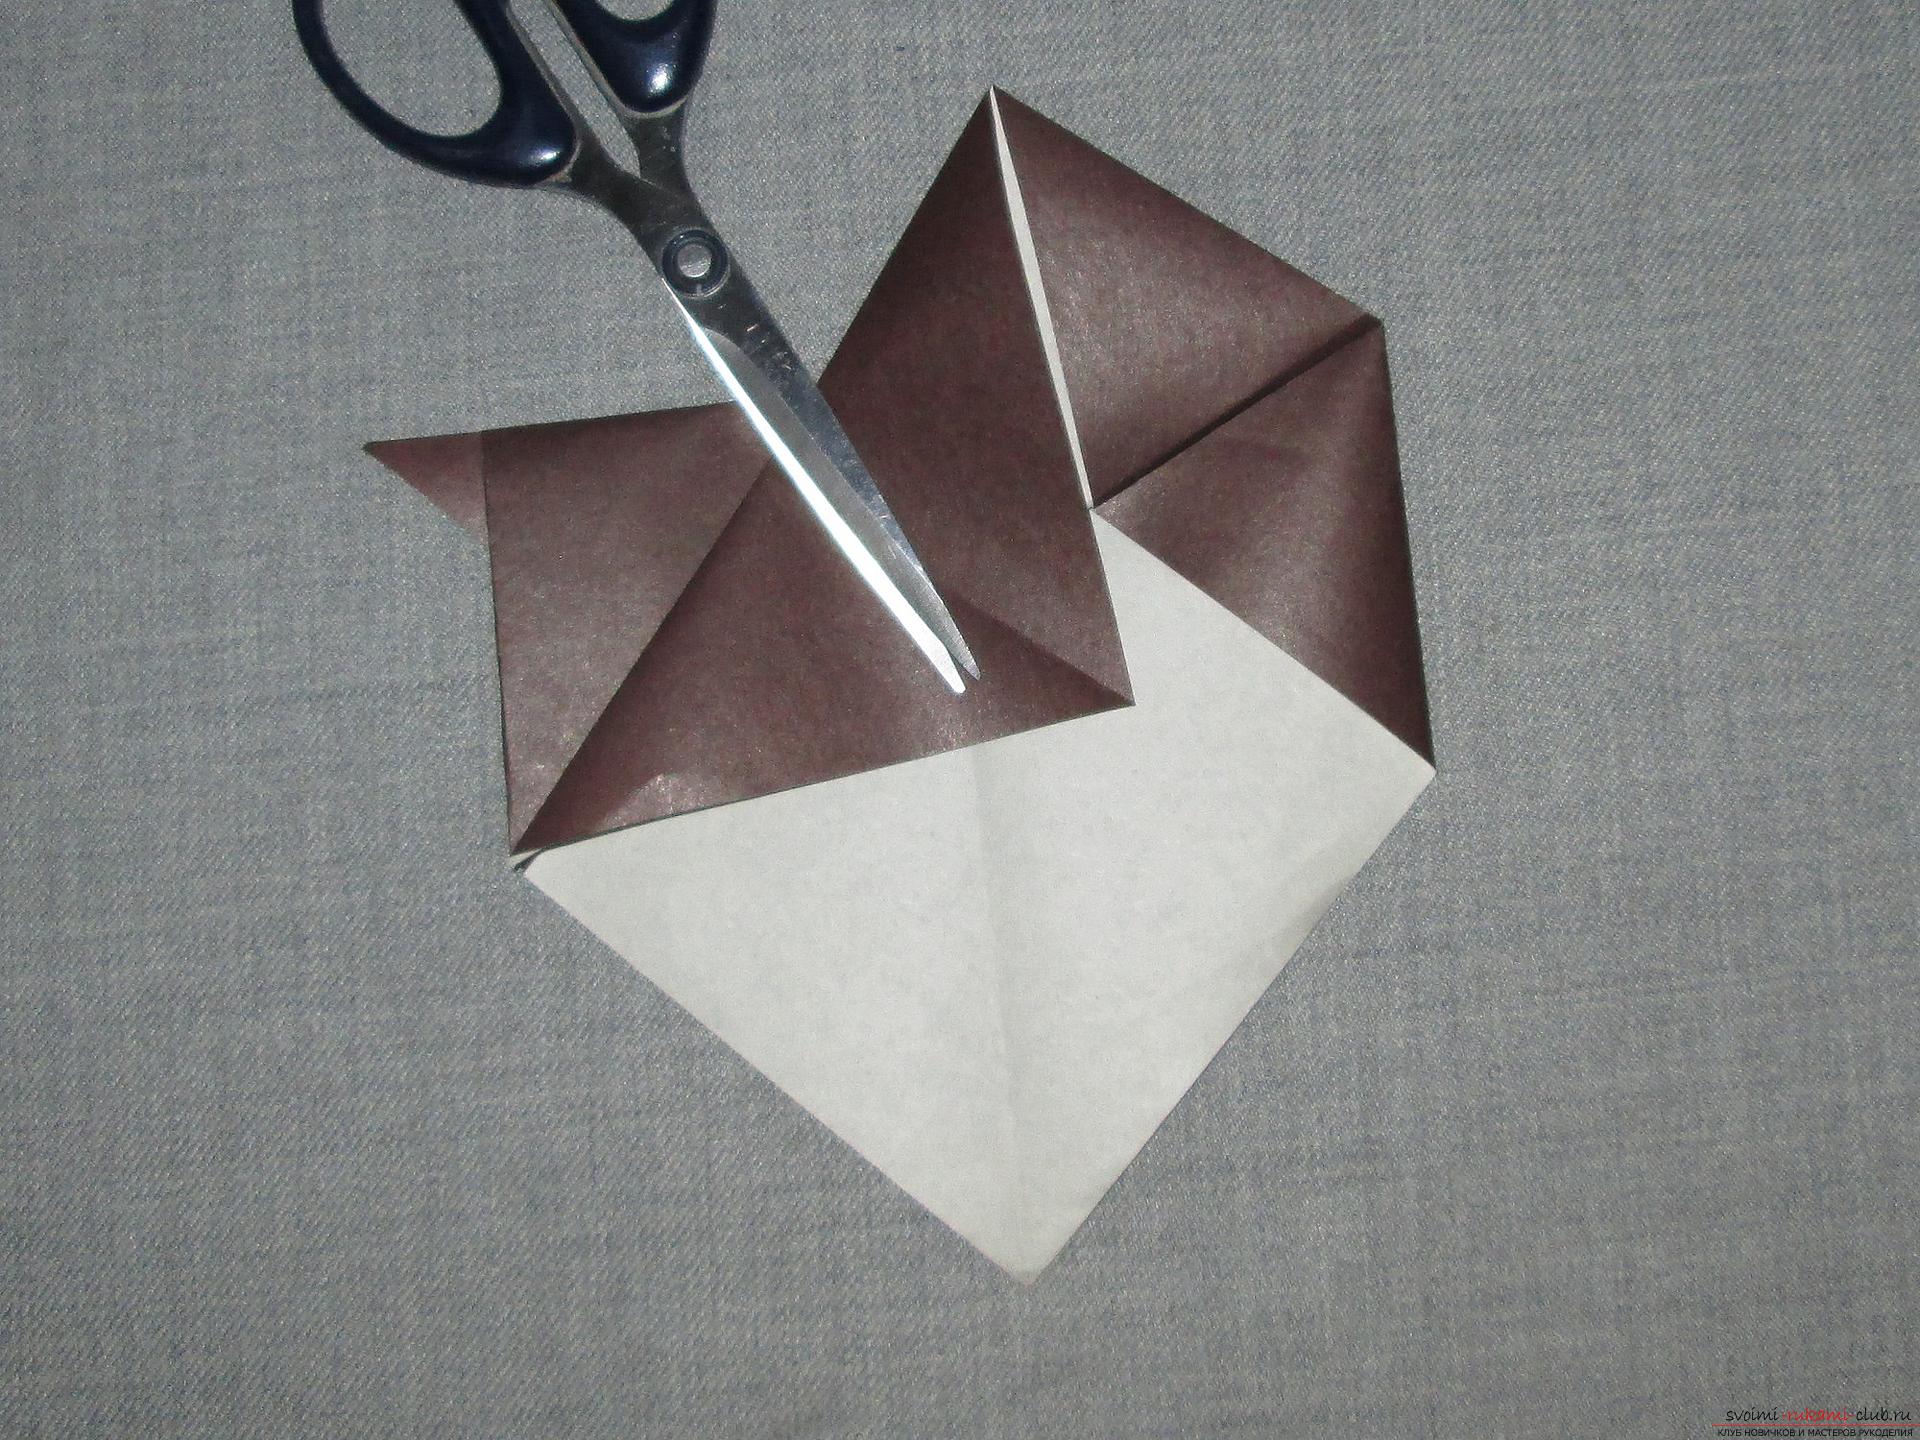 Turn the workpiece to the other side.
 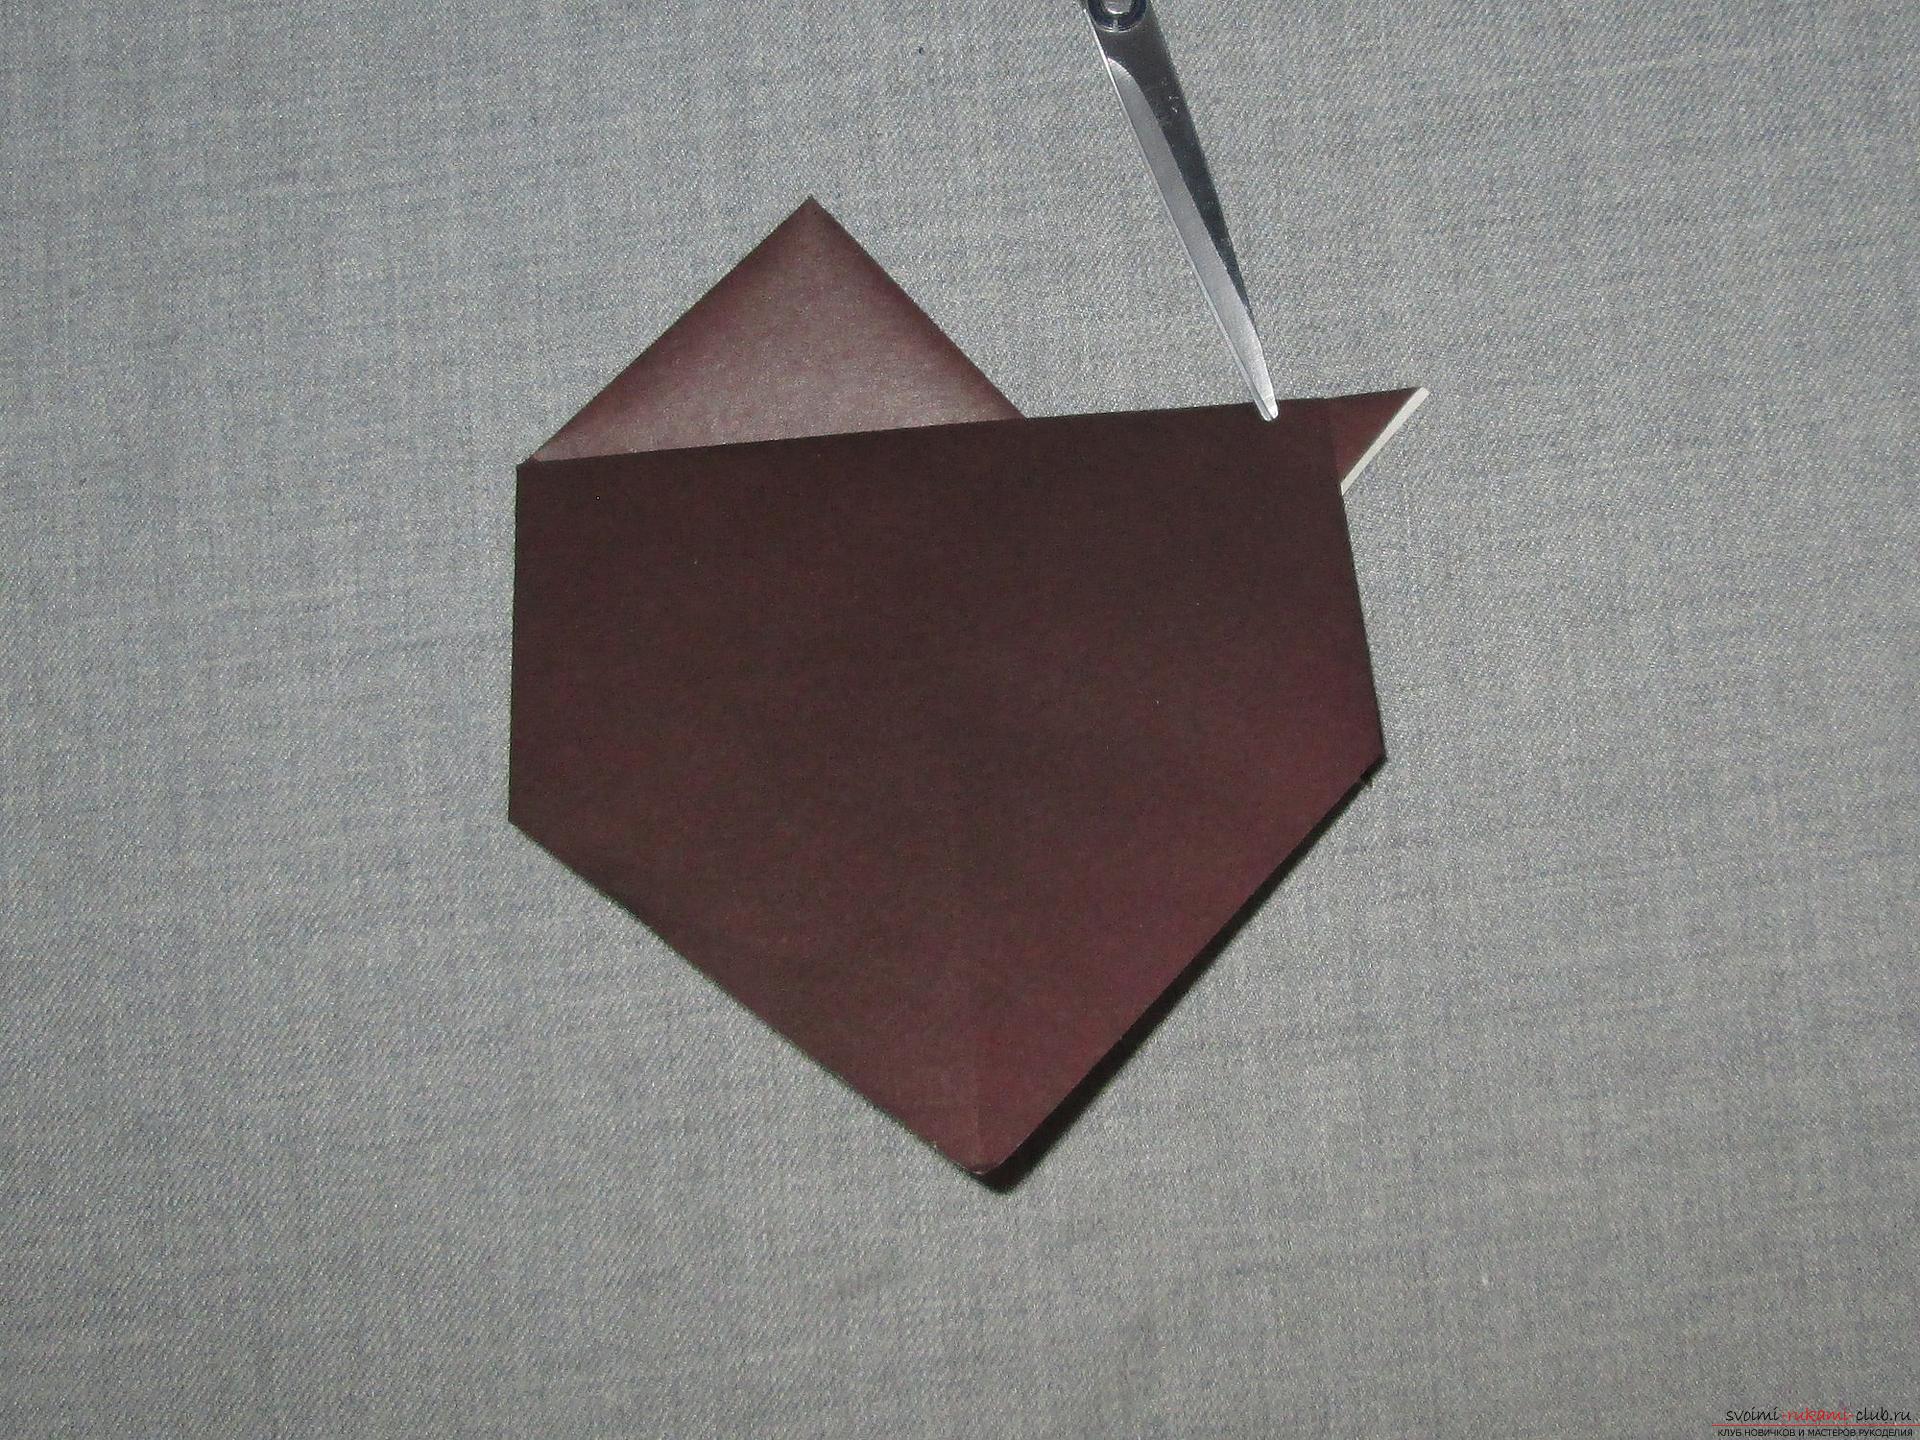 We perform the same steps, but symmetrically.
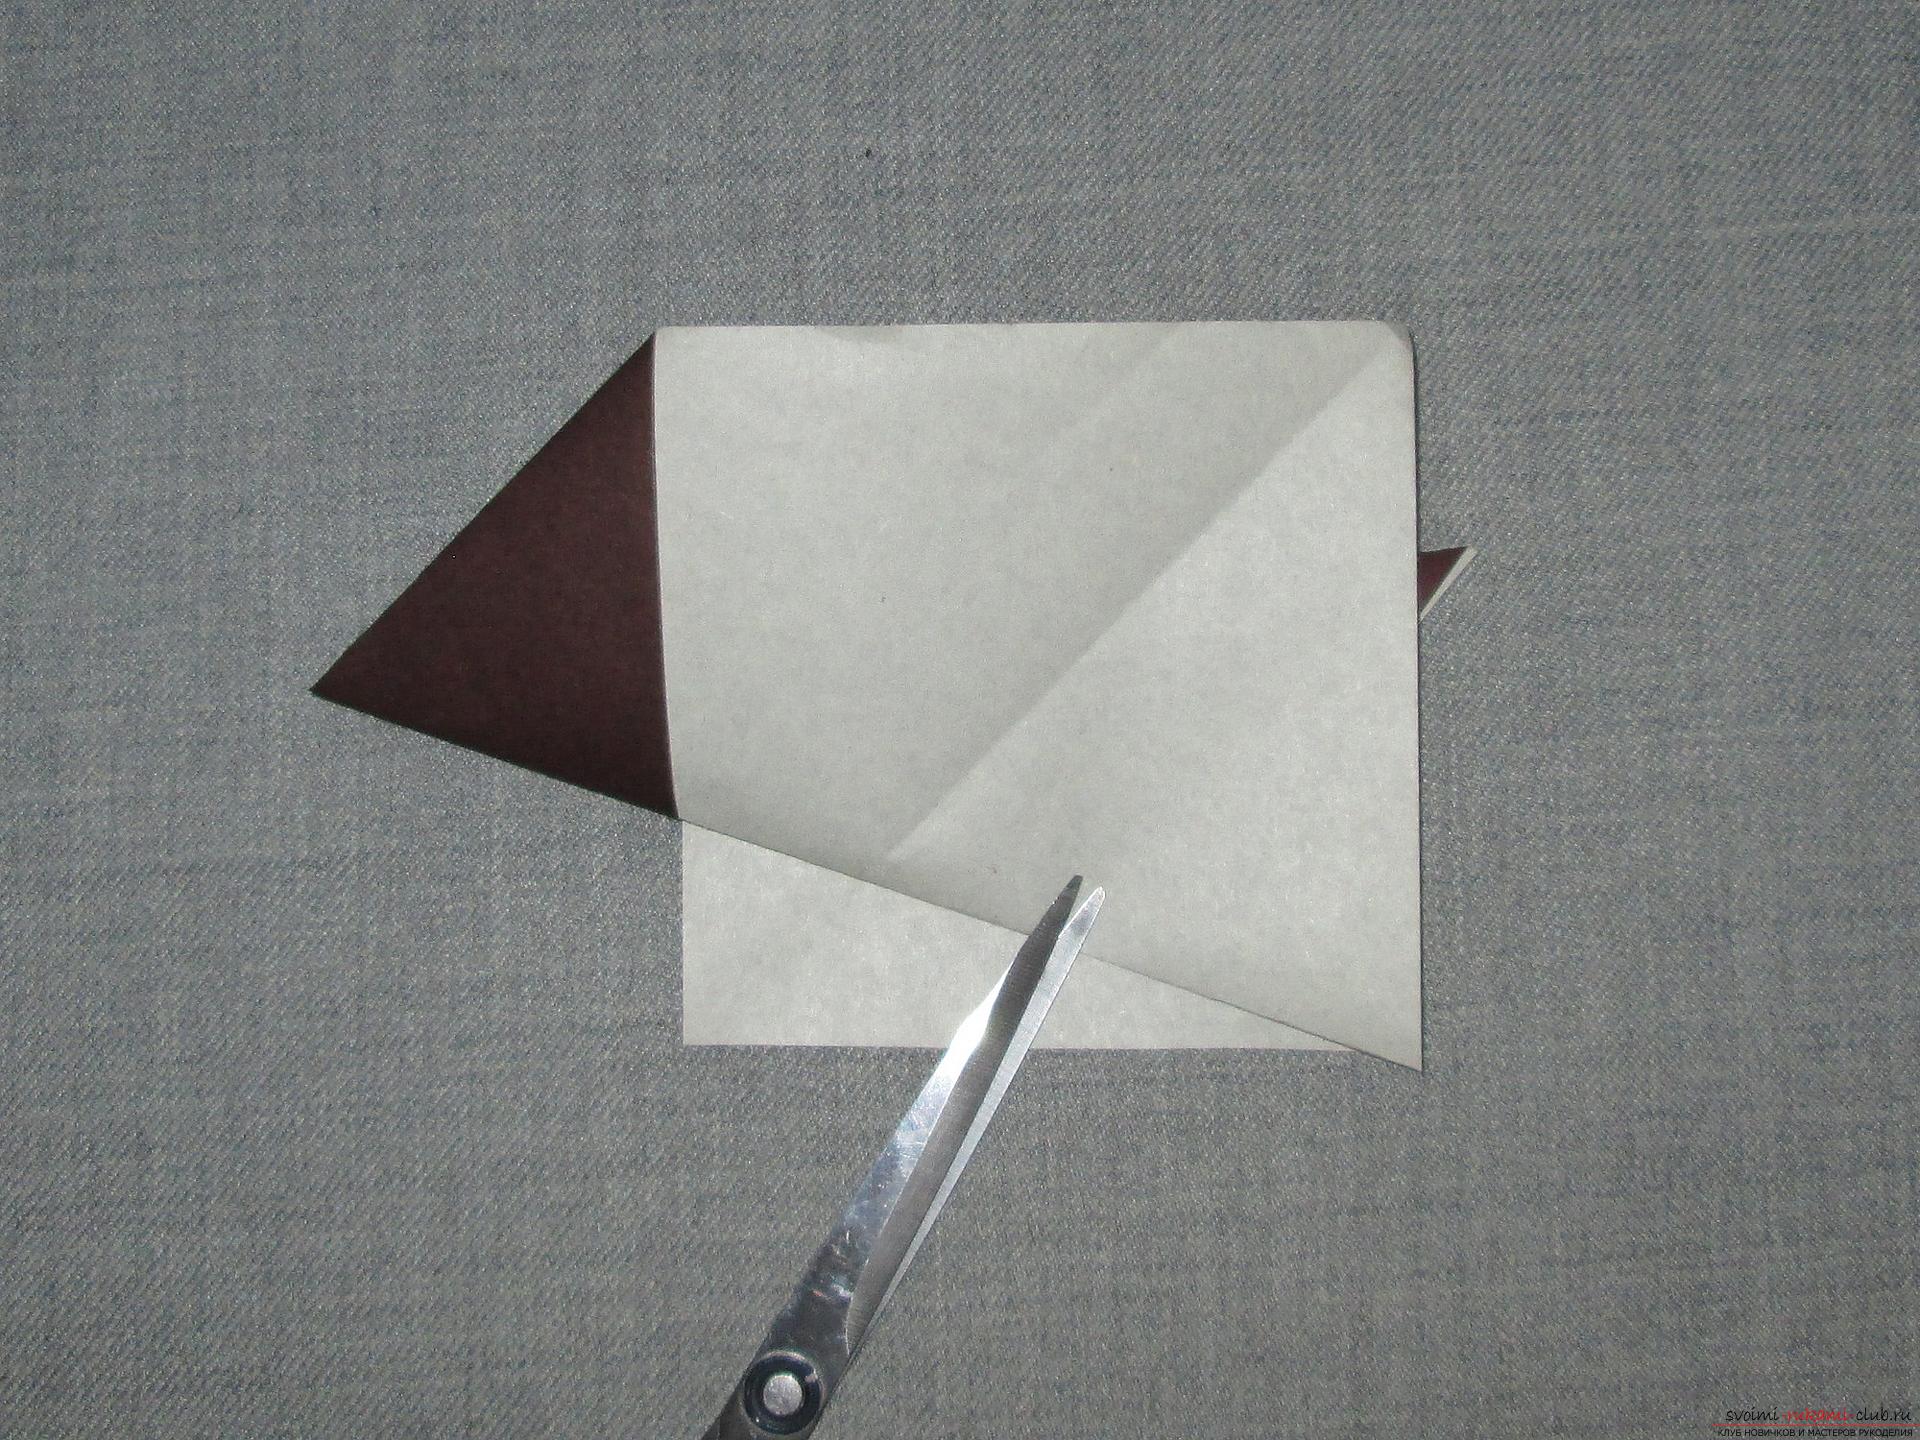
 We select the eye - we bend the upper corner. Make the muzzle more round (or blunt). To do this, bend the corner inside.
 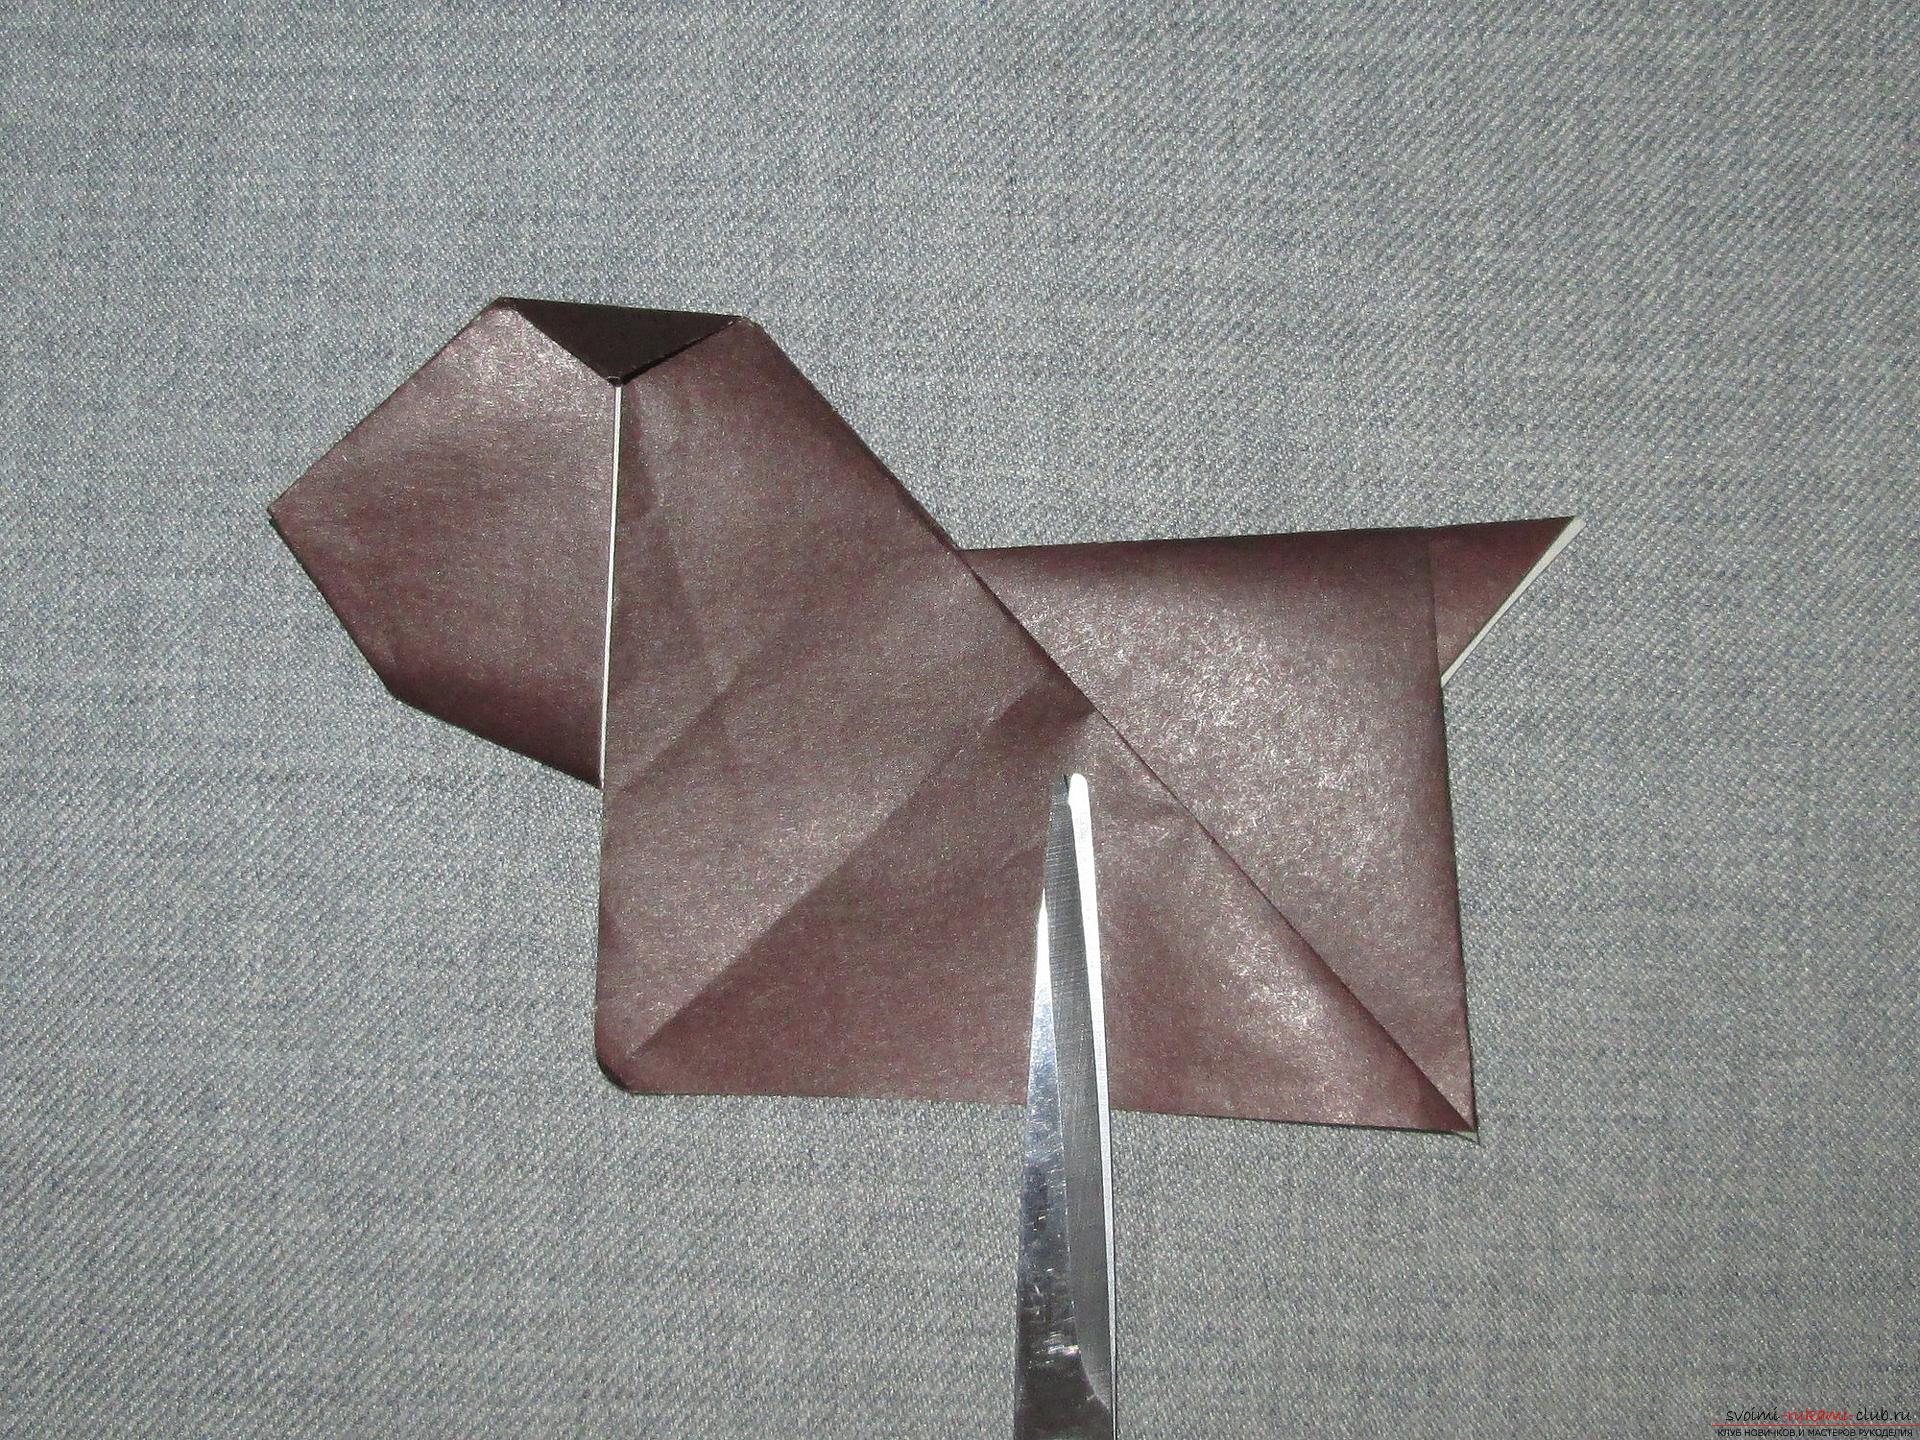 Cut off the excess of the muzzle.
 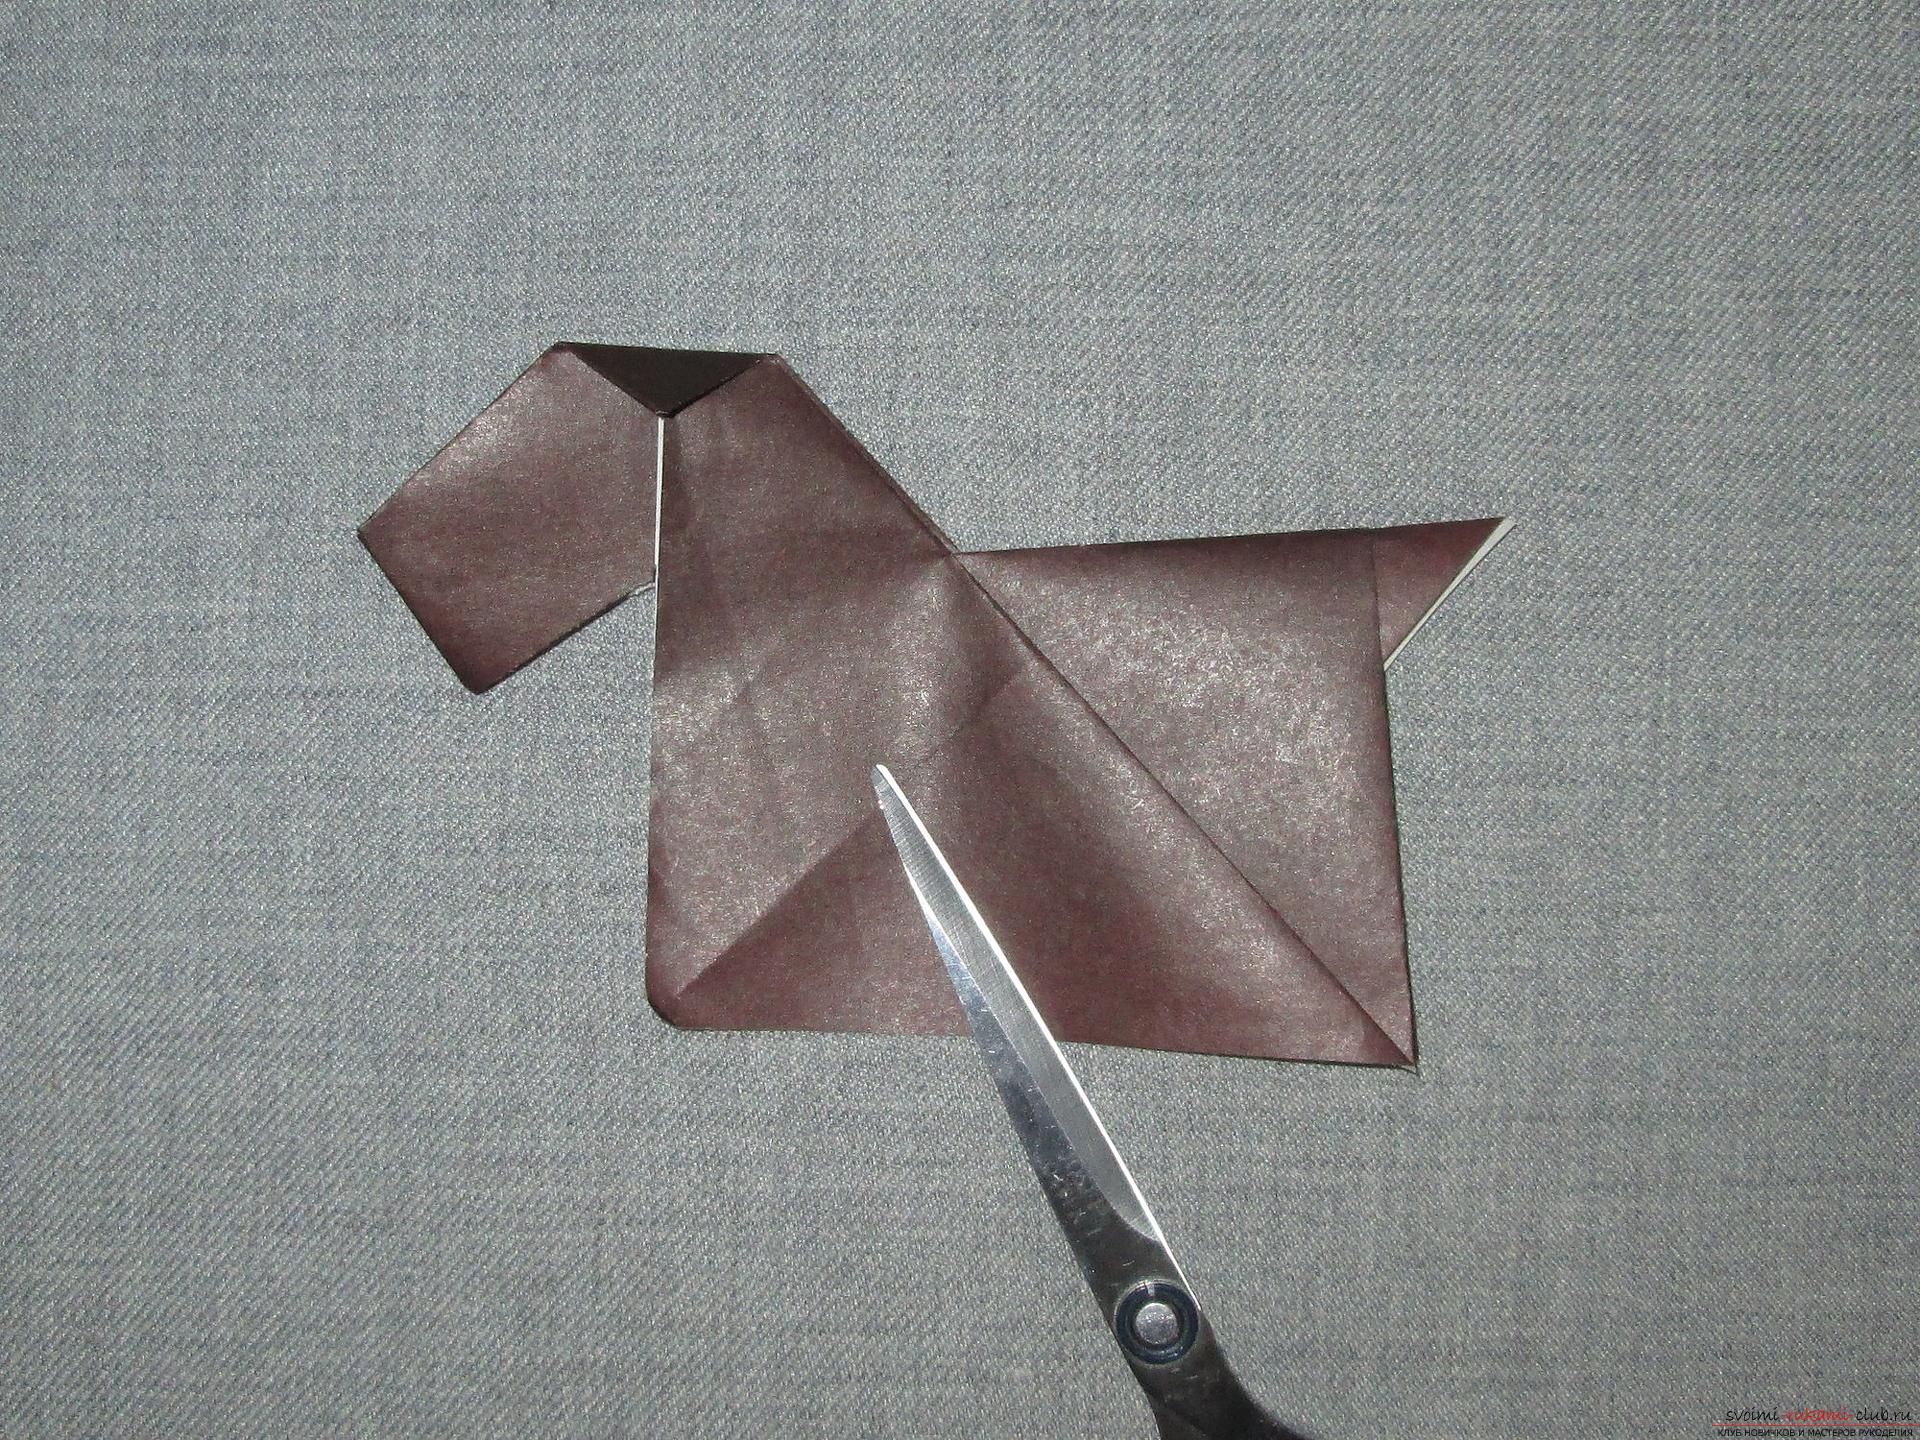 Paste the dog on the background.
  Draw the background. On the dog can dorisovat eyes, fur. Another option: if you combine two identical dogs, but collected symmetrically. And glue them with each other on the wrong sides, before putting a loop of thread between them. That will result in a suspension. You can collect several such colorful dogs and decorate with such a garland, for example a room or a Christmas tree.
Comments
Related posts:
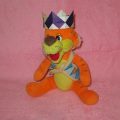 This detailed master class with a photo and description will teach you how to make origami for beginners - an origami-crown made of paper.
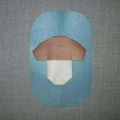 This detailed workshop of origami for children of 8 years will teach how to make an origami-mushroom from paper.
 This detailed master class contains a quilling lesson for beginners and will teach you how to make yourself a quilling ballerina.
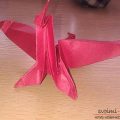 This detailed master class contains an origami-dragon scheme from paper, which you can make with your own hands.
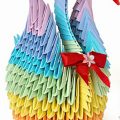 The scheme for creating a modular origami swan from paper for beginners. Detailed master-class with photo