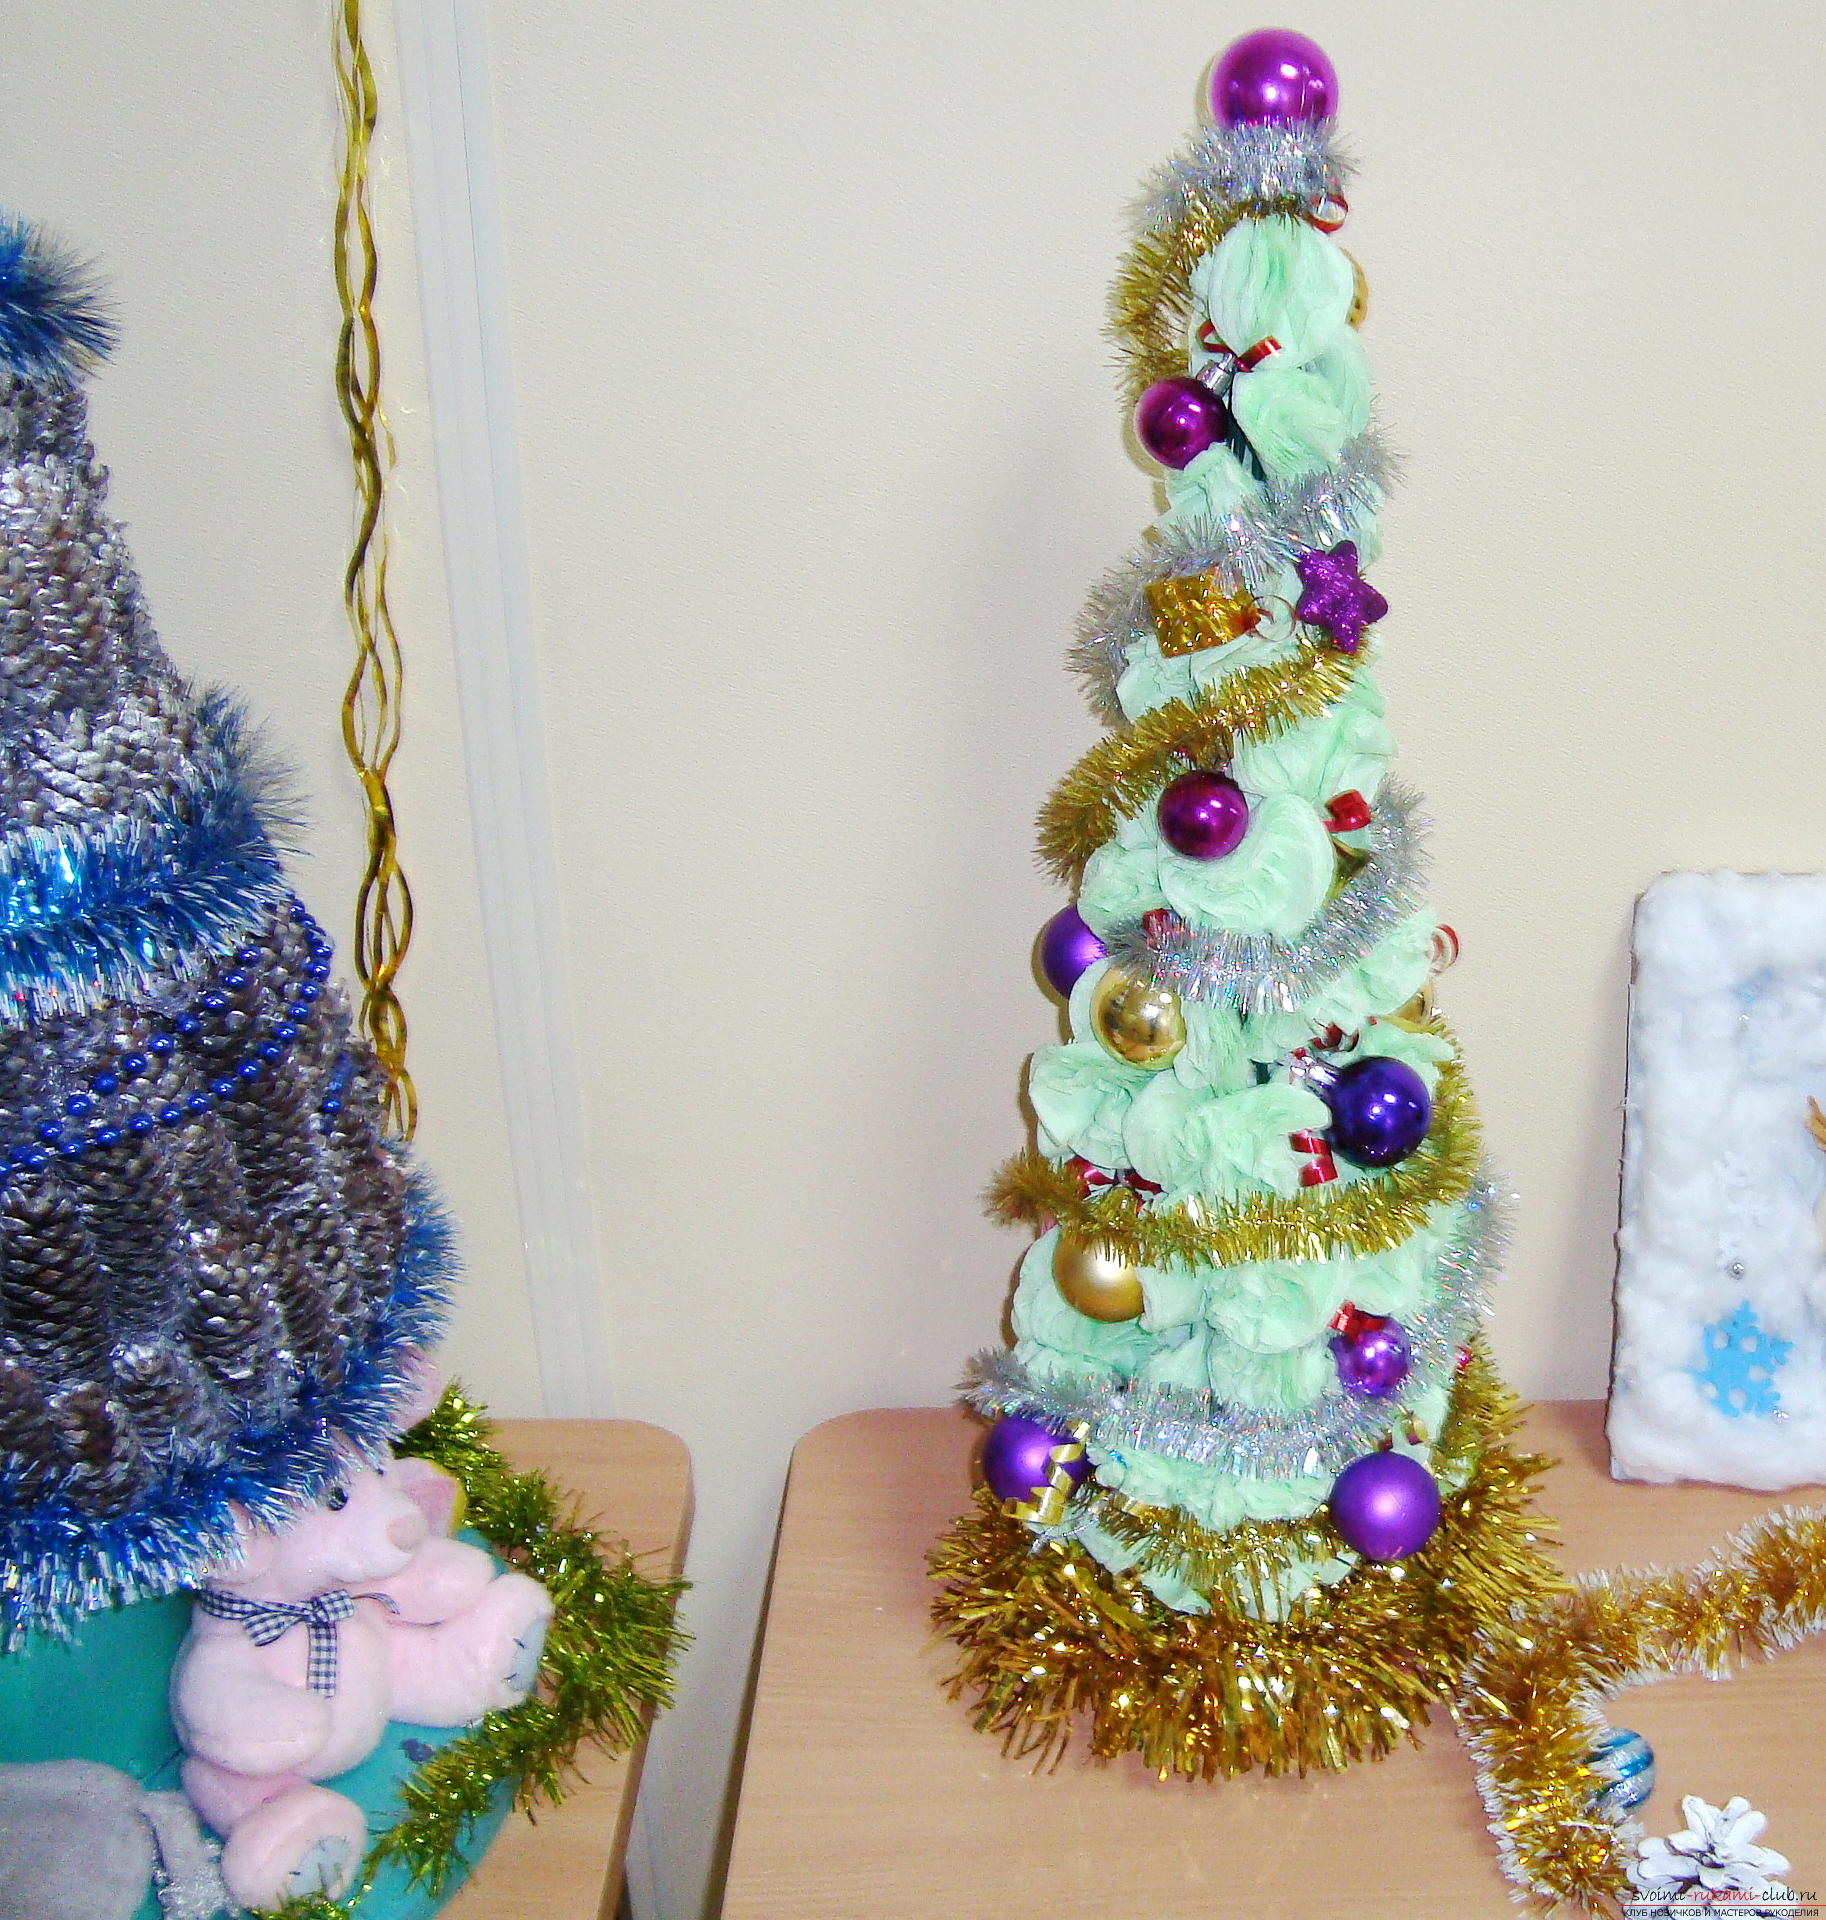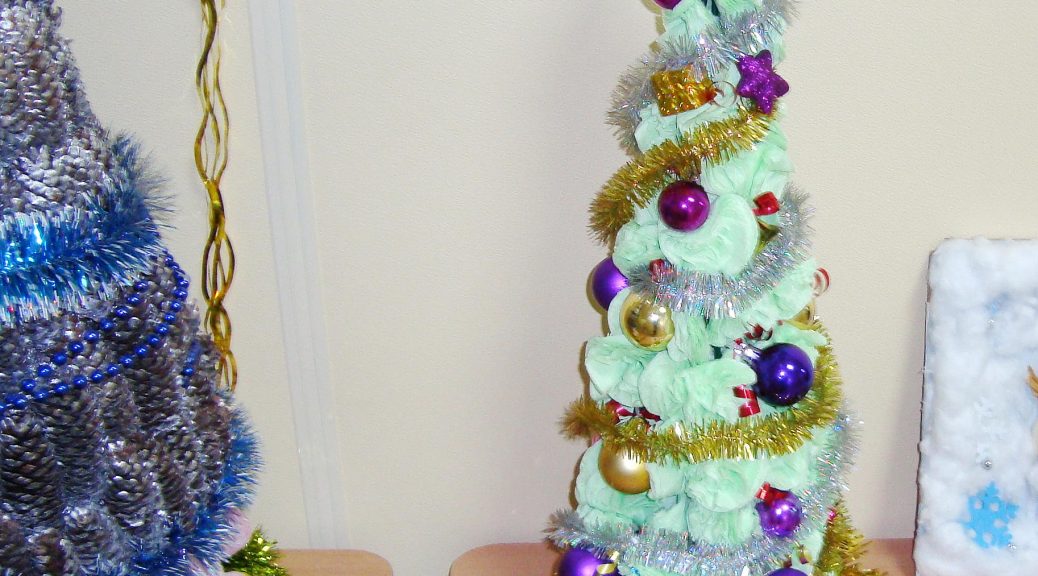
This master class is designed for those who want to learn how to make a Christmas tree from napkins
Napkins are a very convenient material for creativity, safe for children and leaving a wide space for imagination. We have succeeded in such a miracle, but what happens in you? 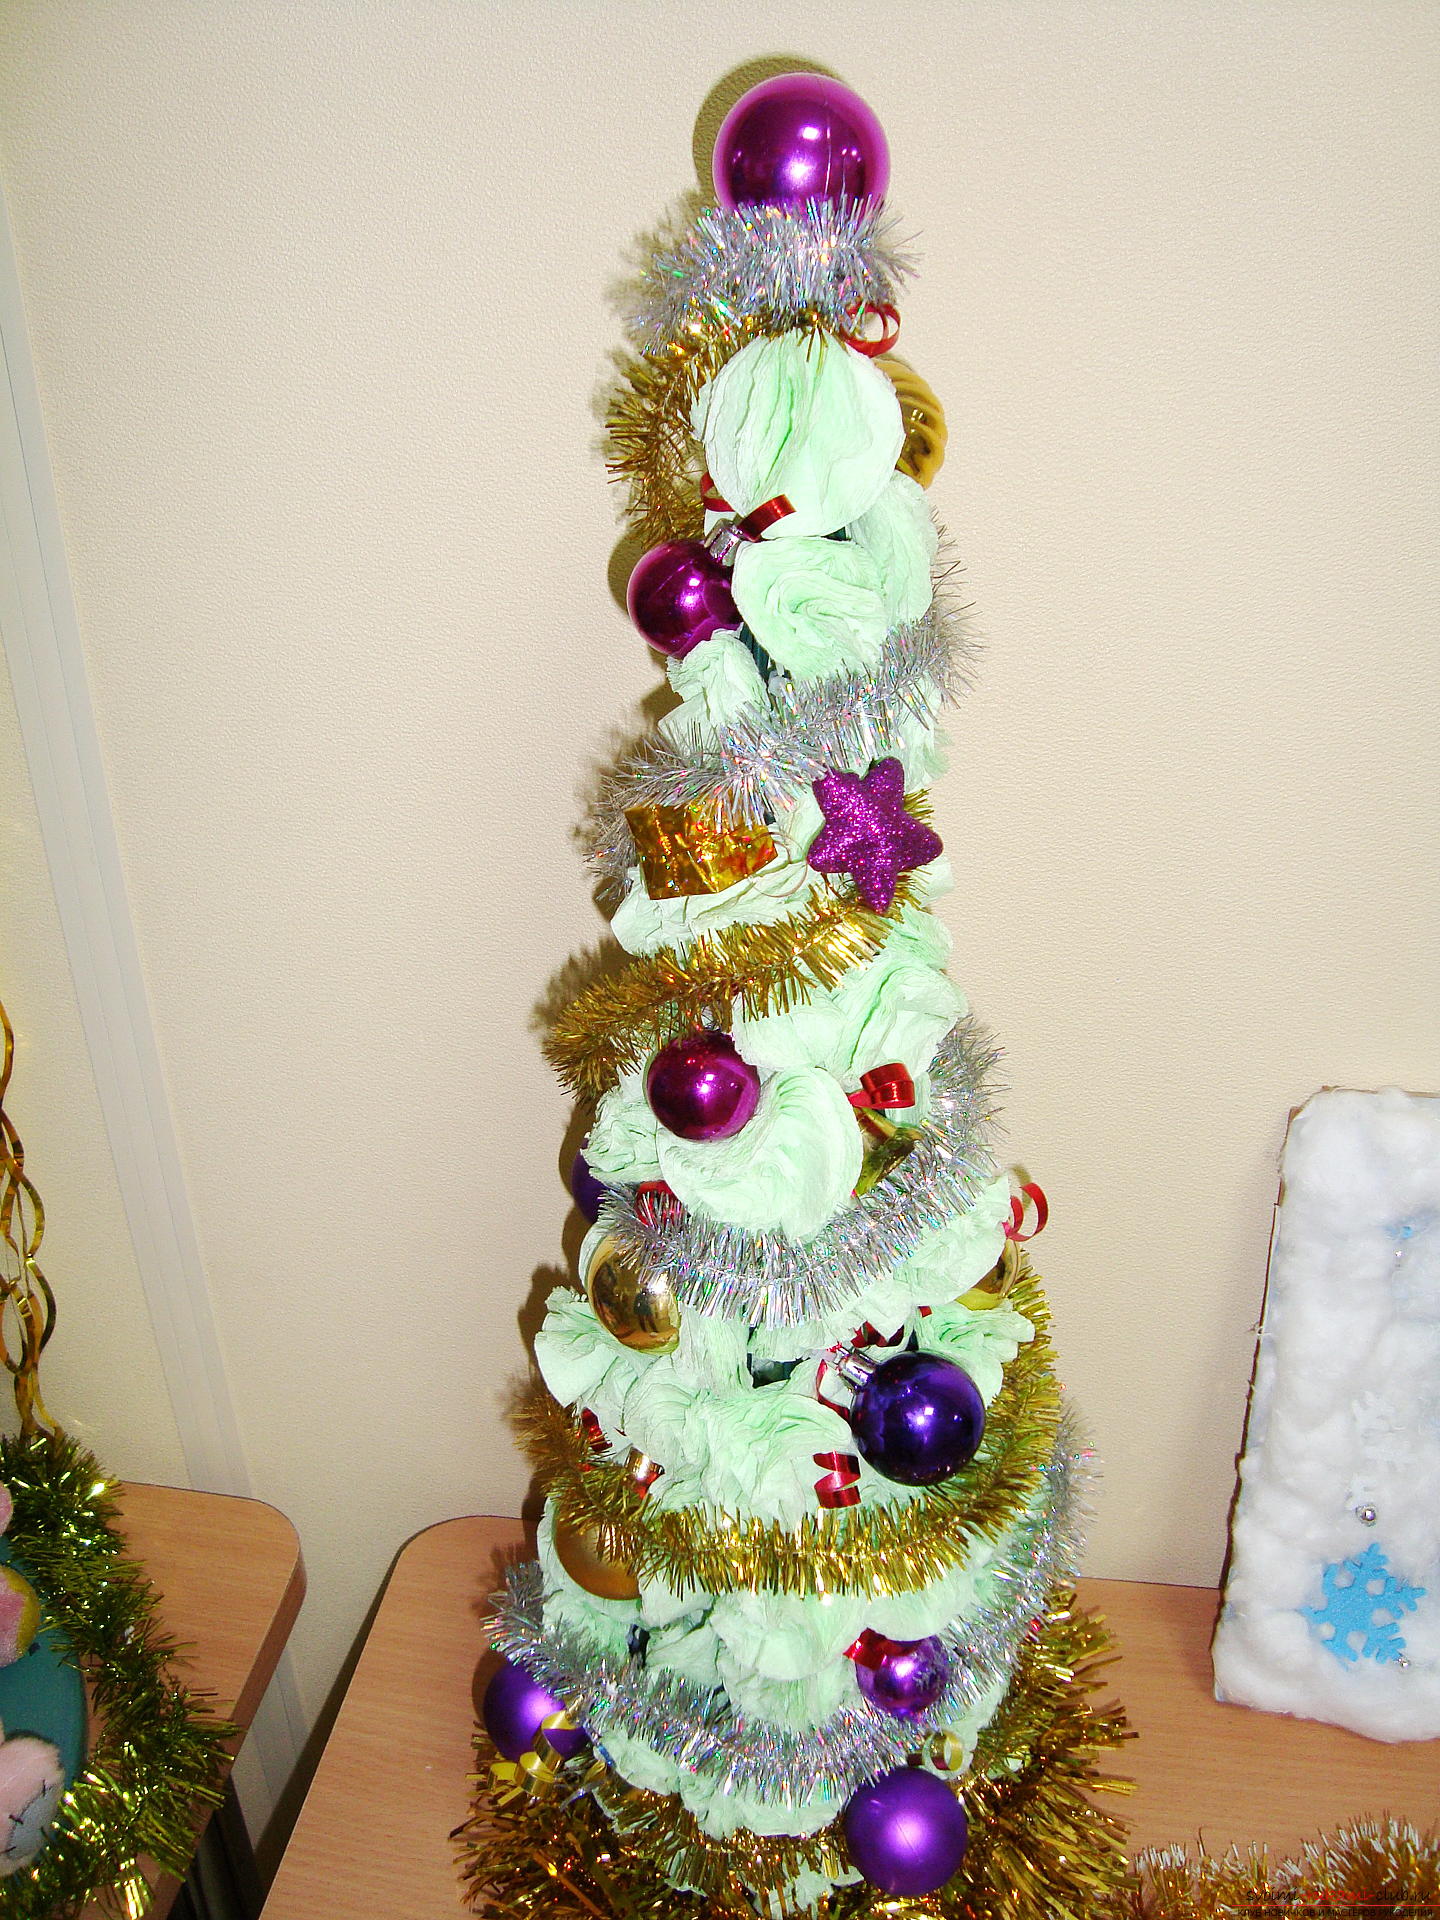 To work on the Christmas tree, it took us:
- a packet of light green napkins;
- cardboard for warp;
- scissors, pencil, ruler, stapler number 10 with brackets;
- PVA glue;
- double sided tape;
- tinsel, balls and fur-tree toys for decoration.
To begin with, we need to make a cone-base fortree. What size this detail you will get, this will be your Christmas tree. Fold the cardboard with a cone and secure it with a stapler. The edges of the cone should be leveled so that it stands firmly. Then divide the napkins into small packs of 3-5 pieces. The more layers you take, the fuzzy your New Year tree will be. Draw the pattern circles and cut them by holding the napkins in batches. Each stack of obtained circles in the center is fastened with a stapler. Then the pompons from the napkin should be shaped according to your taste: either squeeze lightly to make a blown bud (like mine), or layer each crumplet layerwise to the center, so that the buds are tighter. When all the napkins are ready, we proceed to pasting them onto the cone. To glue it is necessary from below with the help of double-sided scotch tape. To place inflorescences it is desirable more often and in a staggered order that bases could not be seen, but if there are gaps somewhere, glue the petals with glue to close them. The last stage of the work is the decor of the resulting Christmas tree. Decorate it with tinsel, Christmas toys and balls, attaching them with a double-sided tape. Well look at this Christmas tree beads and various homemade elements - bows, balls. Very interesting are the Christmas trees, decorated in one color or the same in form, but different in color ornaments. 