This master class is intended for those who want to learn how to do their own hands with a bow of origami
Anyone can create an origami bow andto enjoy this work. Even the first-grader will cope with the creation of a bow, this will contribute to the development of his logical thinking and fine motor skills of the hands. 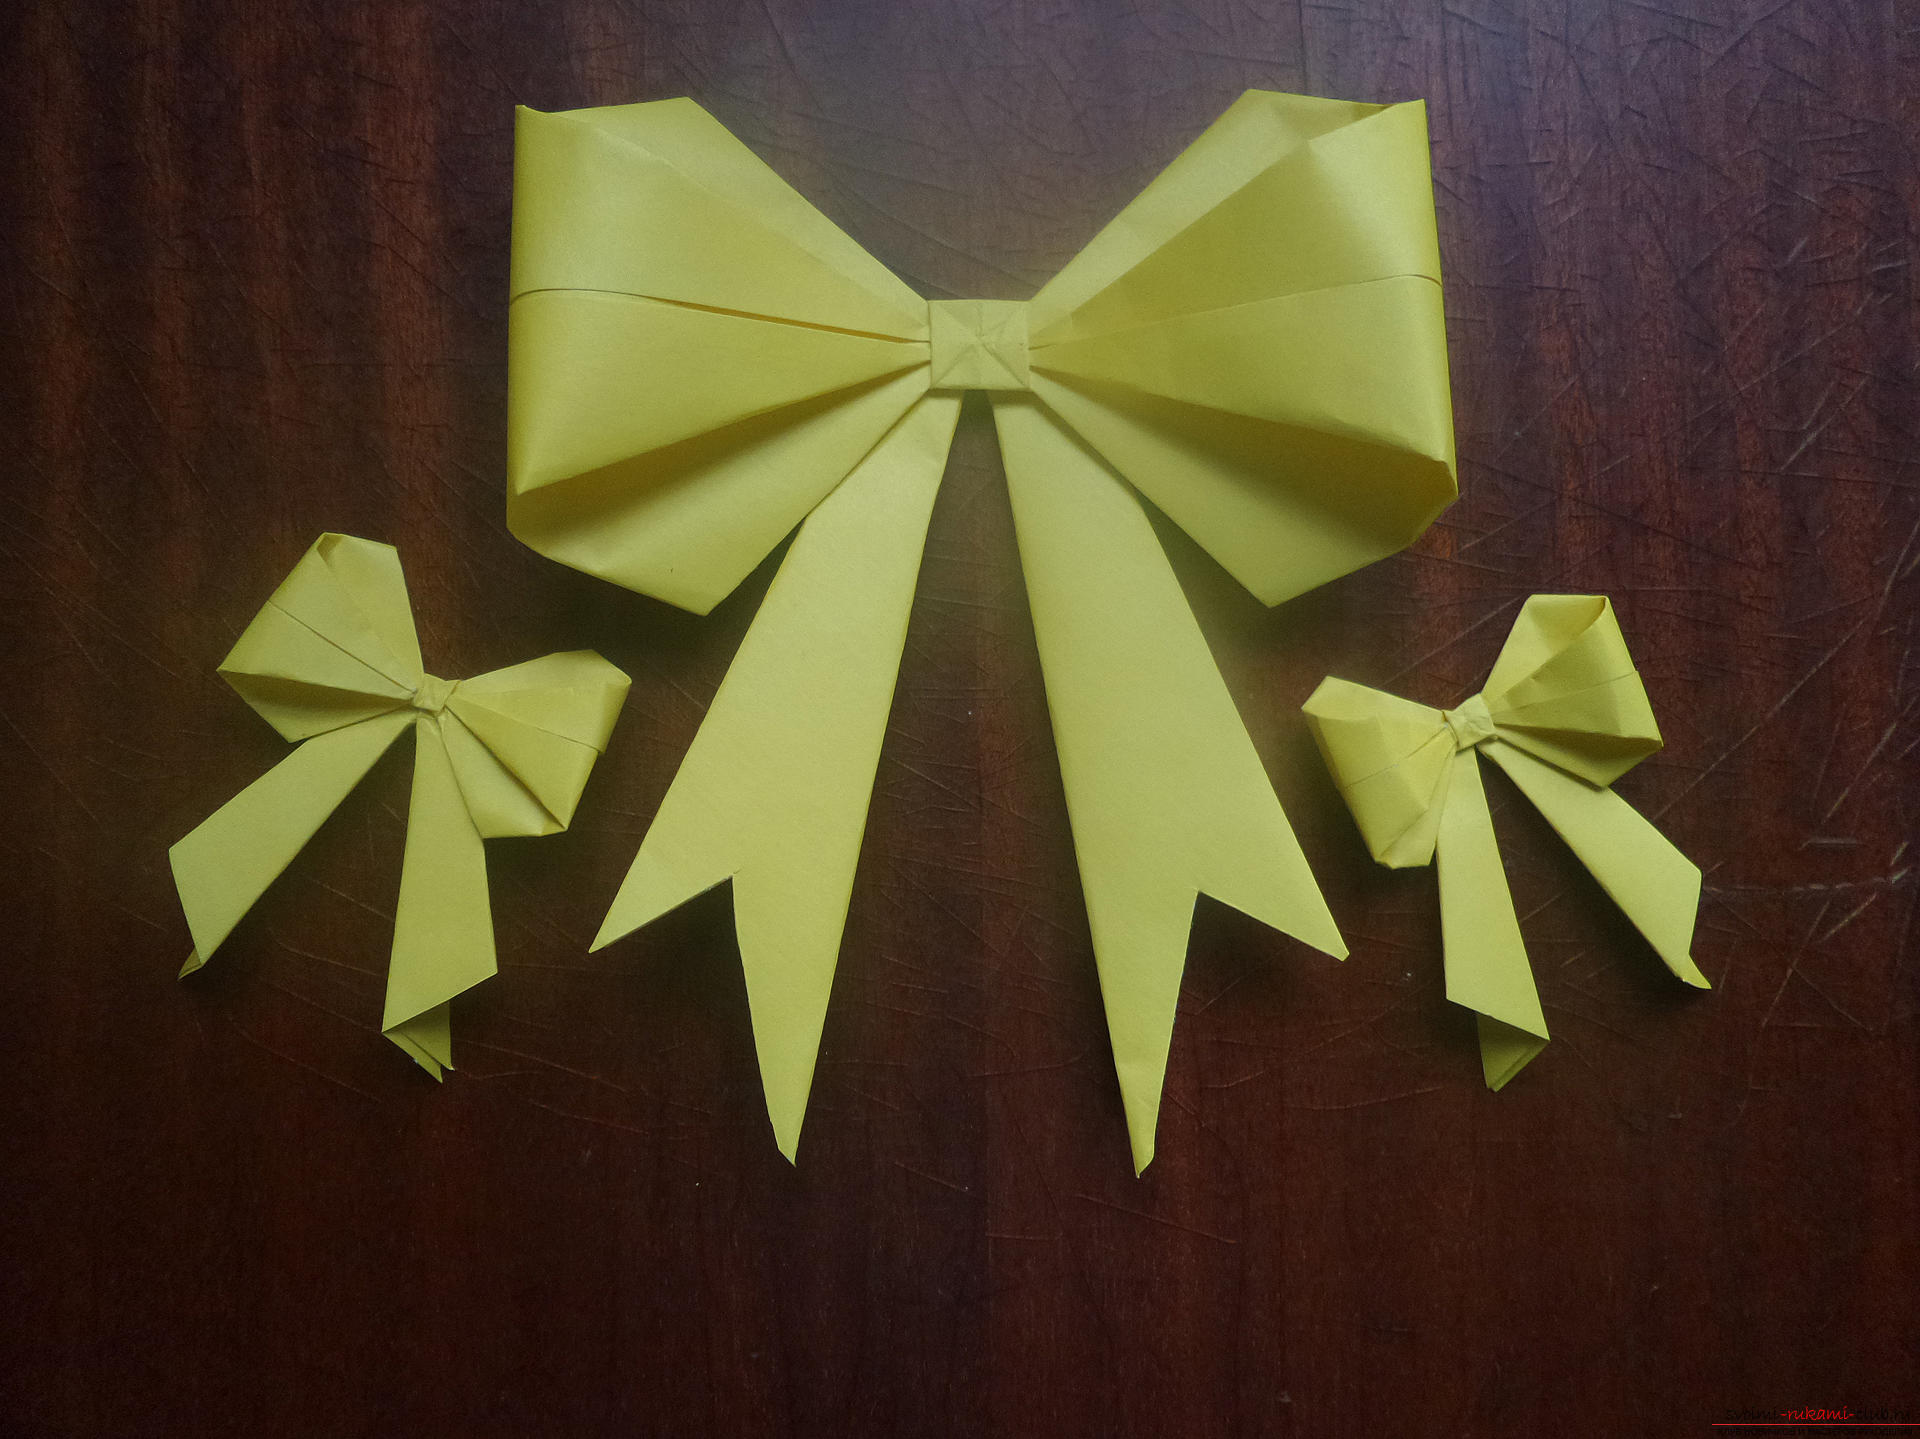 To produce a bow, you only need A4 sheet of any color and scissors.
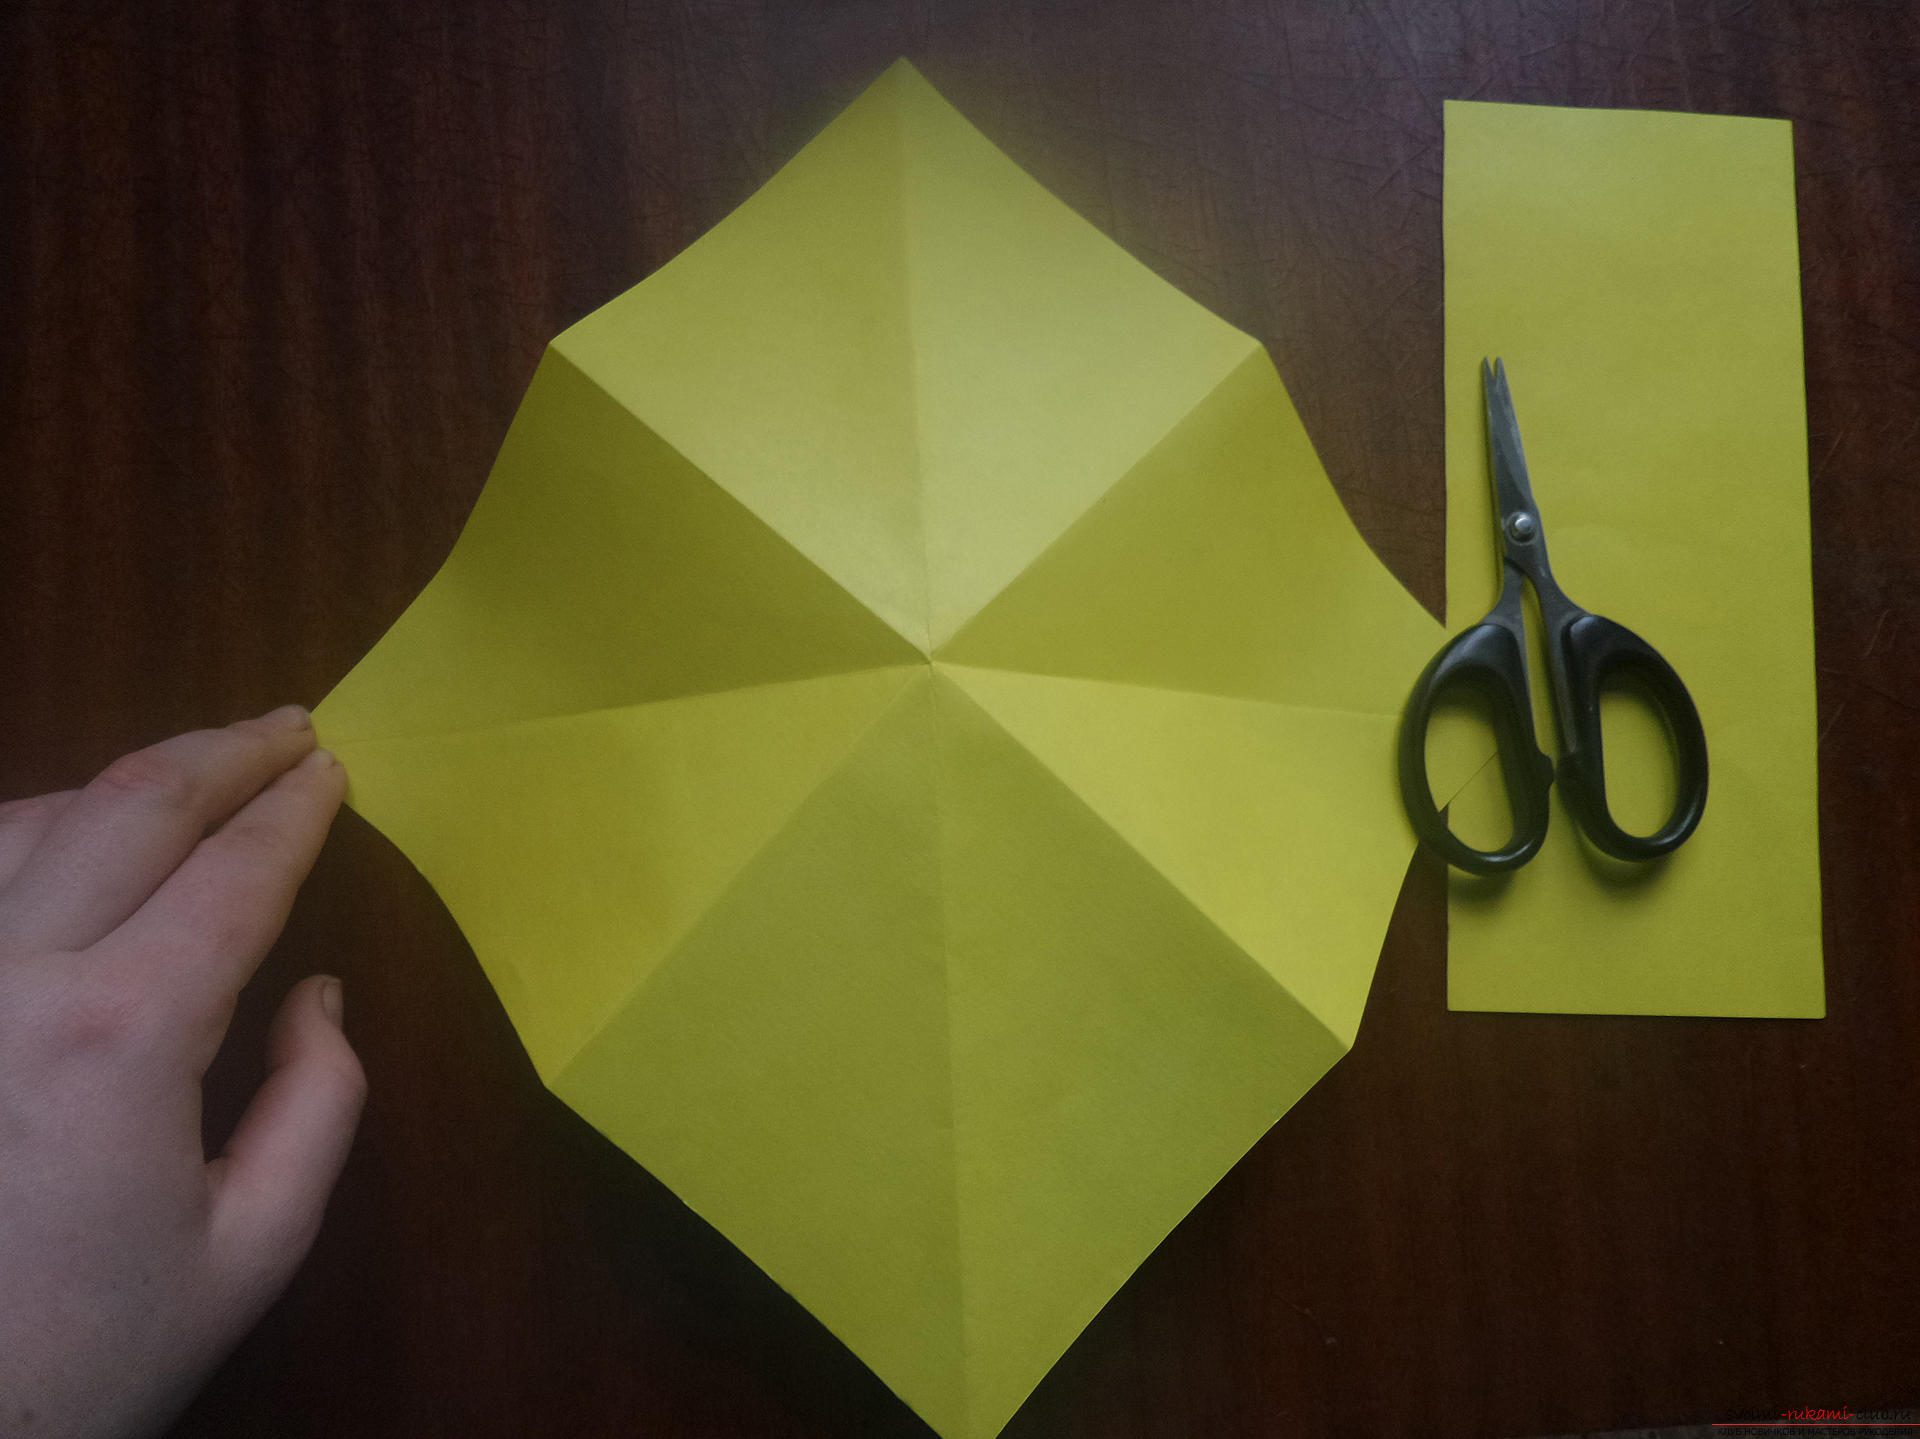
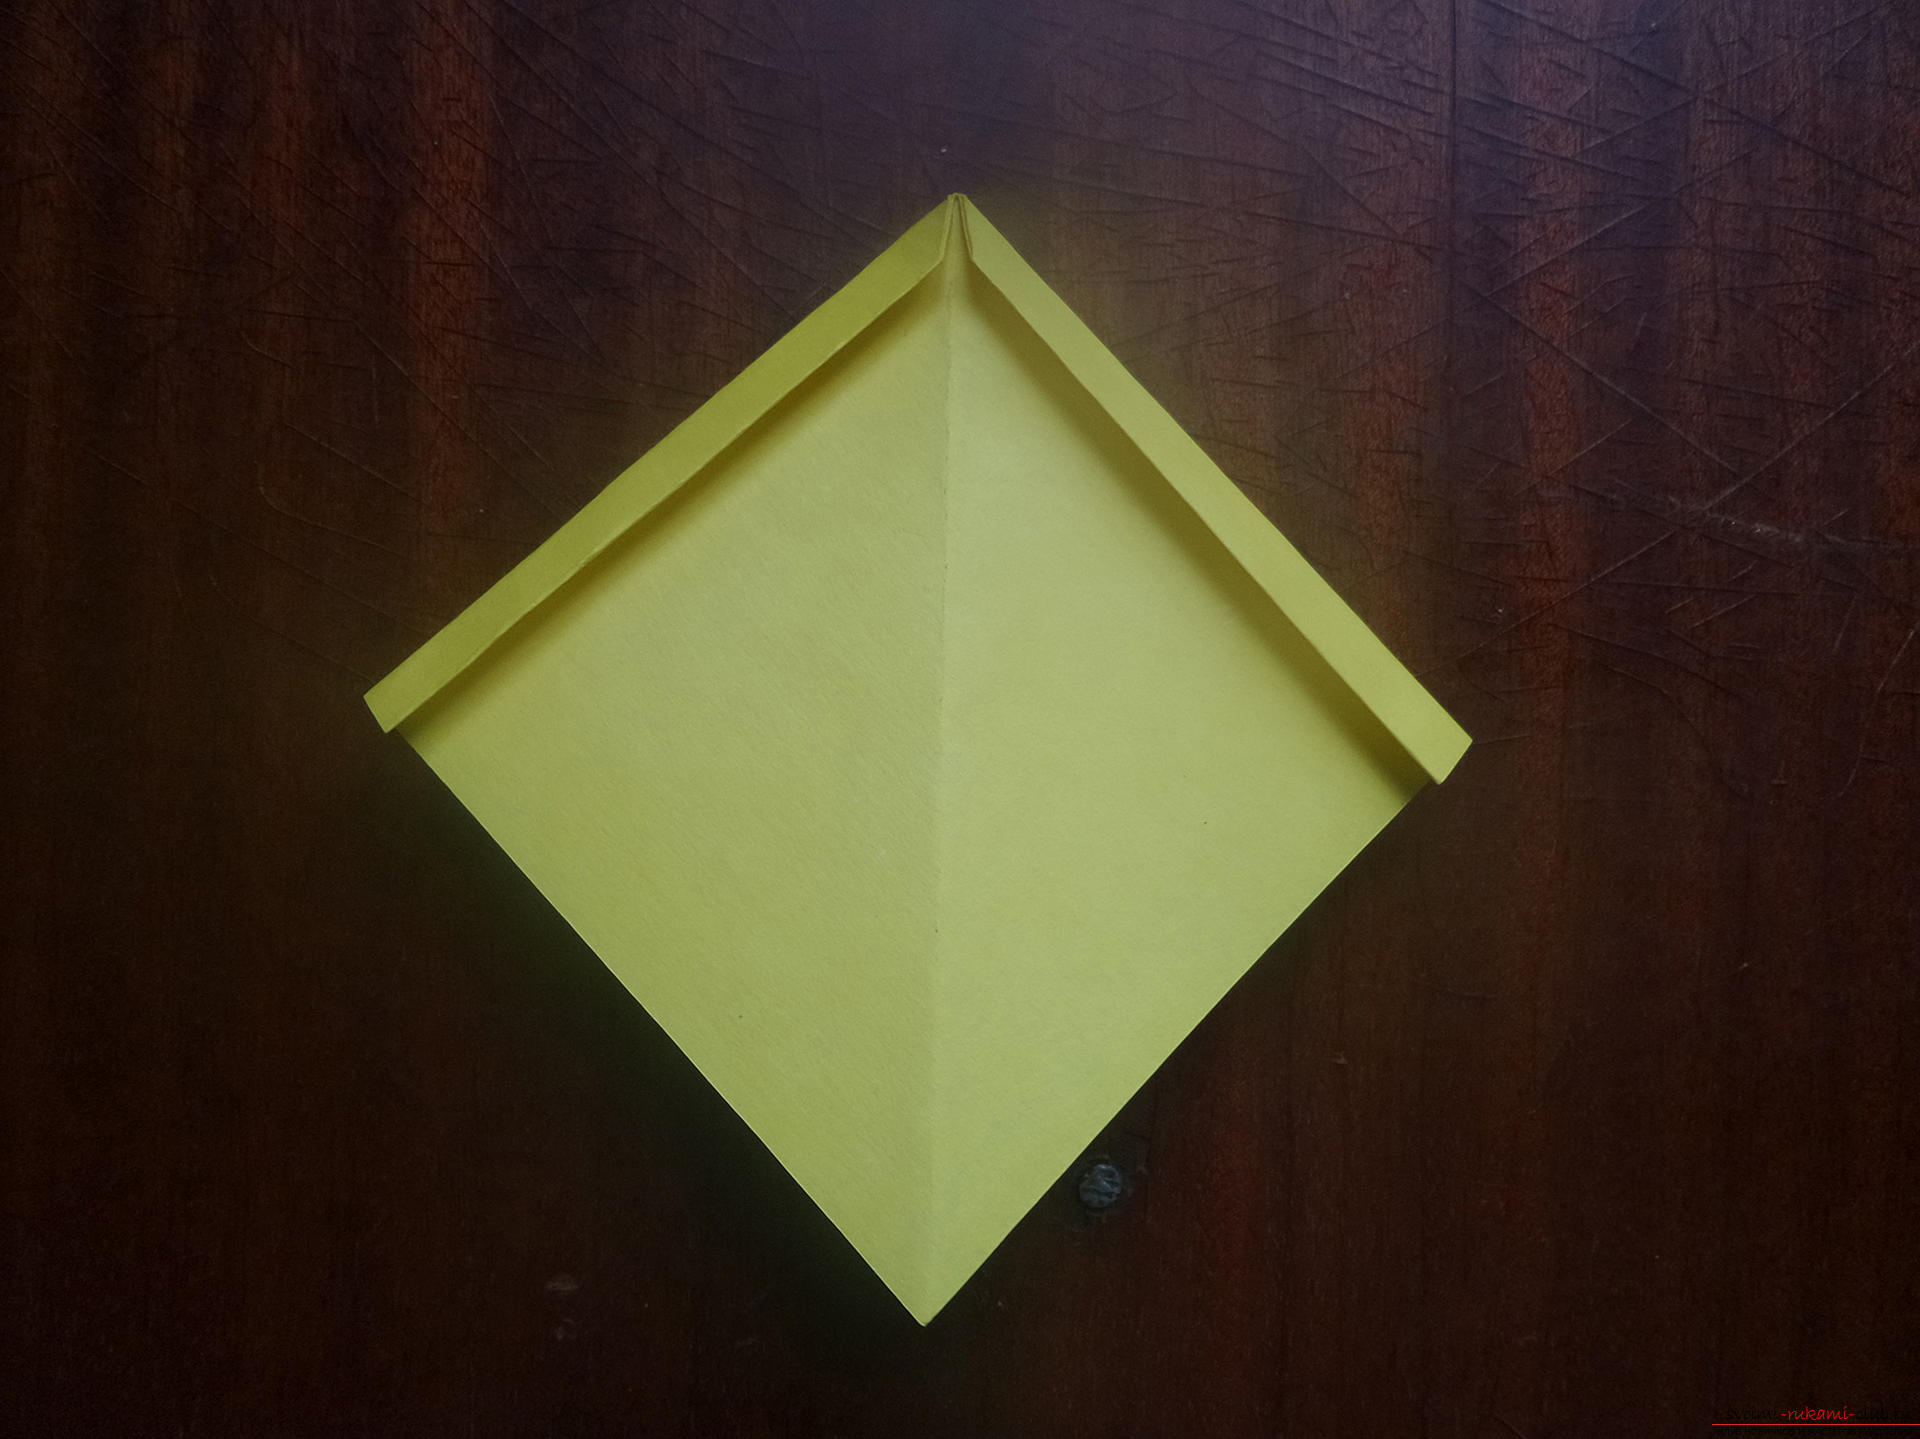
 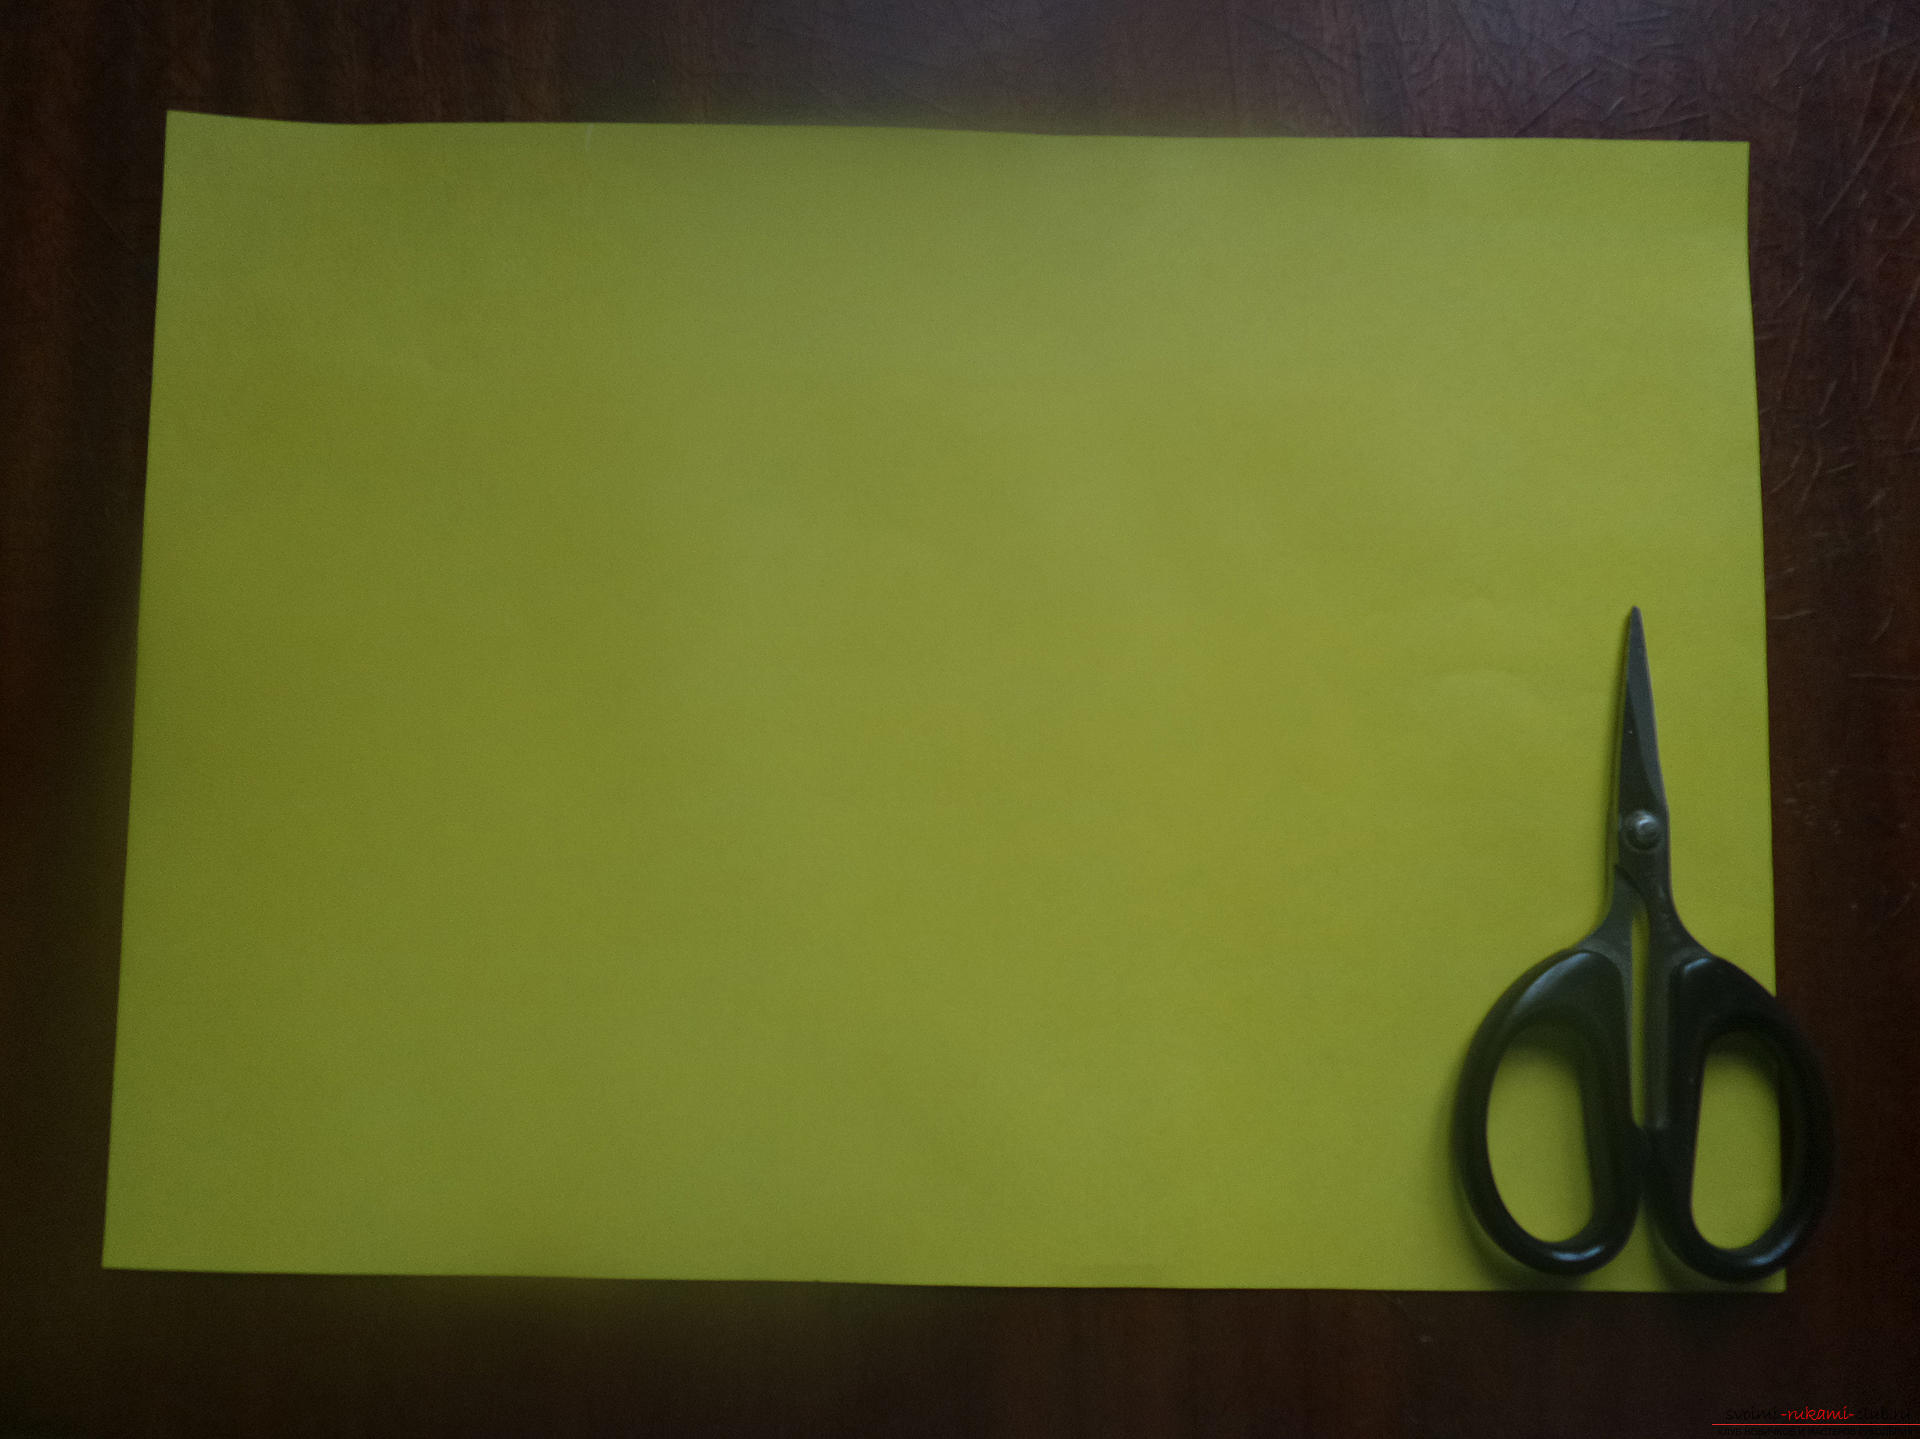 The first thing to do is form a square. To do this, take one corner and go up. The narrow and wide sides of the sheet are superimposed on each other, forming a right angle to the right. The extra strip needs to be cut off. Next, a typical double square billet is made.
 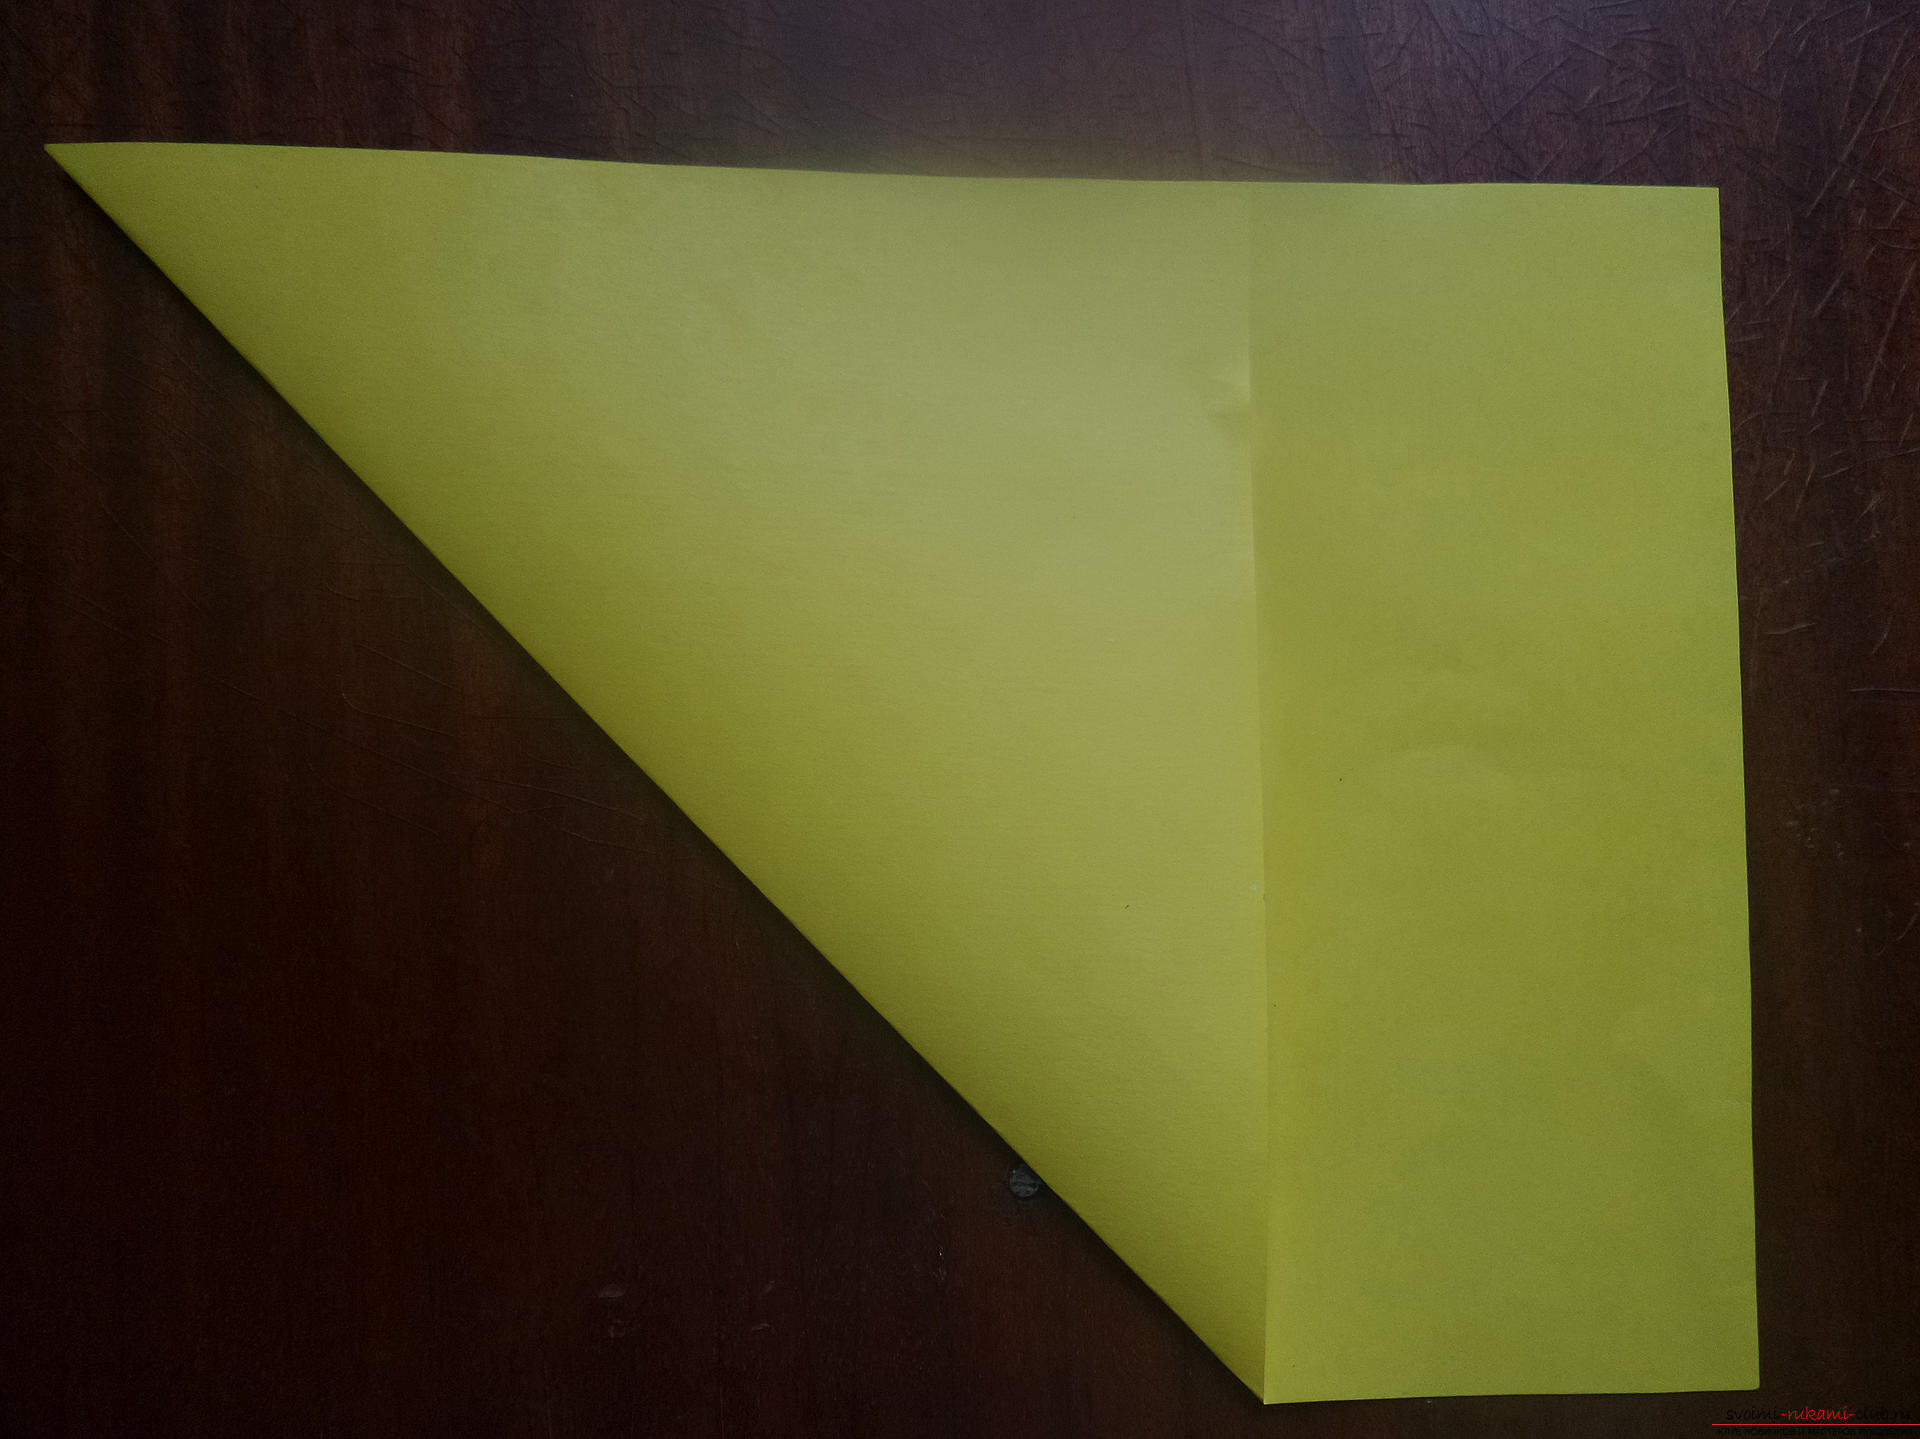 One diagonal fold already exists. It remains to make one more.
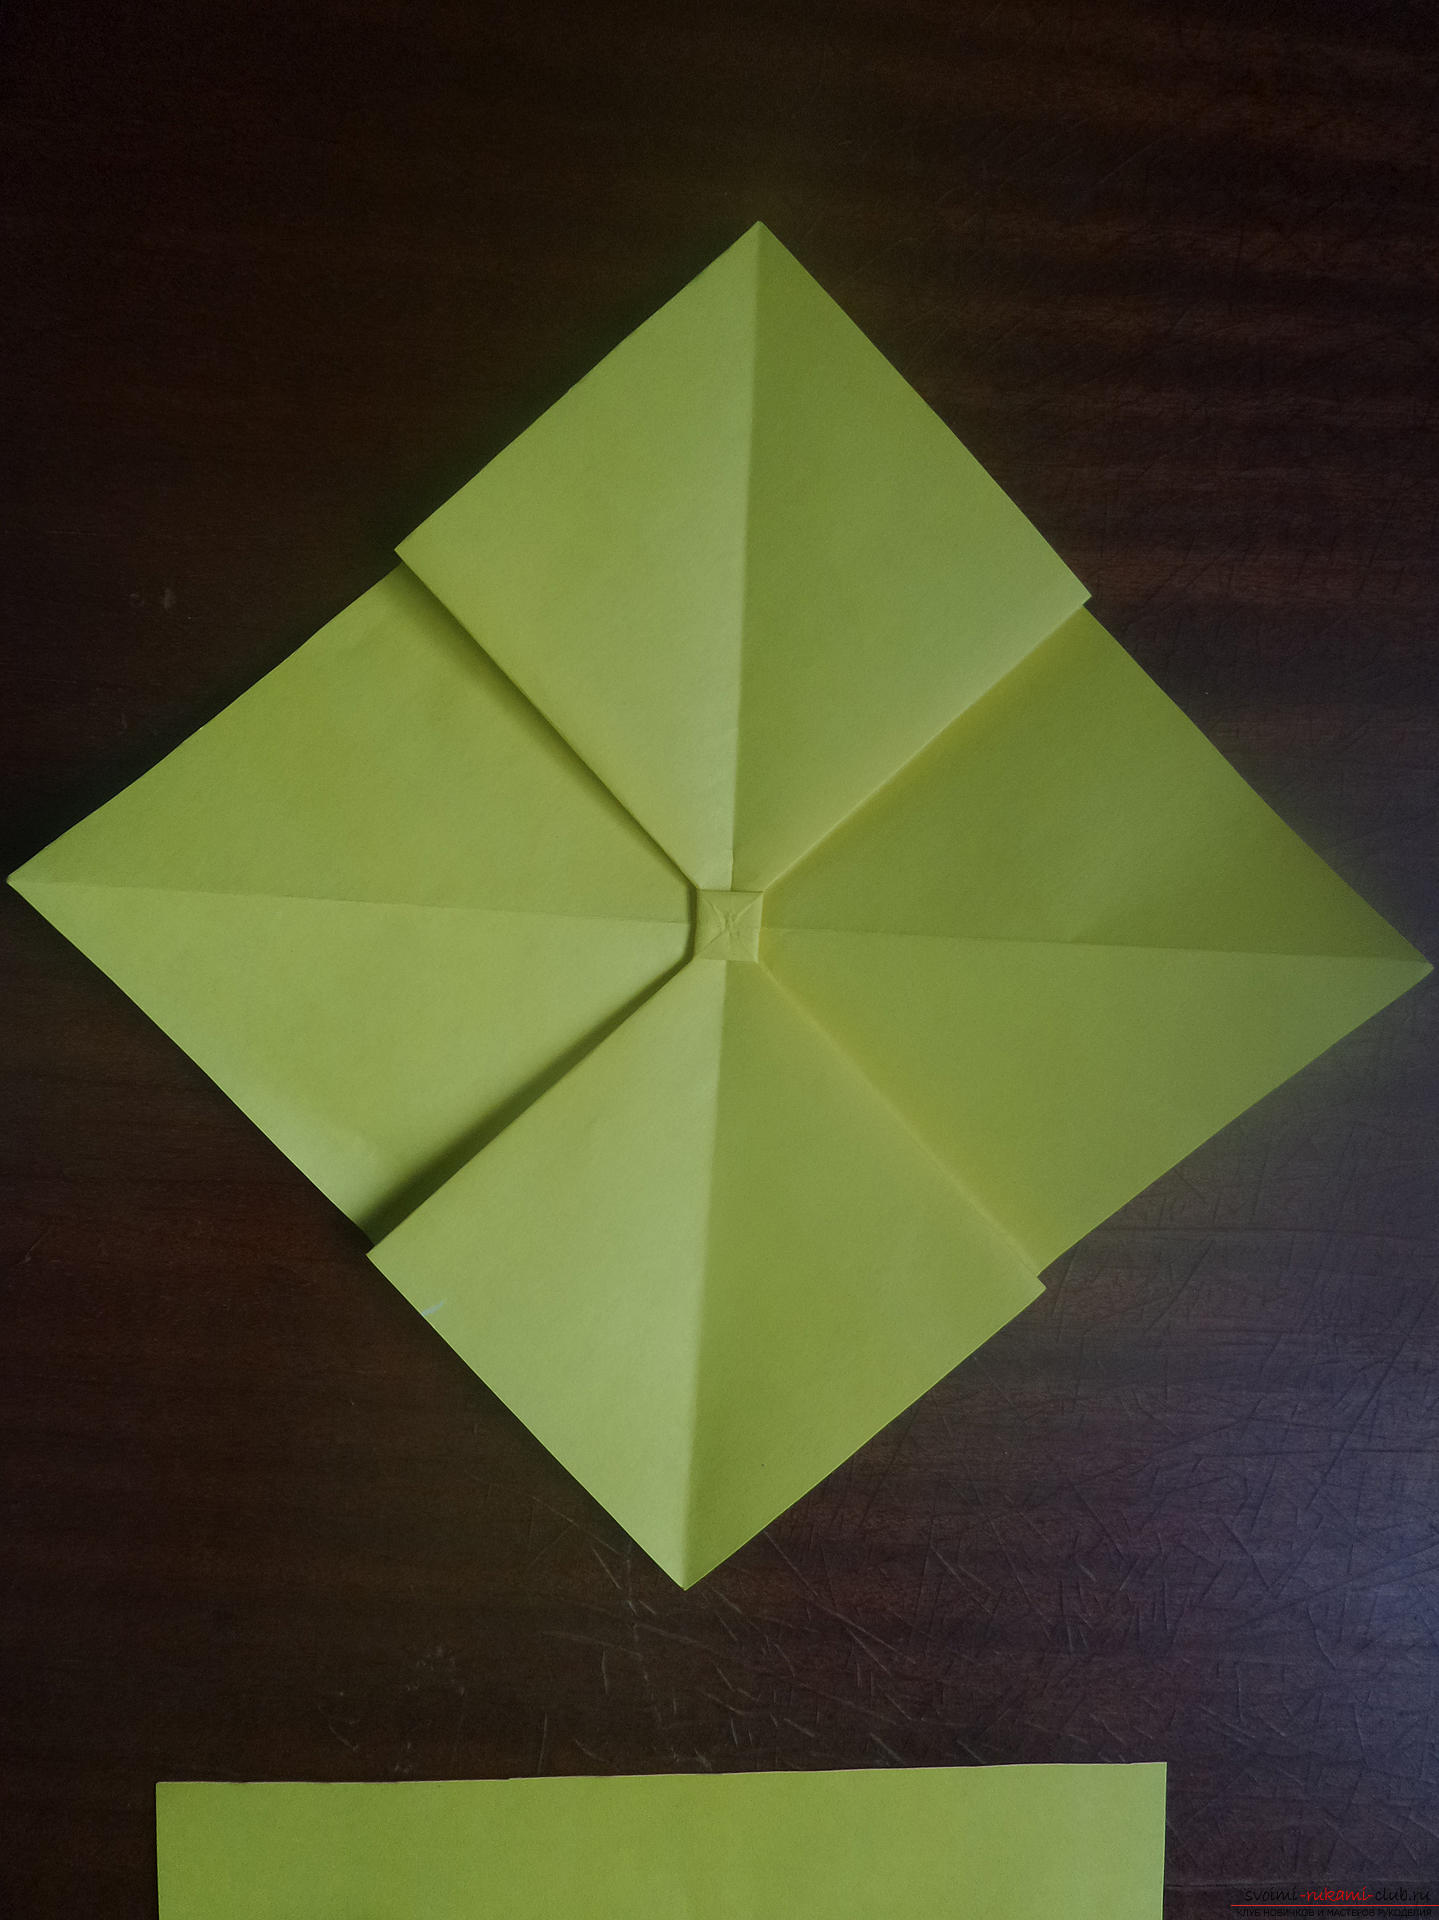
 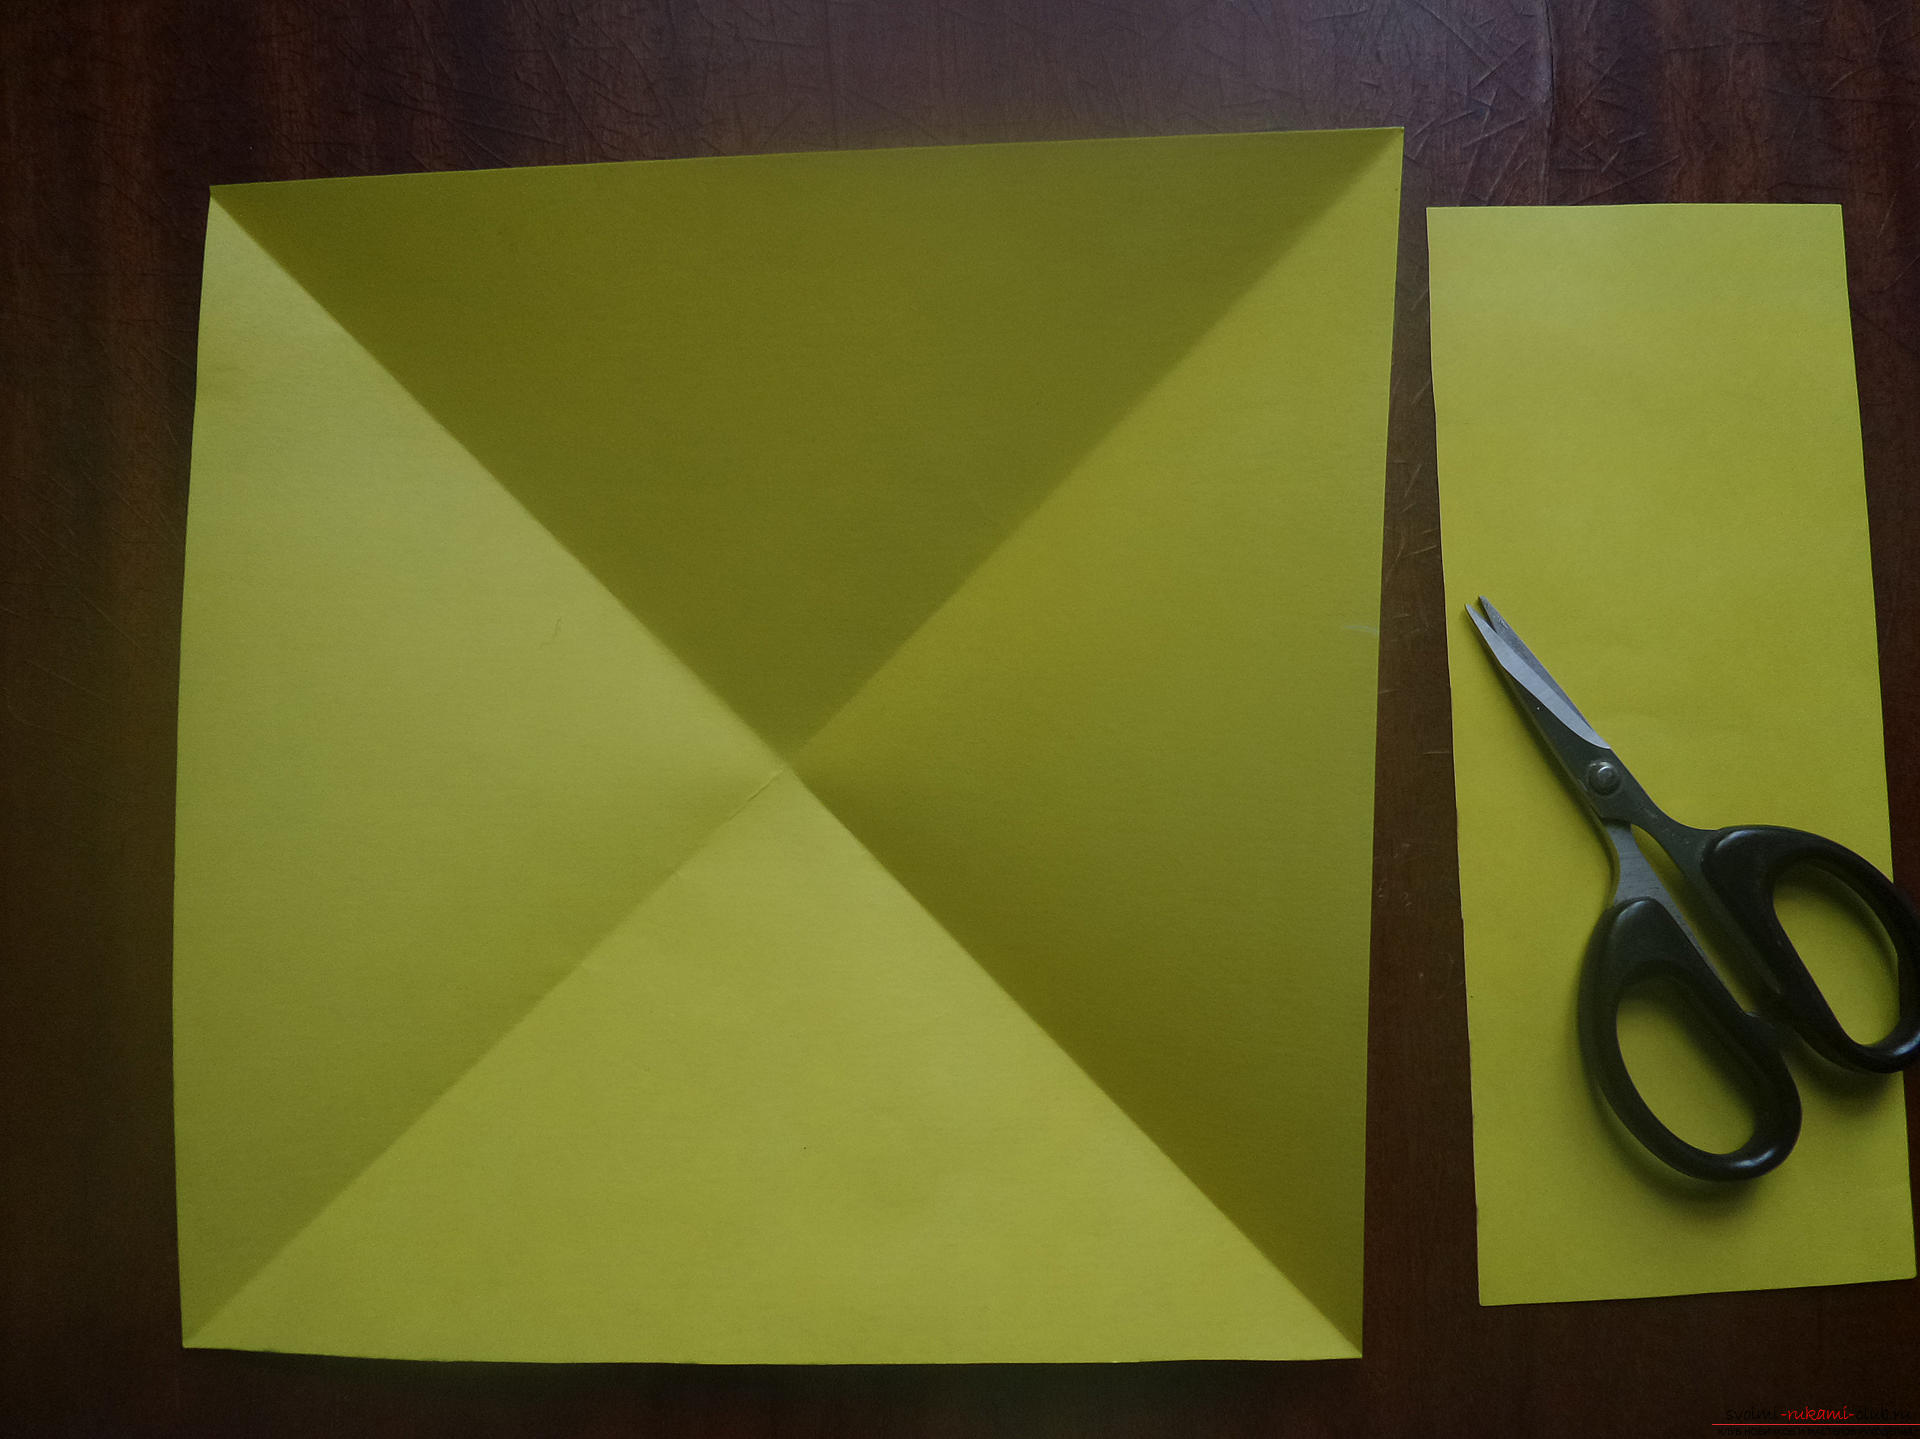 The next step - the addition of a square "book". As a result, you will get lines that resemble a snowflake. It is important to pay attention to the fact that they are all deepened downwards.
 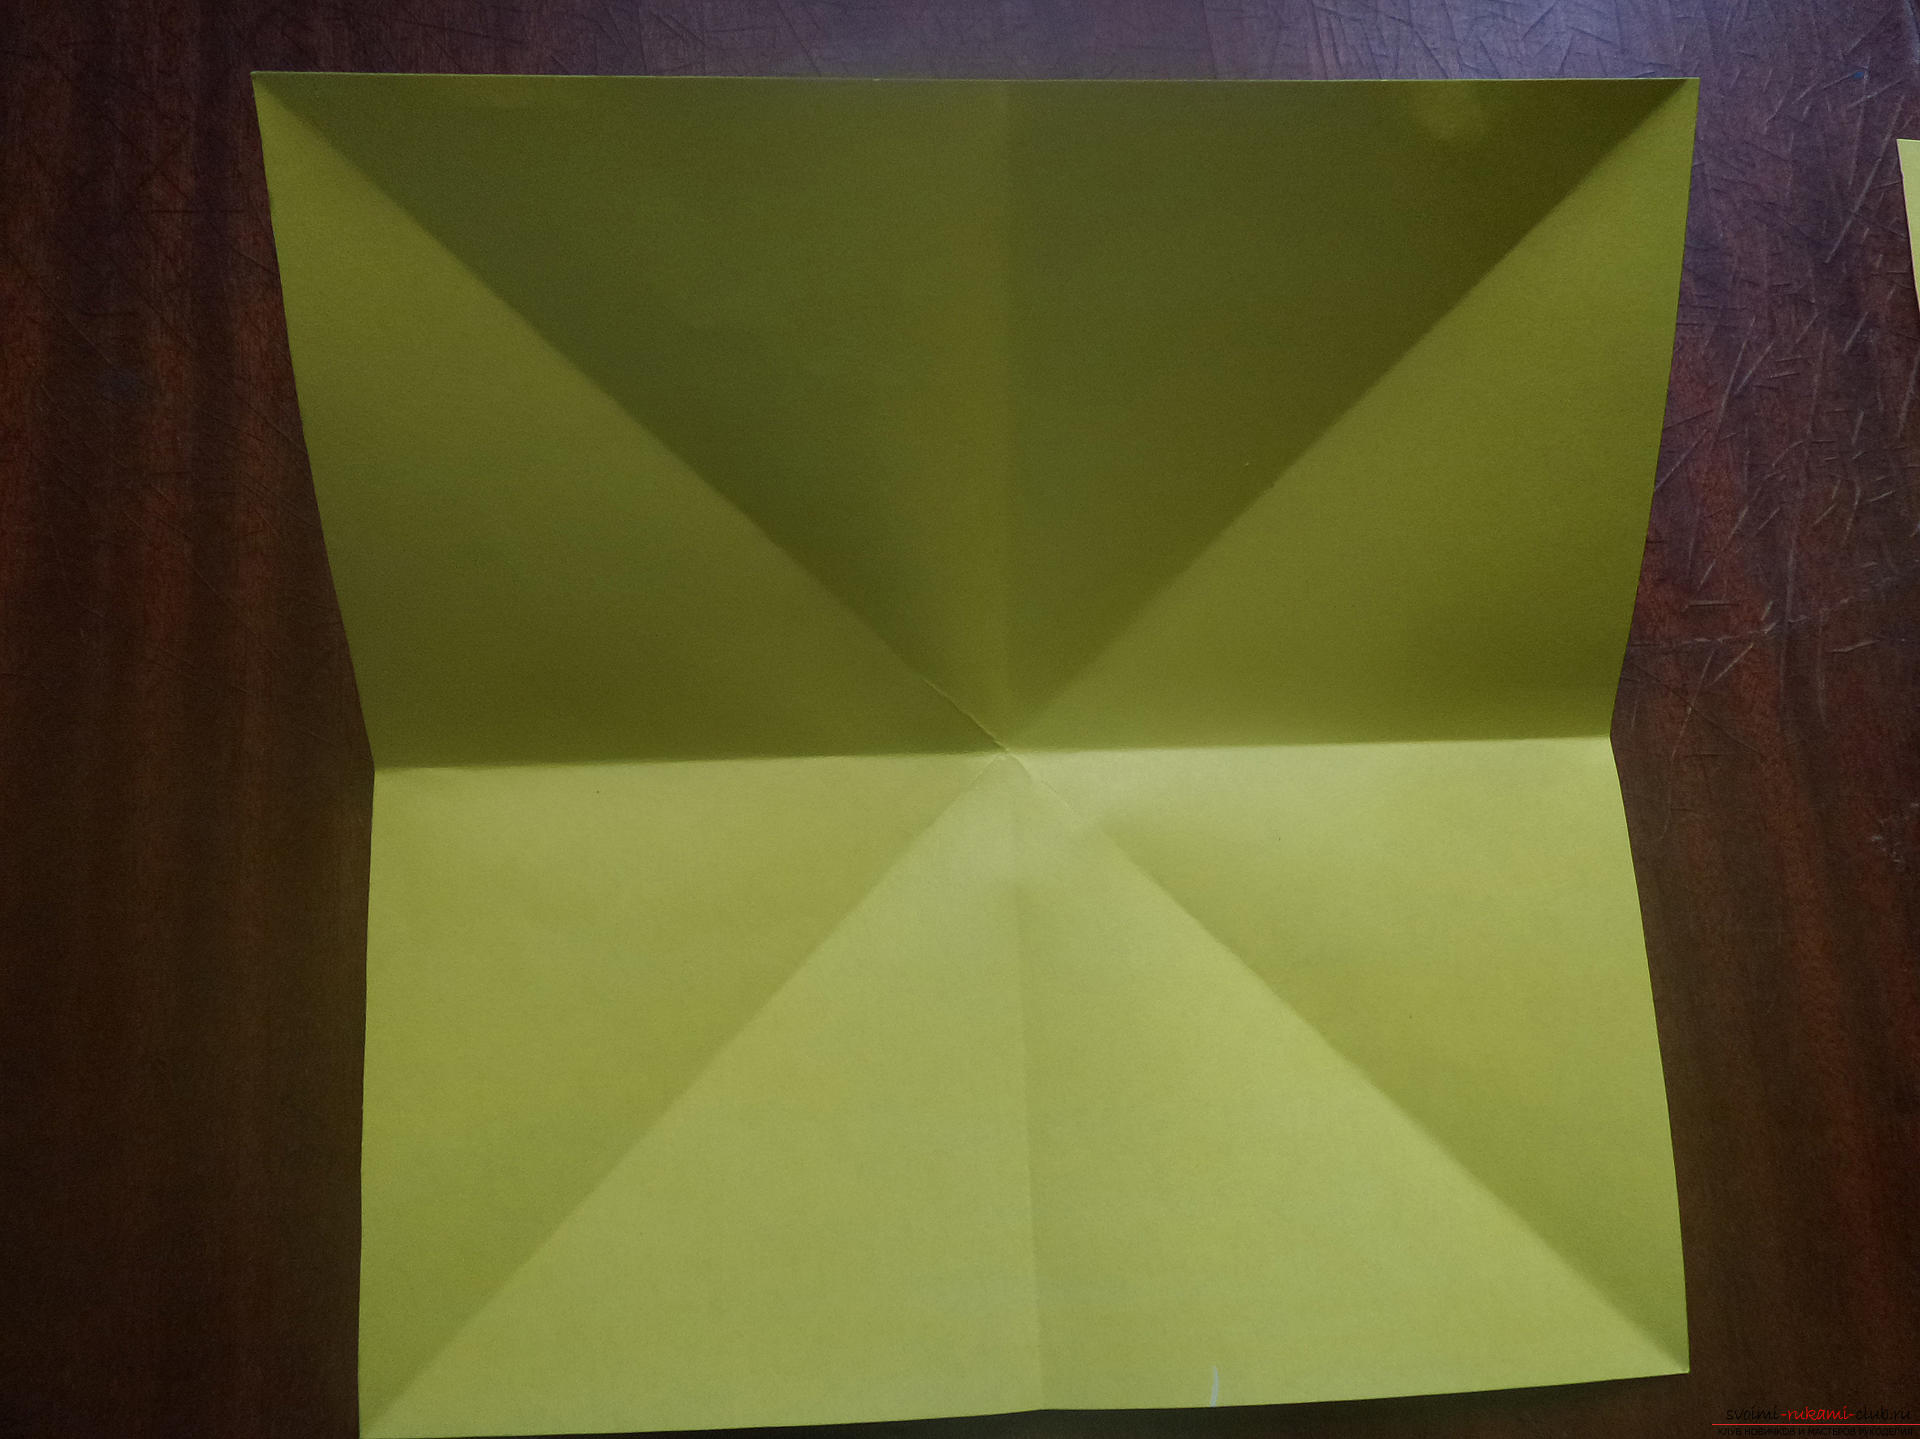 Now it is necessary to execute one diagonal fold from itself, i.e. "Mountain", not like the rest of the folds.
 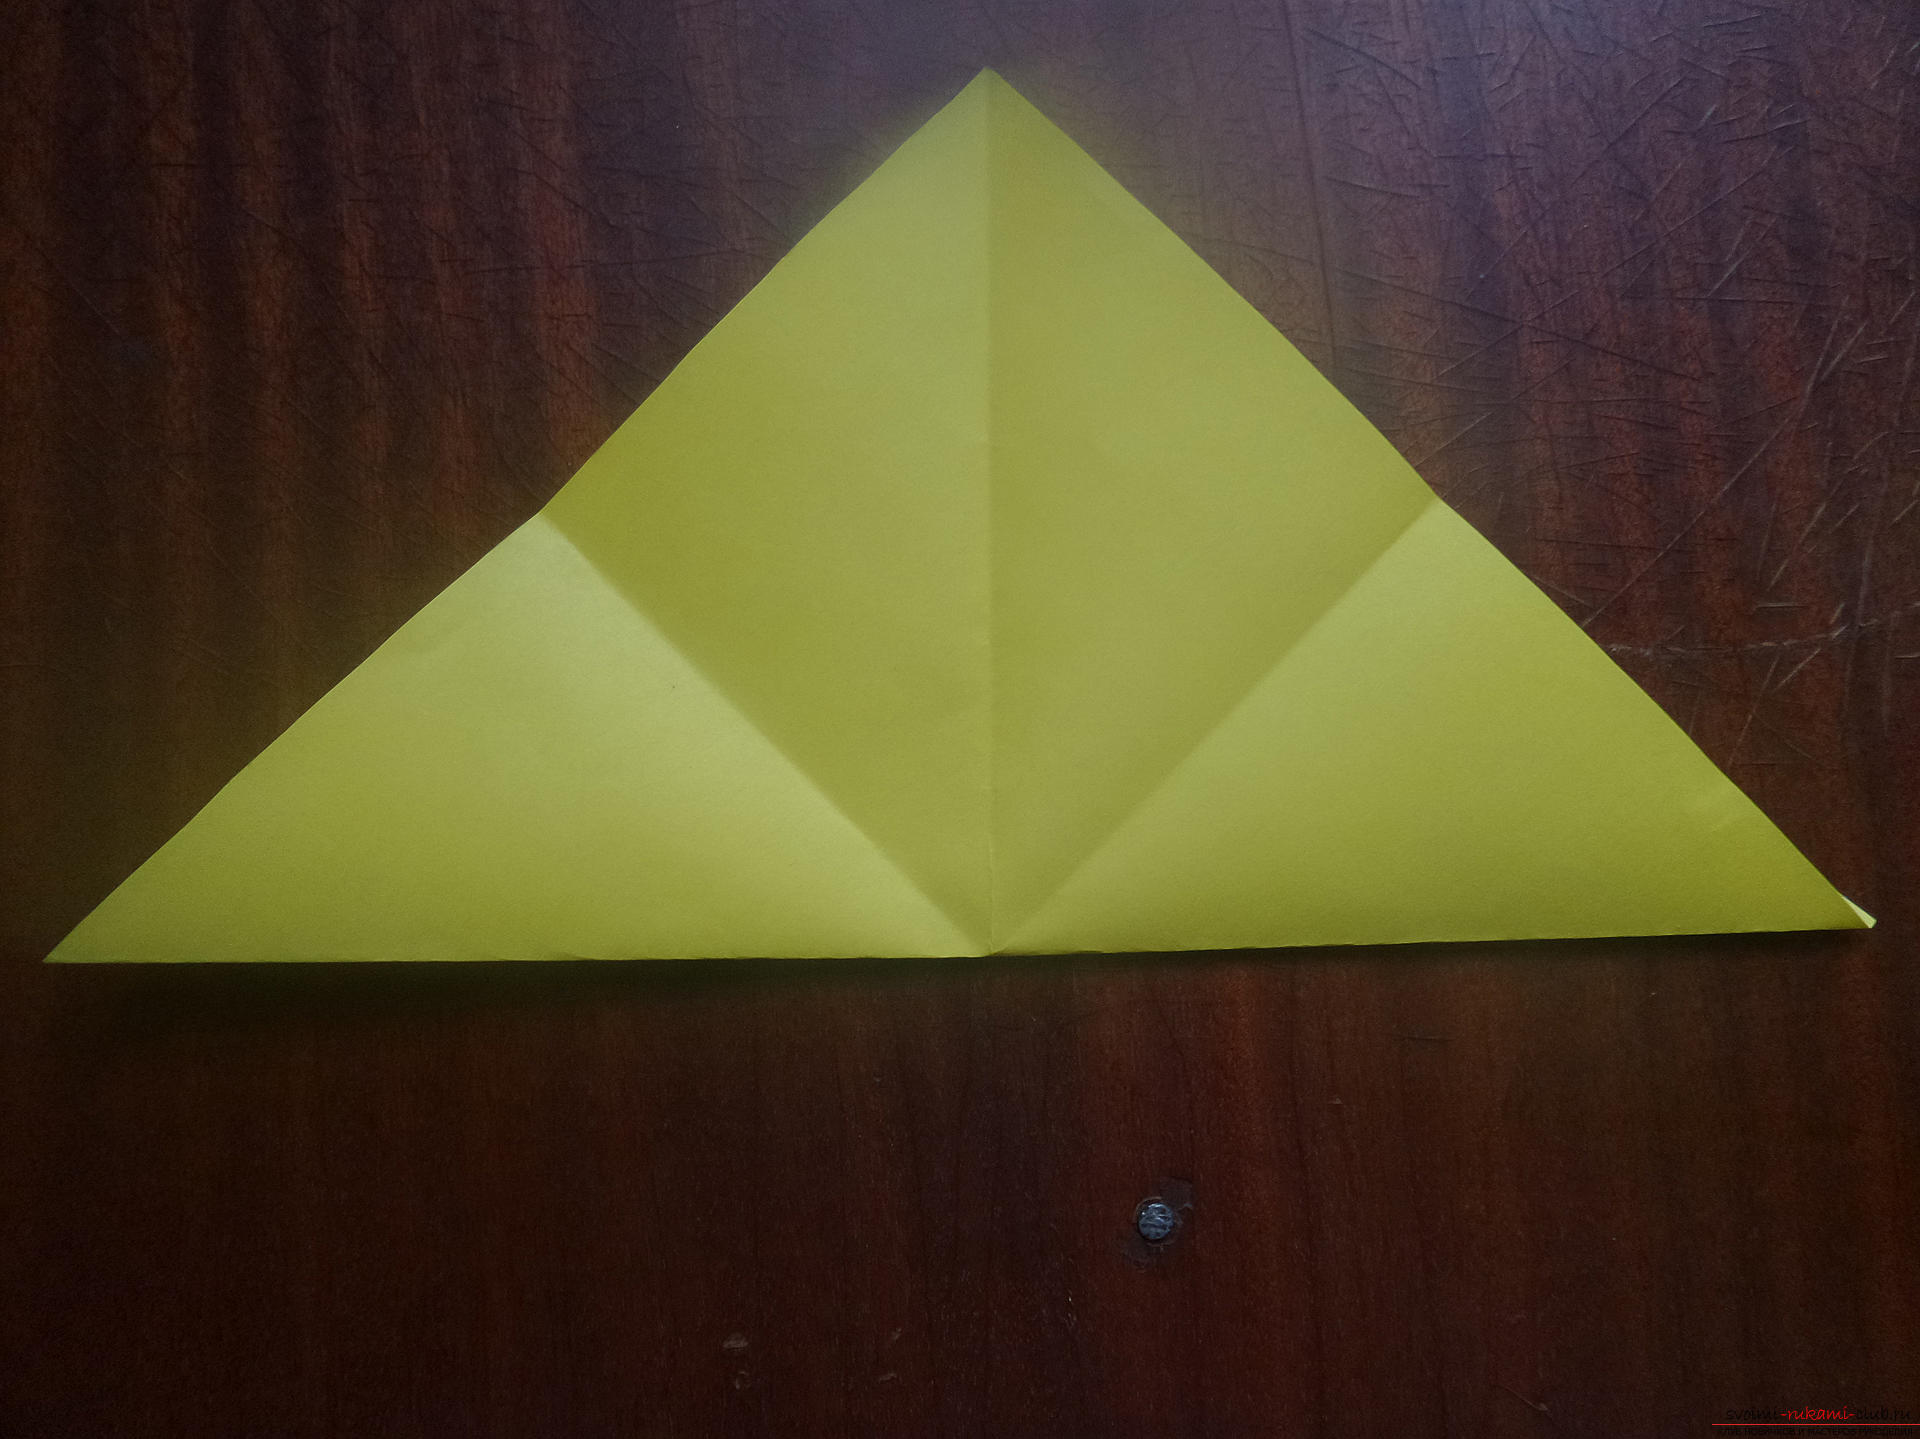 If you turn the sheet, you can see a clear horizontal line in the middle and brightly marked lines of the square.
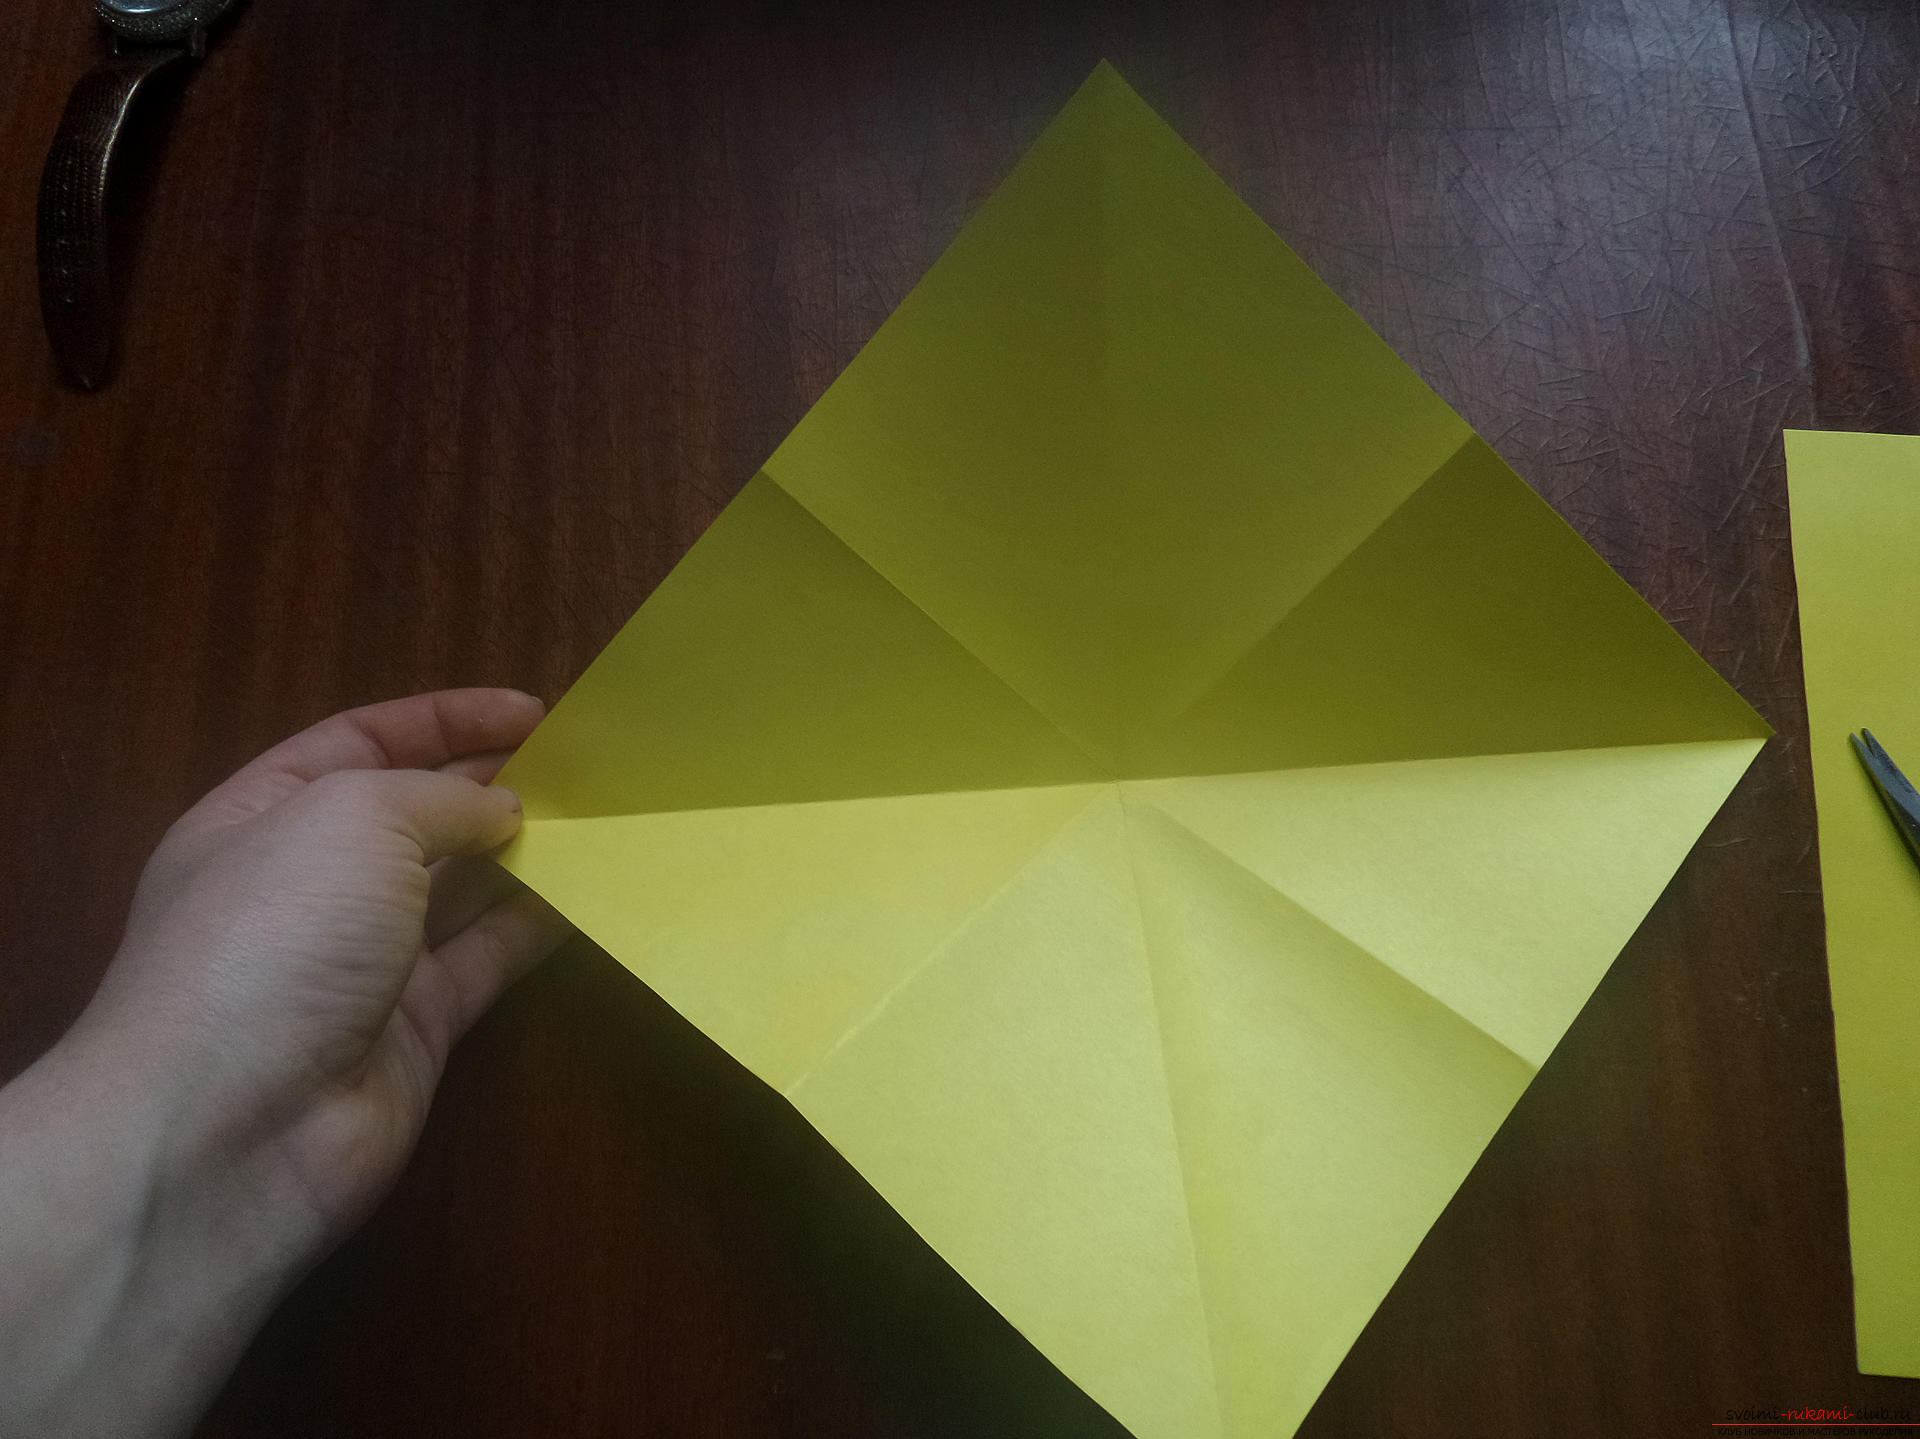
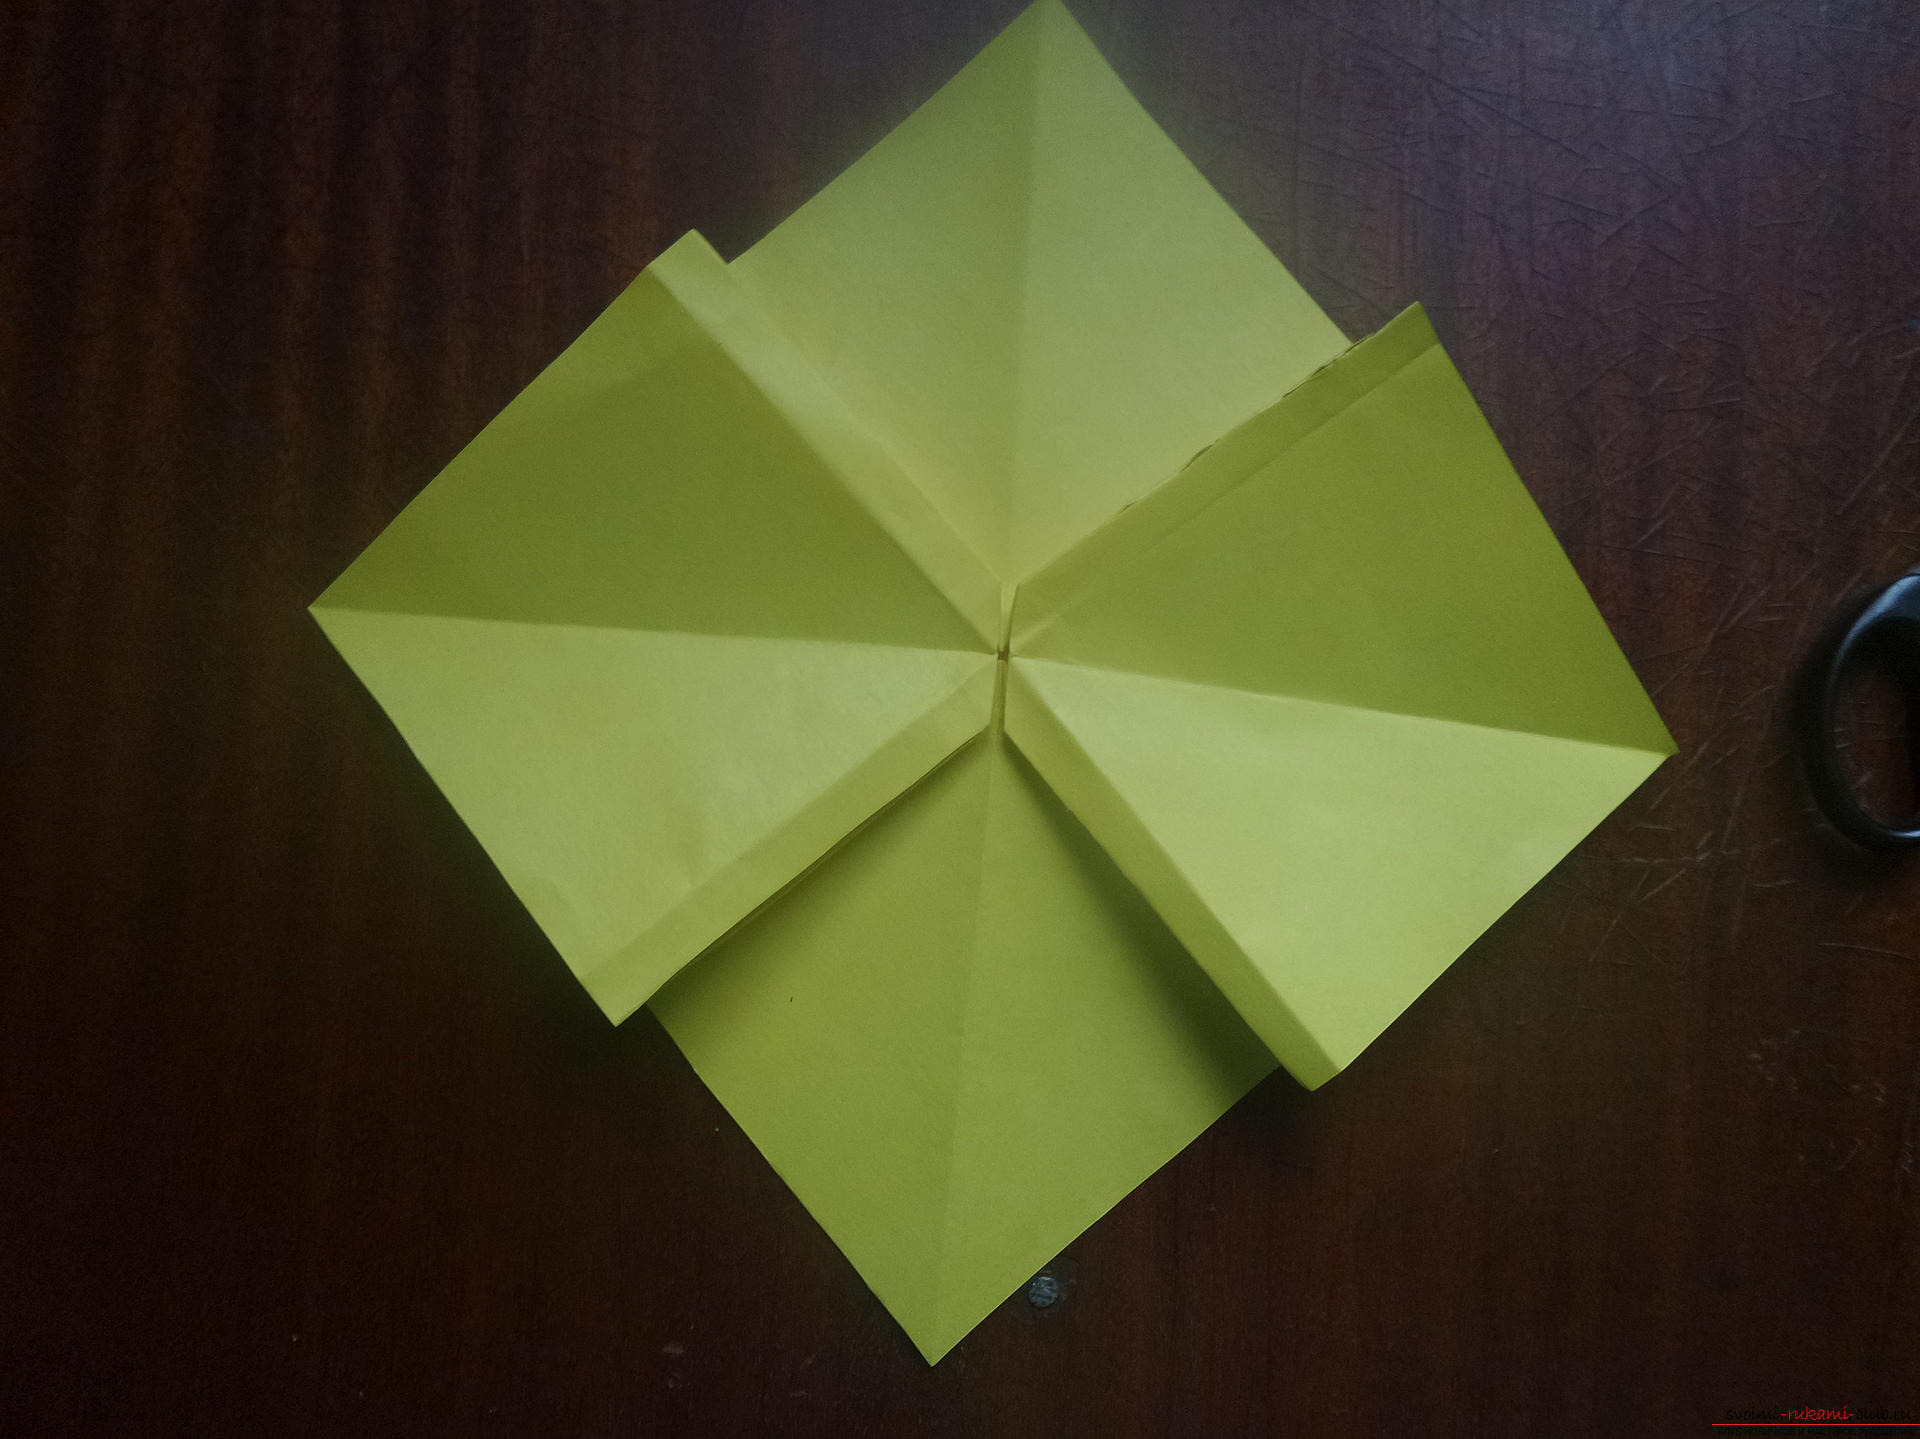
 The basic "double square" is ready.
 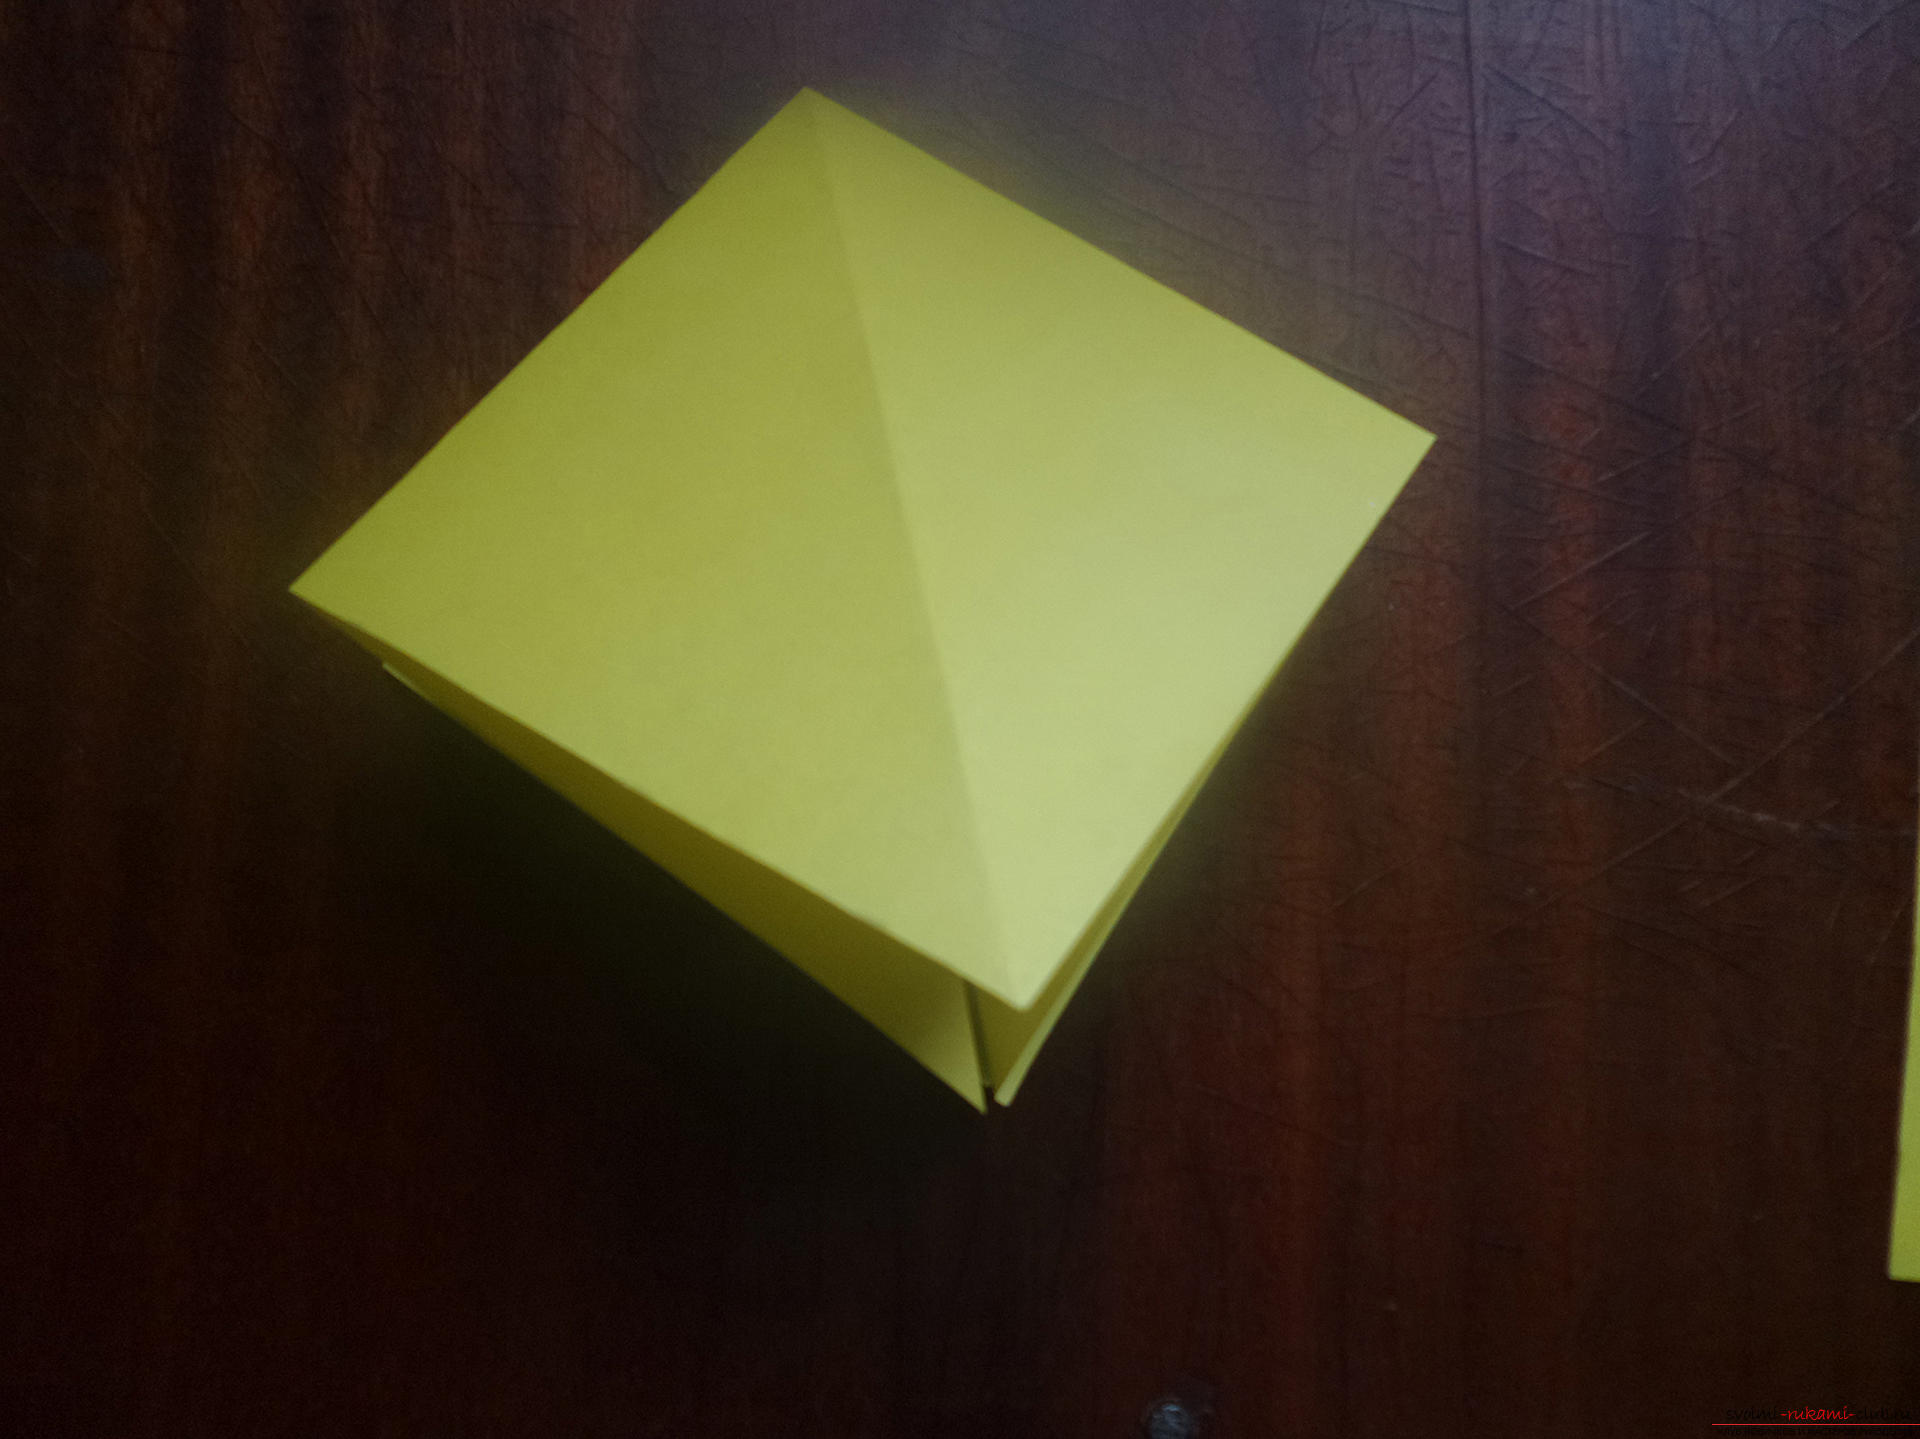 Work with the base of the bow, i.e. its core, begins with a corner bend width of about a centimeter.
 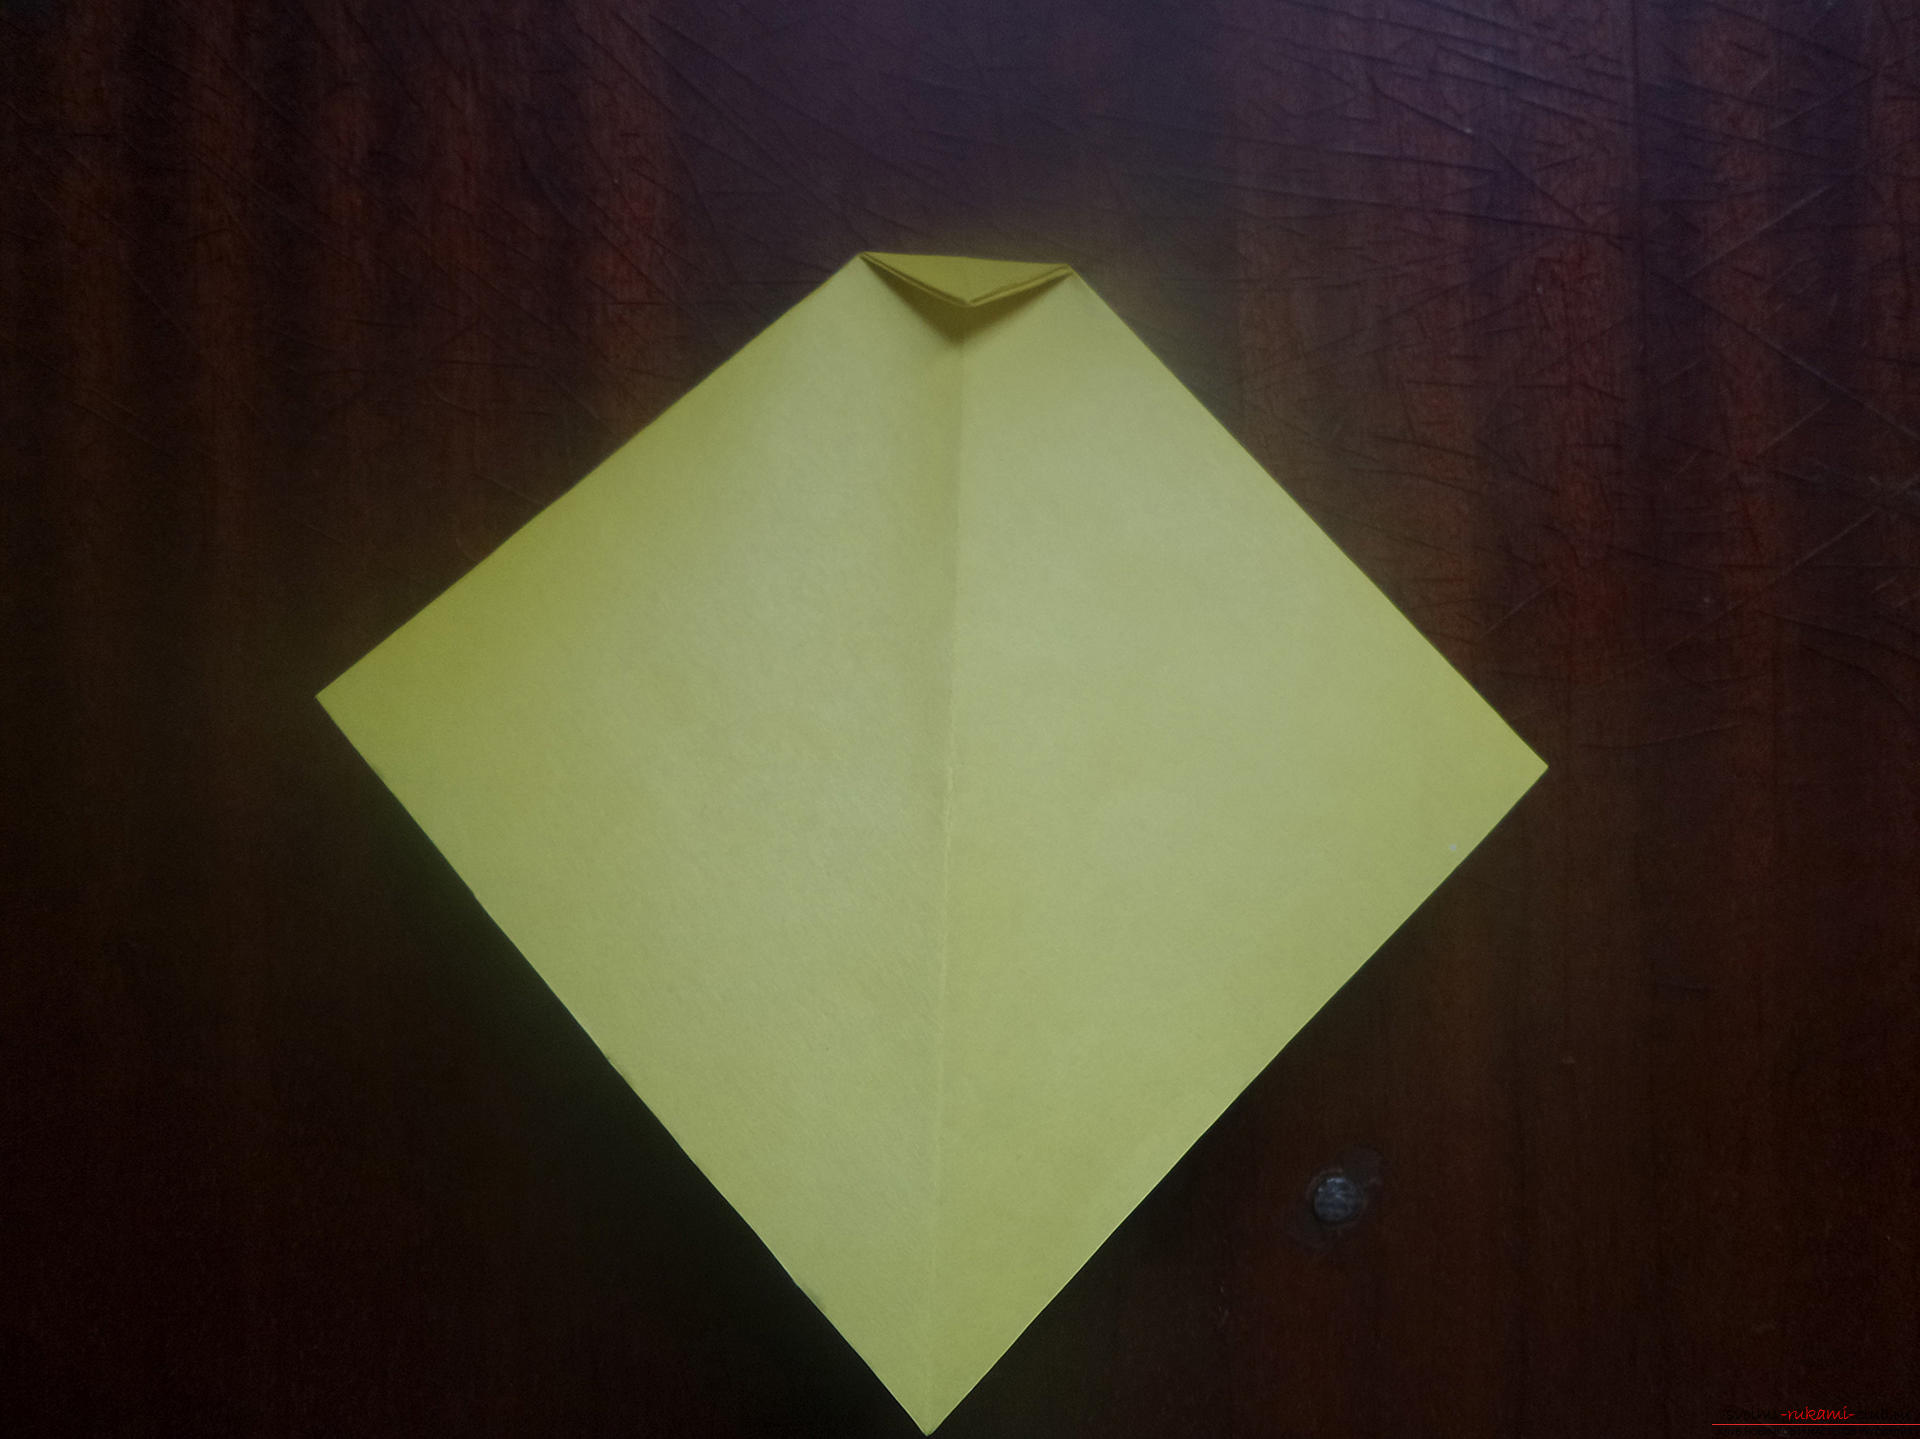 We open the sheet from the same side, we pinch the edges of the visible small square.
 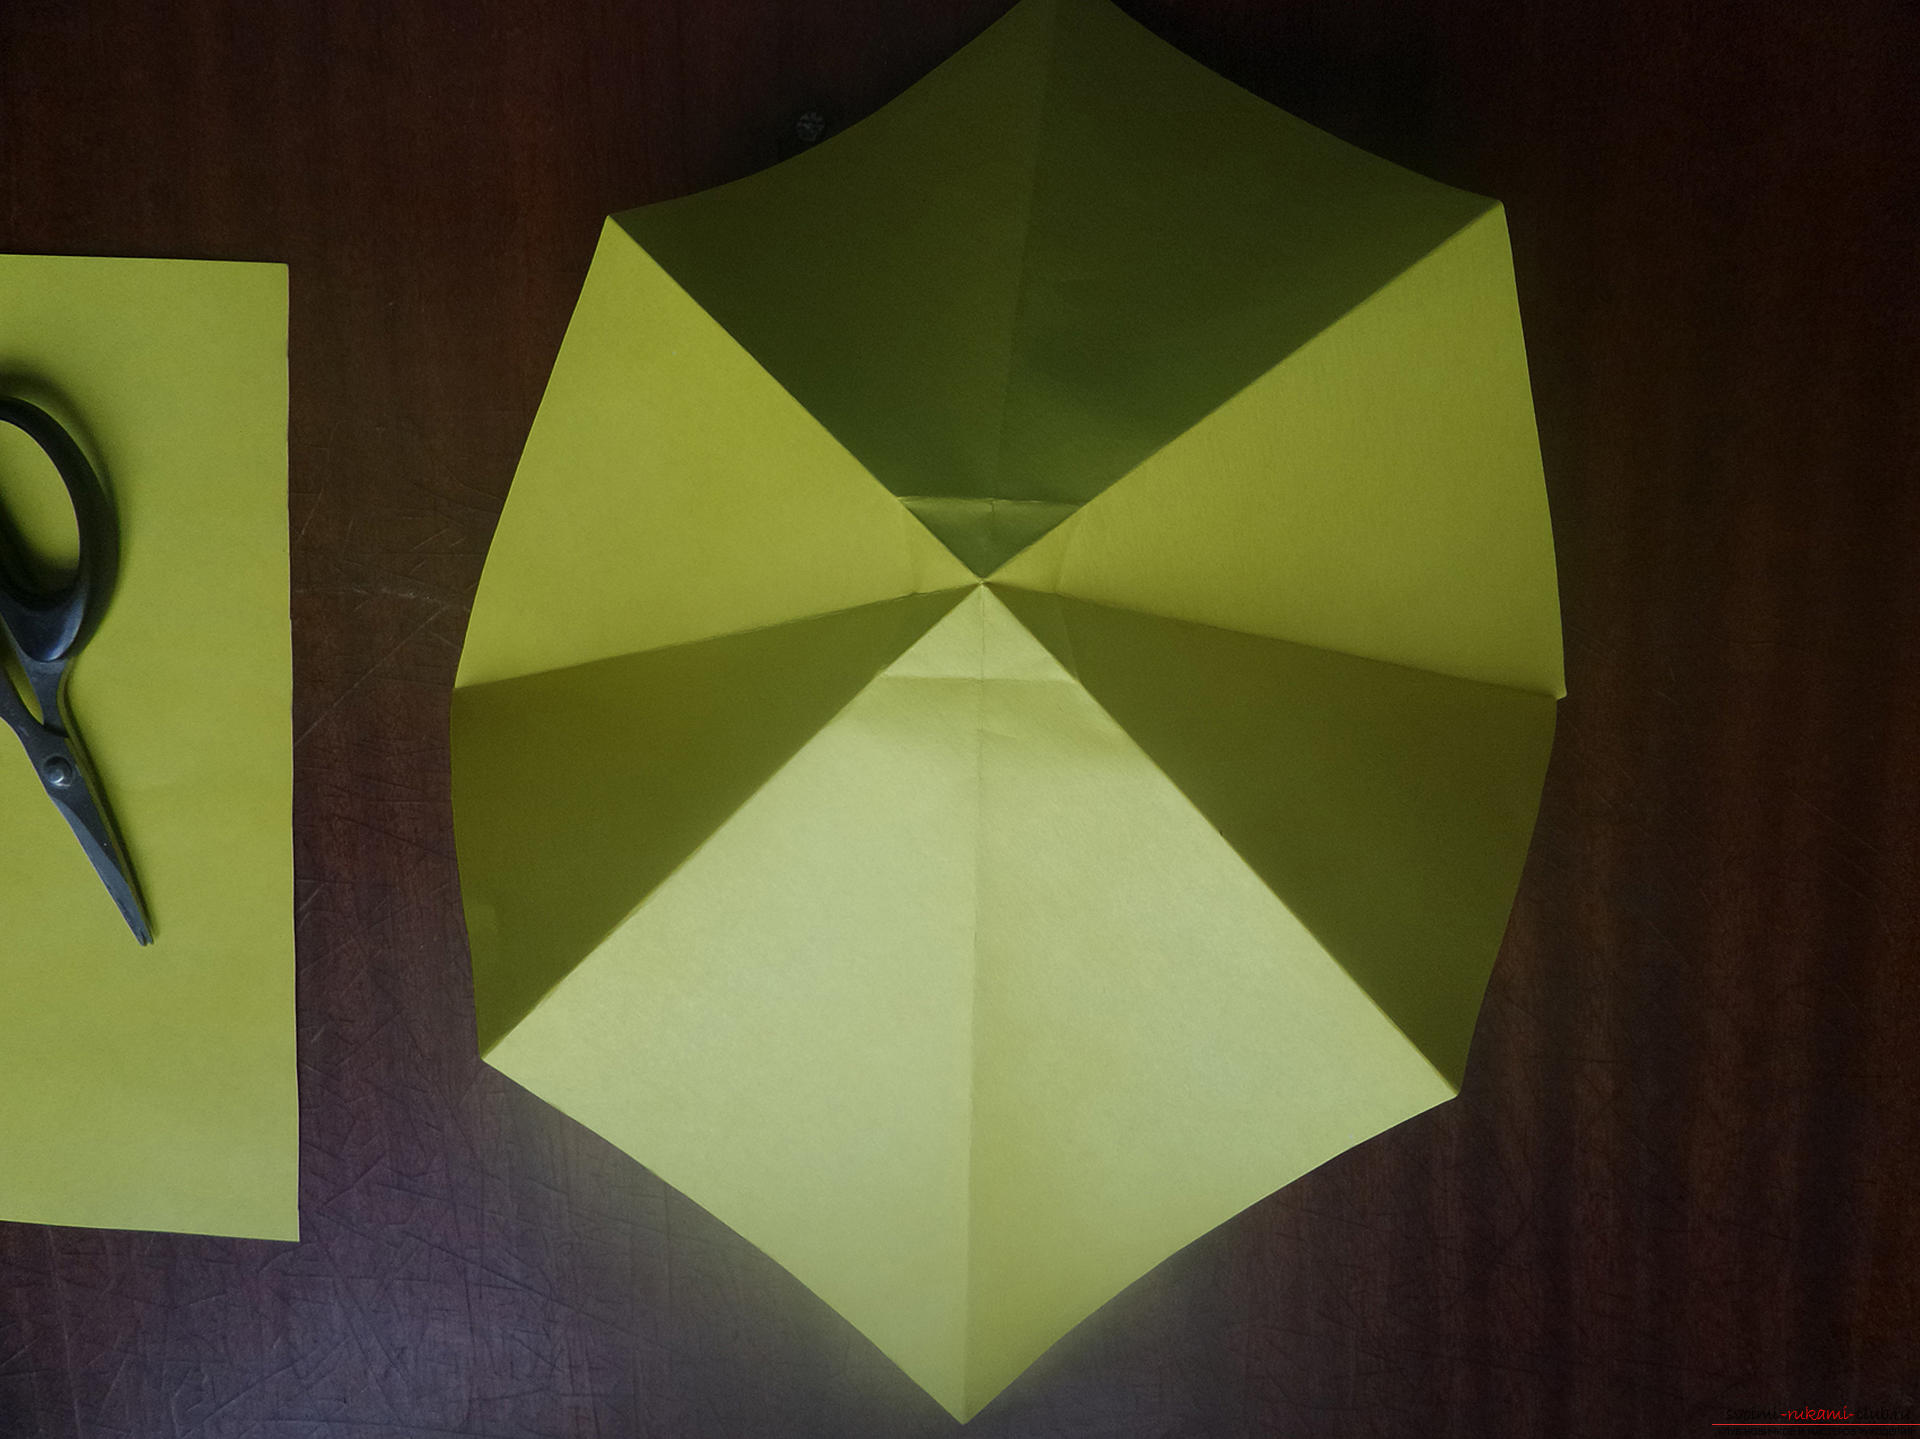 We pinch it from the same side, so as not to lose the shape of a double square. Now the mini square has become very clear.
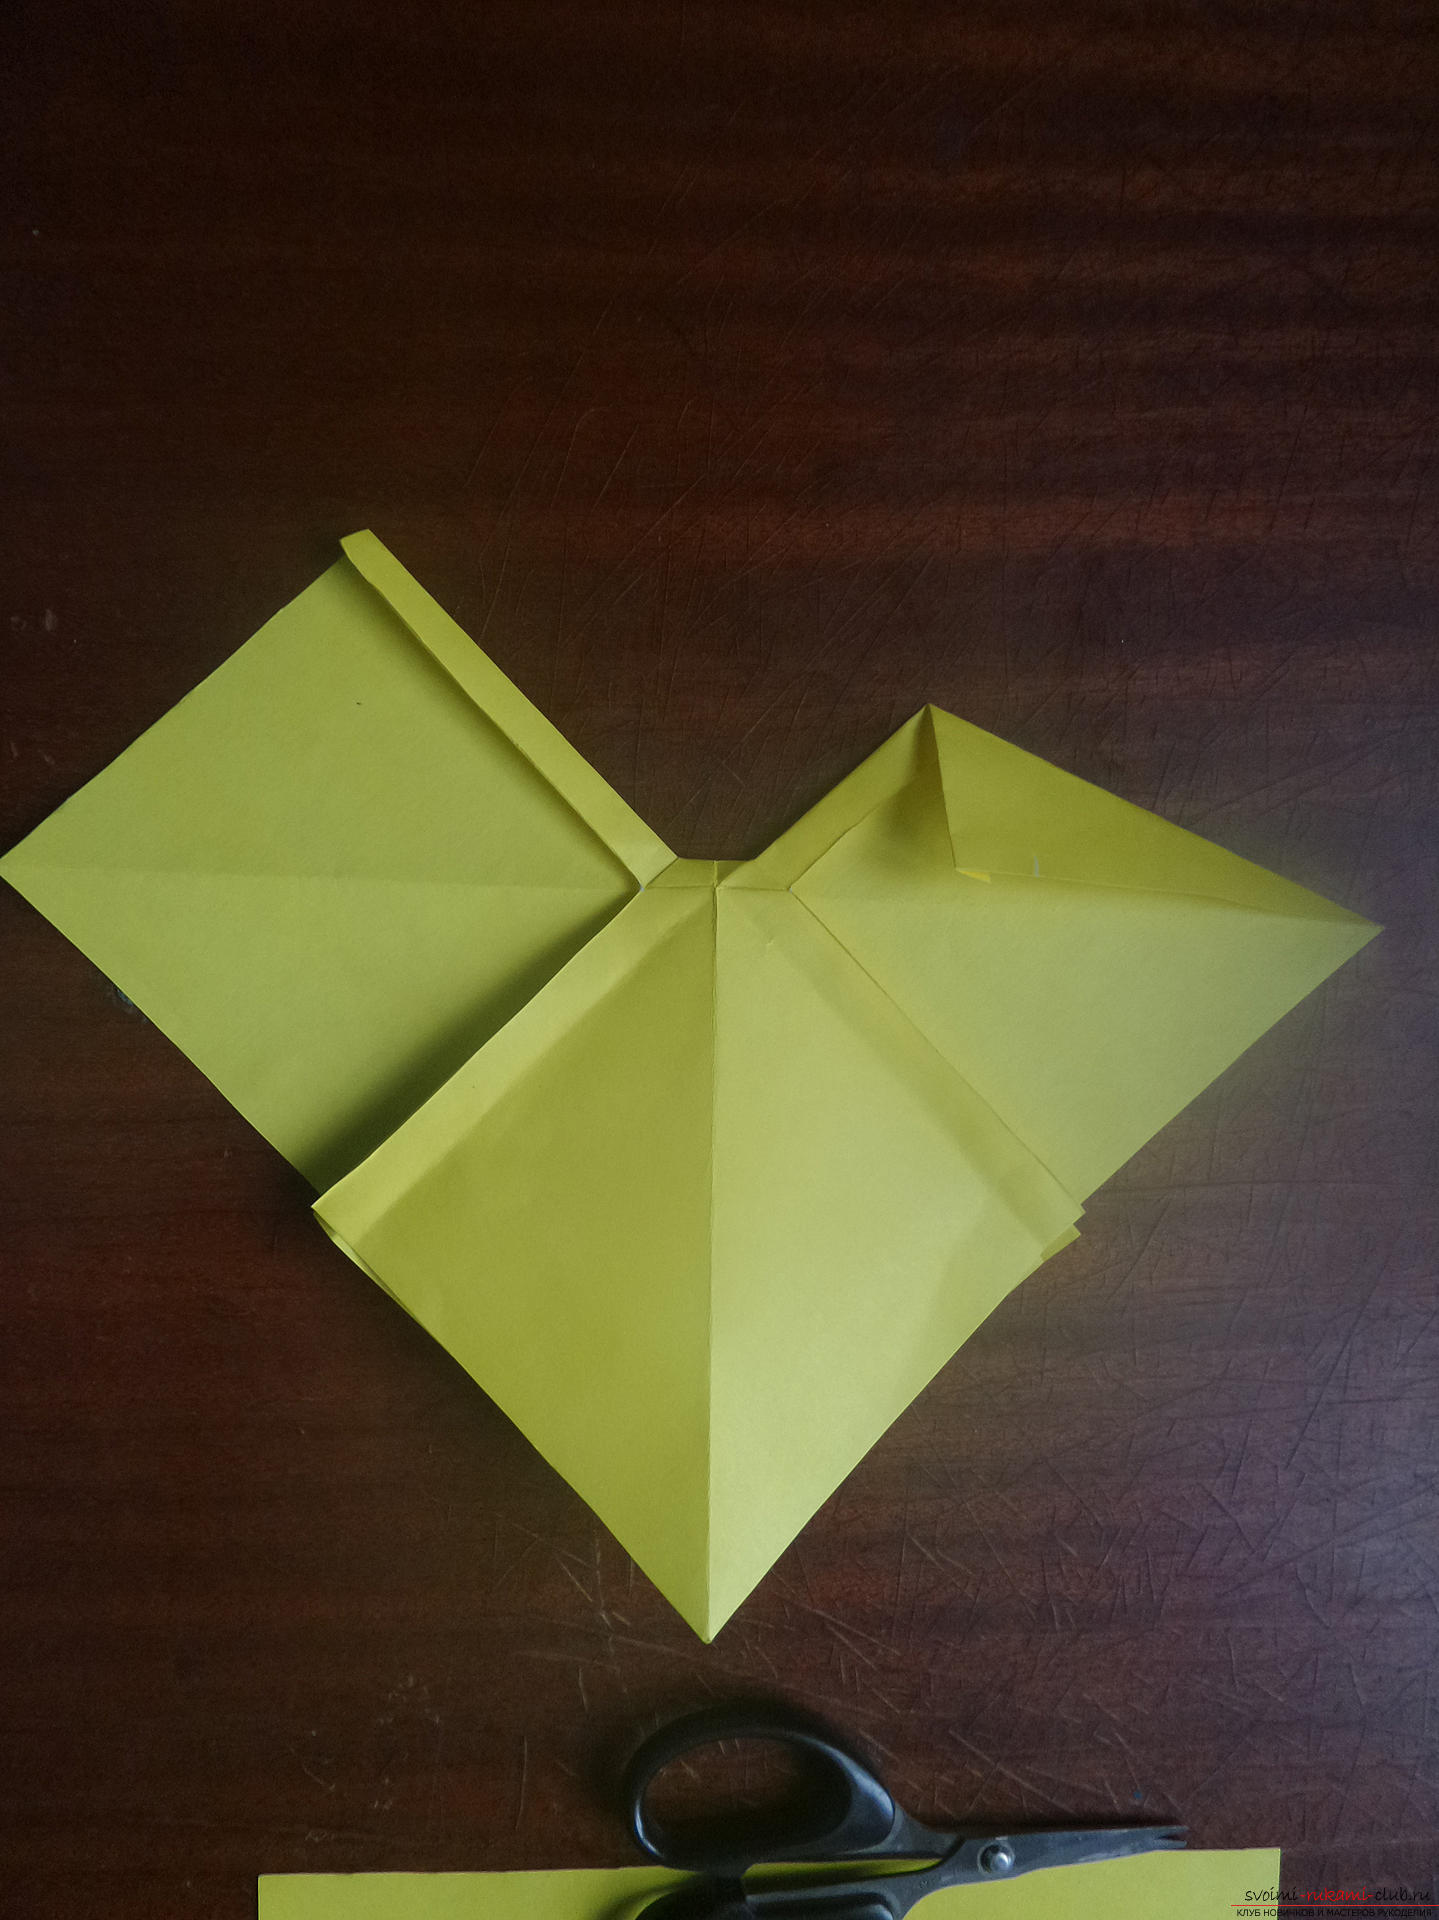
 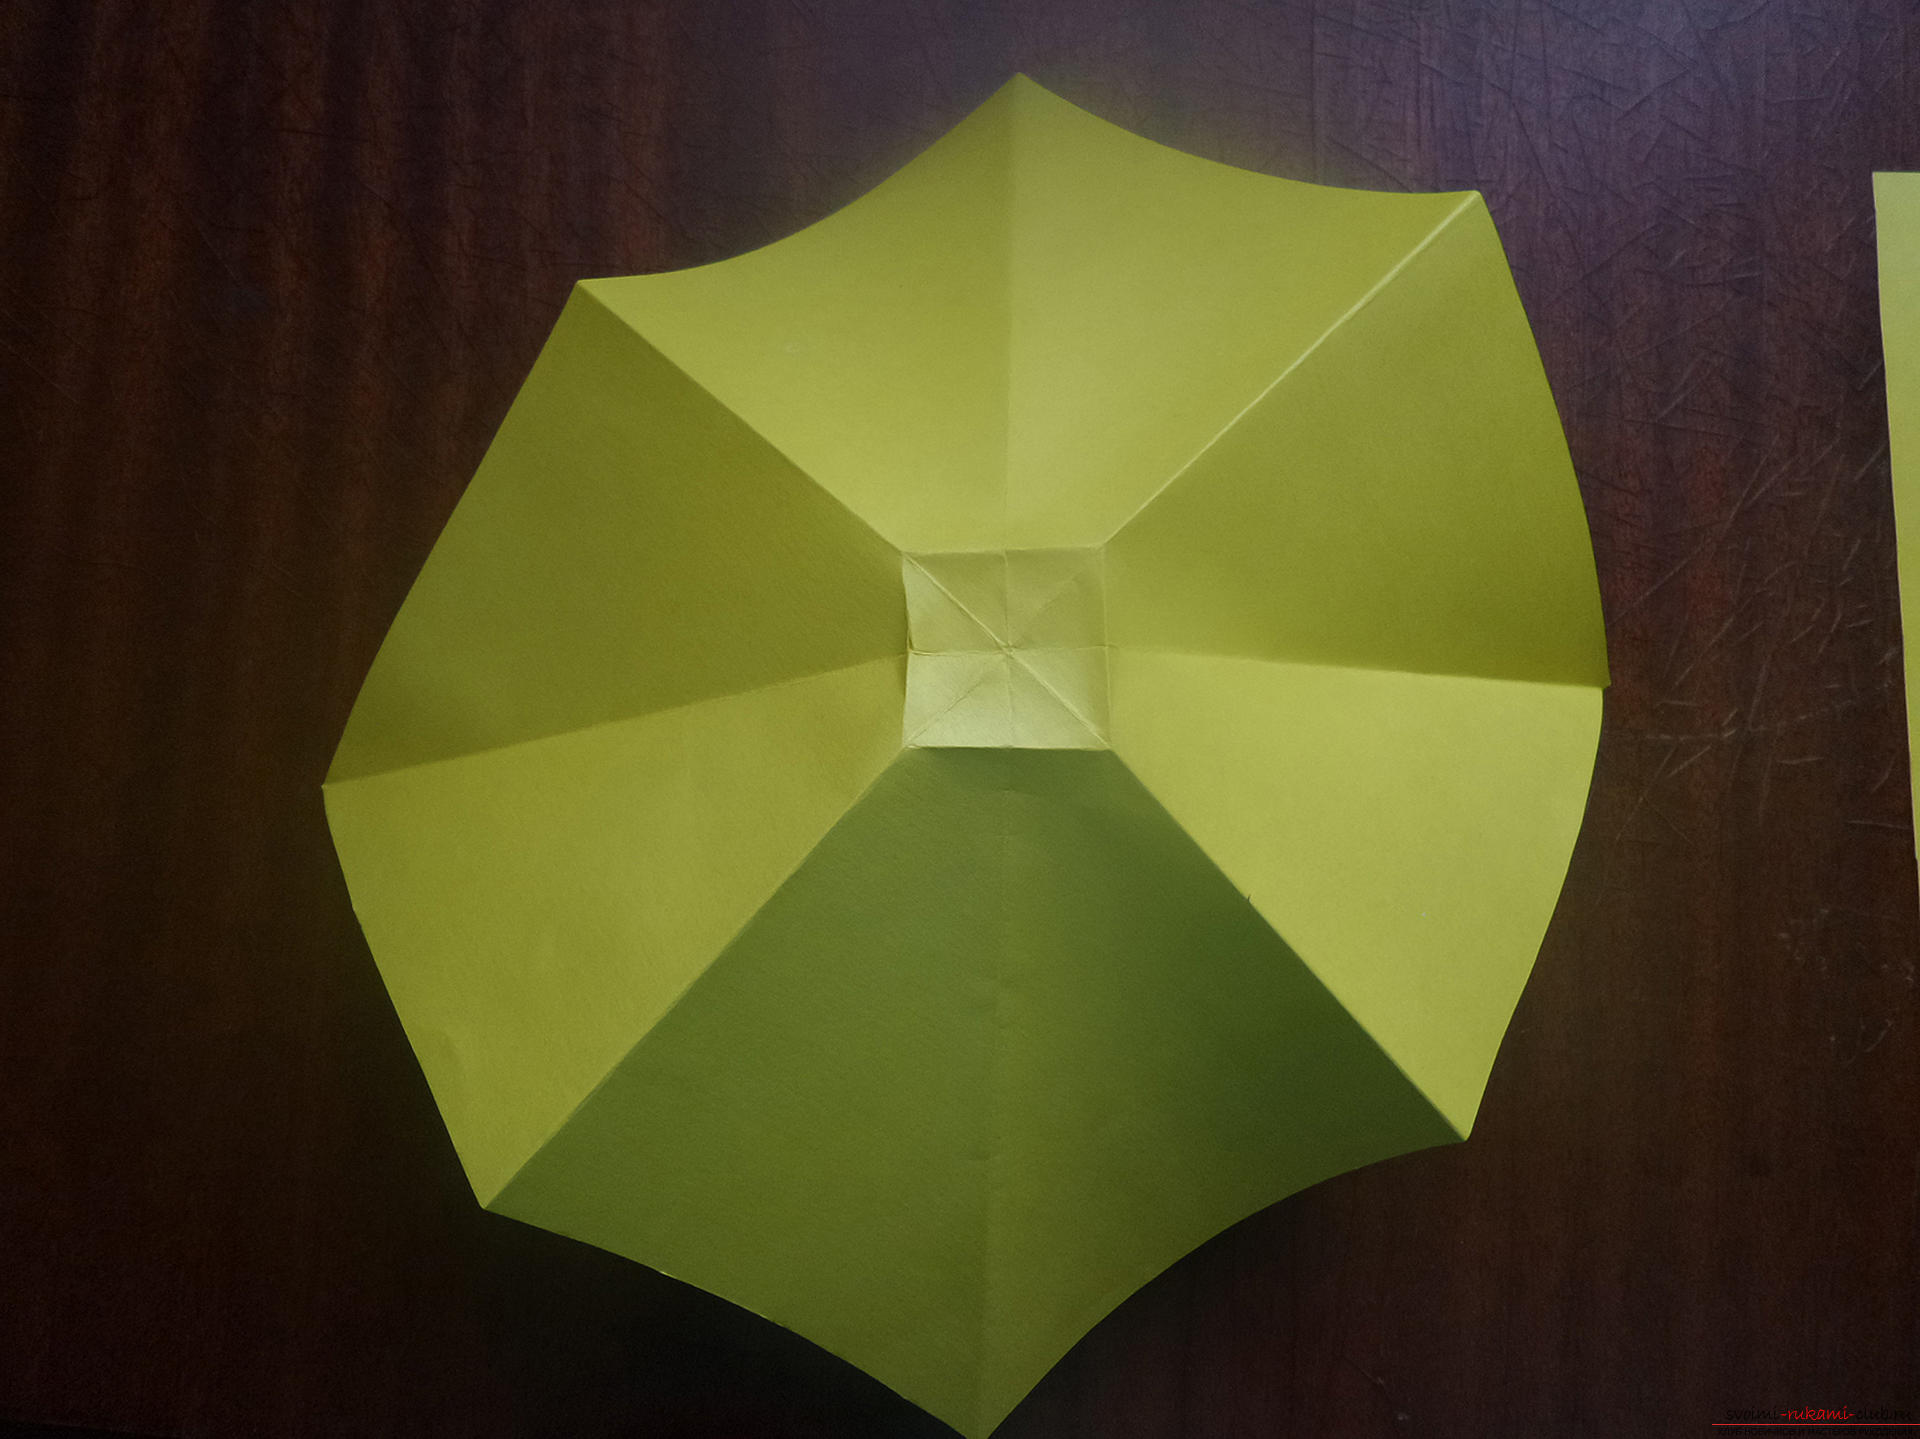 Now we need to fold the same doubleA square, and a small central one must be inside. The lateral folds fold inward. If there were no errors in the previous stage - it will be easy to do, because the necessary folds already exist.
  So the finished workpiece looks like.
 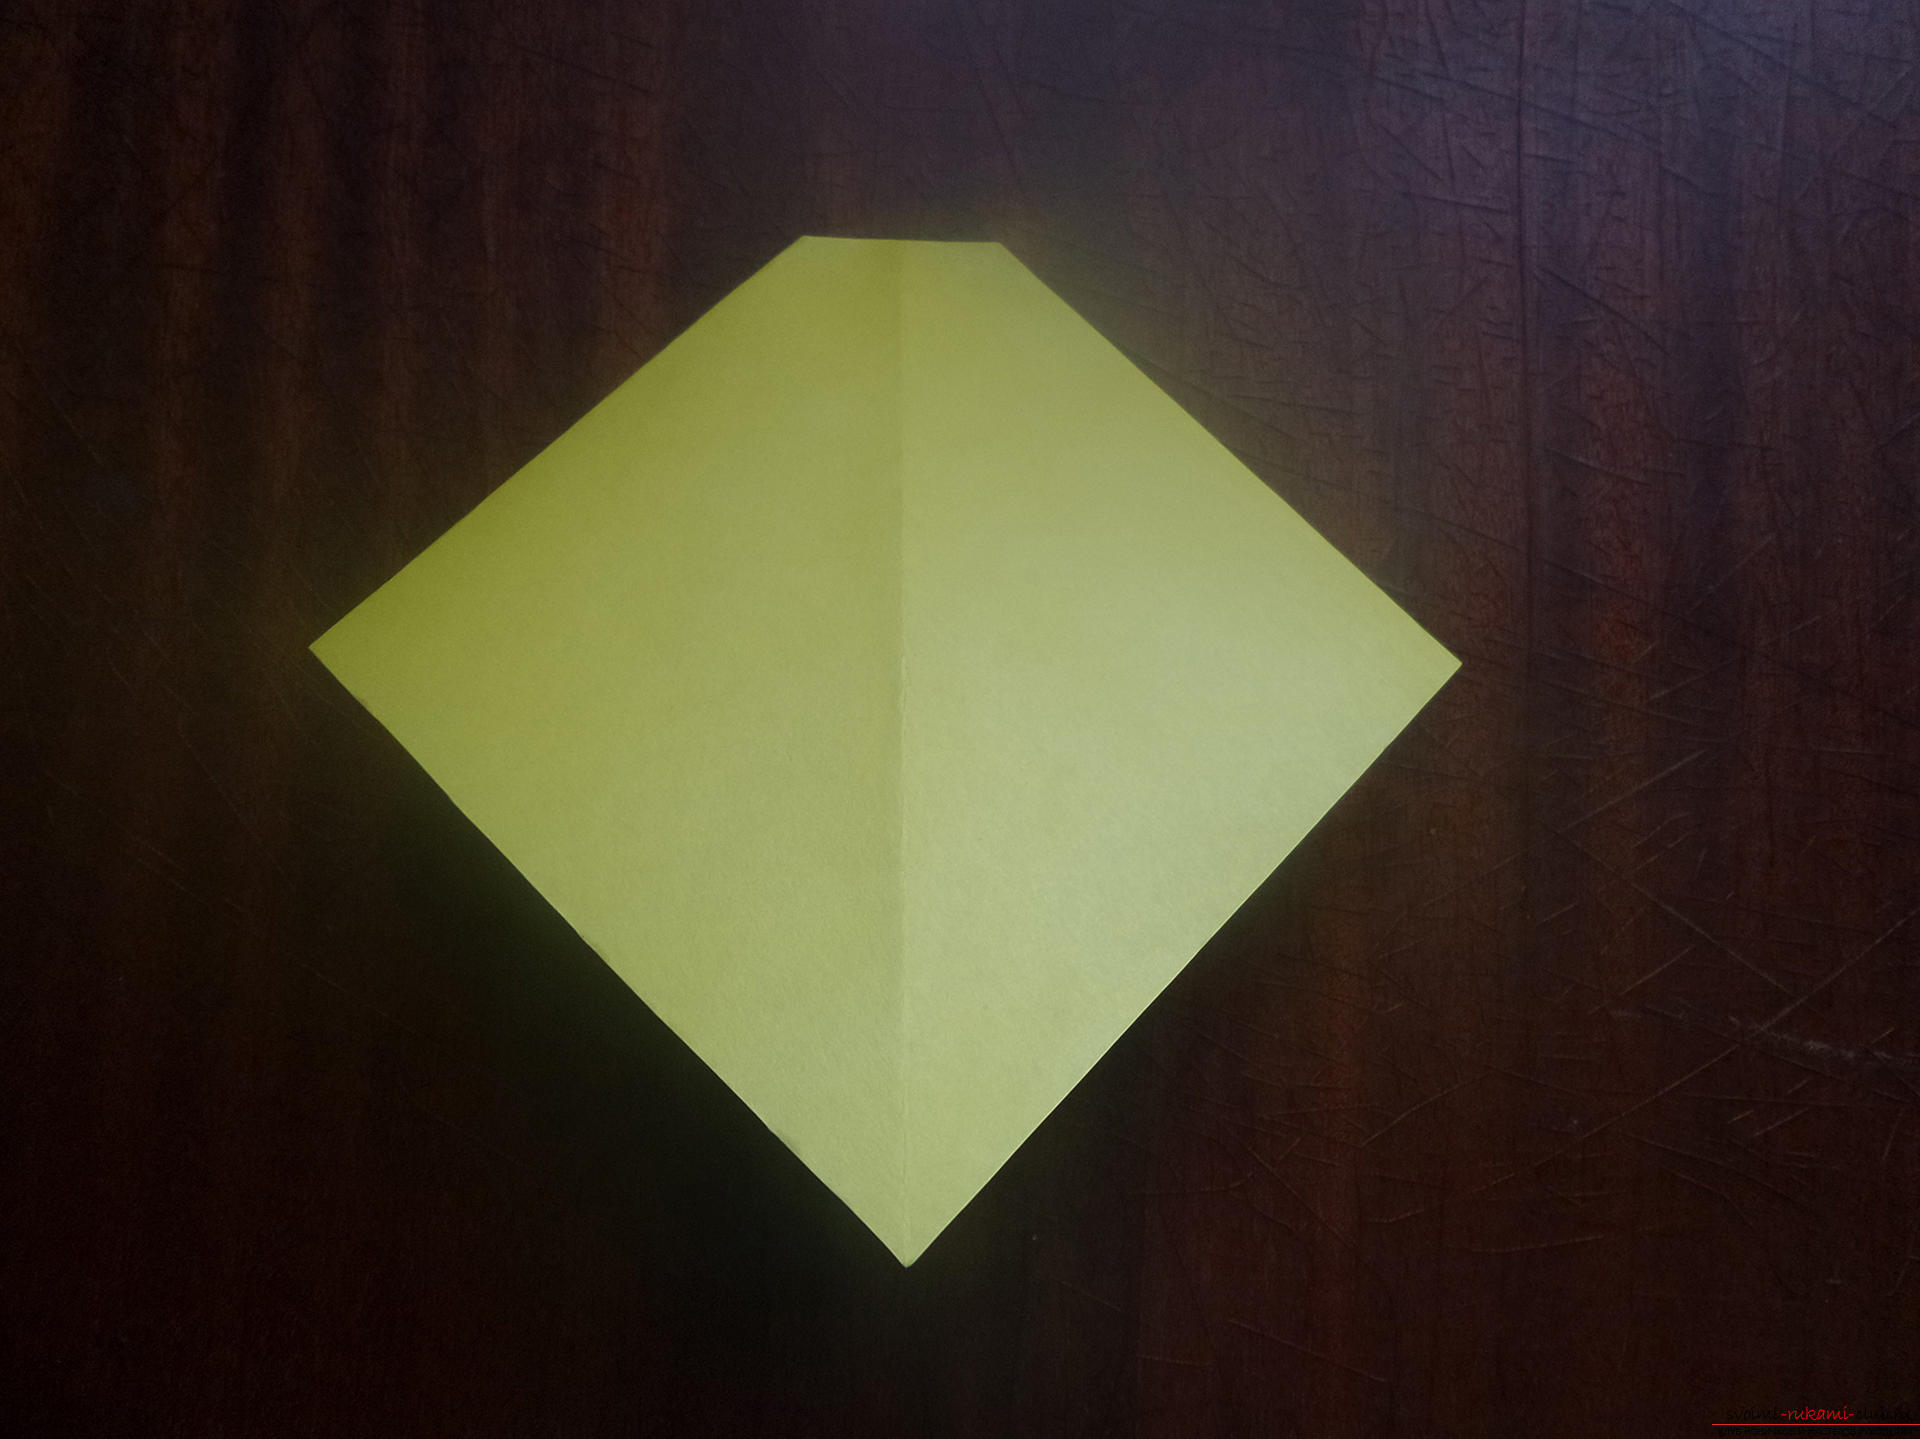 Half of the work is already behind us. The most interesting begins. The upper sides of the base must be bent to the center. The small upper segment should coincide exactly with the central vertical line.
 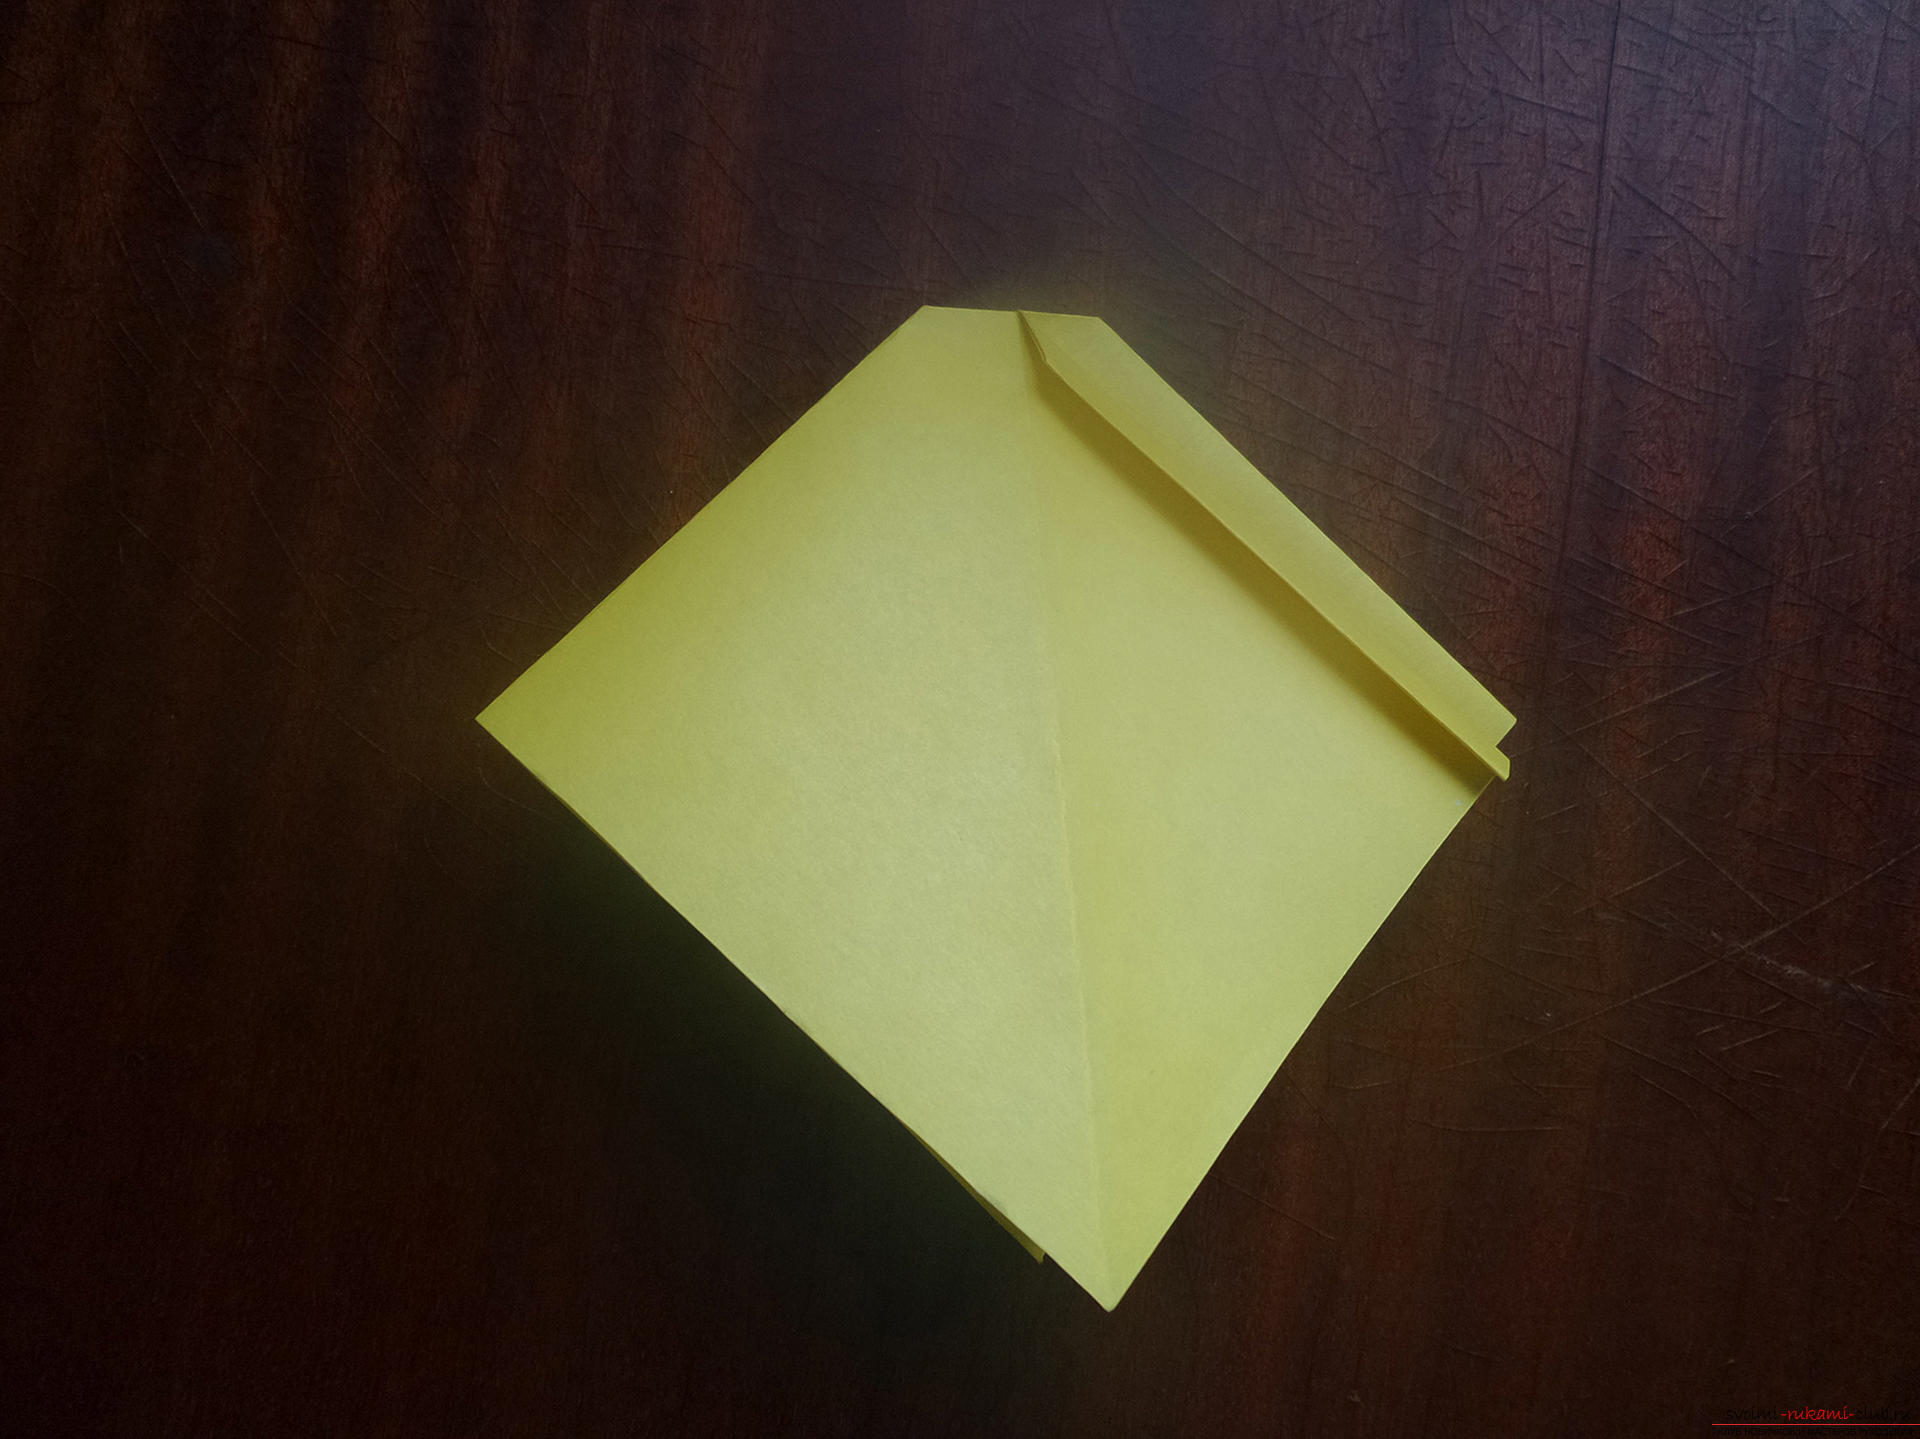 The same must be done with the other top sides. At both sides.
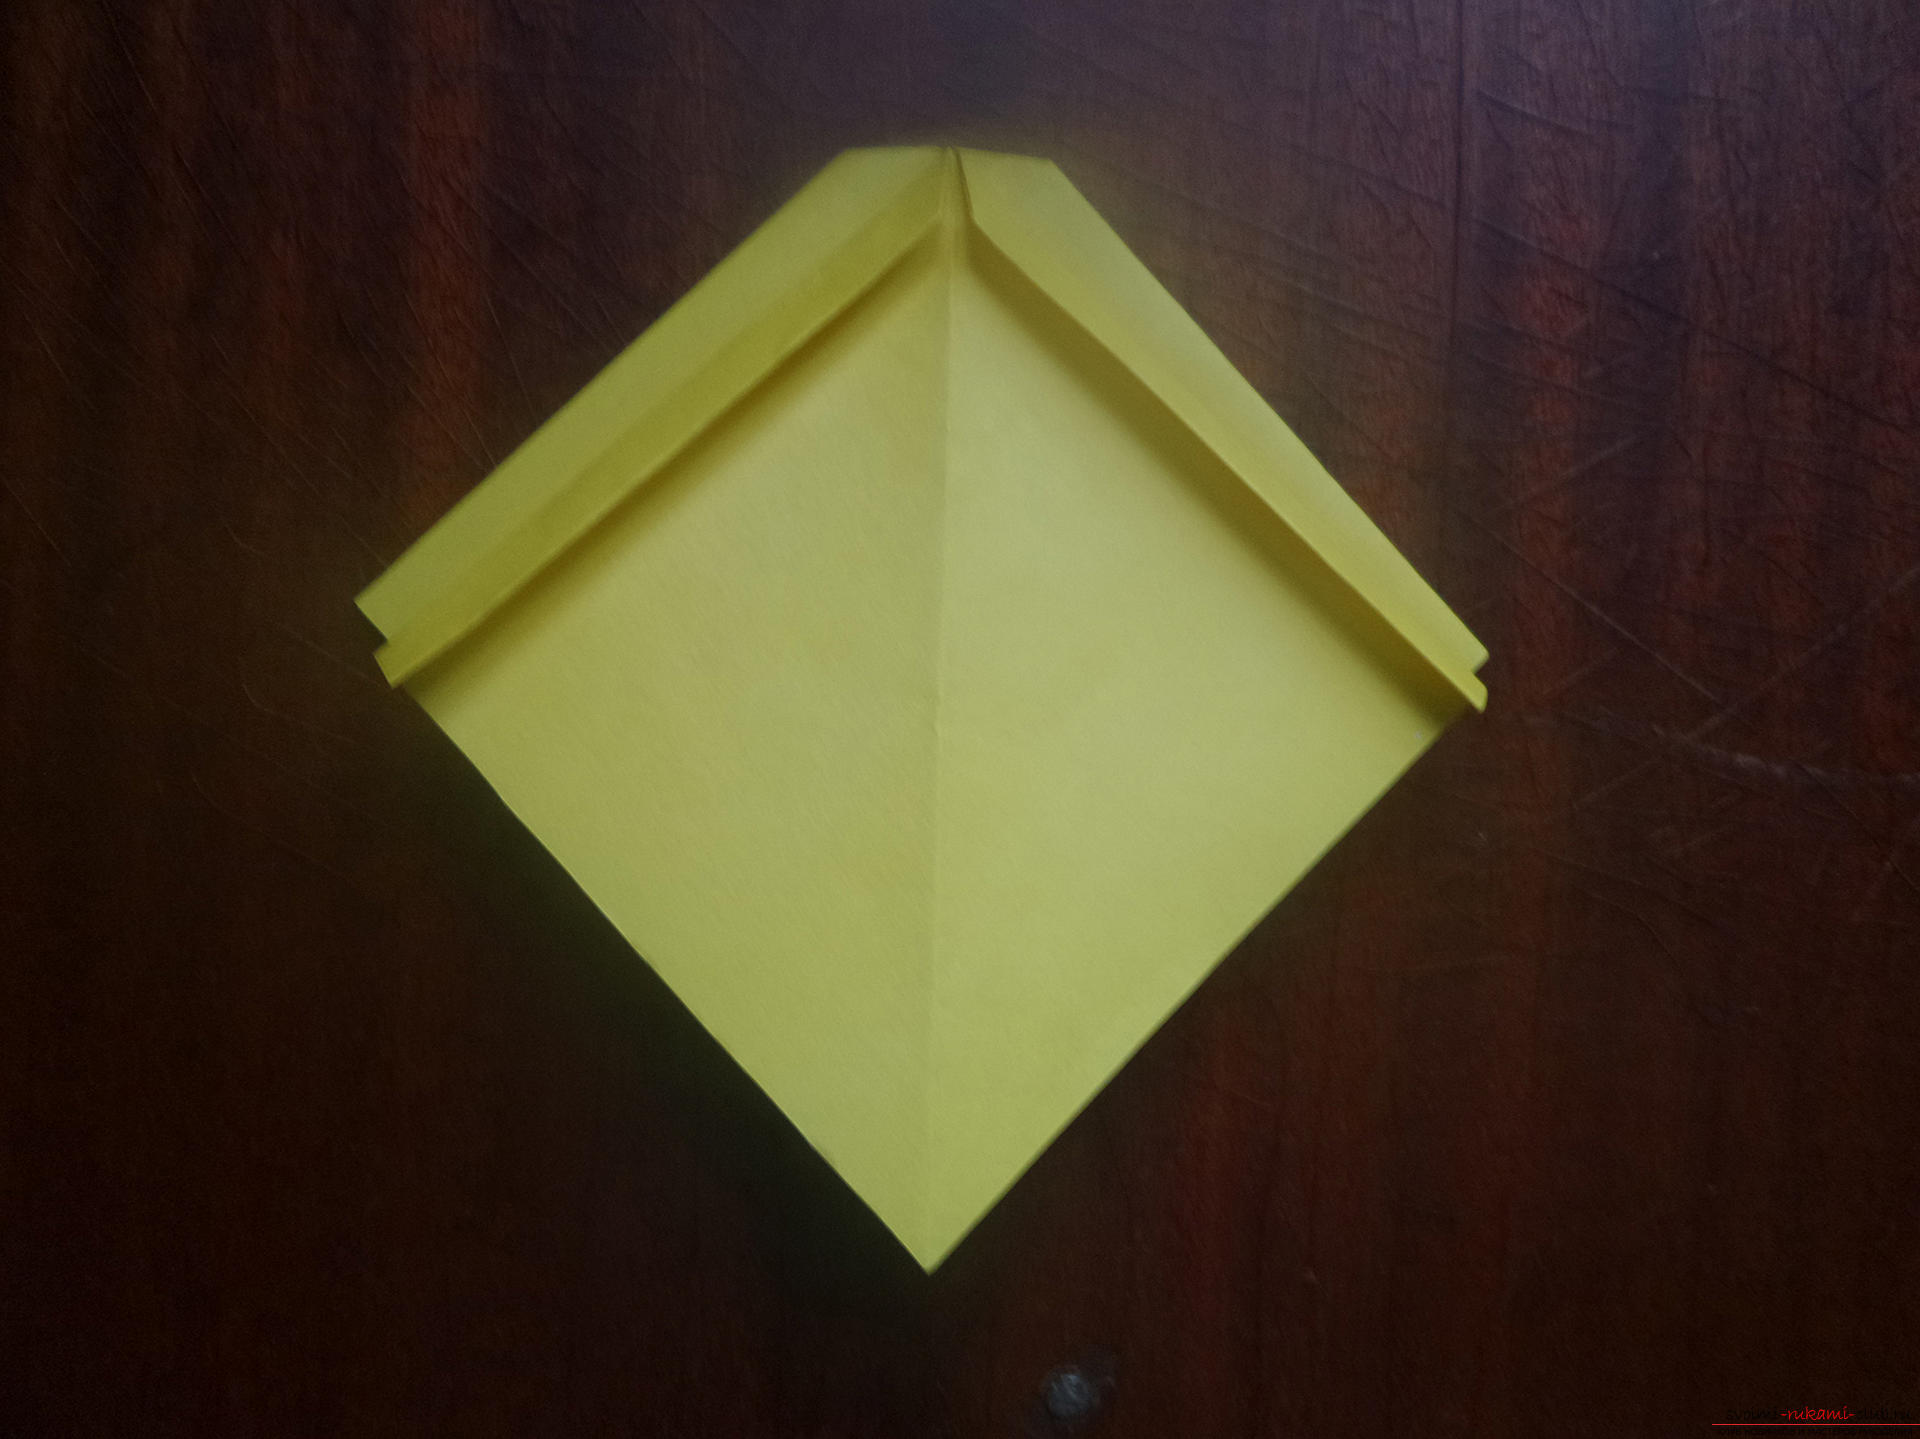
 Attention: the first crucial moment has come. The task is to carefully unfold the workpiece. In this case, the central part of the bow will be ready. The reverse side of the product will pleasantly surprise you.
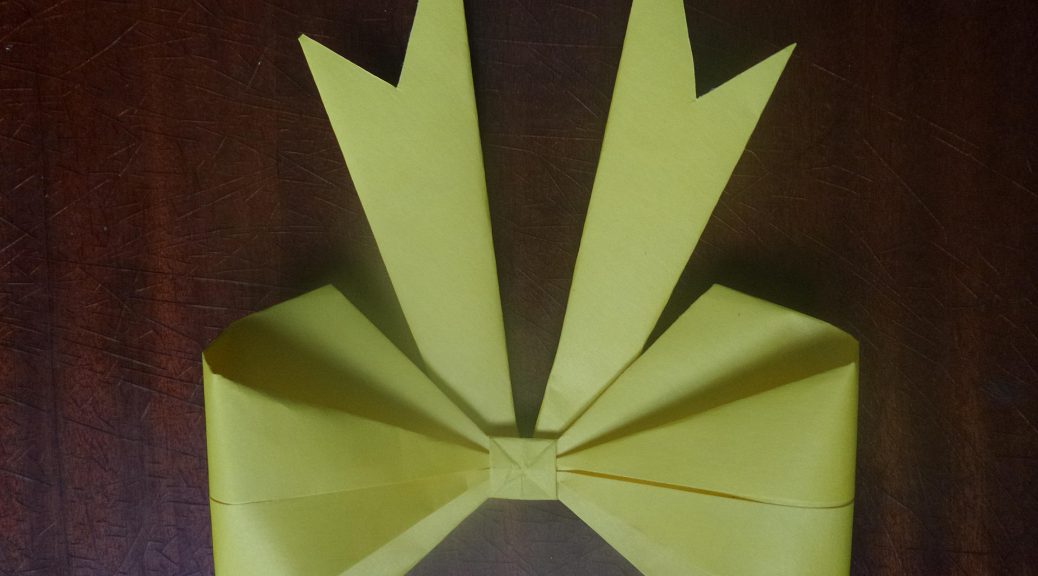
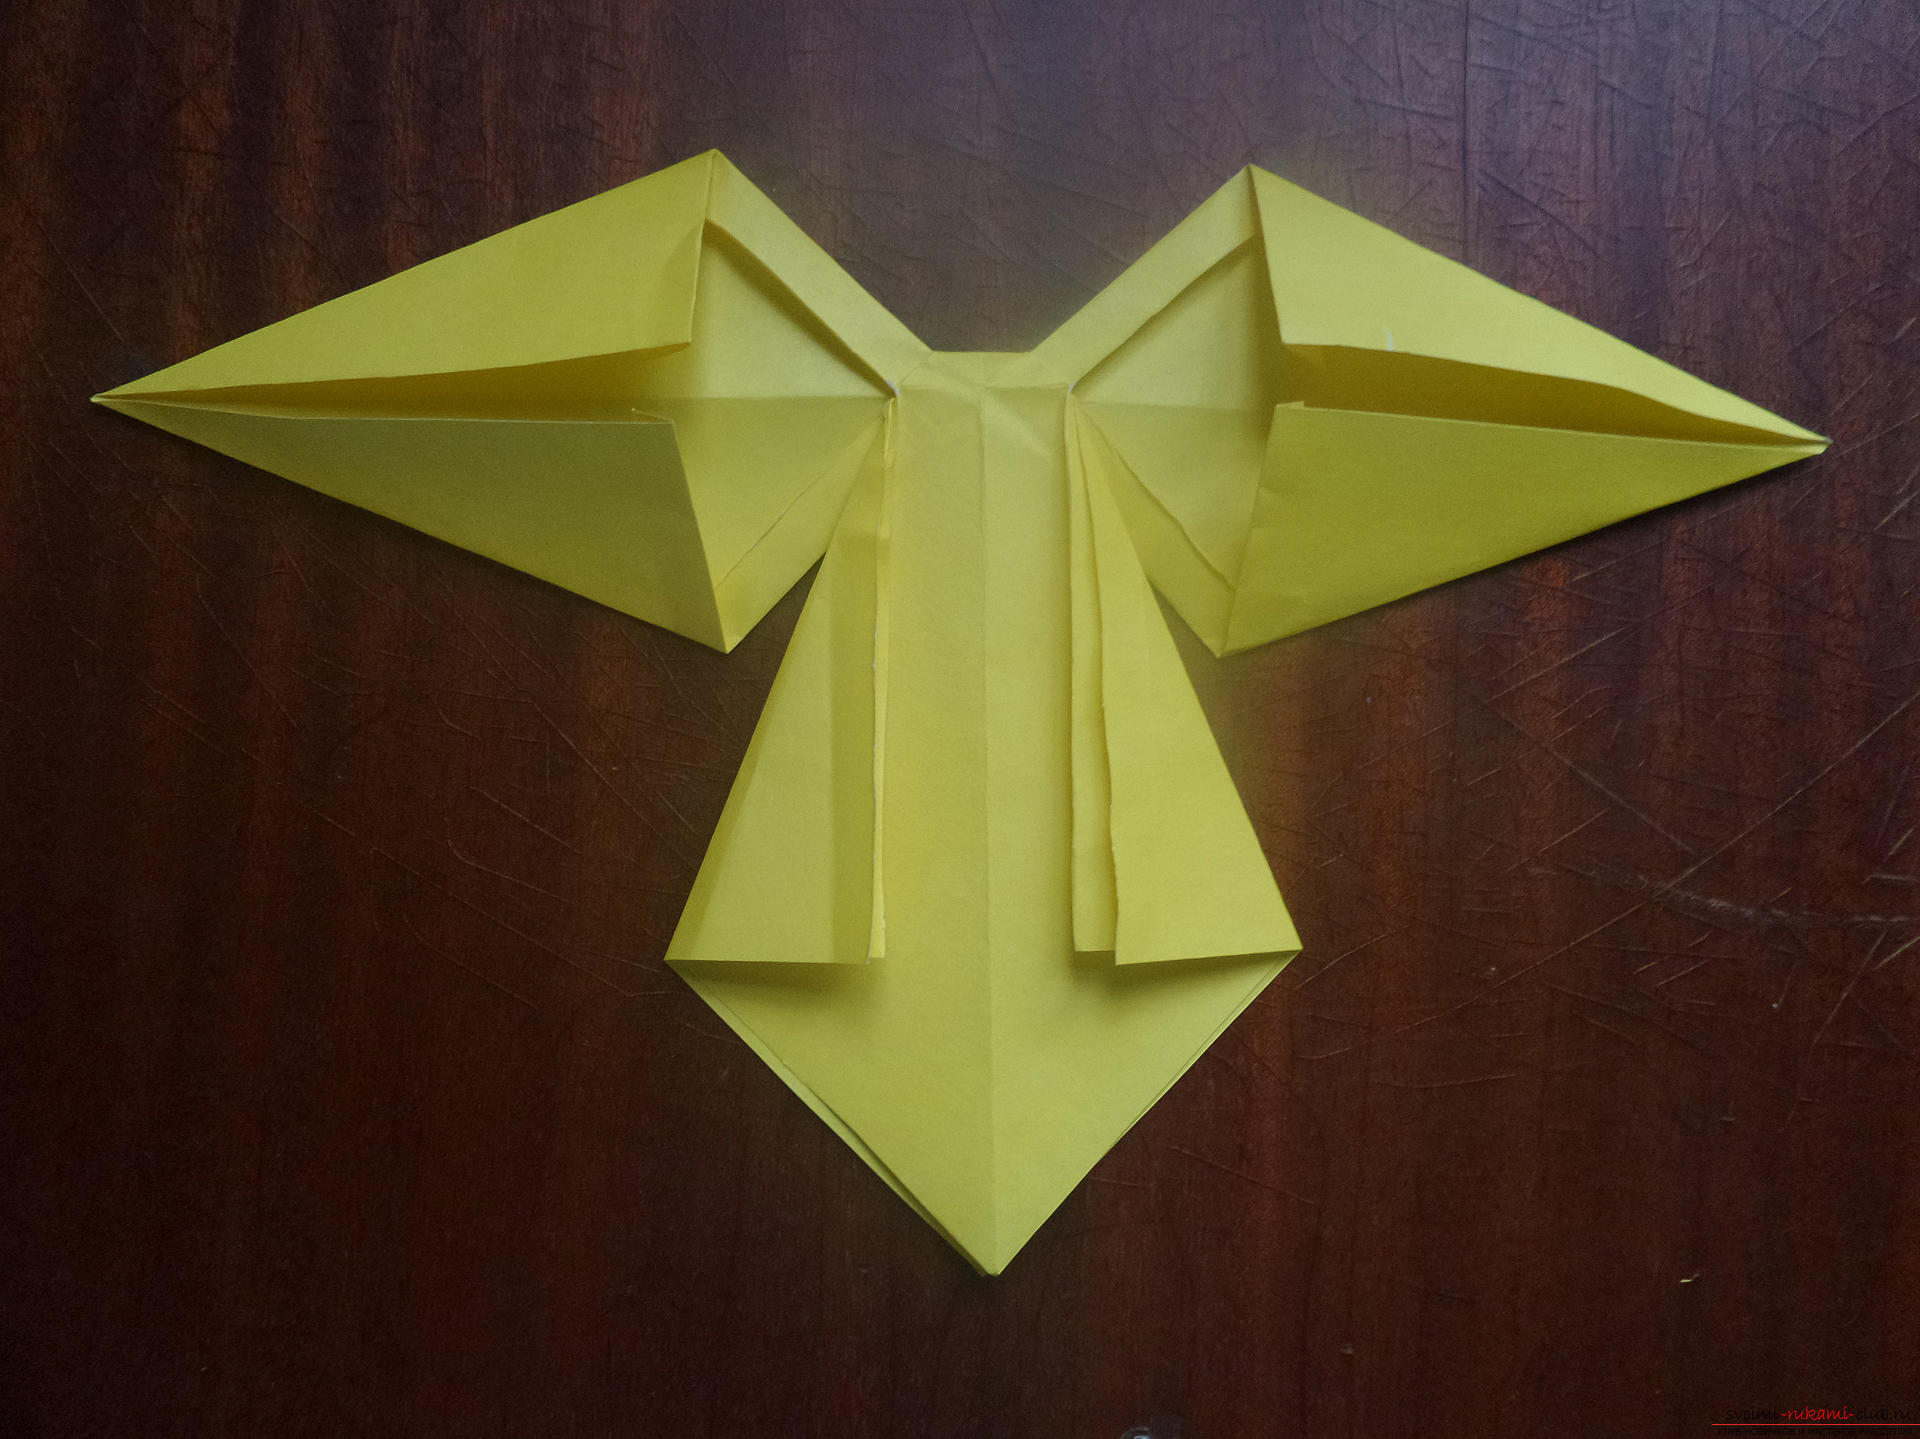
 To form the "wings" of the bow, we make incisionson the back side, i. where there is no square-core of the bow. Between the large square parts and narrow strips there are bulging folds in the form of a "mountain". For them, then you need to cut almost to the heart.
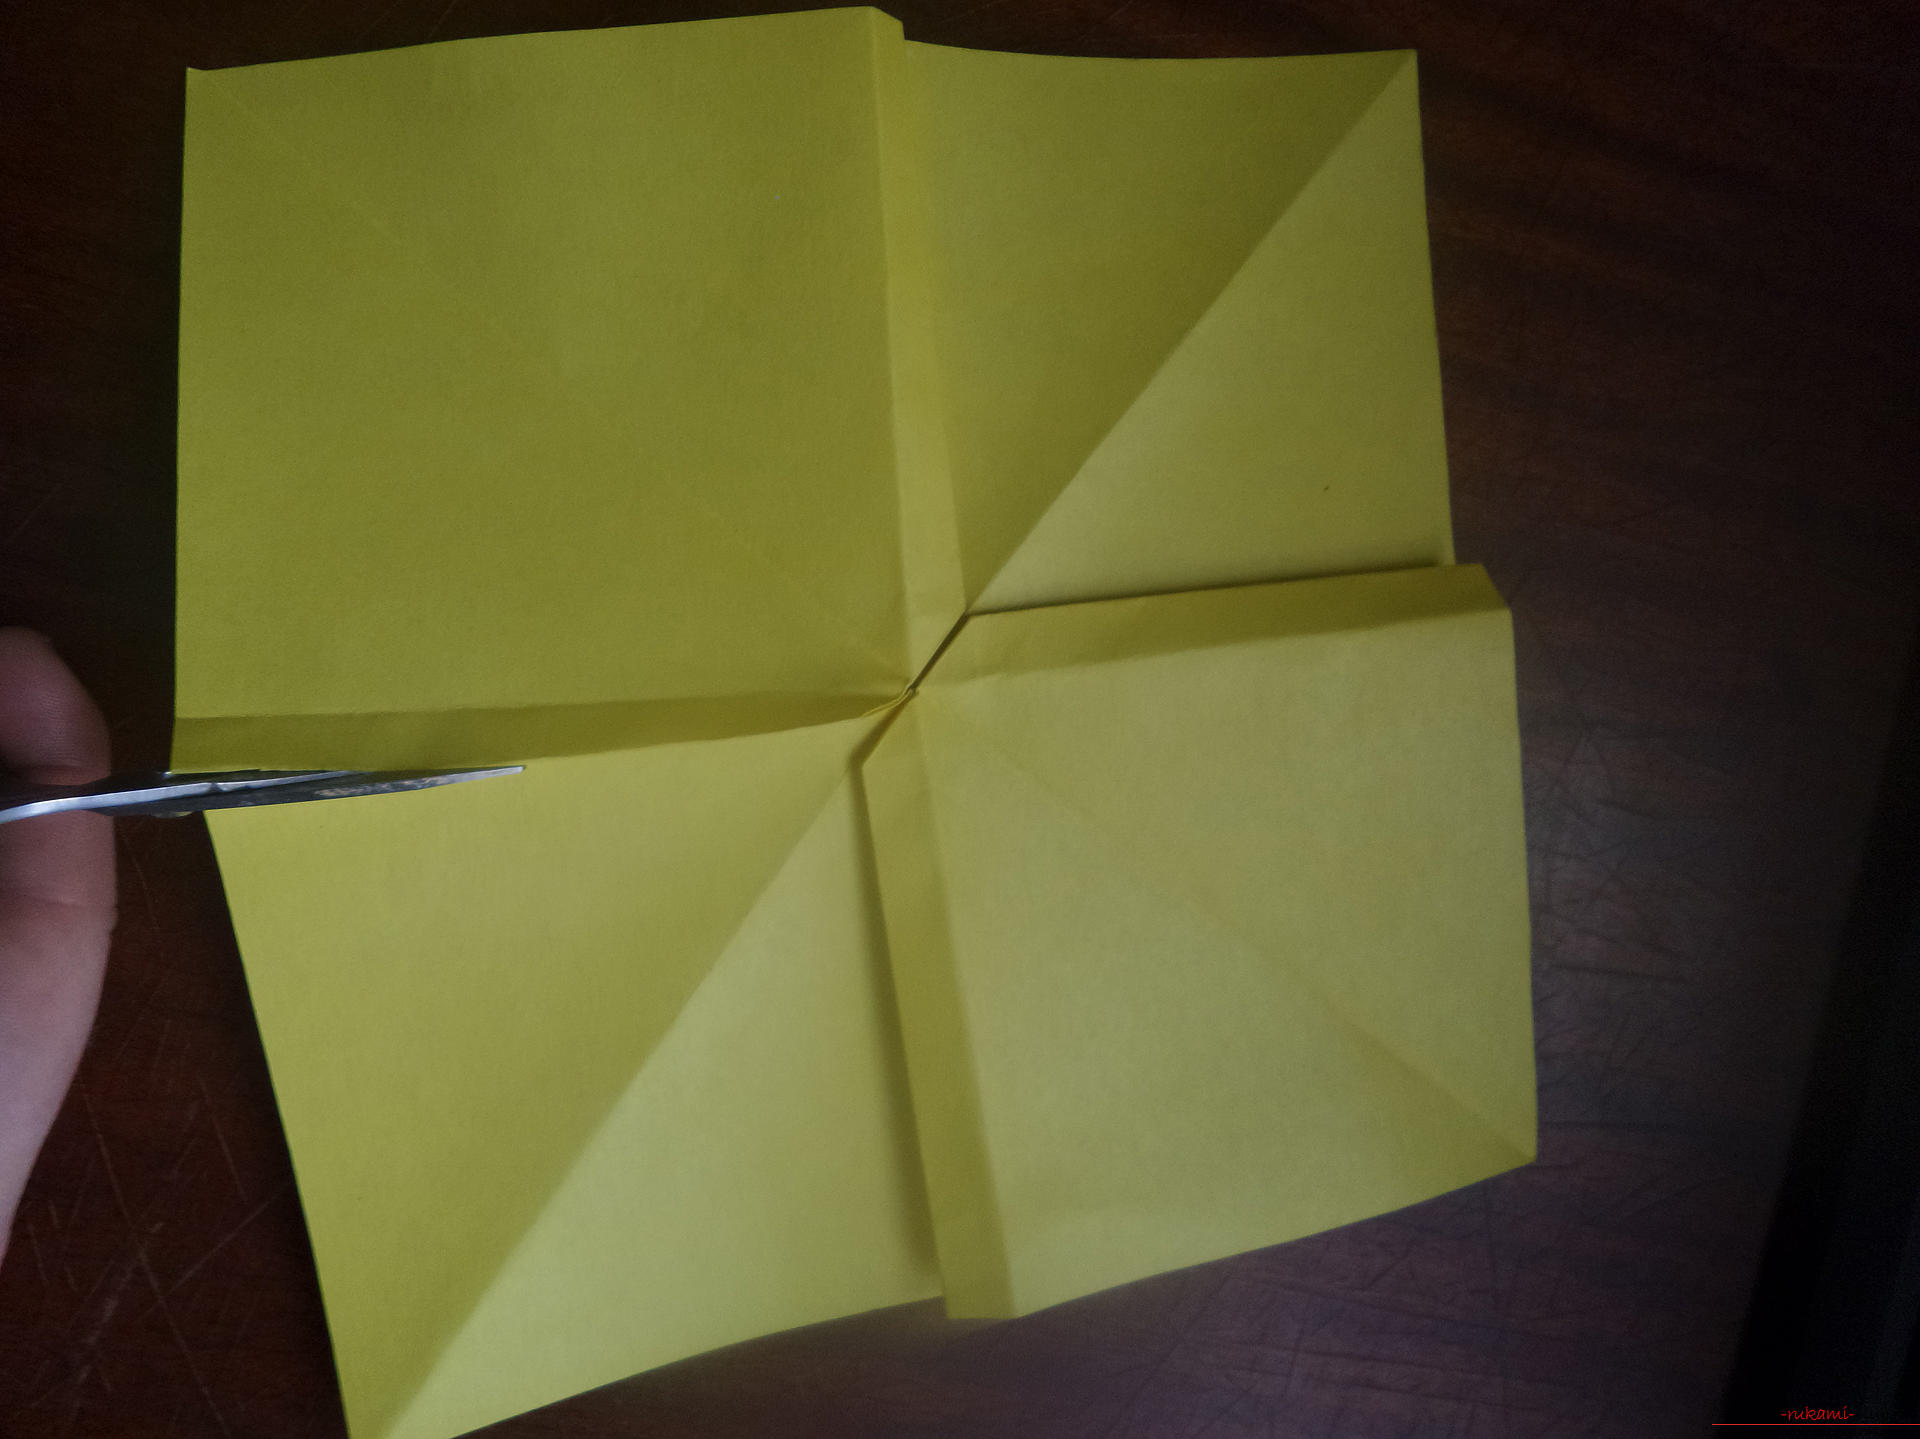
 The side of the side of the bow is as follows: turn one side down, on one half of the bow make folds directed to the middle and forming a right angle with respect to the vertical.
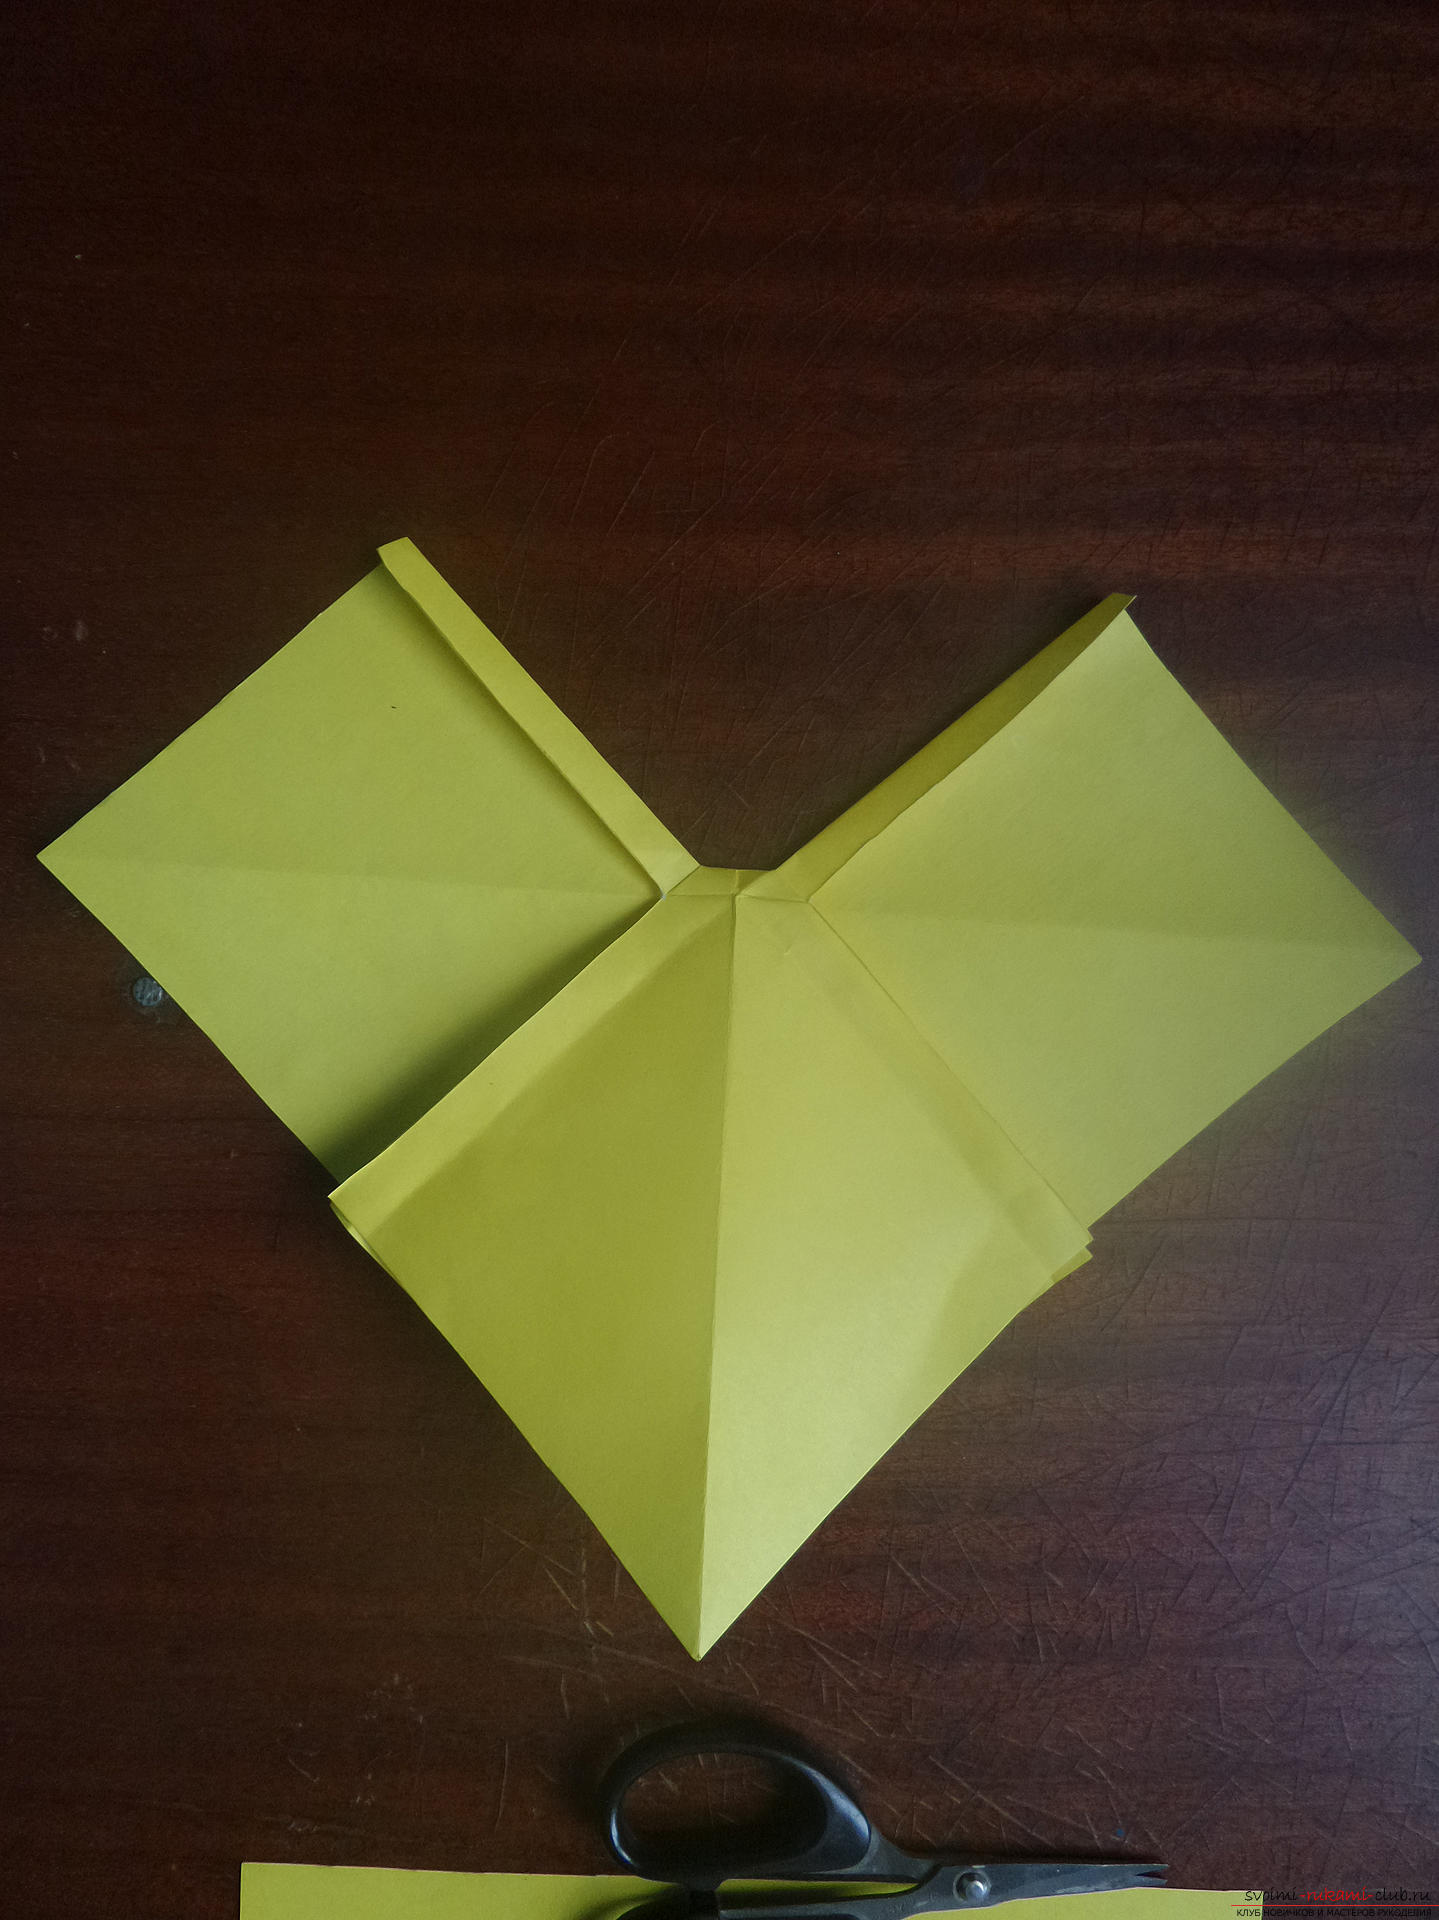
 The same is done on all sides. It is better not to look at the front of the bow, do not get distracted. Working with the bottom square. Corners wrap parallel to the vertical line.
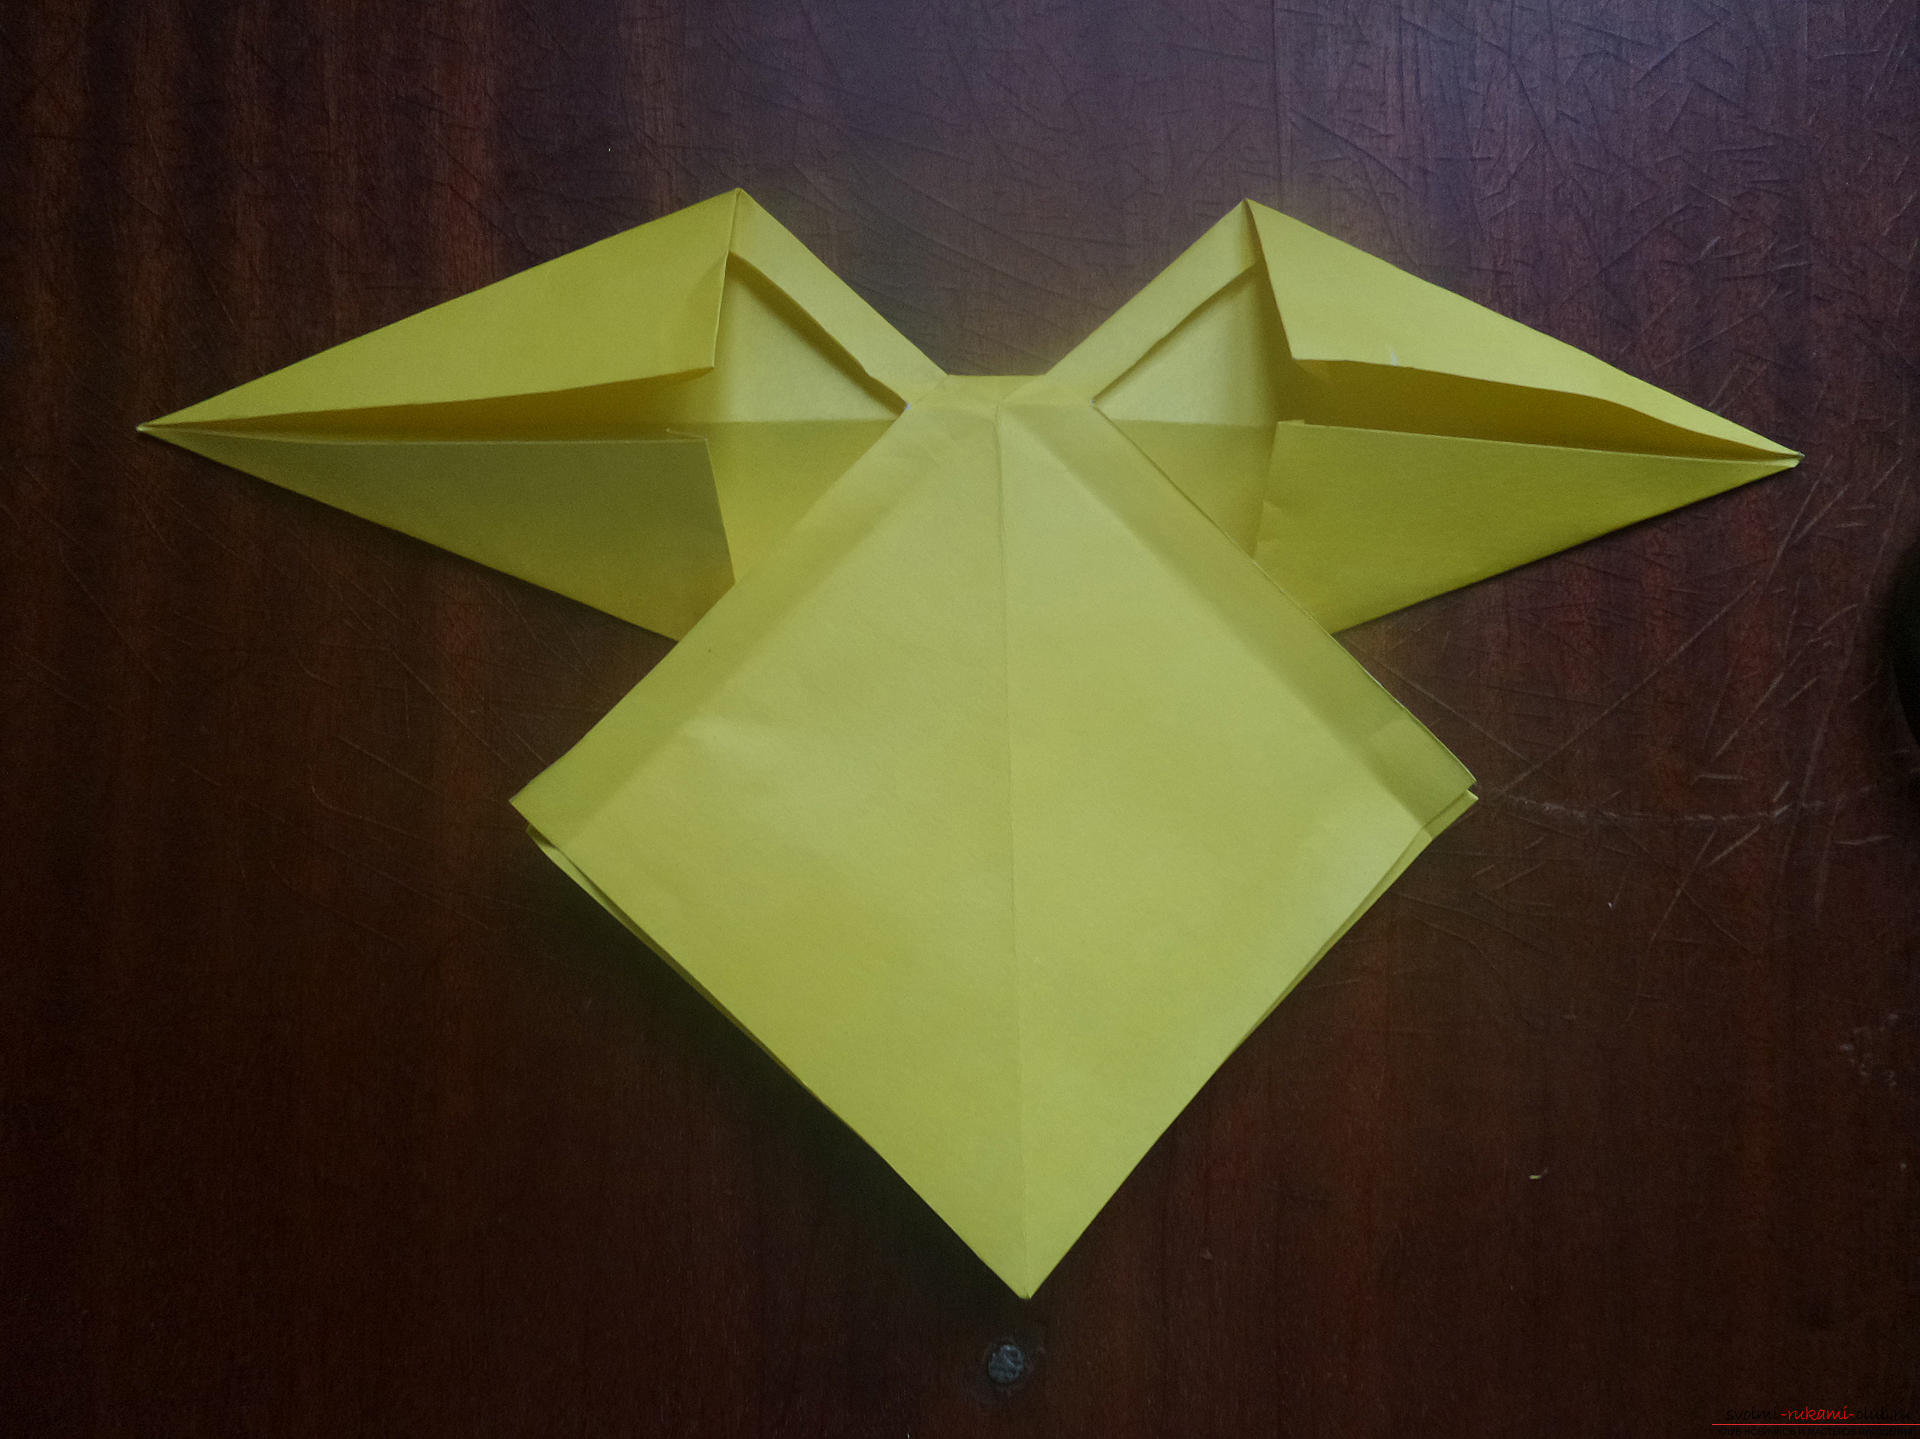
 Cutting this very vertical line.
 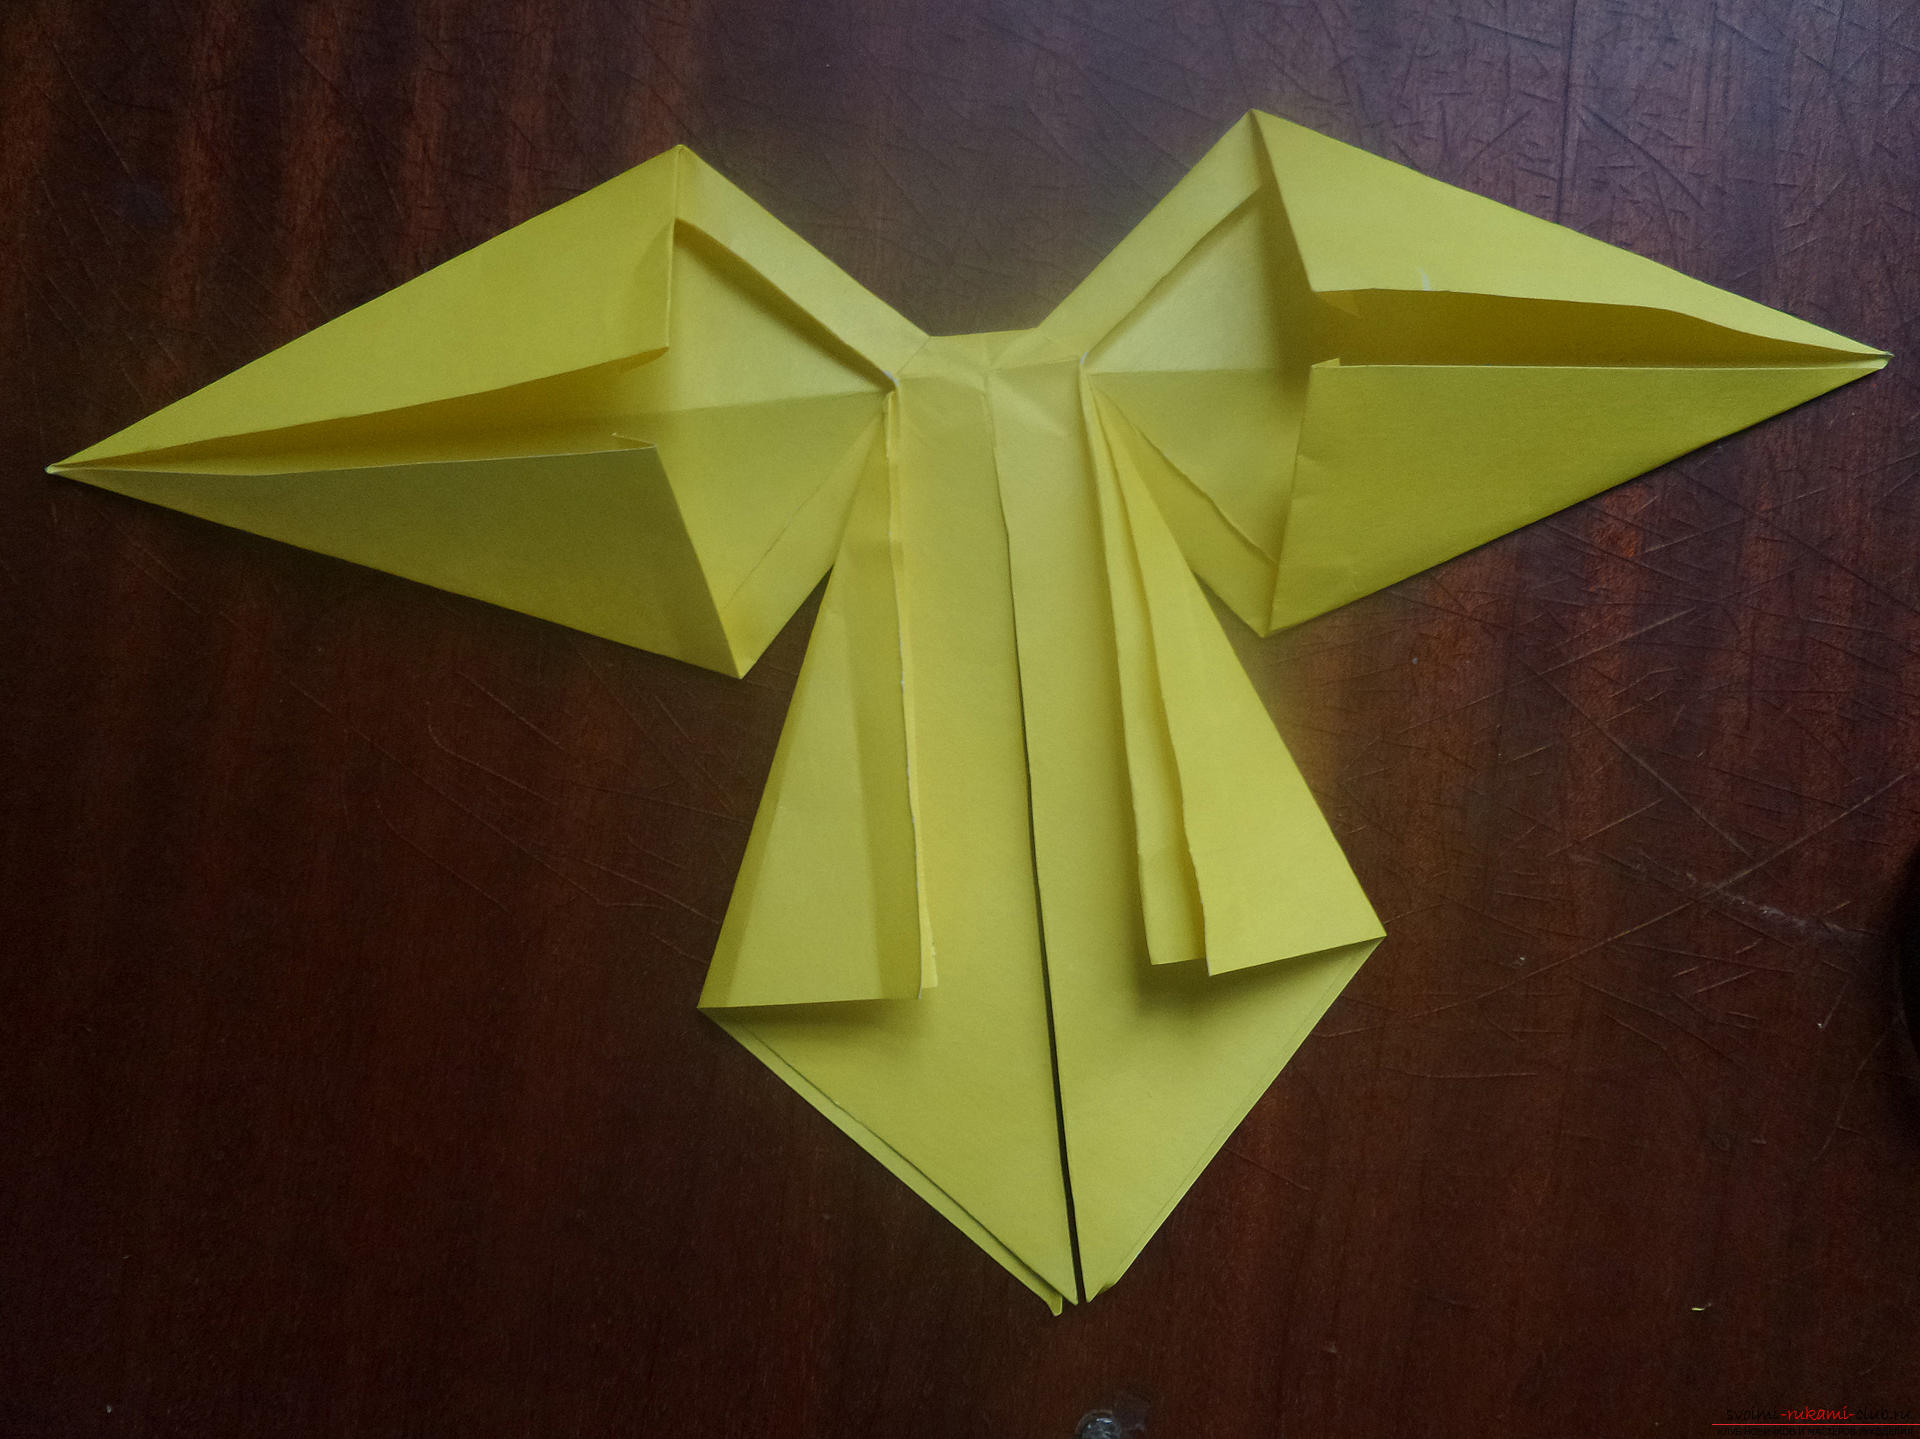 Bend the inner side corners.
 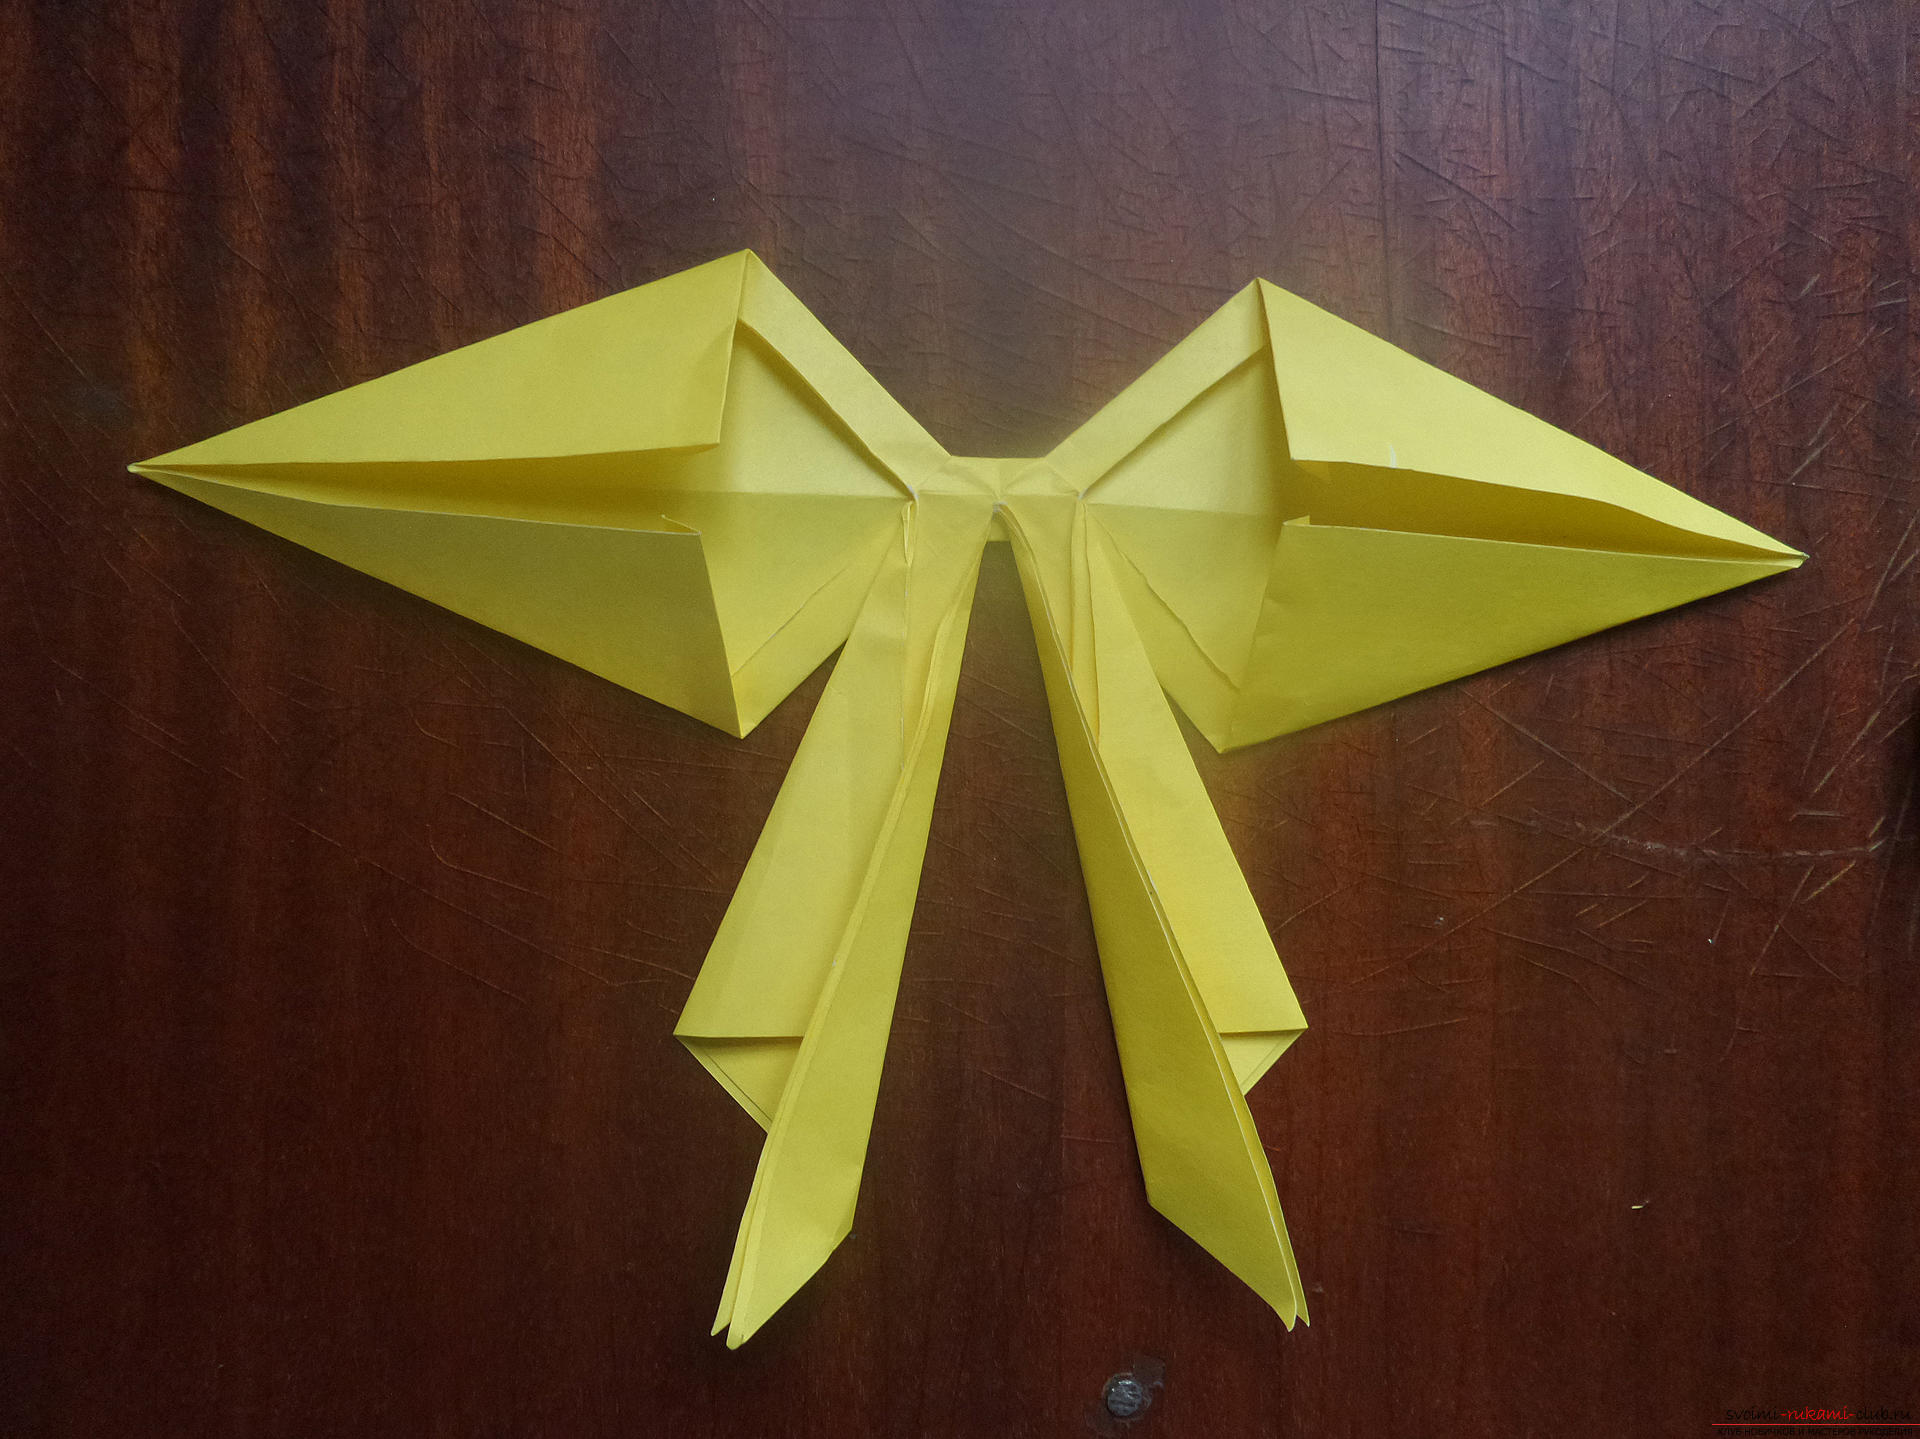 We turn the workpiece. The work is almost complete.
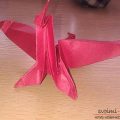
 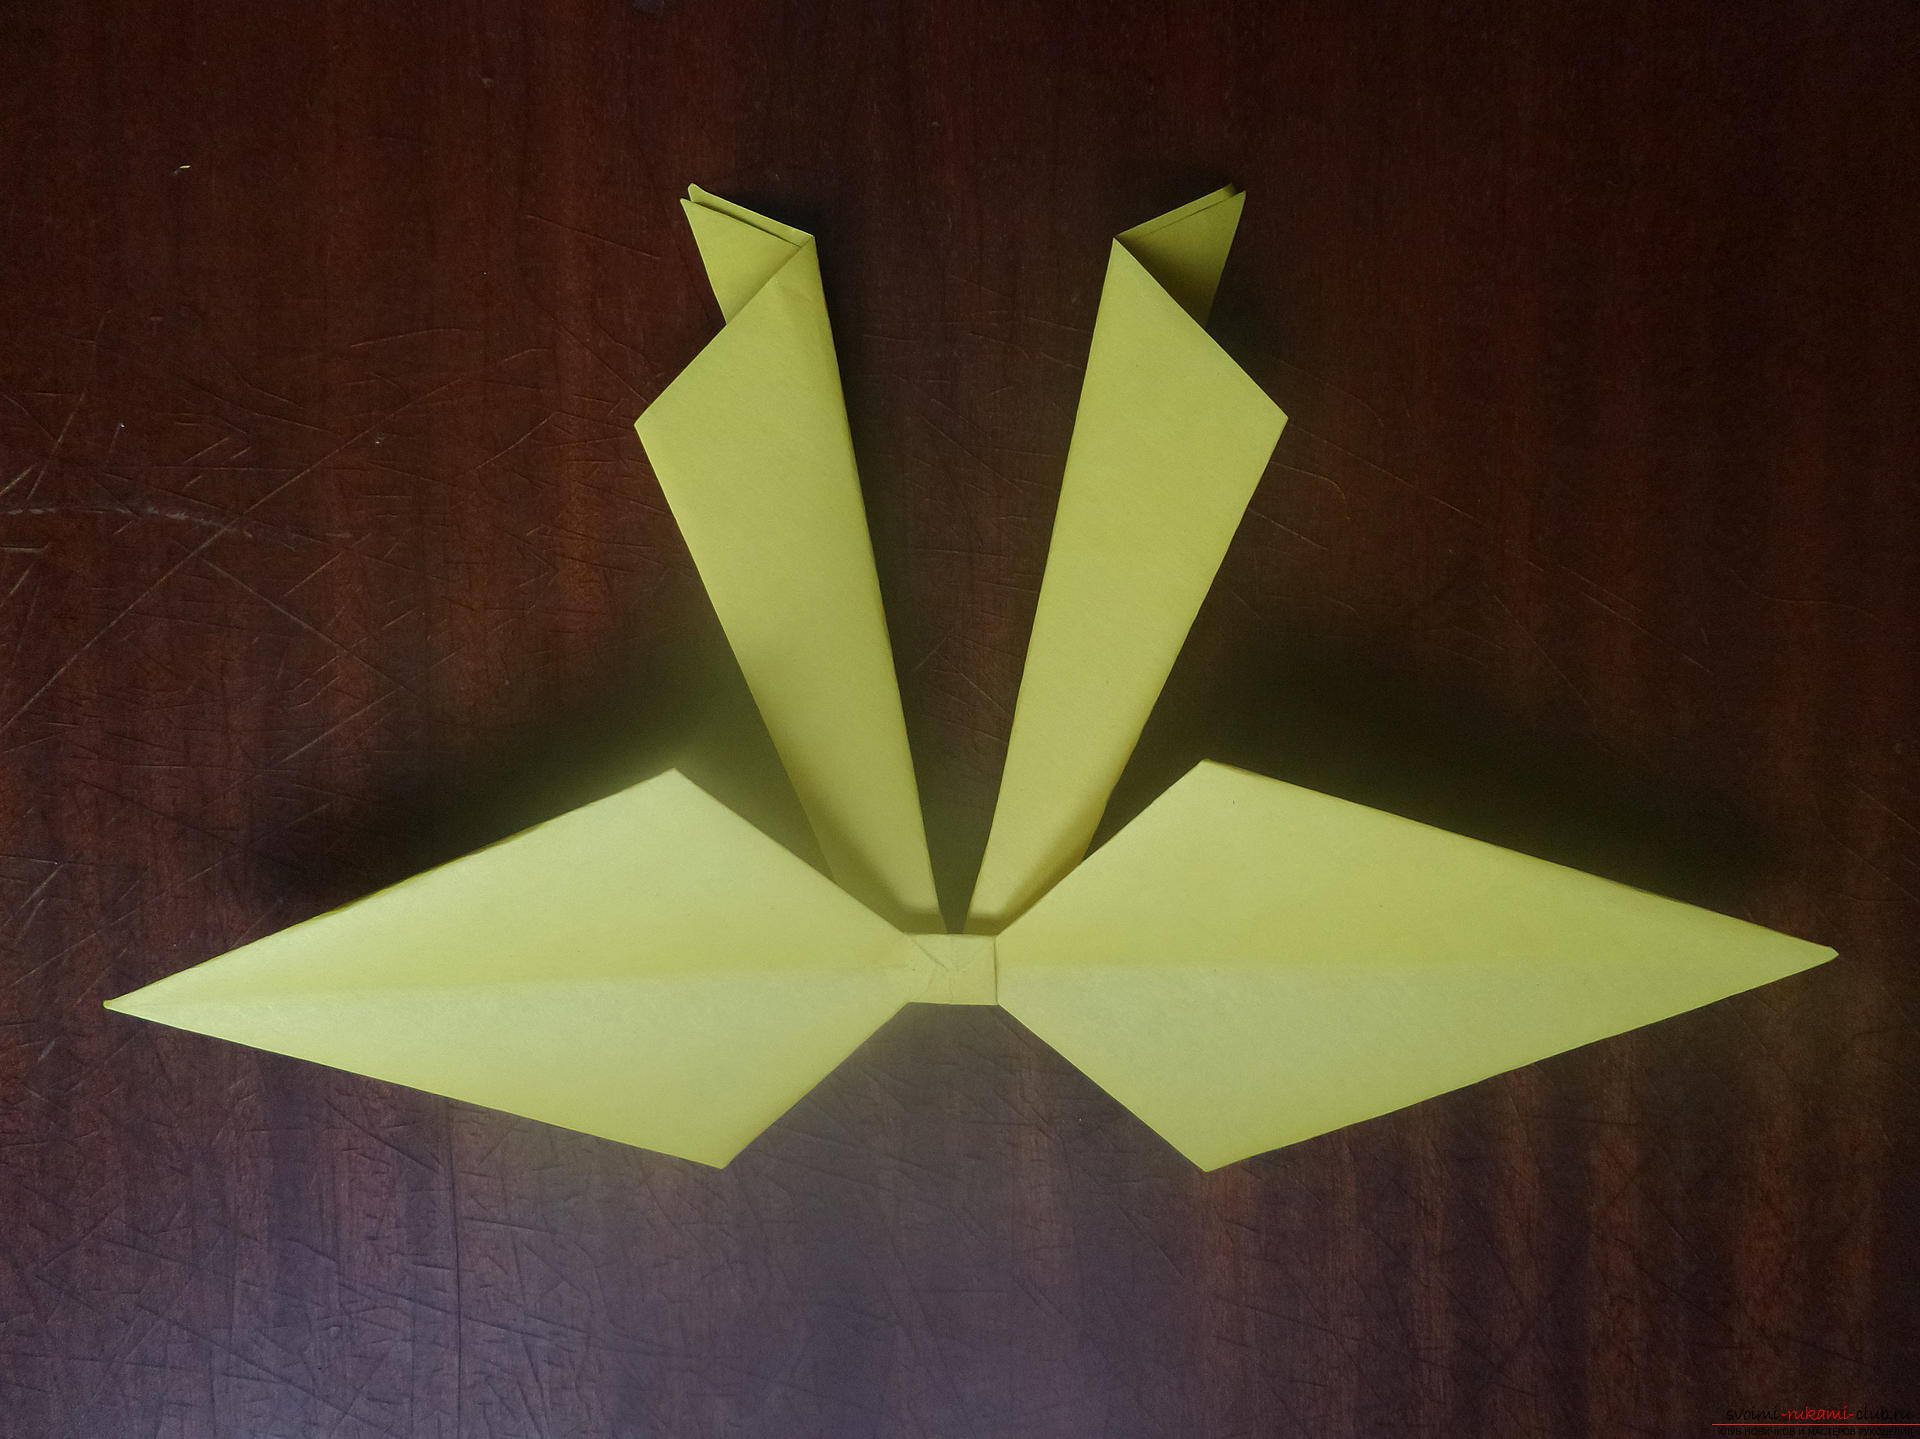 It remains only to make a trifle: in the core to lay the corner of the bow, which easily go there, and cut out the sharp corners on the lower parts. From the remnants you can make 2 more small bowels by analogy
 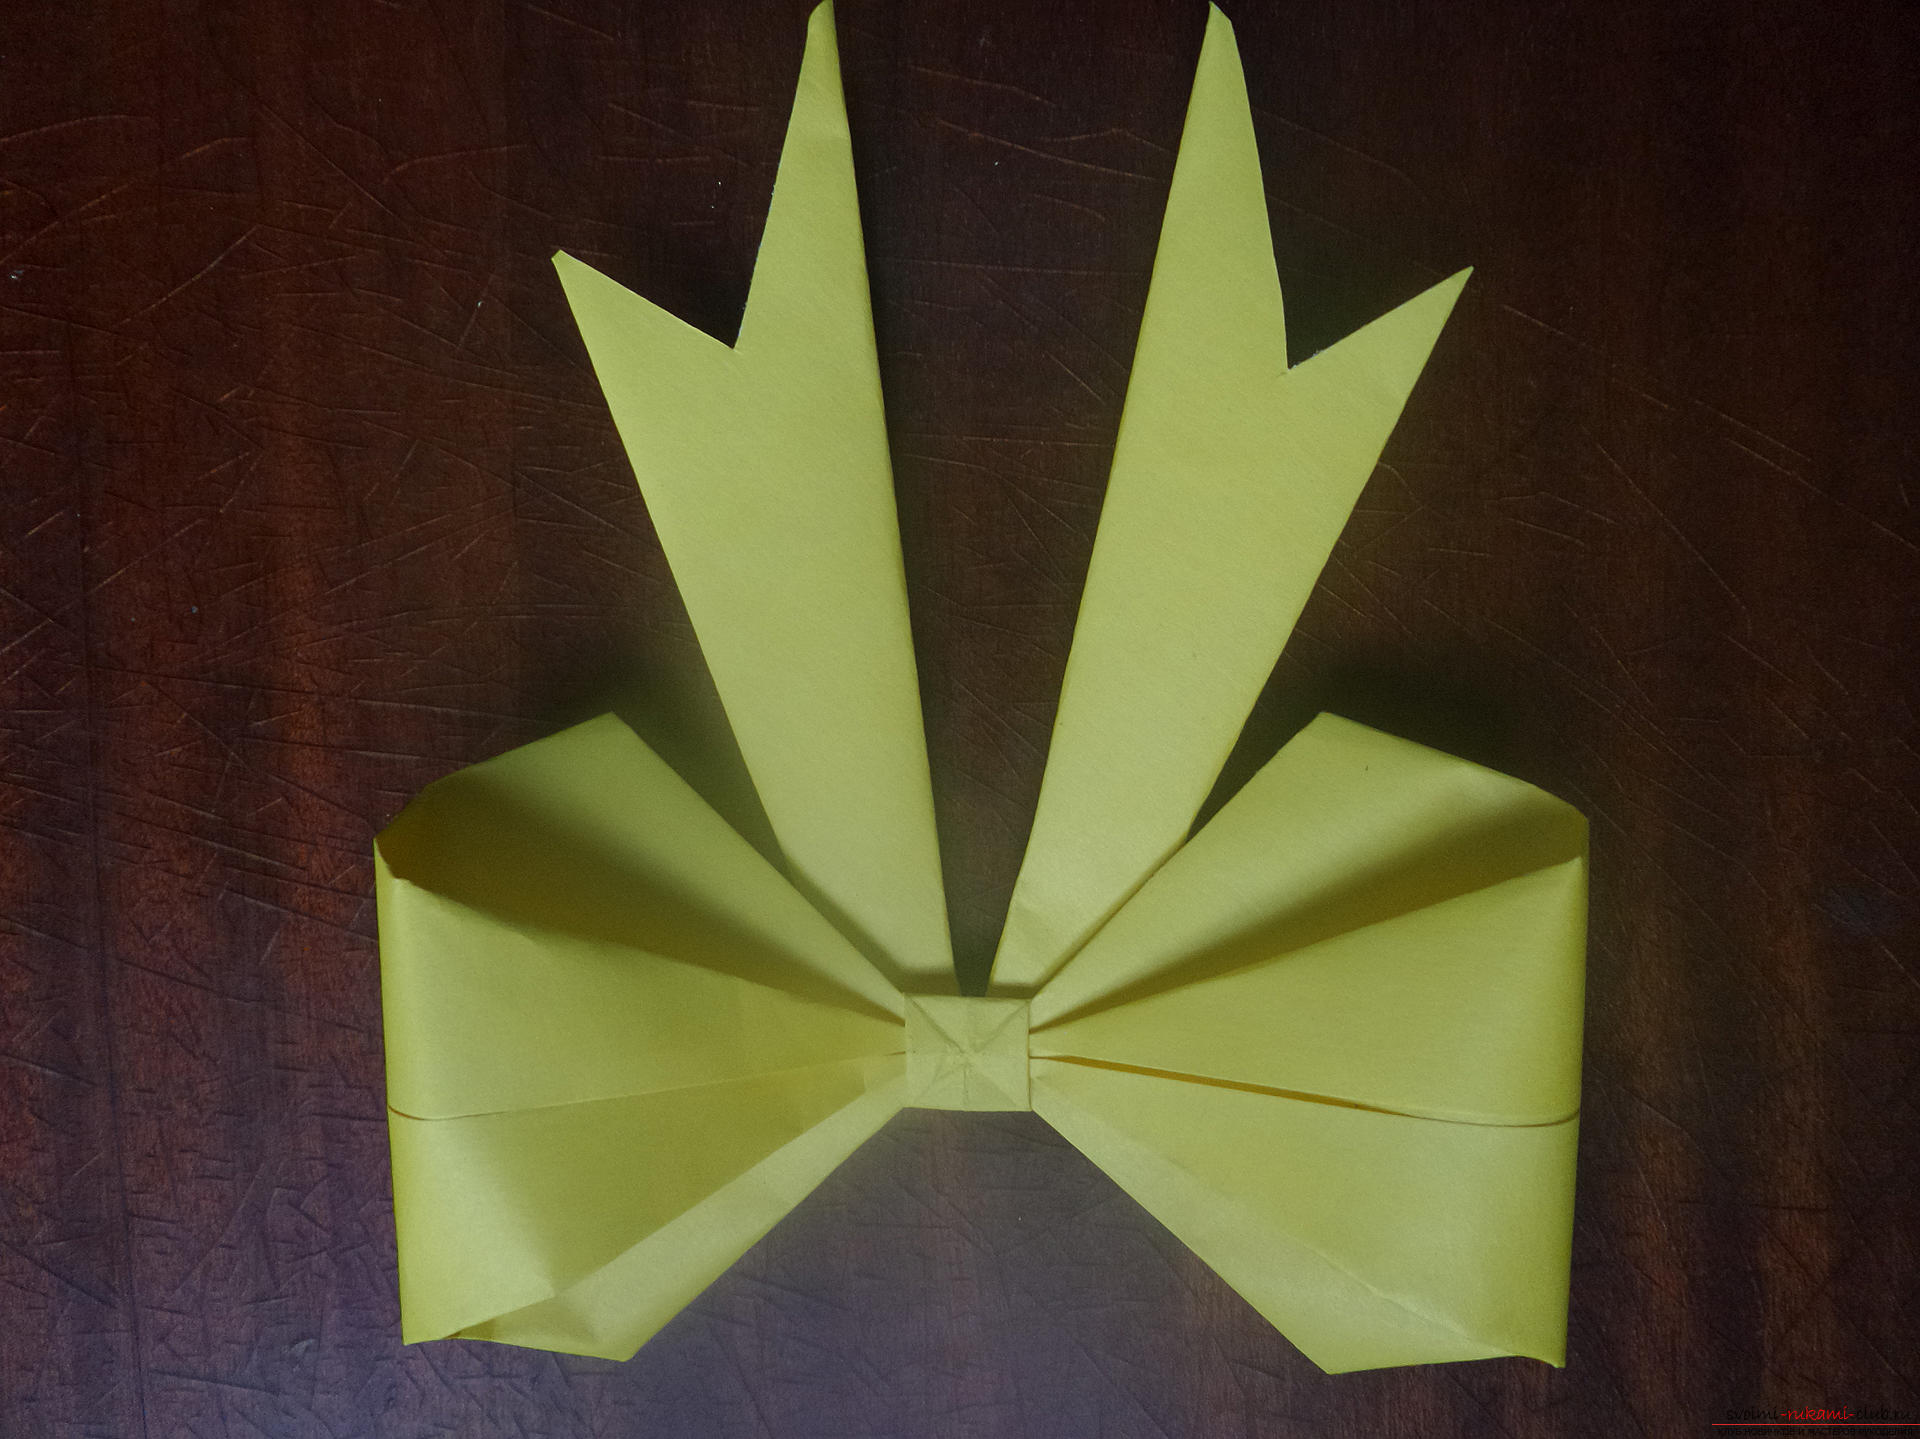 Where can I apply this bow?
Whatever a person does, the main thing is that it should be with desire, mood and patience. Then a positive and pleasant result will not keep you waiting, and the work will come out at 100!
Comments
Related posts:
 This master class is designed for those who want to learn how to knit Christmas decorations - sprockets
 This master class is intended for those who want to learn how to make a Christmas tree.
 This detailed master class contains an origami-dragon scheme from paper, which you can make with your own hands.
 This master class will teach you how to make original postcards on February 23 with your own hands.
 This master class will tell you how to make your own cards for Valentine's Day.