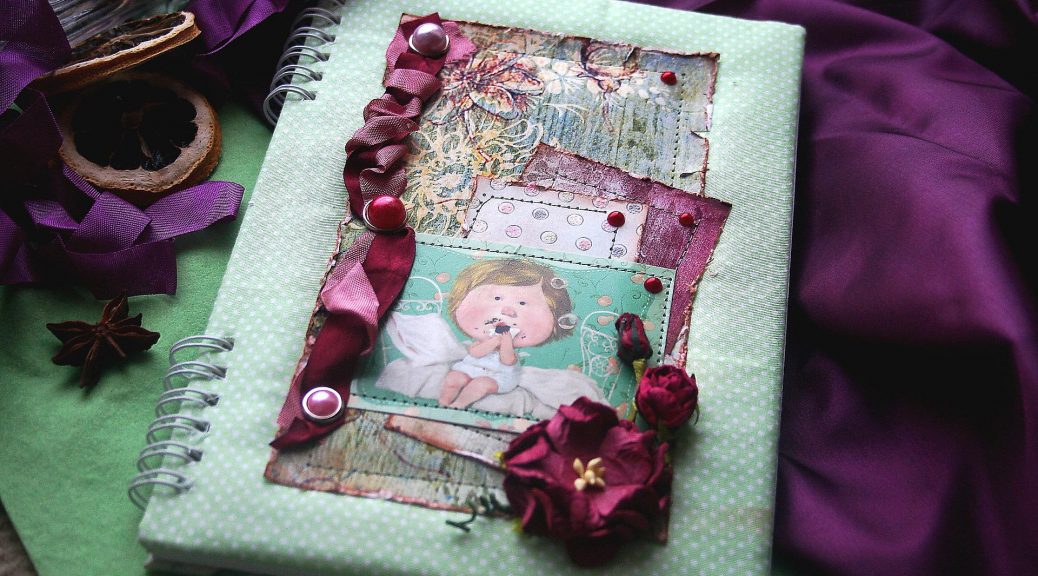
This master class will teach you how to create your own hand notebook in the scrapbooking technique
Gifts like to receive almost everything, alsomost love them and present them. But not always we can guess the wishes and tastes of our loved one. In this master class, I decided to invite you to create your own handsome notebook in the technique of scrapbooking. I am more than confident that such products will not only be interesting in their performance, but also desirable to any donee. The work we are going to be simple, but very interesting, and most importantly, that the result will be terrific. 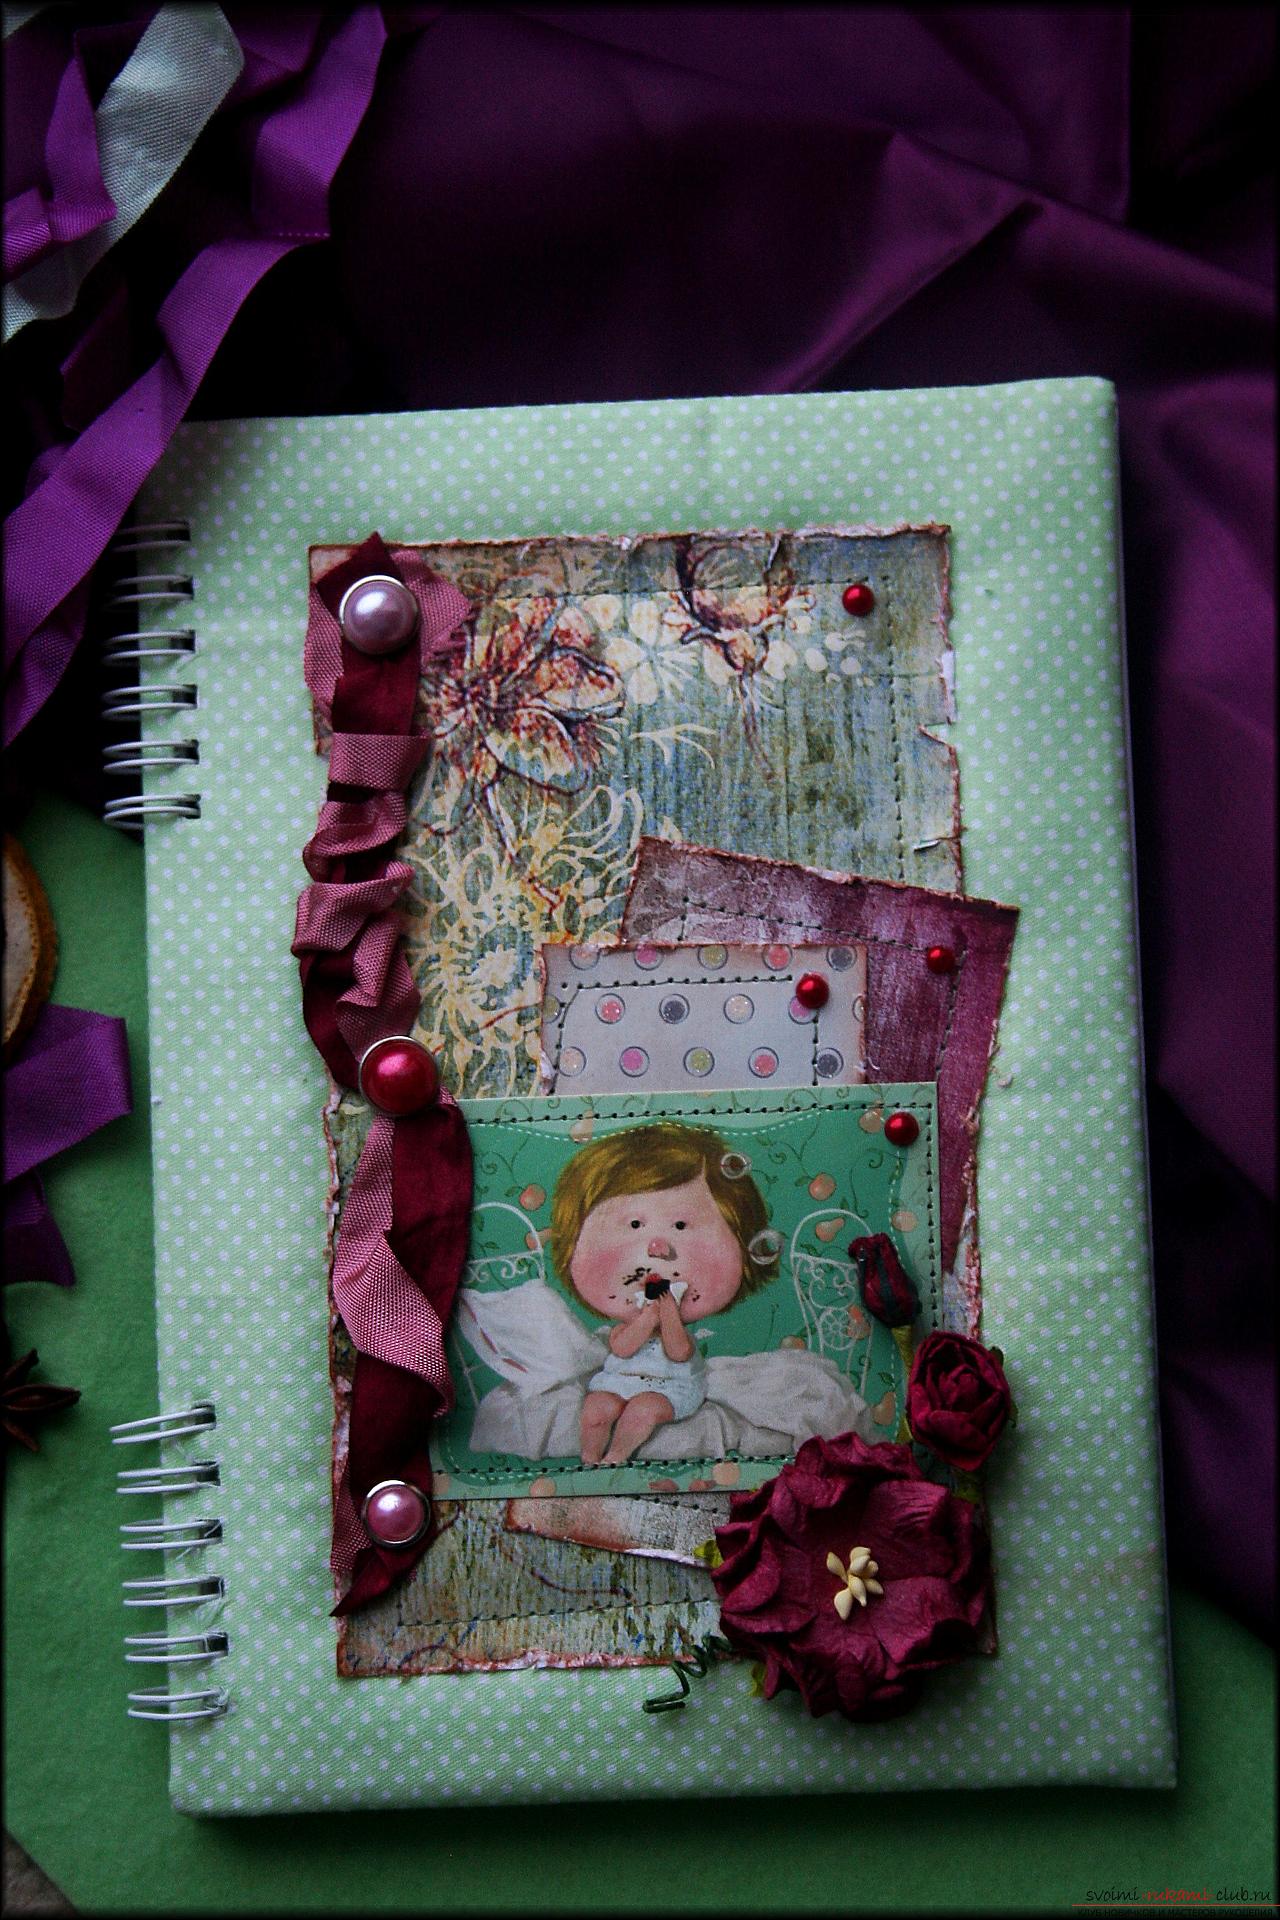 So, in order to start work on the product - notepad, we will need to prepare some material, namely:
- A4 sheets printed, cut into halves;
- two pieces of cardboard for binding;
- sintepon;
- a two-color ribbon;
- scrapbooking paper;
- picture;
- brads;
- flowers for scrapbooking;
- half-beads;
- Stamp pad with acrylic paint;
- scissors;
- stationery knife;
- line;
- two types of fabric;
- paper for the fly-leaf.
When all the material is ready, we proceed to createnotepad on spirals. Let's start with the formation of the cover. To do this, take two types of fabric, smooth them with a hot iron. Take also cardboard for binding.  We cut the cardboard, A4 format into two parts with the help of an ordinary sharp clerical knife.
 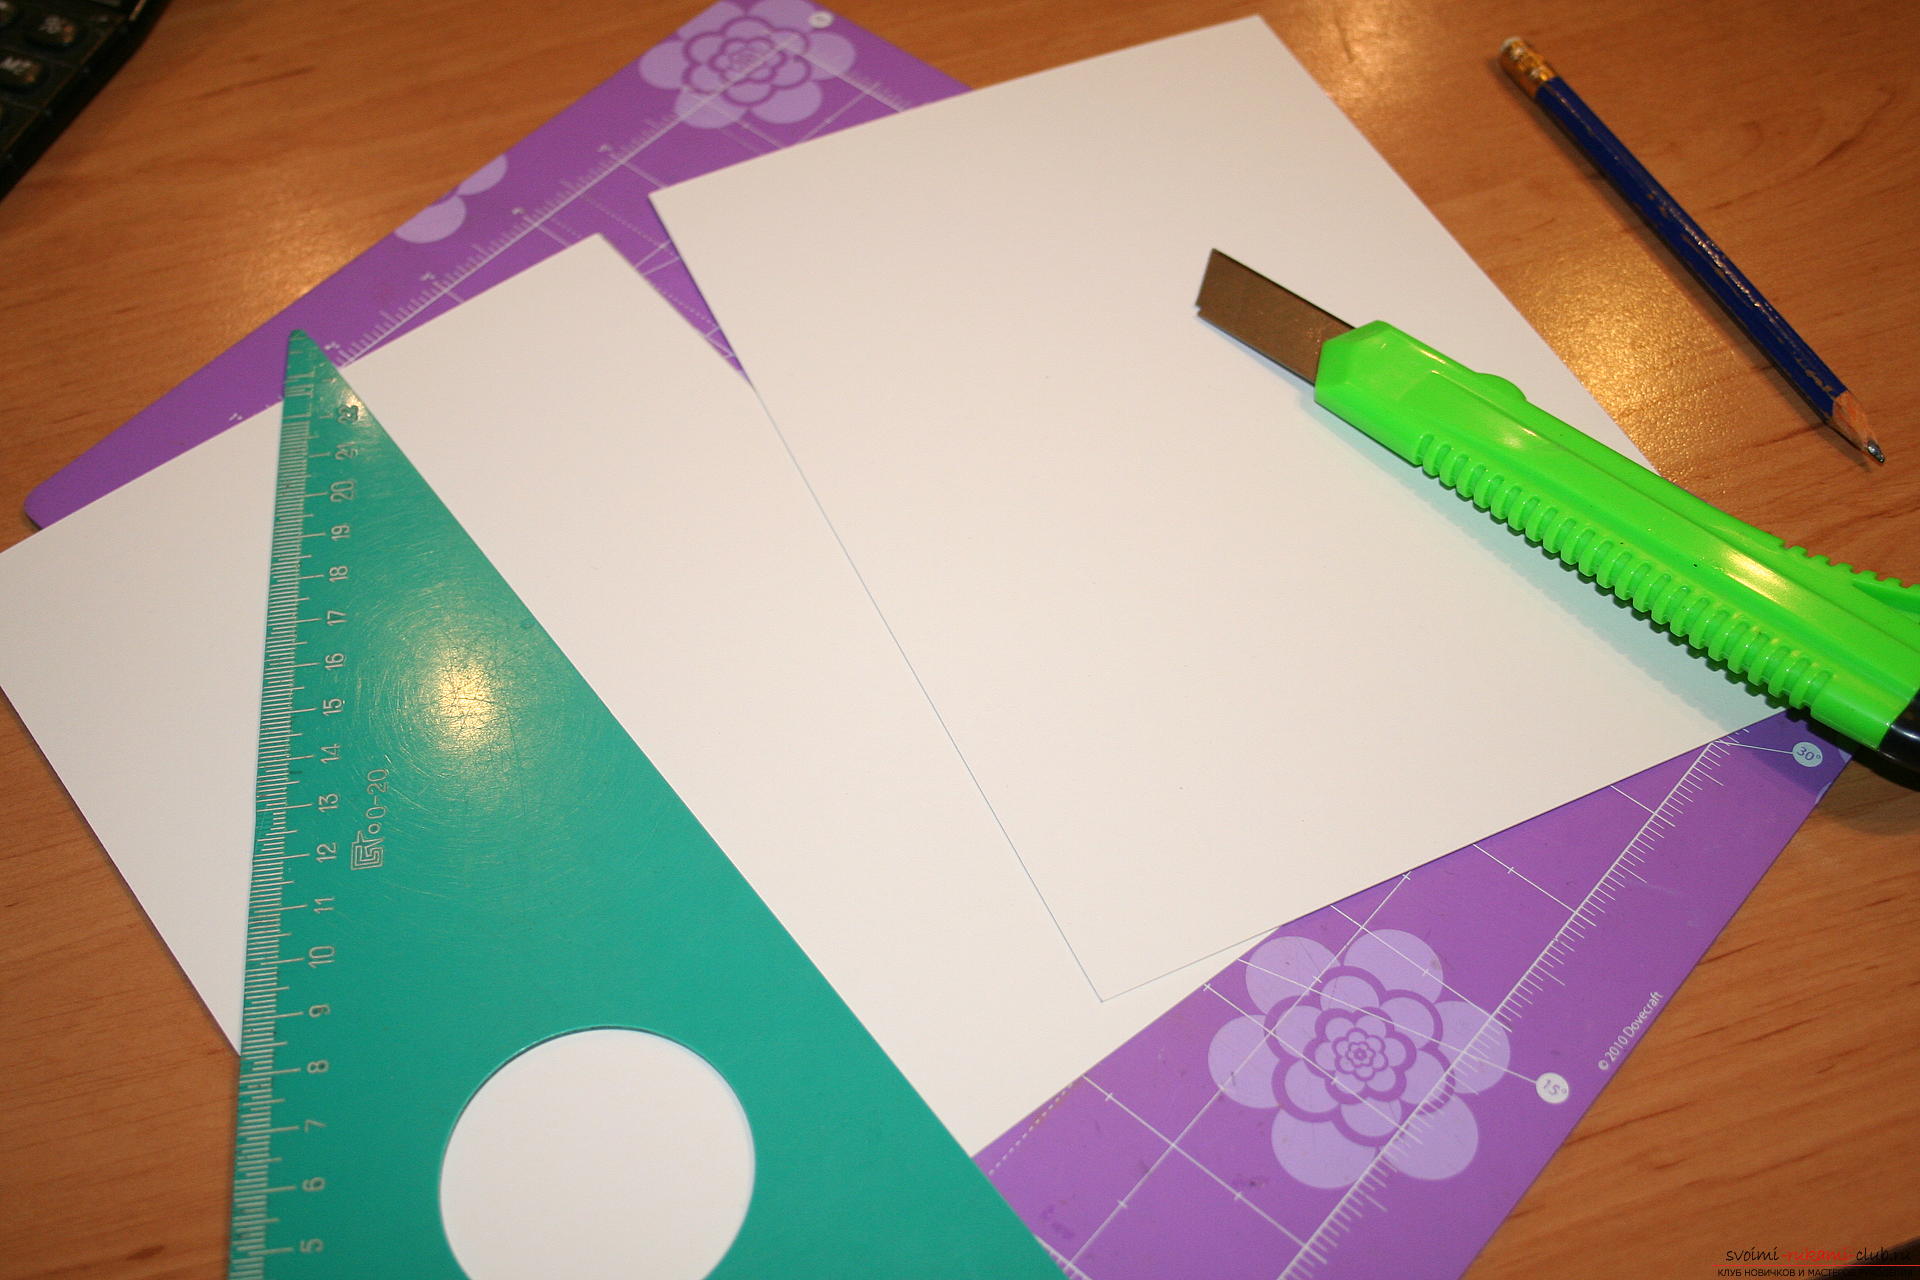 Let's take a piece of thin synthon for two parts of the cover. Cut them according to the size of the cover with allowances on the sides about 2-3 cm.
  We will arrange these segments on the cardboard from the front side. And then we cut the edges of the sintepon with scissors, protruding beyond the cardboard base.
 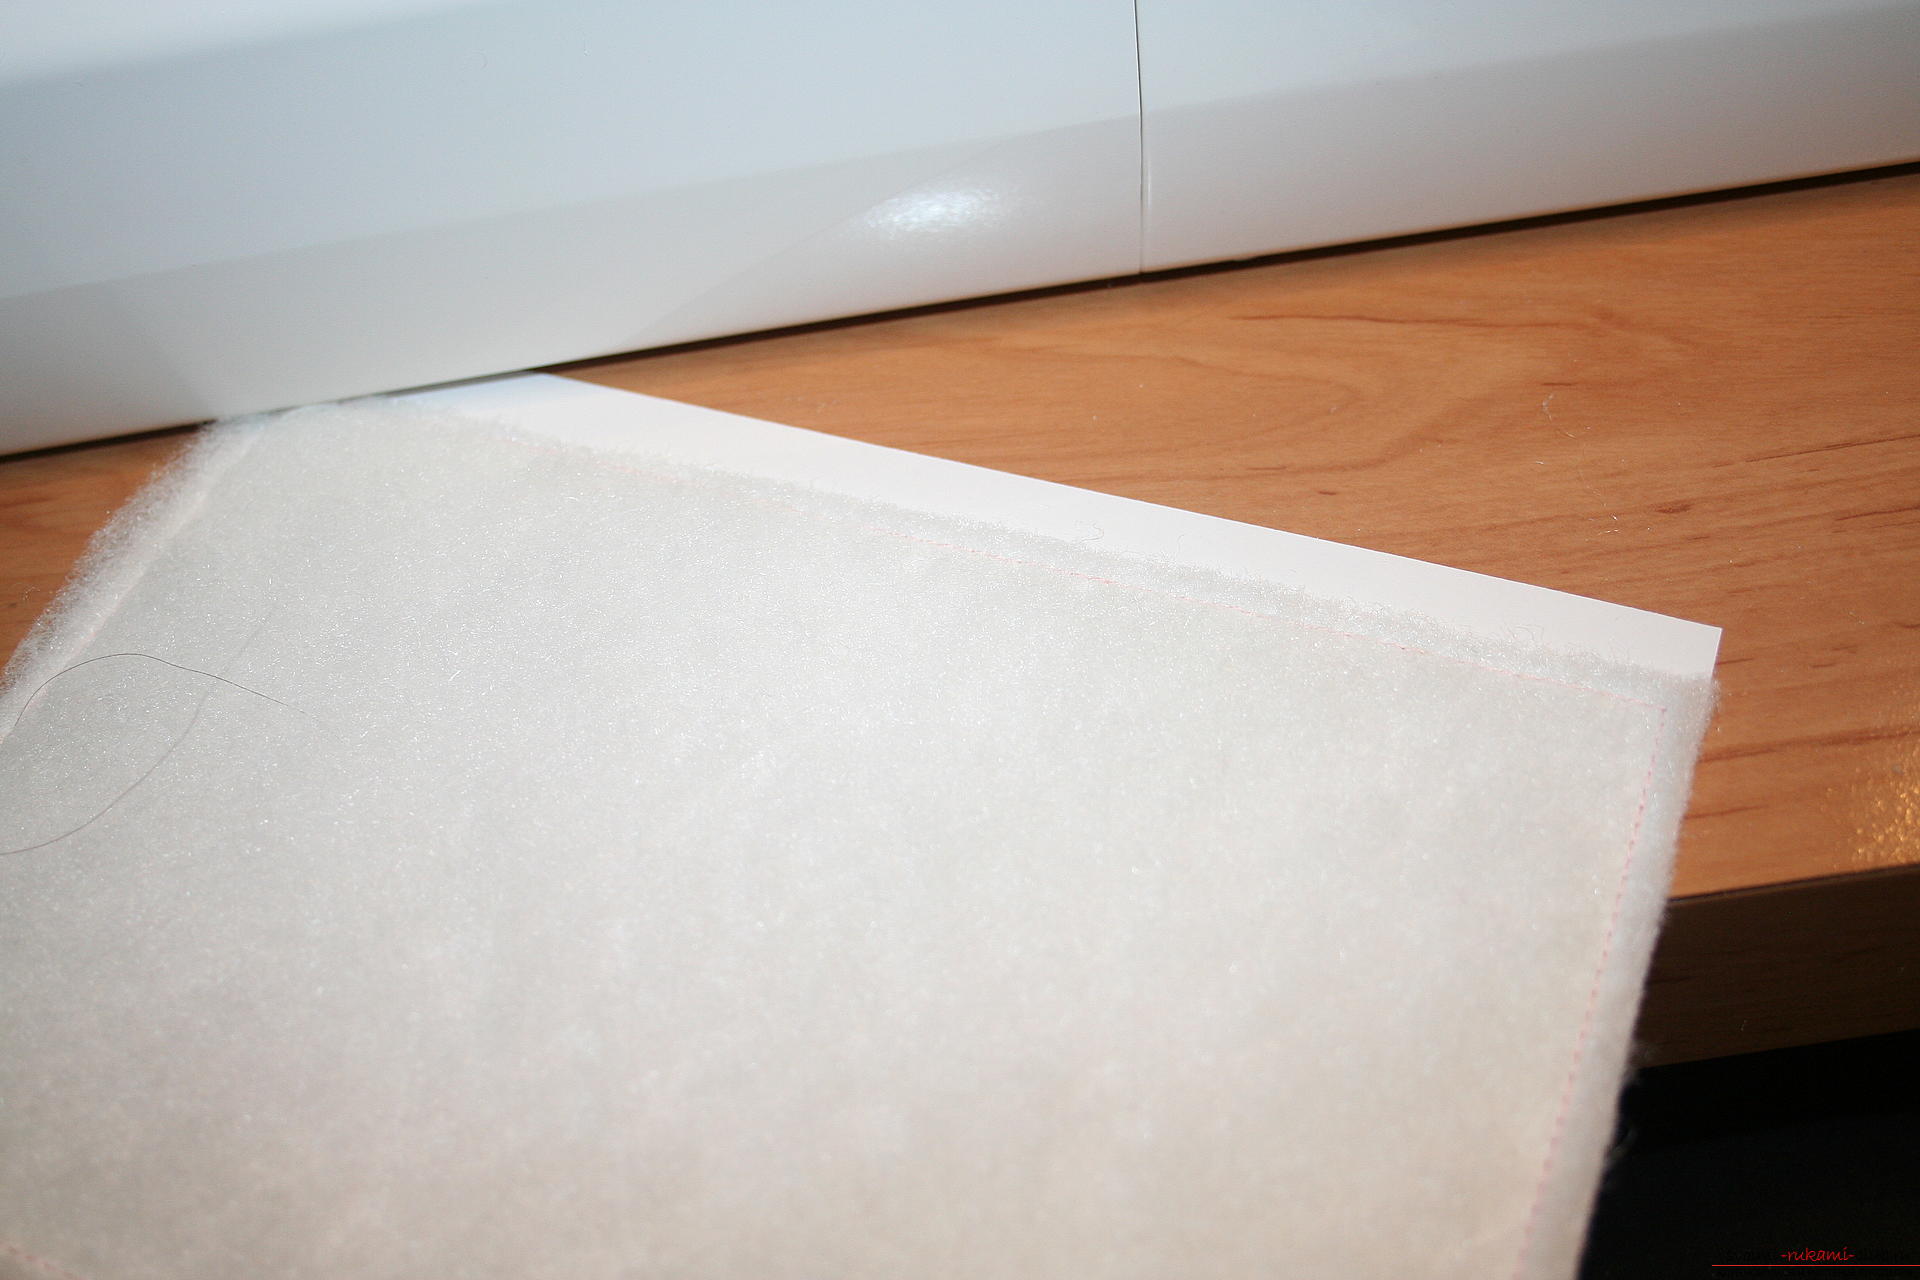 Prepare two pieces of fabric for two sidescovers. Cut them with the allowances on the sides in 1,5-2 cm. We bend along the edges of the fabric. We detach the cover from the front side at a distance of 0.5 cm from the edge. Then we attach the flyleaf from the paper for scrap. And we will bind the cover with spirals, with prepared sheets cut halfway. That is, we have prepared the inside with you. I have handed over on a binding sheets with a ready cover in department of a x-copy. And I got a neat binder there.
  Now we prepare the paper and the picture for the decor. We cut the paper in different sizes. The main color of the paper is a large rectangle, the second is smaller by two or three times, and the third is even smaller. Also trim the edge and illustration.
 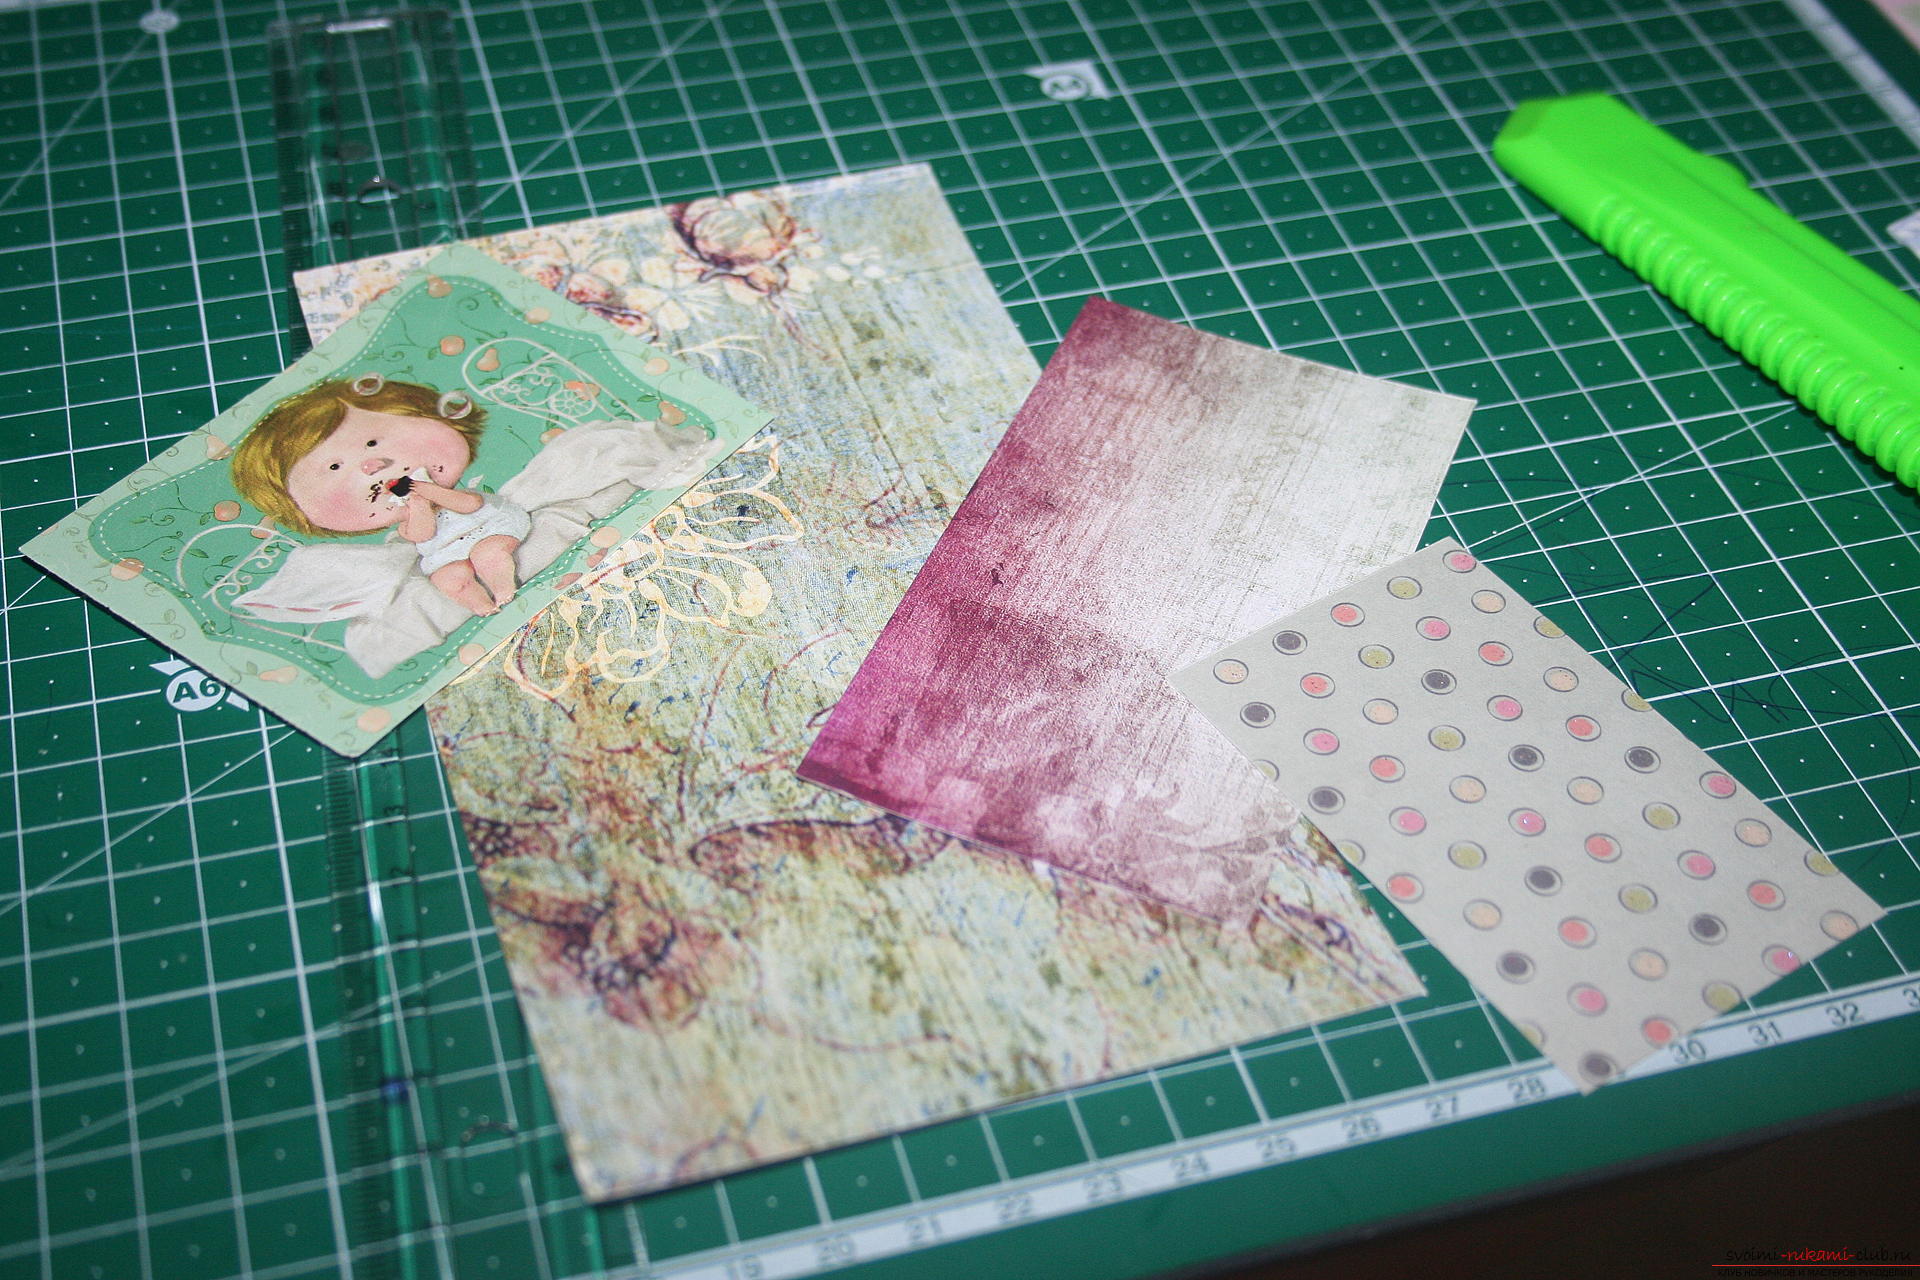 Shade the edges of the prepared paper with acrylic paint using a stamp pad.
  The edges of all the blanks of paper will be made with the help of a sharp blade of scissors, as seen in the photo. Make a few more cuts, creating the effect of an aged and shabby book.
 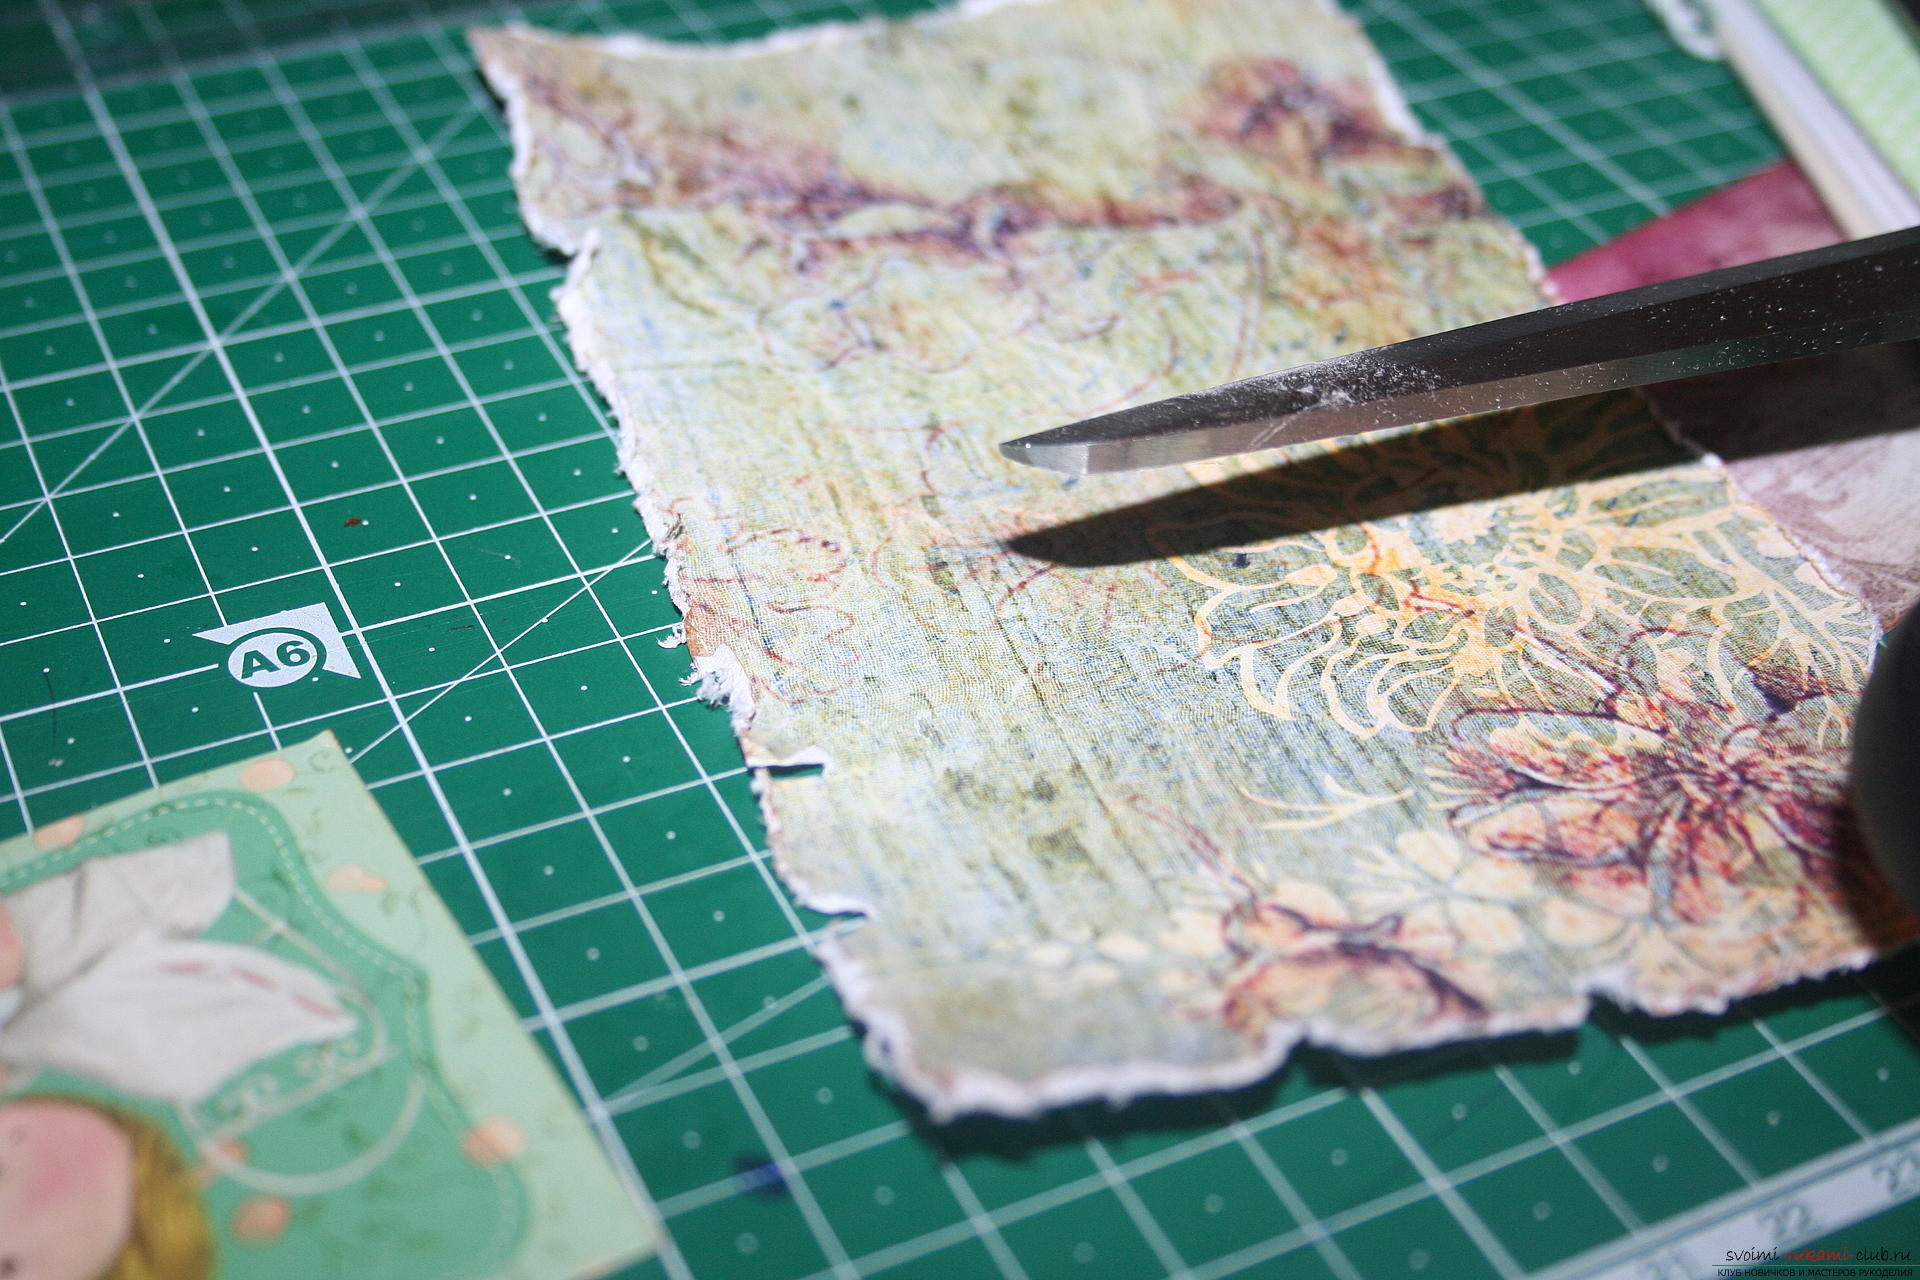 We will also deal with other segments. This is clearly seen in the photo below.
 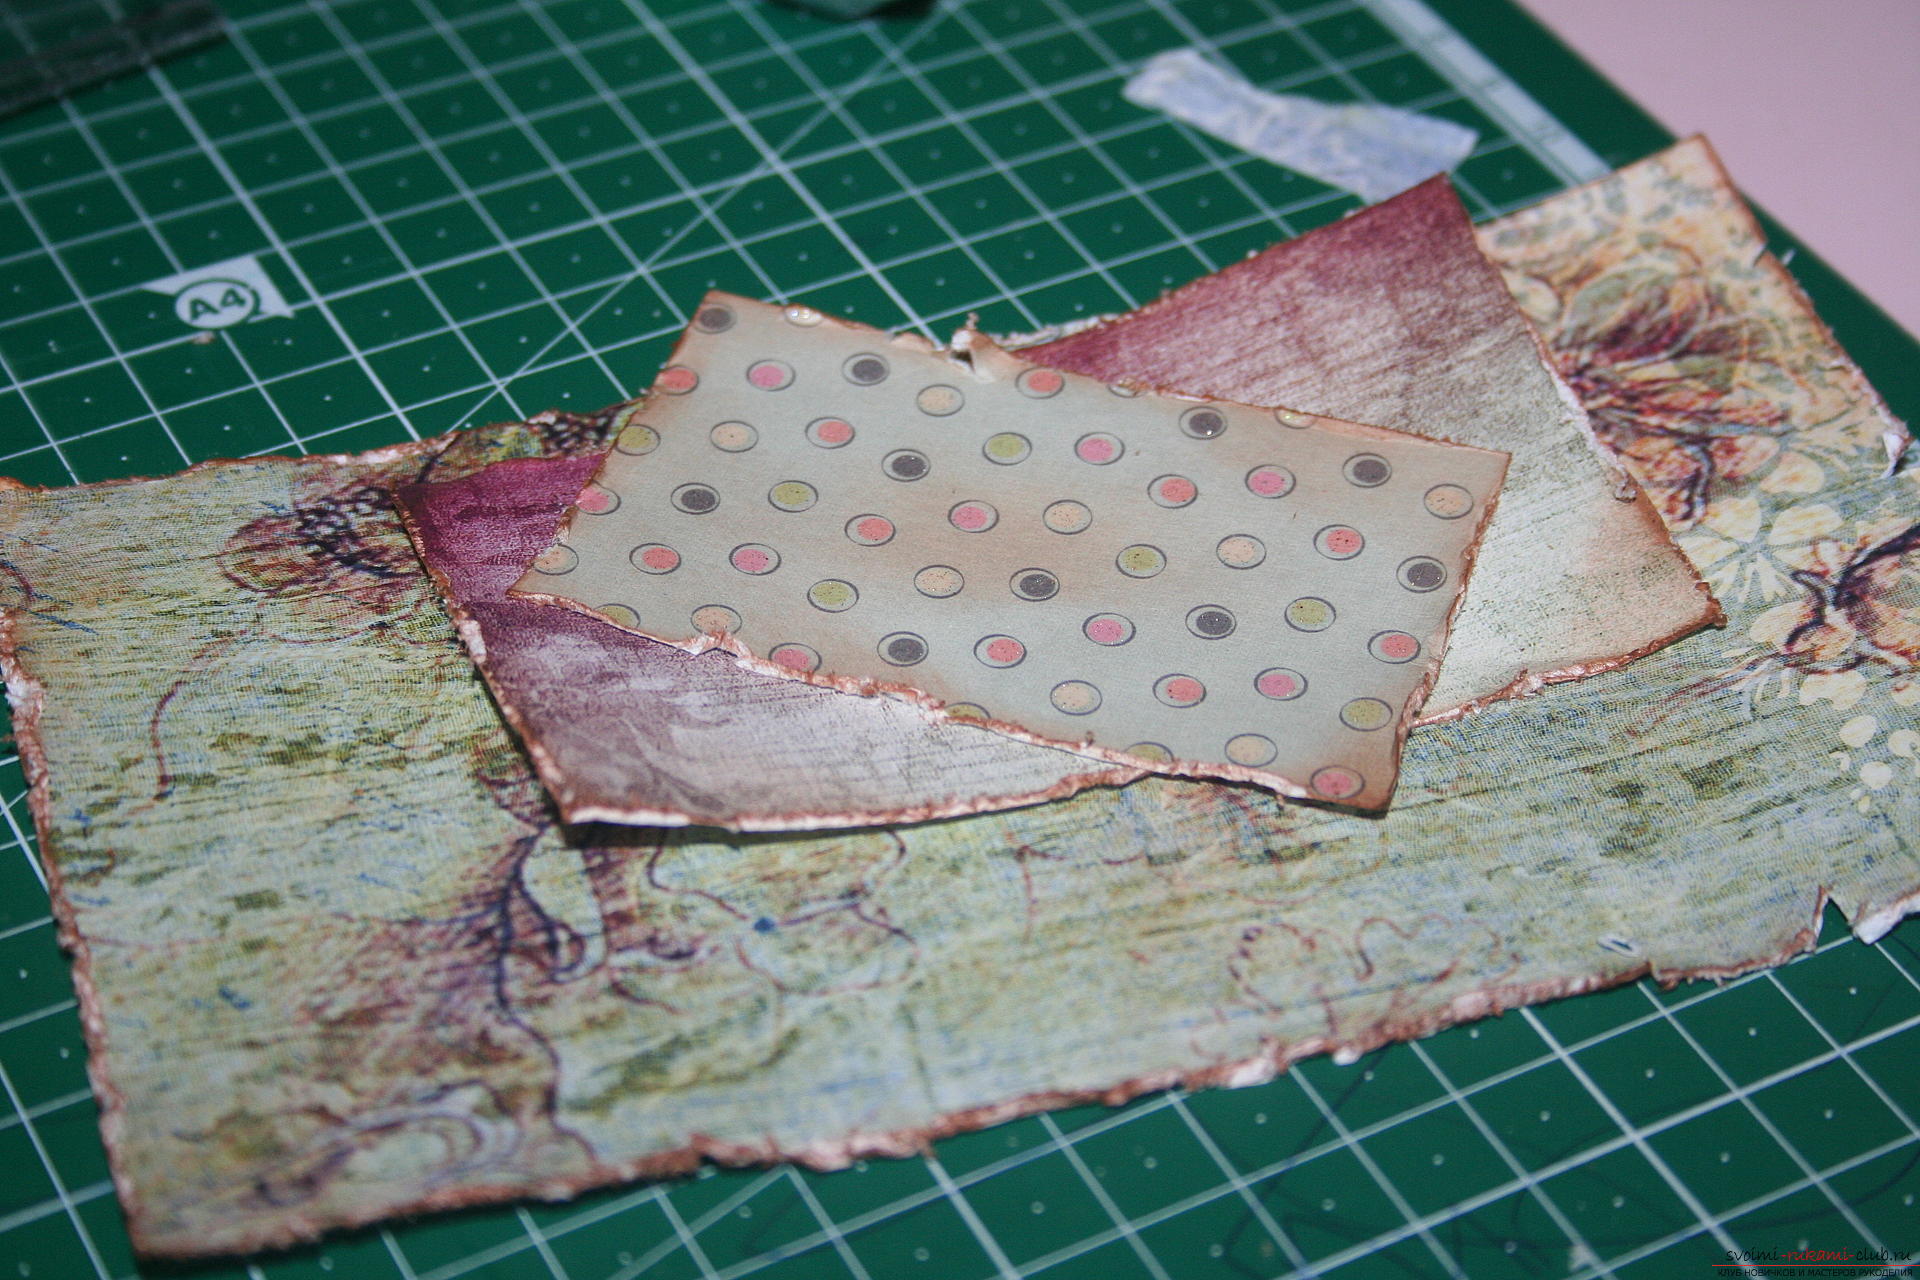 We sew the machine line with the first piece of paper the largest.
 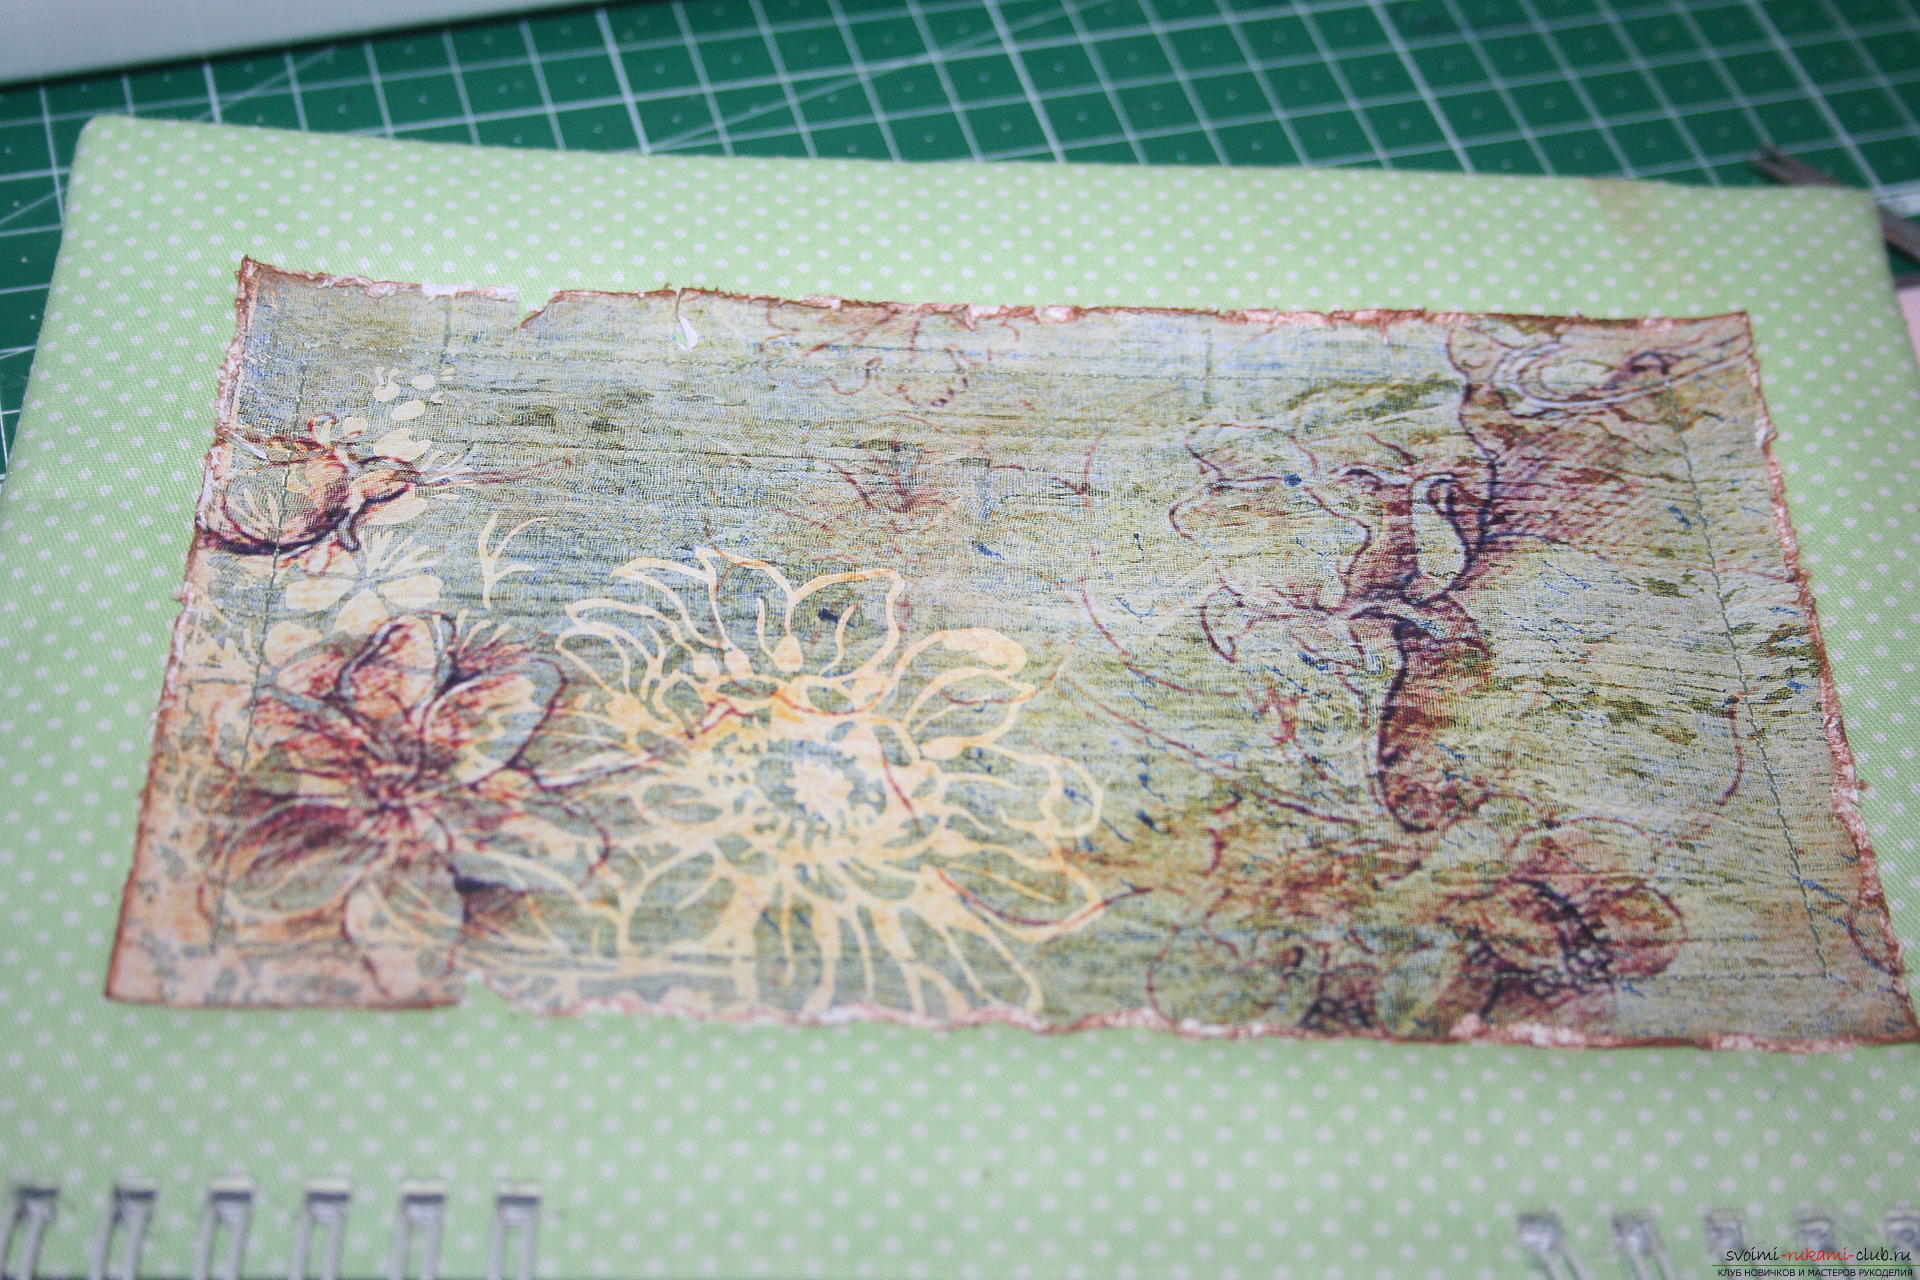 After that, adjust the rest of the paper with a shift in different sides.
 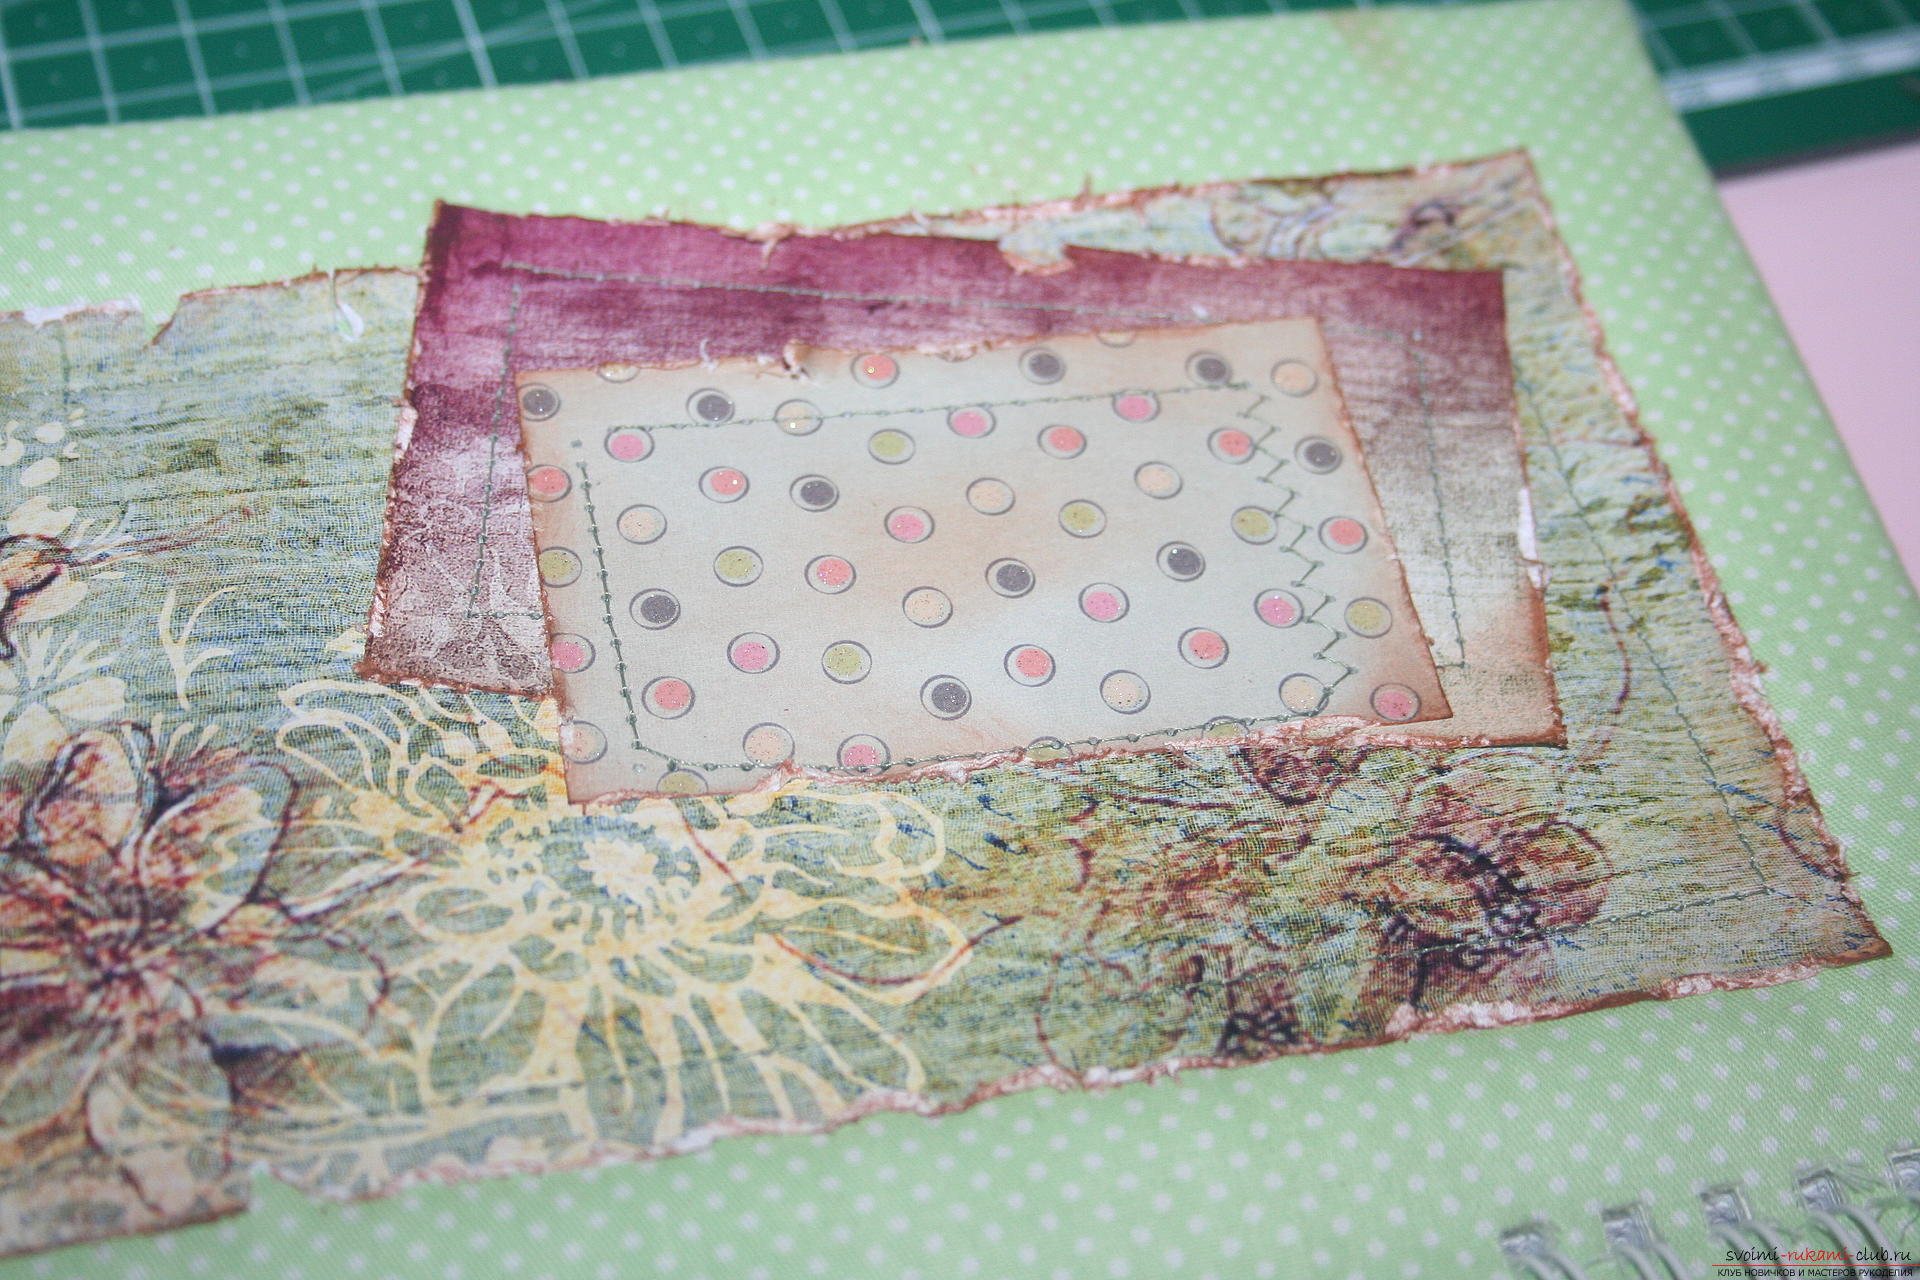 The illustration is our last. All pictures and paper are sewn from the edge in 0,5-0,6 mm.
  Then along the edge on the left side, we lay two shades of the ribbon of the tape, gluing it in some places with glue and fixing with brads.
 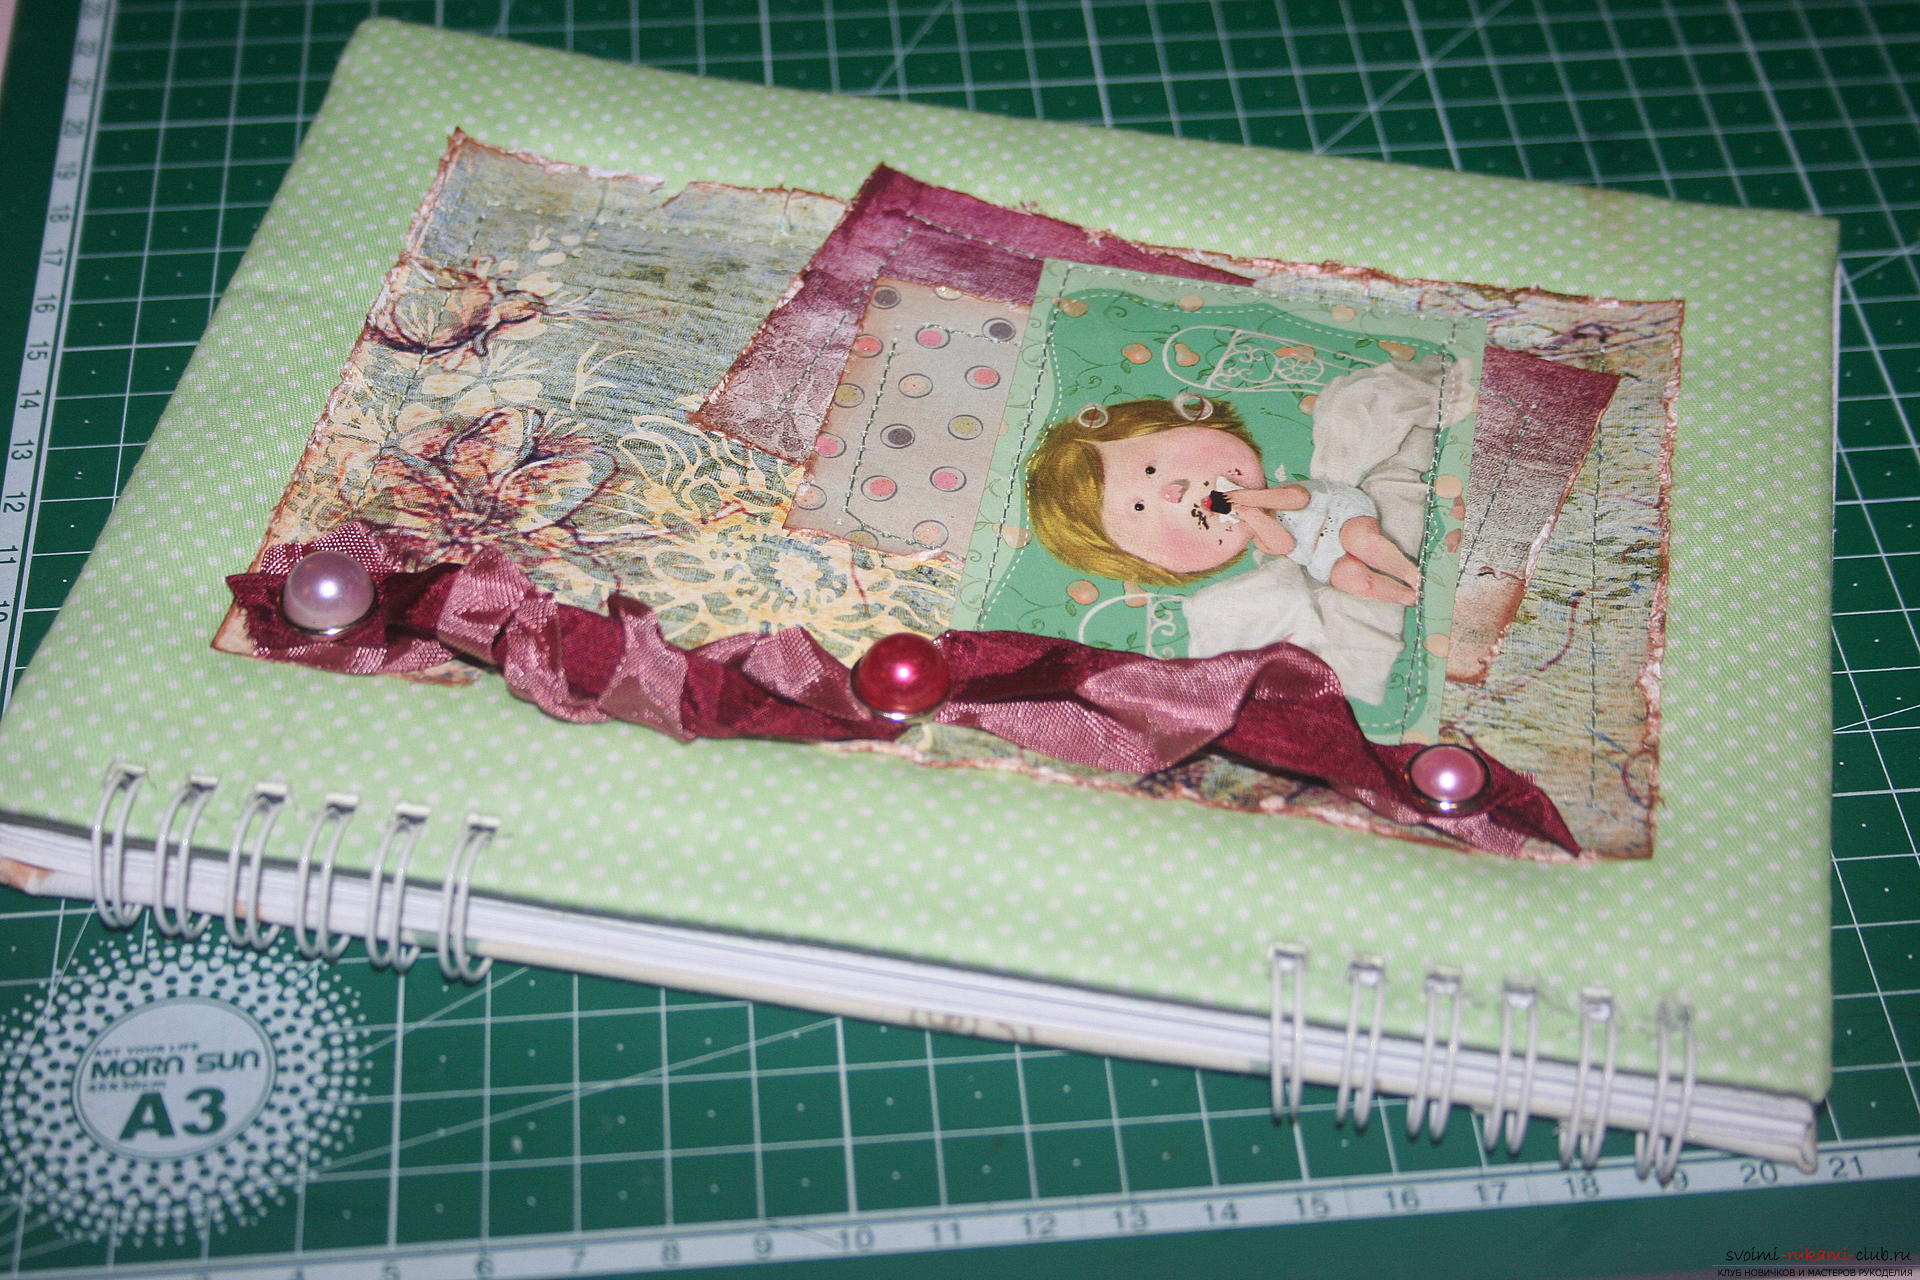 Take flowers for scrapbooking.
 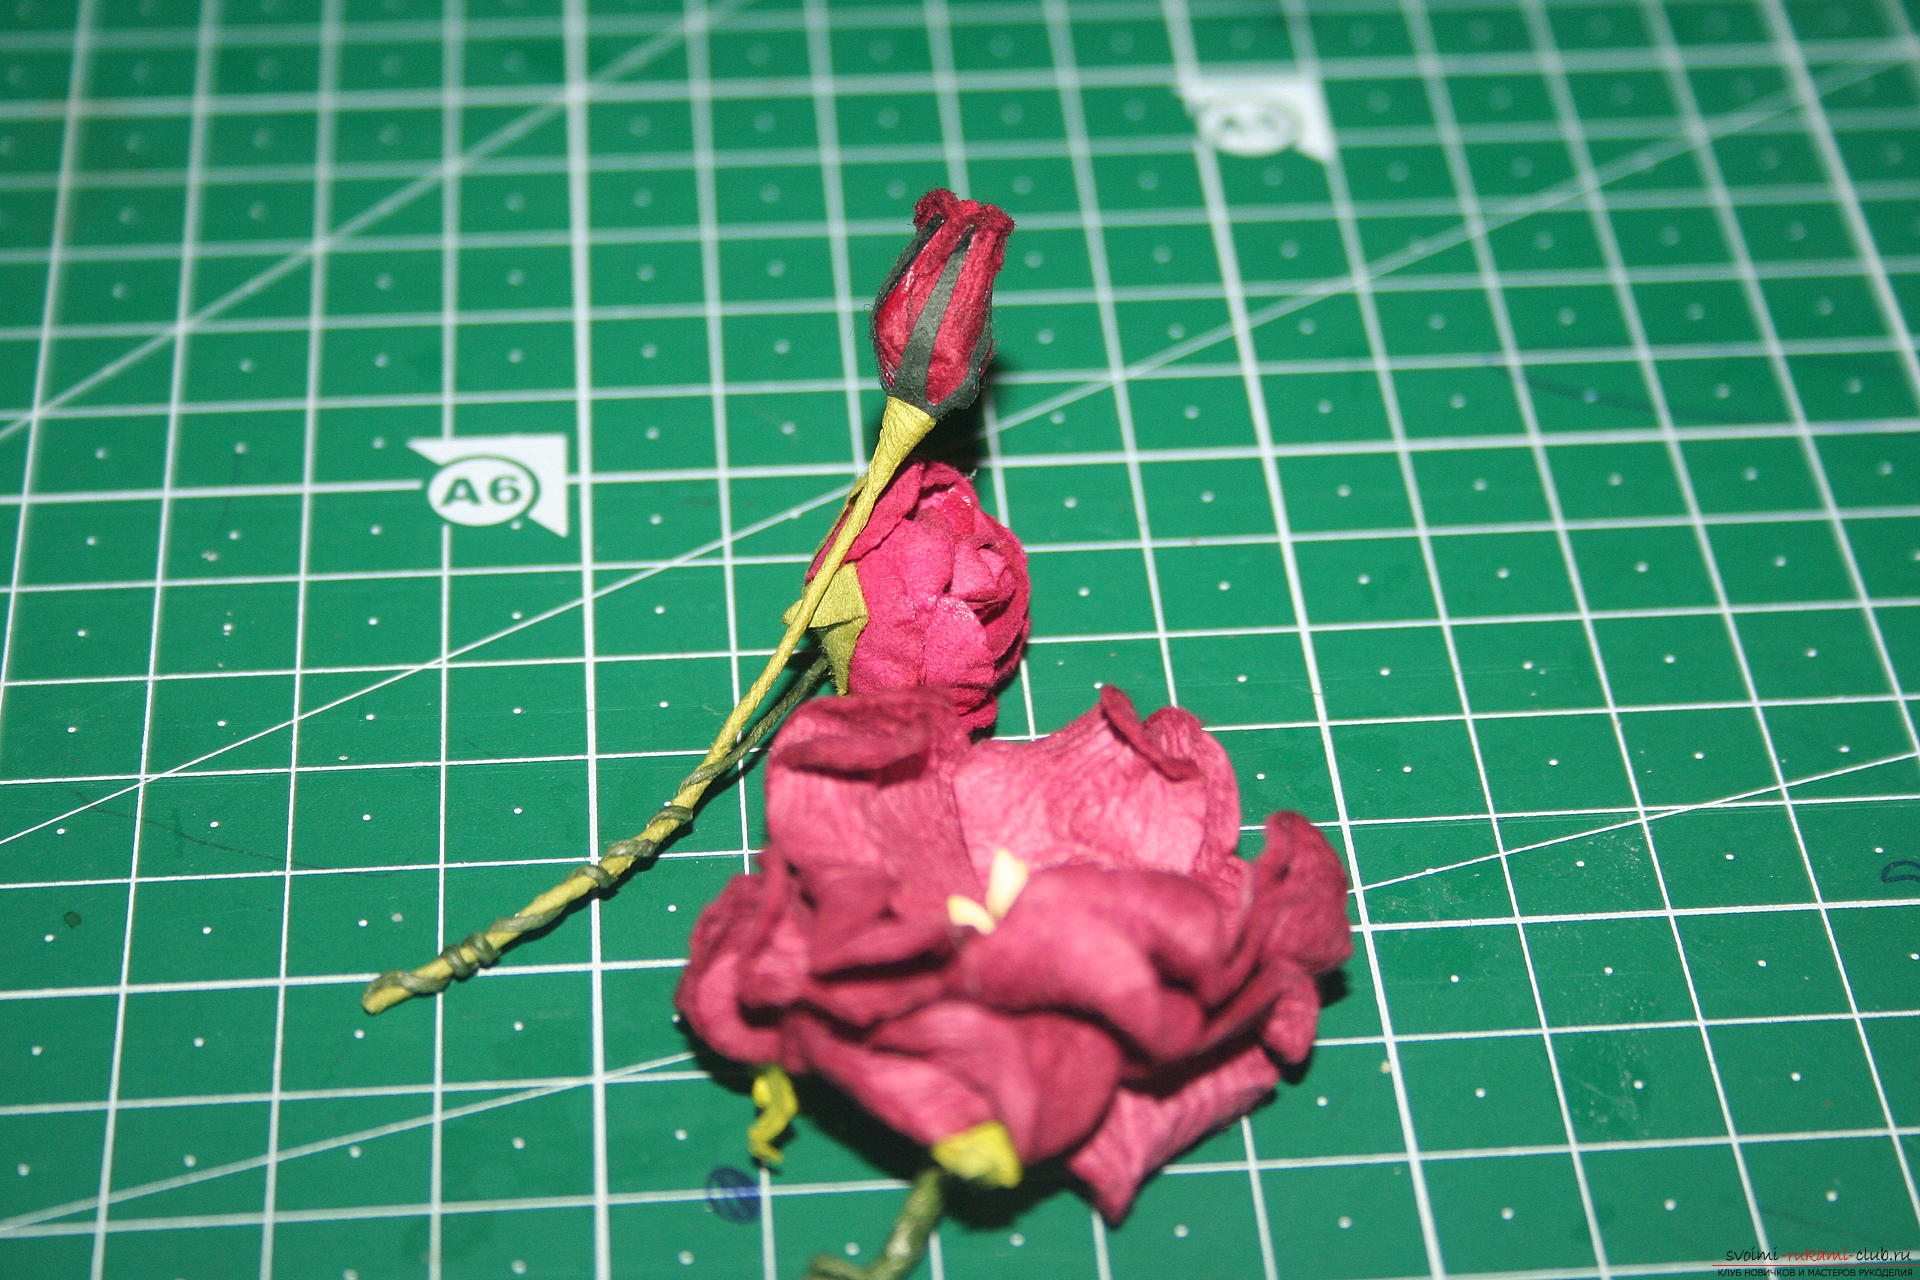 We glue these flowers, forming a small bouquet. Then add a little more half-beads for beauty, as seen in the photo. And now it's safe to say that the cover is ready.
  Since we have been sewing all the decor already with ready fly-sheets, we need to close the seams, which we stitched after that. To do this, we will form an envelope of paper. Take a square sheet.
 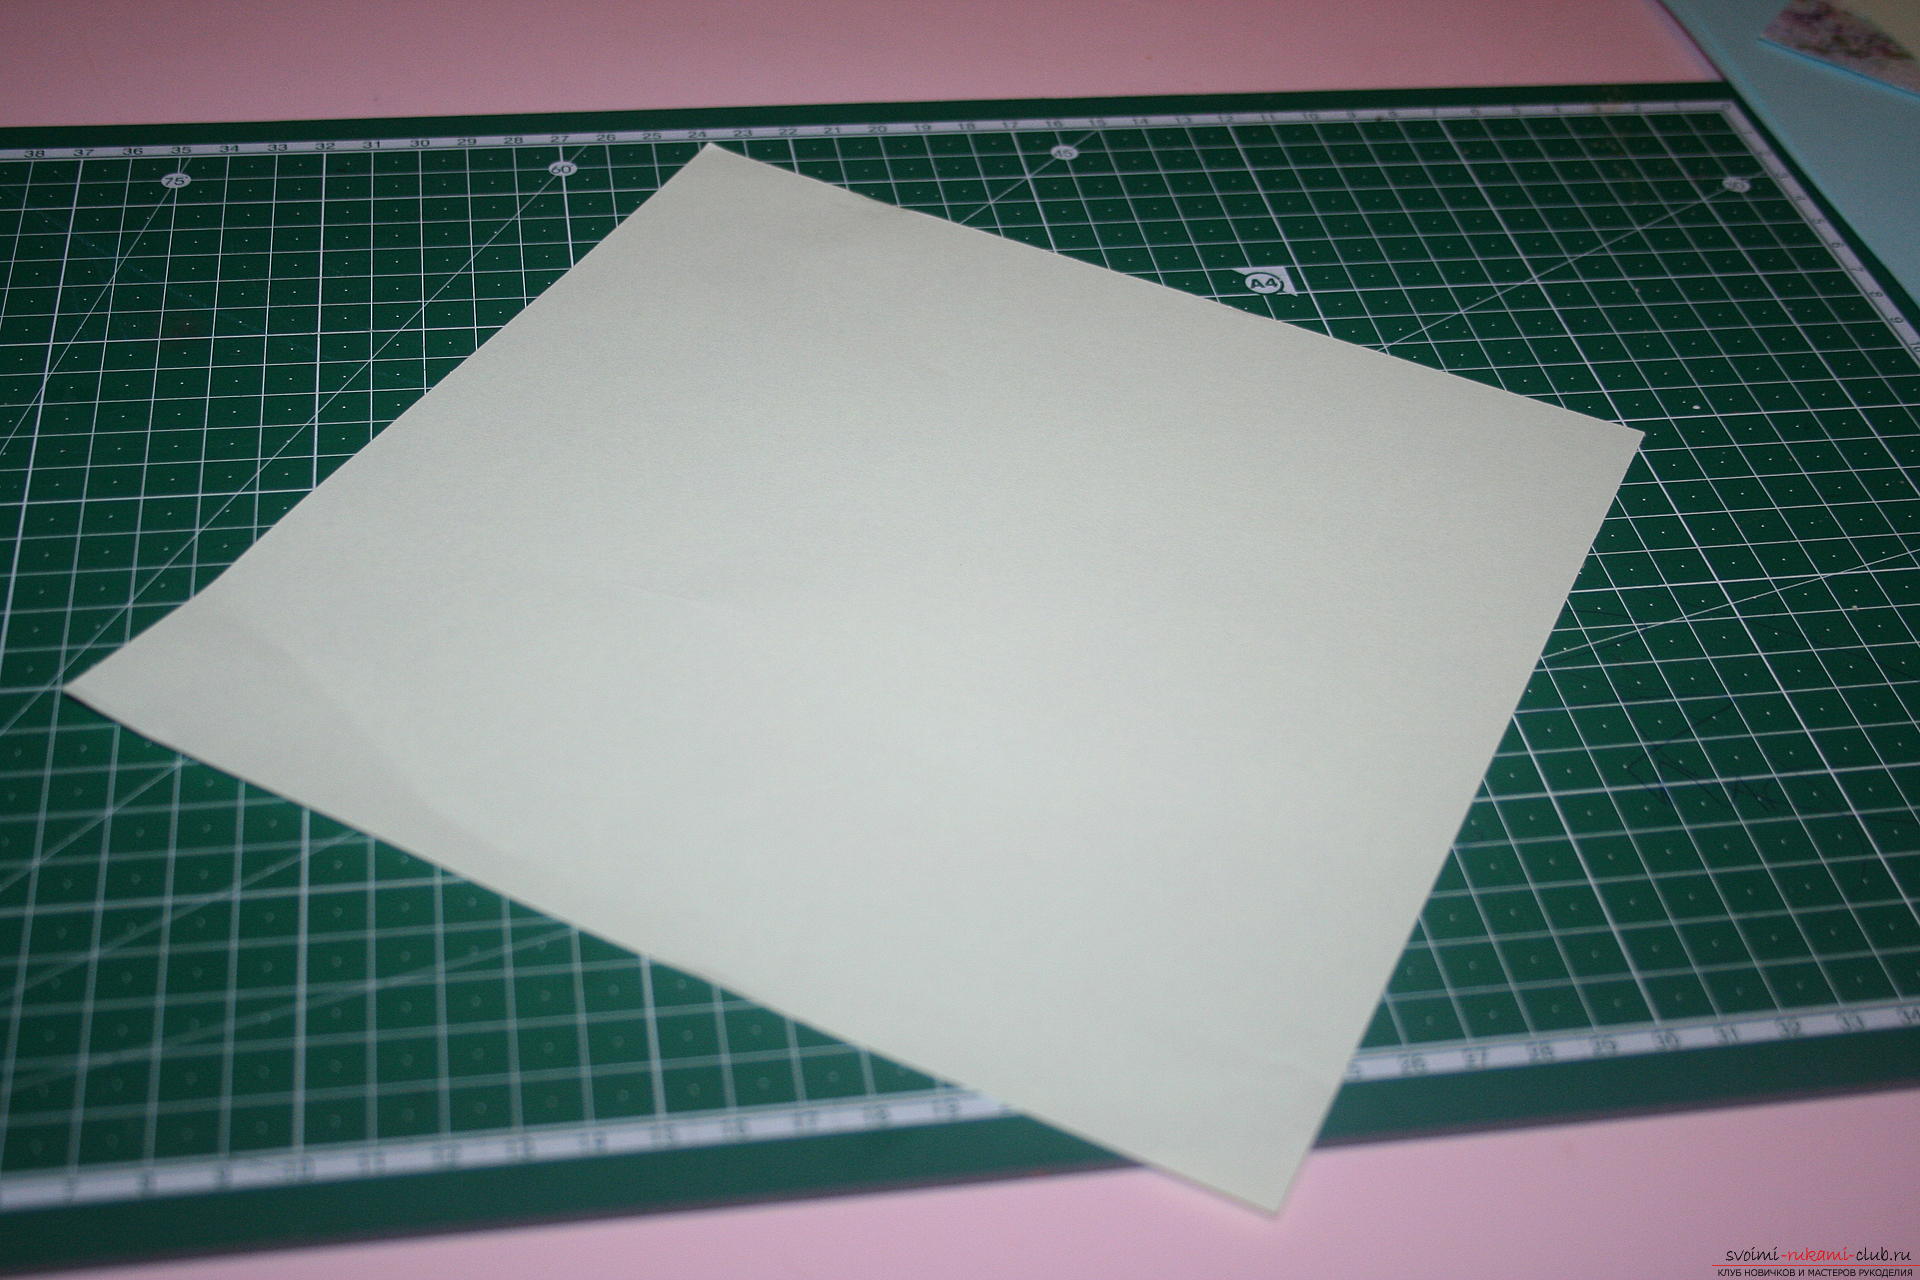 We bend it to the center, as seen in the photo.
 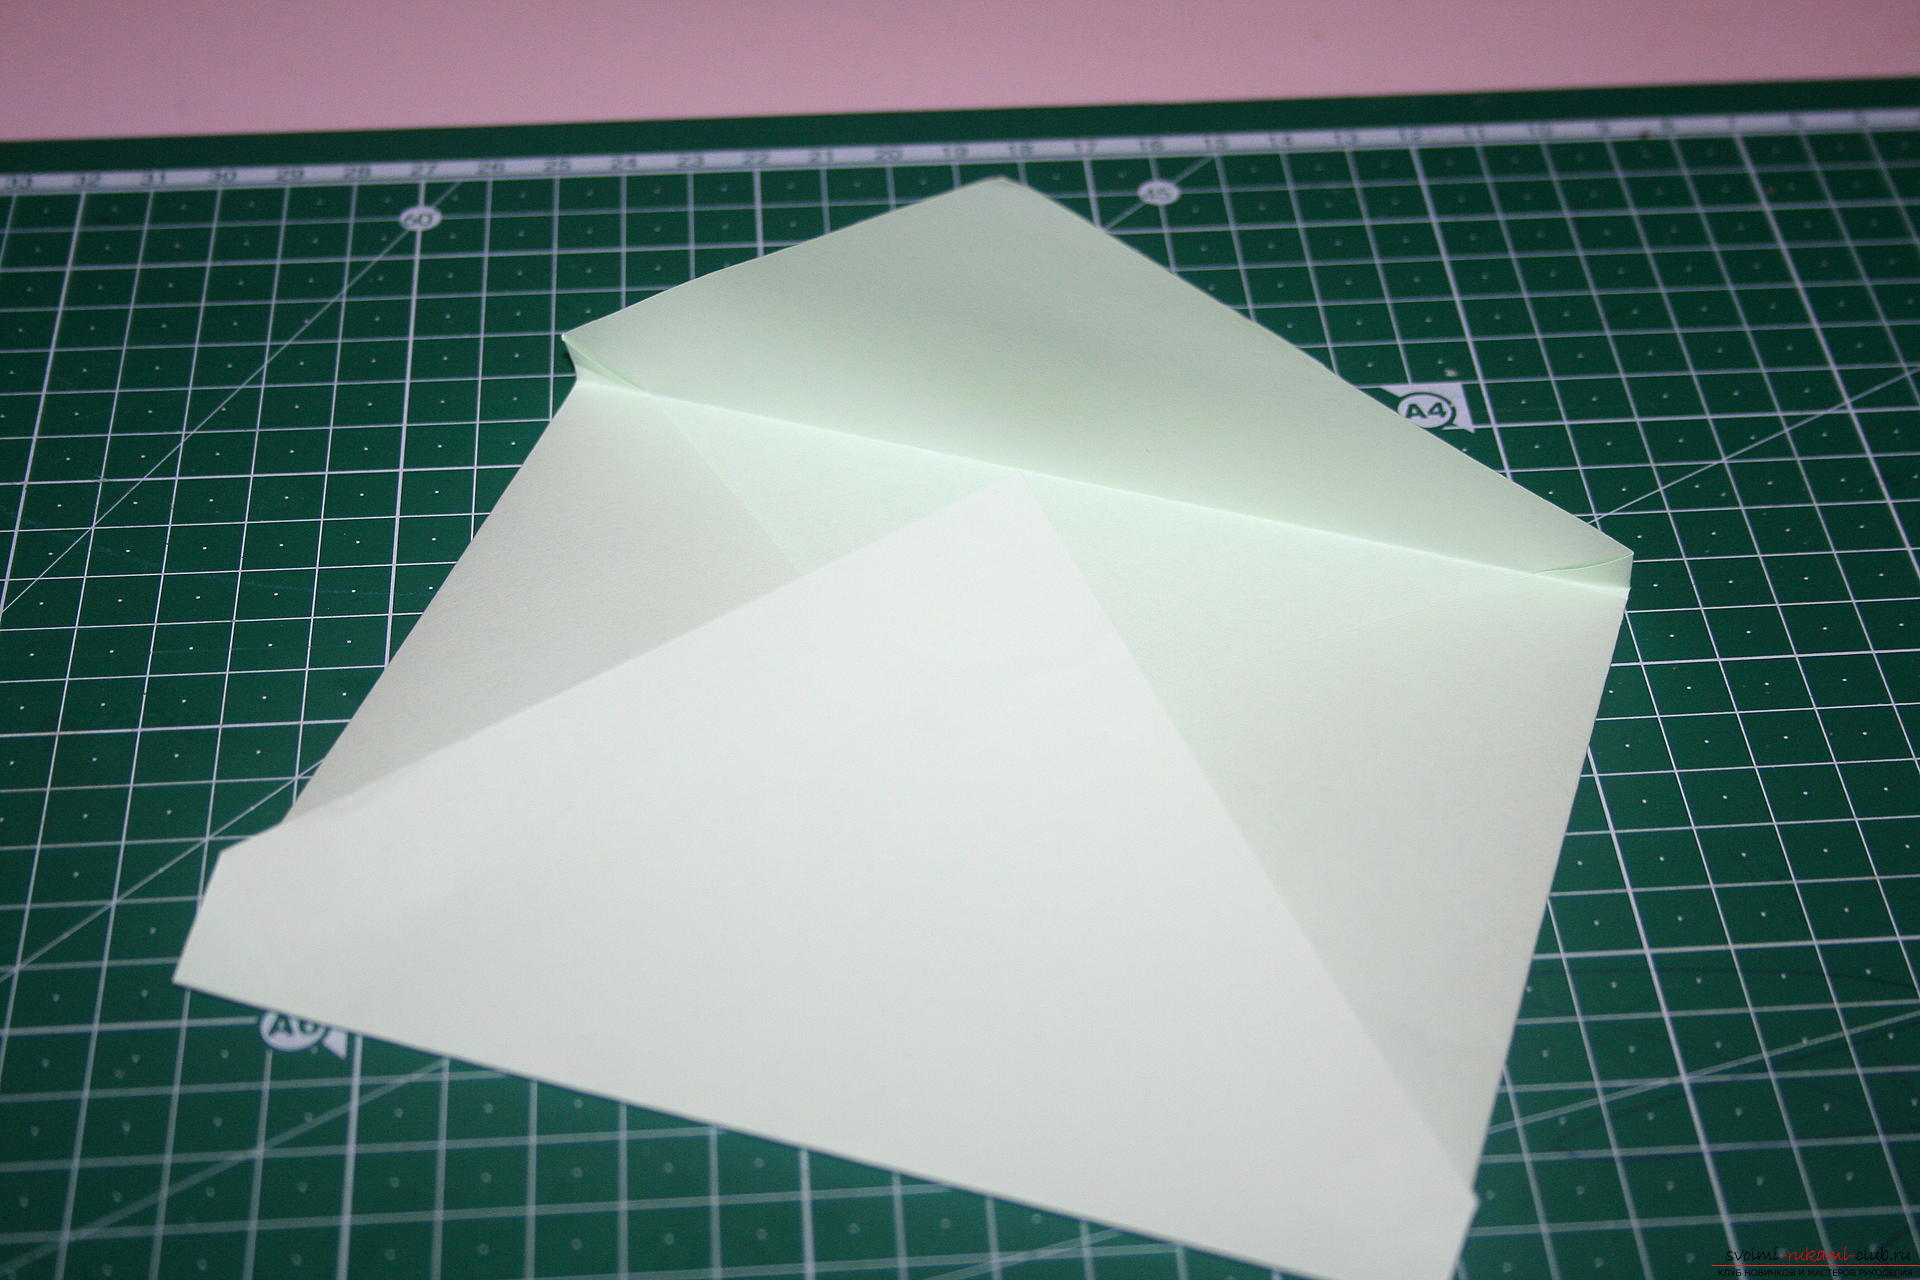 We glue an envelope, it will be necessary for us to store various trifles. The main thing is to glue it gently so that nothing sticks together.
  Notepad is ready!
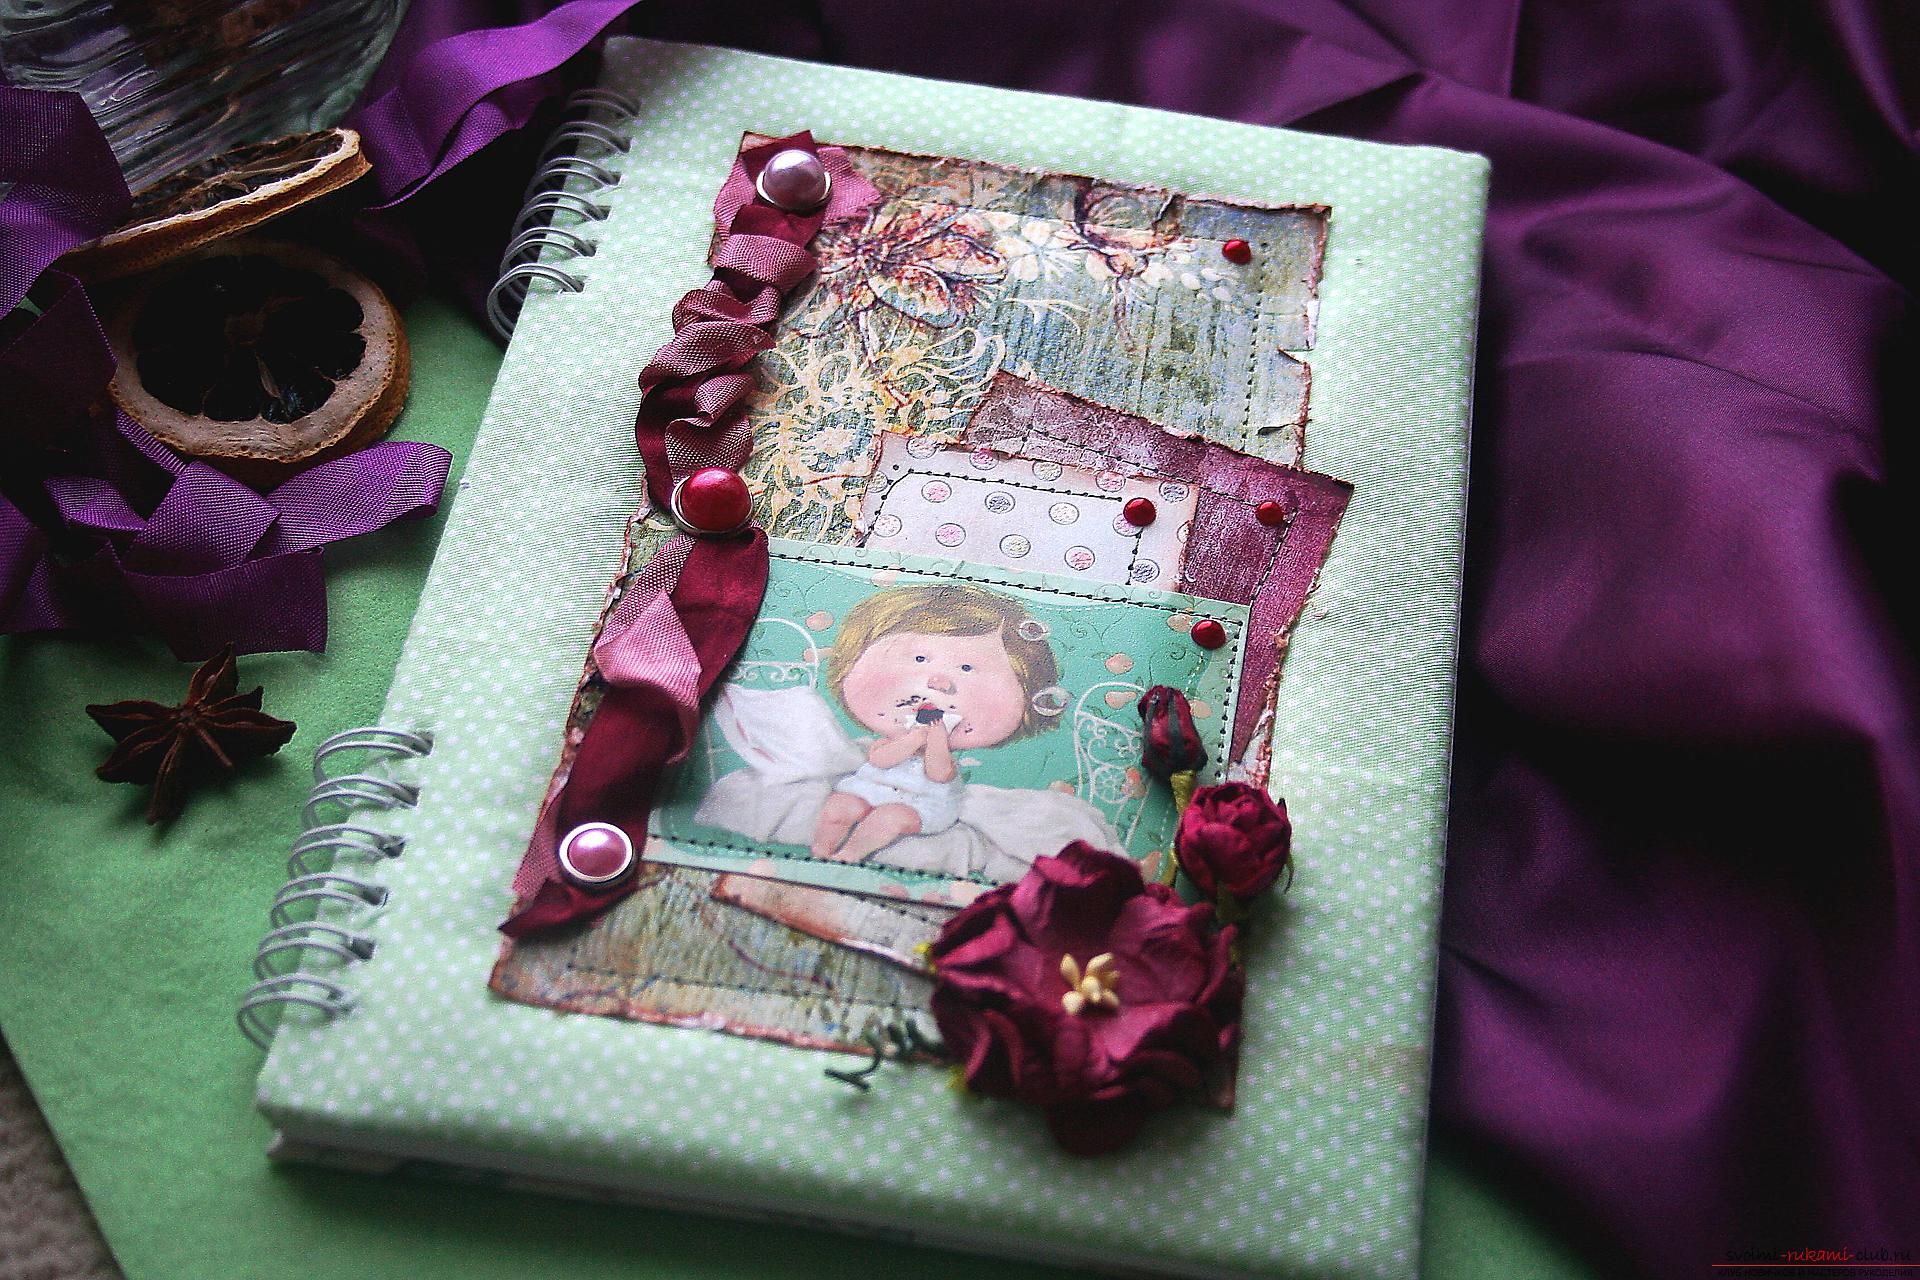
Comments
Related posts:
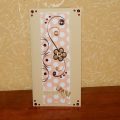 This master class will teach you how to make a postcard with your own hands in quilling technique.
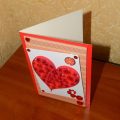 This master class will teach you how to make your own valentine in the quilling technique.
 This master class will teach you how to make an original gift for the New Year - scrapbooking notepad
 This master class will teach you how to make a postcard by yourself in the technique of quilling.
 This master class will teach you how to create your own valentines - a gift for February 14