
This master class will teach how to create a toy-pendant knitted cat
This application can be hung in the room, the hallway or even in your office. Well, if you are hanging around in the profession, you can always take it with you to any part of the country. 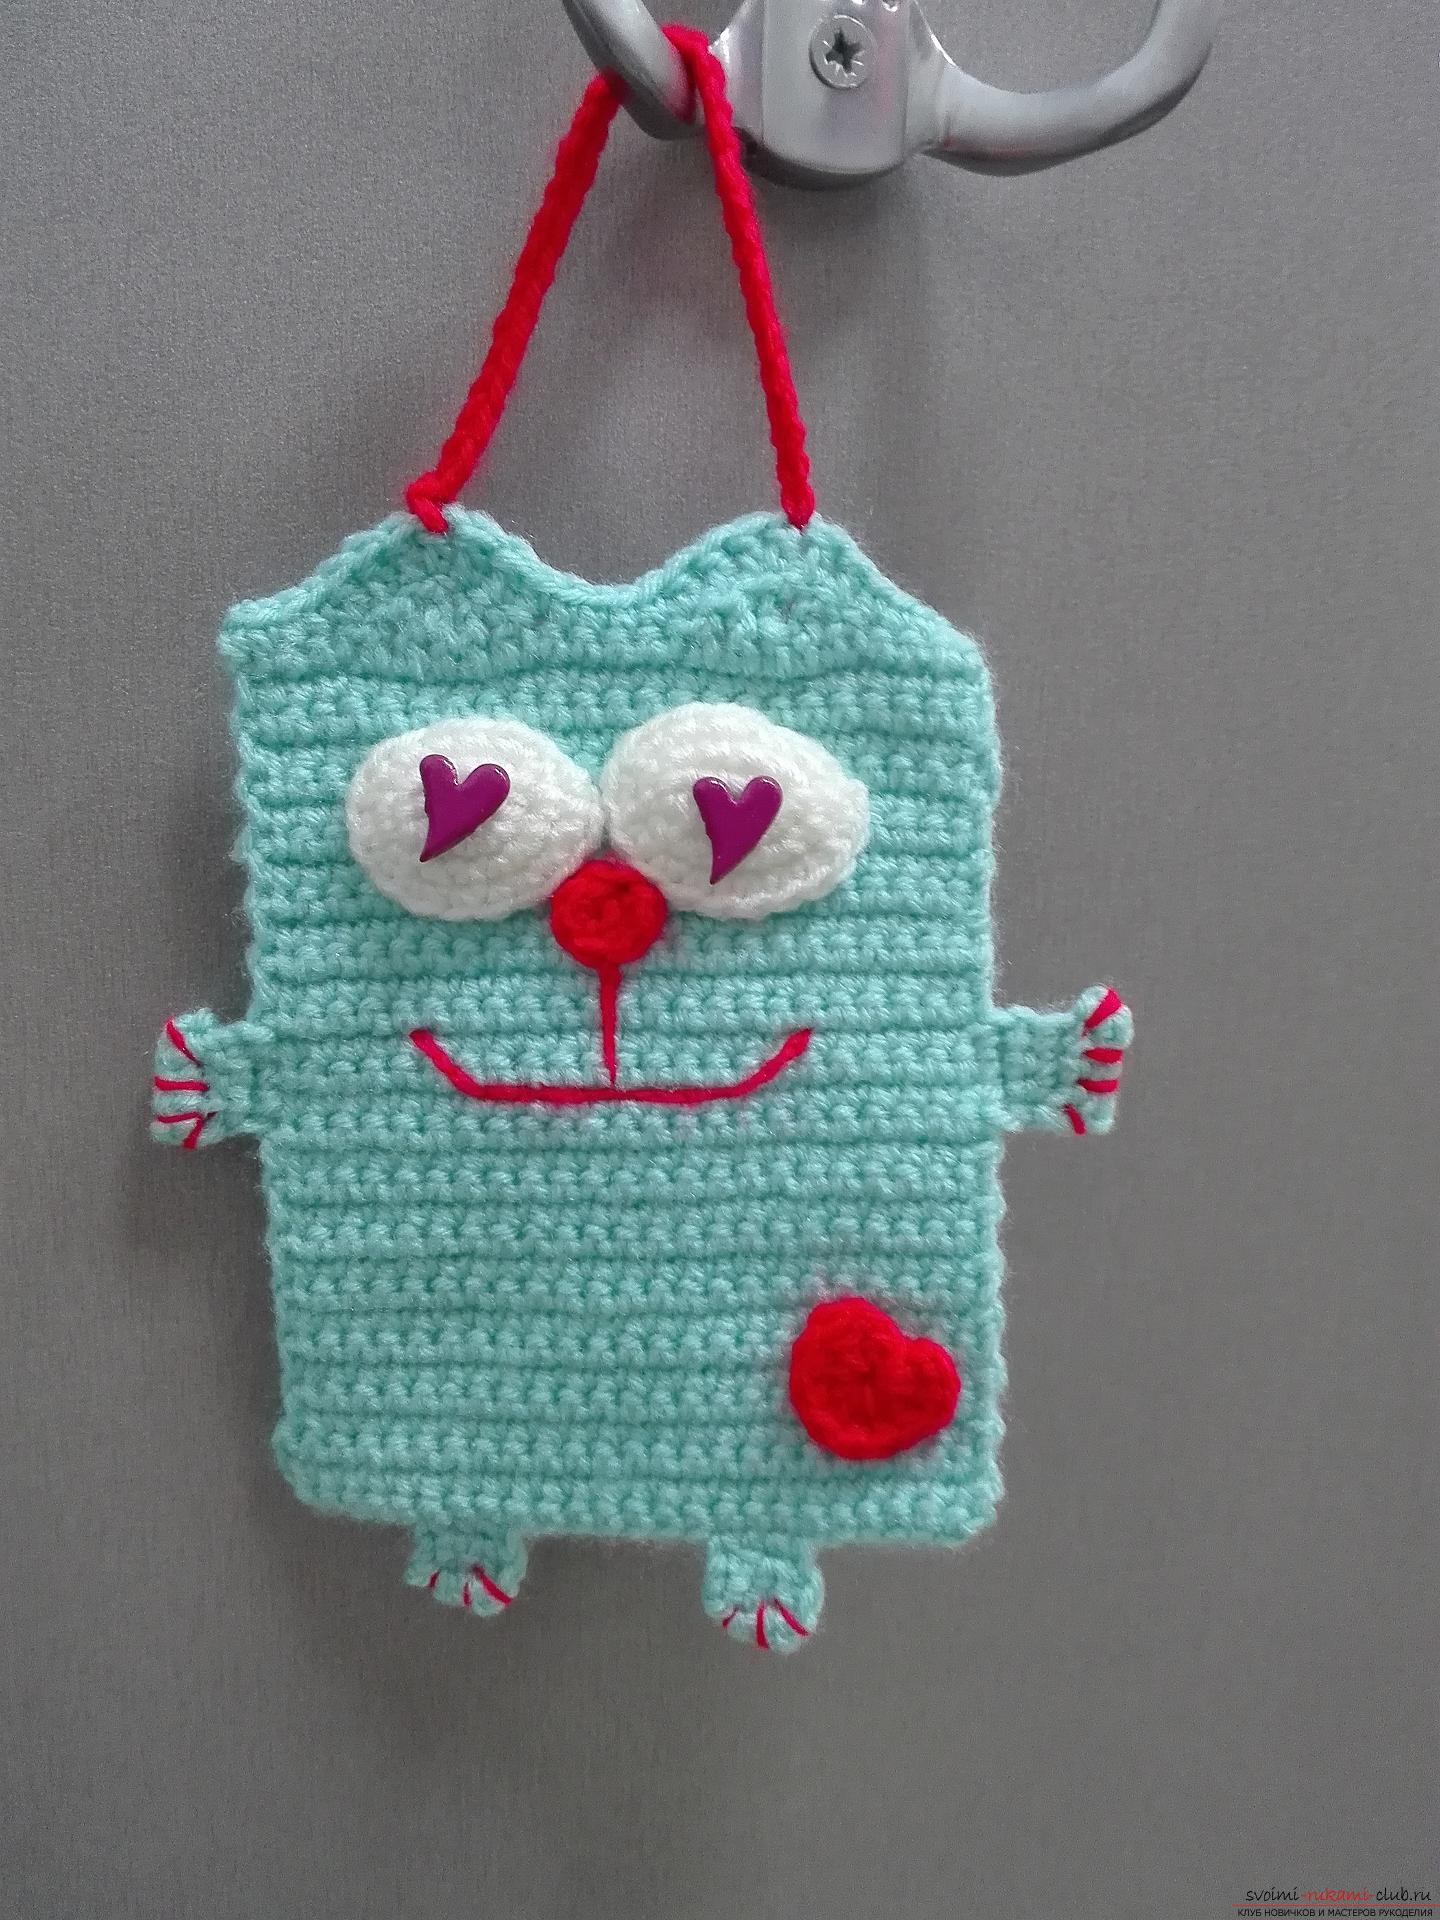 For work we need:
- thread of three colors: blue, red and white;
- hook;
- needle for sewing;
- eyes in the form of hearts.
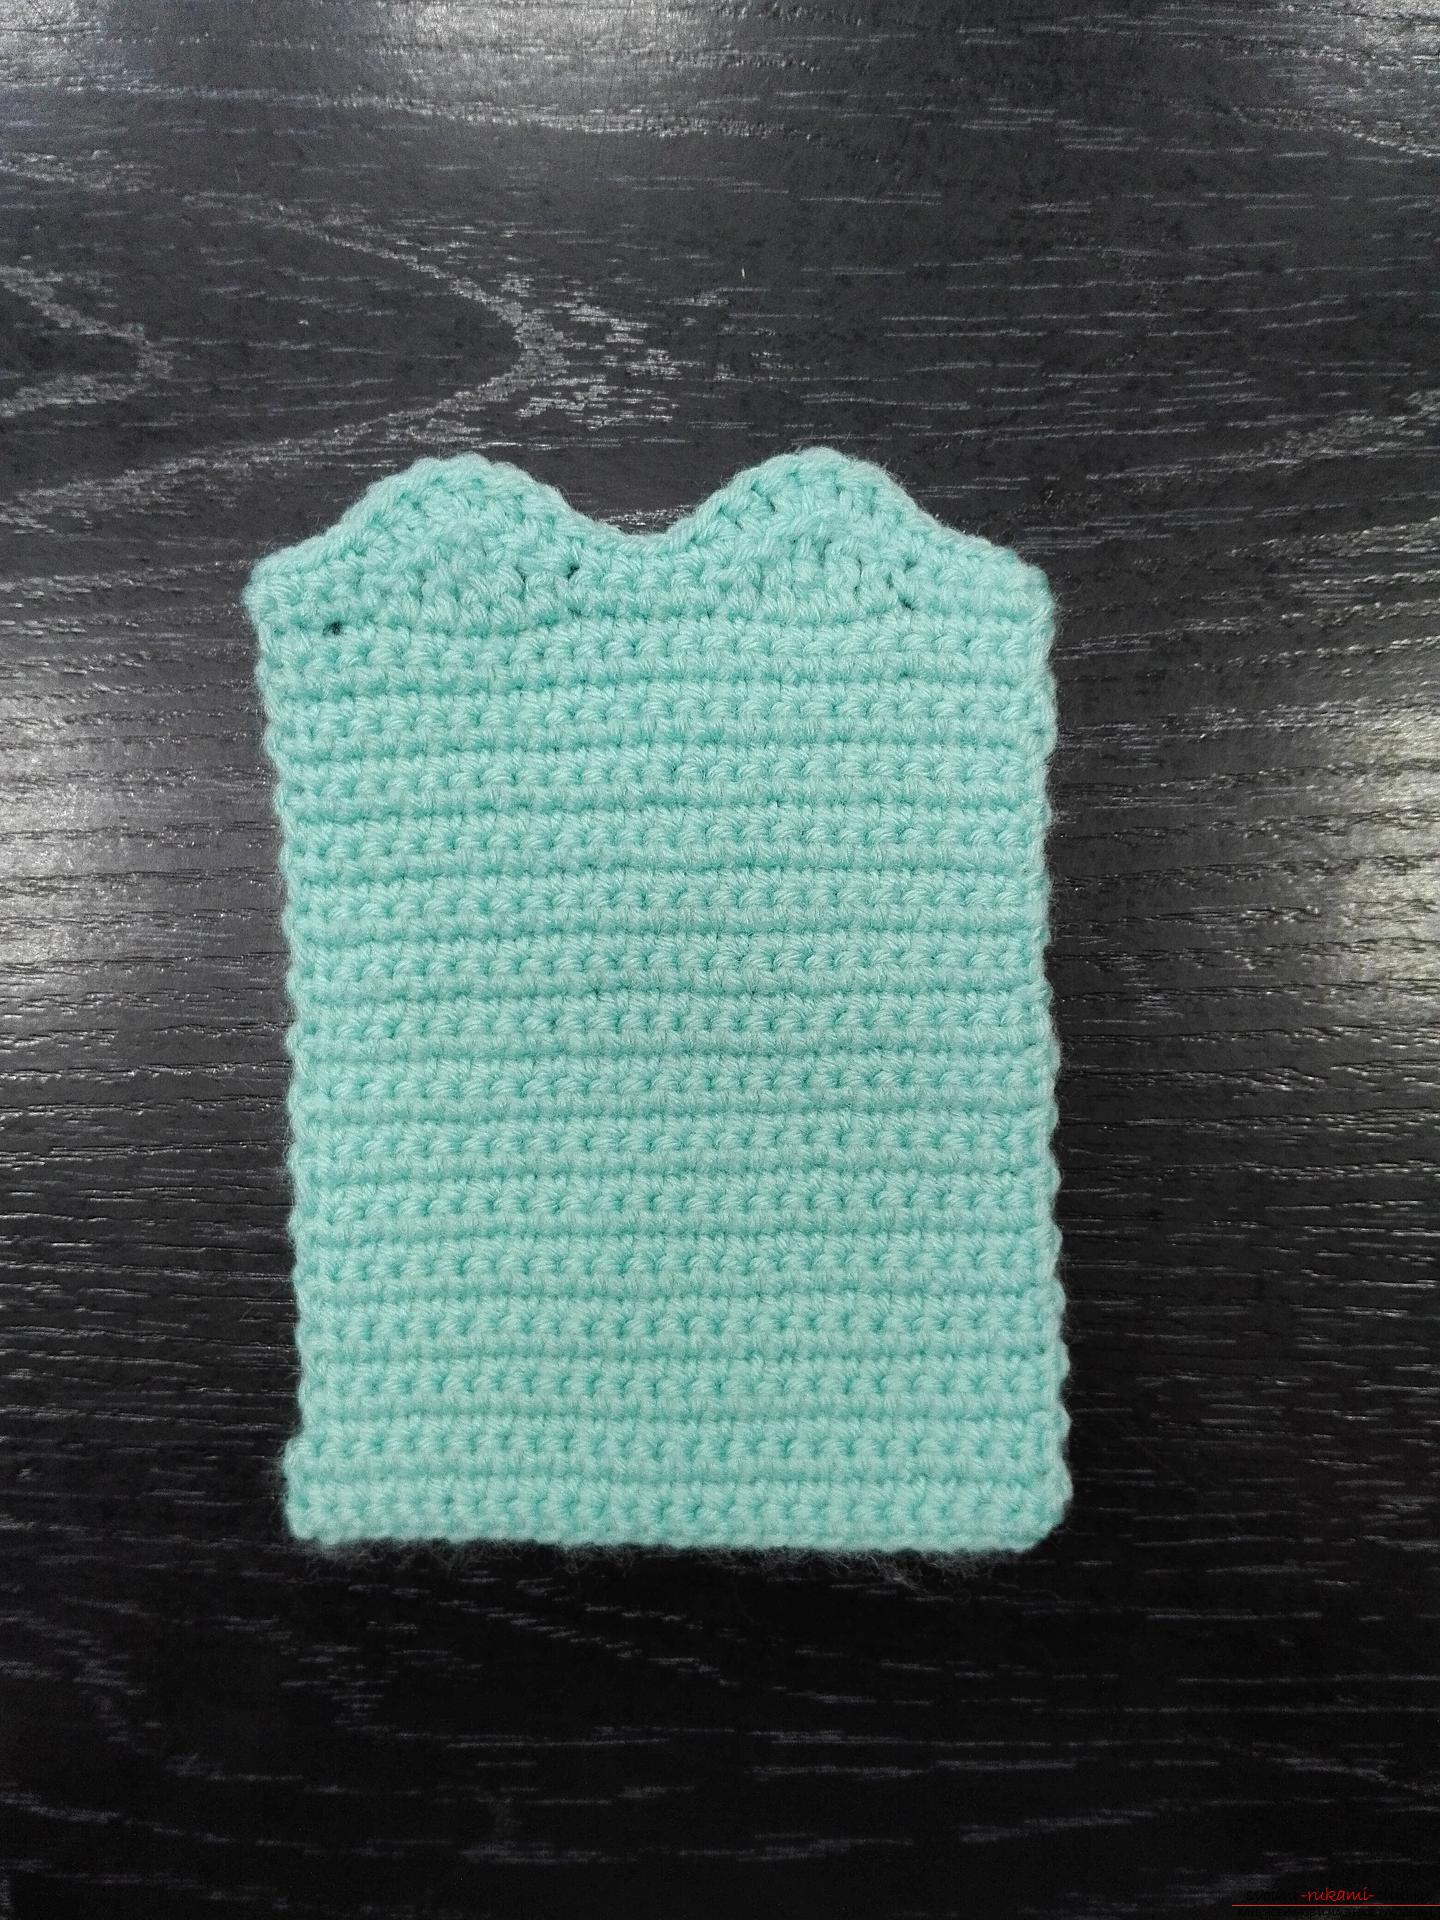
We begin to knit from the trunk. For this we need blue threads. We dial a chain of 25 air loops. Then, one loop for lifting and knitting 1 st-ku (short stitch) without a crochet in each loop. Next, rotate the product and knit one st-ku without a crochet in each loop of the row, which was earlier. So we tie thirty rows. One stitch without a crochet in every loop. Next, we have to untie the ears for our cat. We send four columns without a crochet from the edge. In the next loop one st-k with one crochet, in the next one st-k with two nakidami, then st-k with three nakidami, in a separate loop st-k with two nakidami, st-k with one crochet. And then we knit five sticks with one cuff, one in a loop. And we begin to bind the second eye. One st with one crochet, one st with two crochets, one column with three cuffs. One st-k with two nakidami, one st-k with one crochet and up to the end of the row, we will tie it up without stitches. Here's the torso with ears, for a coteyka, it's ready! 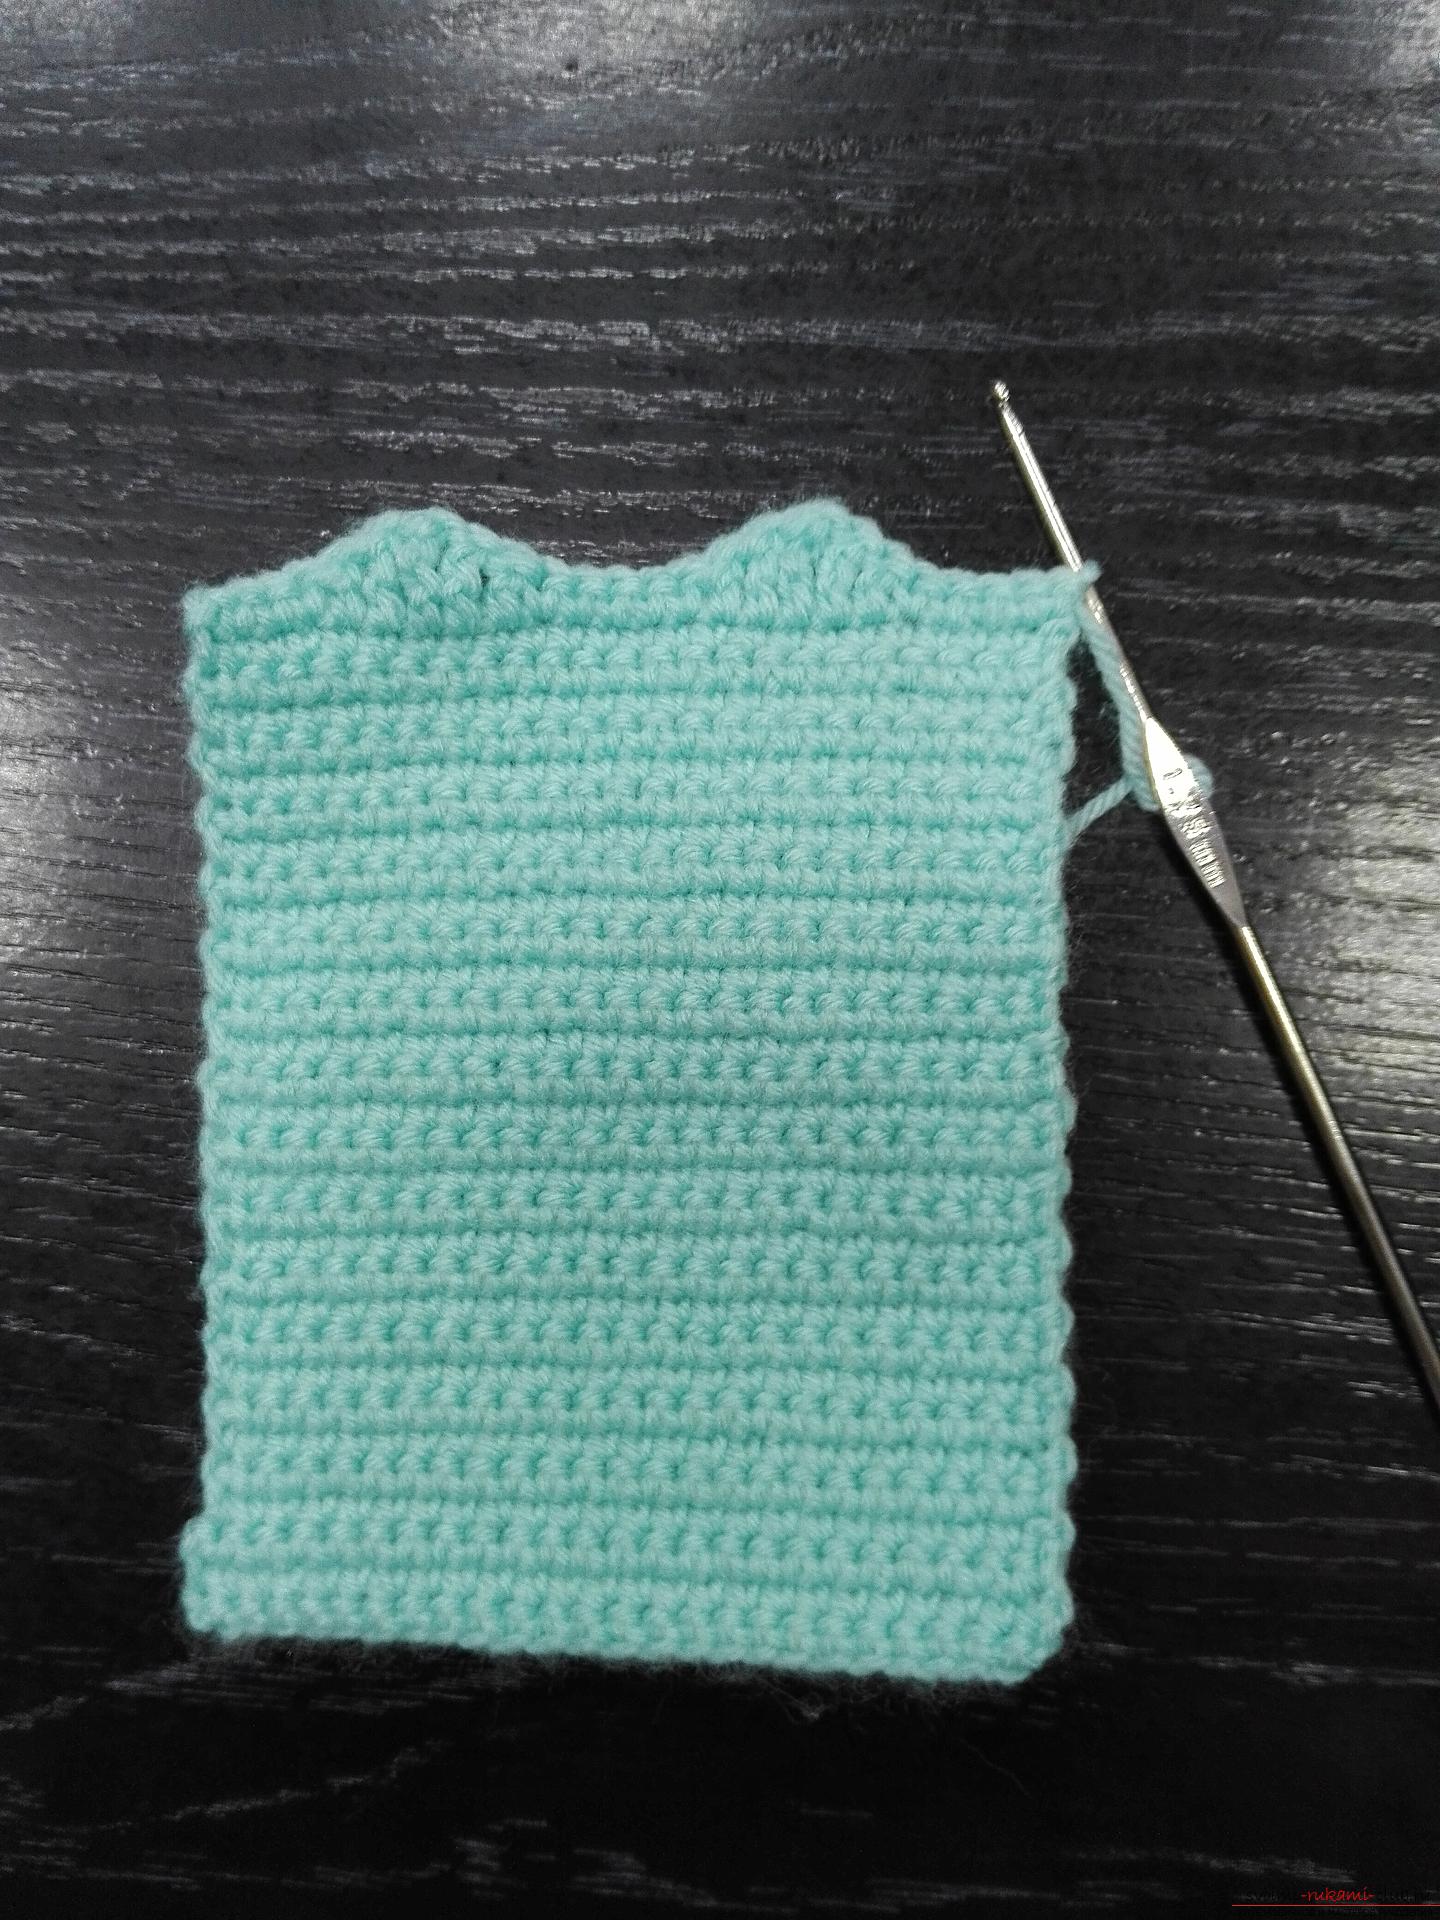
 Now let's start with the eye. To do this, we use a white thread. We will dial a chain of four air loops. And we'll fasten each stitch with one stitch without a crochet. We tie our chain from two sides. Next row. One lifting loop and the same loop one more st-k without a crochet. In the next loop two sts without a crochet. One st without a cake in the loop. And in the corner loop, four sts without a crochet, then two sts without a cape in a loop. One st without a cake in the loop. And in the last two loops on two st-ka without a crochet, in each.
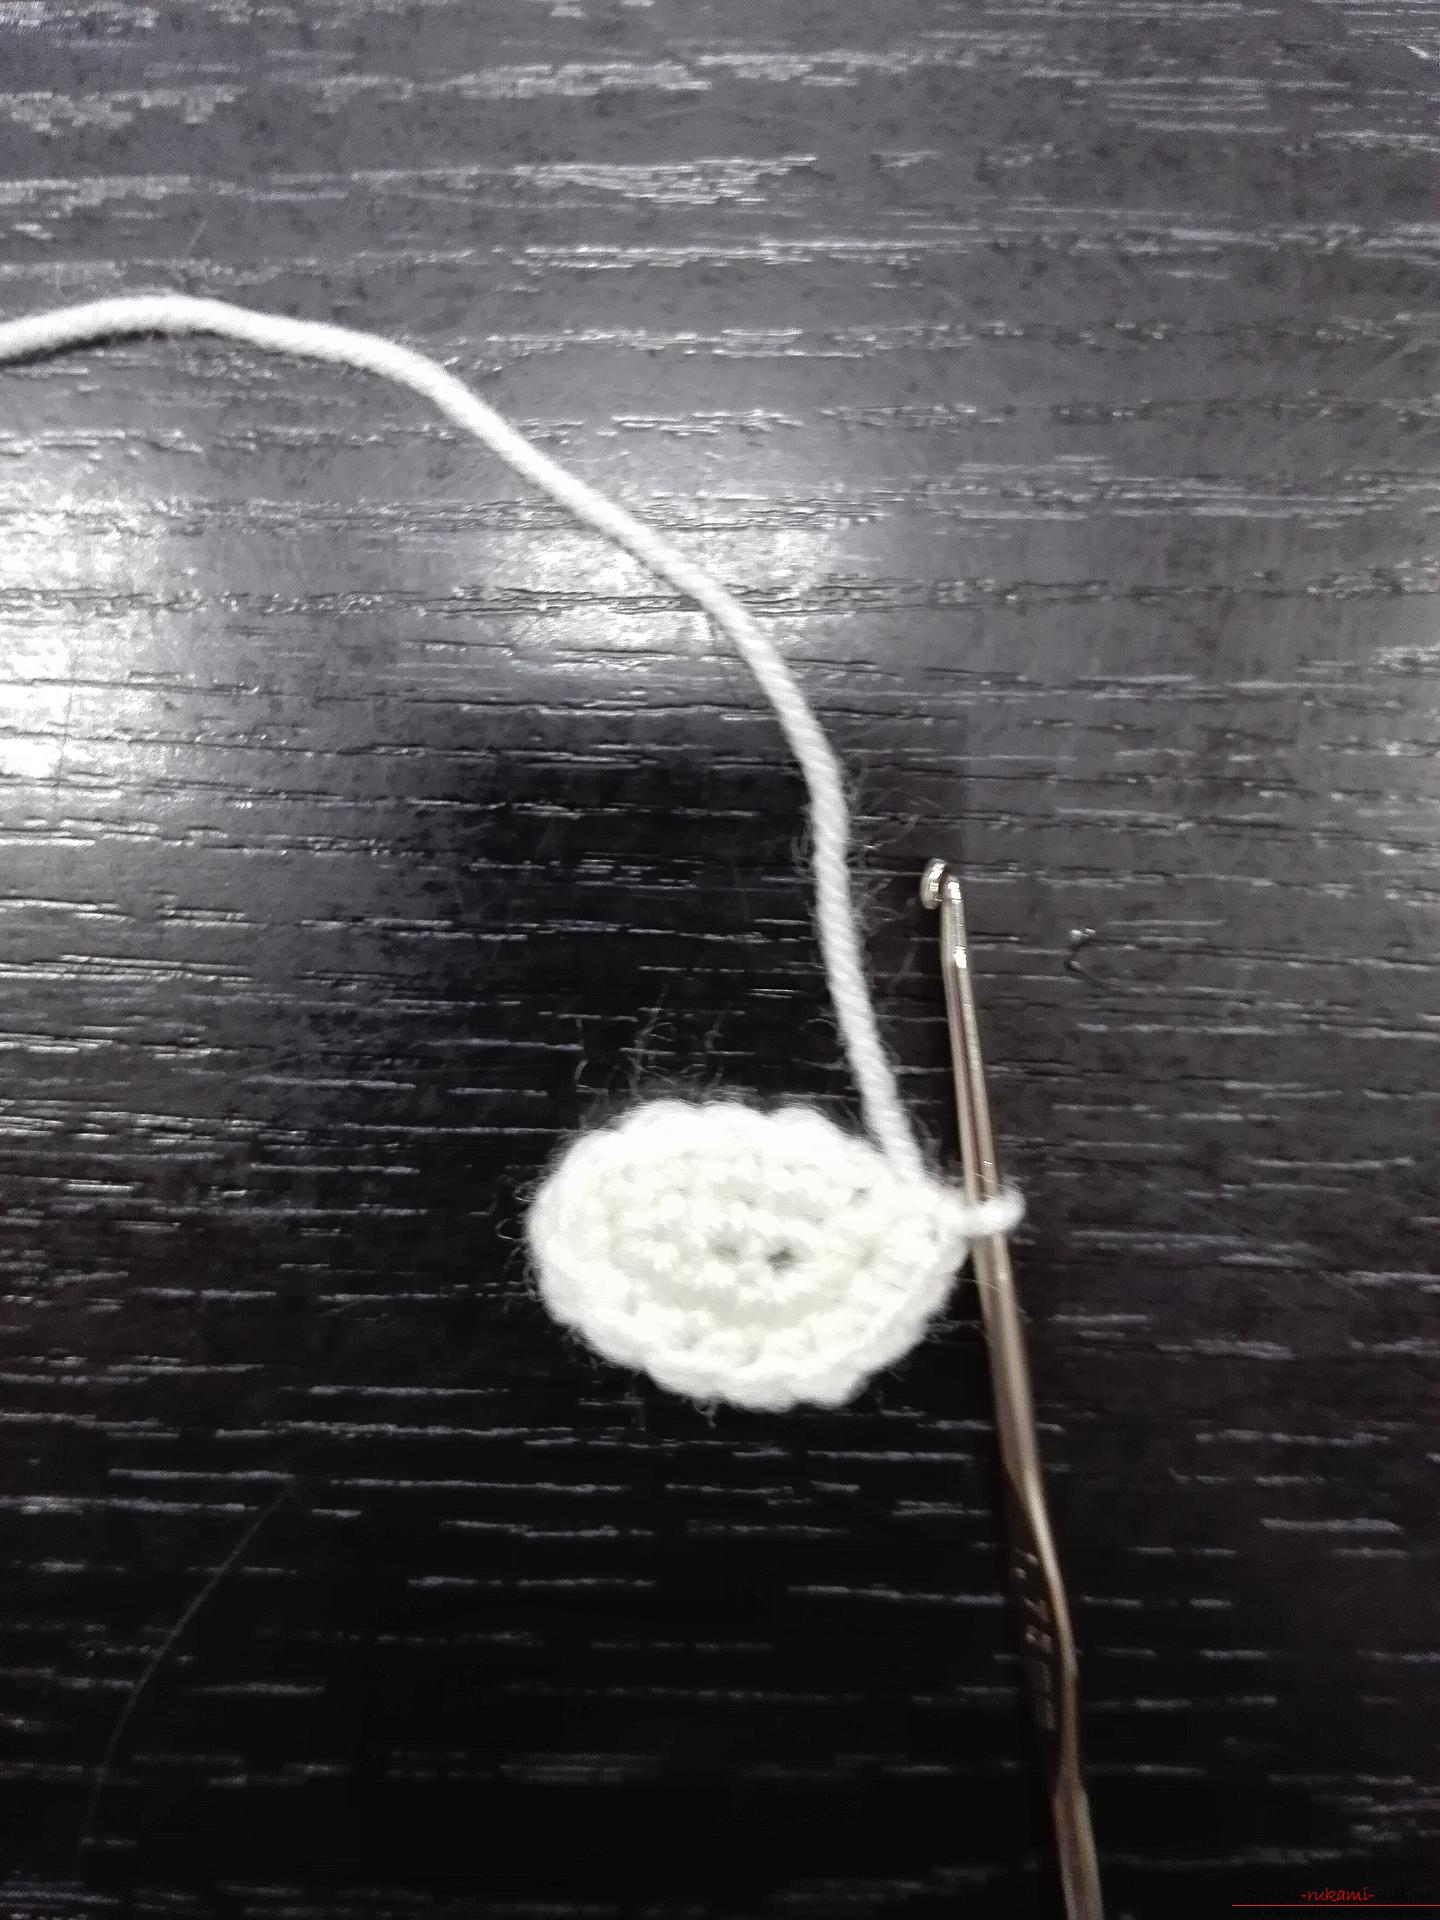
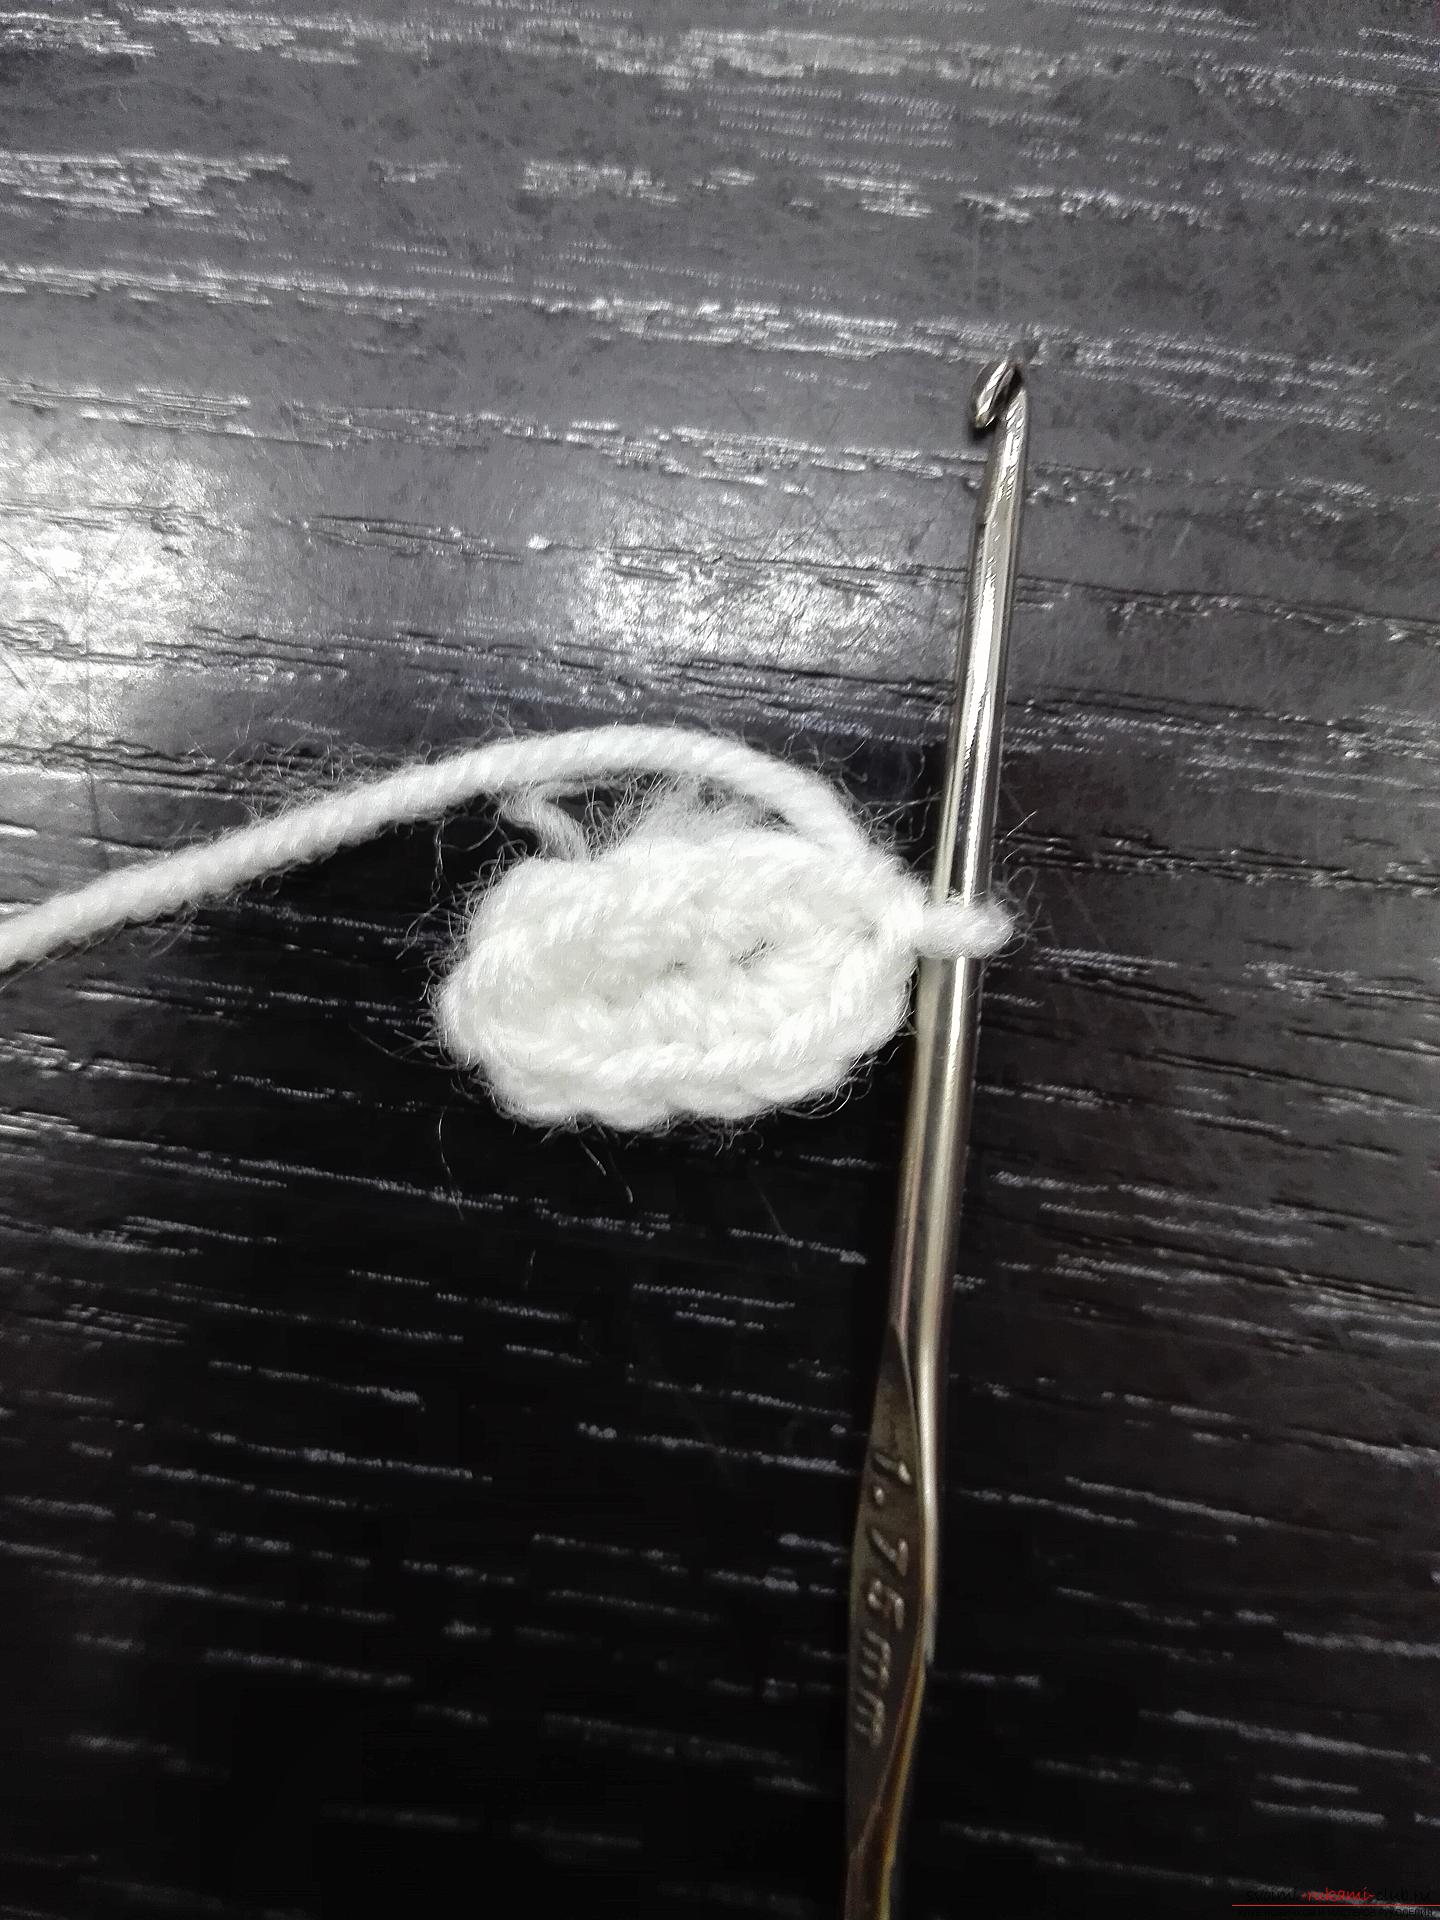 The last row we are tying according to the scheme of the previous one.
 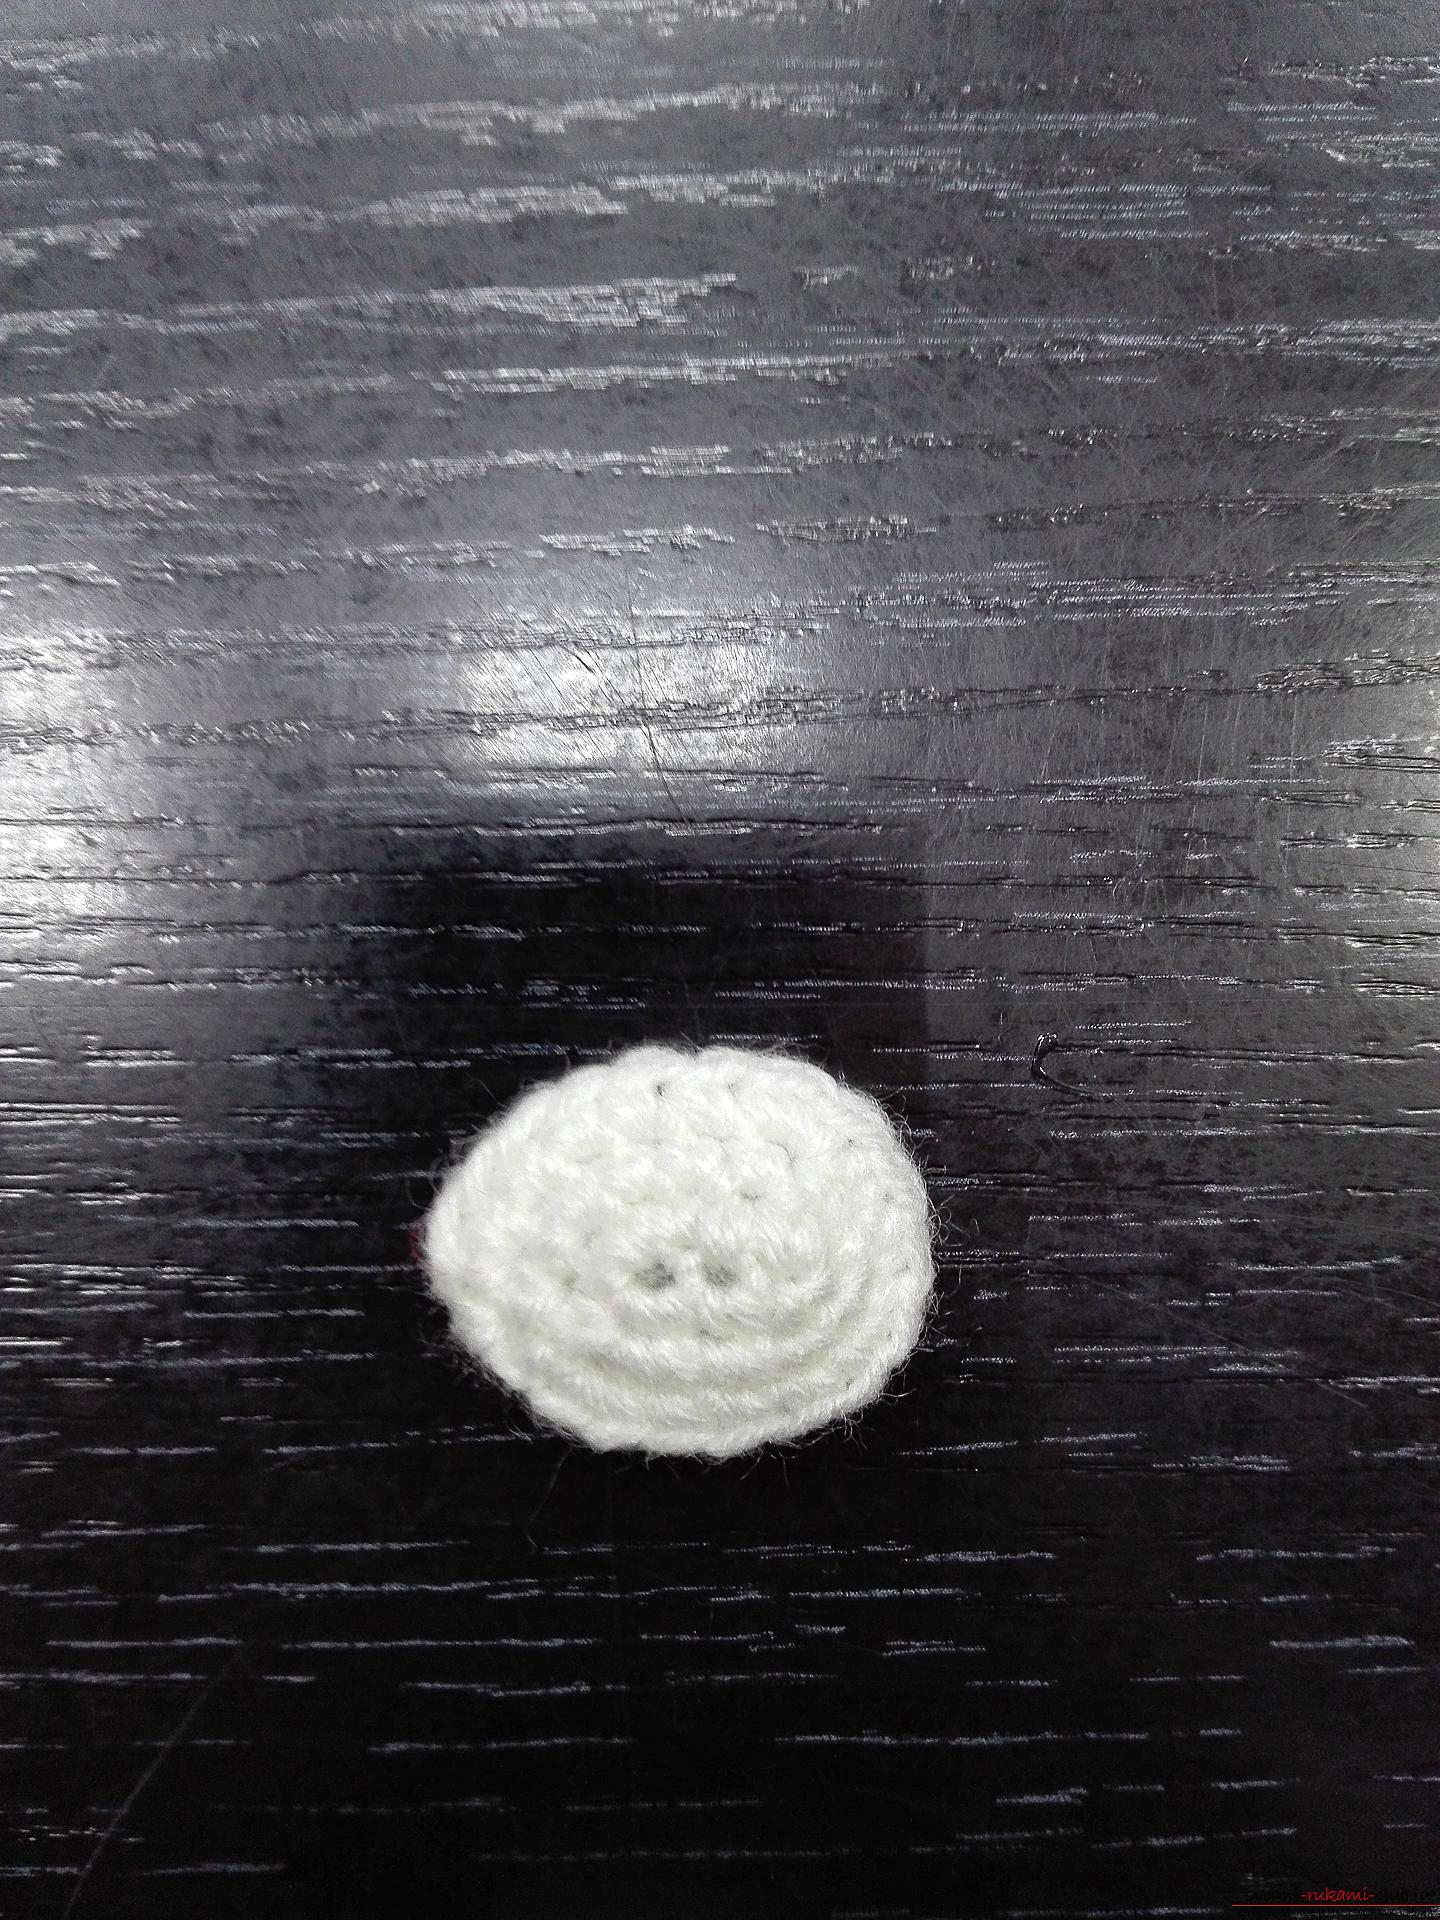 Next we sew the eyes to the body, but do not forget to add a little sintepon, so that they turn out slightly convex.
 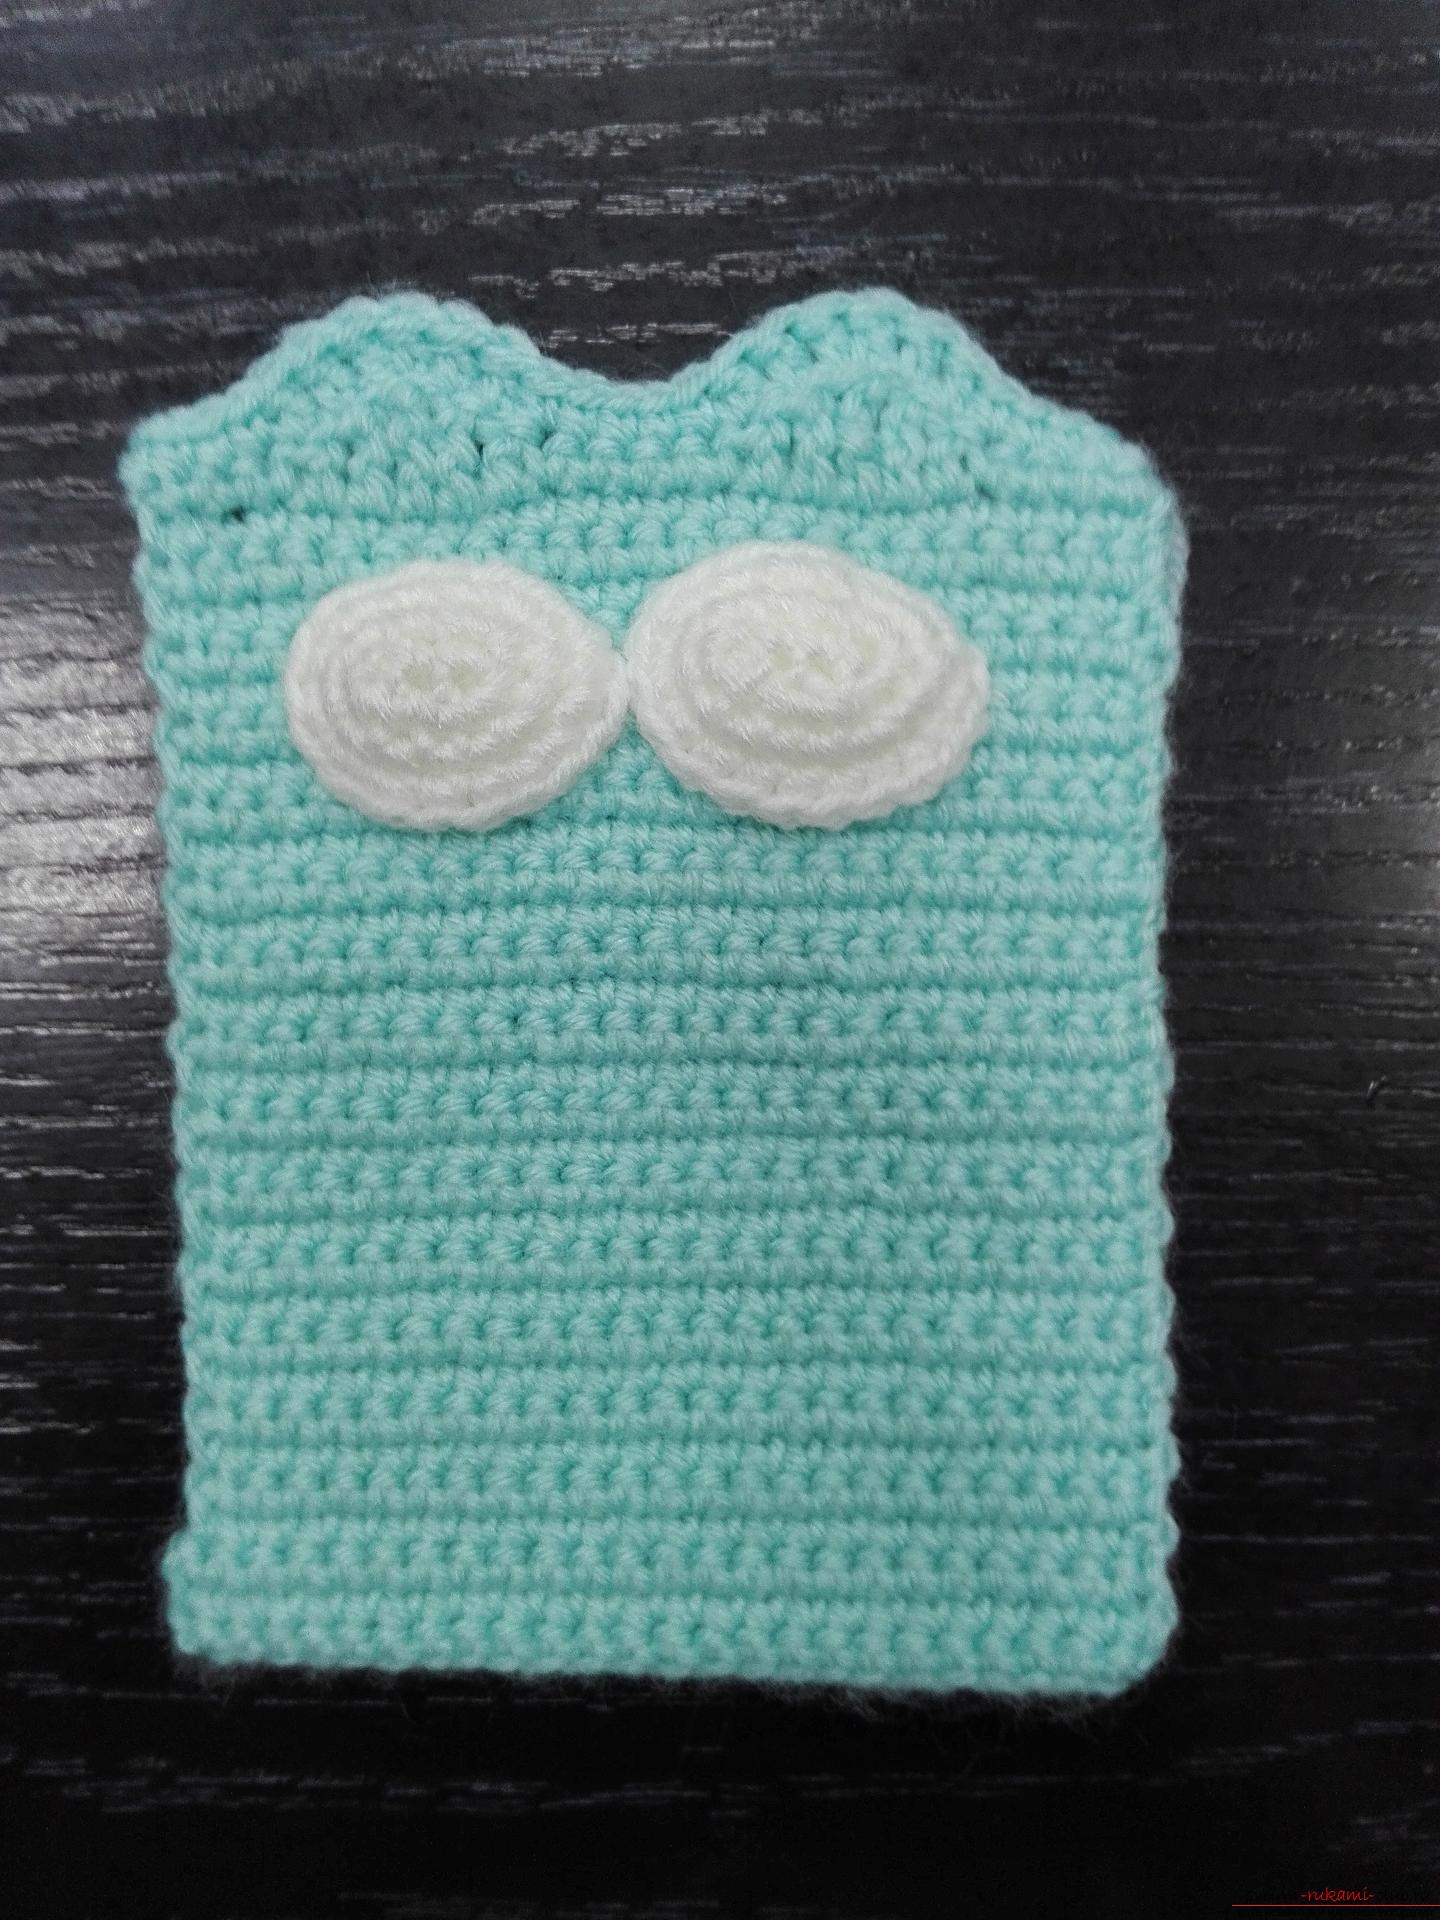 Pupils are designated as hearts with locks.
  You can also use buttons in the formhearts, can be connected using a thinner thread. For the spout we use a red thread. We dial three air loops and close the ring. And inside the ring we knit four sts without a crochet. And sew close to the eyes. For further work, we use a needle for sewing and a thread of red color. We embroider a mouth.
 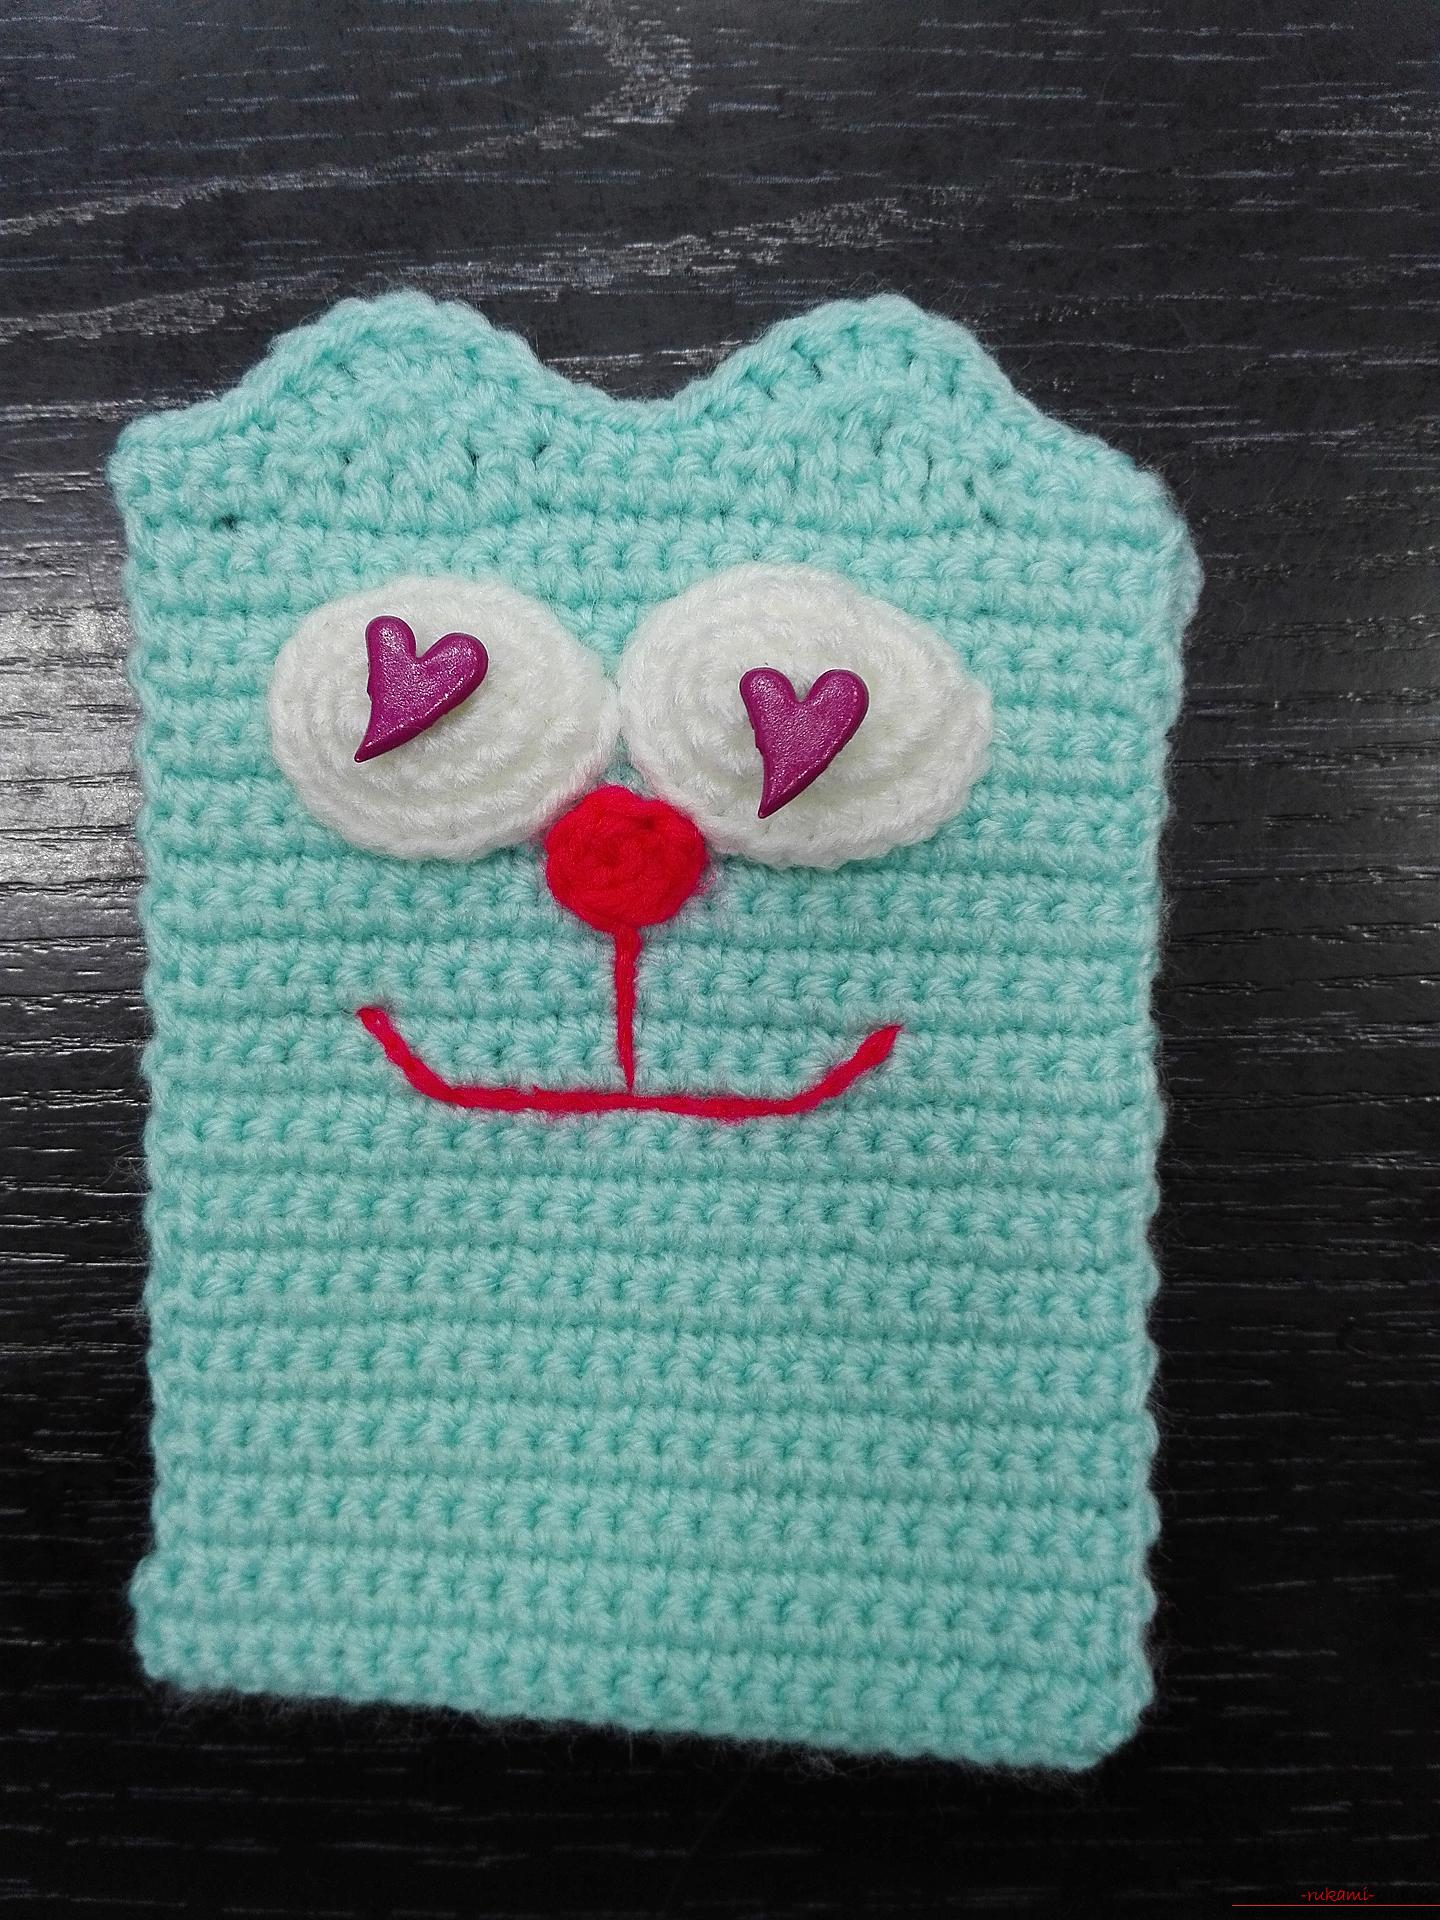 We knit the front legs. We take a string of blue. Approximately at the level of the mouth, from the side we tie four sts without a cape. So one st-ku without a cape in a loop we knit 3 rows. And the last row we make with an increase. In the first and last petechka two st-ka without a crochet.
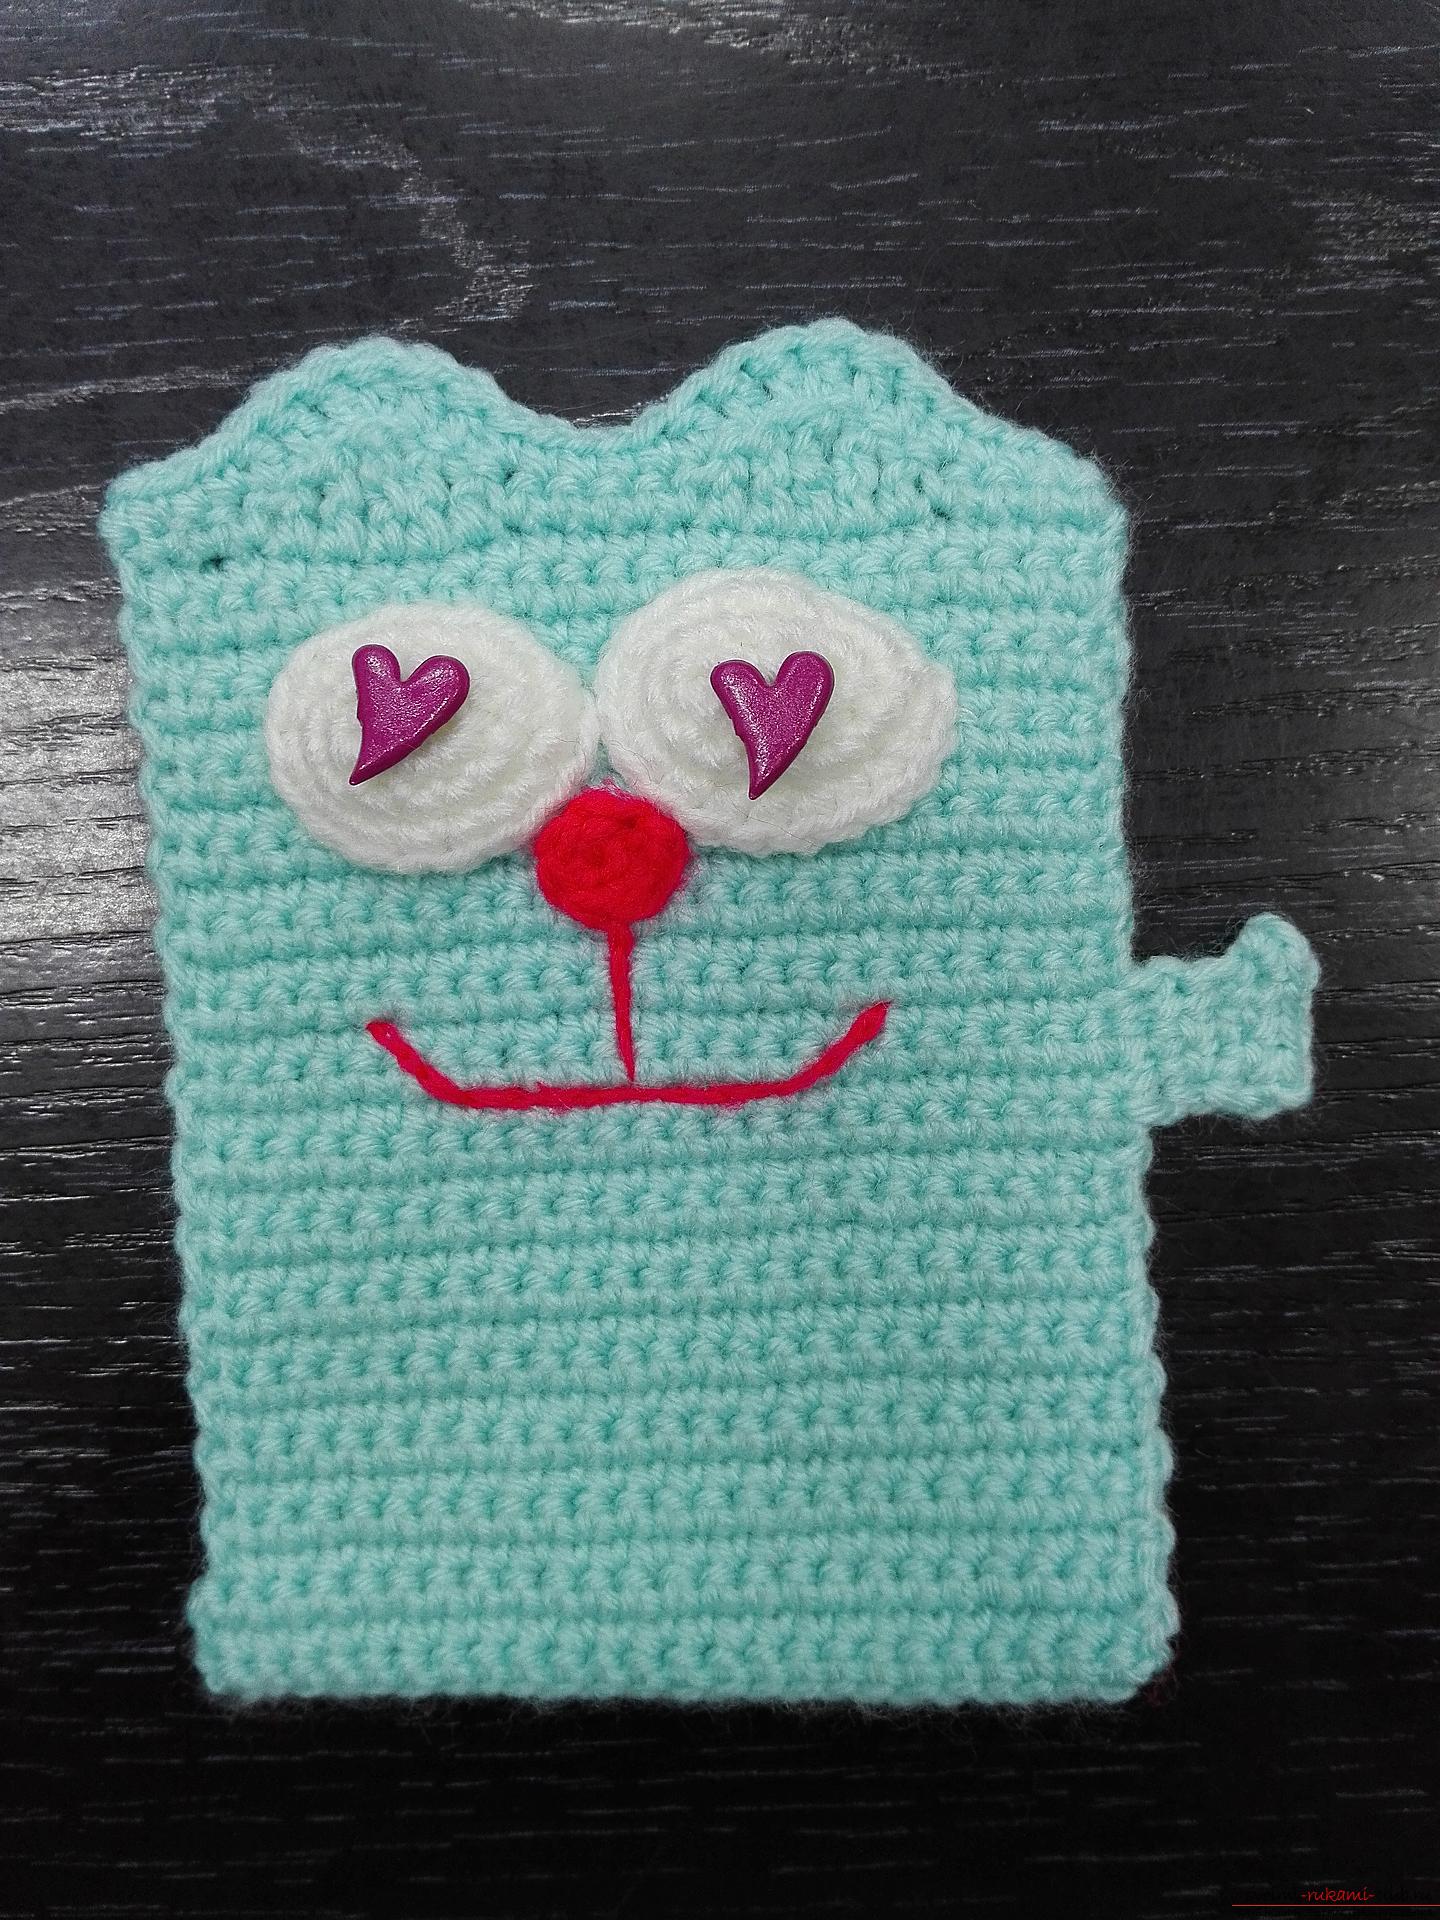
 Under this scheme, we sew all four paws. With the help of a needle for sewing and thread of red color with usual stitches we make our cat claws. Let's tie a little heart for decoration. We select four loops and close the ring. Two air, three sts with one crochet, one st with two crochets, three more sts with one crochet, all inside the ring. And we finish with two air ones, which we fix with the stool without the crochet. And sew the heart to the right lower edge of the kitten.
  Well, to hang a lover cat in any place you like, we pick up a chain of air from one ear and fix it to the other. See and feel the love that such a cat will give.
Comments
Related posts:
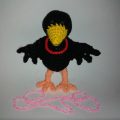 This master class of knitted toys will teach how to create a crocheted toy - a crow
 This master class will teach crochet toys, you can create a cat crochet.
 This master class will teach crochet toys, you can create a cat crochet.
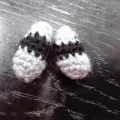
 Master-class will teach how to create a developing knitting cake for fine motor skills
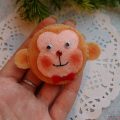 This master class will teach you how to make a toy out of felt - a monkey.